Create Network Firewall
Objective
This guide provides instructions on how to create a Network Firewall using the guided wizards in F5® Distributed Cloud Services.
A Network Firewall consists of three elements:
-
A Forward Proxy Policy: L7 Policies applied when the F5 gateway is used in transit.
-
A Network Policy: L3-4 Policies applied to traffic ingress, egress, or originated on the F5 Gateway.
-
Fast access control list (ACL): A set of rules to protect your F5 Gateway.
Using the instructions provided in this guide, you can create a network firewall with all its elements, and apply it to your site or fleet of sites.
Prerequisites
-
A valid Account is required. If you do not have an account, see Getting Started with Console.
-
F5 Gateway. For more information, see Site Management.
Configuration
Configuration Sequence
Configuring an application firewall requires performing the following sequence of actions:
| Phase | Description |
|---|---|
| Create a Network Firewall | Create a network firewall with policies and fast ACLs that define the network rules. |
| Apply Network Firewall on Fleet | Apply the network firewall to the fleet to protect the sites that are part of the fleet. |
Important: The creation of a network policy, a forward proxy policy, or a fast ACL is optional. However, it is recommended to protect your network by creating at least one.
Create Network Firewall
Perform the following to create a network firewall:
Step 1: Start network firewall object creation.
- Open the
F5® Distributed Cloud Consolehomepage and select theMulti-Cloud Network Connectservice.
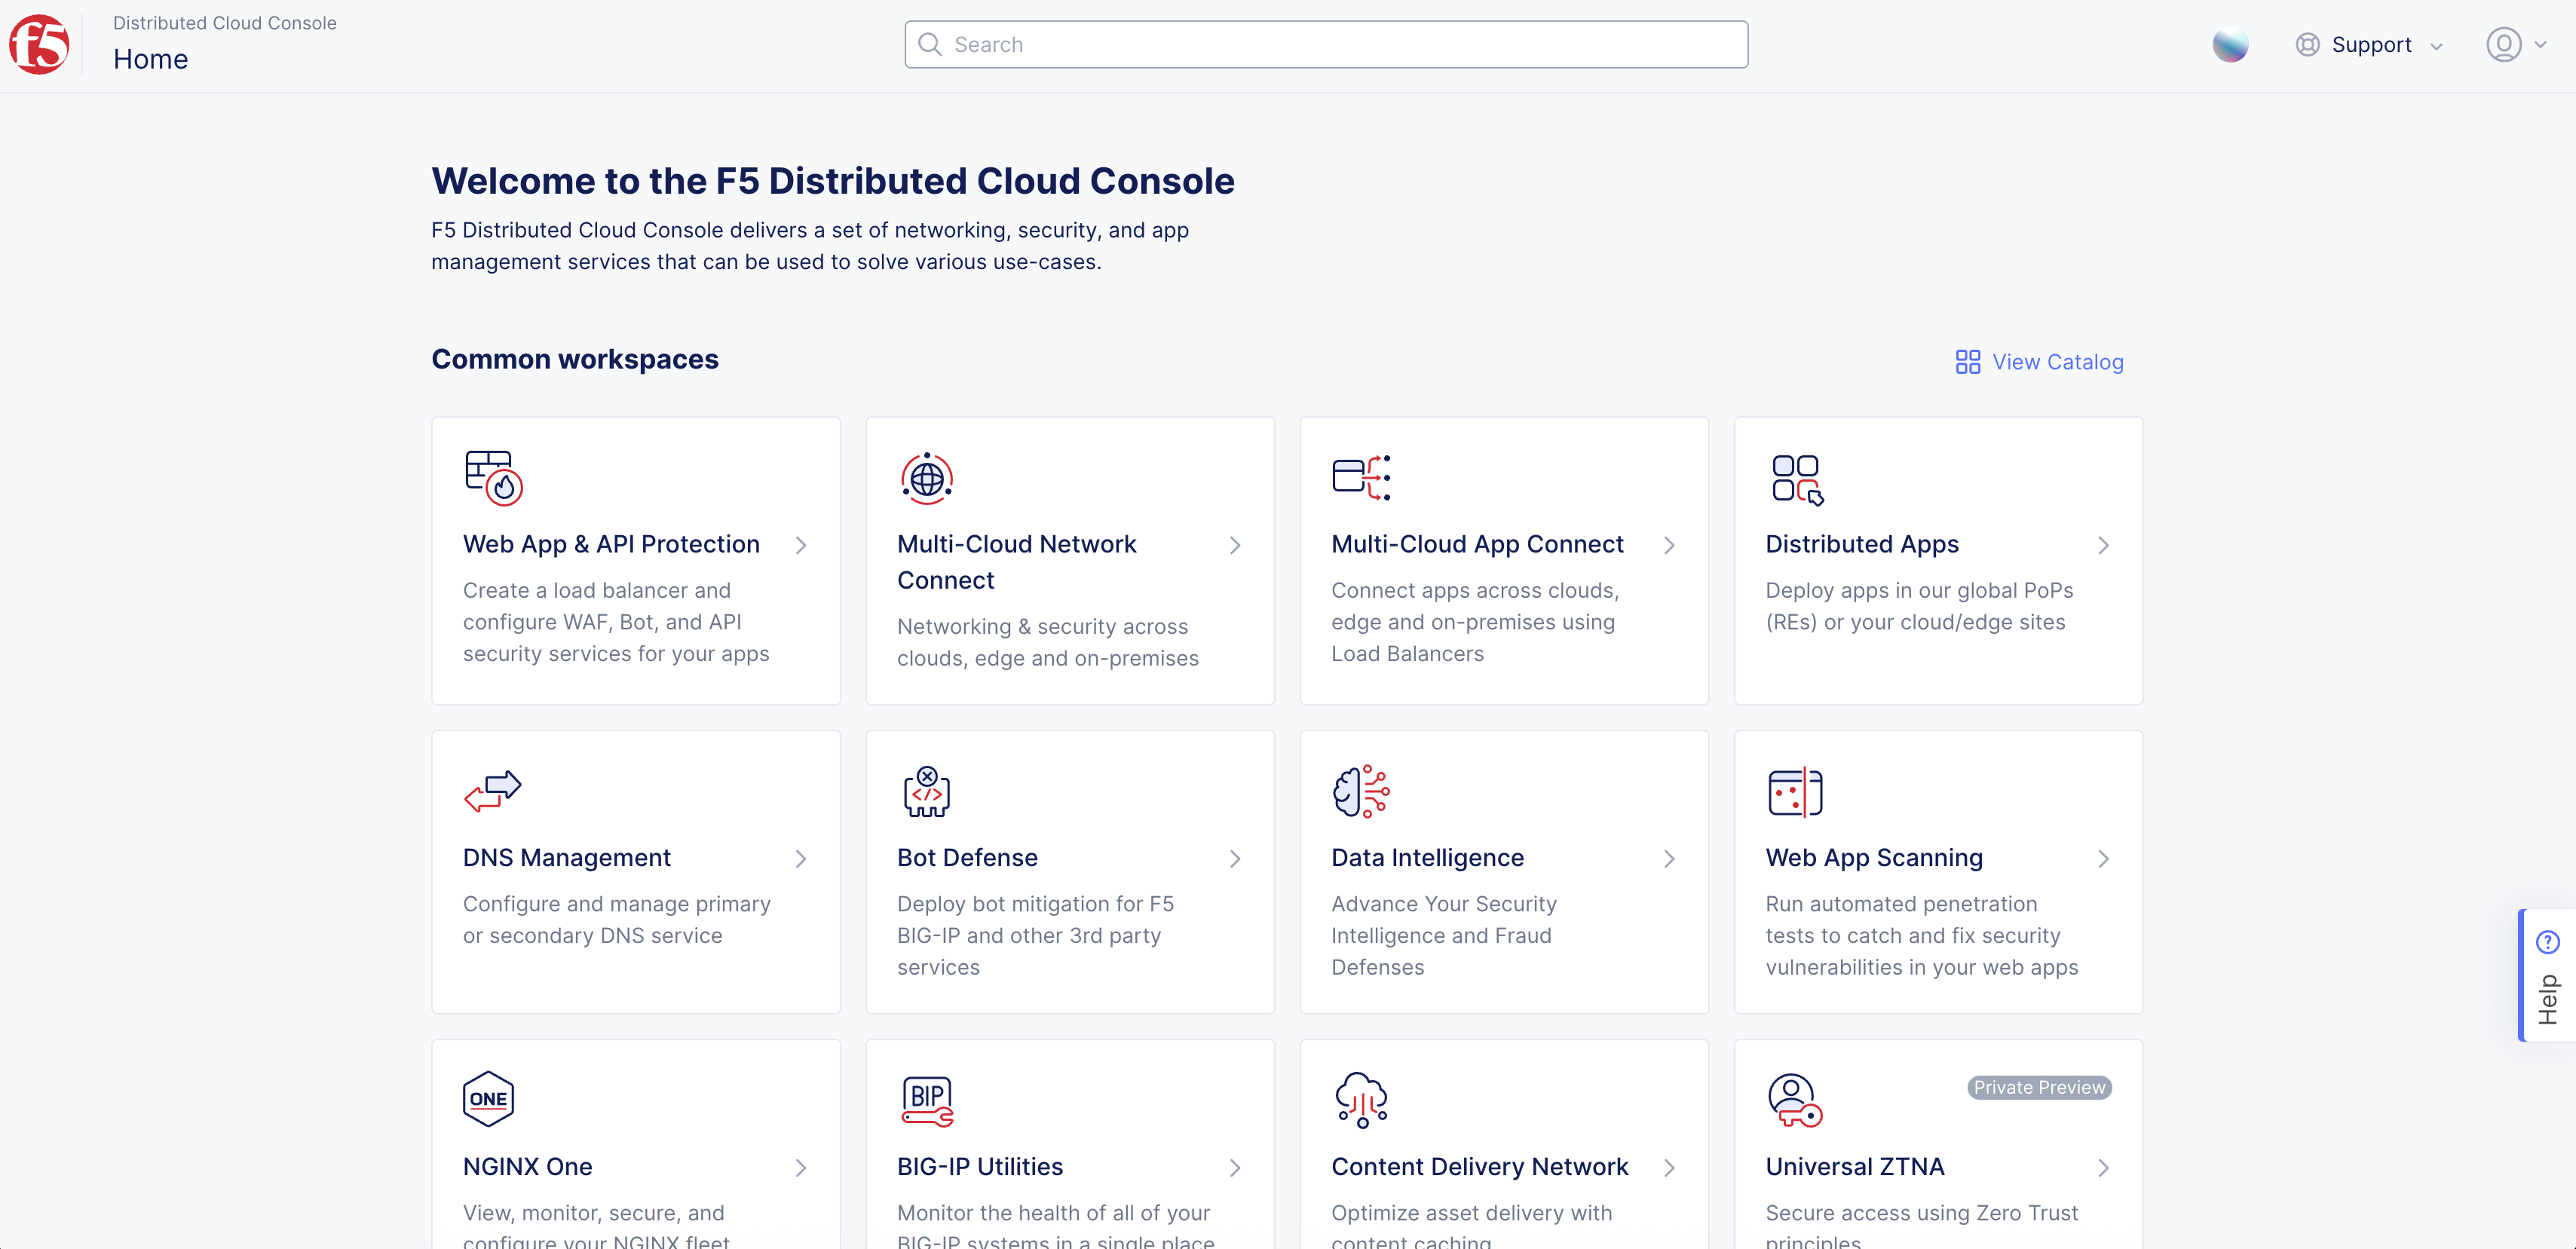
Figure: Homepage
-
Select
Manage>Firewall>Network Firewallsin left menu. -
Select
Add Network Firewall.
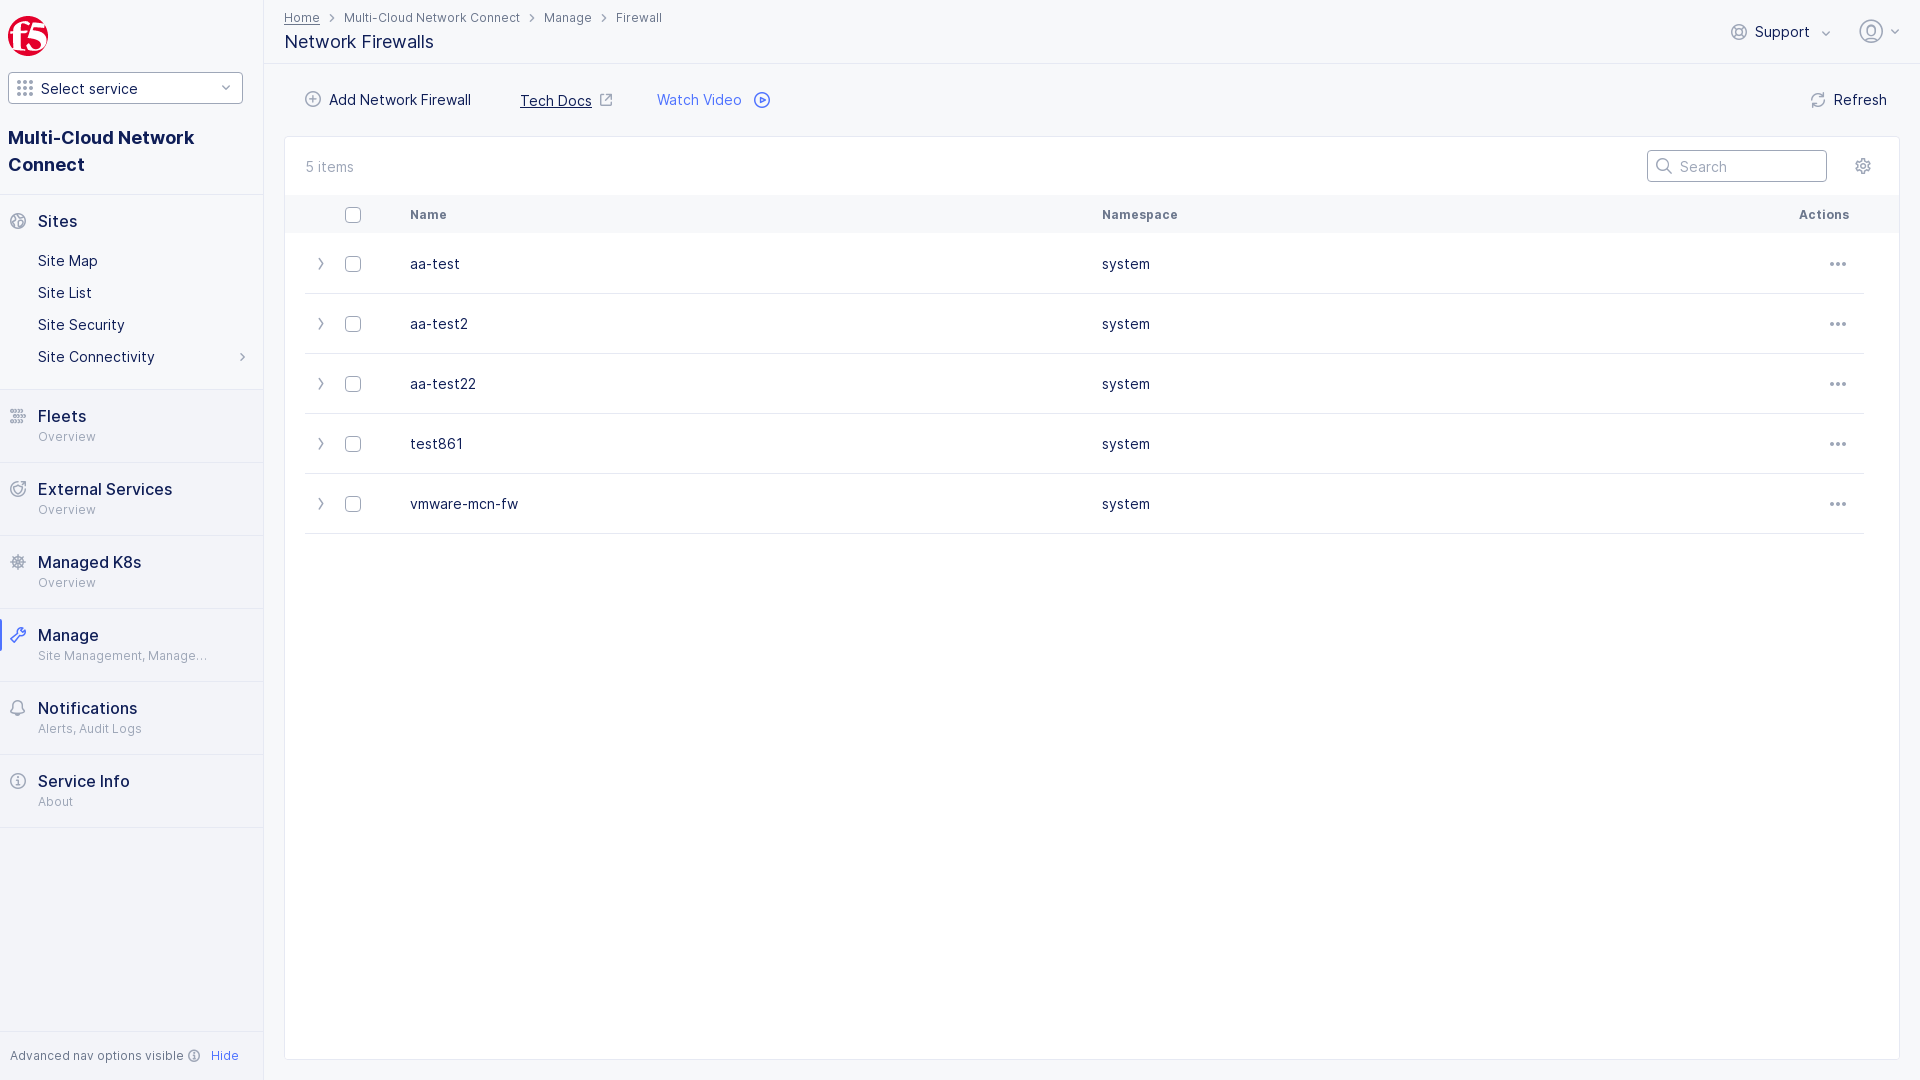
Figure: Add Network Firewall
- Enter
Name, and addLabelsandDescriptionas needed.
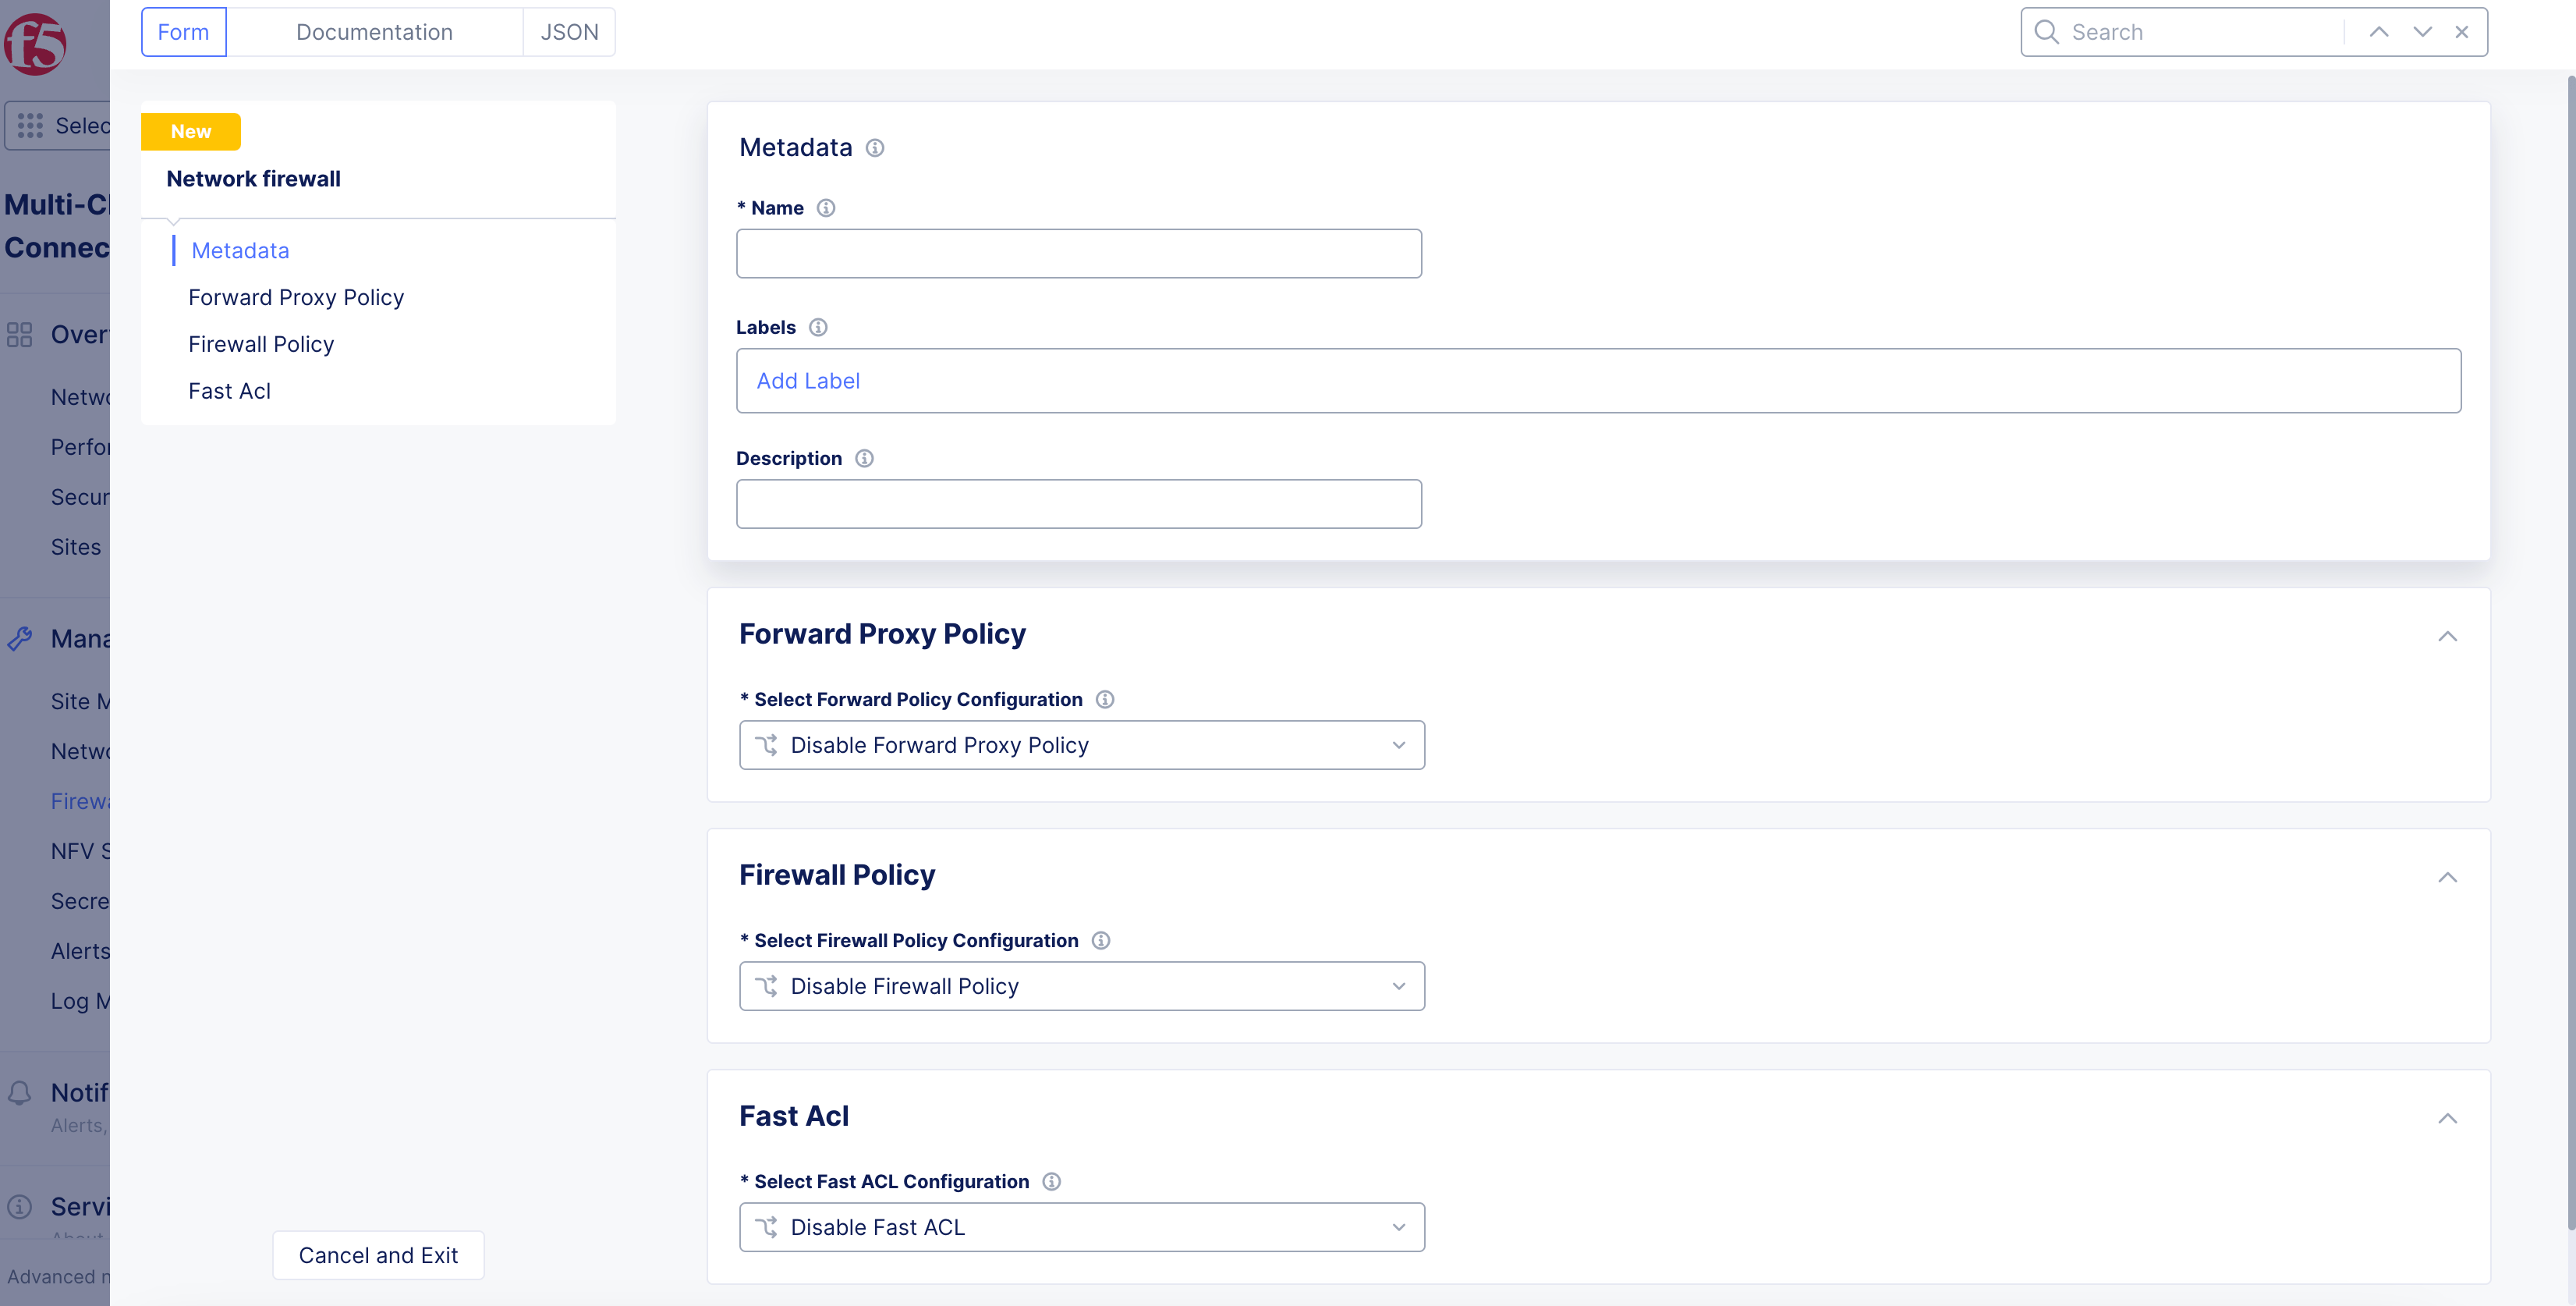
Figure: Add Network Firewall
Step 2: Configure forward proxy policy.
-
From the
Select Forward Policy Configurationmenu, select an option:-
Disable Forward Proxy Policy: Default option. -
Active Forward Proxy Policies: Select an existing policy from theForward Proxy Policiesmenu.
-
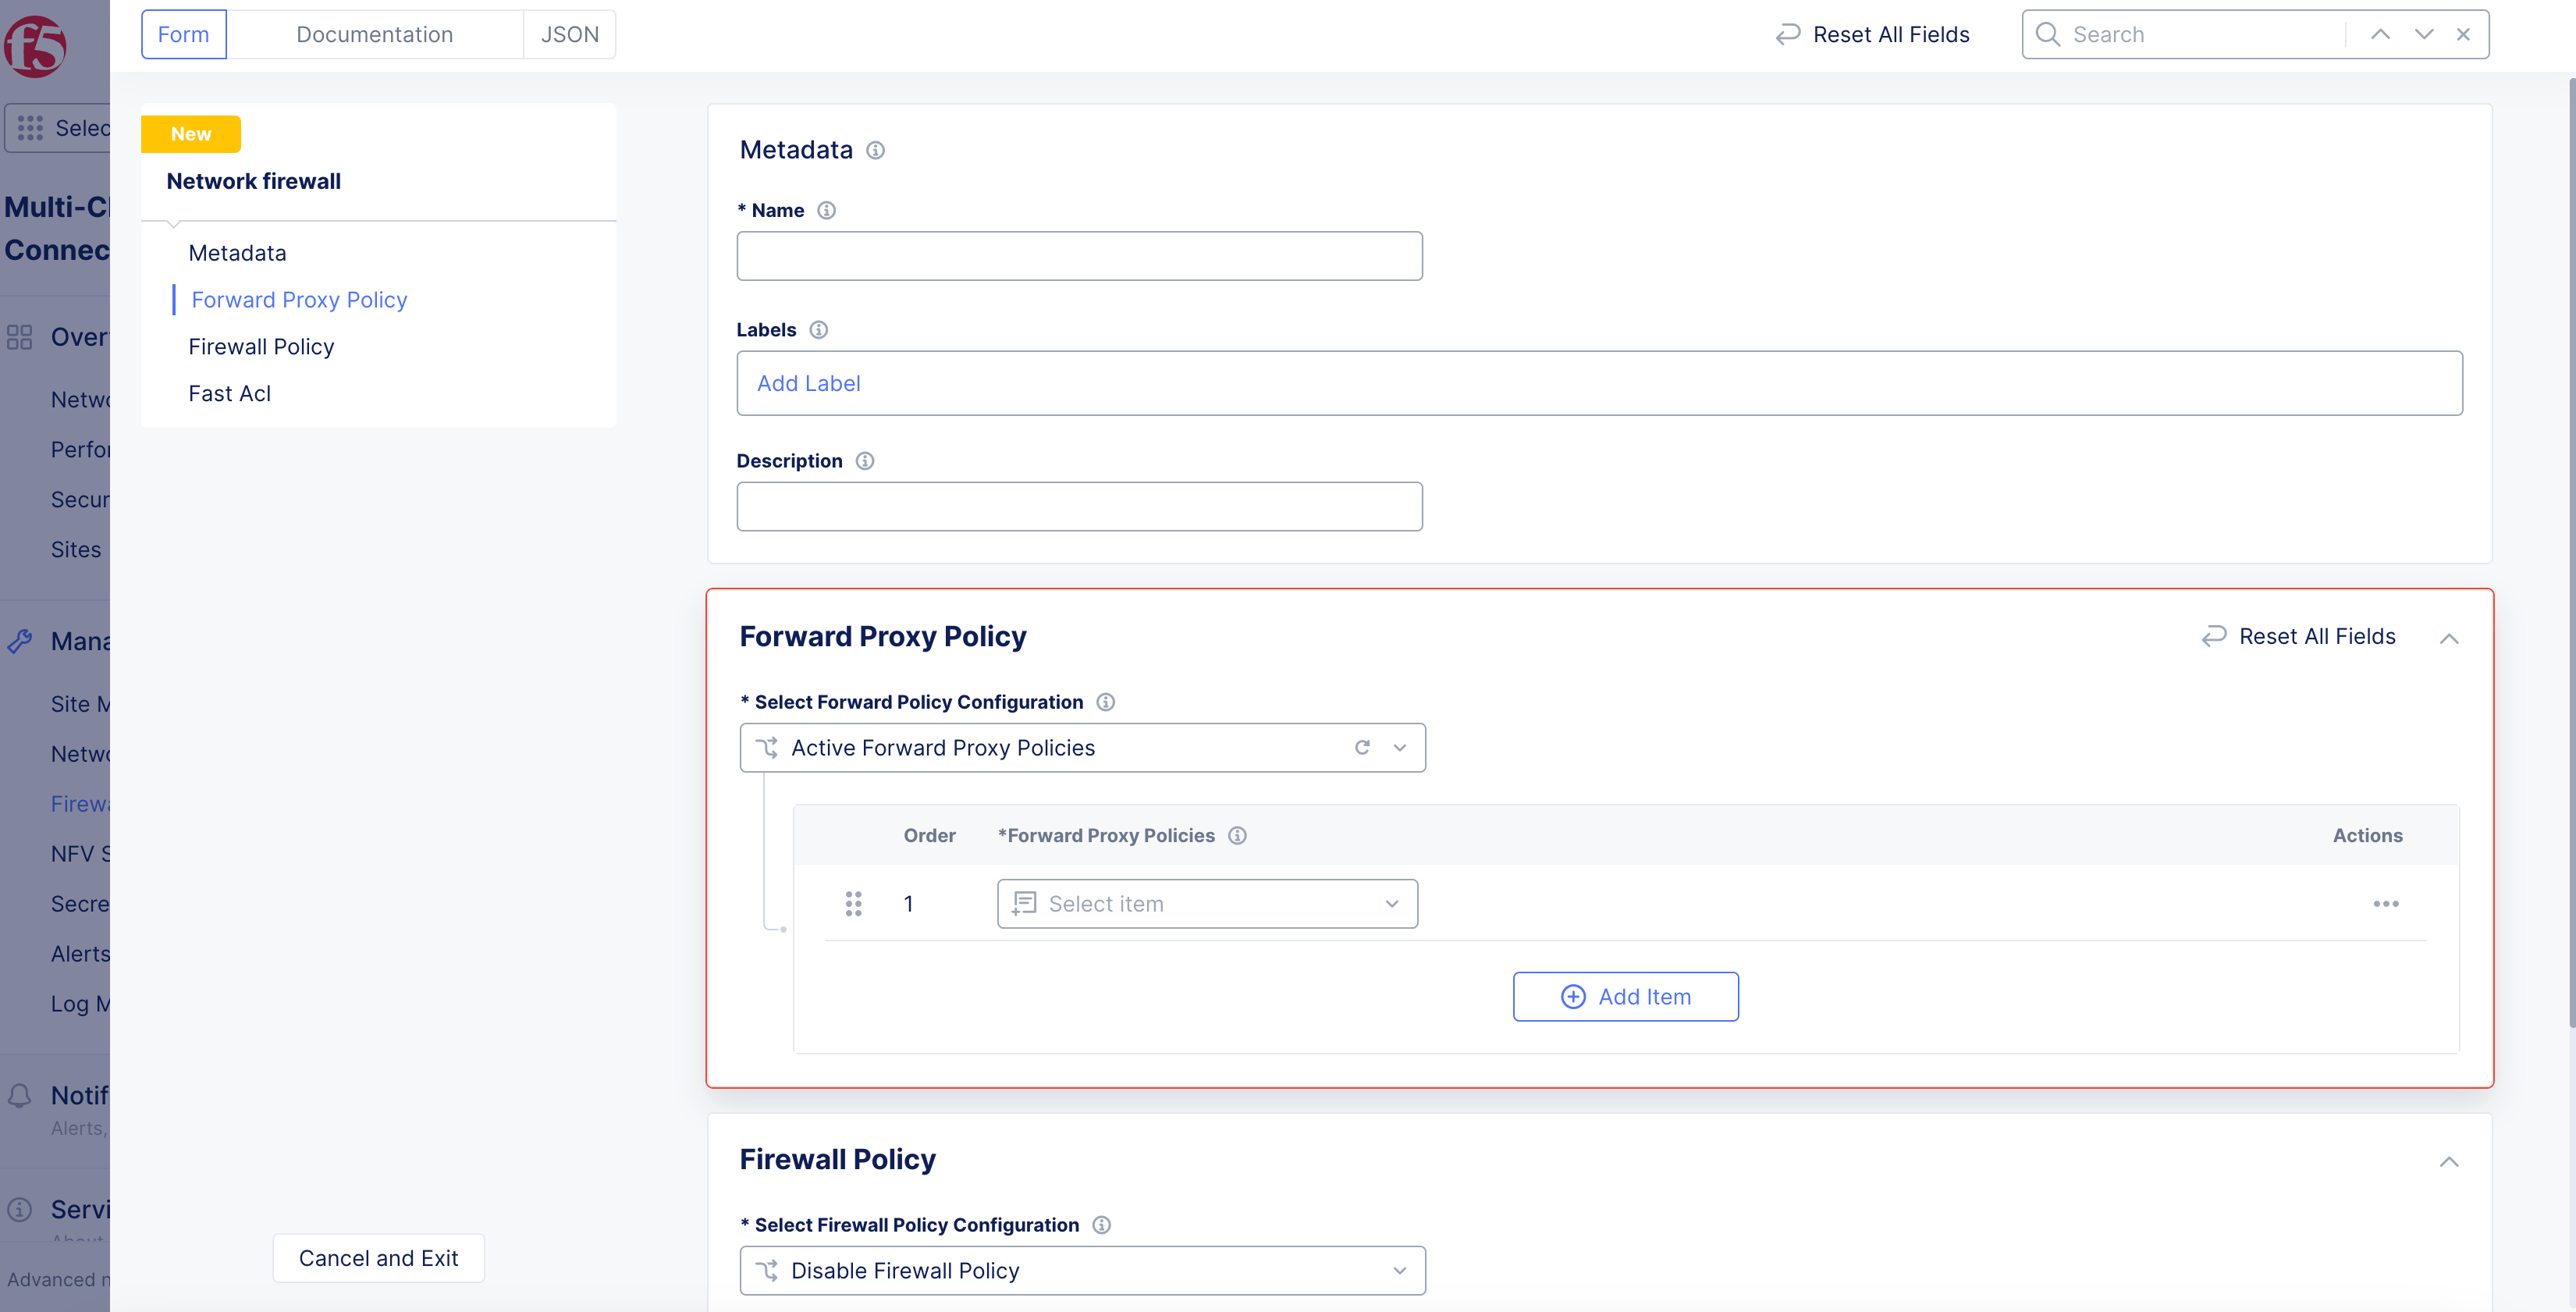
Figure: Forward Policy Configuration
Step 2.1: Configure new forward proxy policy.
For more information, see the Network Firewall guide.
-
From the
Forward Proxy Policiesmenu, clickAdd Item. -
Enter
Name, and addLabelsandDescriptionas needed. -
From the
Select Forward Proxymenu, select an option:-
All Forward Proxies on Site: All the proxies configured. -
Network Connector: Specific Network Connector. -
Network Connector Label Selector: Label that selects network connector.
-

Figure: Proxies on Site Selection
-
From the
Select Policy Rulesmenu, select an option:-
Allow all connections: Allows all traffic. -
Allowed connections: SelectAdd ItemunderTLS DomainsorHTTP URLs(or both), input information, and then selectApplyfor connections to allow while everything else is denied. Select option fromDefault Actiondrop-down menu. -
Denied connections: SelectAdd ItemunderTLS Domains,HTTP URLs, orL4 Destination Listor all, input information, and then selectApplyfor connections to deny. Everything else will be allowed. Select option fromDefault Actiondrop-down menu. -
Custom Rule List: SelectConfigure, input information, and then selectApplyto add a list of custom rules.
-
-
Select
Continueto add a new forward proxy policy. -
To add more forward proxy policies, select
Add Item.
Step 3: Enable firewall policy.
-
In the
Firewall Policysection, perform the following:-
From the
Select Firewall Policy Configurationmenu, select an option to activate or disable network policies for your network firewall. You can activate a firewall policy or enable an enhanced firewall policy. For more information, see the Firewall Policies guide. -
From the
Firewall Policymenu, select the firewall policy previously created.
-
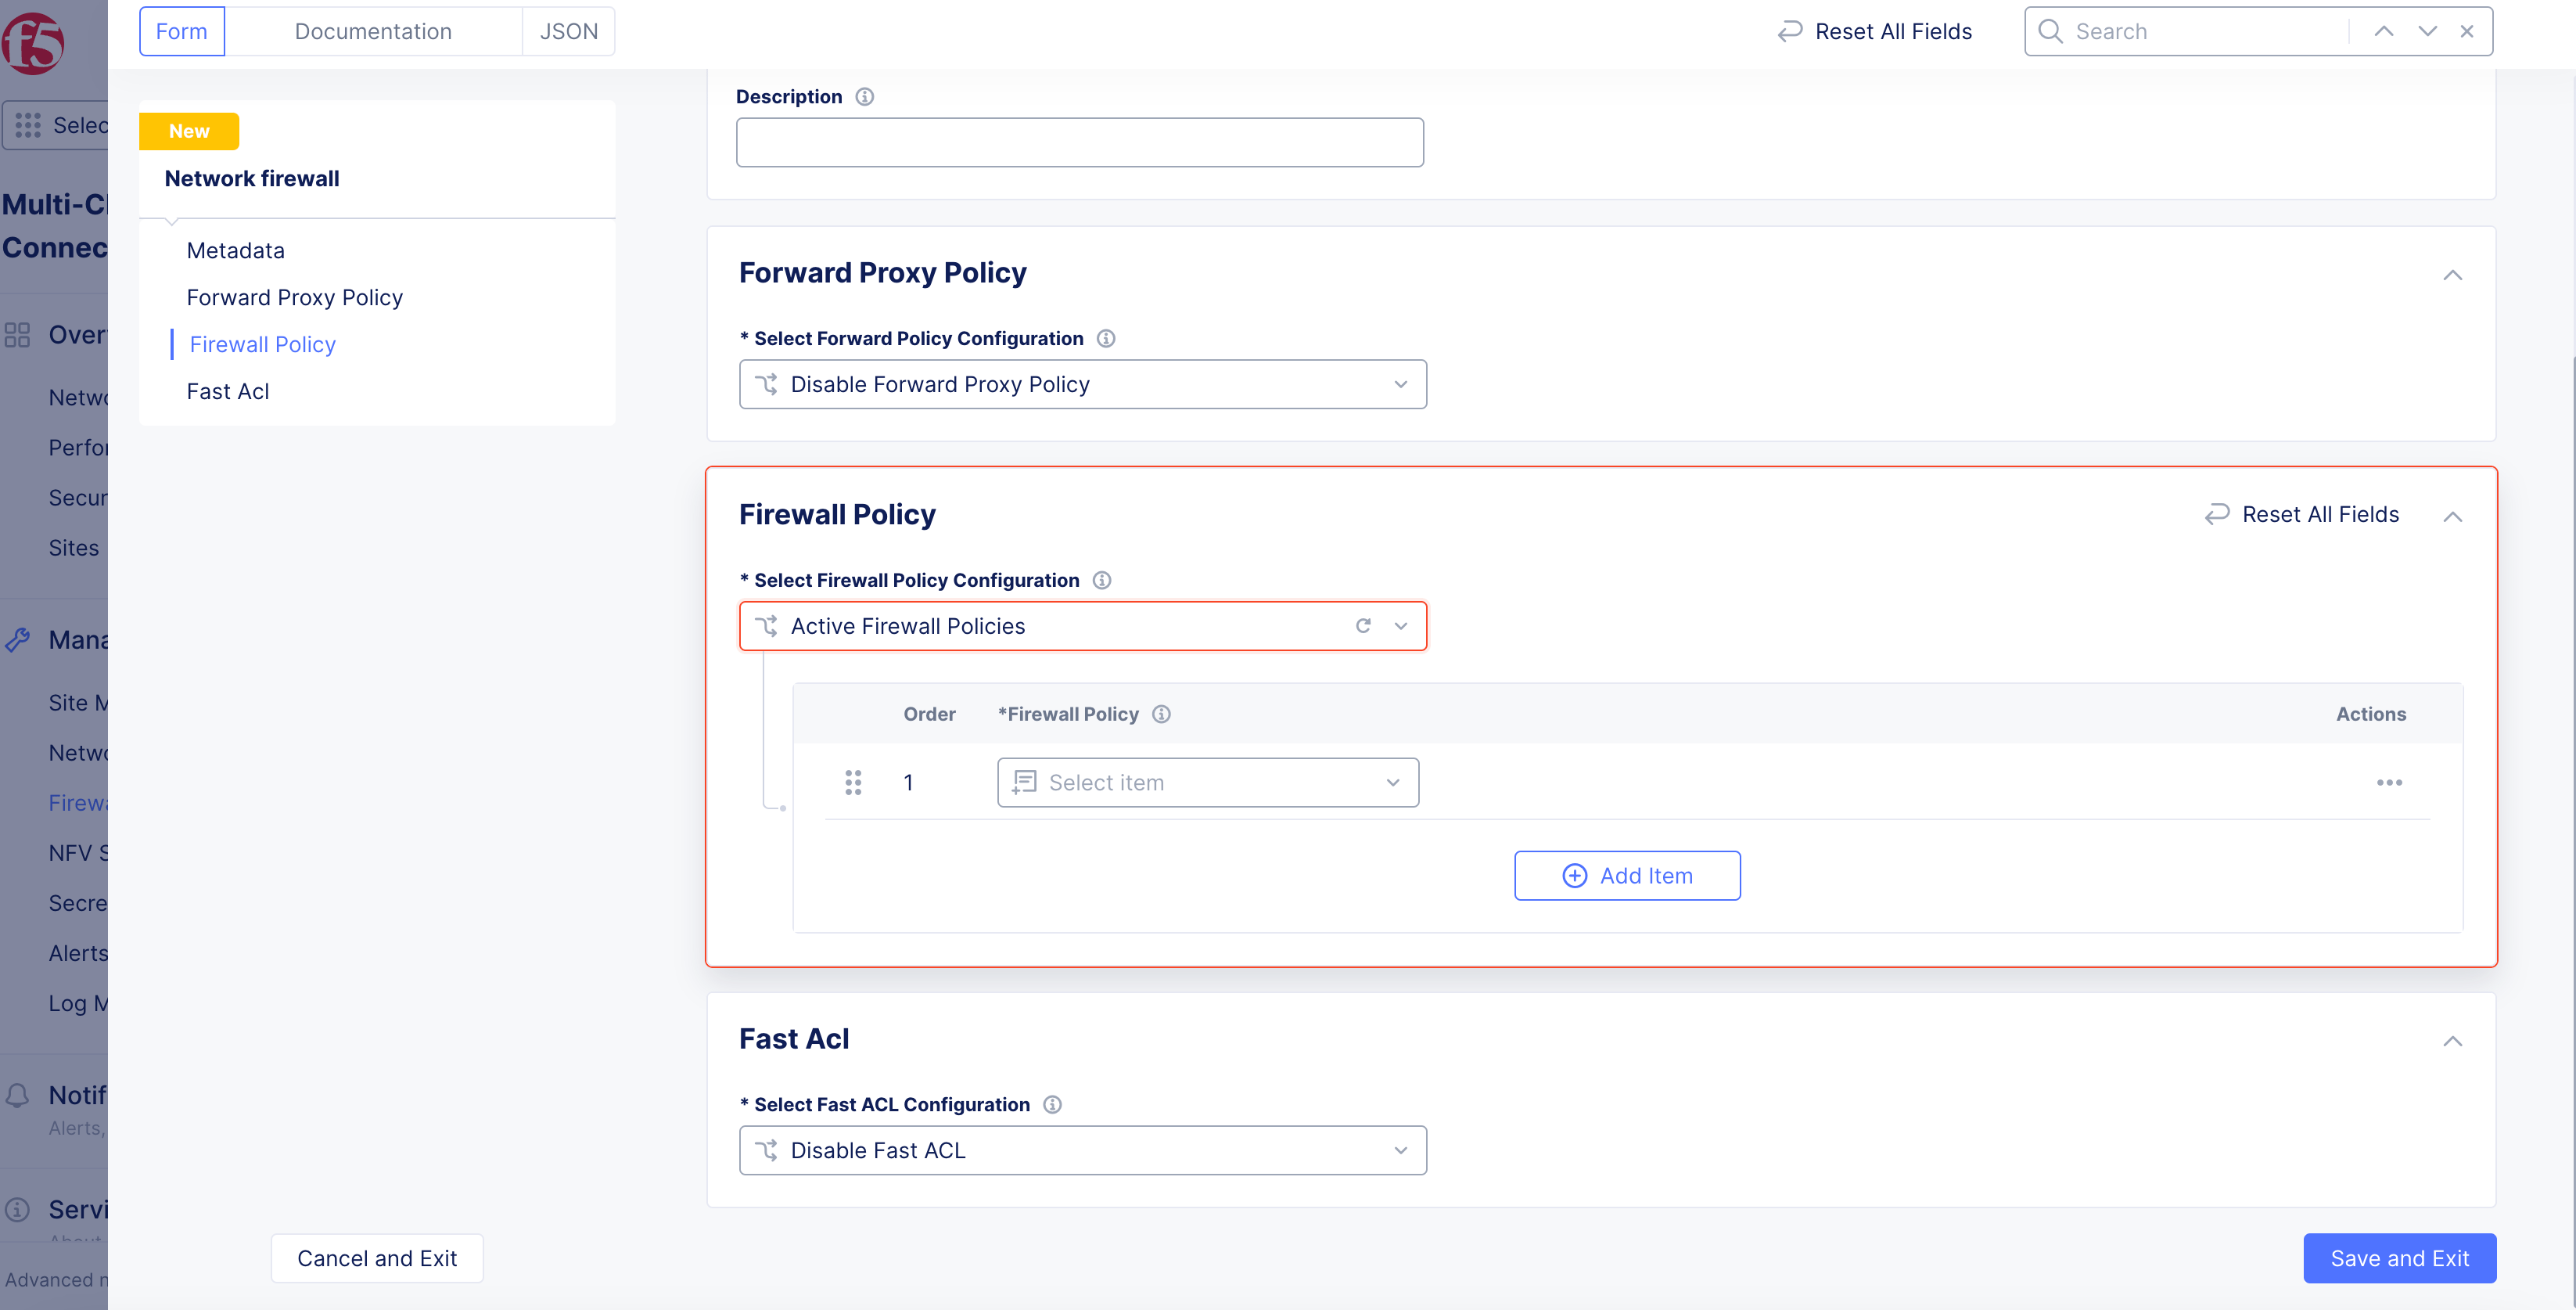
Figure: Firewall Policy Configuration
-
To create a new firewall policy:
-
From the
Firewall Policymenu, selectAdd Item. -
Enter
Name, and addLabelsandDescriptionas needed. -
From the
Endpoint(s)menu, select an option:-
IPv4i/IPv6 Prefix List: ClickAdd Itemto add the prefix in the box that appears below. -
Any Endpoint -
Endpoints Reachable via all Outside Interfaces -
Endpoints Reachable via all Inside Interfaces -
Label Selector: ClickAdd Labelto define a label that identifies an endpoint.
-
-

Figure: Endpoint Selection
Step 4: Configure ingress and egress rules.
Configure ingress and egress rules for a network firewall.
Step 4.1: Configure ingress rules.
-
Select
ConfigureinConnections To Policy Endpointssection. -
Select
Add Item. -
Enter
Name. -
From the
Actionmenu, choose to deny or allow for a rule match. -
Toggle
Show Advanced Fieldsto showLogging Actiondrop-down menu to select a logging option. -
From the
Select Other Endpointdrop-down menu, select an option for the ingress source endpoint. -
From the
Select Type of Traffic to Matchdrop-down menu, select the type of traffic to match. Default option matches all types of traffic. If you match for application traffic, select theApplication Protocolsto use. If you match for protocol and port ranges, select theProtocolsto use. -
Optionally, choose to match using label keys with
Add IteminKeysbox. To add additional keys, selectAdd Item. -
Select
Applyto add the configuration rules. -
Select
Applyto add the ingress rules.
Step 4.2: Configure egress rules.
-
Select
ConfigureinConnections From Policy Endpointssection. -
Select
Add Item. -
Enter
Name. -
From the
Actionmenu, choose to deny or allow for a rule match. -
Toggle
Show Advanced Fieldsto showLogging Actiondrop-down menu to select a logging option. -
From the
Select Other Endpointdrop-down menu, select an option for the egress source endpoint. -
From the
Select Type of Traffic to Matchdrop-down menu, select the type of traffic to match. Default option matches all types of traffic. If you match for application traffic, select theApplication Protocolsto use. If you match for protocol and port ranges, select theProtocolsto use. -
Optionally, choose to match using label keys with
Add IteminKeysbox. To add additional keys, selectAdd Item. -
Select
Applyto add the configuration rules. -
Select
Applyto add the egress rules. -
Select
Continue.
Step 5: Configure Fast ACL.
-
From the
Select Fast ACL Configurationdrop-down menu, select an option from the following:-
Disable Fast ACL: Fast ACL is disabled for this network firewall. -
Active Fast ACL(s): Fast ACL is active for this network firewall. SelectFast ACLdrop-down menu to select corresponding Fast ACL. For more information, see Fast ACLs.
-
-
Select
Save and Exitto complete configuration.
Apply Network Firewall to Fleet
After your network firewall is configured, you will need to apply it to your fleet so that the sites on that fleet are configured with the network firewall defined.
Step 1: Edit fleet configuration.
-
In the
Multi-Cloud Network Connectservice, clickManage>Site Management>Fleets. -
Find your Fleet and select
...>Manage Configurationto open pop-up window to edit. -
Select
Edit Configurationin upper-right corner of the pop-up window.
Step 2: Select network firewall object.
In the Network Firewall section, from the Network Firewall menu, select the firewall previously created.
Step 3: Complete configuration.
Select Save and Exit.