Create Firewall Policy
Objective
This guide provides instructions on how to create a firewall policy and enhanced firewall policy using the guided wizards in F5® Distributed Cloud Console. The firewall policies are applied to traffic ingressing, egressing, or originated on the F5 Gateway.
An enhanced firewall policy provides advanced features when compared to a standard firewall policy. For example, an enhanced firewall policy enables you to create network level policies based on VPC tags, VPC IDs, IP, and IP prefix set object. The label selector option can also be used for selecting traffic coming from VPC-level tags, a global network, or interfaces. You can also configure the enhanced firewall policy to allow, deny, or forward traffic to an NFV service (like BIG-IP virtual edition, Palo Alto Networks Firewall, etc.).
To learn more about a network policy, see Network Policies.
Using the instructions provided in this document, you can create network policies with policy rules that control the traffic to secure your network.
Prerequisites
-
A valid Account is required. If you do not have an account, see Getting Started with Console.
-
One or more cloud or edge locations with F5 sites. For more information, see Site Management guides.
-
A network firewall. For more information, see Network Firewall guide.
Create Firewall Policy
Step 1: Navigate to firewall policies creation form.
- Open
F5® Distributed Cloud Consolehomepage, selectMulti-Cloud Network Connectbox.
Note: Homepage is role based, and your homepage may look different due to your role customization. Select
All Servicesdrop-down menu to discover all options. Customize Settings:Administration>Personal Management>My Account>Edit work domain & skills>Advancedbox > checkWork Domainboxes >Save changes.
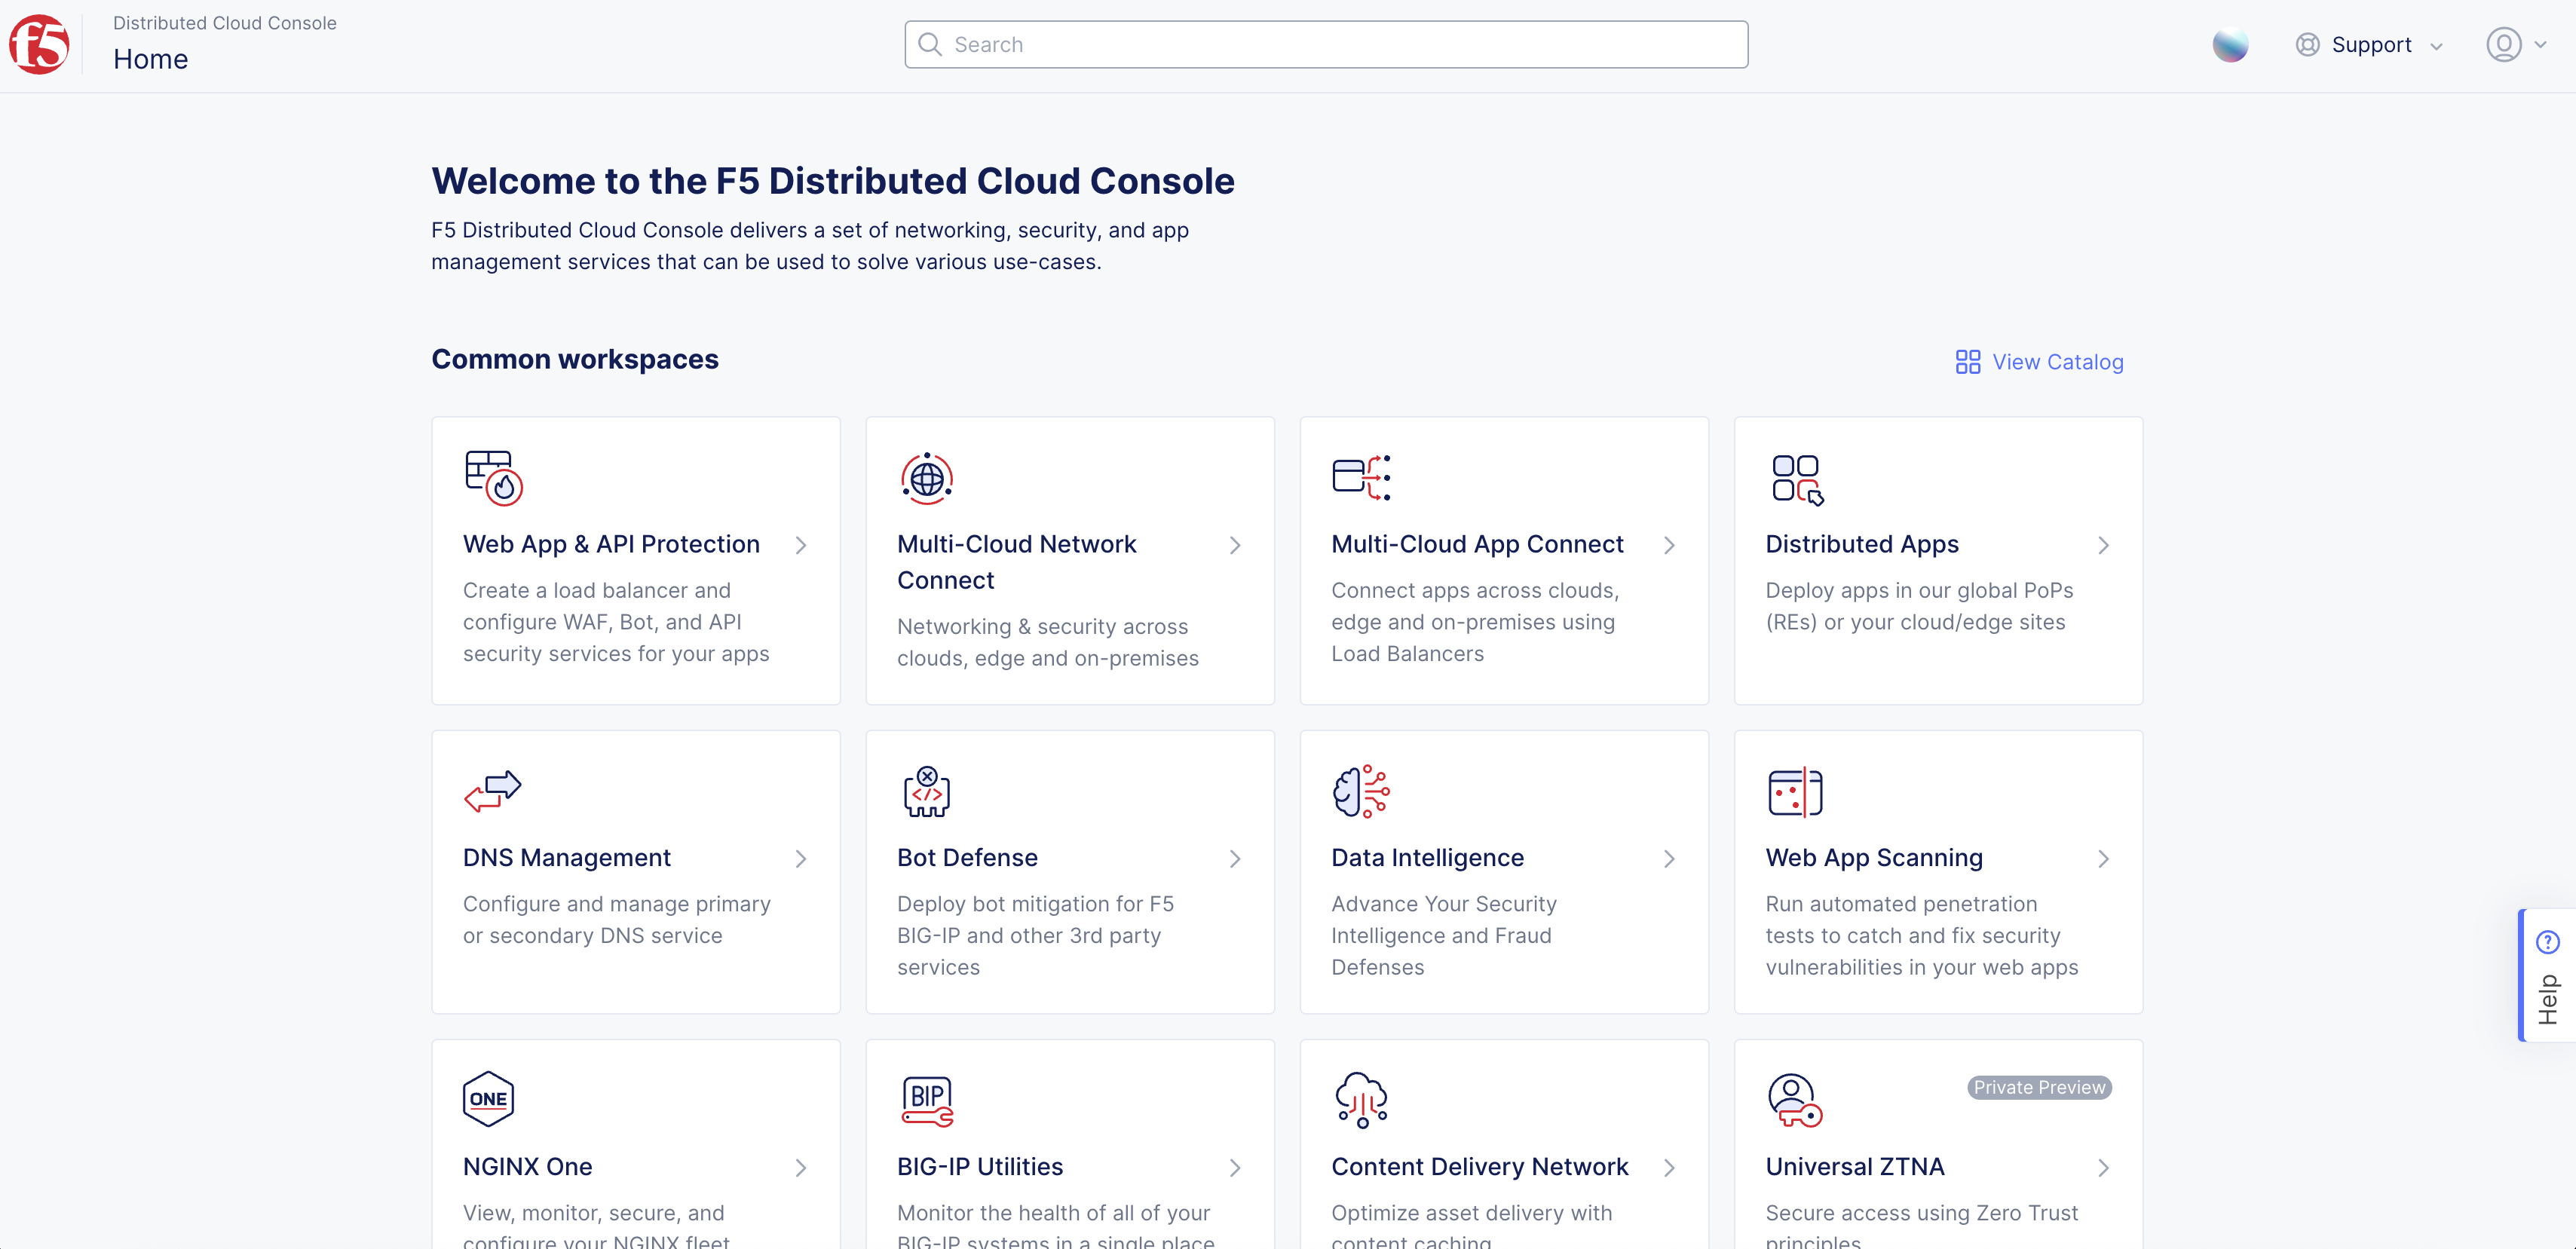
Figure: Homepage
Note: Confirm
Namespacefeature is in correct namespace, drop-down selector located in upper-left corner. Not available in all services.
-
Select
Manage> selectFirewall. -
Select
Firewall Policies.
Note: If options are not showing available, select
Showlink inAdvanced nav options visiblein bottom left corner. If needed, selectHideto minimize options from Advanced nav options mode.
- Select
Add Firewall Policy.
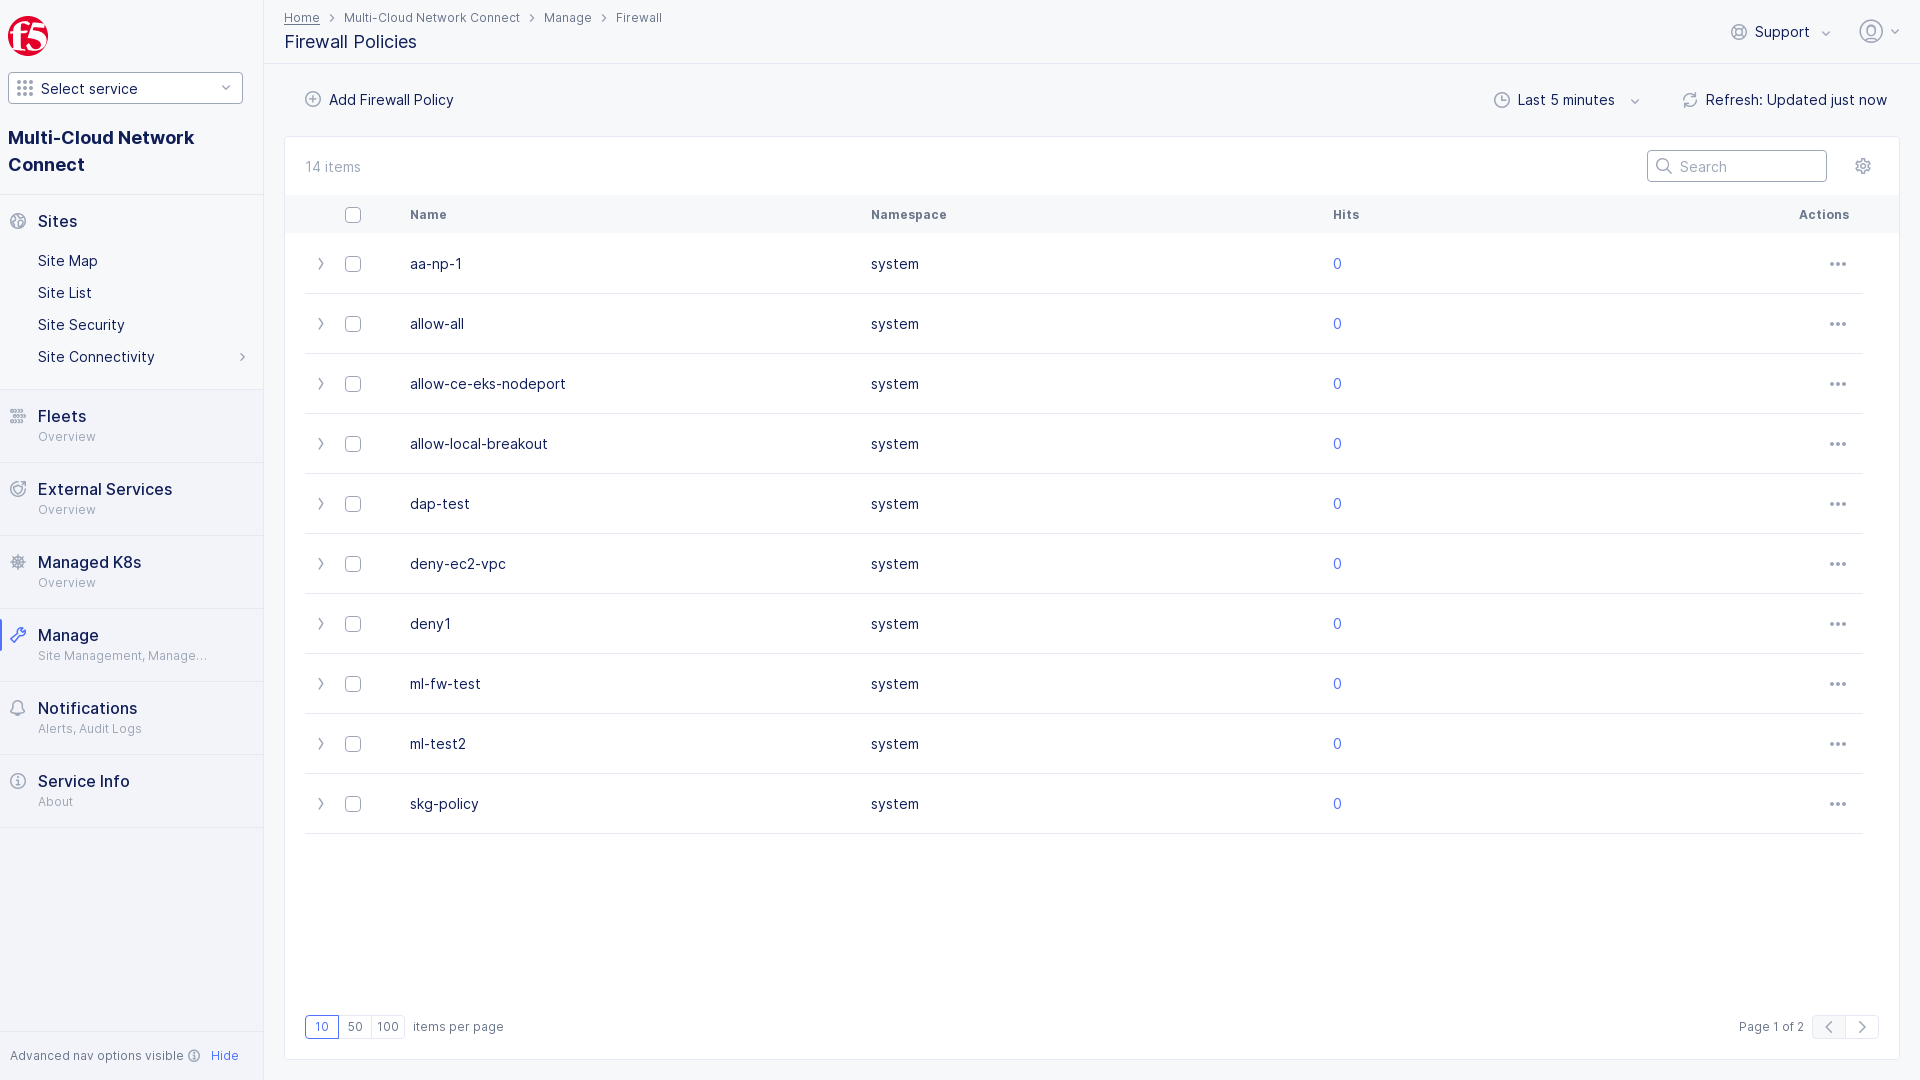
Figure: Open Firewall Policies
- Enter
Name, enterLabelsandDescriptionas needed.
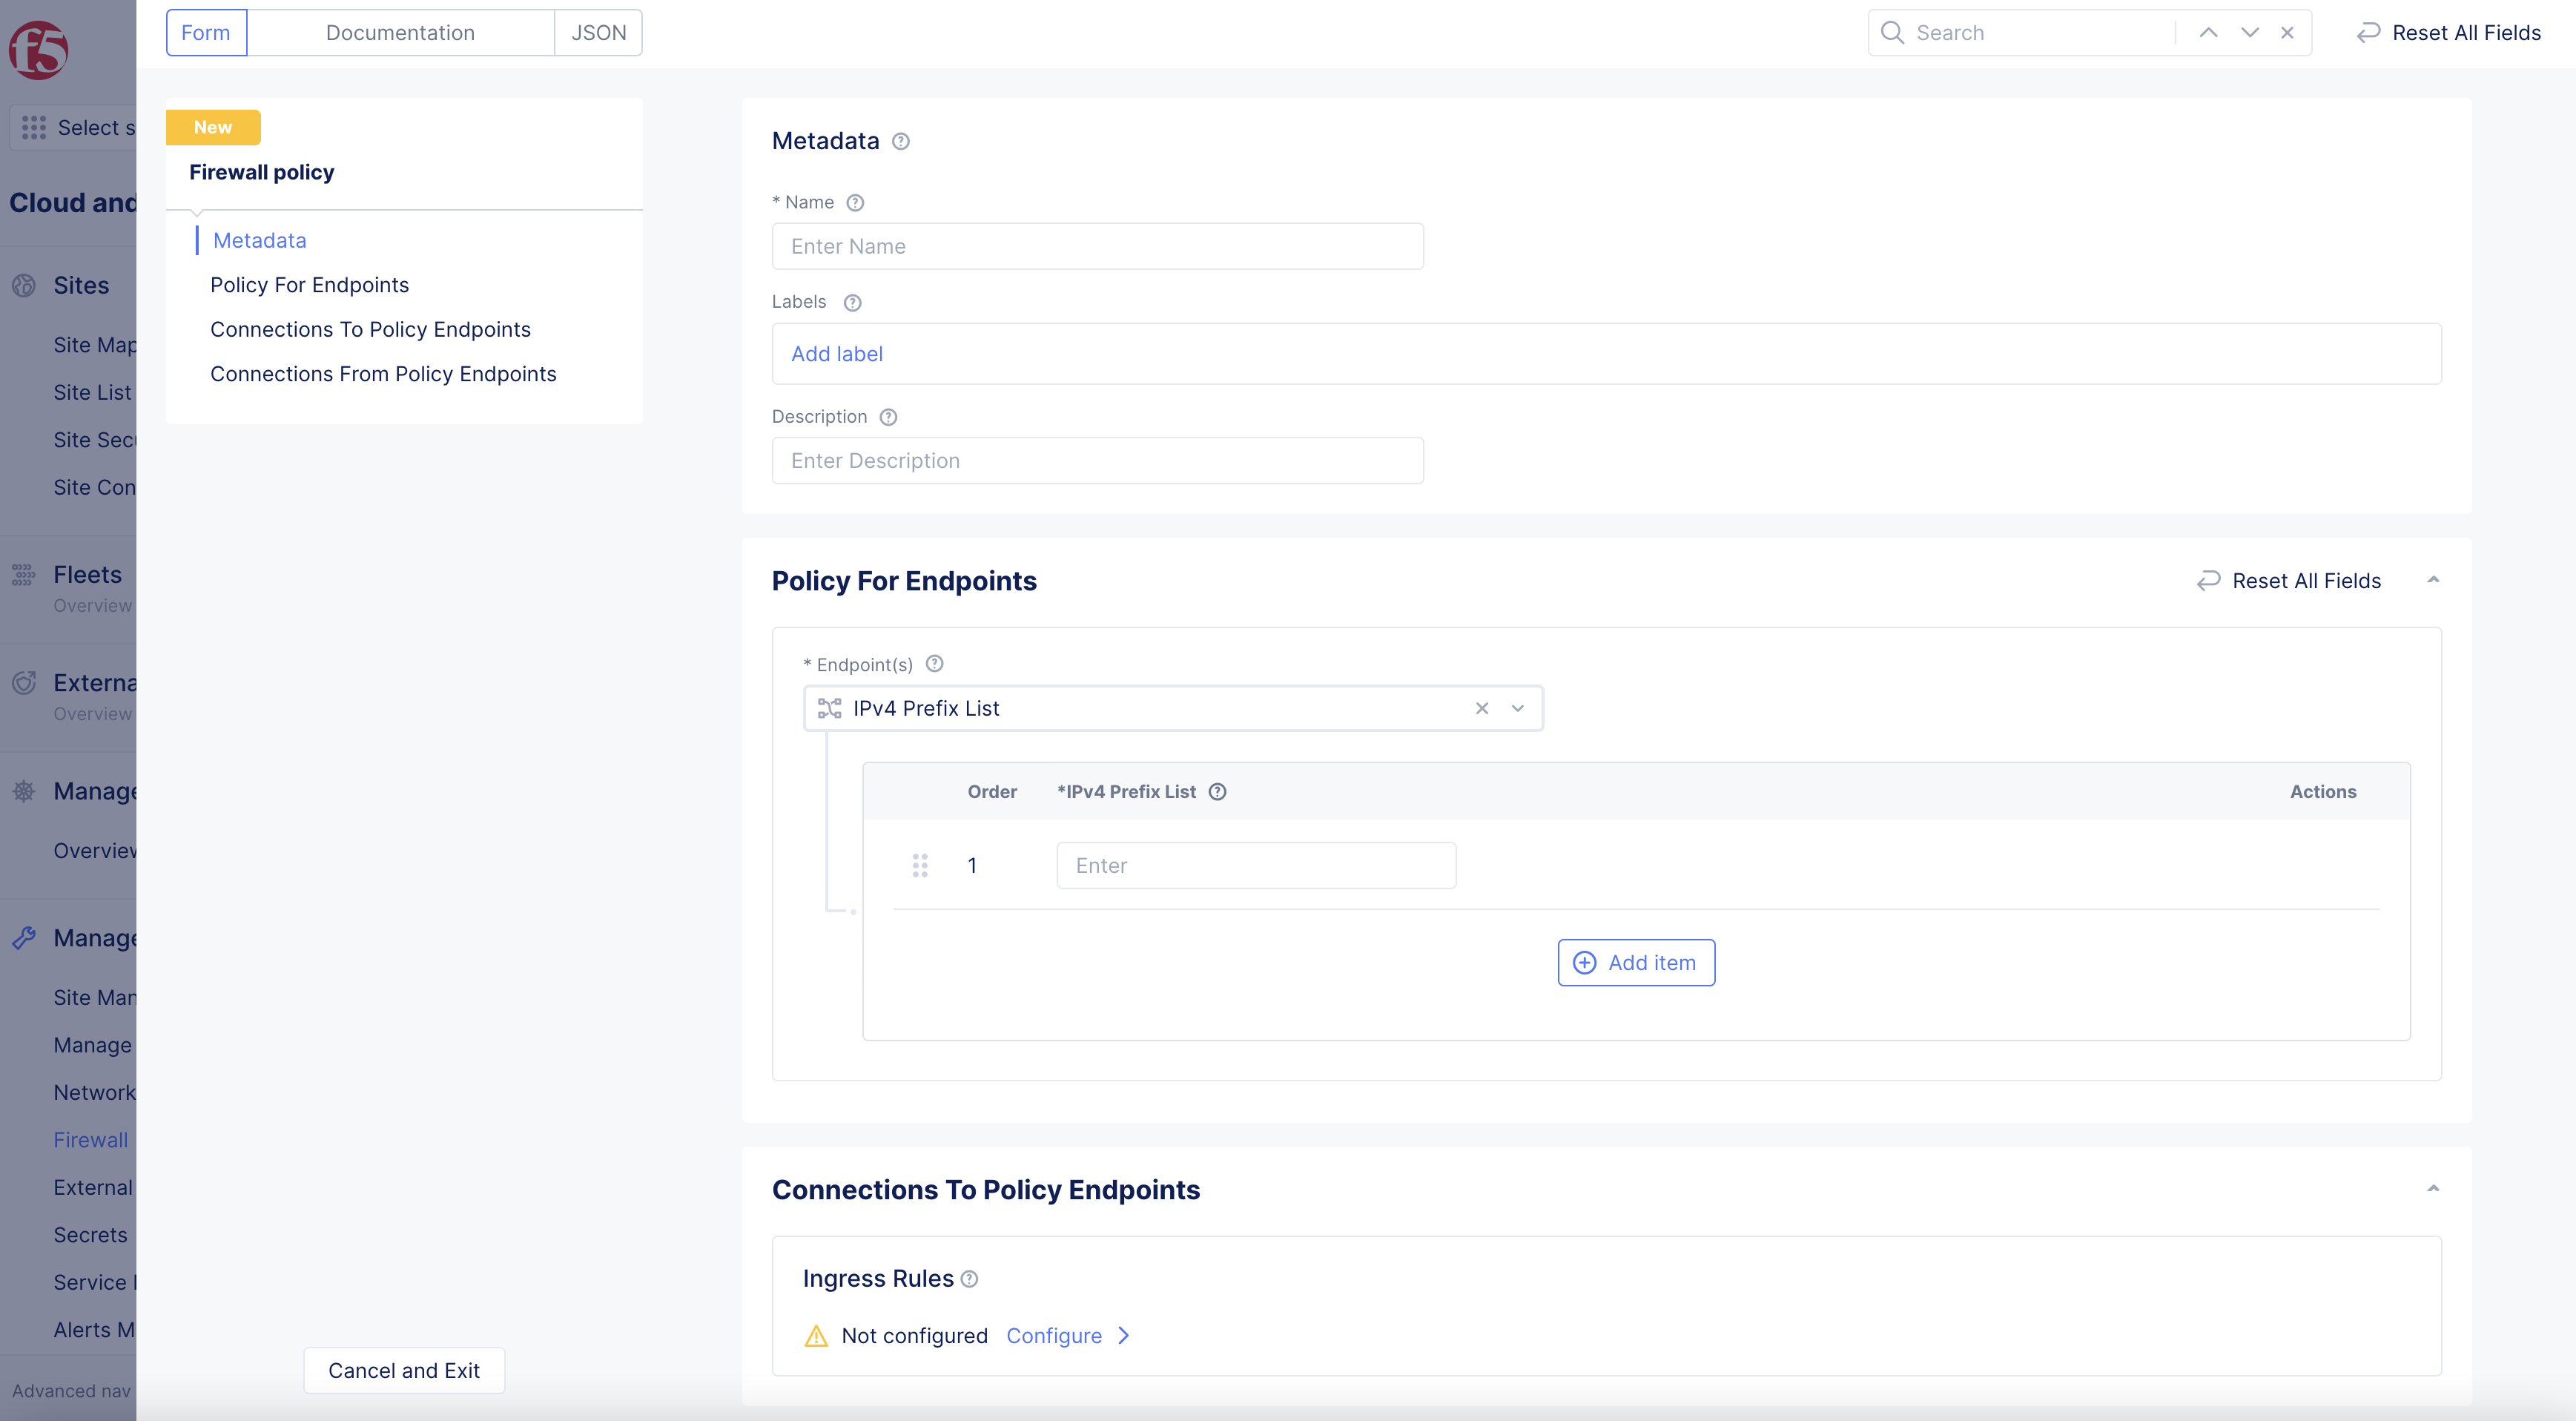
Figure: Configure Firewall Policies
Step 2: Configure endpoint.
-
Select
Endpoint(s)option from drop-down menu inPolicy for Endpointssection.-
IPV4 Prefix List> enterPrefixesin box that appears below. -
Any Endpoint. -
Endpoints reachable via all Outside Interfaces. -
Endpoints reachable via all Inside Interfaces. -
Label Selector>Select Expressionlabel in drop-down menu that appears.
Note: A Label that identifies an Endpoint.
-
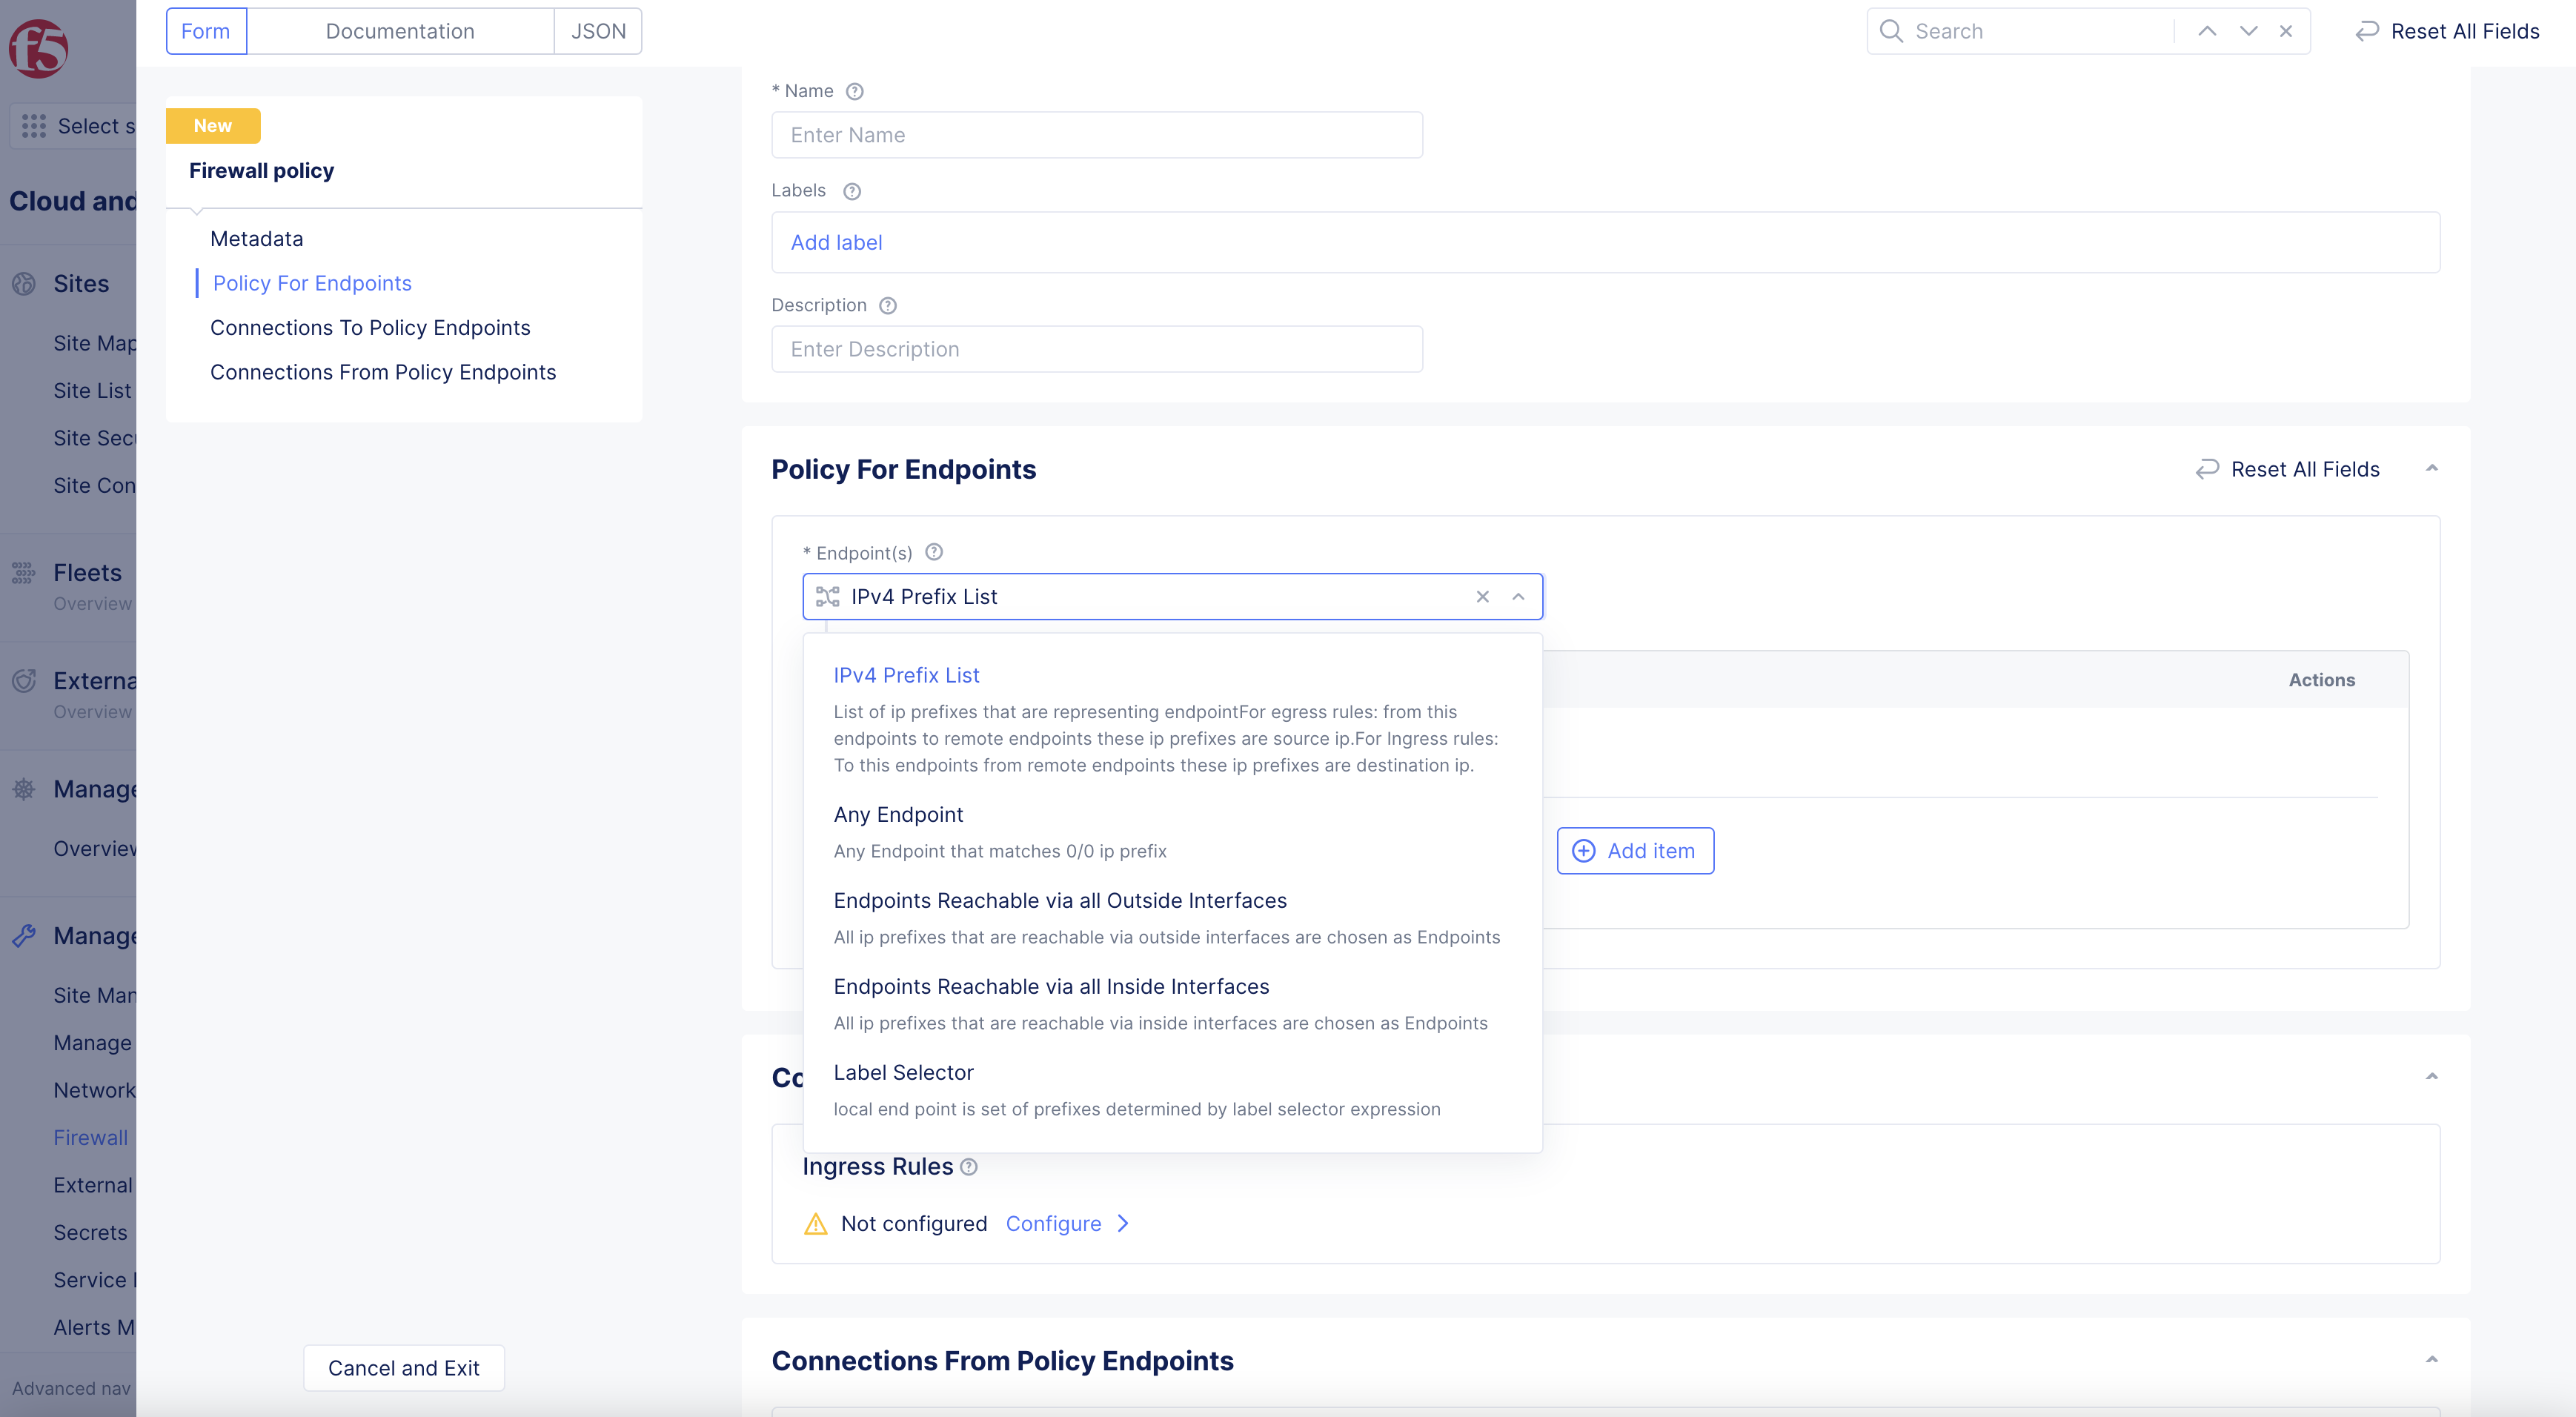
Figure: Endpoint selection - IPv4 Prefix List and the prefix
Step 3: Configure rules.
- Configure
Ingress RulesorEgress Rules(or both) to define the direction in which you want to apply your policies inConnections to Policy Endpointsboxes.
Note: The ingress and egress rules are with respect to the endpoint configured.
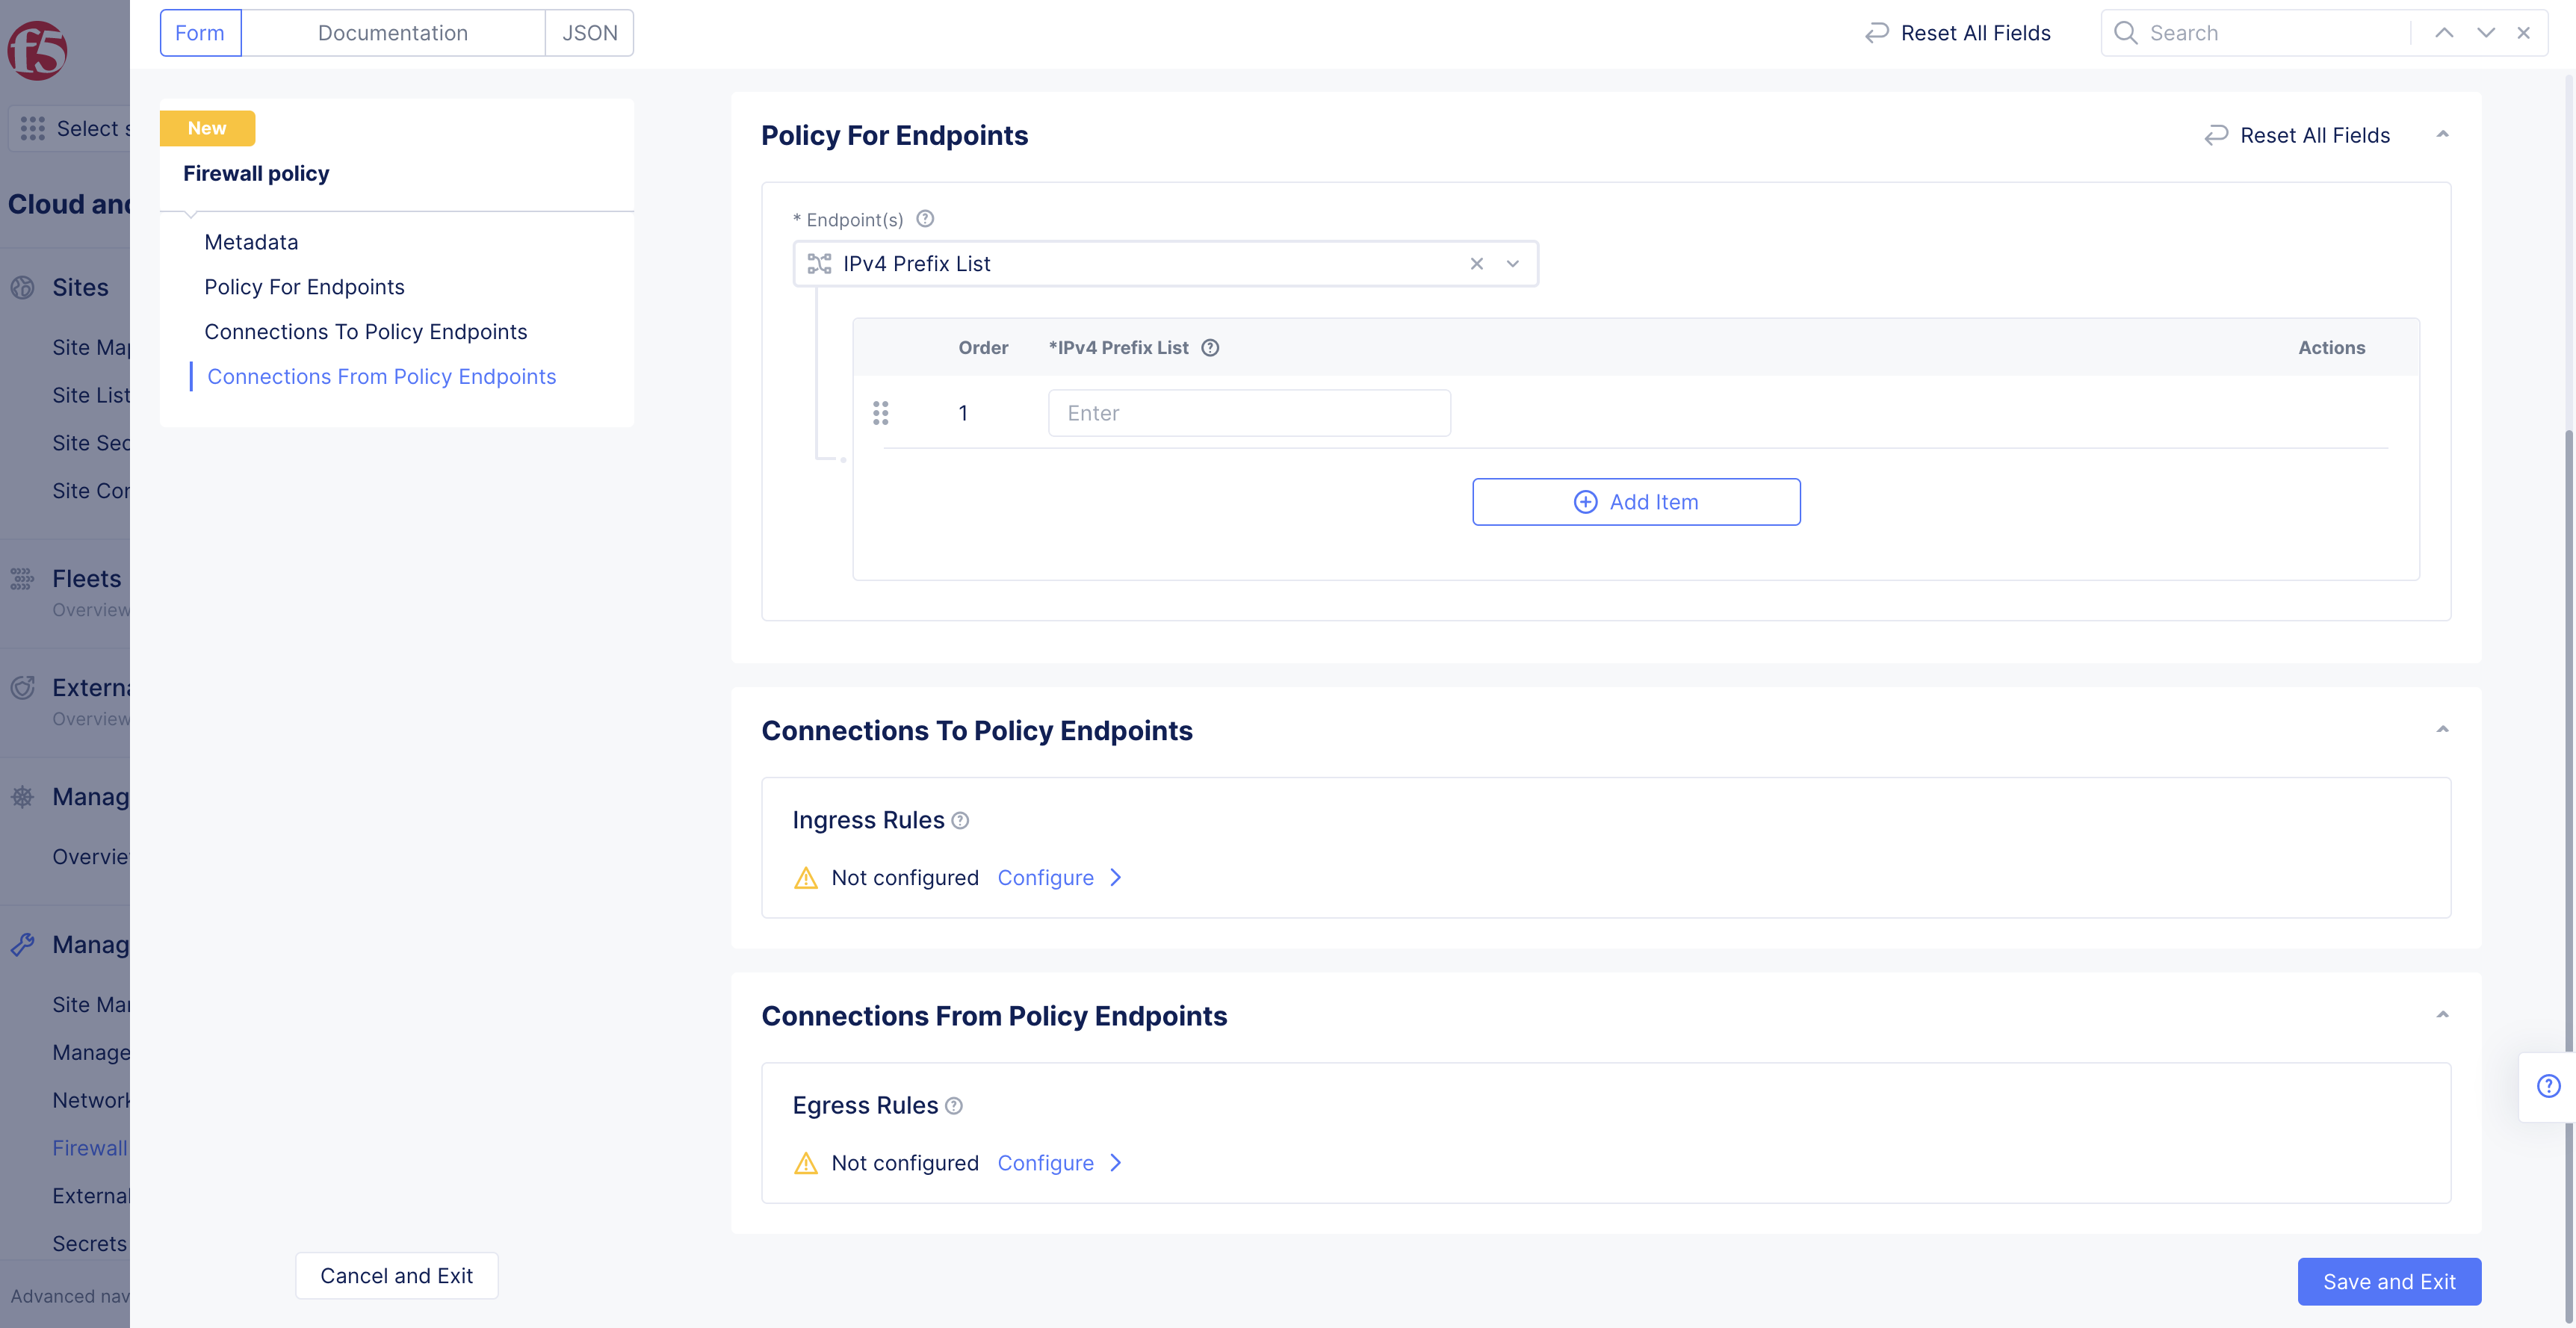
Figure: Ingress and Egress Rules
Ingress Rules:
-
Select
Configurelink inIngresssection. -
Select
Add itemin ingress rule configuration new window.-
Enter
Name, andDescriptionas needed. -
Select
Actionoption in drop-down menu:DenyorAllow. -
Select Other Endpointfrom drop-down menu options, enter endpoint configuration accordingly. All endpoints are set by default. -
Select Type of Traffic to Matchdrop-down menu option. Selectively apply the rule for traffic type such as TCP traffic. All traffic is matched by default. -
Select
KeysinLabel Matcherbox >Add item> selectkeysfrom drop-down menu. -
Toggle
Show Advanced Fieldsto showLogging Actiondrop-down menu option. -
Select
Add Itemto return toIngress Rules. -
Select
Applyto finish configuringIngress Rules.
-
This example shows an ingress rule that denies all ingress traffic.
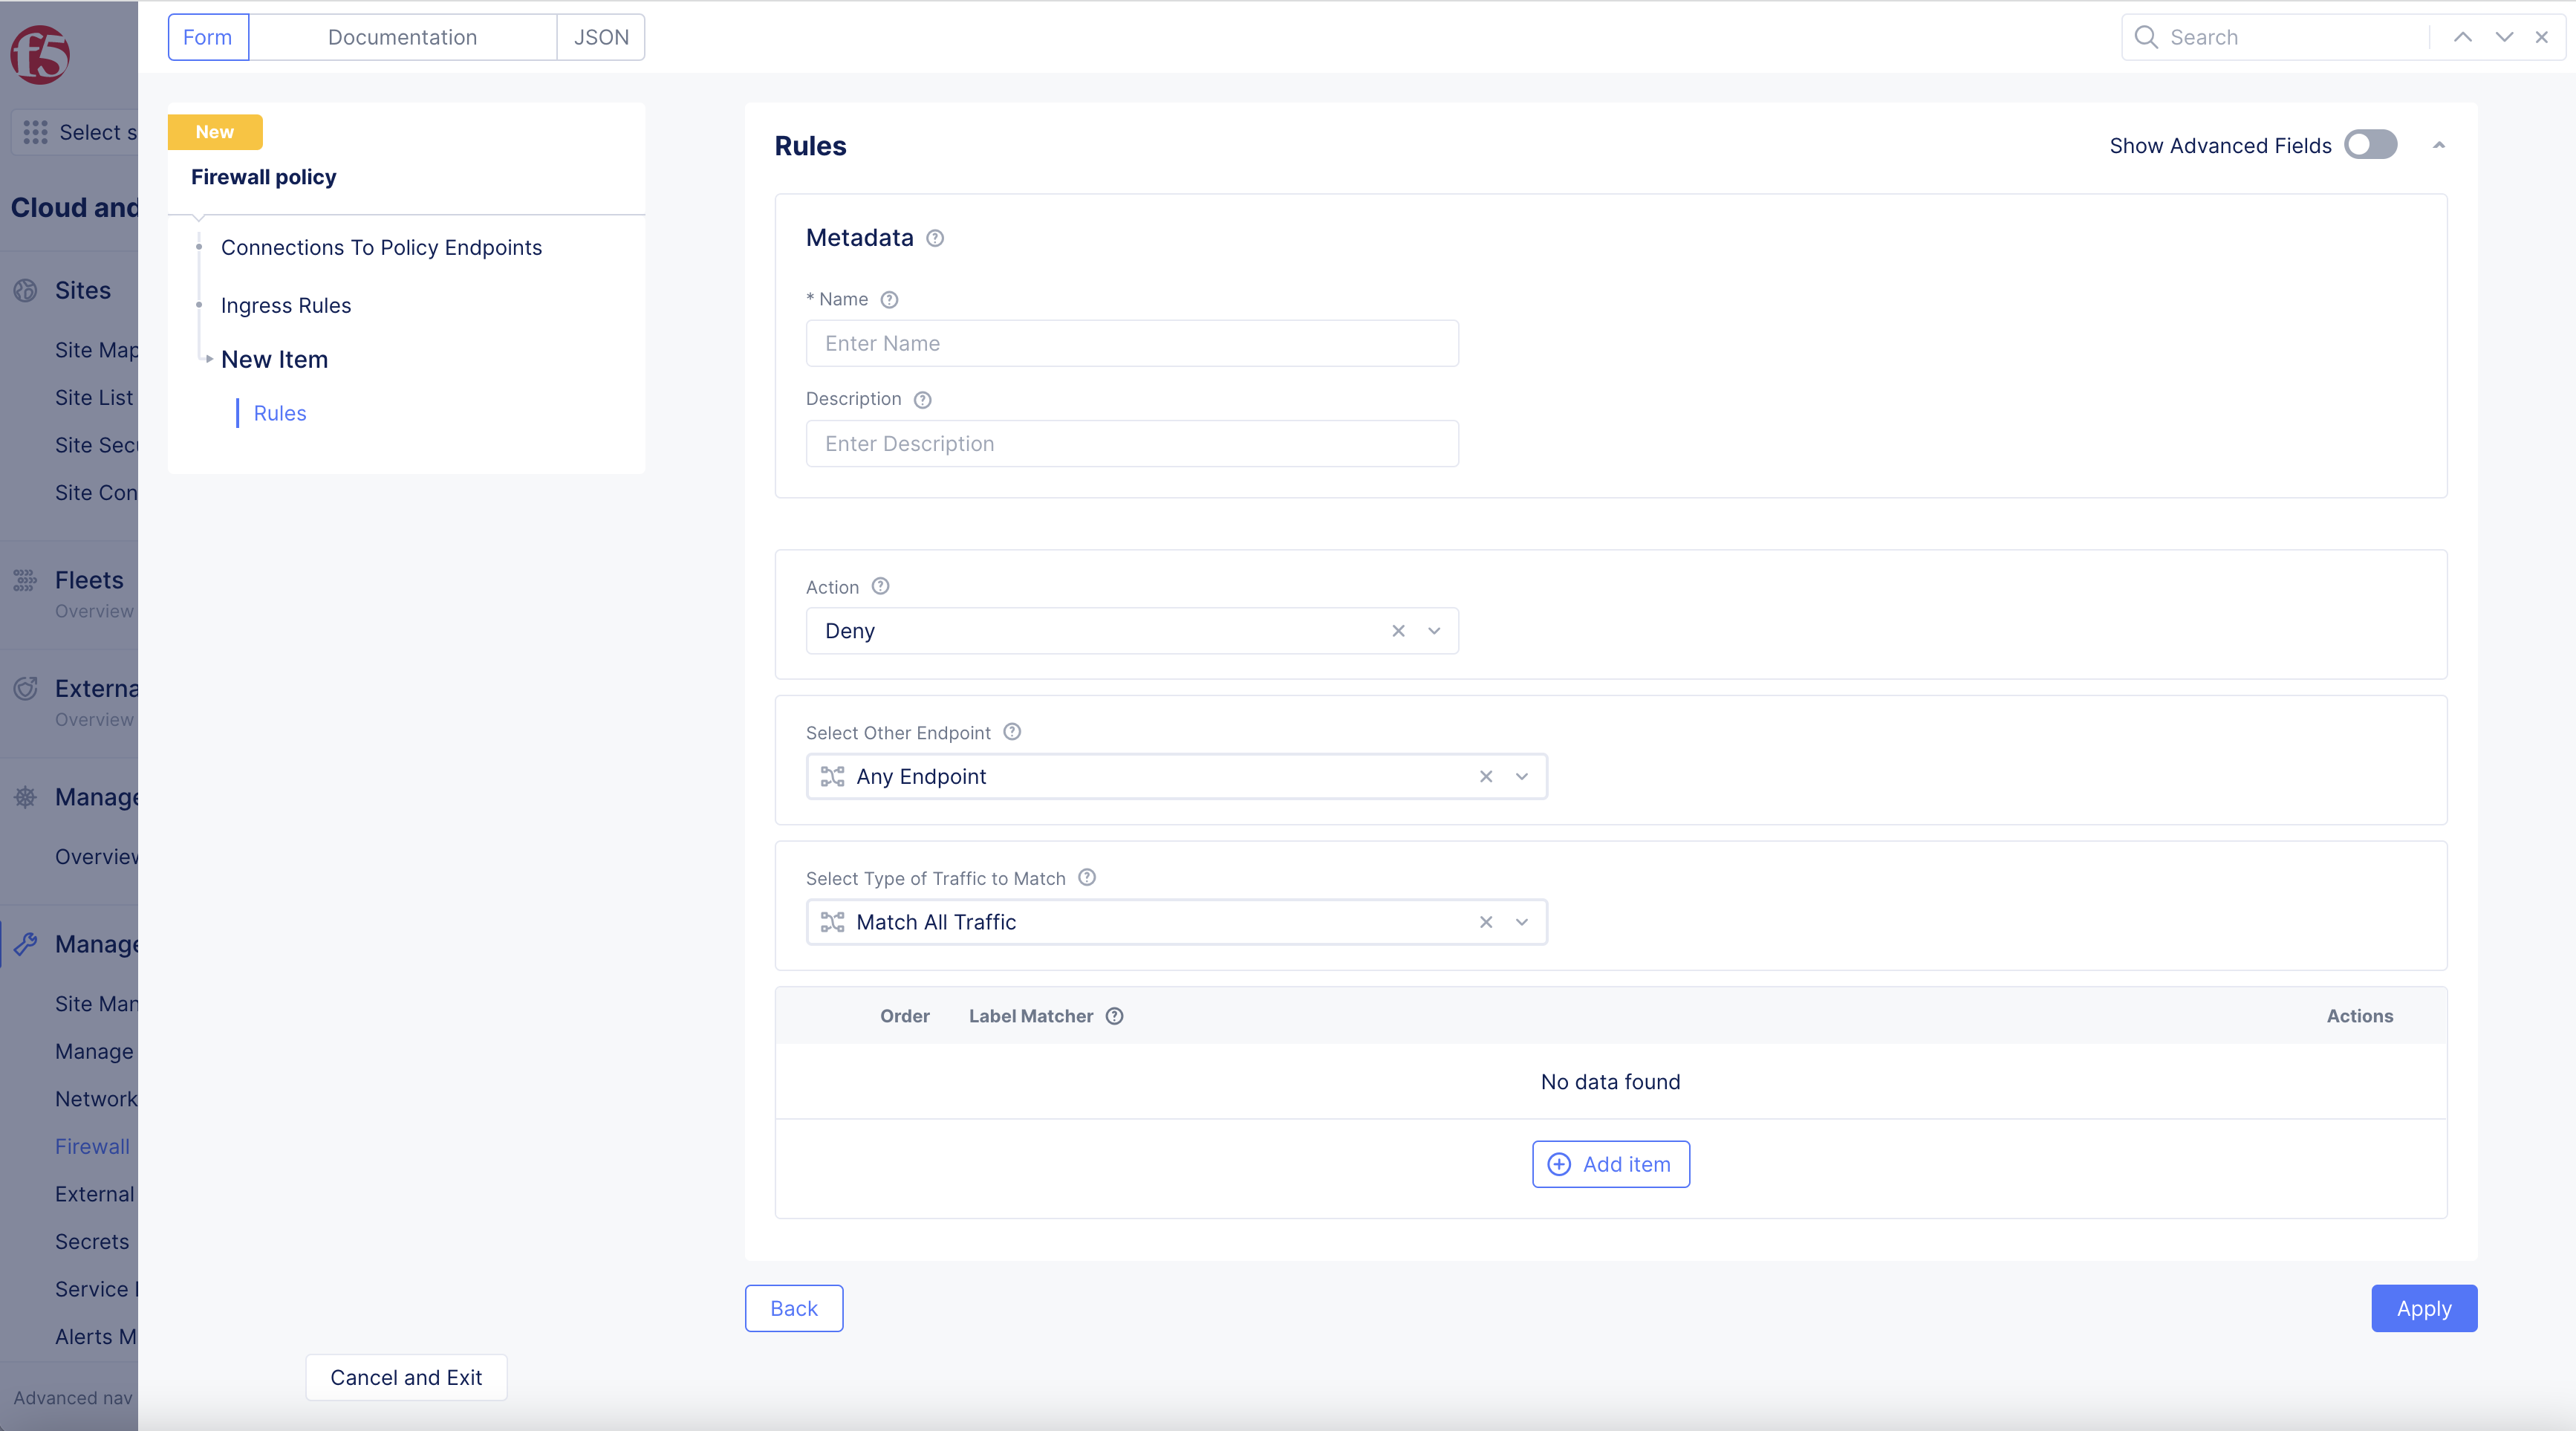
Figure: Ingress Rule Configuration
Egress Rules:
-
Select
Configurelink inEgresssection. -
Select
Add itemin egress rule configuration new window. -
Configure
Egress Rulesfollowing steps fromIngress Rulesabove.
Note: You can add more rules using the
Add itemoption.
Step 4: Add and verify firewall policy creation.
-
Select
Save and Exit. -
Verify policy is displayed in
Manage>Firewall>Firewall Policies.
Note: When you create an active firewall policy, an implicit
DENY ALLrule is inserted at the end. If you are selecting traffic toDENY, and you want everything else to be allowed, ensure to create at the end of your policies one last policy which allowsALLtraffic.
Step 5: Attach policy to network firewall.
After creating the network policy, you can attach it to the network firewall.
-
Select
Manage>Firewall>Network Firewalls. -
Select
...>Manage Configurationon your firewall from the displayed list.
-
Select
Edit Configurationin top-right corner. -
In
Firewall Policysection >Select Firewall Policy Configurationdrop-down menu > selectActive Firewall Policies.
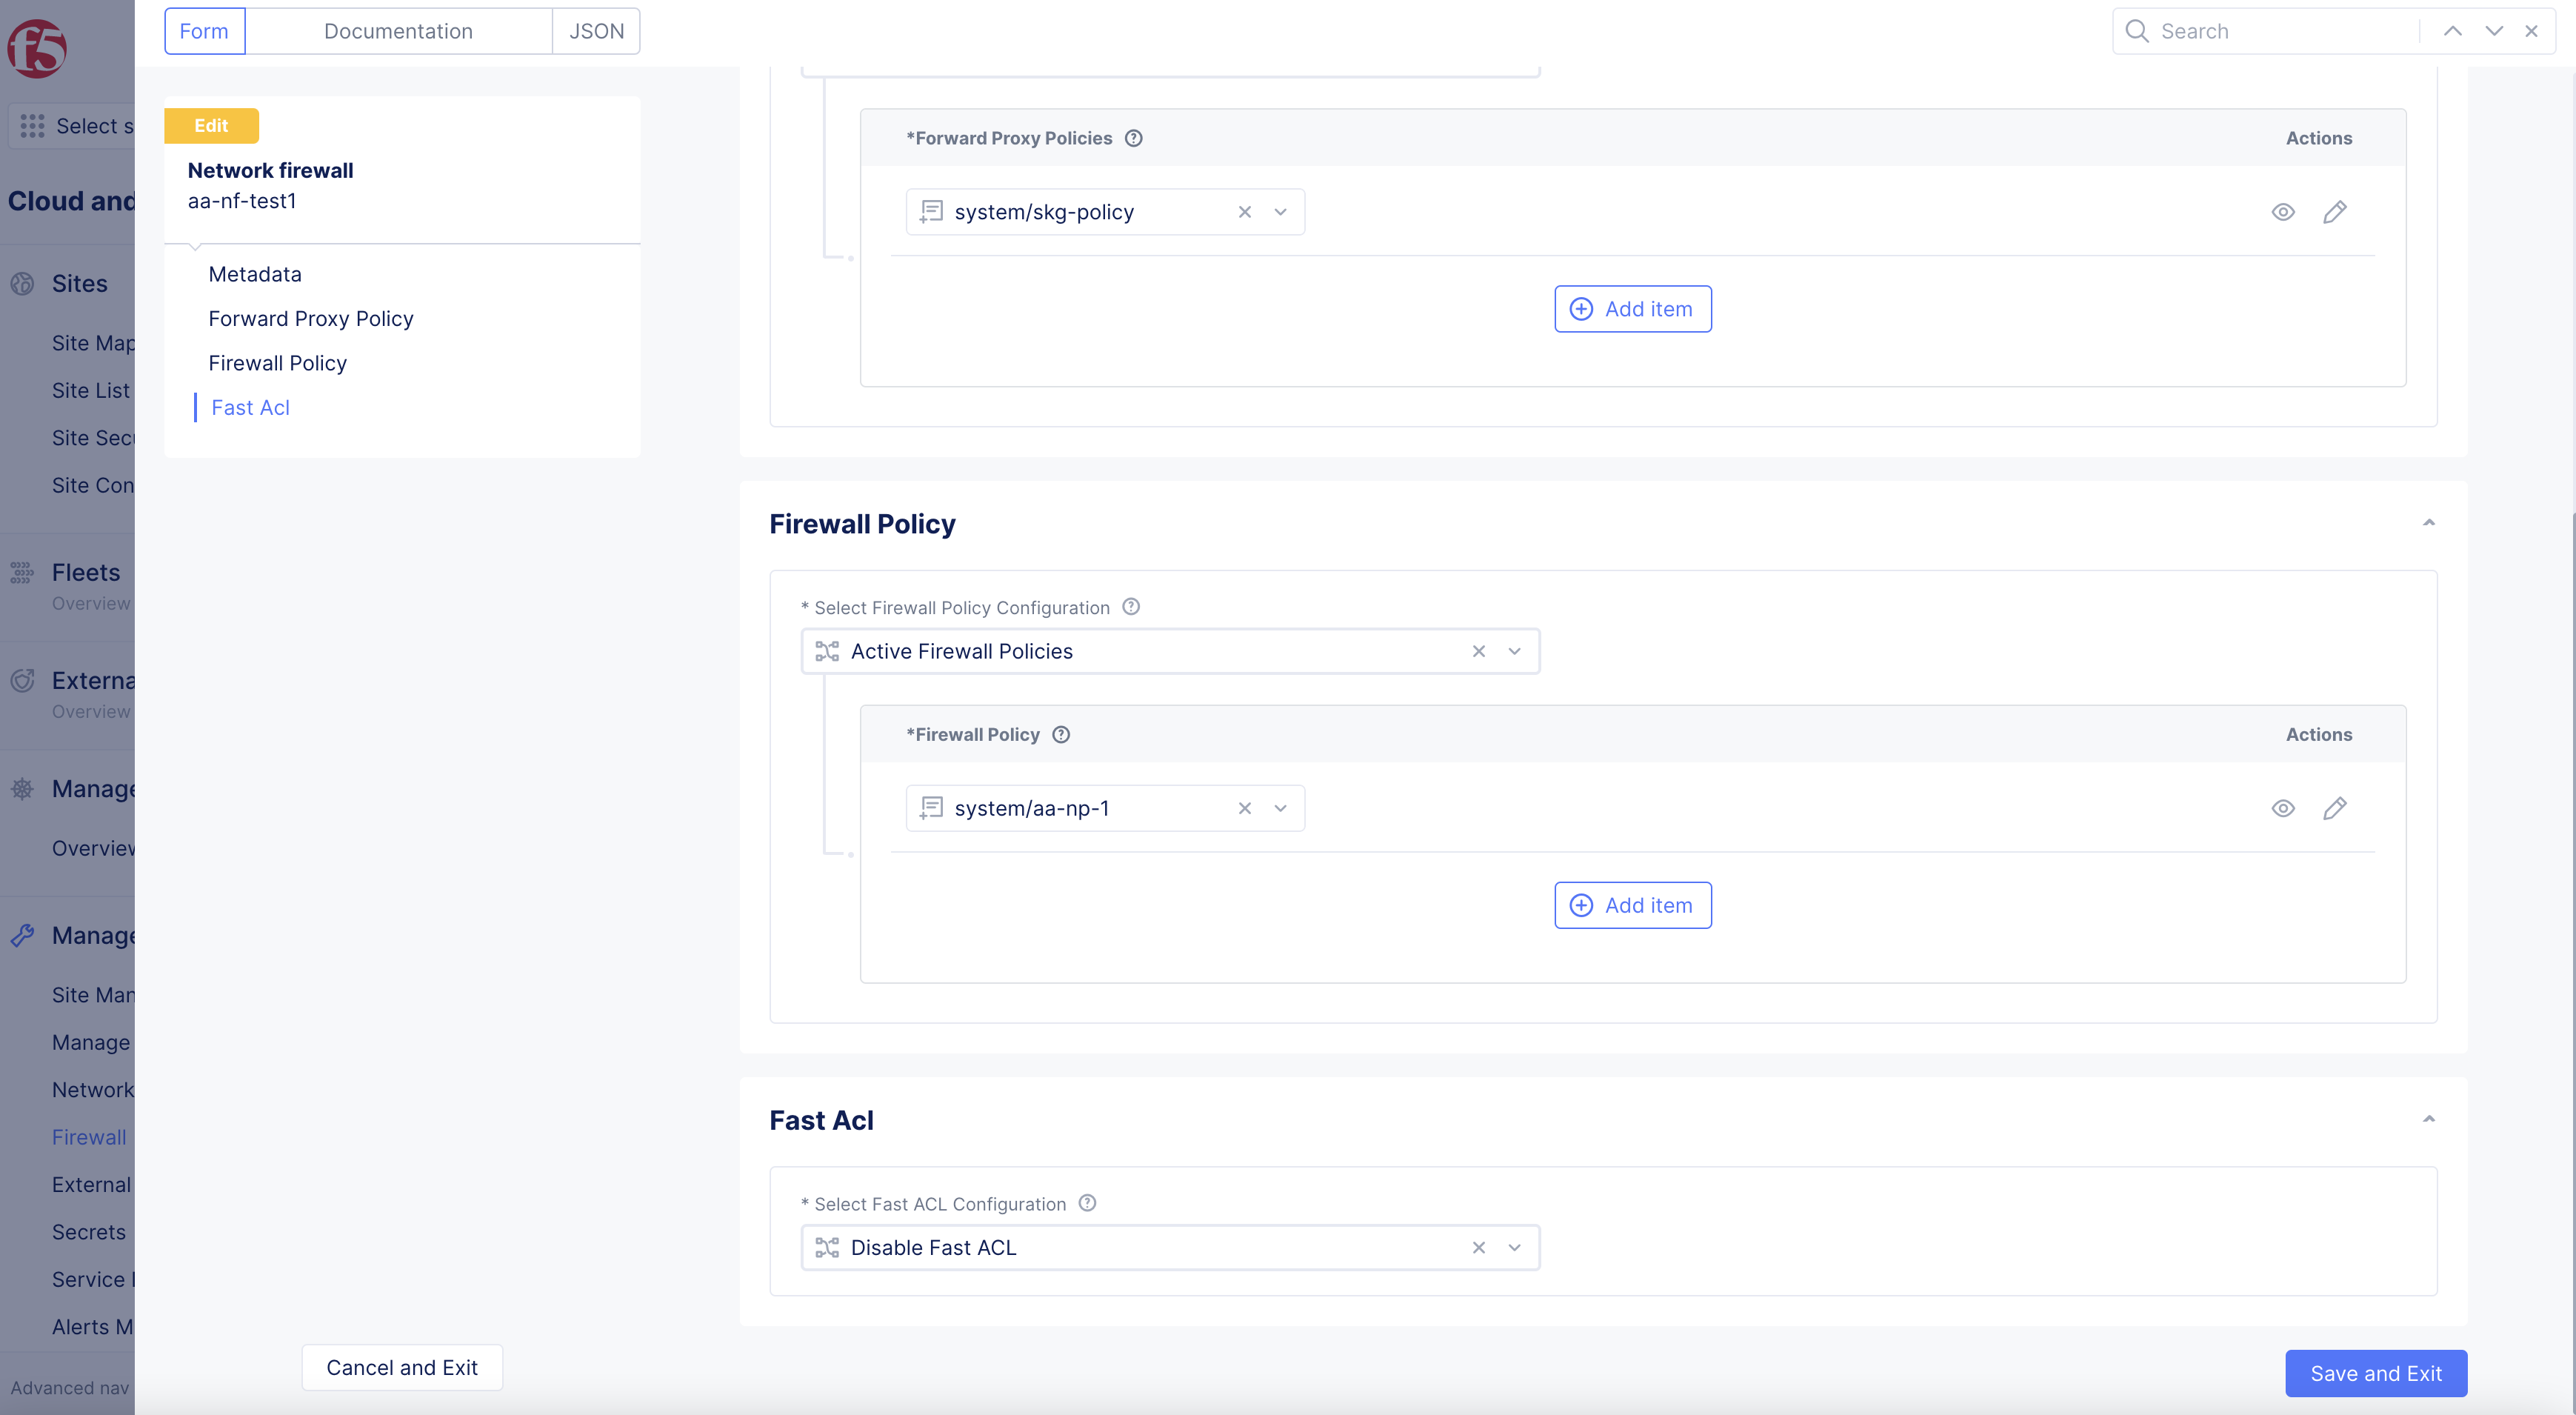
Figure: Edit Network Firewall
-
Select the created firewall policy from the drop-down list in
List of Firewall policybox. -
Ensure that you insert a policy that allows all traffic at the end.
-
Select
Save and Exit.
Note: You can add multiple policies using the
Add itemoption.
Step 6: Verify firewall policy operation.
-
Select
Manage>Firewall>Firewall Policies. -
Check the
Hitsfield for the displayed list of firewall policies. This indicates how many times firewall policy is applied to the traffic. -
Select on the
numberofHitscolumn to displayNetwork firewall hits for allow-allpop-up window to see which rules are applied and how many times they are applied.
Note: You can obtain the policy or rule hits over a specific time interval using the time interval selector option.
Create Enhanced Firewall Policy
The following steps provide instructions on creating an enhanced firewall policy:
Step 1: Navigate to Enhanced Firewall Policies.
-
In
Multi-Cloud Network Connect, selectManage>Firewall>Enhanced Firewall Policies. -
Click
Add Enhanced Firewall Policy. -
In the
Namefield, enter a name for the new enhanced firewall policy. -
From the
Select Enhanced Firewall Policy Rule Typemenu, selectCustom Enhanced Firewall Policy Rule Selection. -
Click
Configure. -
Click
Add Item.
Step 2: Create custom rule.
-
In the
Namefield, enter a name for this new rule. -
From the
Source Traffic Filtermenu, select an option to filter on source traffic. -
From the
Destination Traffic Filtermenu, select an option to filter on destination traffic. -
From the
Select Type of Traffic to Matchmenu, select the type of traffic to match to this new rule. -
From the
Actionmenu, select the action to take if traffic matches to this new rule. For the NFV service, selectInsert an External Service. -
From the
Select External Servicemenu, select the NFV services object previously created for the firewall. -
Click
Apply. -
Click
Apply.
Step 3: Configure segments.
-
In the
Segment Selectorsection, use theSource Segmentsdrop-down menu to choose which segment(s) traffic is matched against:Any- Traffic is not matched against any segment.Segments- Traffic is matched against listed source segments. Select a segment from the drop-down list to start the list of source segments. Click theAdd Itembutton to add additional segments.
-
Use the
Destination Segmentsto choose the segment(s) where the rule (Step 2) is applied:Any- Traffic is not matched against any segment.Intra Segment- Traffic is matched for source and destination on the same segment.Segments- Traffic is matched against listed destination segments. Select a segment from the drop-down list to start the list of destination segments. Click theAdd Itembutton to add additional segments.
Step 4: Save configuration.
Click Save and Exit.
Note: To add the enhanced firewall policy to your site, see Add Enhanced Firewall Policy to Site.