Configure CDN Caching on an HTTP Load Balancer
Objective
This guide provides instructions on how to configure Content Delivery Network (CDN) Caching for an HTTP Load Balancer in the F5 Distributed Cloud CDN service.
Prerequisites
The following prerequisites apply:
-
An F5 Distributed Cloud Account. If you do not have an account, see Getting Started with Console.
-
A valid DNS domain delegated to Distributed Cloud Services in case you want Distributed Cloud Services to act as domain name server (DNS). For instructions on how to create a primary or secondary DNS zone, see Manage DNS Zone.
-
TLS certificates in case of using HTTPS distribution with custom certificates.
-
Origin server with a valid DNS name and reachable by F5 Distributed Cloud Services.
Note: Ensure that the origin server hosts the content that needs to be served using the CDN Distribution.
Configuration
Step 1:Log into the Console
-
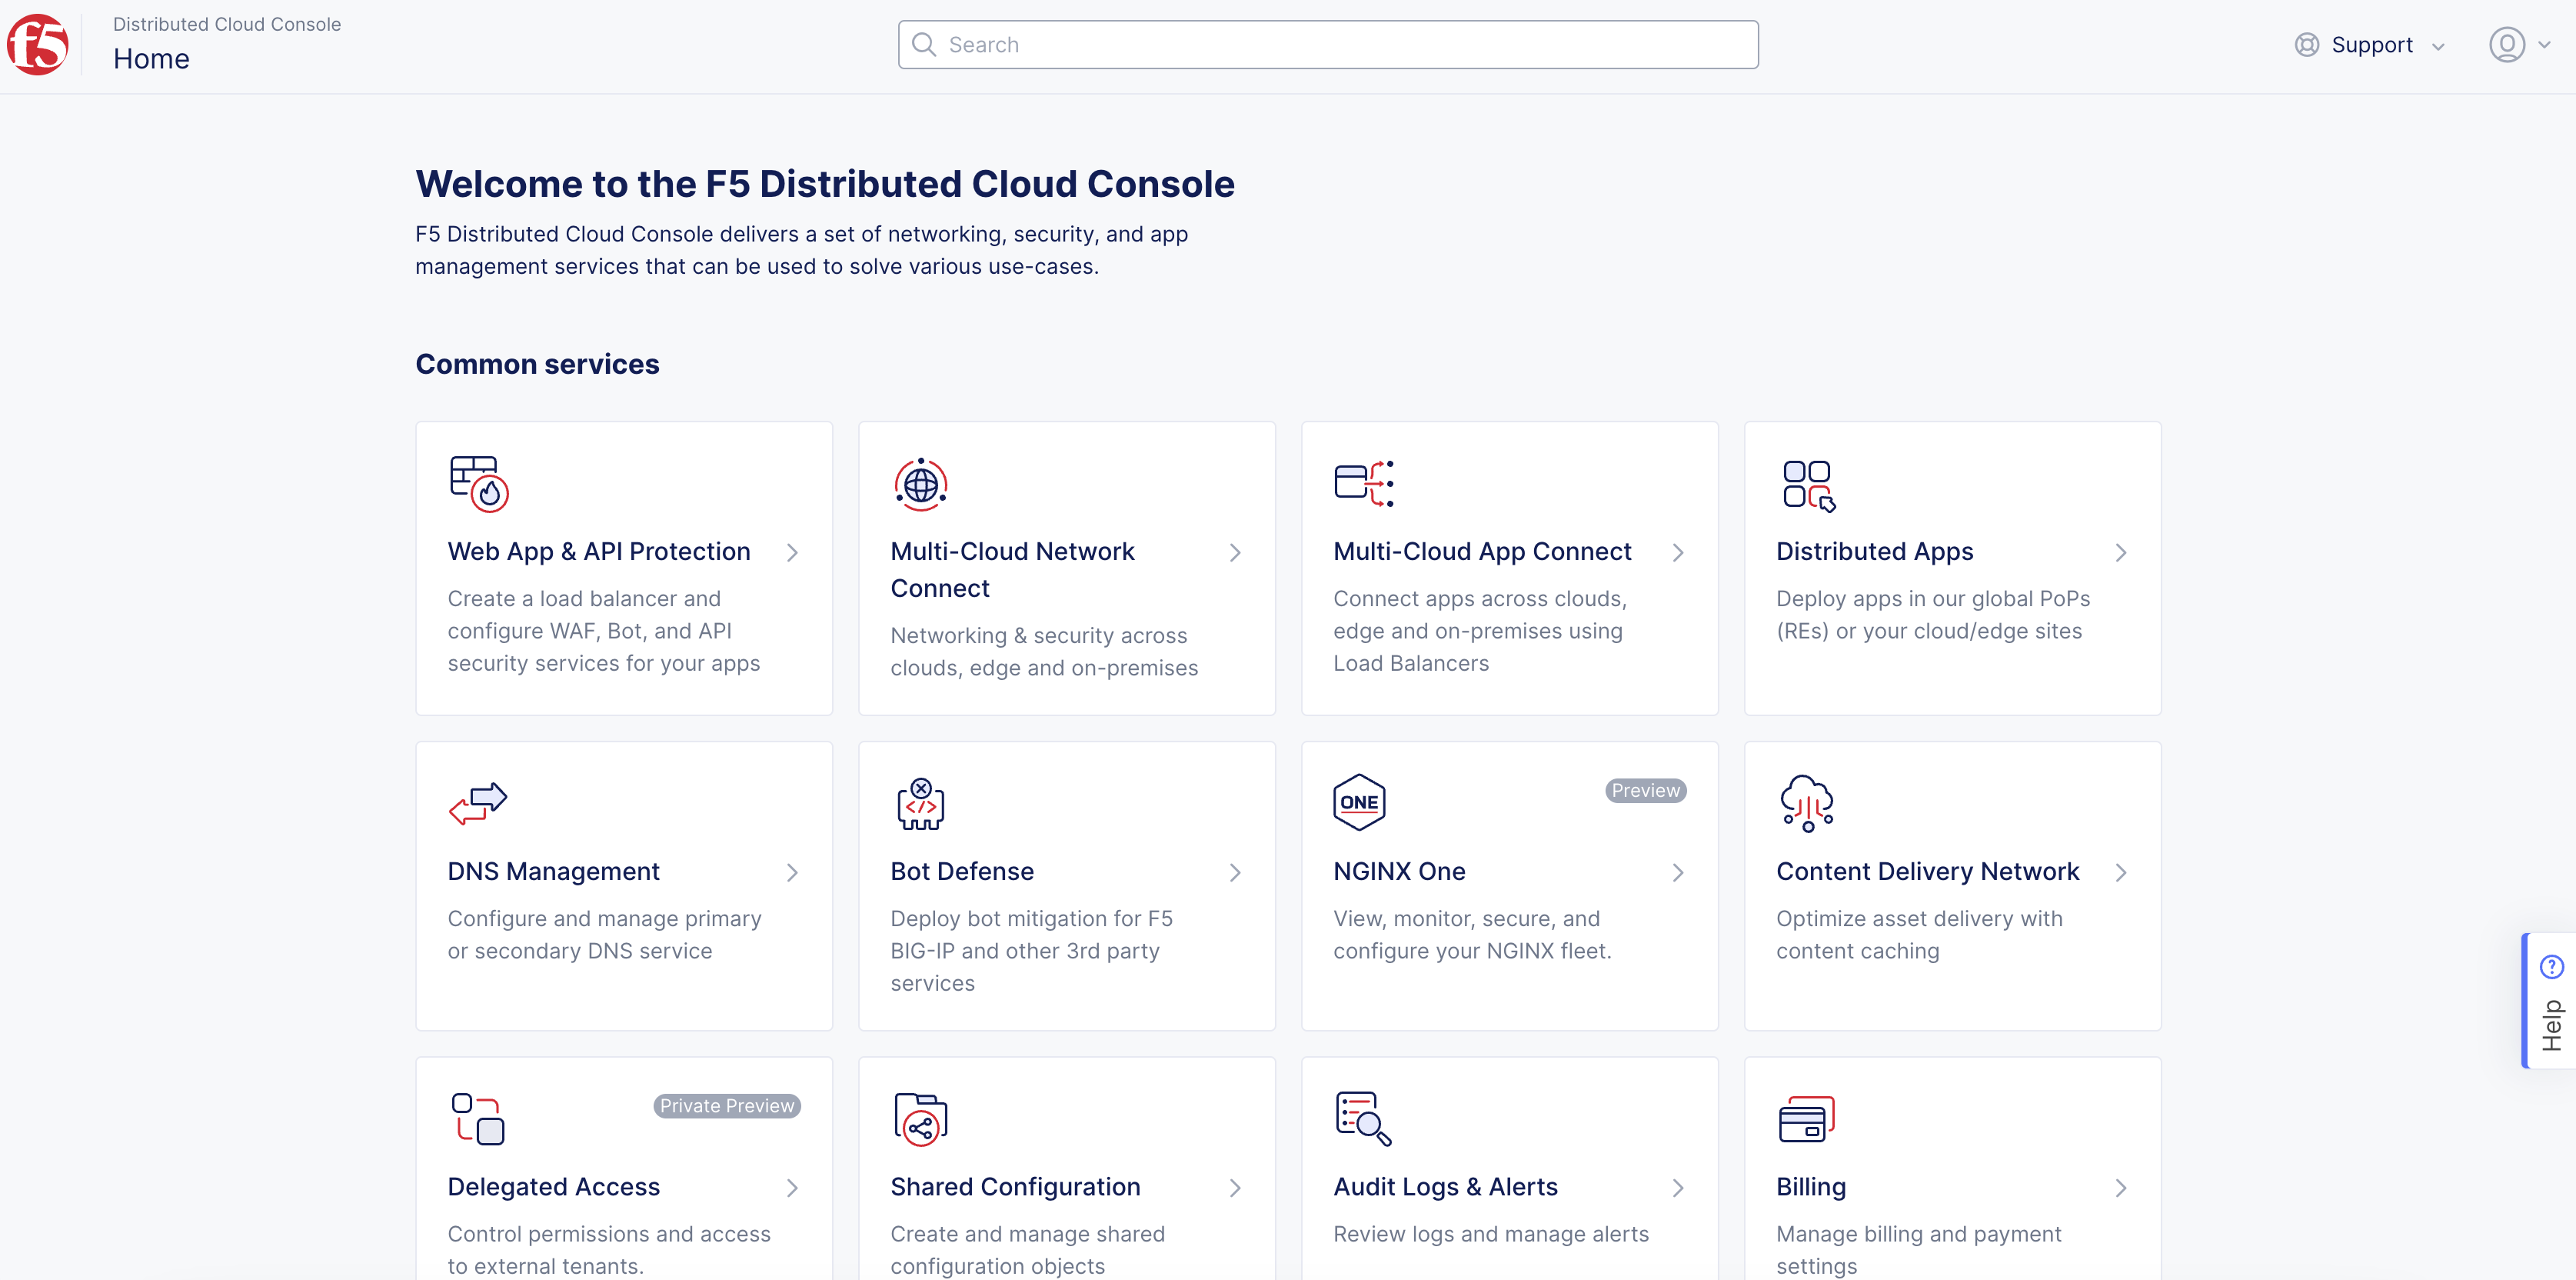
Log into the Console.
-
Click Multi-Cloud App Connect.

Figure: Console Homepage
-
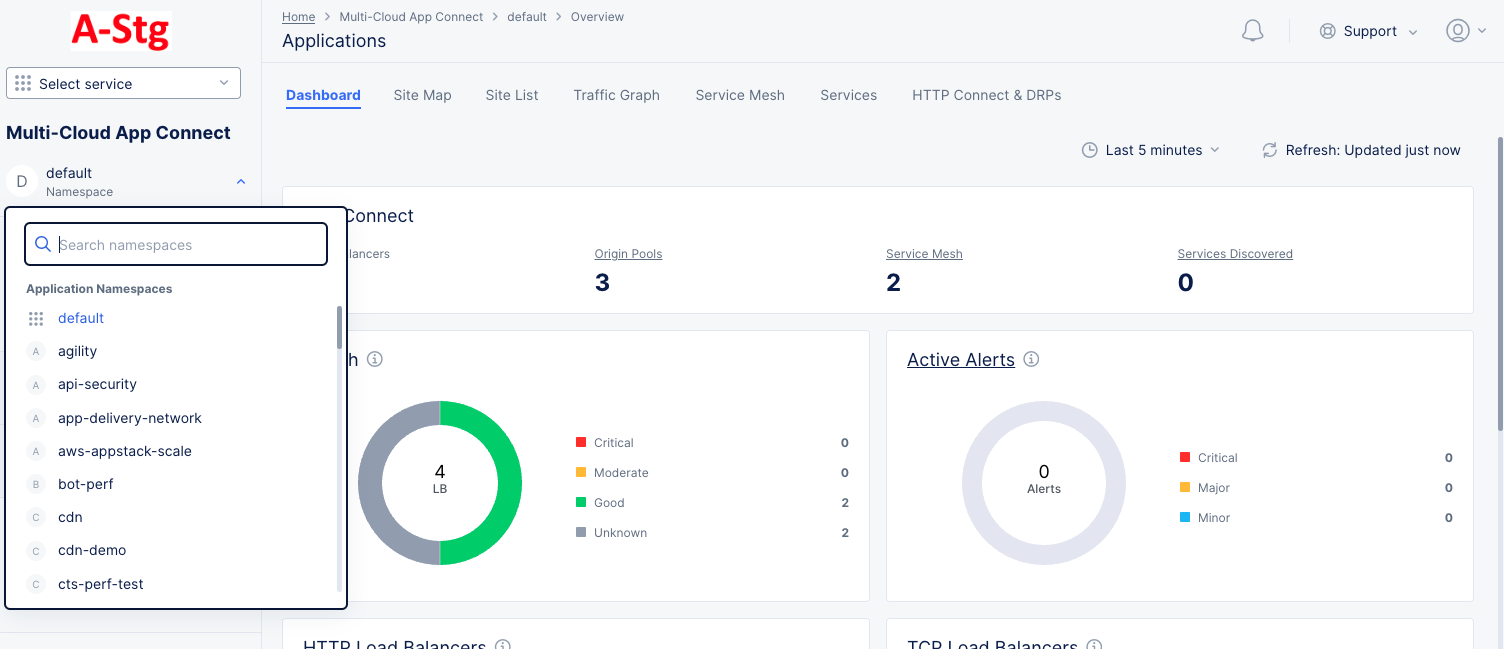
Select your namespace from the drop-down list of namespaces.
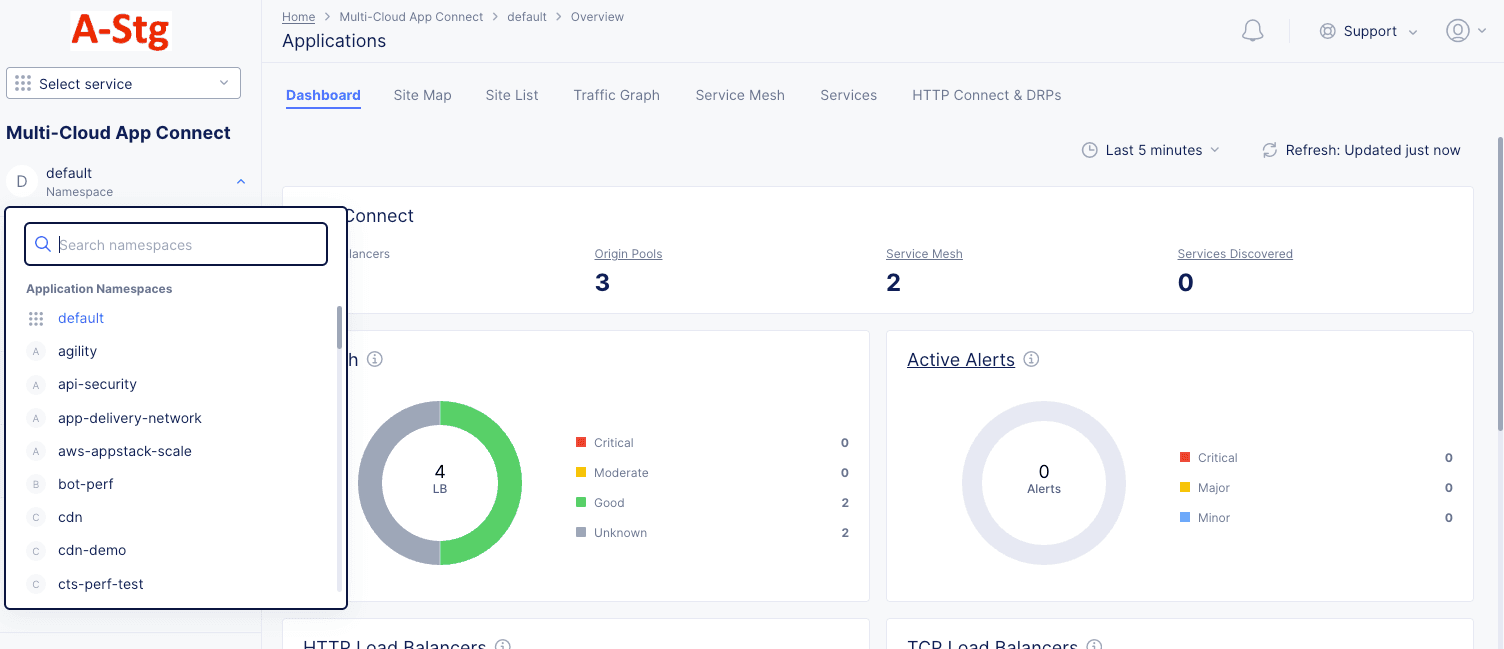
Figure: Navigate namespace
Step 2 Create/Configure the HTTP Load Balancer.
-
To create a new HTTP Load Balancer, click Add HTTP Load Balancer. For information on configuring a new Load Balancer, refer Create and Configure a HTTP Load Balancer.
-
Alternatively, if you have an existing HTTP Load Balancer, follow these steps to determine whether caching is required, and then configure caching policies:
-
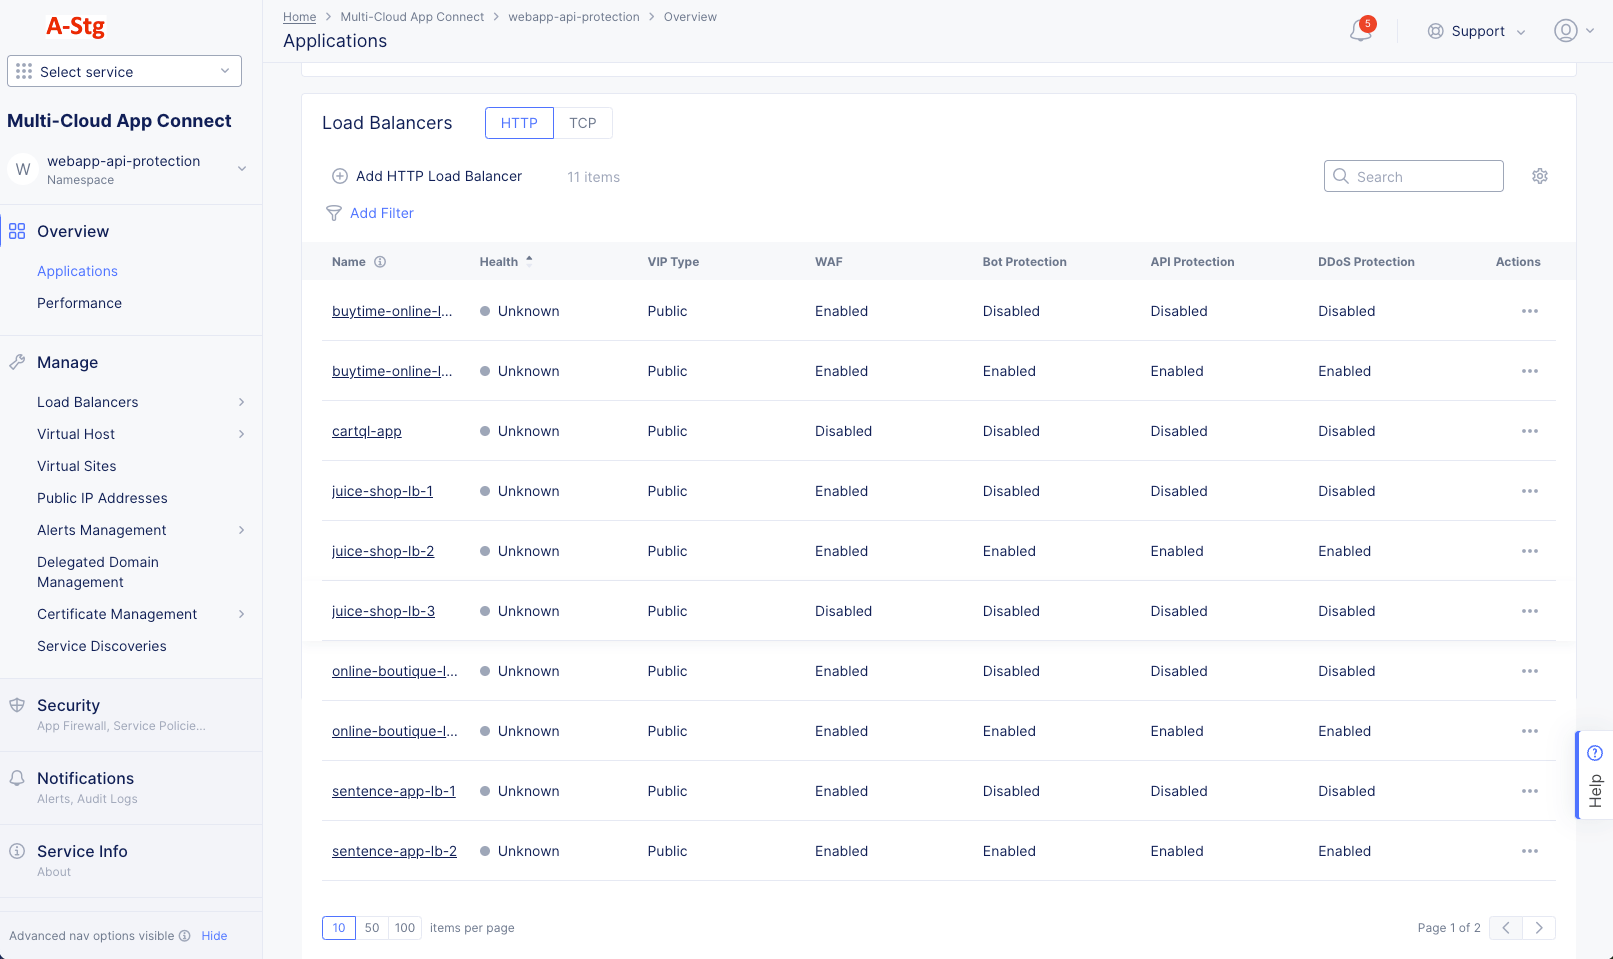
From the configuration menu on the left pane, select Overview > Performance to view the Performance dashboard.

Figure: Load Balancer Monitoring
-
Click the name of the load balancer you want to monitor. The Dashboard tab is displayed, by default.
-
Determine if caching must be enabled for the Load Balancer by viewing the Cacheable Content section that displays details about the number of requests and data transfers that are eligible for caching.
-
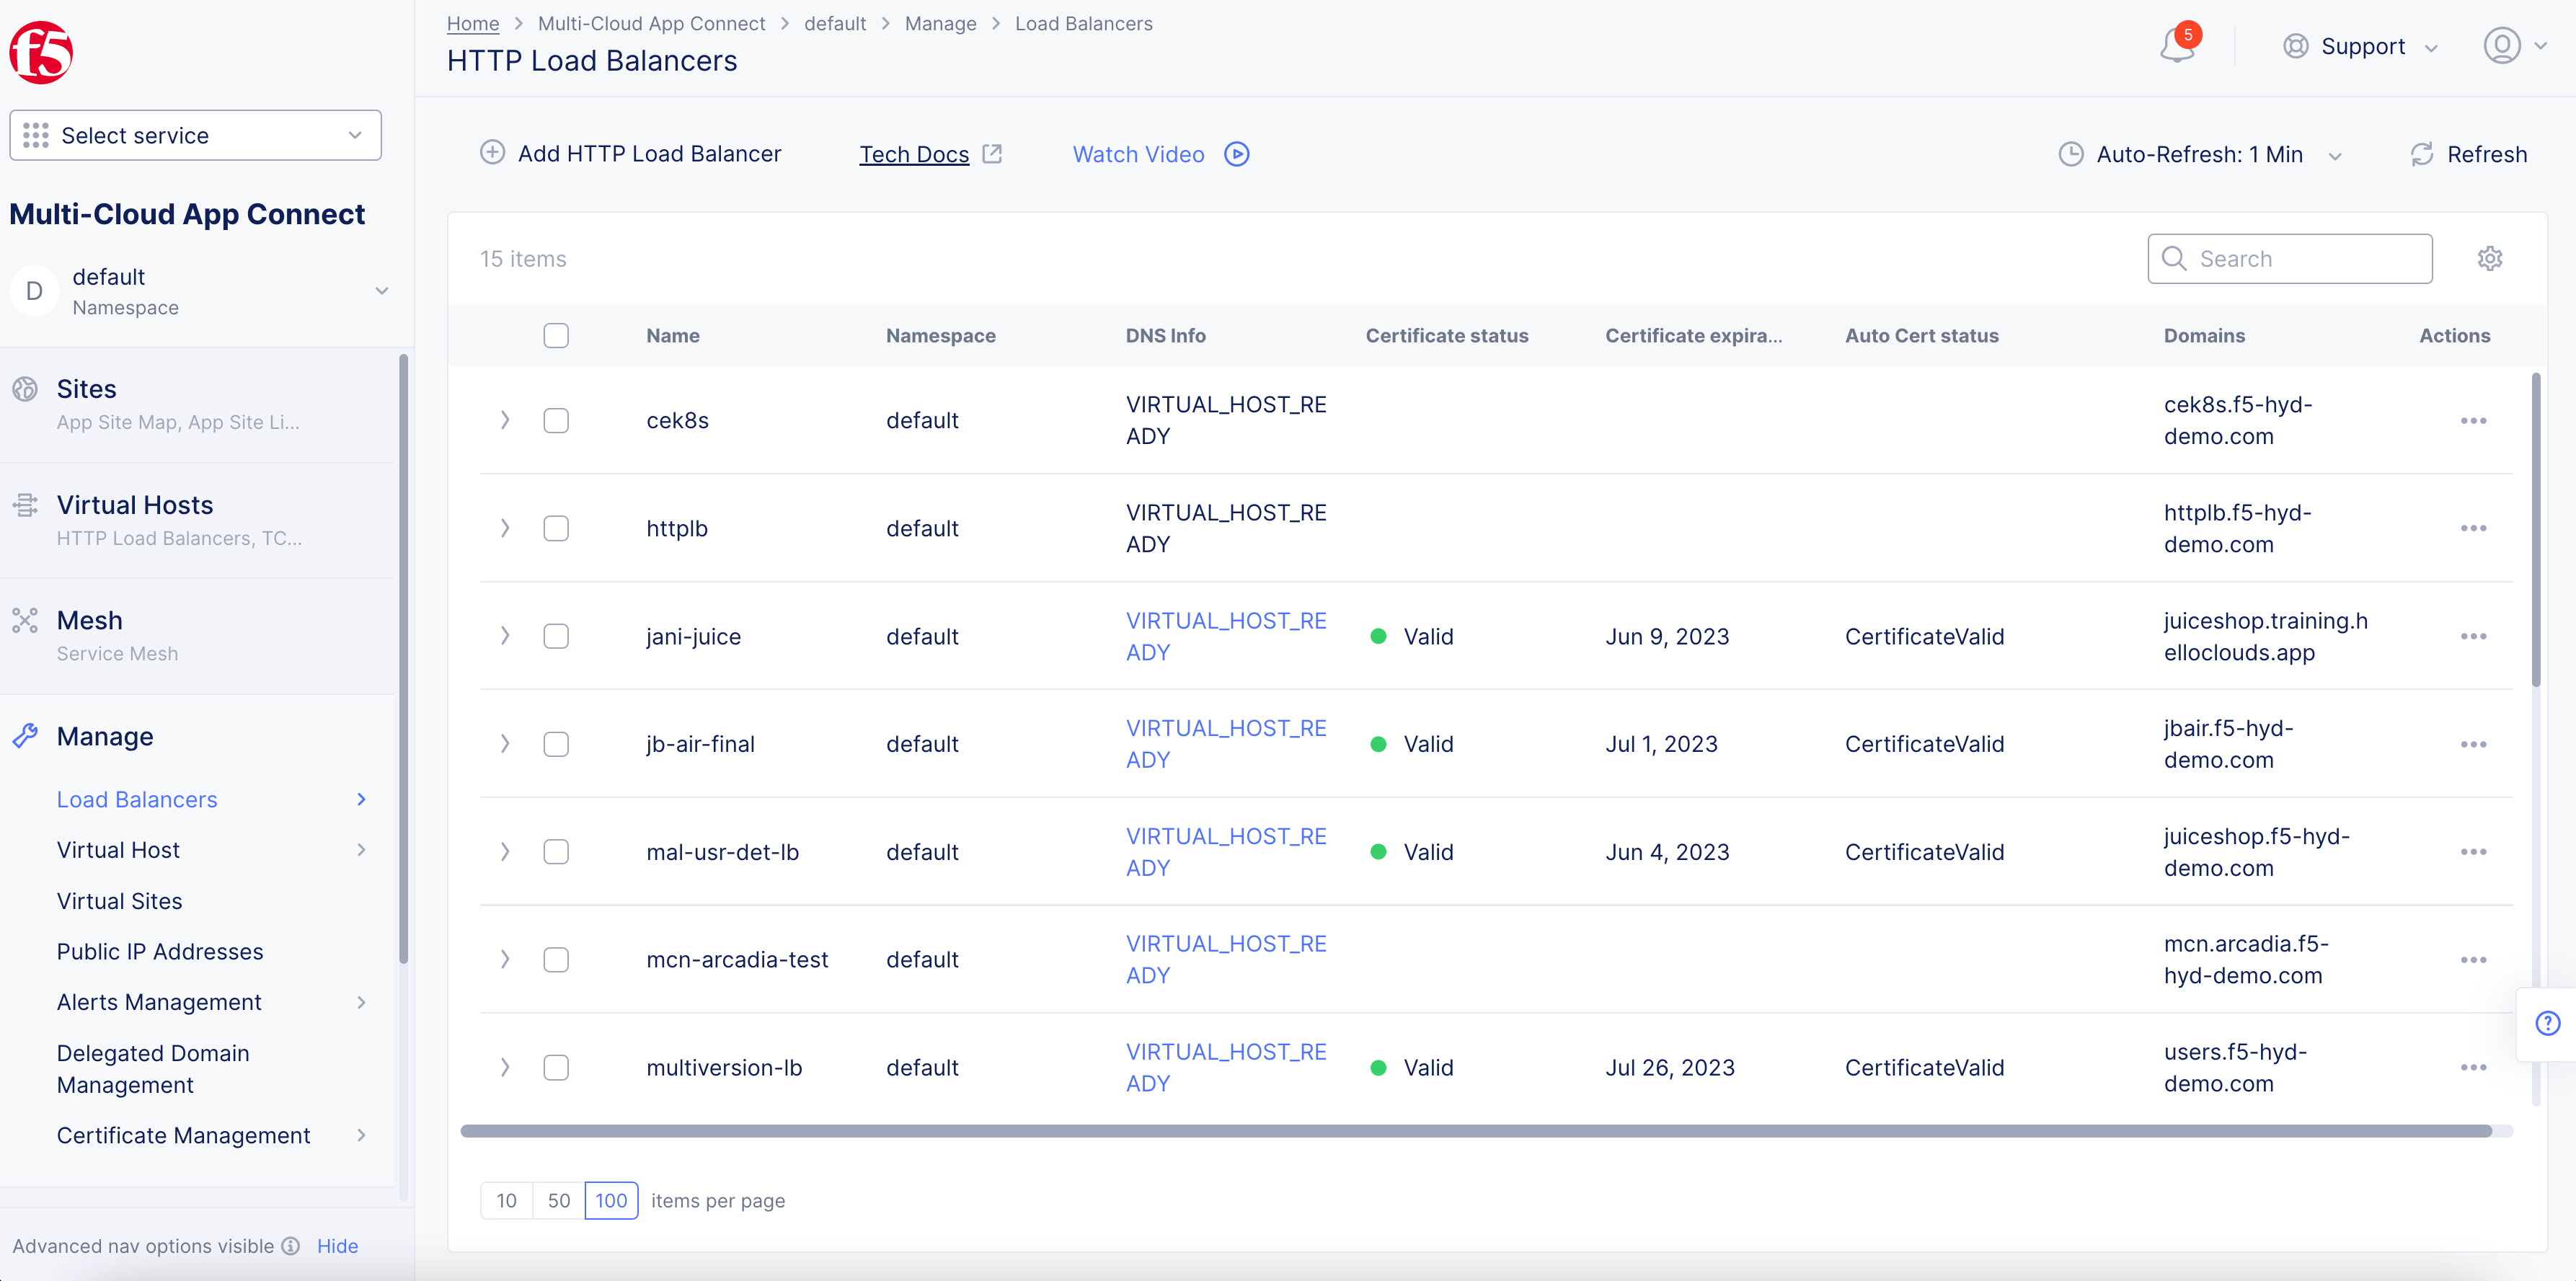
From the configuration menu on the left pane, select Manage > Load Balancers > HTTP Load Balancers.
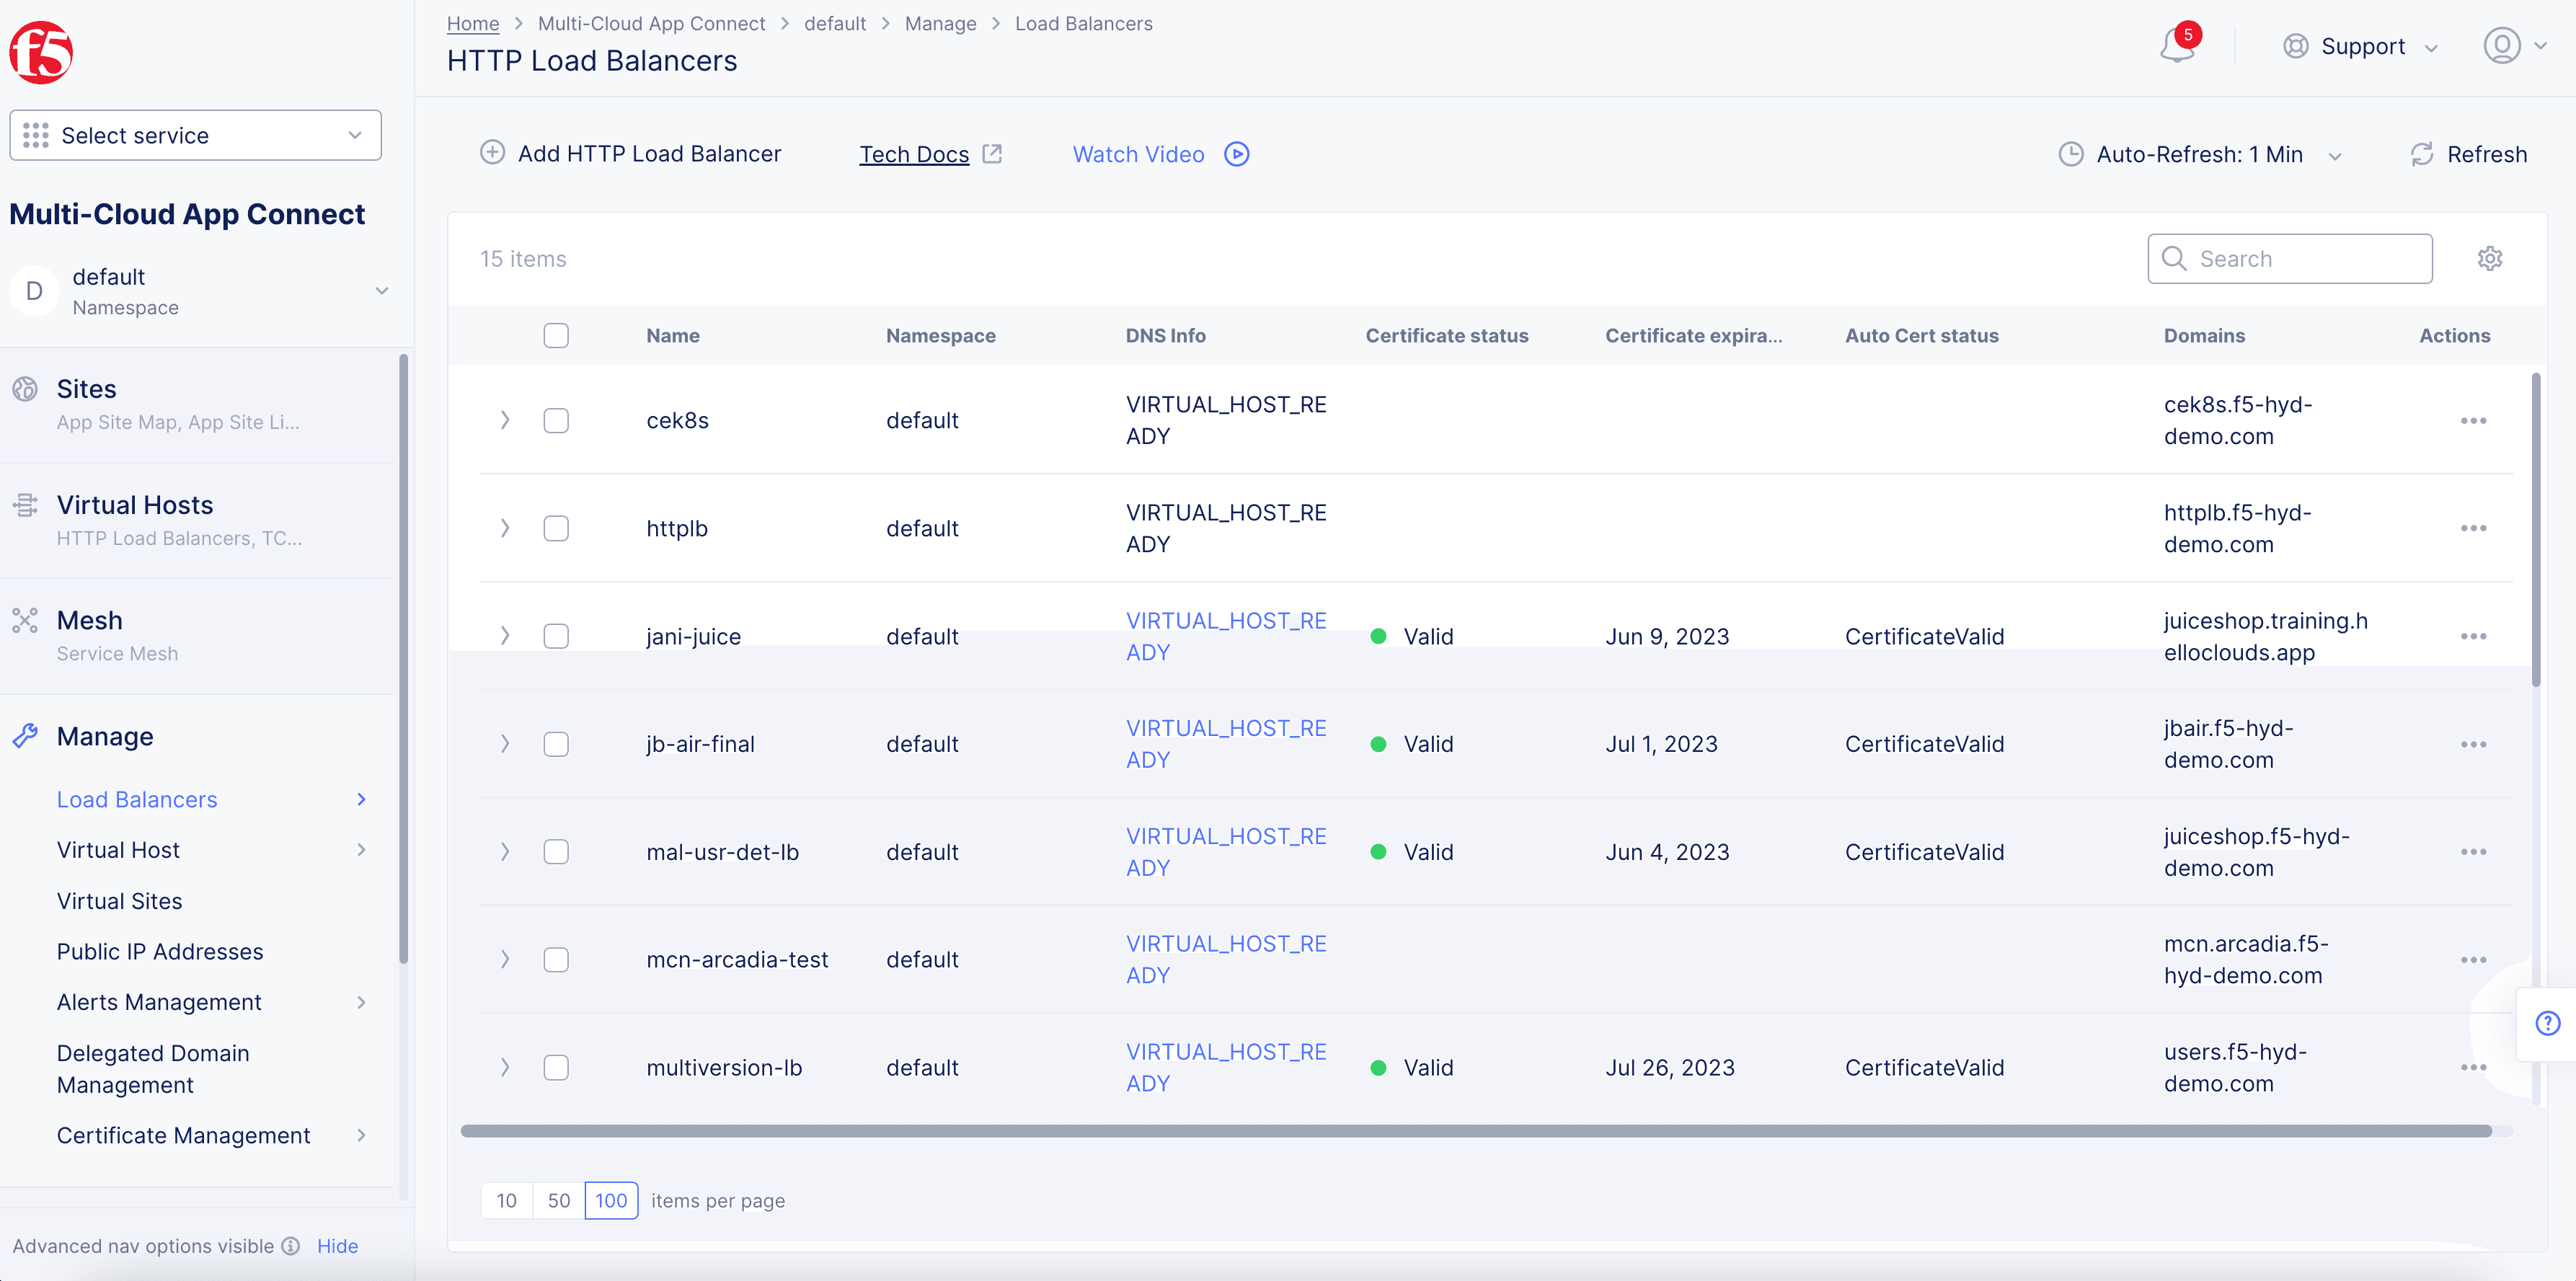
Figure: Load Balancers
-
From the Actions column next to the load balancer where you want to configure Caching, select the Action (…) menu > Manage Configuration, and then click Edit Configuration
-
Step 3 Configure Caching Policies.
-
Navigate to the CDN section. The following options are available:
- Disable: No CDN Caching configuration is applied to the load balancer.
- Enable: Allows you to configure CDN Caching on the load balancer.
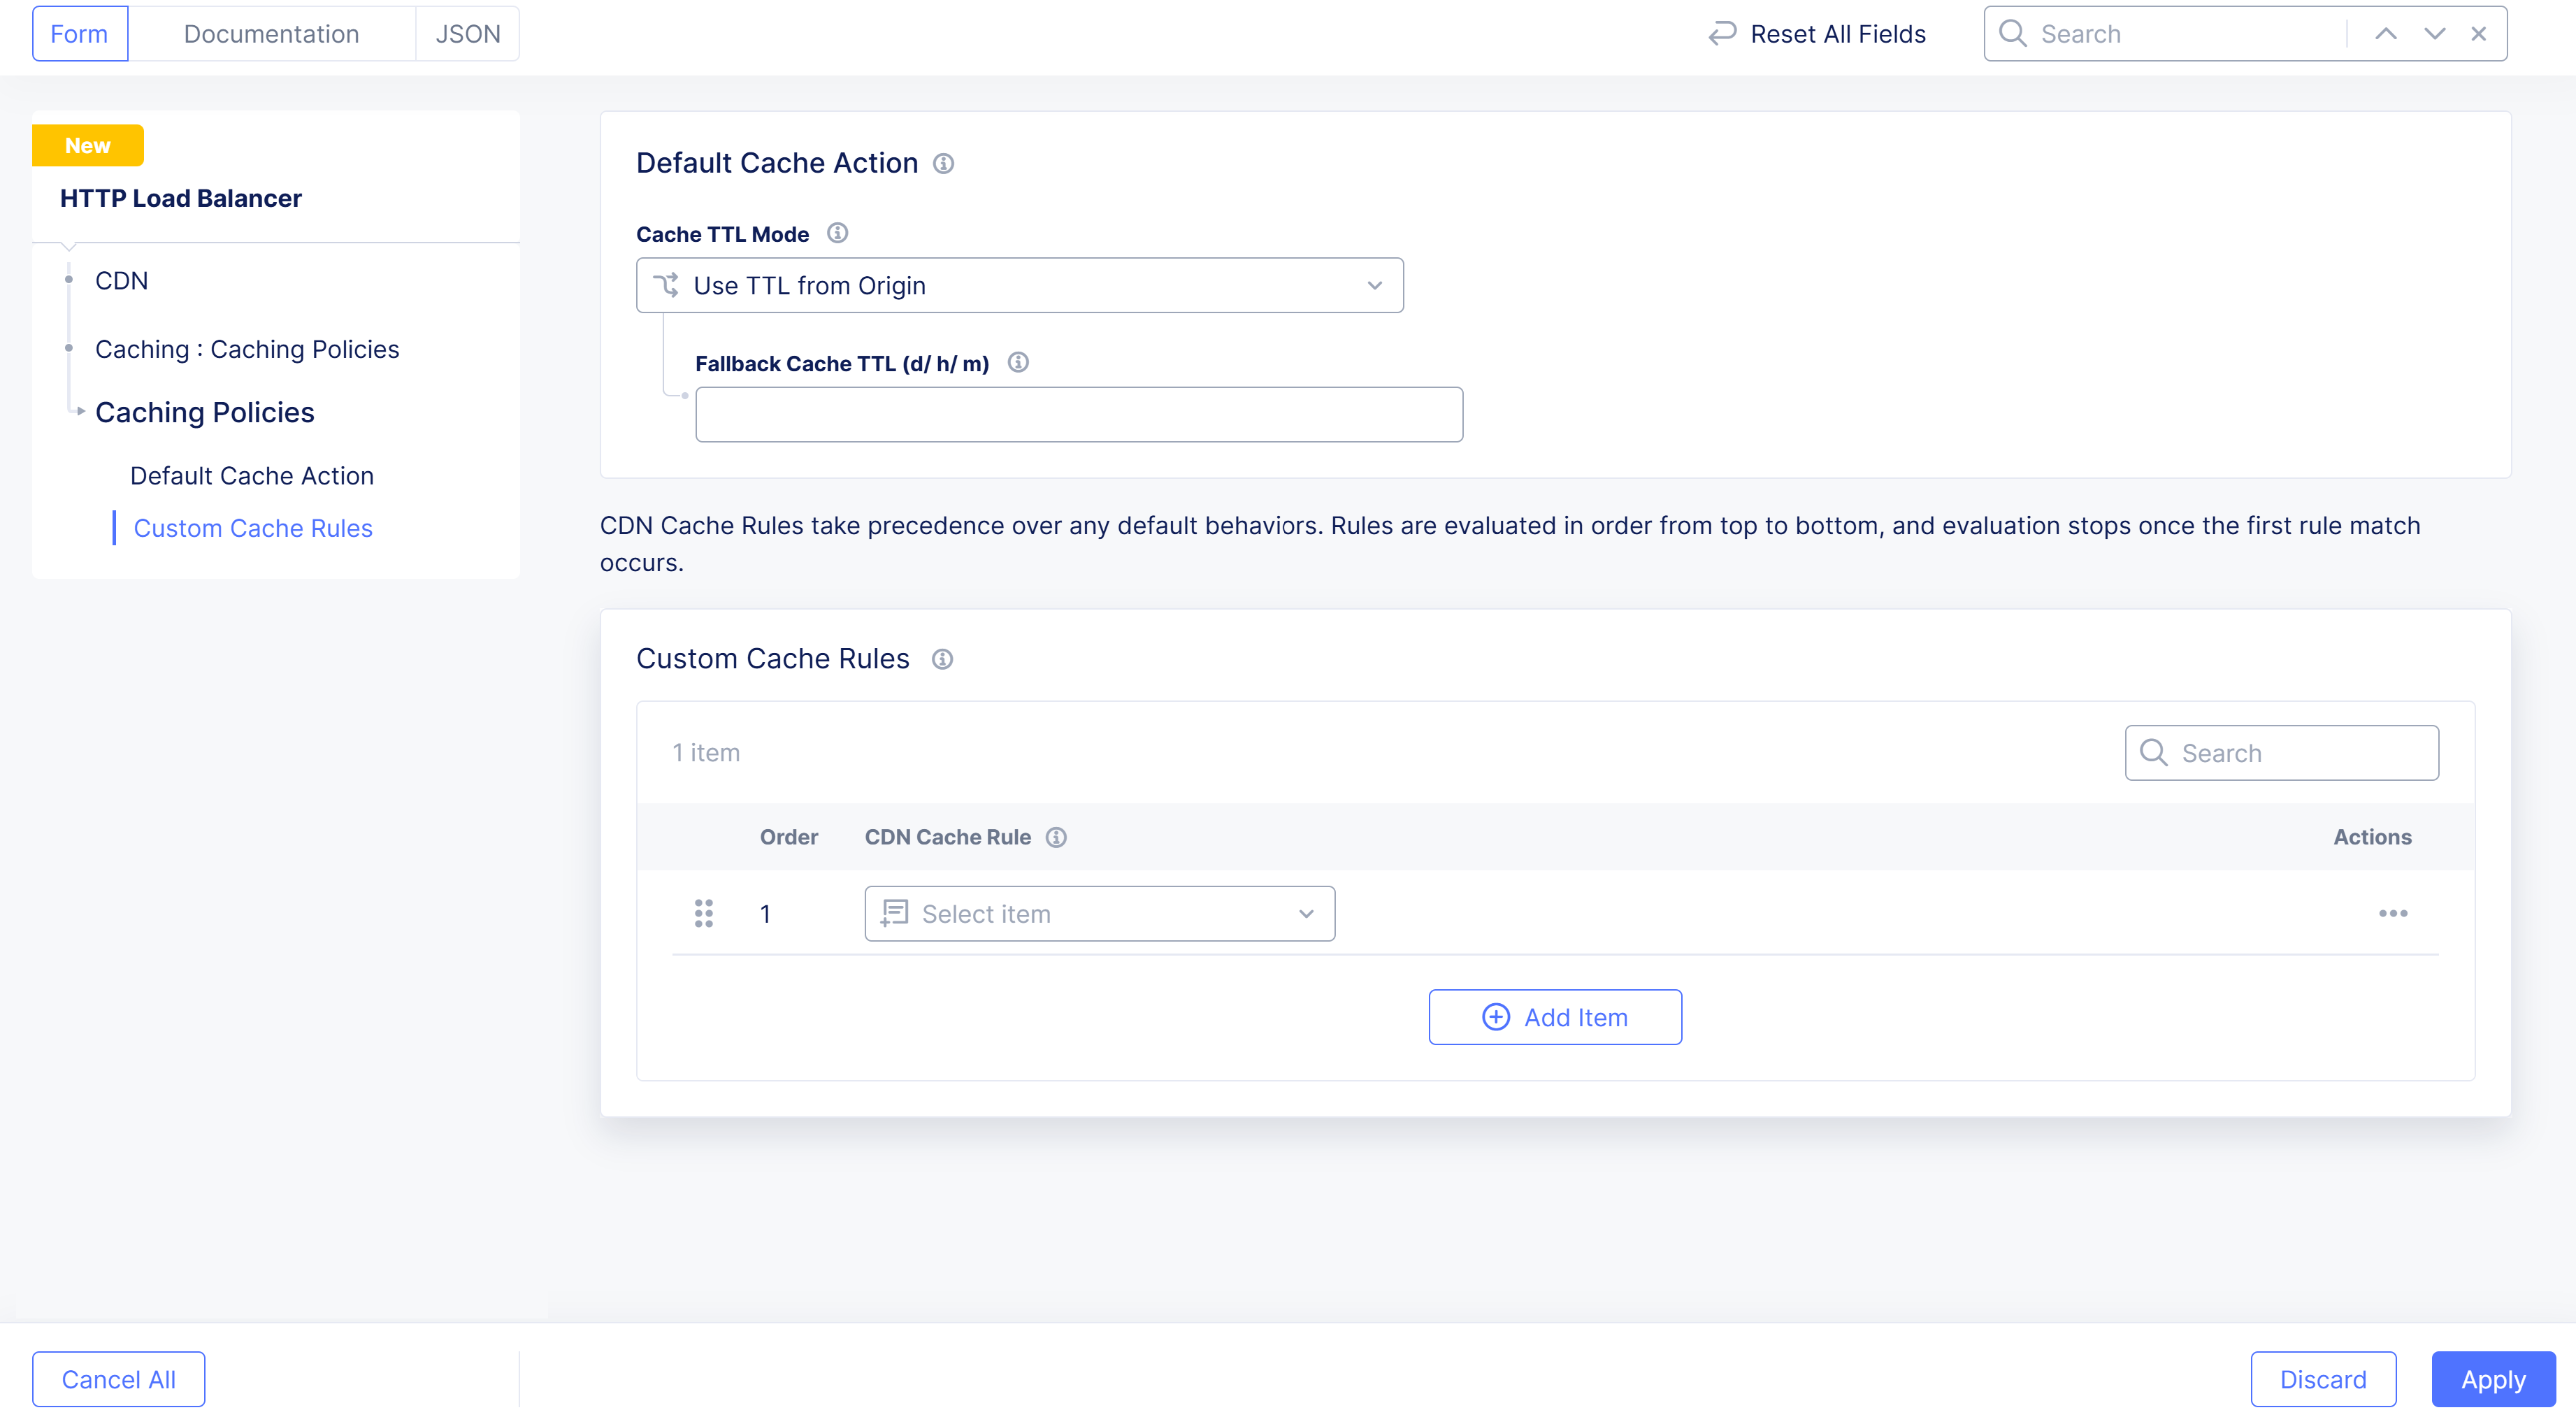
Select Enable, and then click View Configuration to configure caching policies as follows:

Figure: Load Balancer > CDN
-
In the Default Cache Actions section, select an option for the Cache TTL Mode field using the following guidelines:
- Select Use TTL from Origin if you want to use a TTL value provided by the origin server. Set a default value in the Fallback Cache TTL field.
- Select Override TTL from Origin if the origin server provides a TTL in the response, and you want to override it. Set the value in the Override Cache TTL field.
- Select Default Caching Disabled to disallow caching content from the origin.
-
In the Custom Cache Rules section, click Add Item to add a Cache Rule.
- From the CDN Cache Rule drop-down, select a CDN Cache Rule from an existing CDN Cache Rule.
- Optionally, select Add Item in the CDN Cache Rule drop-down to create a new Custom CDN Cache Rule.
-
Click Apply.
Add Custom CDN Cache Rules.
-
In the Name field, enter a name for the object.
-
Optionally, select a label and enter a description.
-
In the Cache Rules section, create rules to determine the content that is or is not cached:
-
Enter a name in the Rule Name` field.
-
Click Add Item in the Expressions section. If you create more than one expression, the rule will execute if any of the expressions match.
-
Enter a name in the Expression Name field and click Add Item in the Terms Section.
- Configure the match condition by using the Path Match, Query Parameters, Cache Headers, and/or Cookie Matchers.
- Click Apply to save the match condition.
-
Click Apply to save the expression name.
-
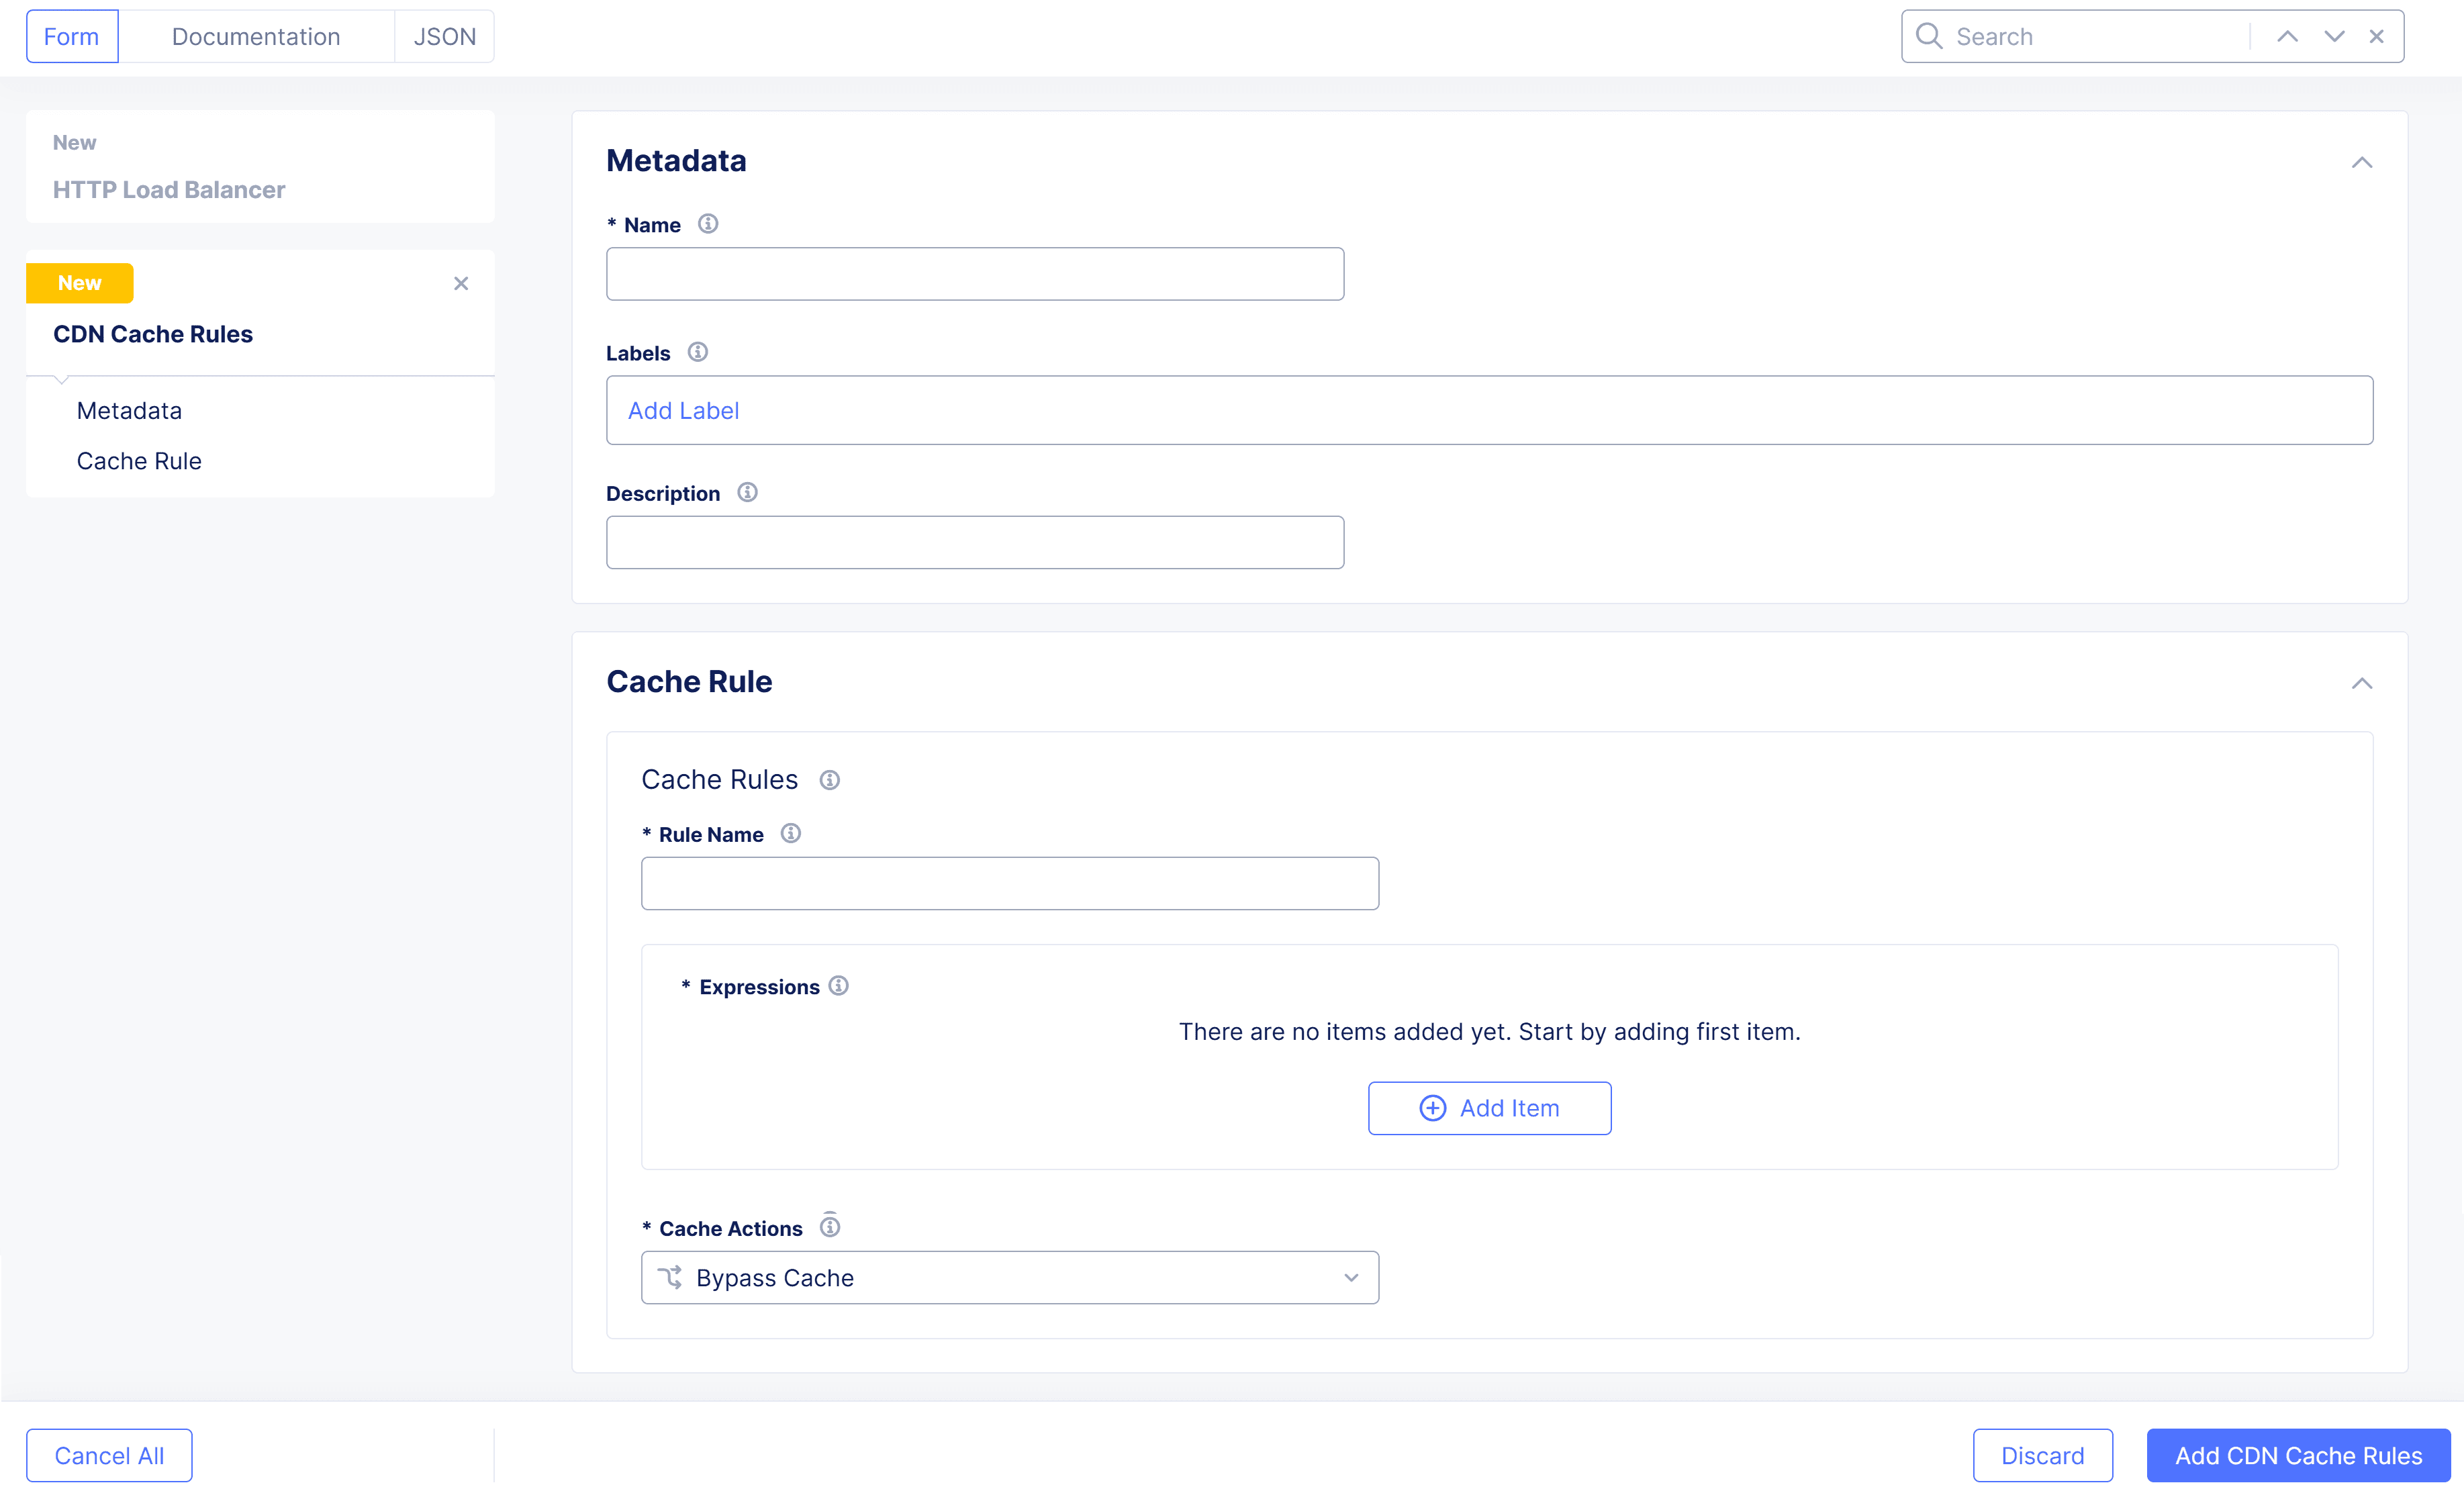
Figure: Custom CDN Cache Rules
-
Select an option in the Cache Actions section. The option you select will determine what happens to your cache if one of your expressions matches.
-
Bypass Cache will not cache the resource/content if the rule matches.
-
Eligible for Cache will cache the resource/content based on the following fields:
- In the Eligible for Cache field, click Scheme + Proxy Host + URI or Scheme + Proxy Host + Request URI.
- In the Cache TTL field, enter the time the cached resource/content will be valid (Time To Live).
- Check the Ignore-Response-Cookie checkbox if you want to cache the response even if the set-cookie header is present (Override set-cookie).
- Check the Cache Override checkbox if you want to honor a cache override.
-
-
-
Click Add CDN Cache Rules.

Caveats
The following caveats exist in the limited availability phase of HTTP load balancer (HTTP LB) and content delivery network (CDN) one-click enablement:
-
CDN caching can only be enabled on HTTP load balancers that serve HTTPS traffic.
-
CDN caching cannot be enabled on load balancers configured to serve only HTTP/2.0 traffic.
-
CDN caching is not available for HTTP load balancers configured to use mutual TLS (mTLS).
-
HTTP load balancer source IP stickiness and CDN caching cannot be enabled at the same time.
-
HTTP load balancer origin server subset rules cannot be enabled with CDN caching.
-
CDN caching does not apply to routes configured to serve WebSocket traffic.