Enable with Salesforce Commerce Cloud
To enable Bot Defense Standard on Salesforce Commerce Cloud, you must first add Salesforce as a protected application in Bot Defense and then configure Salesforce to send requests to be evaluated by Bot Defense.
Prerequisites
- You must have an active F5 Distributed Cloud account. If you do not have an account, see Getting Started with Distributed Cloud Console.
- You must have Bot Defense enabled in the Distributed Cloud Console. For information, see Enable Distributed Cloud Bot Defense Standard.
- You must have Salesforce Commerce Cloud configured and have an account with sufficient permission to configure Bot Defense.
Add Salesforce Commerce Cloud to Bot Defense
The following task explains how to add Salesforce Commerce Cloud as a protected application in Bot Defense.
- Log on to the Distributed Cloud Console. From the Dashboard page, select Bot Defense.
- Verify that you are in the correct namespace. For information about namespaces, see https://docs.cloud.f5.com/docs-v2/platform/concepts/core-concepts#namespaces.
- Select Manage > Applications and then select Add Application.
- Add a Name and Description for the protected application.
- Select the Application Region where the origin server for the new protected application resides: US, EU or Asia.
- From the Connector Type drop-down menu, select Salesforce Commerce.
- Select Add Protected Application.
Next Steps
Copy information from the protected application that you just added in the Distributed Cloud Console. You need this information to configure Bot Defense on Salesforce Commerce Cloud. For information, see Copy required information from your protected application.
Copy Required Information From Your Protected Application
The following task explains how to copy information from your new protected application that you need to configure Bot Defense on Salesforce Commerce Cloud.
- In the Distributed Cloud Console, from the Bot Defense page, select Manage > Applications.
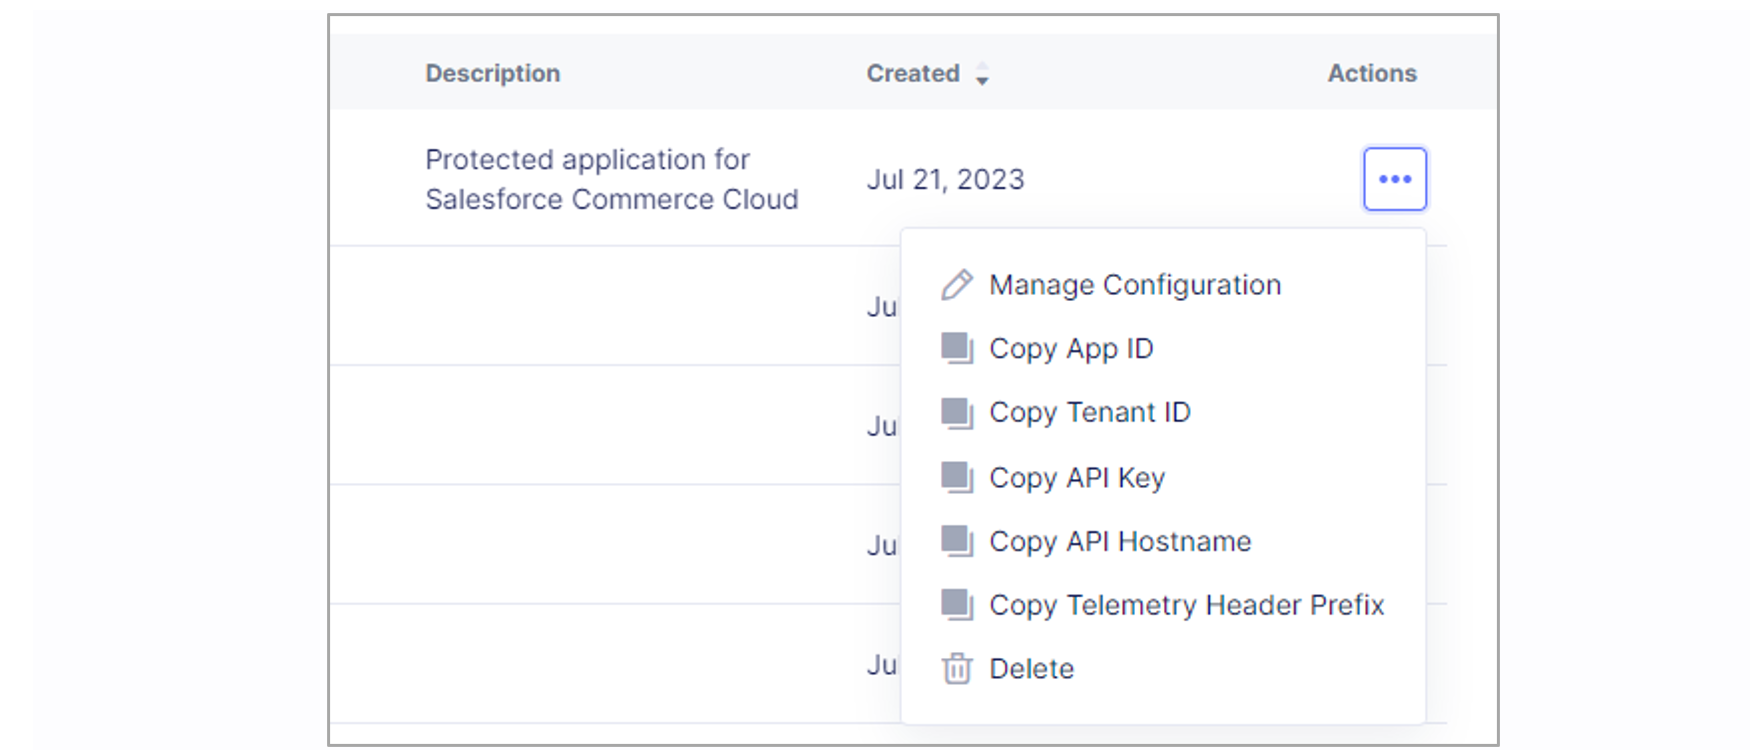
- From the Actions column, select the Action menu (…) next to the protected application you just added for Salesforce Commerce Cloud.
- From the drop-down menu, select the following options and save the copied information in a location you can access later:
- Copy App ID
- Copy Tenant ID
- Copy API Key
- Copy API Hostname
- Copy Telemetry Header Prefix

Figure: Action Menu
Next Steps
Download the F5 XC Bot Defense Cartridge from the Salesforce AppExchange. For information, see: Download the F5 XC Bot Defense Cartridge for Salesforce Commerce Cloud.
Download the F5 XC Bot Defense Cartridge for Salesforce Commerce Cloud
To use Bot Defense with Salesforce Commerce Cloud, you must download the “F5 Distributed Cloud Bot Defense Cartridge for B2C Commerce” from the Salesforce AppExchange. The download includes the files you need to use Bot Defense with Salesforce Commerce Cloud as well as documentation that explains how to install and configure the Bot Defense cartridge.
To download the Bot Defense cartridge, do one of the following:
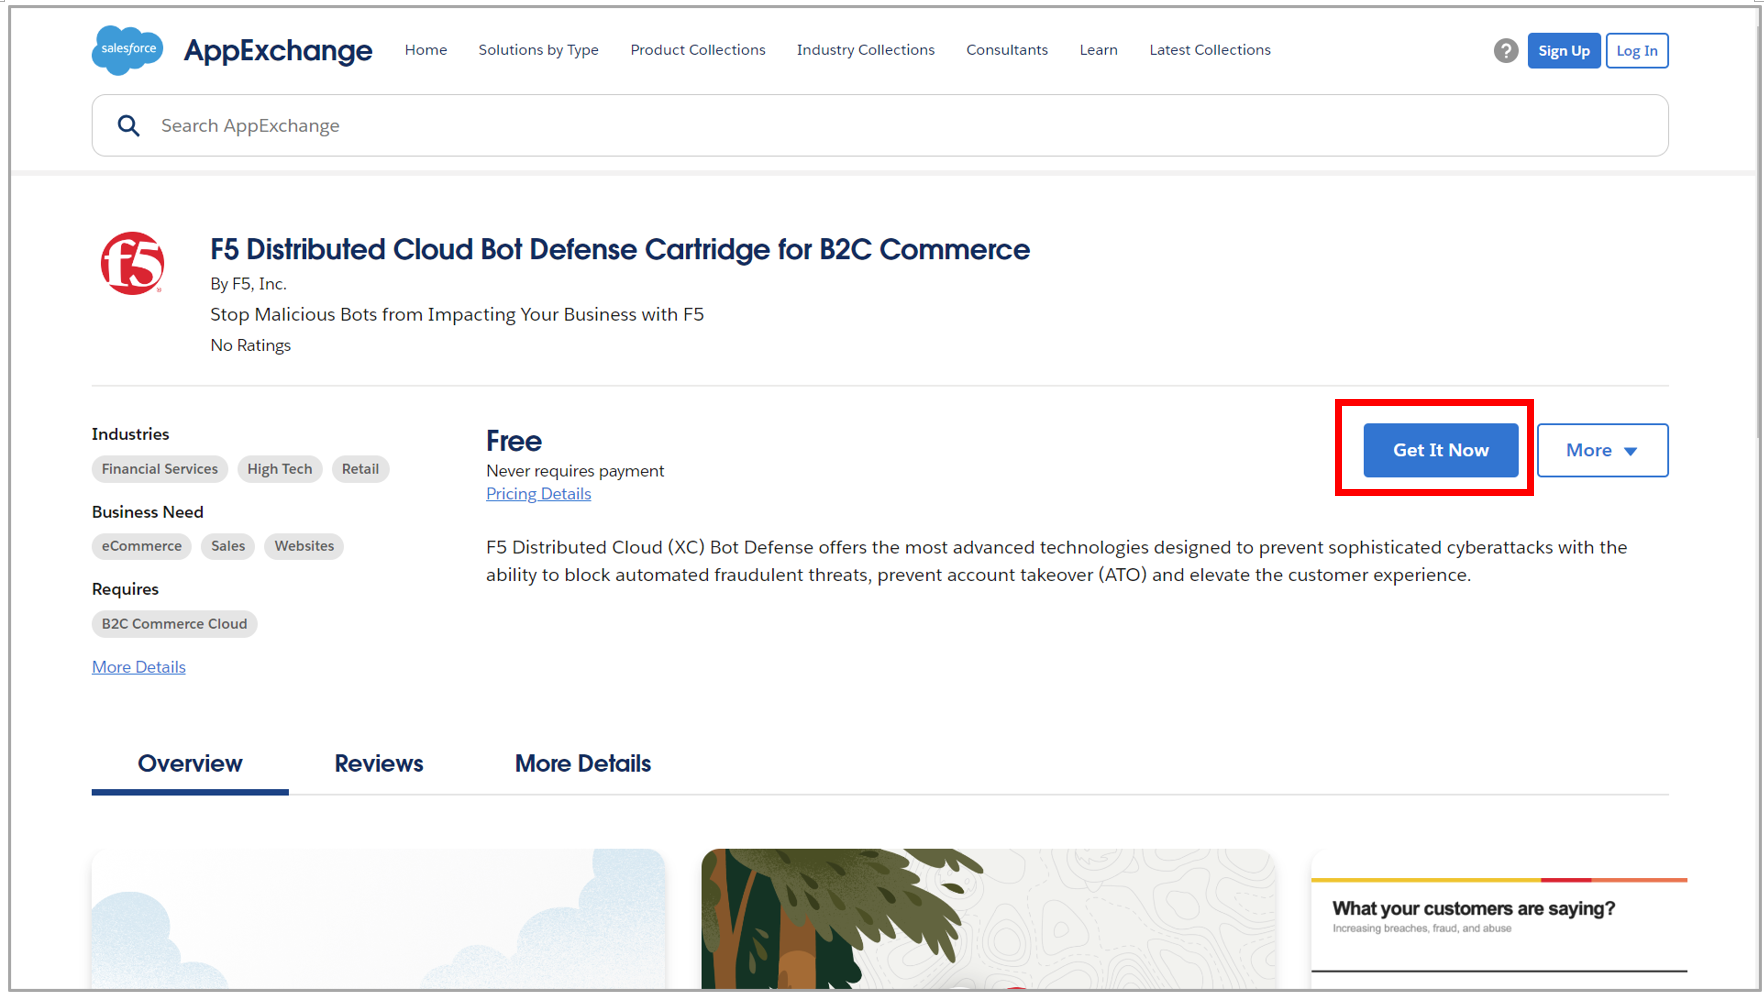
- Use the following link to go directly to the F5 Distributed Cloud Bot Defense Cartridge for B2C Commerce page in the Salesforce AppExchange and select Get It Now: https://appexchange.salesforce.com/appxListingDetail?listingId=a0N3u00000R8FxIEAV&tab=d
- Go to the Salesforce AppExchange at https://appexchange.salesforce.com/ and search for “F5 Bot Defense”. From the search results, select F5 Distributed Cloud Bot Defense Cartridge and then select Get It Now.

Figure: Salesforce Commerce Cloud
Next Steps
After you download the Bot Defense cartridge, review the following information:
- Follow the instructions provided in the documentation included with the Bot Defense cartridge download to install and configure the cartridge.**
- Review the following section, Supplemental Bot Defense configuration information for information to help you correctly configure the cartridge.**
Supplemental Bot Defense Configuration Information
This section provides additional information about many of the fields that you use when you configure Bot Defense. For fields that are not listed below, follow the information provided in the documentation you downloaded with the Bot Defense cartridge.
Important: Page titles and field names may be slightly different from the titles and names included below.
Custom Site Preferences
To see the following fields, log into Salesforce Commerce Cloud and go to Custom Site Preferences Groups in BM Merchant Tools > Site Preferences > Custom Preferences.
| Field Name | Information |
|---|---|
| Tenant ID | Enter the Tenant ID value that you copied from the protected application you added in the Distributed Cloud Console. |
| Telemetry Header Prefix | Enter the Telemetry Header Prefix value that you copied from the protected application you added in the Distributed Cloud Console. |
| F5 Shape API hostname | Enter the API Hostname value that you copied from the protected application you added in the Distributed Cloud Console. |
| API Key | The key used for authentication of the API calls to the F5 system. Enter the API Key value that you copied from the protected application you added in the Distributed Cloud Console. |
| Application (App) ID | Enter the App ID value that you copied from the protected application you added in the Distributed Cloud Console. |
| Specify F5 Shape JS URL or Path | Specify the path or URL from where clients can load the F5 client JavaScript to insert in your application. F5 recommends that you choose a URL or path that is similar to your existing JavaScript files, but that does not include “F5,” “Bot Defense” or other indications that it is used for security purposes. If you enter an absolute path, verify that the JavaScript requests are routed to Bot Defense. |
| Select location for JS tags | Select the location where JavaScript tags are inserted in application pages. F5 recommends that you select After <head> so that the Bot Defense JavaScript is executed early. This allows time for the Bot Defense JavaScript to be fetched and executed while the rest of page is rendered. If you select After </title>, be sure your application pages have the <title> tag. |
Manage Custom Objects
To see the following fields, log into Salesforce Commerce Cloud and go to Custom Objects in BM Merchant Tools > Custom Objects > Manage Custom Objects.
| Field Name | Information |
|---|---|
| Method | The HTTP methods that Bot Defense protects on this application. |
| Mitigation Action | The action Bot Defense takes on the endpoint when automated traffic is detected: - Continue: This allows traffic to continue to the origin. You can choose to add a header that enables you to monitor traffic in reporting and analytics dashboards. Block: The Bot is presented with a message that it has been blocked. - Redirect: The Bot is sent to a different page. |
| Block Response Body | Text that is displayed to automated traffic when Bot Defense performs the Block mitigation action. |
| Block Response Code | The status code that is displayed to automated traffic when Bot Defense performs the Block mitigation action. |
| Block Response Content Type | The type of content that is displayed when Bot Defense performs the Block mitigation action. For example, plain text or HTML. |
| Redirect location | The path where automated traffic is redirected when the Redirect mitigation action is performed by Bot Defense. |
Next Steps
Make sure you have configured Bot Defense correctly. For information, see Test your Bot Defense configuration.