Reports
Objective
This document provides instructions on how to work with the F5® Distributed Cloud Services reporting capabilities. The reporting feature provides periodic overview snapshots (reports) of the different services offered. A report provides information similar to a dashboard, but it is created in a web-friendly, printable format.
Using the instructions provided in this document, you can create and manage the types of reports you want to see. Your reports will be distributed per your specifications and saved in a report history table.
Prerequisites
-
An F5 Distributed Cloud Account. If you do not have an account, see Getting Started with Console.
-
Creating reports requires that you have configured the services on which you want to report.
Configuration
Create a Report
In order to create a report on a service, you must specify the type of information you want to see in the report. Perform the following to create and configure a report:
Step 1: Log into Console and start creating a report.
- From the Console homepage, select the
Web App & API ProtectionorShared Configurationservice.
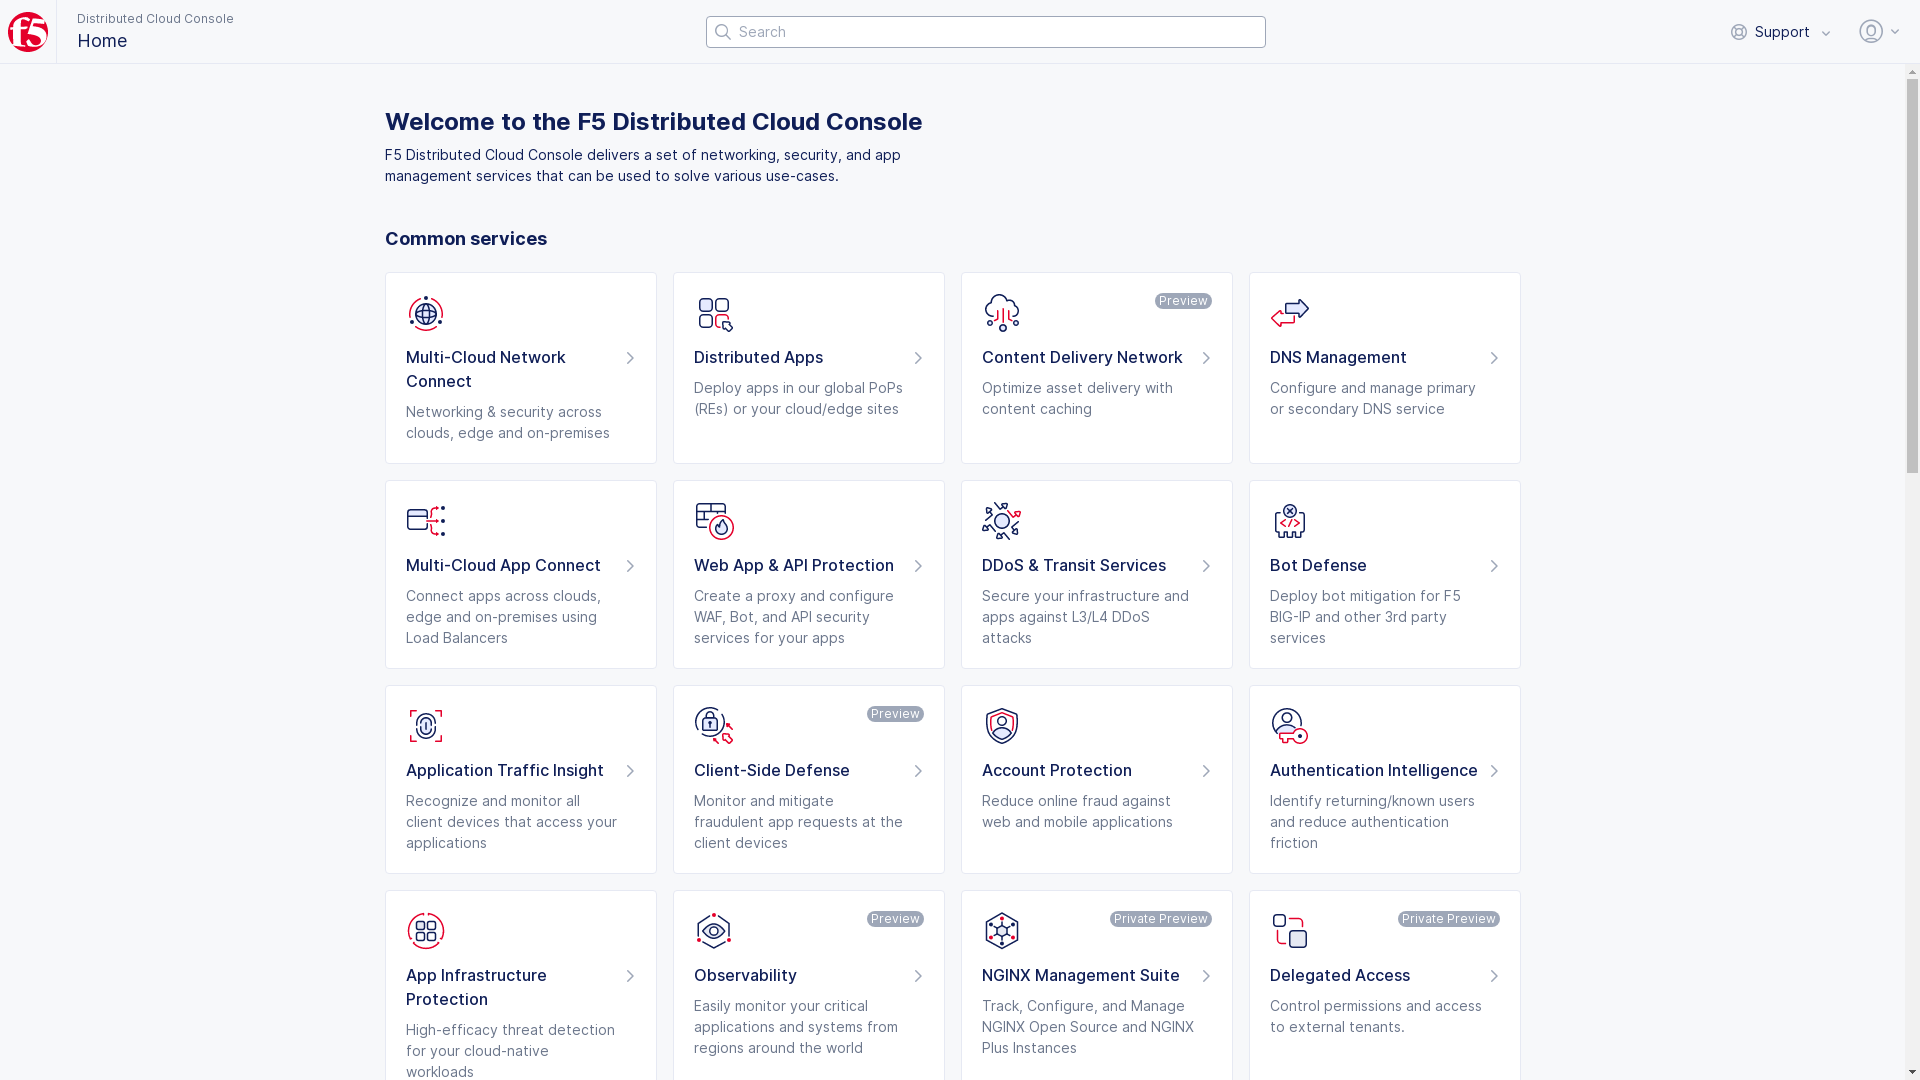
Figure: Console Homepage
- Navigate to
Manage>Reports>Reports Management.
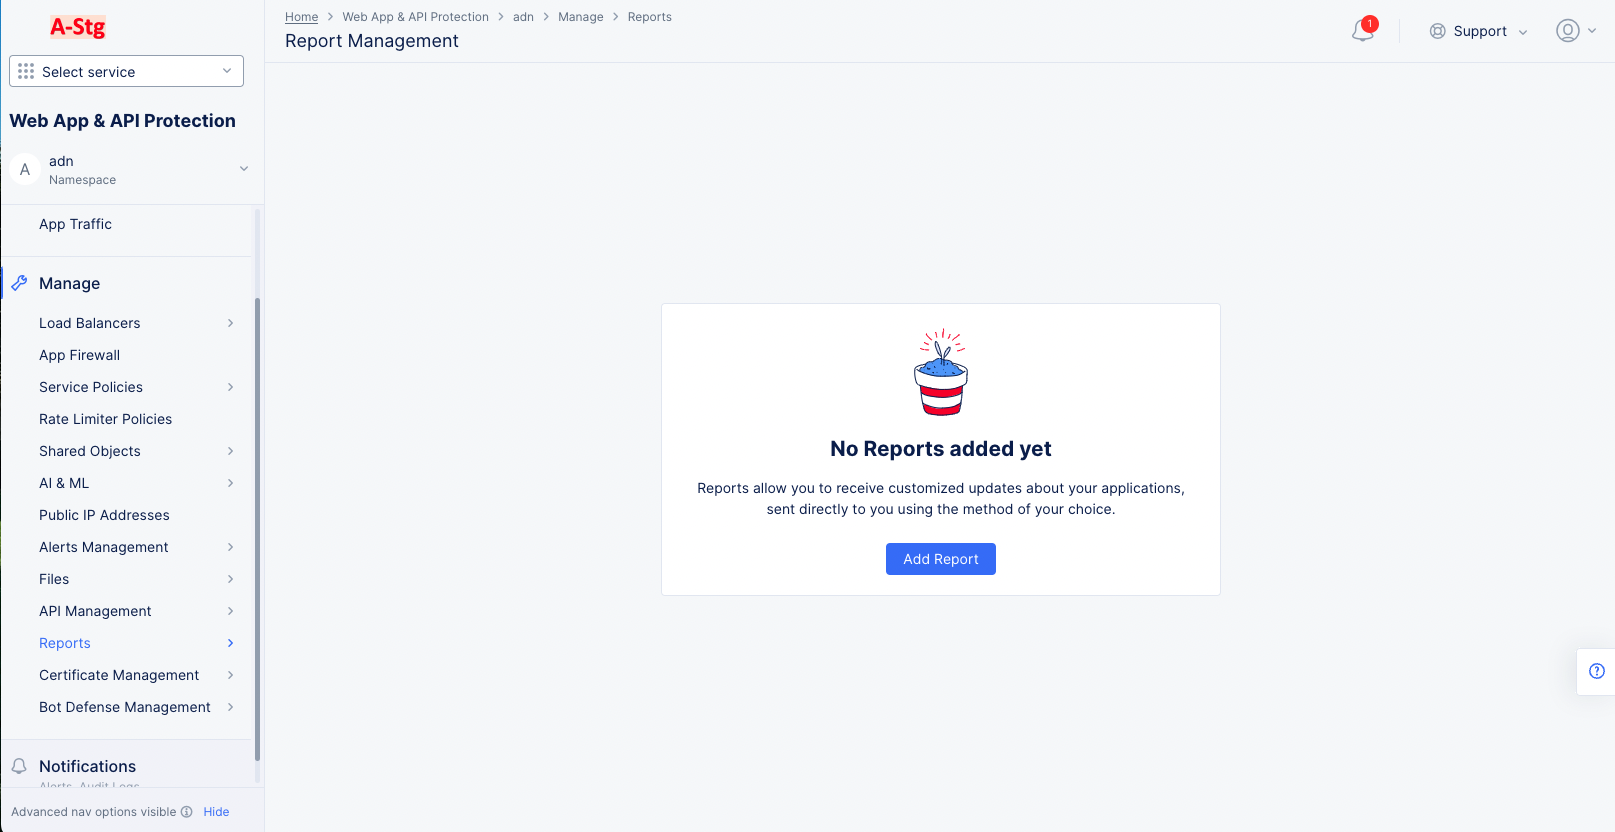
Figure: List of Reports
- Click
Add Report.
Step 2: Set the metadata, report type, and frequency.
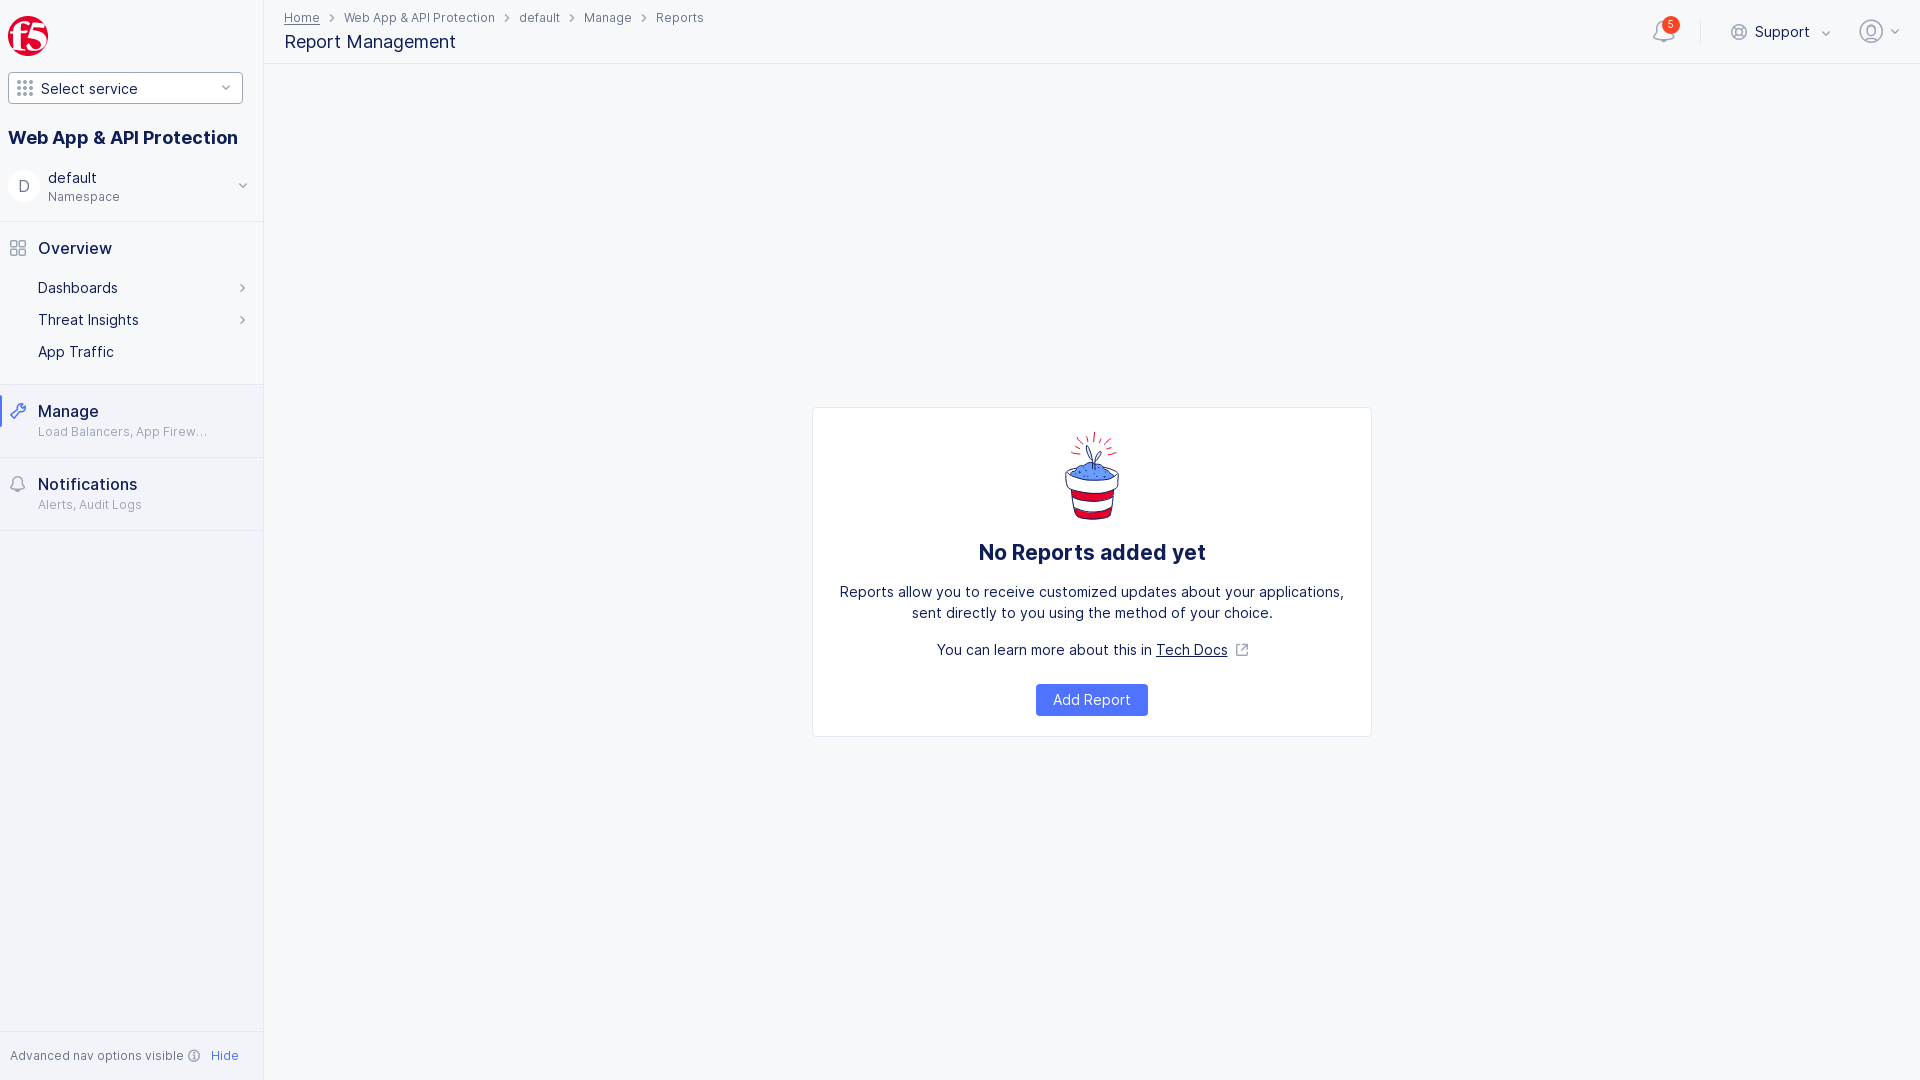
Figure: Create a Report
-
Enter a name for your report.
-
Optionally enter labels and/or a description.
-
Select a report type using the
Typedrop-down menu.
Note: Currently, reports are only available for the WAAP service.
-
If you are using the
Shared Configurationservice, use theNamespacesdrop-down menu to select the namespace to be used for the report. Otherwise, the current namespace will be used. -
Use the
Report creation frequencydrop-down menu to select how often the report is to be generated and mailed to recipients. If you selectWeekly, you will also enter a day of the week. If you selectMonthly, you will also enter a day of the month. -
Enter the time to create the report in the
Report Generation Timefield. For instance, entering01:00:00 AMwould generate the report at 1:00 AM and send the report to the recipients once the report generation is finished. The time format for this field isHH:MM:SS [AM|PM]. Use the drop-down feature and clickSee Common Valuesfor easier time entry.
Note: The time zone is UTC for the time you enter.
Step 3: Configure the report recipients.
-
Click the
Add Itembutton in theUser Groupssection. -
Use the pull-down menu in the
User Groupscolumn to select a group to receive the reports. -
Click the
Add Itembutton to add more user groups to the list of recipients.
Note: If you don't have any user groups, you can create them in the
Administrationservice underIAM. See Create User Groups and Add Users for more details.
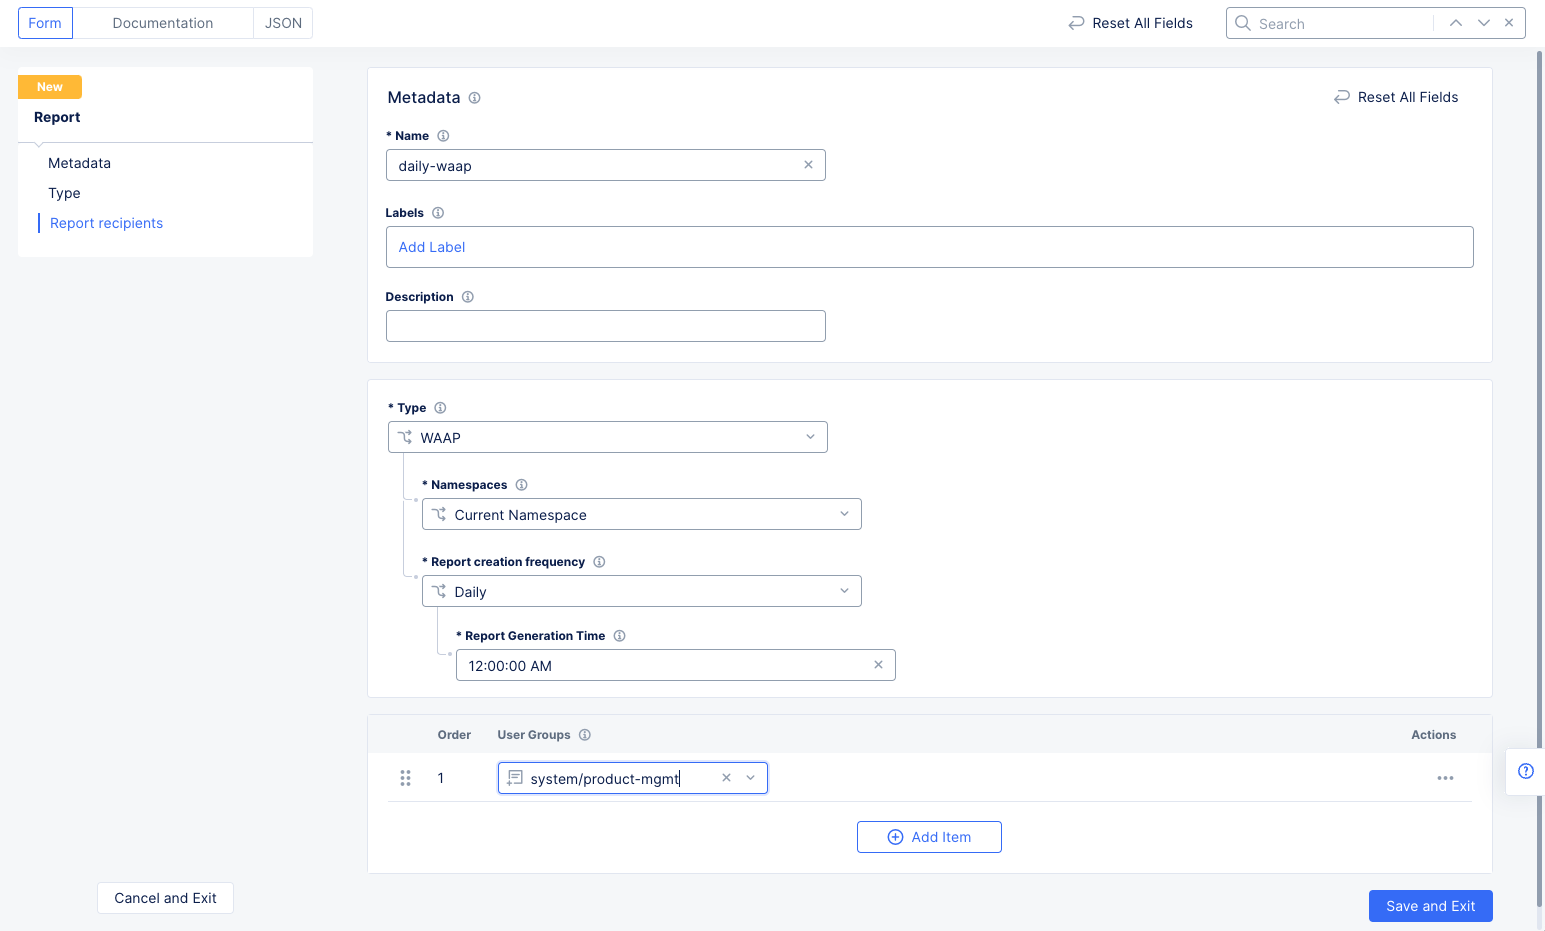
Figure: Sample Report
Step 4: Complete creating the report.
Click Save and Exit.
Step 5: Manage reports.

Figure: Report List
Once you have created some reports, the Reports Management page will show a table of the reports (Manage > Reports > Reports Management). Below is a list of capabilities in the reports table.
-
Click
Add Filterto build a filter of which reports to see in the table. -
Enter a search string in the
Searchfield to see only line items containing that string. -
Click the gear icon ( ⚙ ) see different column data in the table.
-
Check the checkbox(es) in the column(s) of the report(s) you would like to delete, and then click the
Delete Selectedbutton. -
Click
SuccessorErrorin the Delivery Status column to seeDelivery Status Detailspanel. -
Click the 3-dot icon in the
Actionscolumn to perform one of the following actions:-
Manage Configuration: view the report creation settings. From there, clickEdit Configurationto change settings. -
Clone Object: Make a copy of the report in the report creation form. -
Generate and Send Now: Generate and send the report now rather than wait for the scheduled day/time. -
Delivery Status Details: Opens a panel with information on creation and delivery of the report. -
Report History: Opens theReport Historypage showing a table of generated reports (discussed in more detail in the next section of this document). If your reports table has a filter enabled, the filter will be carried over to the reports table on the history page. -
Delete: Deletes this report, meaning no more of these reports will be generated and sent.
-
Report History
After creating your types of reports, Distributed Cloud Services will generating periodic reports and store them. The Report History page allows you to view the history of reports generated and get more information on specific report instances.
Step 1: Navigate to the Report History page.
-
From the Console homepage, select the
Web App & API Protectionservice. -
Navigate to
Manage>Reports>Report History.
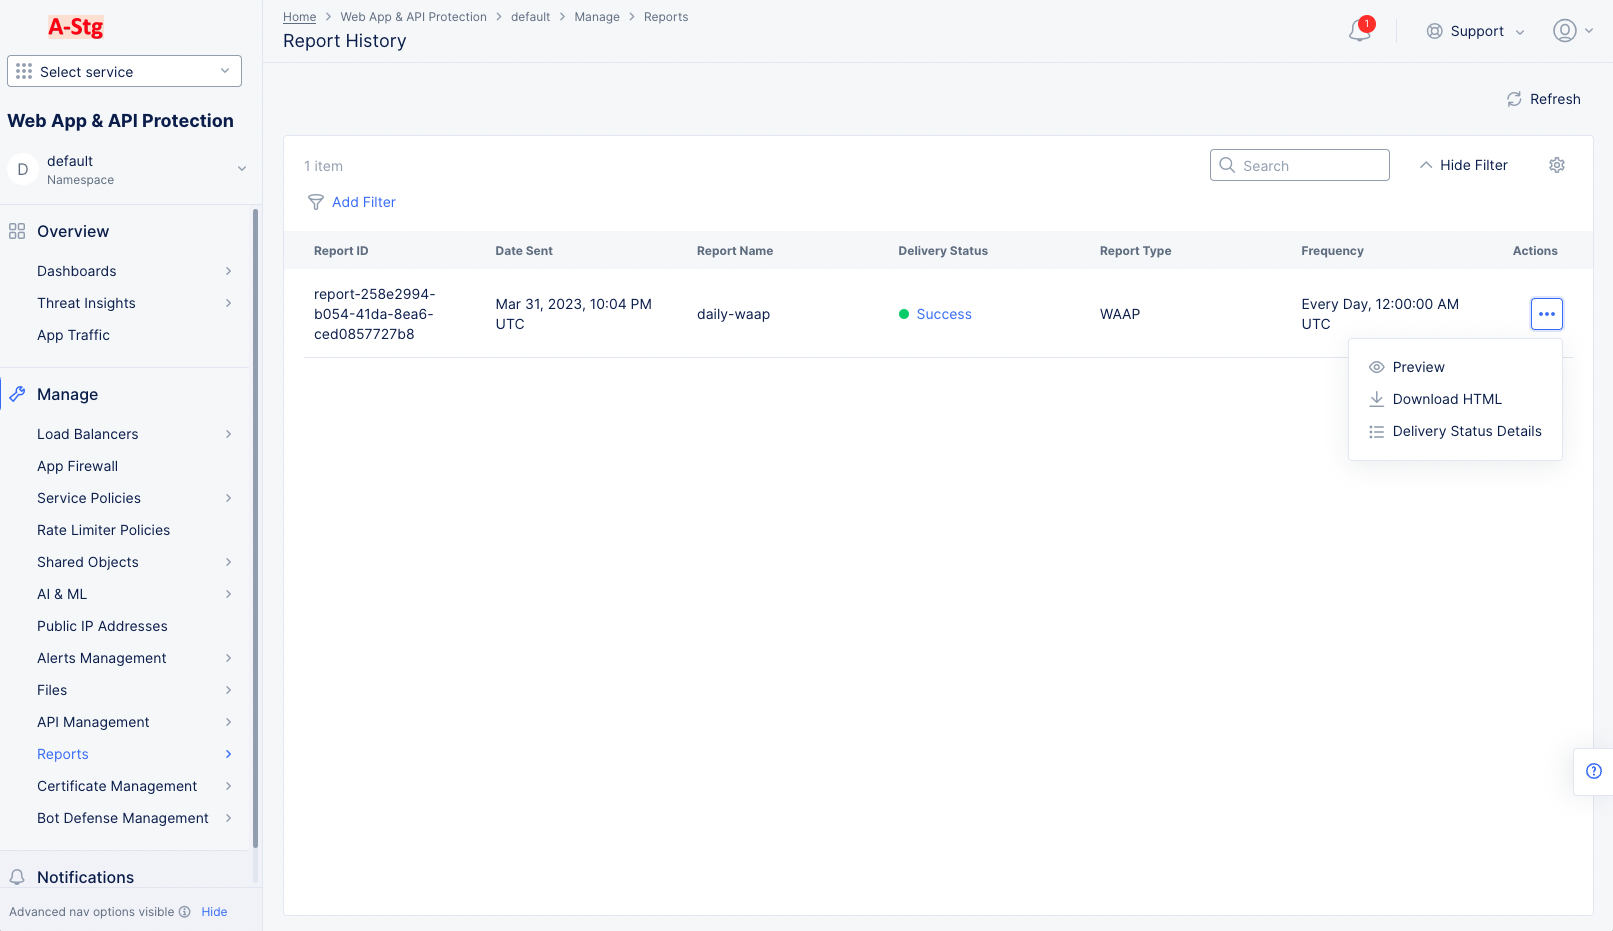
Figure: Report History Page
Step 2: Interact with the Report History table.
-
Click
Add Filterto build a filter of which reports to see in the table. -
Enter a search string in the
Searchfield to only line items containing that string. -
Click the gear icon ( ⚙ ) see different column data in the table.
-
Click
SuccessorErrorin the Delivery Status column to seeDelivery Status Detailspanel. -
Click the 3-dot icon in the
Actionscolumn to perform one of the following actions:-
Preview: View the report in a pop-up window. -
Download HTML: Download an HTML version of the report to yourDownloadsfolder. -
Delivery Status Details: Opens a panel with information on creation and delivery of the report.
-