Create Network Segments
Objective
This guide provides instructions on how to create and use segments using the guided wizard in F5® Distributed Cloud Console (Console). Network segmentation allows you to manage VPCs/VNets efficiently. You can group your VPCs/VNets and set rules for them to communicate with each other.
Prerequisites
A valid F5 Distributed Cloud Services account. If you do not have an account, see Getting Started with Console.
Manage Segments
Take specific actions.
-
Log into Console and select
Multi-Cloud Network Connect. -
Click
Manage>Networking>Segments. TheSegmentspage shows a list of your segments with key details shown for each.
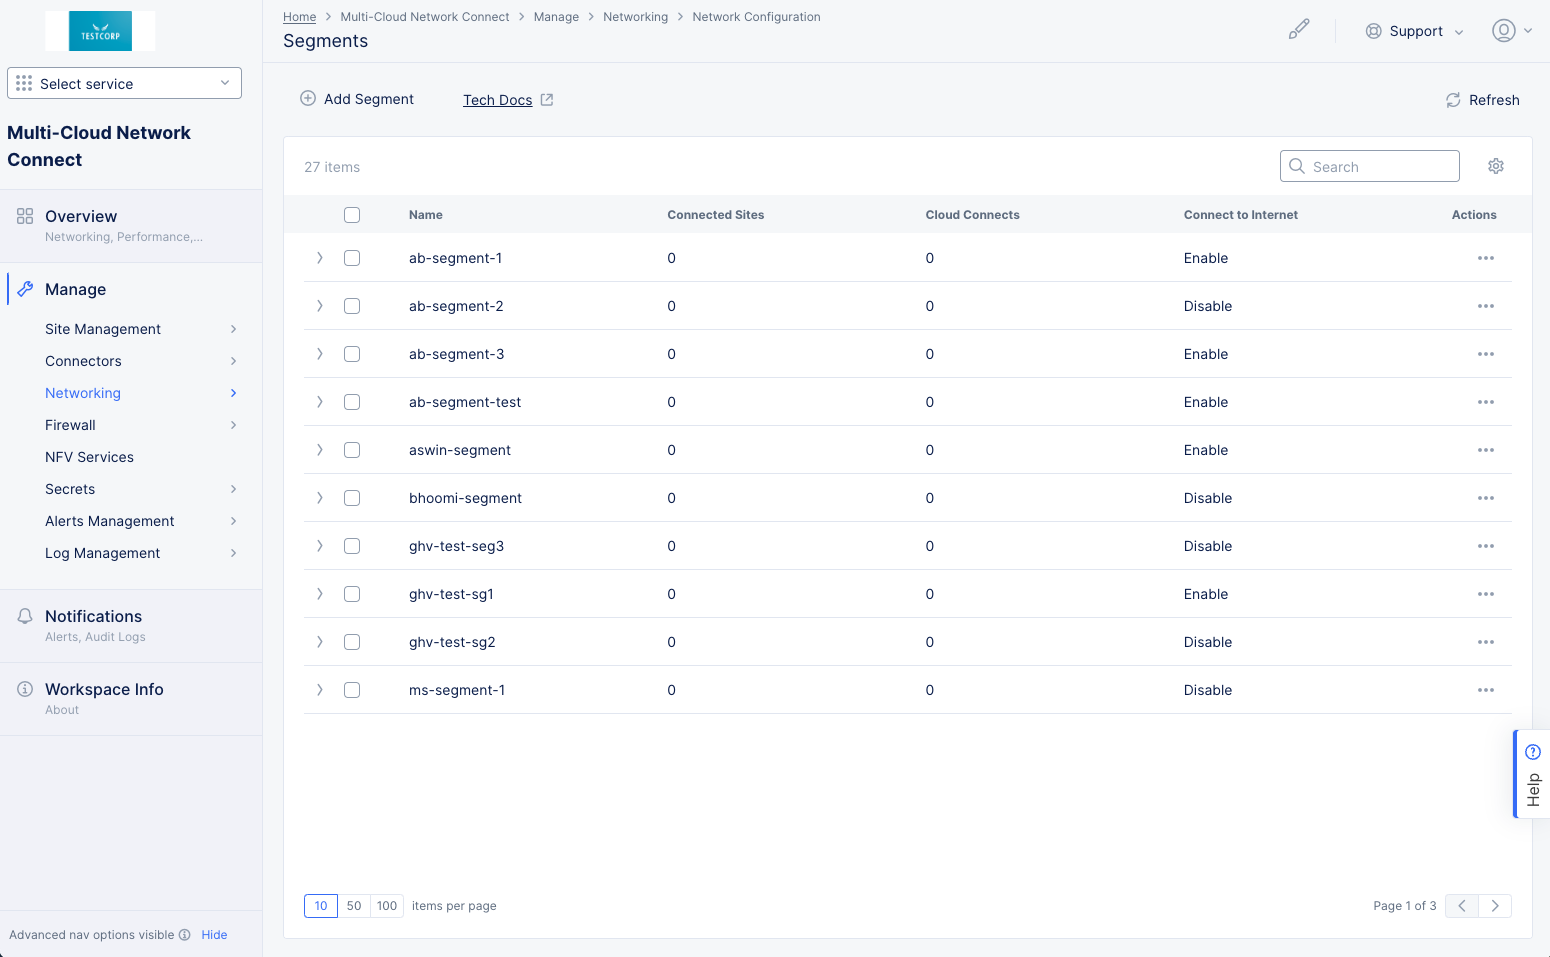
Figure: Network Segments
-
Change the key details you see in the table by clicking on the gear icon ( ⚙ ) and selecting different fields.
-
Enter text in the
Searchfield to only see table rows that include that text (even if they were not shown due to theitems per pagesetting). -
Click the arrow on the left side of a row to see all the information for the segment in JSON format. Use the
JSONdrop-down menu to switch to YAML format. Click the arrow again to hide the information. -
Use the checkboxes on each row to select or unselect a row. Use the checkbox on the table header row to select/unselect all rows on the current page. Click
Resetat the top of the table to unselect all rows. -
Click
Delete selectedto delete the selected row(s) (segments). -
Use the
items per pageselector to determine how many rows you see on a page. -
Use the
Pagearrows to change which page is shown in the table.
Create a segment.
-
Click
Add Segmenton theSegmentspage. Alternatively, you can click...>Clone Objectin theActionsmenu of an existing segment. -
In the
Namefield, enter the name for the new segment. -
Optionally, add labels and a description.
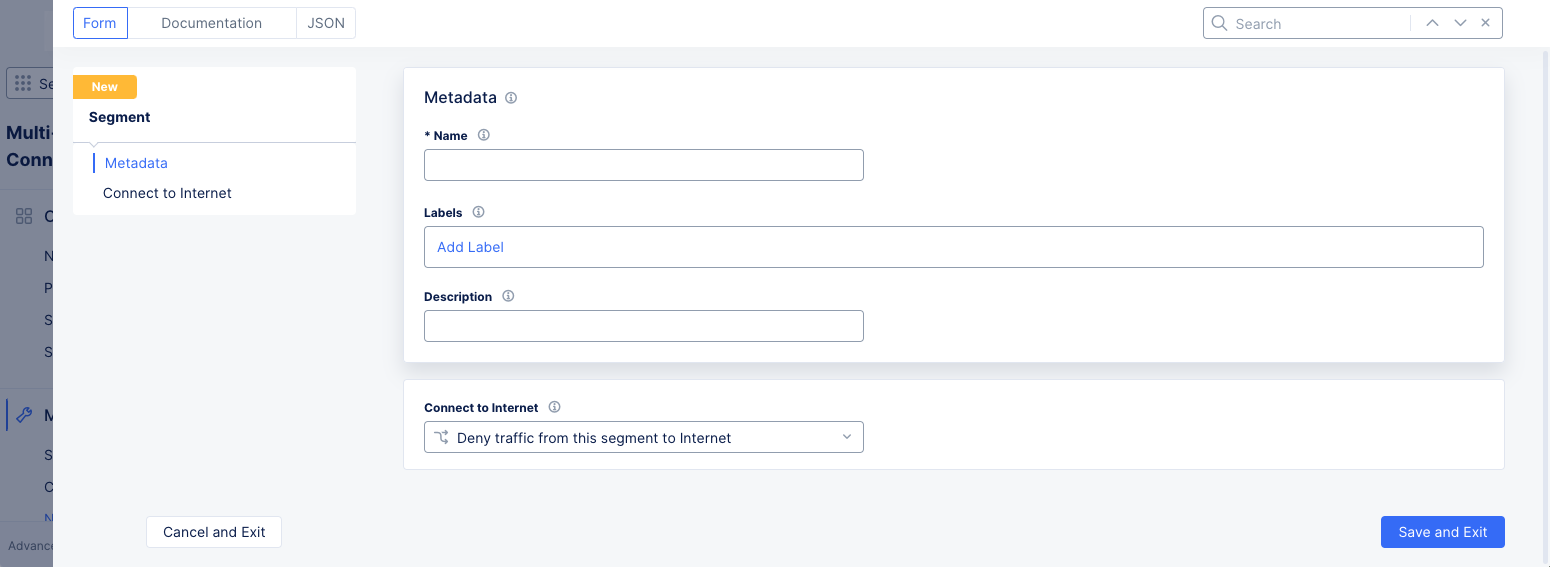
Figure: Add Segment
-
Select an option with the
Connect to Internetdrop-down menu. -
Click
Save and Exitto create the segment.
View or modify a segment.
-
Click
...>Manage Configurationin theActionsmenu of the segment you want to view/modify. This displays all the user-modifiable information in the segment. -
Click
Edit Configurationin the upper right corner if you want to make modifications.
Important: You will not be able to change the segment name. To change the segment name, you will need to create or clone a new segment and then delete the old segment.
- Click
Cancel and Exitto return to theSegmentspage, or clickSave and Exitto save the change you made and return to theSegmentspage.
Delete a segment.
There are two ways to delete segments.
Delete one or more segments:
-
Toggle the checkbox for each segment you want to delete.
-
Click
Delete selected.
Delete one segment:
-
Click
...>Deletein theActionsmenu of the segment you want to delete. -
Either method will display a confirmation pop-up. Click
Deletein the confirmation pop-up to delete the segment(s).
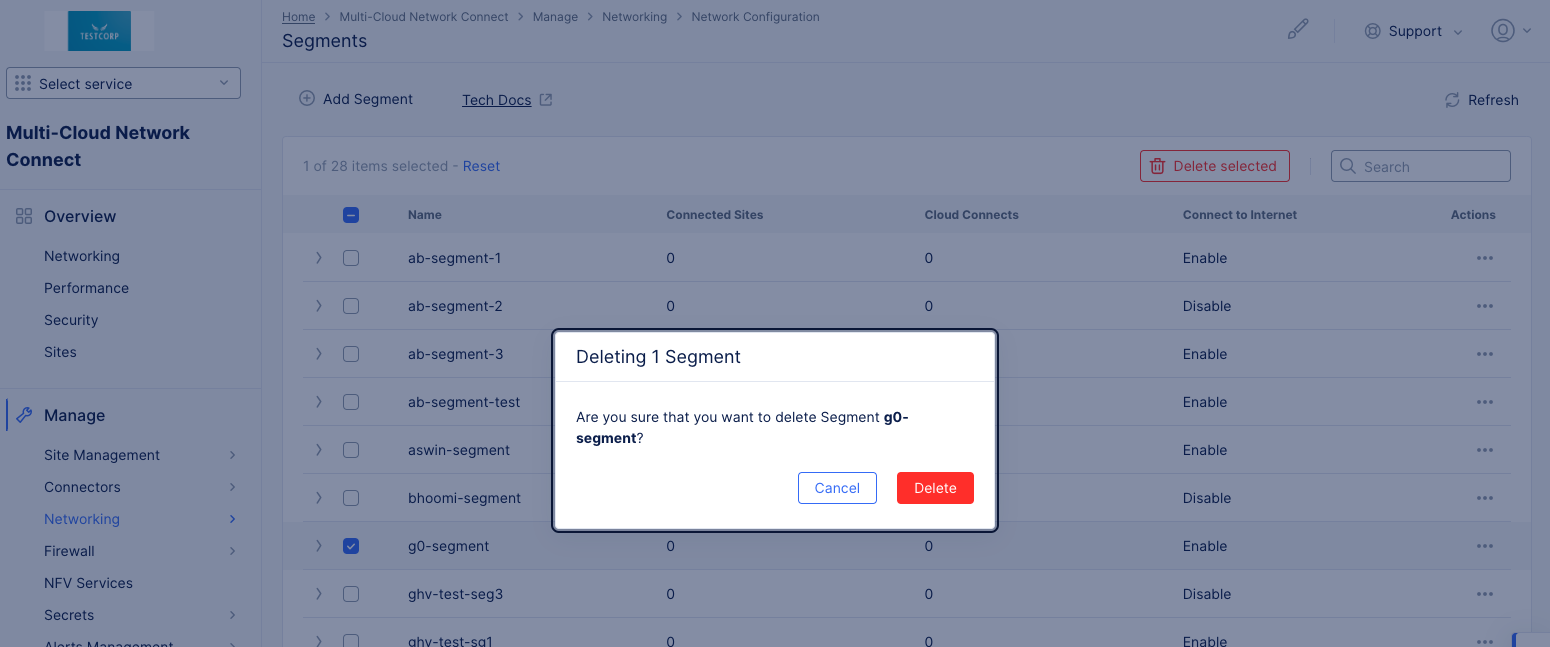
Figure: Delete Segment
Manage Segment Connections
-
In Console, select
Multi-Cloud Network Connect. -
Click
Manage>Networking>Segment Connector. TheSegment Connectorpage shows a list of your segment connections with key details shown for each.
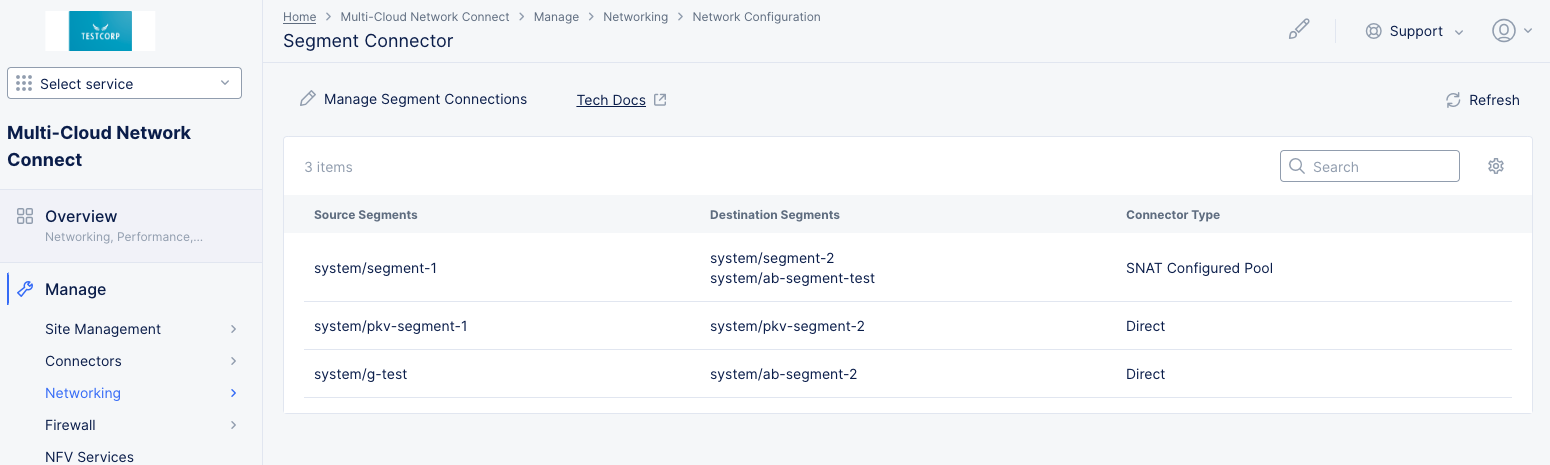
Figure: Segment Connections
-
To take specific action on this page:
-
Change the key details you see in the table by clicking on the gear icon ( ⚙ ) and selecting different fields.
-
Enter text in the
Searchfield to only see table rows that include that text (even if they were not shown due to theitems per pagesetting).
-
Manage segment connections.
-
Click
Manage Segment Connectionsto add, modify, or delete connections. -
From the
Segment Connectorssection, you can see your list of connections between segments, the type of connection and perform the following:- Click the pencil icon to modify the connection shown in that row.
- Click the trash can icon to delete the connection.
- Click
Add Itemto create a new connection. Optionally, add labels and a description.
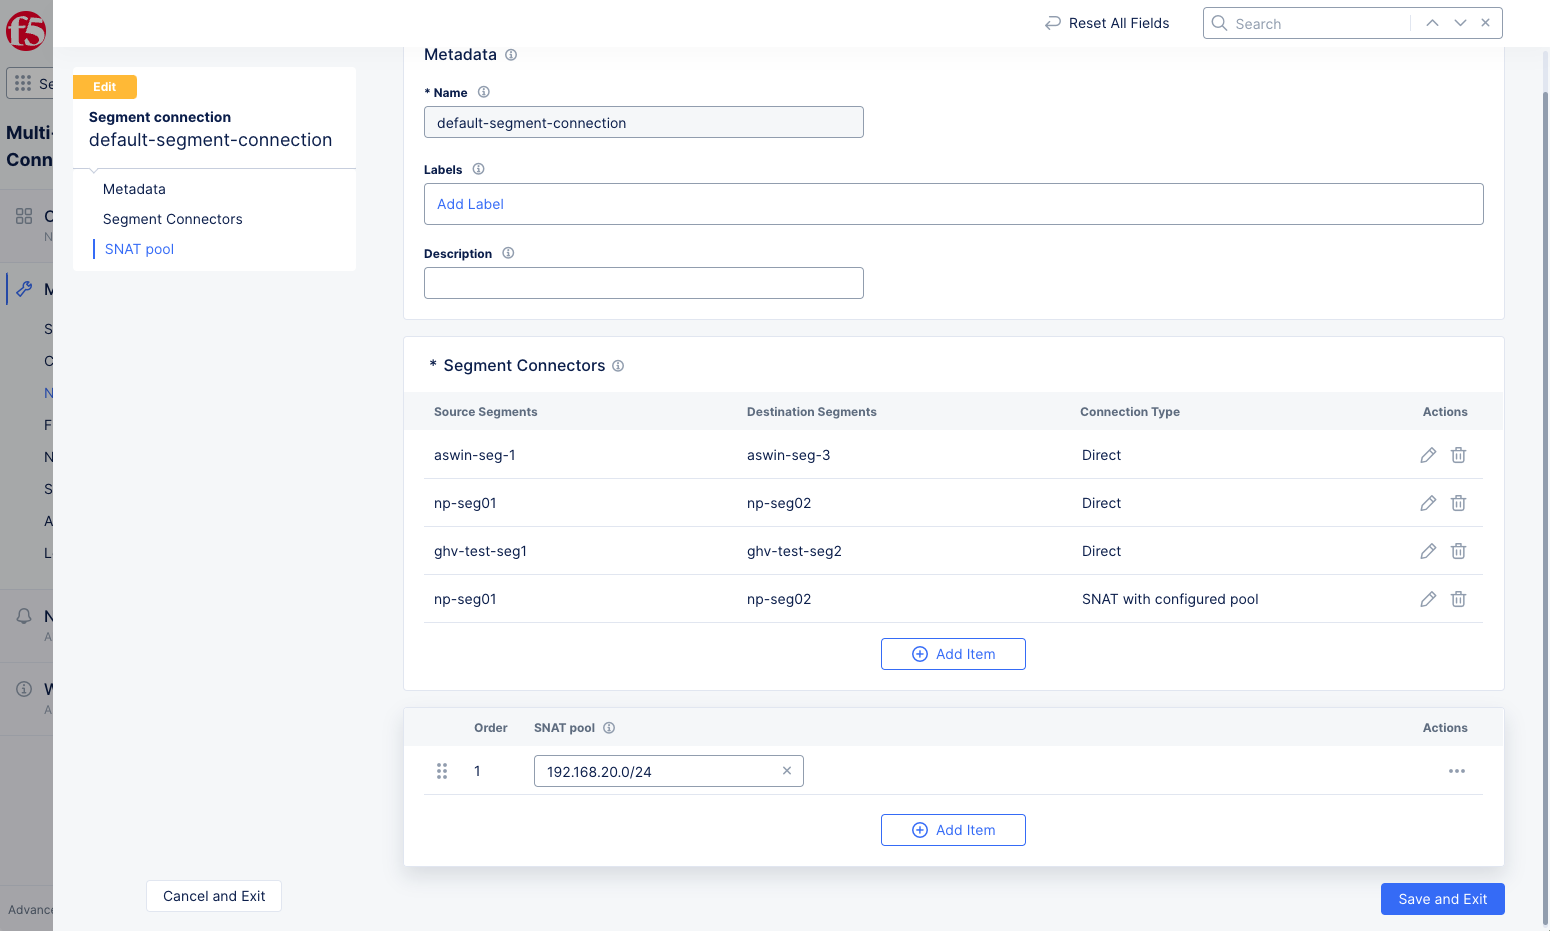
Figure: Segment Connections List
- In the
Source Segmentssection, use the drop-down menu to select a segment. Use the...menu in theActionscolumn to view, edit, or delete that segment. ClickAdd Itemto add additional source segments.
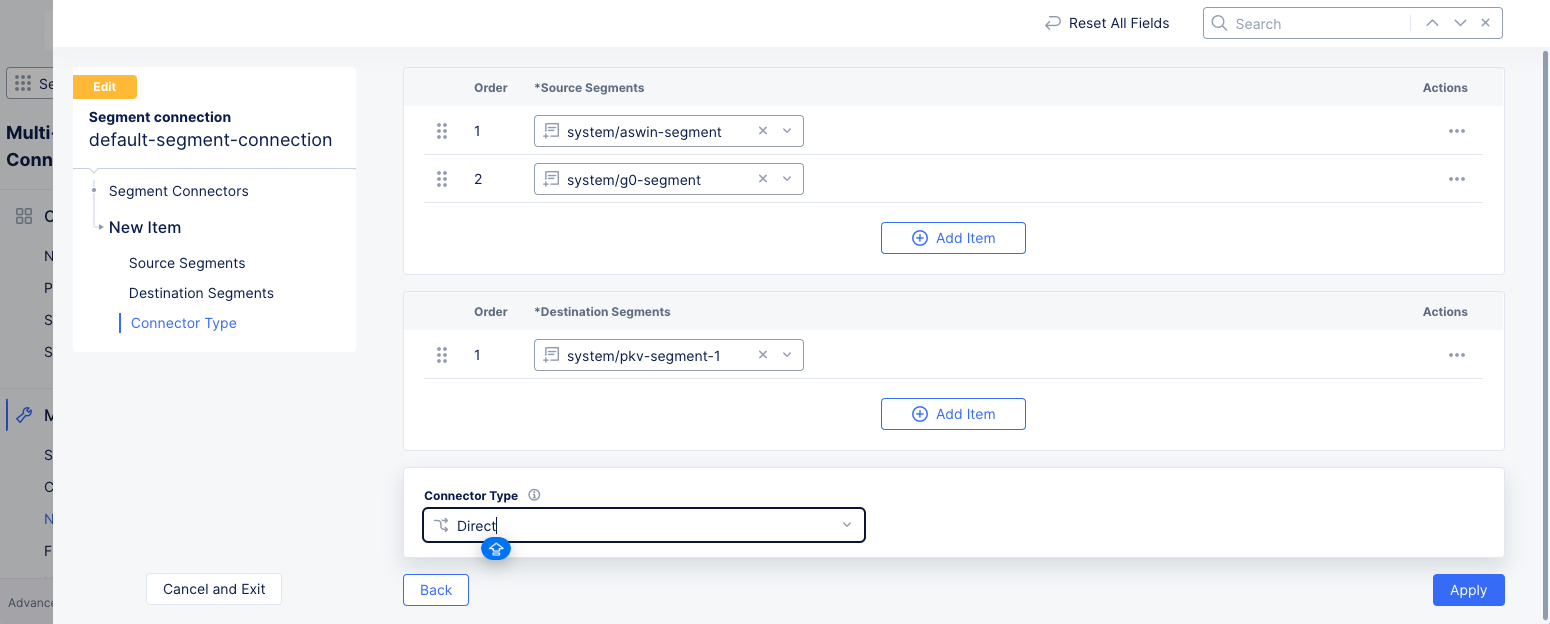
Figure: Segment Connection Form
-
In the
Destination Segmentssection, use the drop-down menu to select a segment. Use the...menu in theActionscolumn to view, edit, or delete that segment. ClickAdd Itemto add additional destination segments. -
From the
Connector Typedrop-down menu, select how you want the segments to connect. -
From the
SNAT poolsection, view the SNAT pools for your connections that use a configured SNAT pool. If needed, perform the following:- Enter the IP address of your SNAT pool. Use
Add Itemto enter more SNAT pools. - Click
...>Deleteto delete a SNAT pool.
- Enter the IP address of your SNAT pool. Use
-
Click
Save and Exitto save your changes.
Concepts
- System Overview
- Core Concepts
- Networking
- F5 Distributed Cloud - Customer Edge
- F5 Distributed Cloud Site