Configure Policer and Protocol Policer
Objective
This document provides instructions on setting up policers and protocol policers in the F5® Distributed Cloud Console.
Policer is used for applying rate limits to traffic and protocol policer rate-limits traffic for specific type of packets (TCP, ICMP, UDP, and DNS). You can use policers in ACLs and network policies.
Prerequisites
An F5 Distributed Cloud Account. If you do not have an account, see Getting Started with Console.
Procedure
Perform the following steps in F5® Distributed Cloud Console to set up new Policers and Protocol Policers:
Configure Policers
Step 1: Log into F5® Distributed Cloud Console, open Policers.
- Open
F5® Distributed Cloud Console> selectMulti Cloud Network Connectbox.
Note: Homepage is role based, and your homepage may look different due to your role customization. Select
All Servicesdrop-down menu to discover all options. Customize Settings:Administration>Personal Management>My Account>Edit work domain & skills>Advancedbox > checkWork Domainboxes >Save changes.
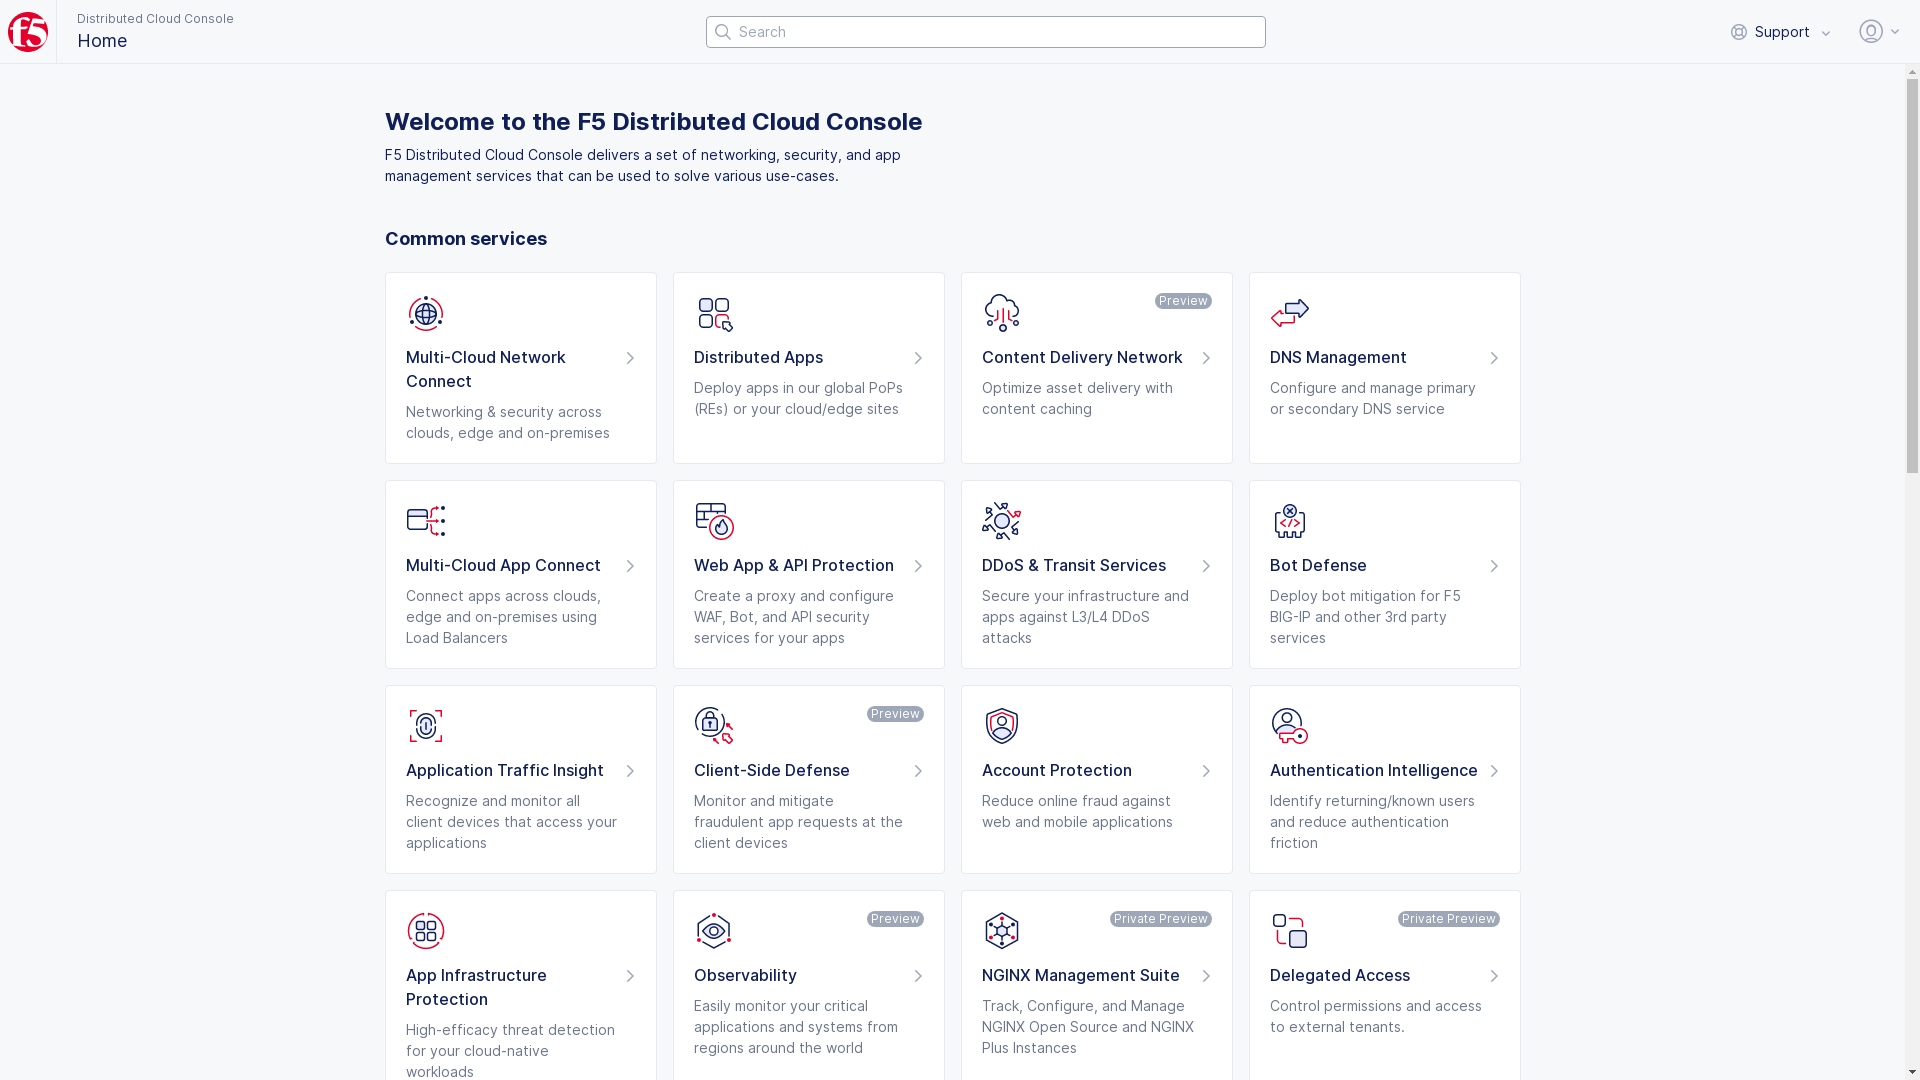
Figure: Homepage
- Select
Managein left-menu > selectFirewall>Policers.
Note: If options are not showing available, select
Showlink inAdvanced nav options visiblein bottom left corner. If needed, selectHideto minimize options from Advanced nav options mode.
- Select
Add Policer.
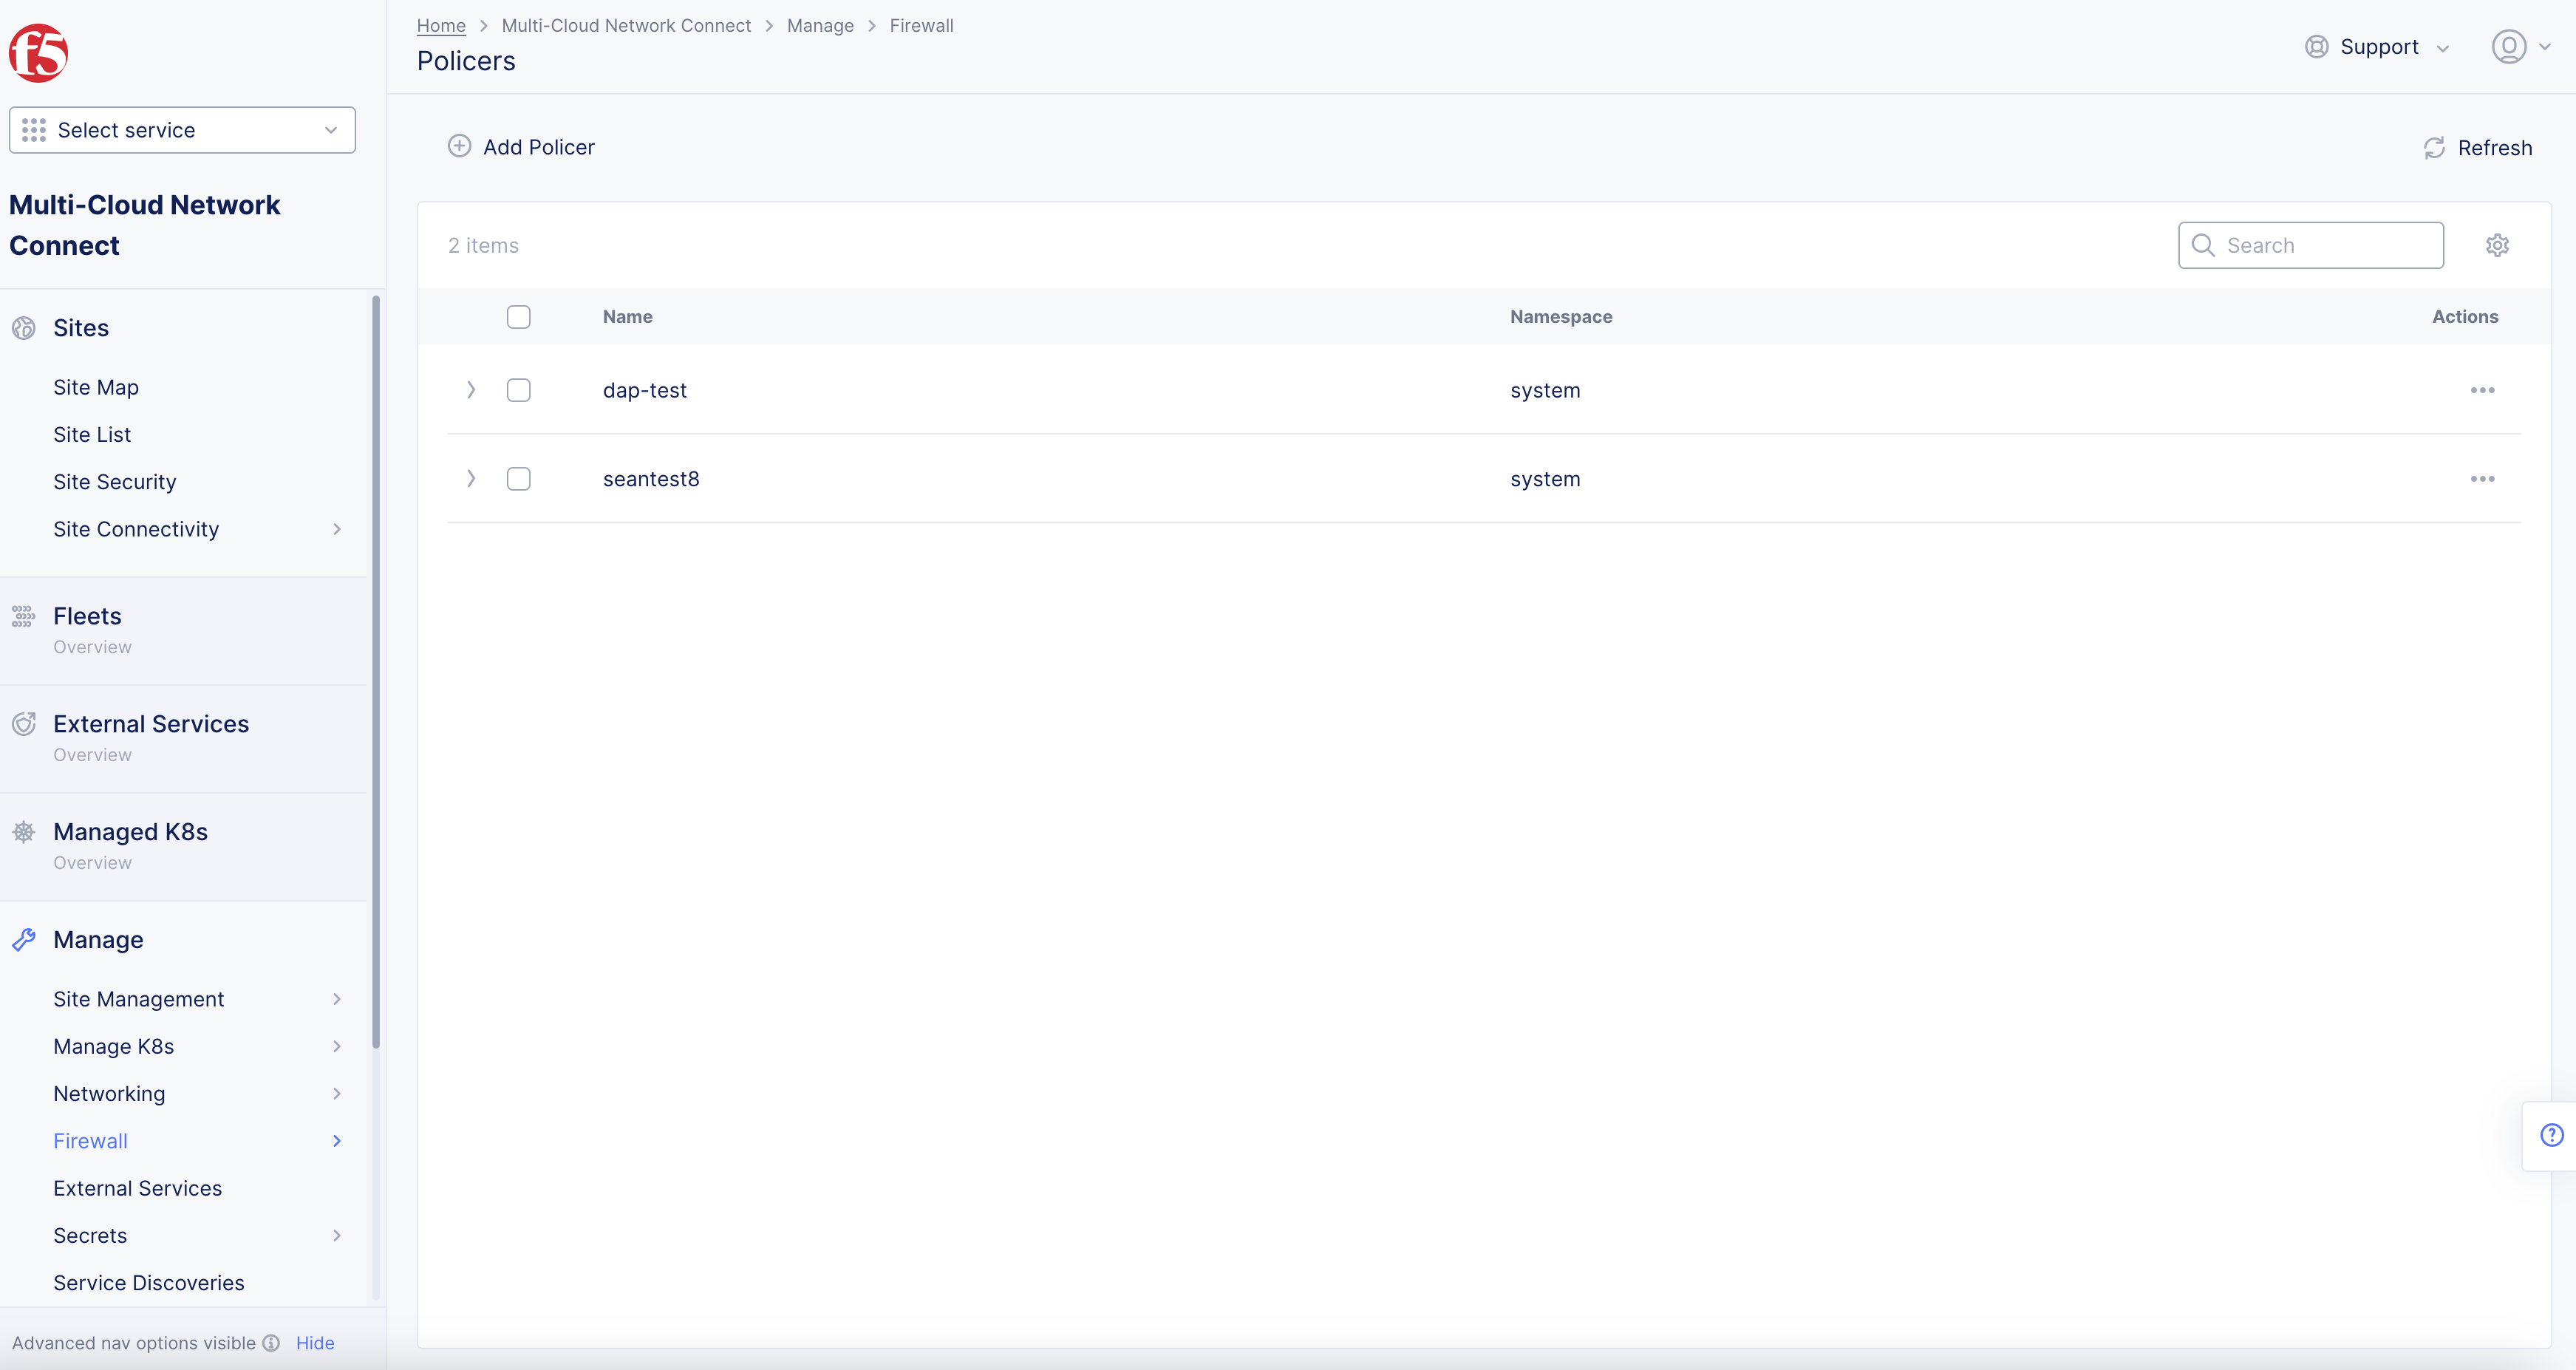
Figure: Shared Objects > Policer
Step 2: Add Policer.
-
Enter
NameinMetadata. The configuration object will be created withName. It has to be unique within the namespace. The value of name has to follow DNS-1035 format. DNS-1035 label must be lowercase alphanumeric characters - start with letters-and end in letters or numbers corresponding with domains and clusters e.g. abc-123. -
Select
Labelsas needed.
Note:
Labels, Map of string keys and values that can be used to organize and categorize (scope and select) objects as chosen by the user. Values specified here will be used by selector expression.
- Enter
Descriptionas needed.
Note: Human readable
Descriptionfor the object.
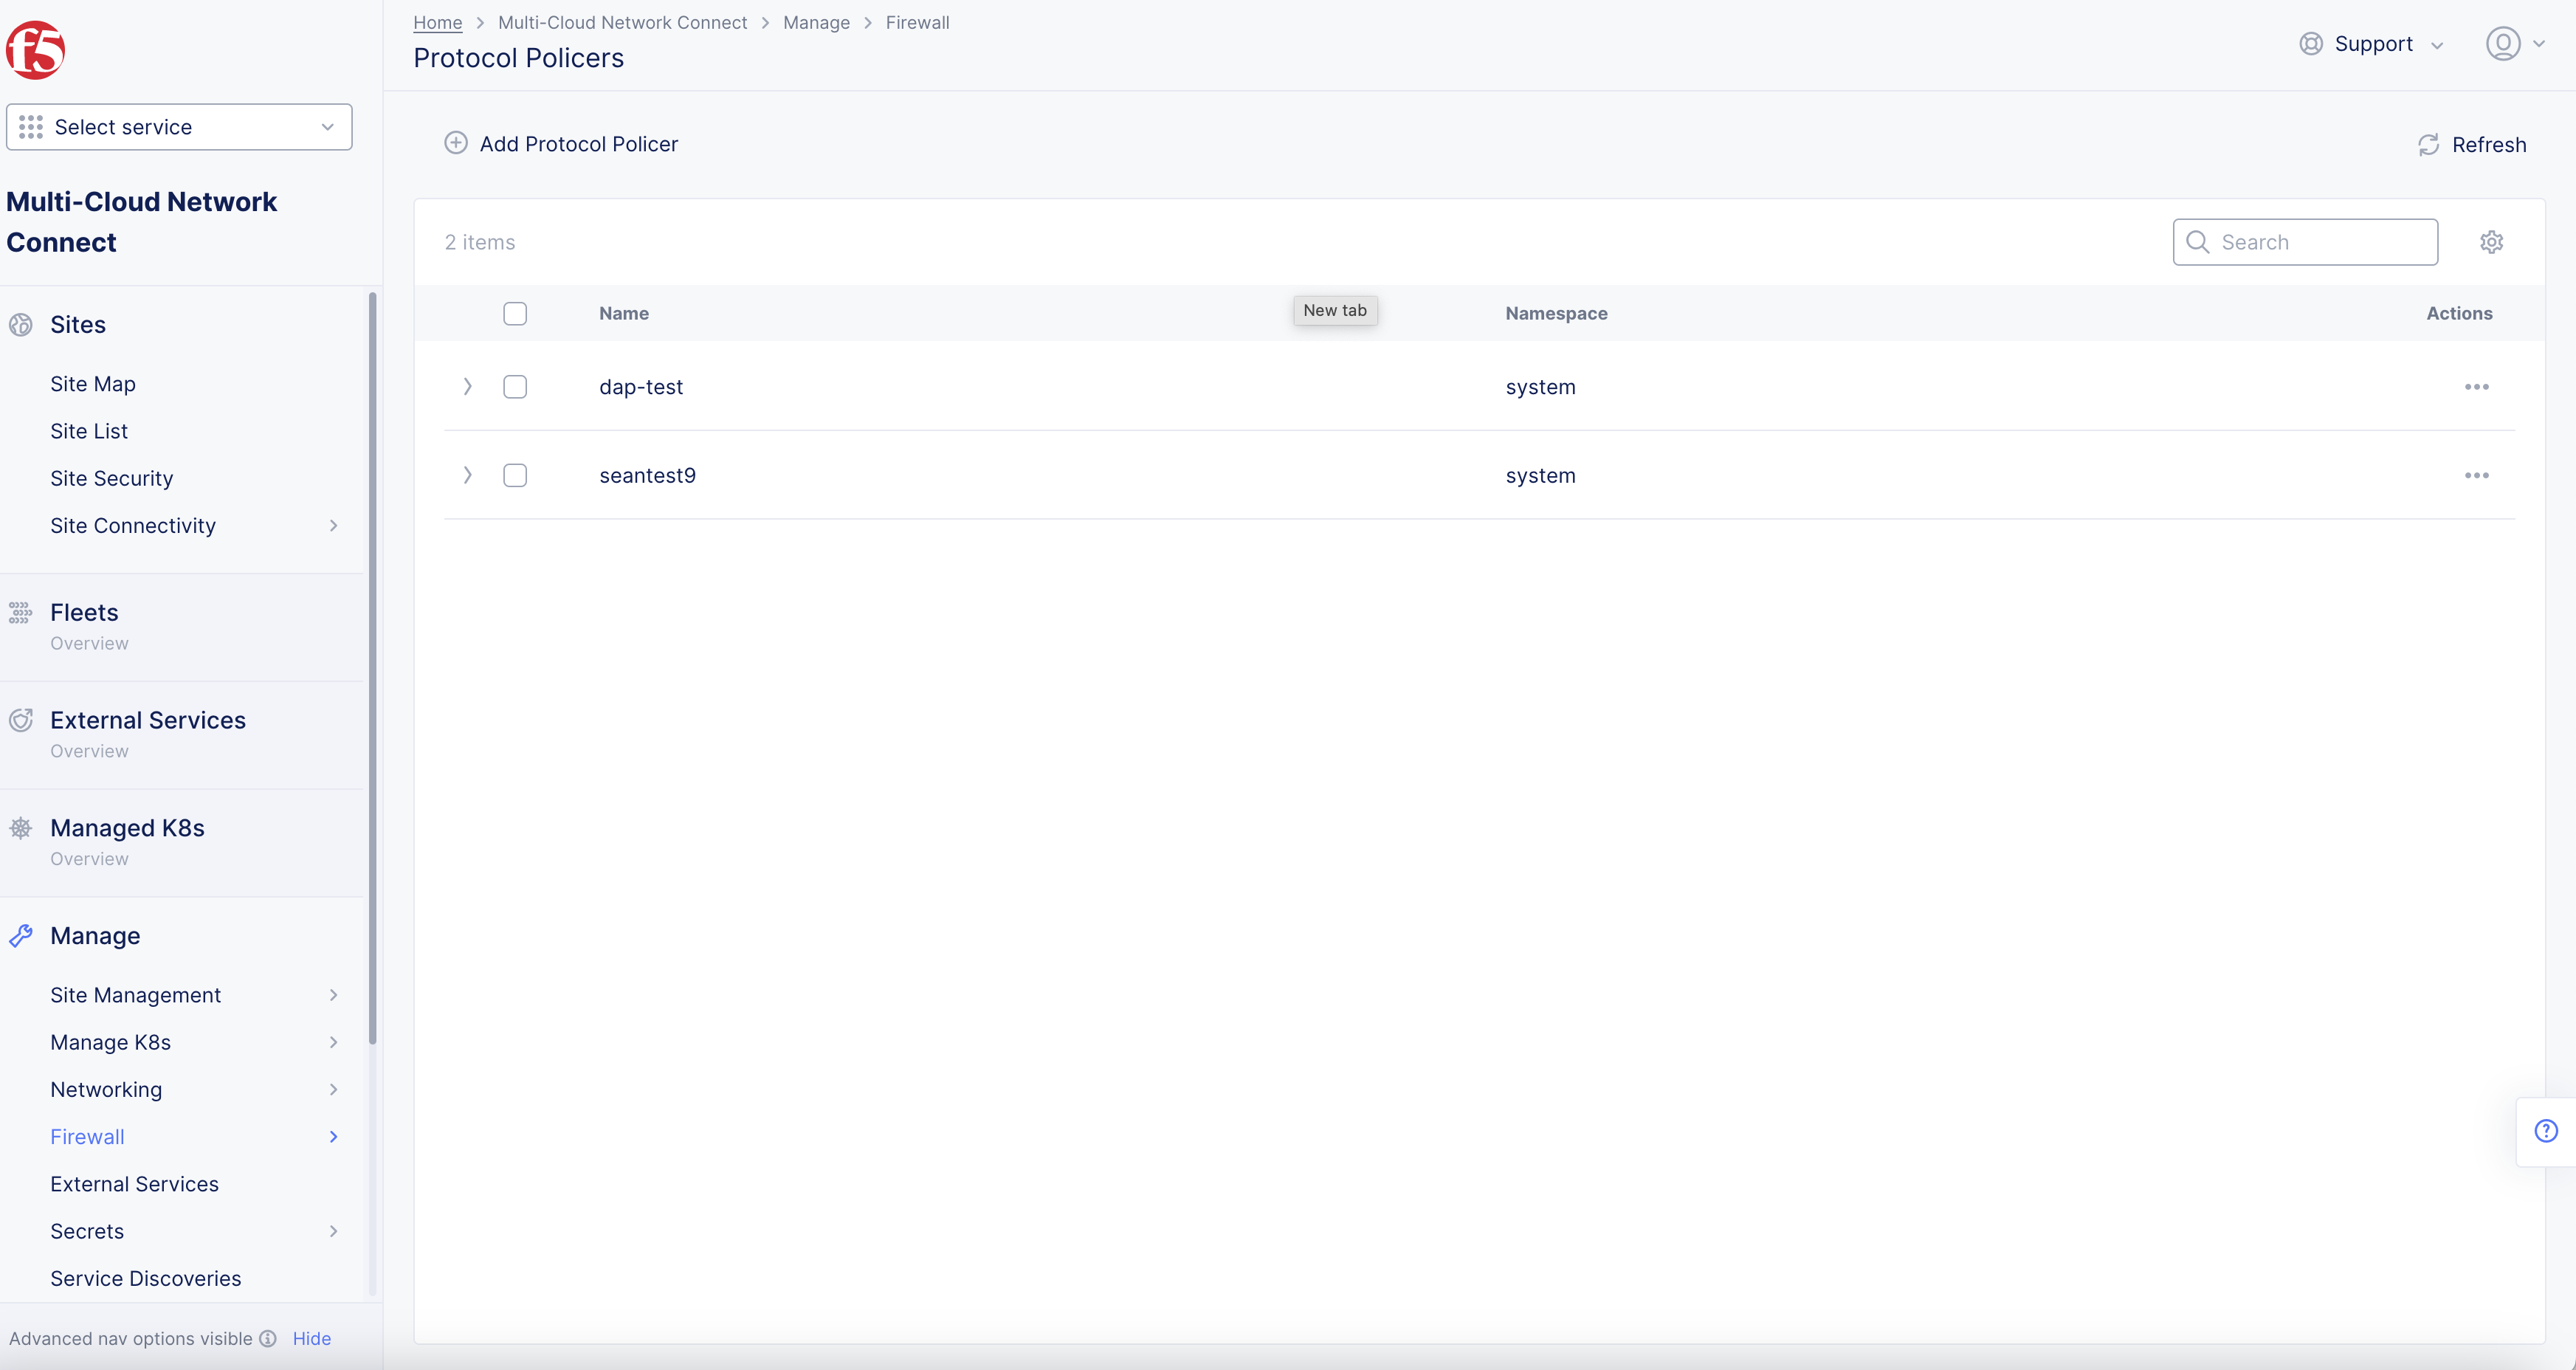
Figure: Add Policer Metadata
Step 3: Configure Policer.
-
Select
Policer Modefrom drop-down menu:-
Not Shared: A separate policer instance is created for each reference to the policer. -
Shared: A common policer instance is used for all references to the policer.
-
Note: Policer mode specifies if policer needs to share the traffic limits across term references or a separate instance has to be created for each reference. For example if Rule 1 and Rule 2 refer to policer and each rule should get bandwidth of 10 Kb, then policer mode to be used is “Not Shared” If both Rule 1 and Rule 2 cumulatively need 10 kbs then a policer should be created with node as “Shared”.
-
Enter
Committed information Rate (pps)value. The committed information is the guaranteed packets rate for traffic arriving or departing under normal conditions. For example, 10000 packets per second (pps). Minimum value is 1. -
Enter
Burst Size (pps)value.
Note: The maximum size permitted for bursts of data e.g. 10000 pps burst (Min value is 1).
- Select
Policer Type,Single-Rate Two-Color Policer Basic Single-Rate Two-Color Policeroption if needed.
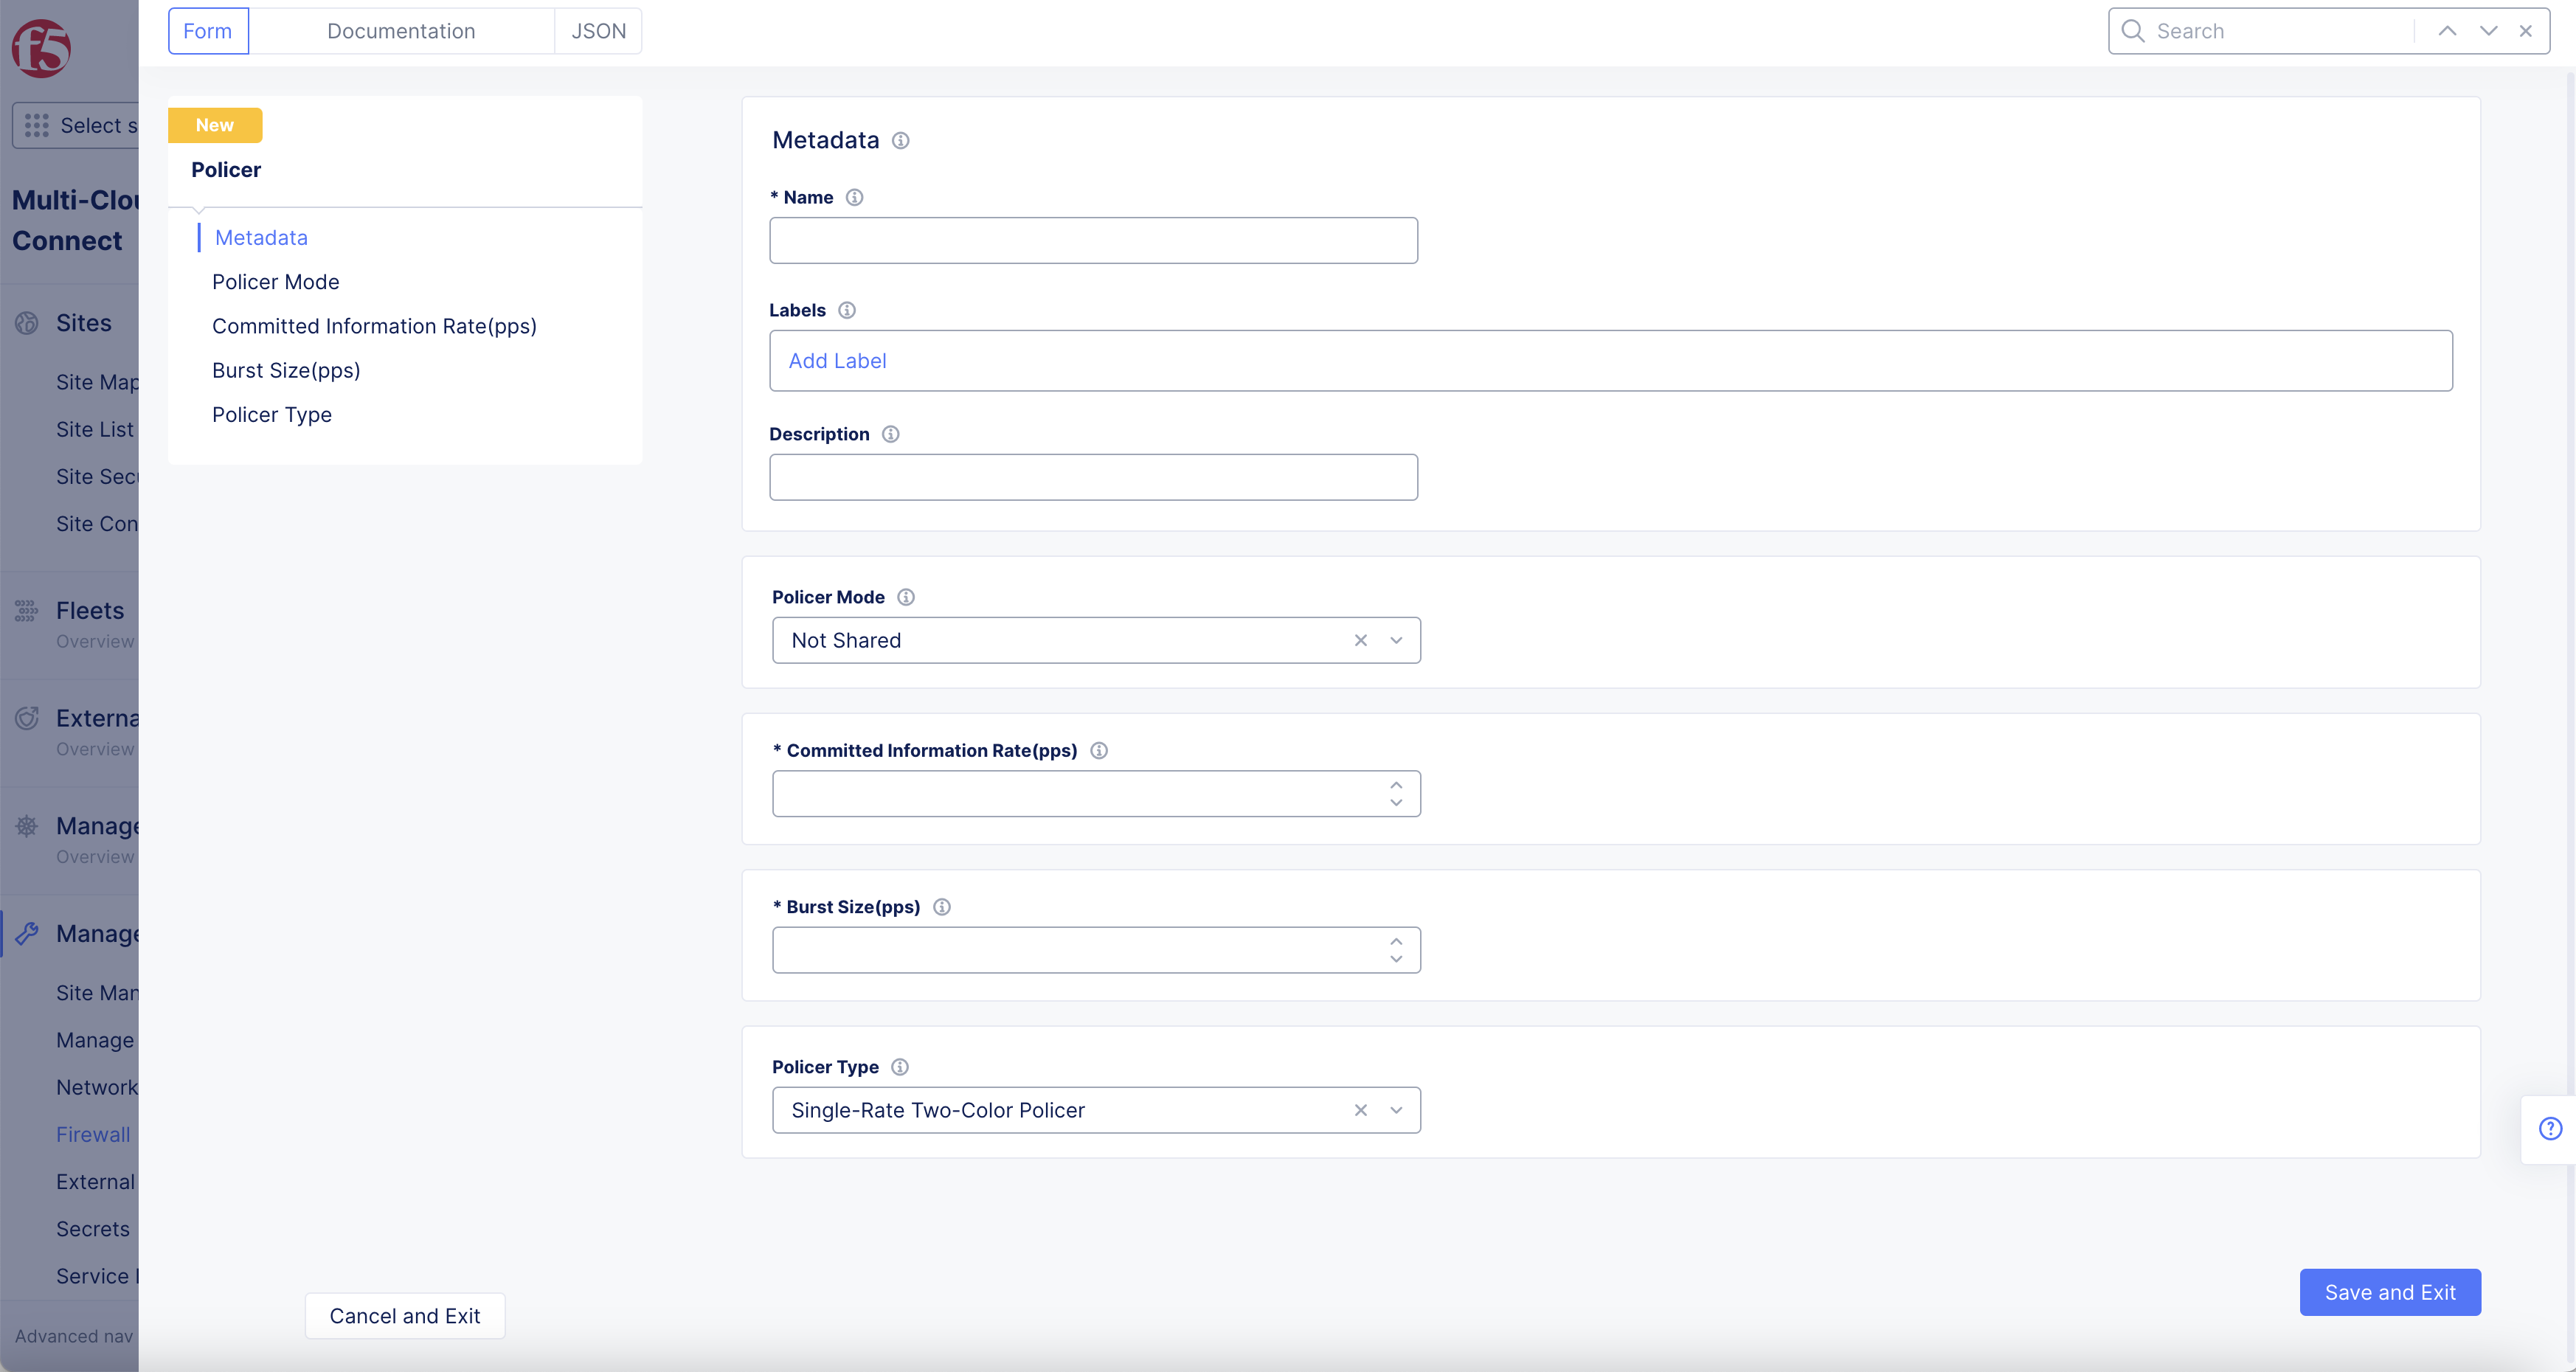
Figure: Add Policer Metadata
-
Select
Add Policer. -
To apply the Policer in Fast ACLs, see the Create Fast ACLs guide.
Configure Protocol Policers
Step 1: Add Protocol Policers.
- Open
F5® Distributed Cloud Console> selectMulti Cloud Network Connectbox.
Note: Protocol and Policers is also available in
Shared ConfigurationandWeb App & API Protection.
Figure: Homepage
-
Select
Managein left-menu > selectFirewall>Protocol Policers. -
Select
Add Protocol Policer.
Figure: Protocol Policer
Note: The
Add Protocol Policeroption is only visible when no protocol policer is present. In case policers are present, use theAdd Protocol Policeroption at the top left of the page.
Step 2: Configure Protocol Policers.
-
Enter
NameinMetadata. -
Select
Namespaceoption from drop-down menu. -
Enter
LabelsandDescriptionas needed.
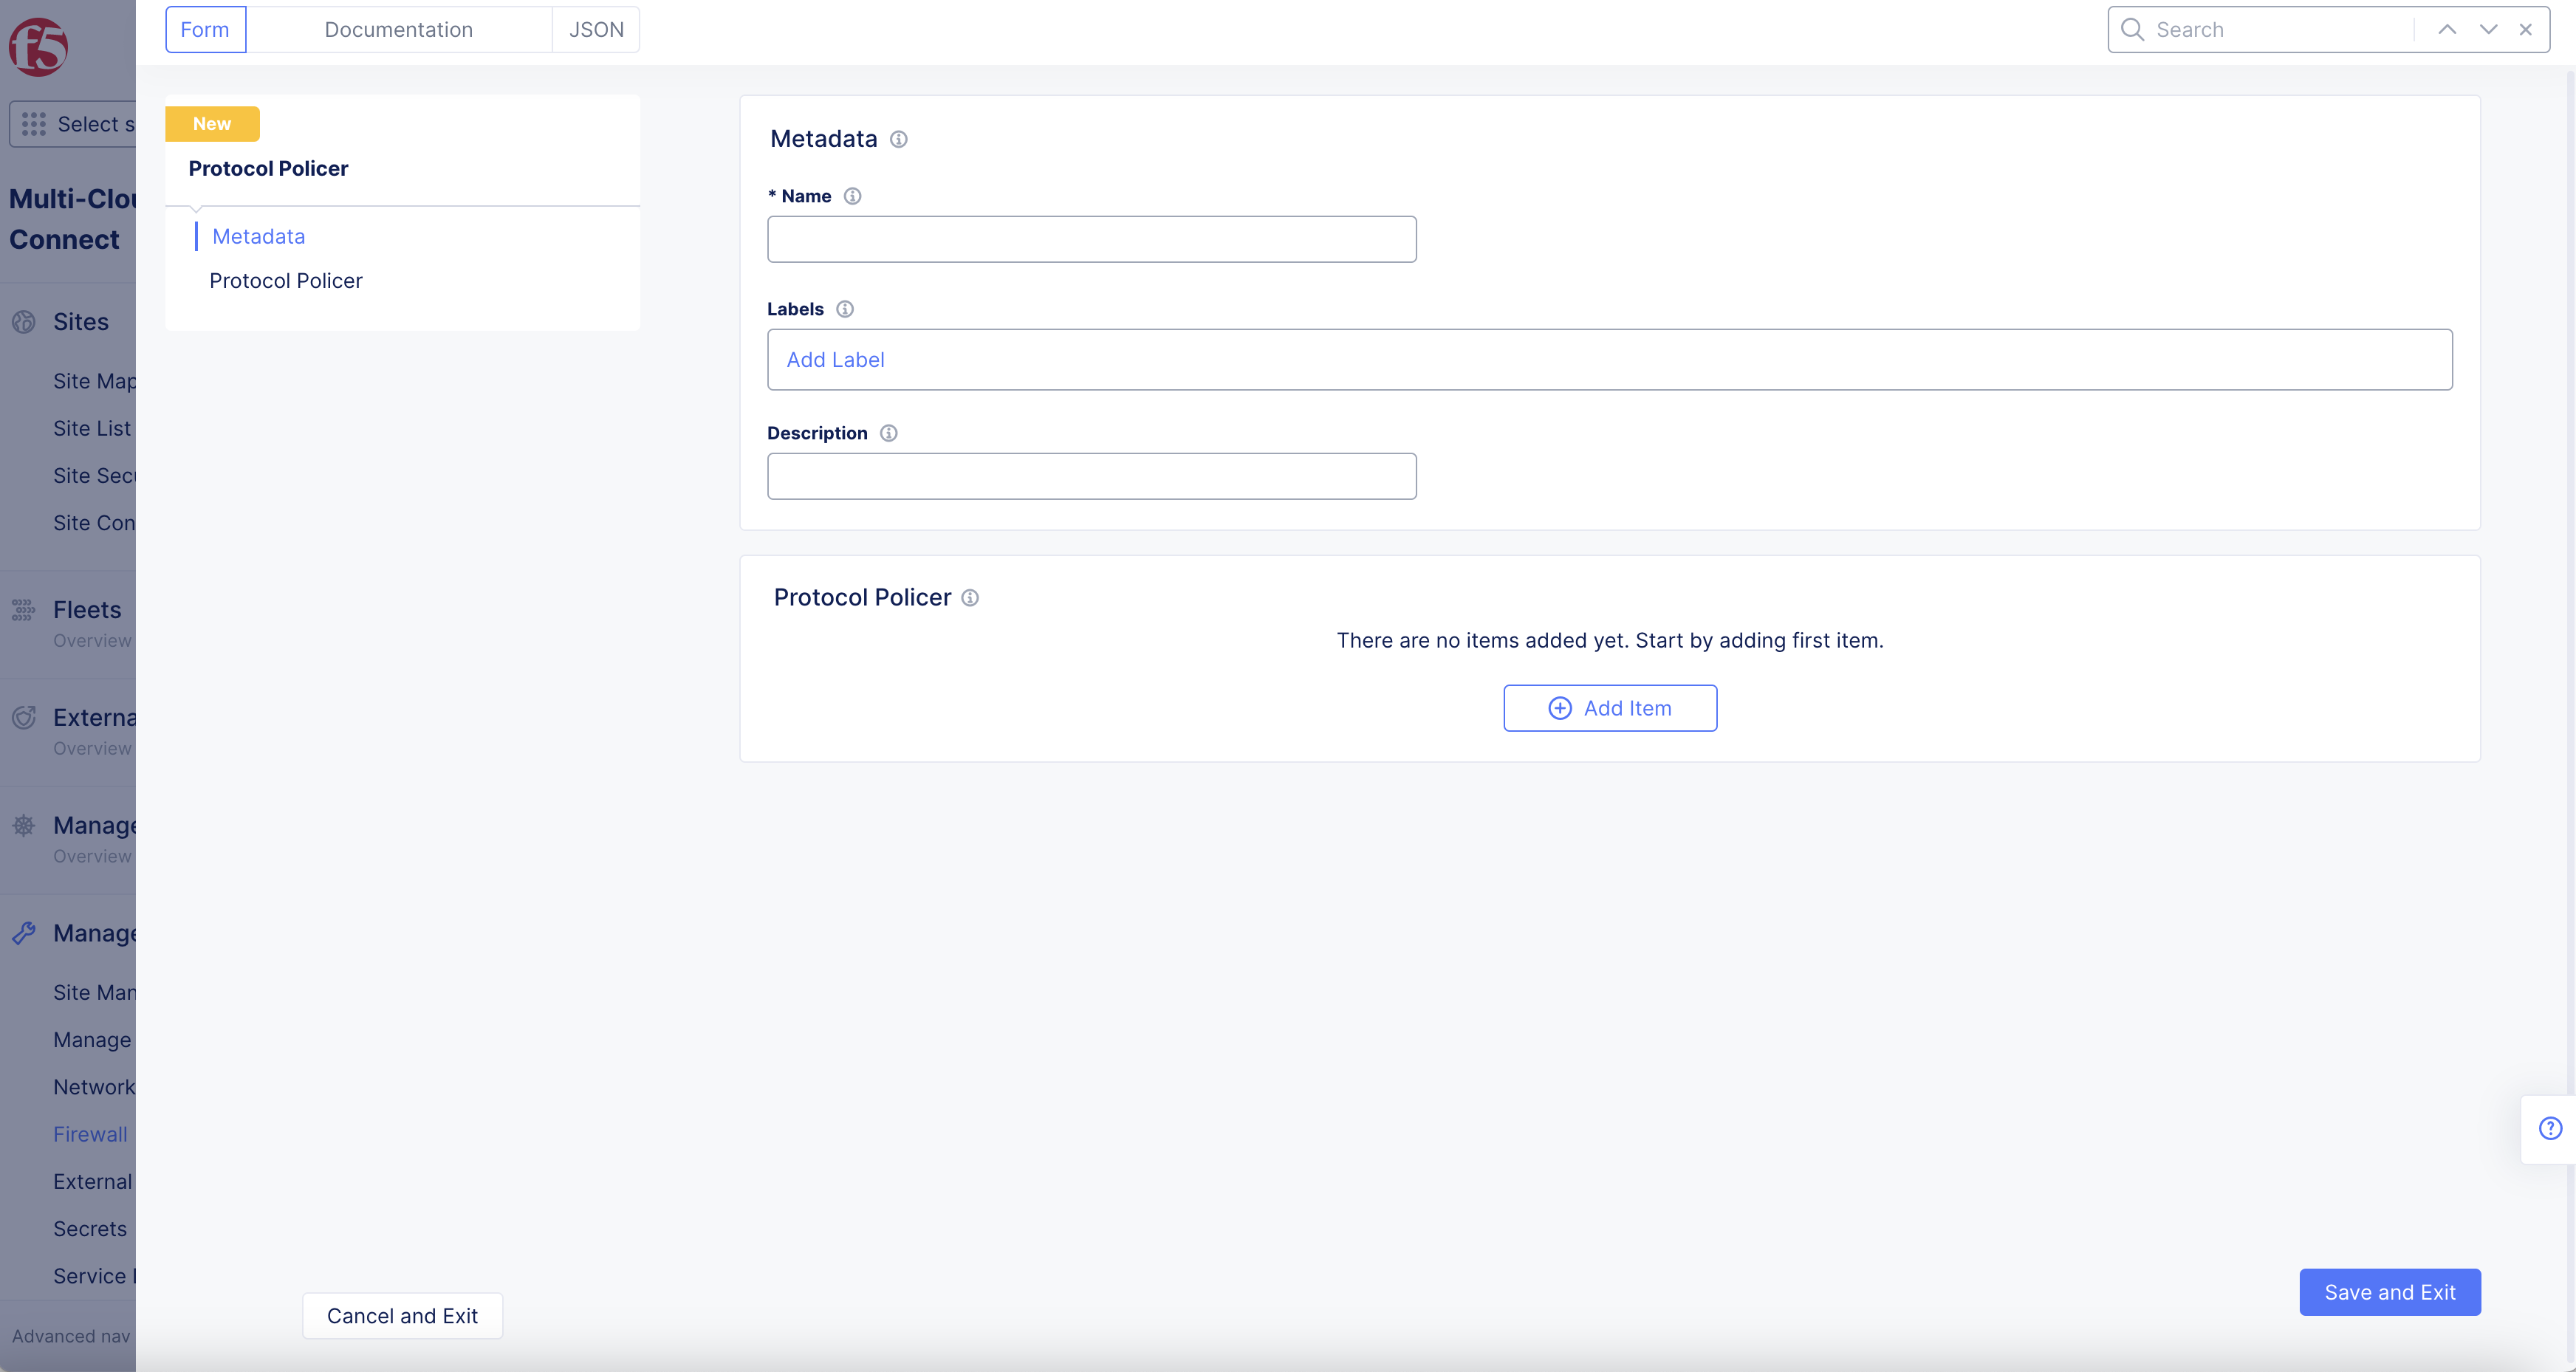
Figure: Add Protocol Policer Metadata
- Select
+ Add iteminProtocol Policersection.
Note: Two drop-down options will appear.
- Select
Packet Type(TCP, ICMP, UDP, DNS) in drop-down menu.
Note: Provide various protocol specific match conditions. Another drop-down option will appear for TCP and ICMP Packet type options.
- Select
Policerin drop-down menu.
Note: Reference to policer object to apply traffic rate limits.
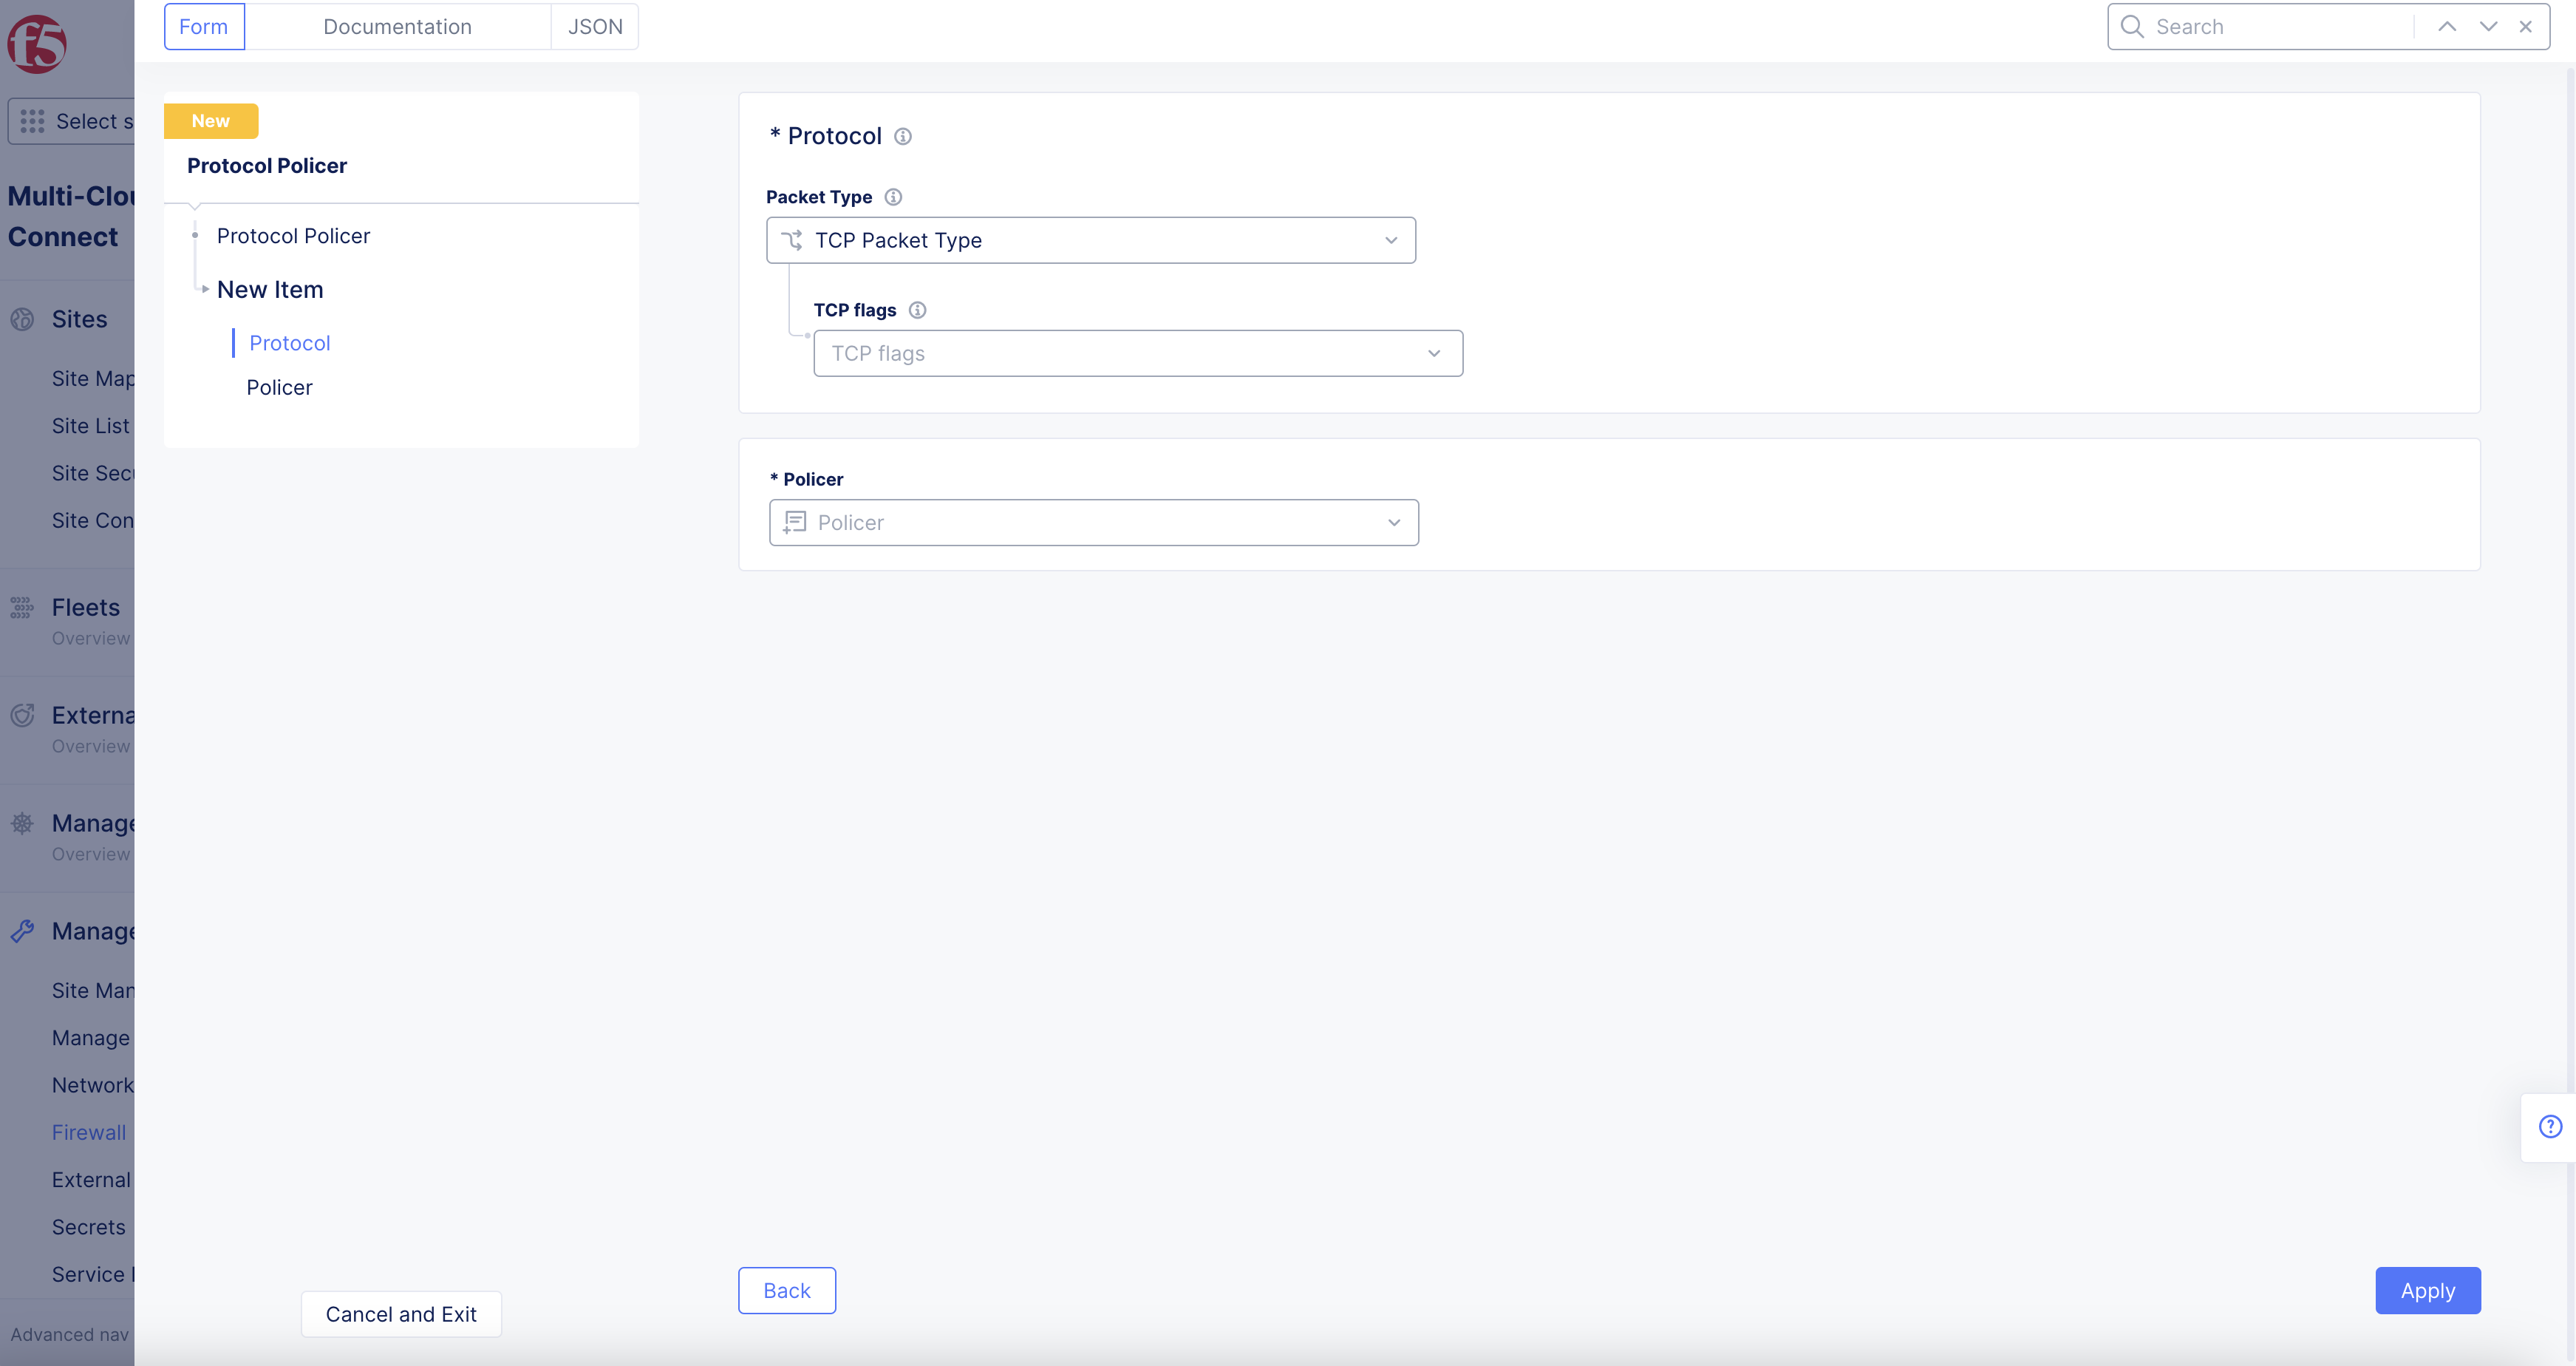
Figure: Add Protocol Policer Metadata
-
Select
Add Protocol Policer. -
To apply the Protocol Policer in Fast ACLs, see the Create Fast ACLs guide.