Create UDP Load Balancer
Objective
This guide provides instructions on how to create a UDP load balancer in F5® Distributed Cloud Console using the guided configuration wizard. This includes configuring the required objects for the virtual host.
Prerequisites
The following prerequisites apply:
-
An F5® Distributed Cloud Services Account. If you do not have an account, see Getting Started with Console.
-
A valid DNS domain delegated to Distributed Cloud Services if you need the domain of UDP load balancer to be managed by F5. For instructions on how to delegate your domain, see Domain Delegation.
-
A Distributed Cloud Services CE Site in cases of deploying your applications on a CE Site. If you do not have a Site, create one using the instructions included in the Customer Edge Deployment guides. See the vK8s Deployment guide to deploy your applications on Distributed Cloud Services network cloud or edge cloud.
Configuration
This document covers each guided step and explains the required actions to be performed for each step.
Step 1: Navigate to load balancer configuration page.
-
Log into Console.
-
Click Multi-Cloud App Connect.

Figure: Console Homepage
-
Select your namespace from the menu.
-
Select Manage > Load Balancers > UDP Load Balancers.
Step 2: Start load balancer creation process.
- Click Add UDP Load Balancer to open the load balancer creation form.

Figure: Navigate to Form
-
In the Metadata section, enter a name for your load balancer.
-
Optionally, set labels and enter a description.

Figure: Creation Form
Step 3: Configure domain and listen port.
-
In the Basic Configuration section, perform the following:
-
Click Add Item to add a domain. You can add more than one domain.
-
In the Domains field, enter the name of the domain to be used with this load balancer.
-
Optionally, select Automatically Manage DNS Records to have your DNS records managed by Distributed Cloud Services.
-
In the Listen Port field, enter a number. This is the UDP listening port.
-
Step 4: Configure origin pools.
-
In the Origin Pools field, perform the following:
-
Click Add Item to open the configuration form.
-
From the Origin Pool drop-down menu, select an existing origin pool, or click Add Item to create and apply a new origin pool.
-
-
Optionally, enter values for the Priority option. The Priority field is relevant only if there are multiple origin pools configured on the load balancer.
-
Click Apply.
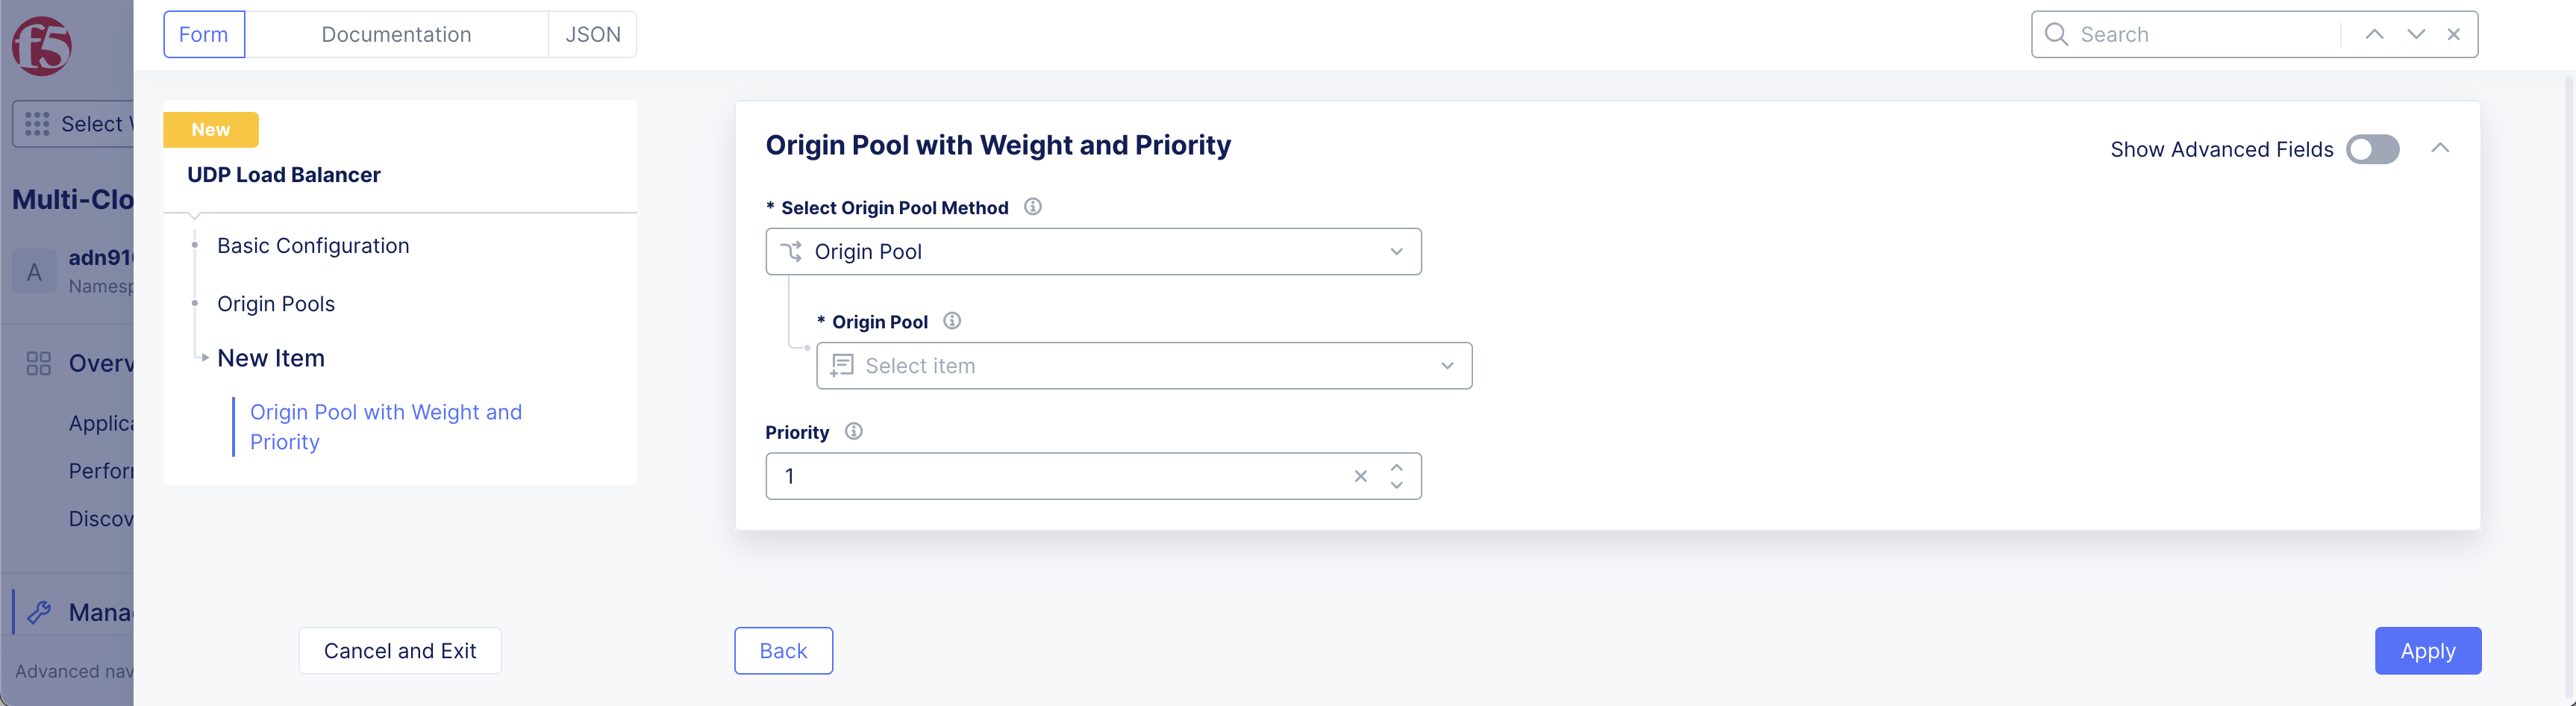
Figure: Creation Form
- Click Add Item to add more origin pools per your requirements.
Step 5: Configure VIP advertisement.
-
From the Where to Advertise the VIP drop-down menu, select an option:
-
Advertise On Public: This option advertises the load balancer on a public network. Default option.
-
Advertise Custom: This option enables you to configure your own advertisement policy.
-

Figure: Creation Form
-
To configure a custom VIP:
-
Select Advertise Custom.
-
Click Configure.
-
Click Add Item.
-
From the Select Where to Advertise menu, select an option:
-
Site
-
Virtual Site
-
vK8s Service Network on RE
-
Virtual Network
-
Segment on Site
-
Internet (Specified VIP)
-
-
From the Site Network menu, select a network type in case you selected Site or Virtual Site as the advertisement location.
-
Select an appropriate reference object from the Site Reference menu.
-
For Site only, enable Show Advanced Fields and then enter an IP address in the IP Address field.
-
Configure a UDP listener port or select the default option from the Listen Port Choice menu. The default option sets port 80 for HTTP and port 443 for HTTPS. Select Listen Port to enter a custom port number.
-
Select Apply.
-
Select Apply again to apply the custom advertise VIP configuration.
-
Step 6: Set the load balancing type.
In the Load Balancing Control section, configure the load balancer.
-
From the Load Balancer Type menu, select an option:
- UDP: This creates a standard UDP load balancer.
Note: UDP is the only supported option. Specific UDP load balancer types will be supported in the future.
Step 7: Set the load balancing control.
-
From the Load Balancing Control menu, select an option:
-
Round Robin
-
Random
-
Source IP Stickiness
-
-
Optionally, select Per Pack Load Balancing to enable, if required.
Note: If Per Packet Load Balancing is disabled (default), the first packet identified by source IP/port and local IP/port is sent to an upstream server as the load balancing algorithm dictates, and subsequent packets with the same identity are forwarded to the same upstream server without rechecking the algorithm. If it is enabled, each packet is directed to an upstream server as the load balancing algorithm dictates.
Step 8: Configure Service Policies.
-
From the
Service Policiesmenu, select an option for how to apply one or more service policies to this load balancer. The following options are available:-
Apply Namespace Service Policies: This option applies the service policies from the namespace to this load balancer. -
Do Not Apply Service Policies: This option does not apply any service policies to this load balancer. -
Apply Specified Service Policies: This option allows you to apply one or more specific service policies to this load balancer.-
Click
Configureto add service policies. -
In the
Policieslist, select a service policy, from the drop-down menu. -
Use the
Add Itembutton to add more policies to the list. -
Click
Applywhen you're finished building the list.
-
-
Step 9: Set advanced configuration.
For the Idle Timeout field, set an amount for the stream.
Step 10: Complete creating the load balancer.
Click Add UDP Load Balancer.