Access Site Local User Interface
Objective
This guide provides instructions on how to access the local user interface (UI) for an F5® Distributed Cloud Services Customer Edge (CE) Site. The local UI is used to perform certain configuration and management functions locally from the site. The local UI is also used to obtain statuses related to the Distributed Cloud Services CE Site.
The various functions you can perform using the site local UI include:
-
Initial configuration for site provisioning
-
Network configuration for wired, wireless, and mobile carrier/LTE networks
-
Site status monitoring
-
Site services monitoring
-
Execute command-line interface (CLI) commands
-
Factory reset
-
Collect debug information
Using the instructions provided in this guide, you can access the site local UI and perform configuration functions.
Note: The site local UI is more useful in cases of private cloud data centers or Distributed Cloud Services hardware, where activities such as post-installation configuration are required.
Prerequisites
-
A Distributed Cloud Services account. If you do not have an account, see Getting Started with Console.
-
One of the following types of sites:
-
An F5 Industrial Gateway (IGW) Series 5000/5500 hardware device: Ships with software pre-installed.
-
A VMware virtual machine: See Create a VMware Site for installation instructions.
-
A KVM/libvirt virtual machine: See Create a KVM/libvirt Site for installation instructions.
-
-
A site token. If you do not have a site token, see Create Site Token for instructions.
Site Local UI Operation
The site local UI operation includes initial configuration, provisioning configuration, and other advanced functions, such as monitoring, factory reset, and debug collection.
Perform Initial Configuration
For Distributed Cloud Services sites on private clouds or F5 IGW hardware devices, the initial configuration for site provisioning must be completed after the site software installation. This can be performed from the CLI or the site local UI.
This example covers initial configuration using the site local UI.
Note: For information on configuration using the CLI, see Site Management.
Perform the following steps:
Step 1: Power on your device and obtain the device IP address.
-
In cases of VMware or KVM sites, boot up your virtual machine after installing the software.
-
In case of F5 IGW hardware, connect to the power source and switch on the device.
-
In cases of VMware or KVM sites, find the IP address from the utilities, such as vSphere client or the
virshCLI tool. -
In case of F5 IGW hardware, use tools such as a network scanner to find the IP address after connecting to your LAN.
Note: You can also obtain an IP address from the F5 IGW device display after connecting the WAN port to your local LAN.
Step 2: Log into the site local UI and change the default password.
-
Open a browser window and enter
https://volterra.local:65500orhttps://<device-ip-address>:65500. This loads the authentication popup window. -
Enter
adminandVolterra123in theUsernameandPasswordfields, respectively. -
Select
Sign in. The site local UI loads, asking you to change the password. -
Enter the current password.
-
Enter a new password and enter the same password in the confirmation field, and then select
Change password. -
Refresh the browser to sign in with your new password. The site local UI dashboard appears.
Step 3: Perform initial configuration for site provisioning.
The Status field in the dashboard shows Configuration.
-
Select
Configure nowto load the device configuration window. -
Configure the fields per the following guidelines:
-
Token: This is your site token and is mandatory for provisioning. -
Cluster name: Enter a cluster name. This is mandatory for provisioning. However, you can also set this during registration. -
Hostname: Optional field. -
Certified Hardware: This is populated by a default value, but you can change it from the drop-down list. -
Primary Outside NIC: This is populated by default toeth0, but you can change it from the drop-down list. -
Latitude: Optional field. -
Longitude: Optional field.
-
-
Select
Save configuration. -
Refresh the browser to update the status to
Approval- indicating that site registration is pending approval.
Step 4: Perform registration.
- Log into F5® Distributed Cloud Console (Console) and select
Multi-Cloud Network Connect.
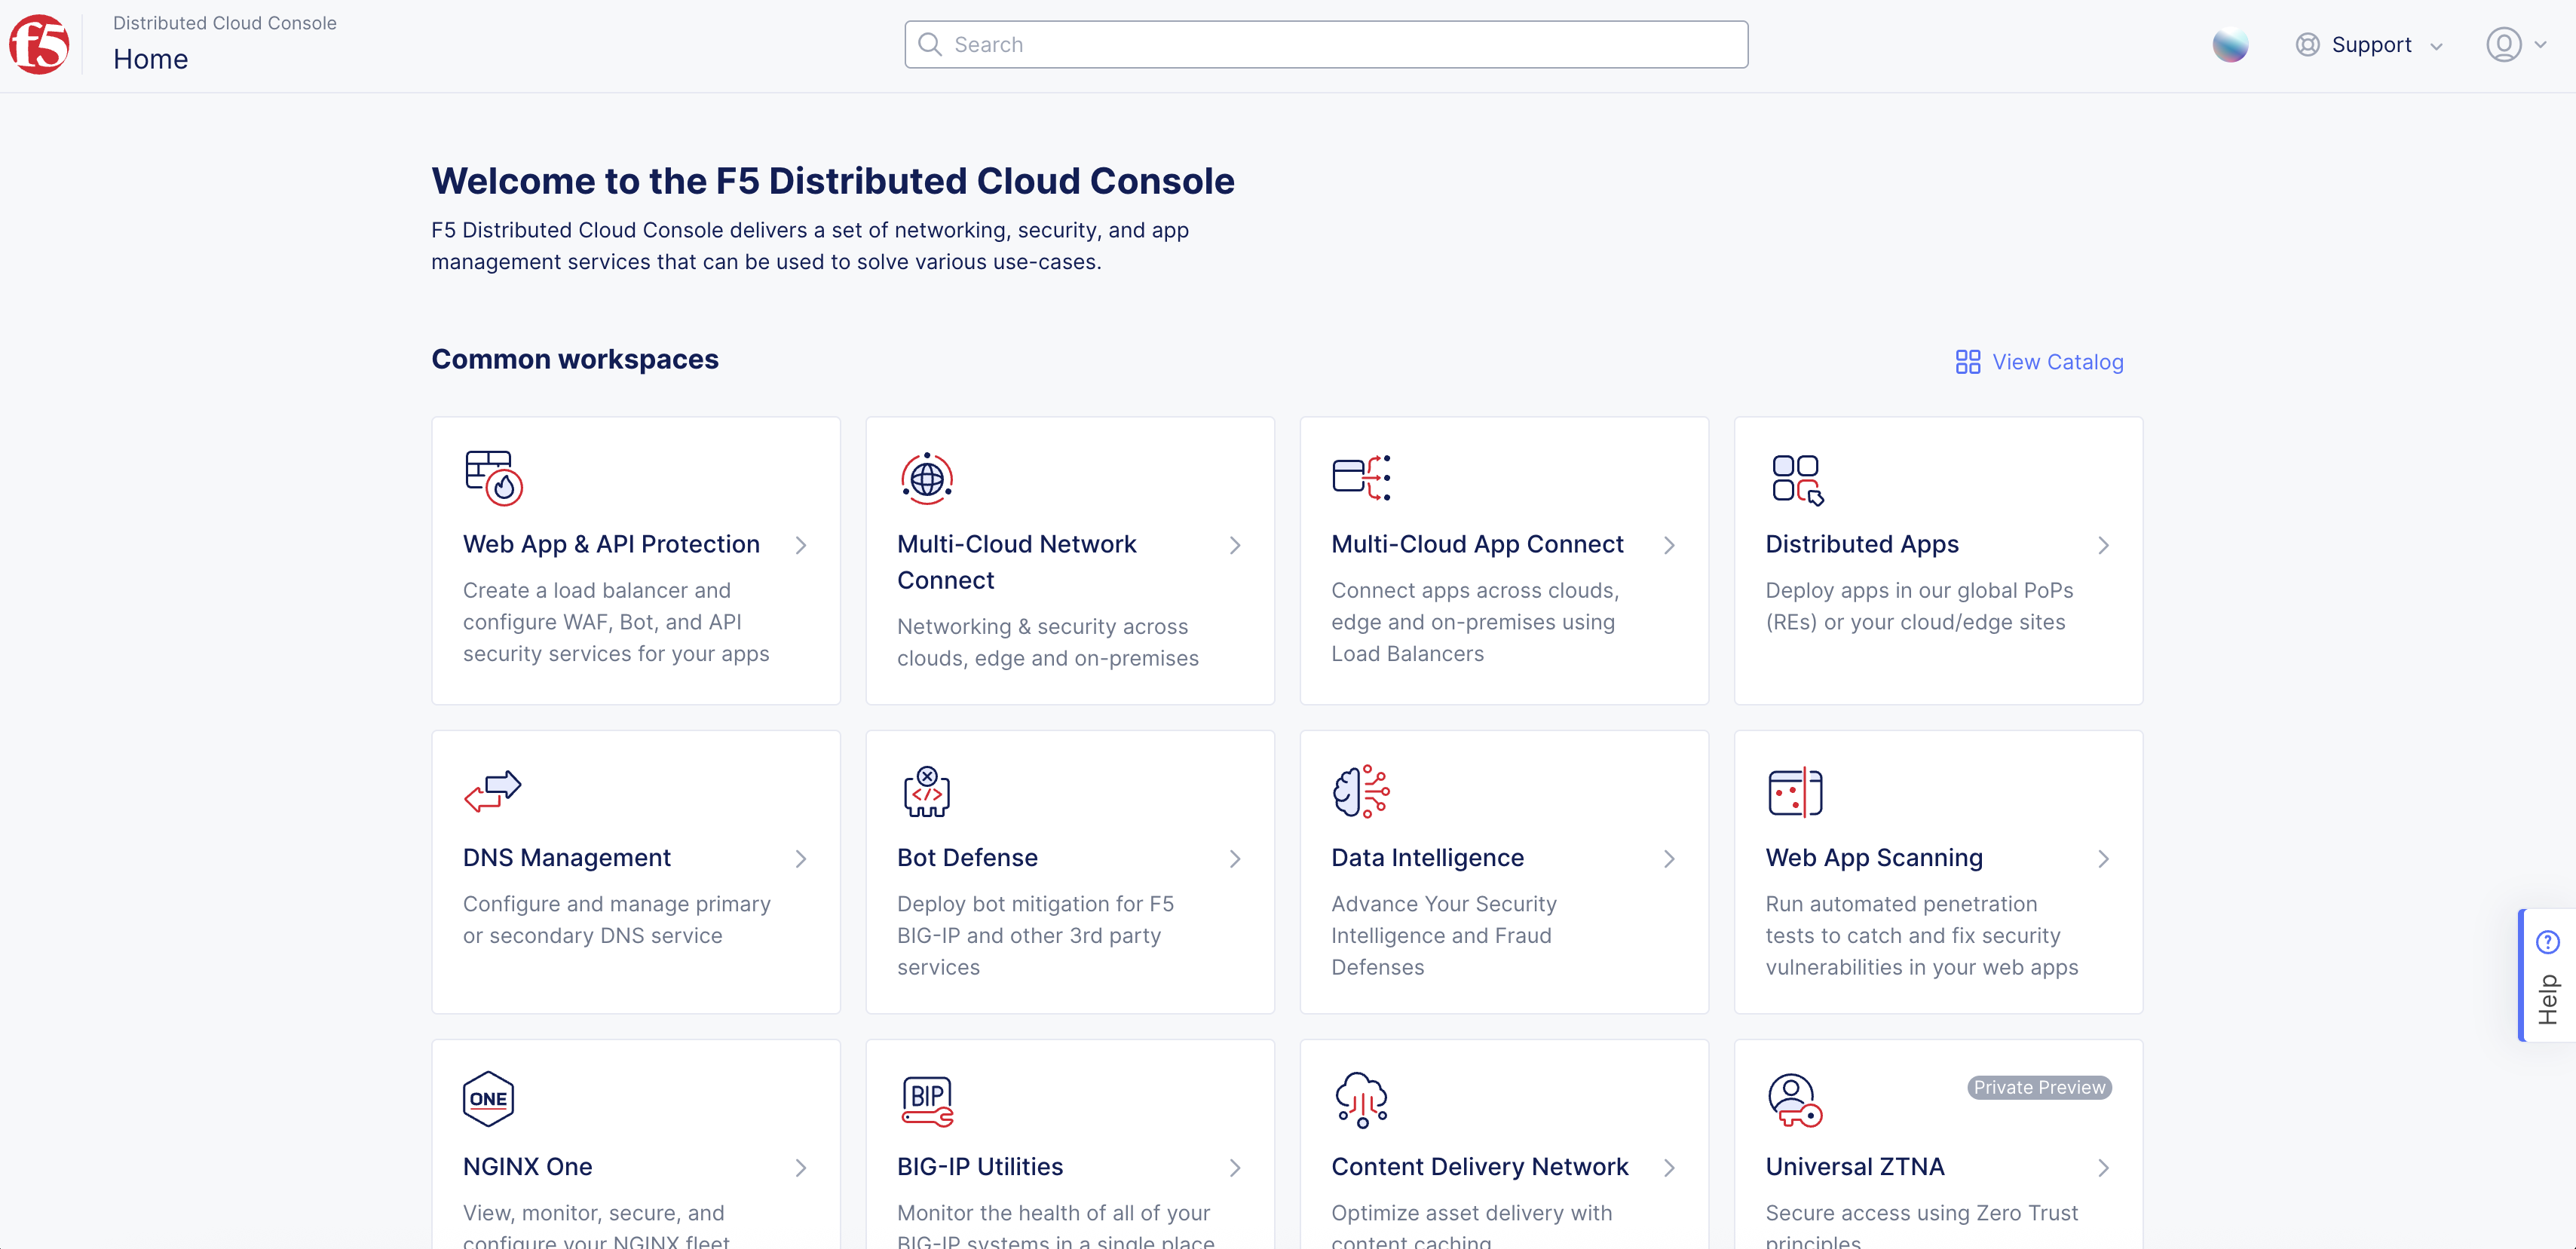
Figure: Console Home Page
-
Select
Manage>Site Management>Registrationsin the options. ThePending Registrationstab loads by default. -
Check that a registration request is displayed for your site.
-
Select the blue checkmark symbol to approve the registration.
-
Enter the required fields in the registration acceptance form as applicable and select
Accept. The approval may take a few seconds to update. -
Go back to the site local UI and refresh the browser to ensure the status reflects
Provisioning. -
Wait for a few minutes and refresh again so that the status now displays
Provisioned.
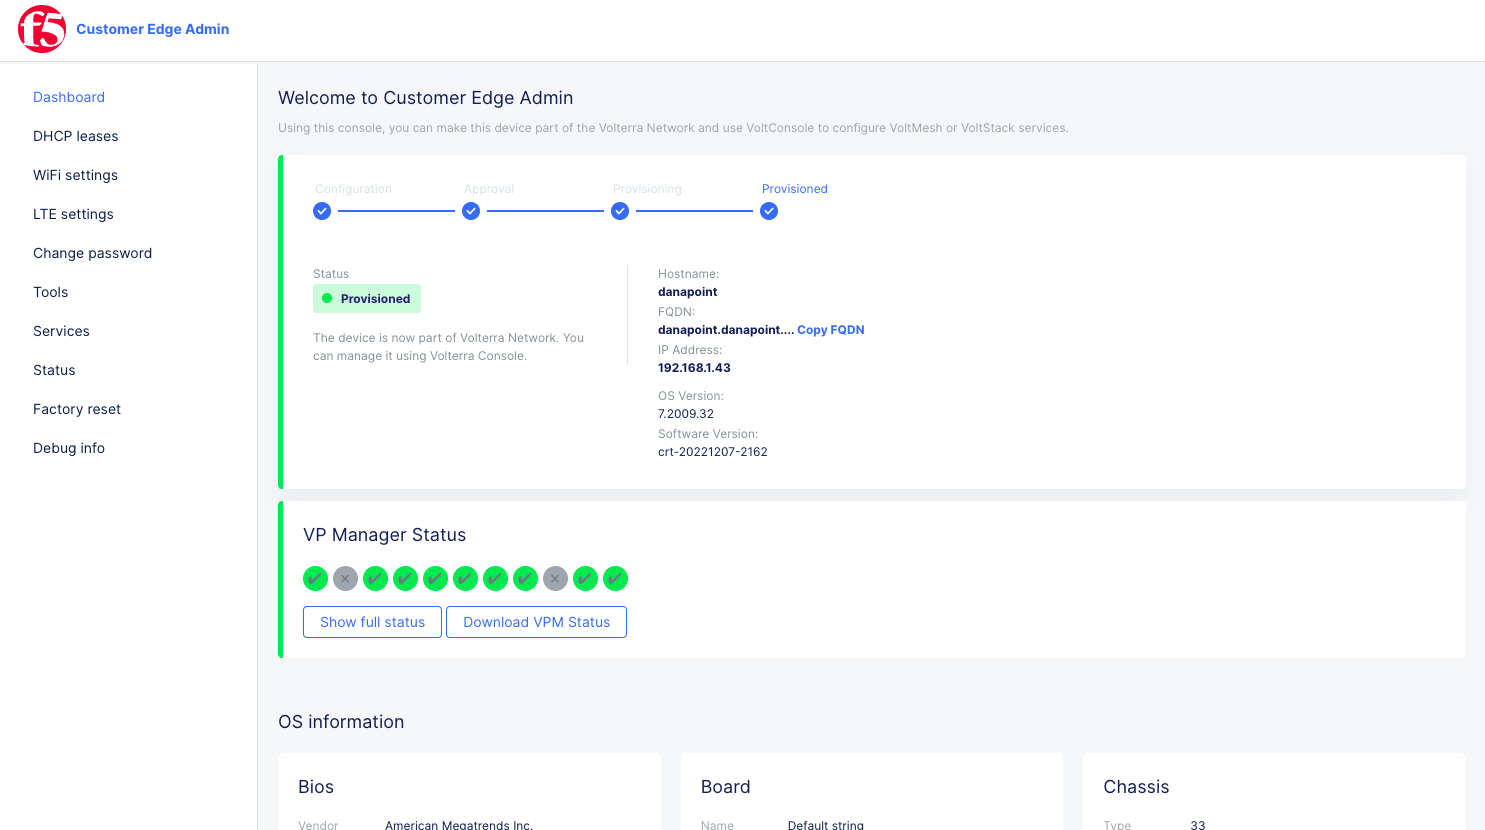
Figure: Site Provisioned
Monitor Site From Local UI
The site local UI loads the dashboard view by default. The site dashboard displays site status and detailed system information, such as CPU, memory, and hardware information.
Perform the following steps to monitor your site:
Step 1: Monitor site services.
- Select
Serviceson the left menu to load theServices statuspage. The statusReadyindicates that the site services are ready for operation.
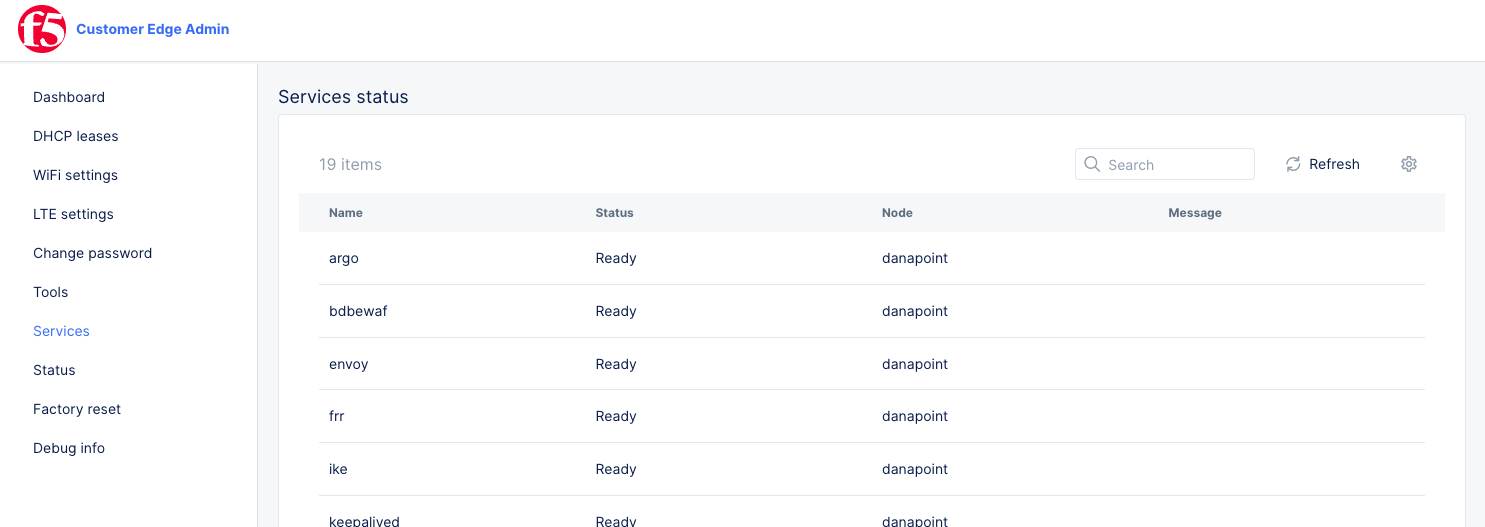
Figure: Site Service Monitoring
- Select
Refreshto obtain the latest status.
Step 2: Monitor DHCP lease.
Select DHCP leases on the left menu to check the DHCP lease information.
In this example, eth3 is the inside interface providing DHCP services to the network to which this interface is associated.
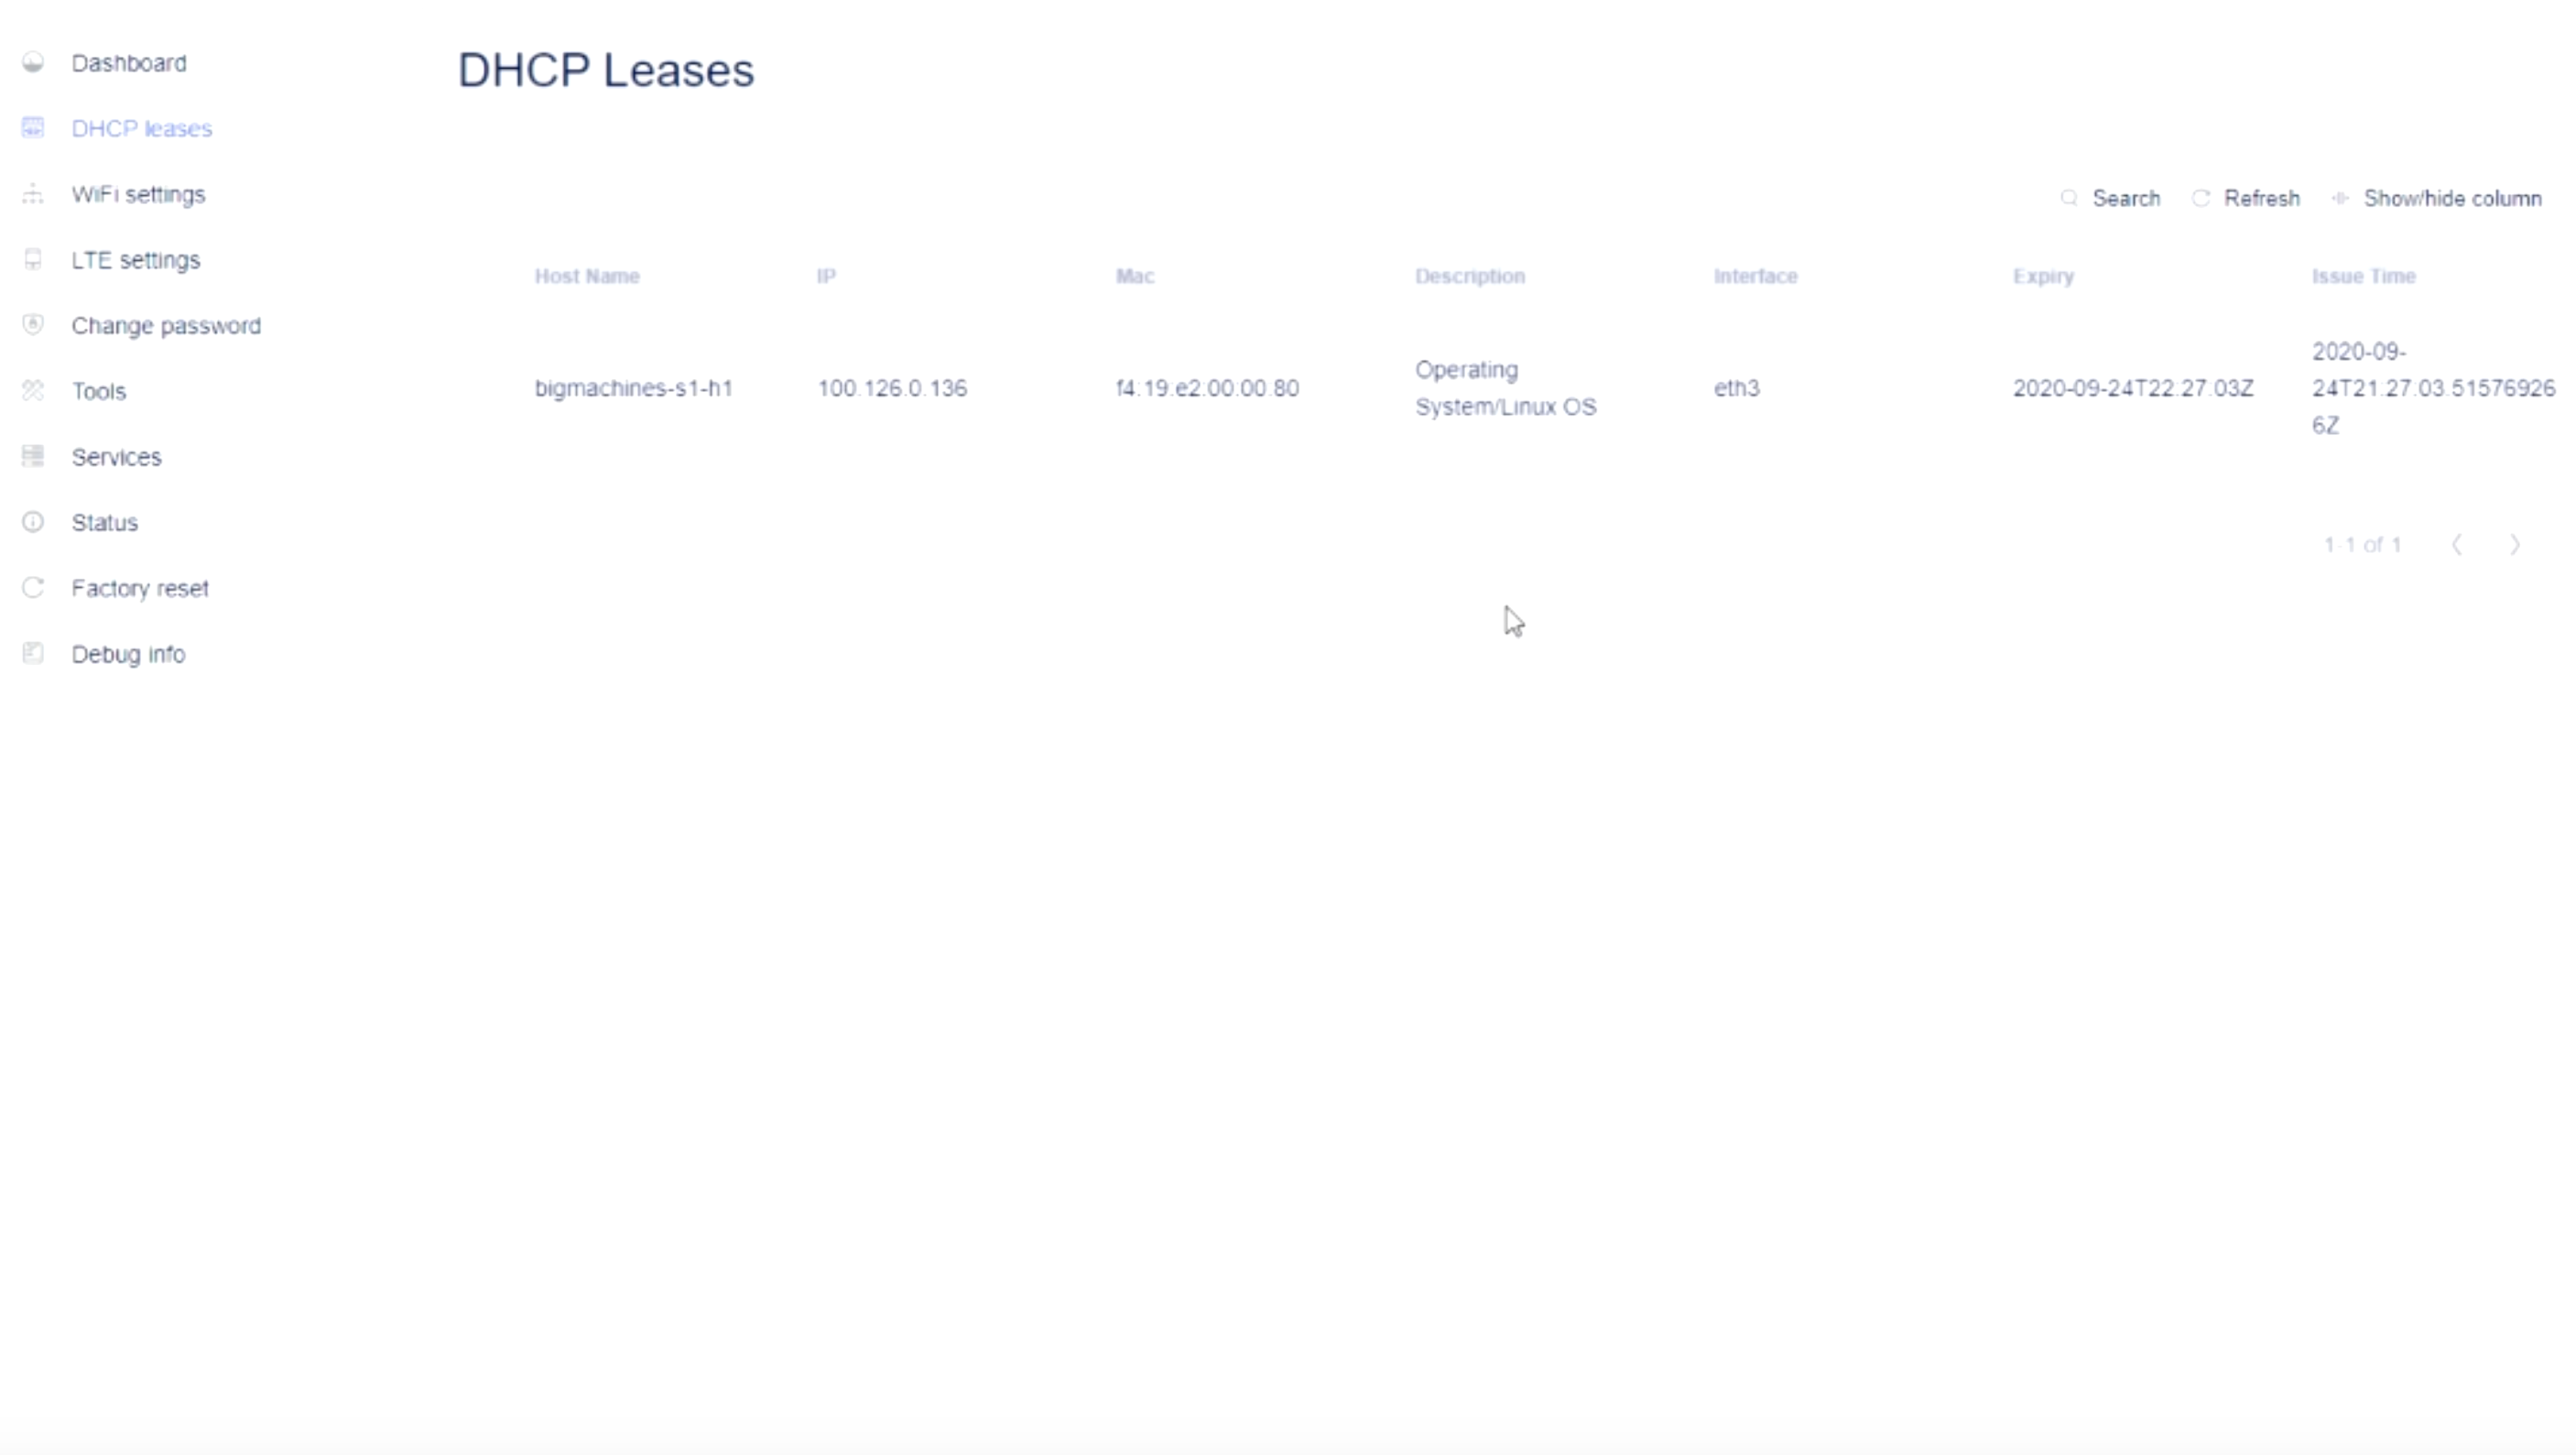
Figure: DHCP Leases Monitoring
In this example, no inside interfaces provide DHCP services to the network.
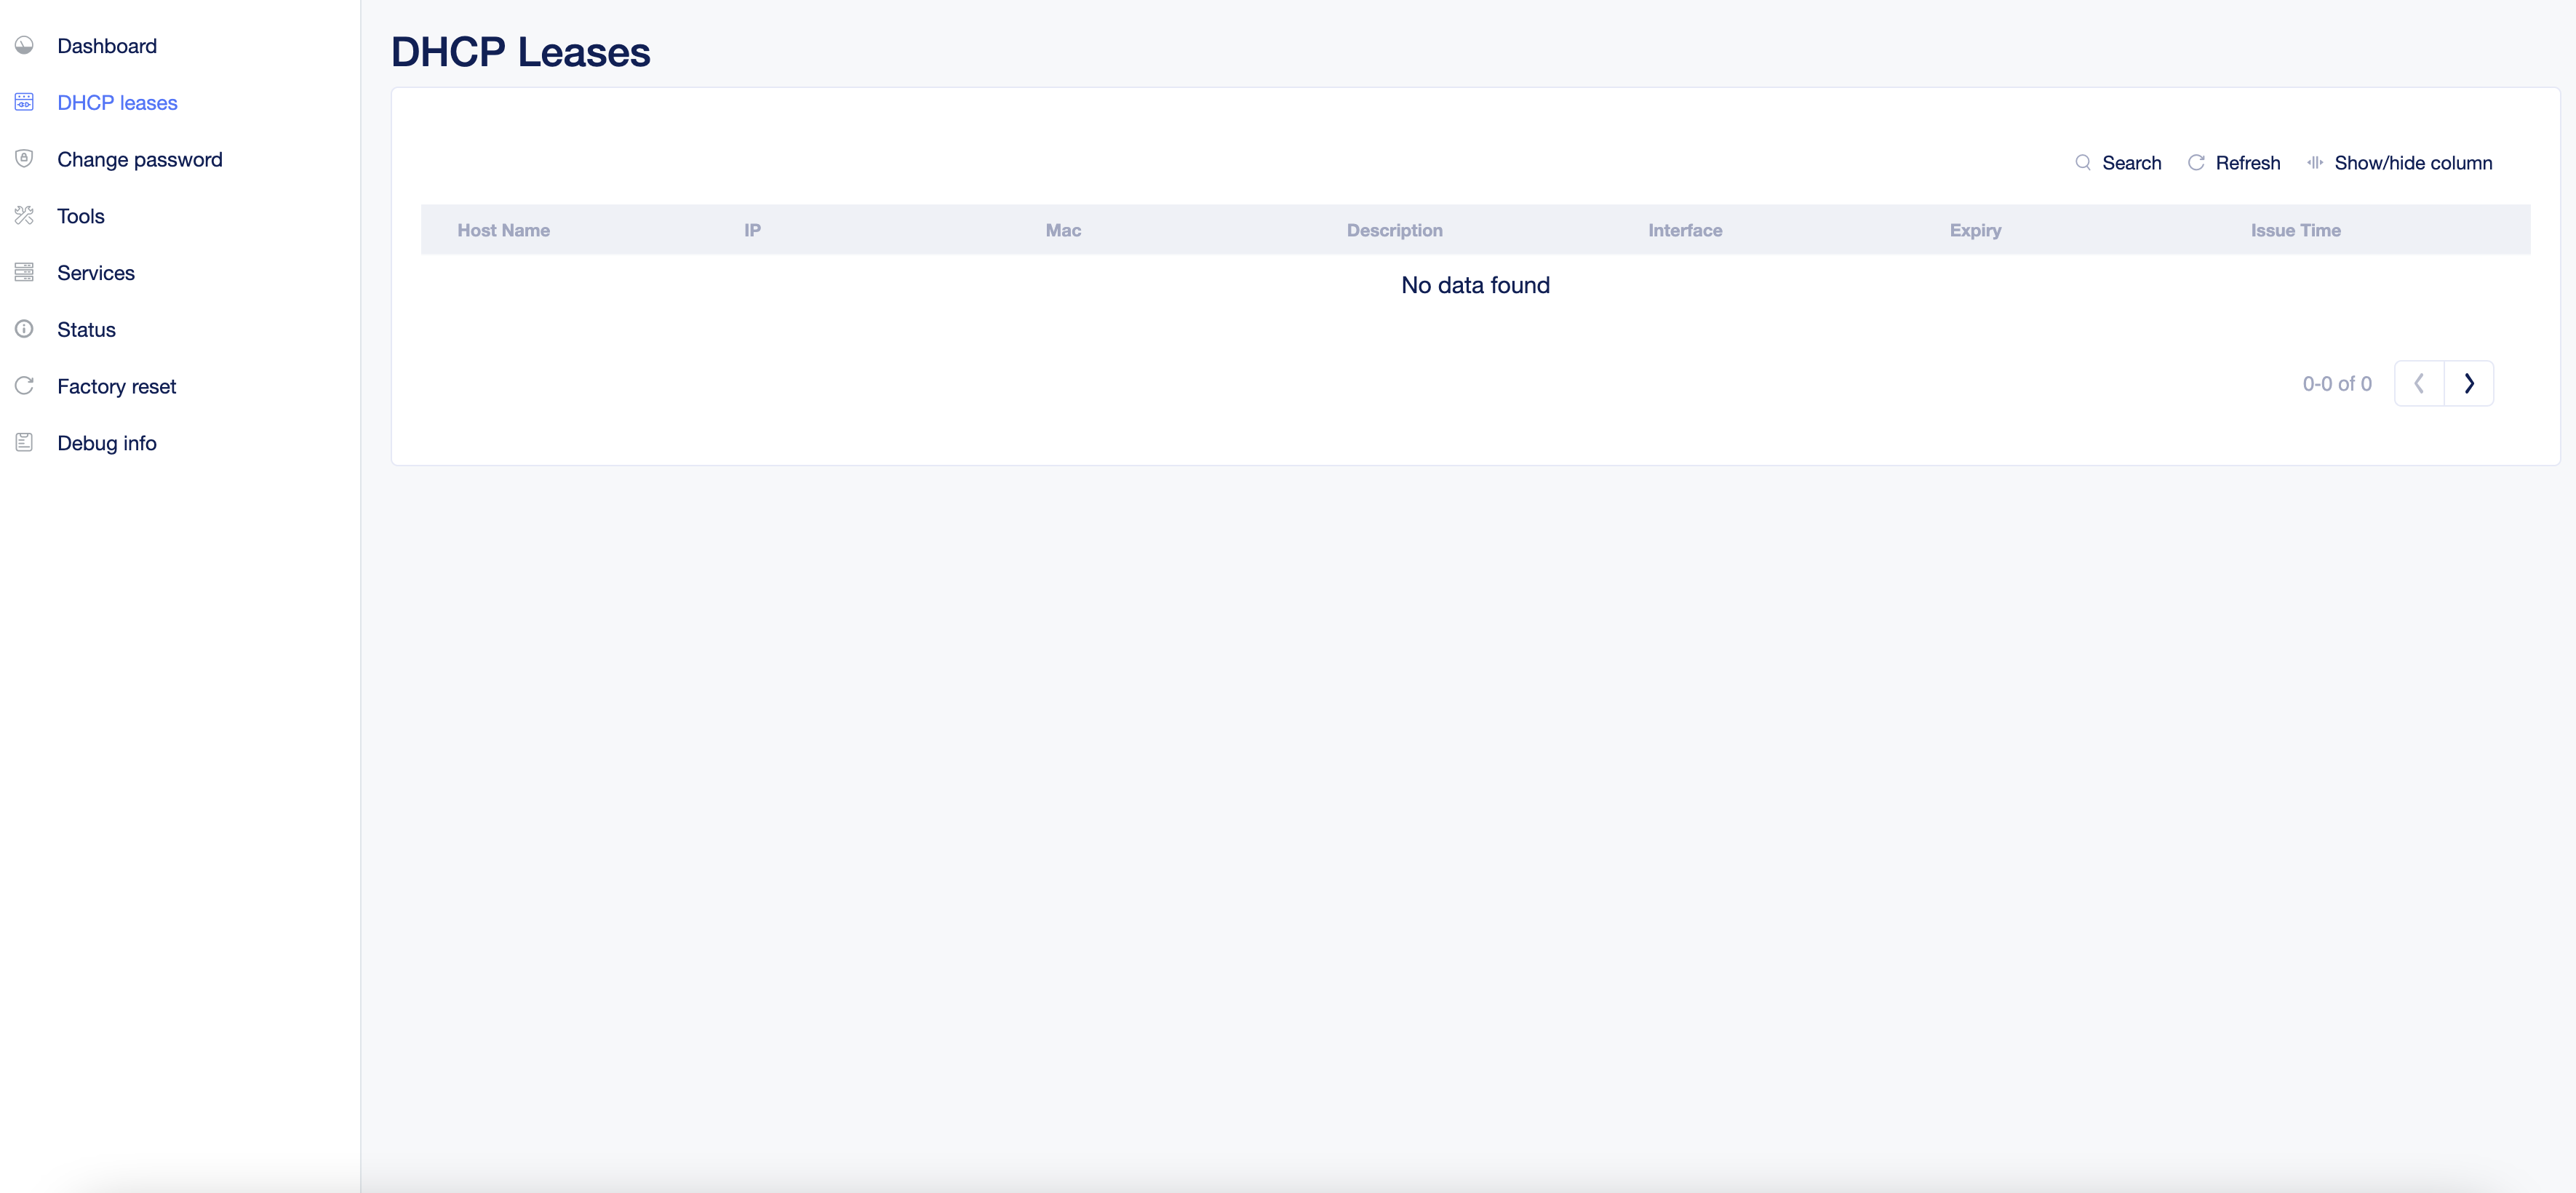
Figure: DHCP Leases Monitoring
Step 3: Monitor site status.
Select Status on the left menu to obtain detailed site status in JSON format.
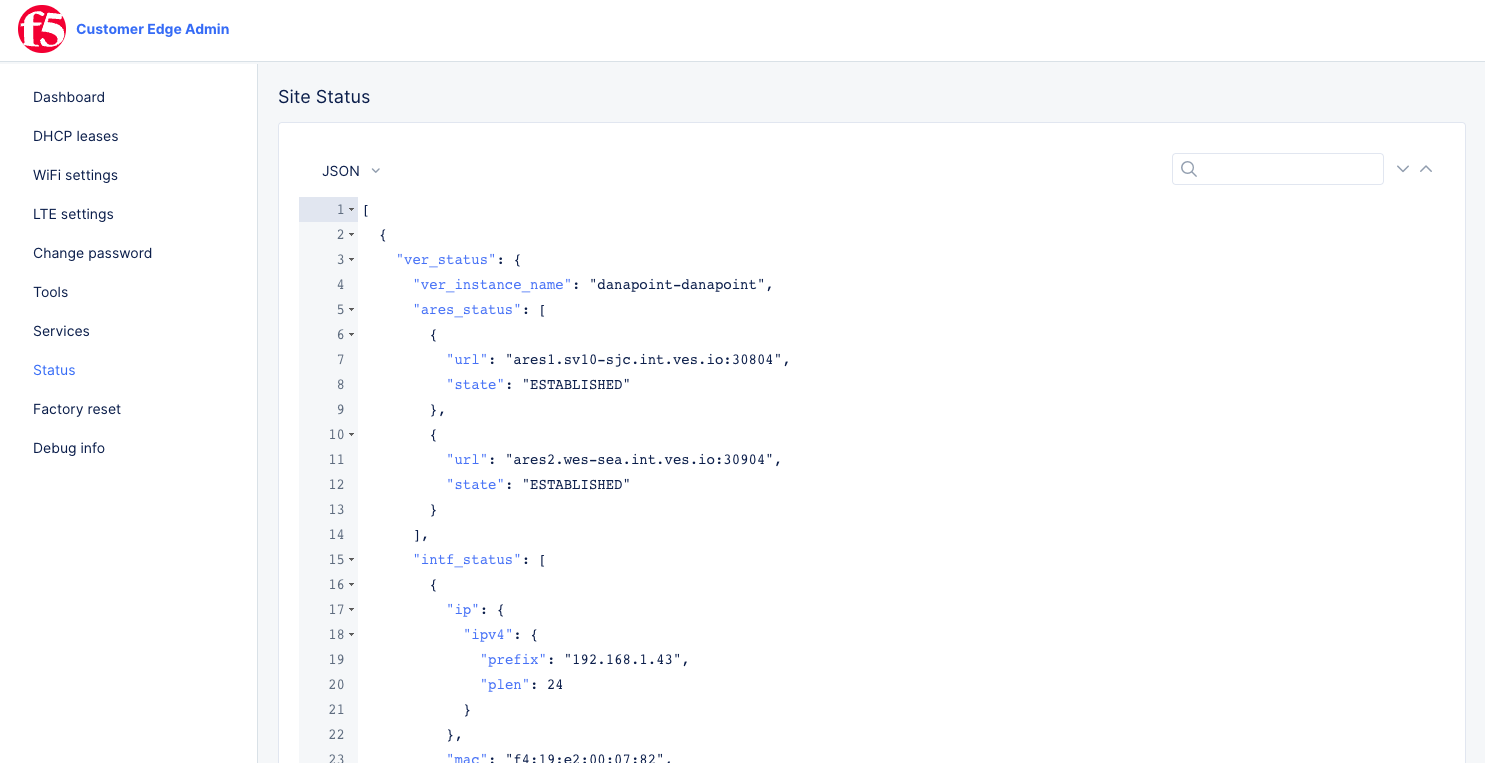
Figure: Detailed Site Status
Perform Additional Functions
You can perform additional functions such as wireless network configuration, factory reset, collecting debug information, etc.
Perform the following steps to carry out additional functions.
Step 1: Configure wireless network access.
Note: The wireless configuration is typically performed for IGW hardware devices.
Step 1.1: Configure Wi-Fi settings.
- Select
WiFi settingson the left menu and wait for the wireless network scanning to complete.
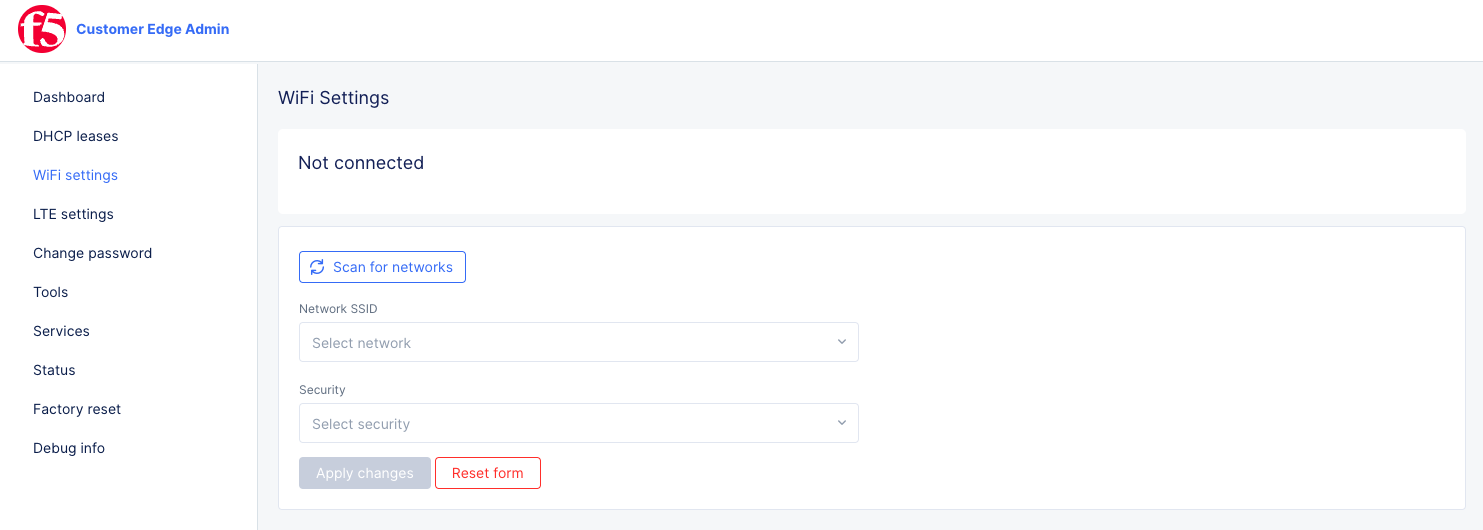
Figure: Wi-Fi Settings
-
Select in the
Network SSIDfield and select a network per your choice. -
Select in the
Securityfield to select the security type and enter the security information according to the security selection. -
Select
Apply Changesto save the Wi-Fi settings. -
Select
Scan for networksanytime to scan again and refresh the network list.
Note: If you need to reset the settings, select
Reset form.
Step 1.2: Configure LTE settings.
Configuring LTE settings requires you to insert a mobile carrier LTE SIM card into the F5 IGW hardware device. Also, you must obtain the APN, username, and password from your LTE service provider.
-
Select
LTE settingson the left menu to load the LTE settings form. -
In the
APNfield, enter your access point name. -
In the
UserandPasswordfields, respectively, enter your username and password. -
In the
PINfield, enter your connection PIN.
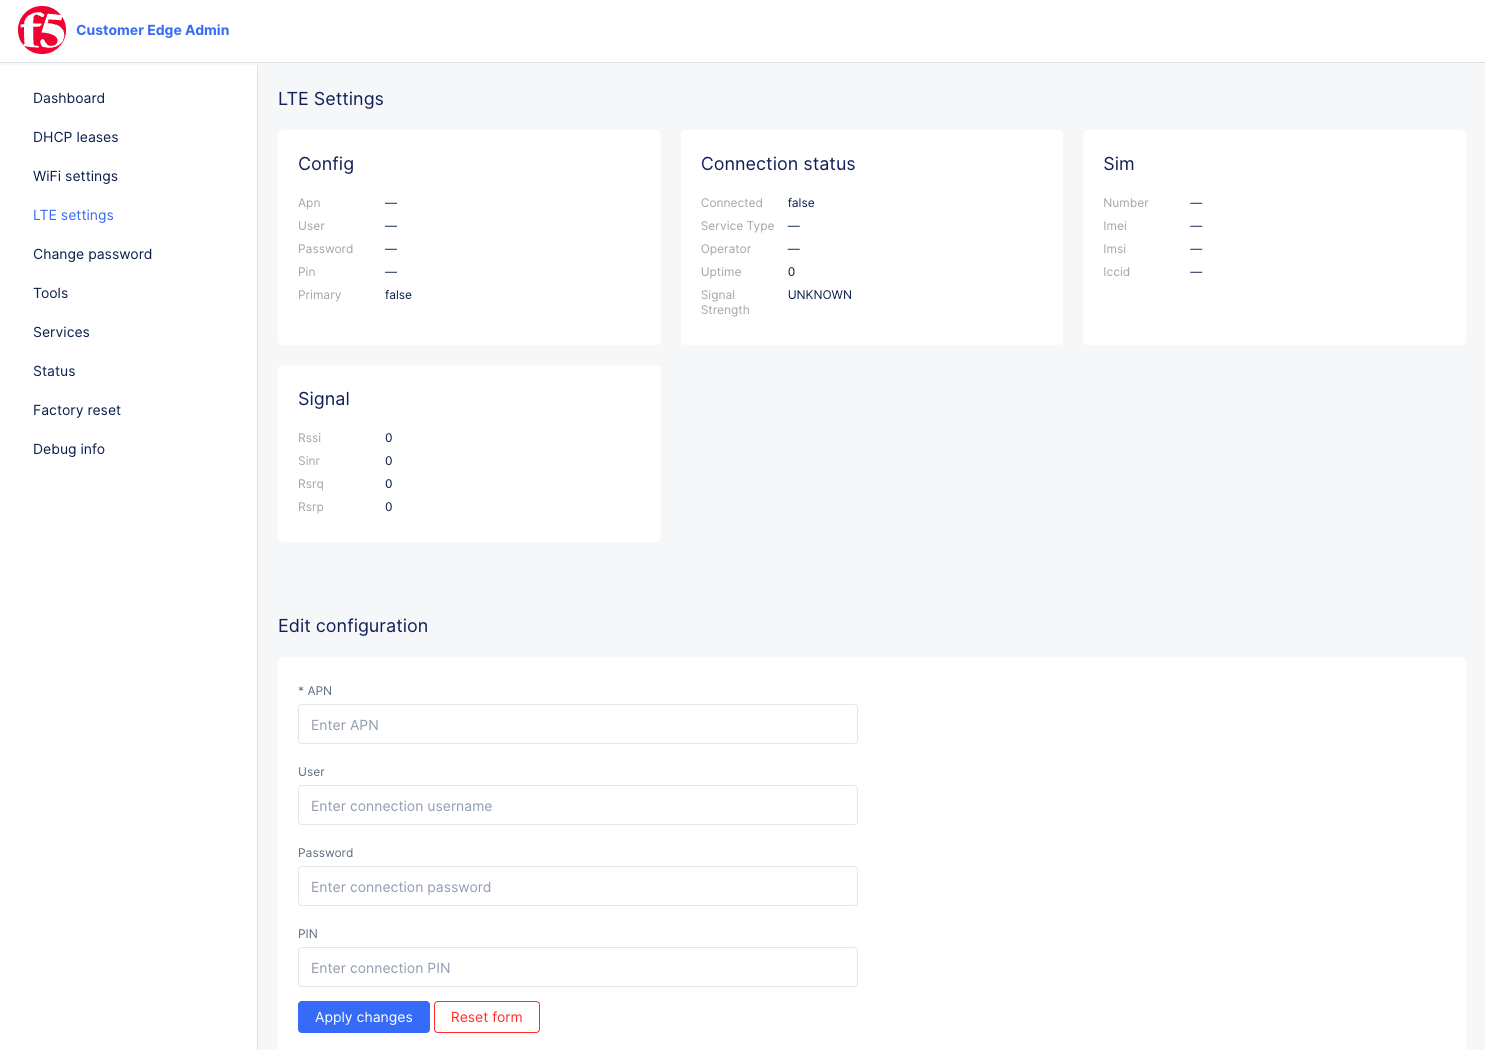
Figure: LTE Settings
- Select
Apply Changesto save the LTE settings.
Note: If you need to reset the settings, select
Reset form.
Step 2: Change admin password.
- From the menu on the left, select the
Change passwordoption.
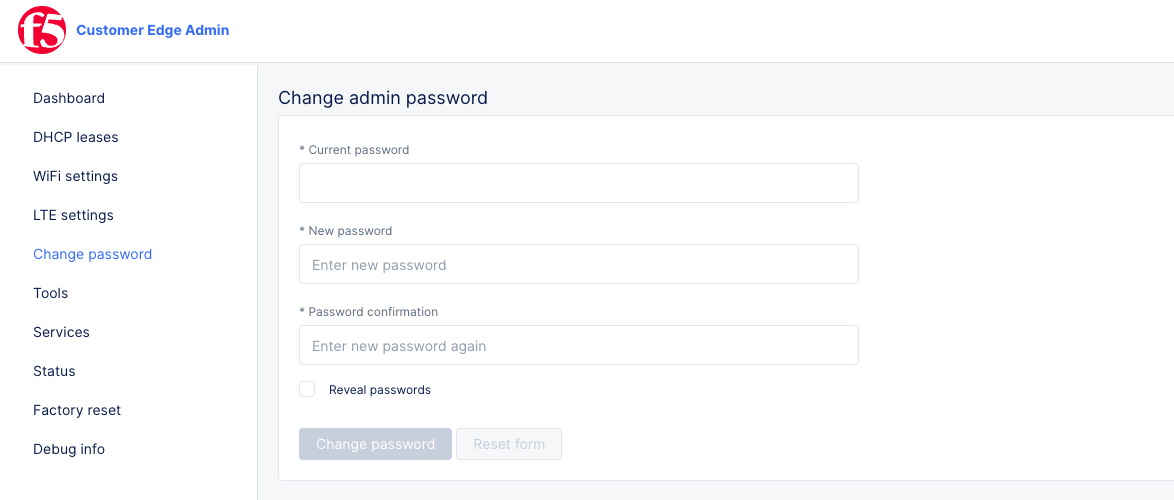
Figure: Change Admin Password Form
-
Enter your current password.
-
Enter your new password twice, and then select
Change password.
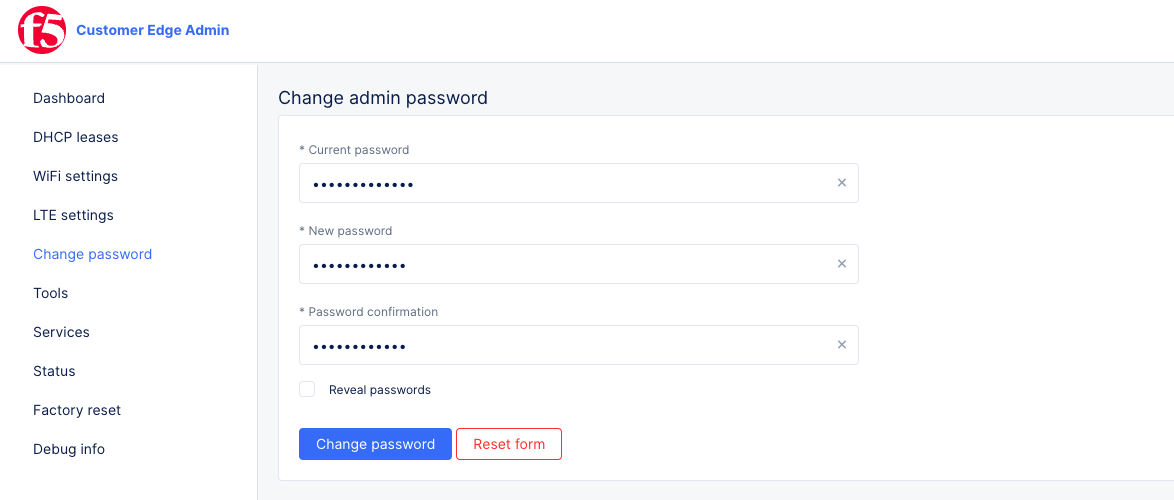
Figure: Change Admin Password Complete
- To reset the form to empty, select
Reset form.
Step 3: Execute CLI commands.
The site local UI provides you with a set of CLI commands to execute and obtain results.
- From the menu on the left, select the
Toolsoption.
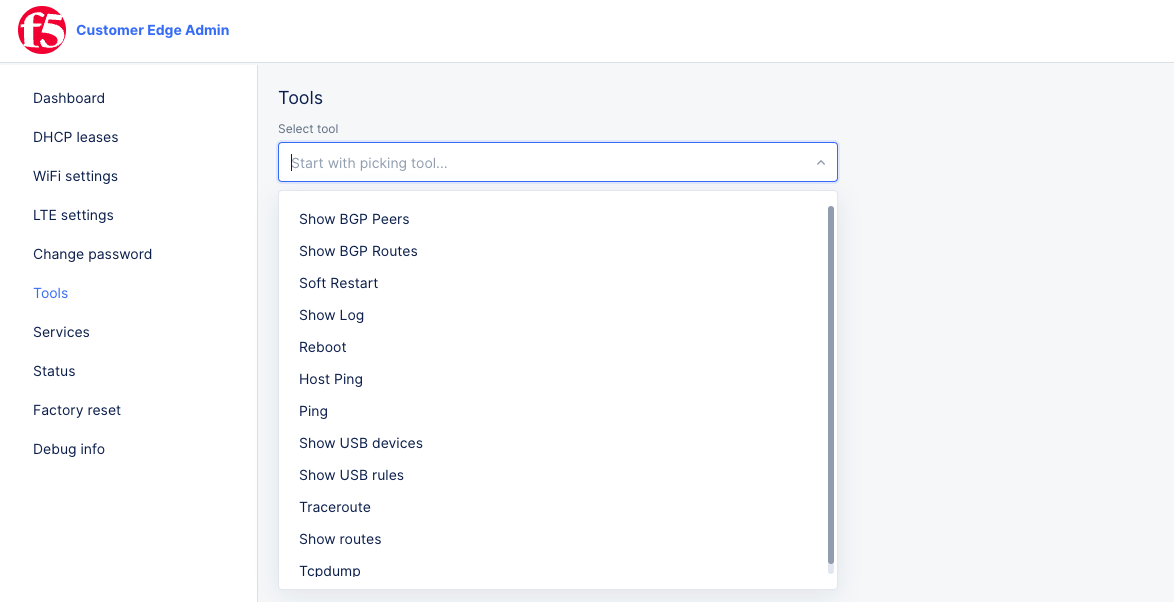
Figure: Site Local UI Tools
- From the
Select tooldrop-down menu, select a command to execute, and then select the blue button corresponding to the command. This example displays theShow Logcommand.
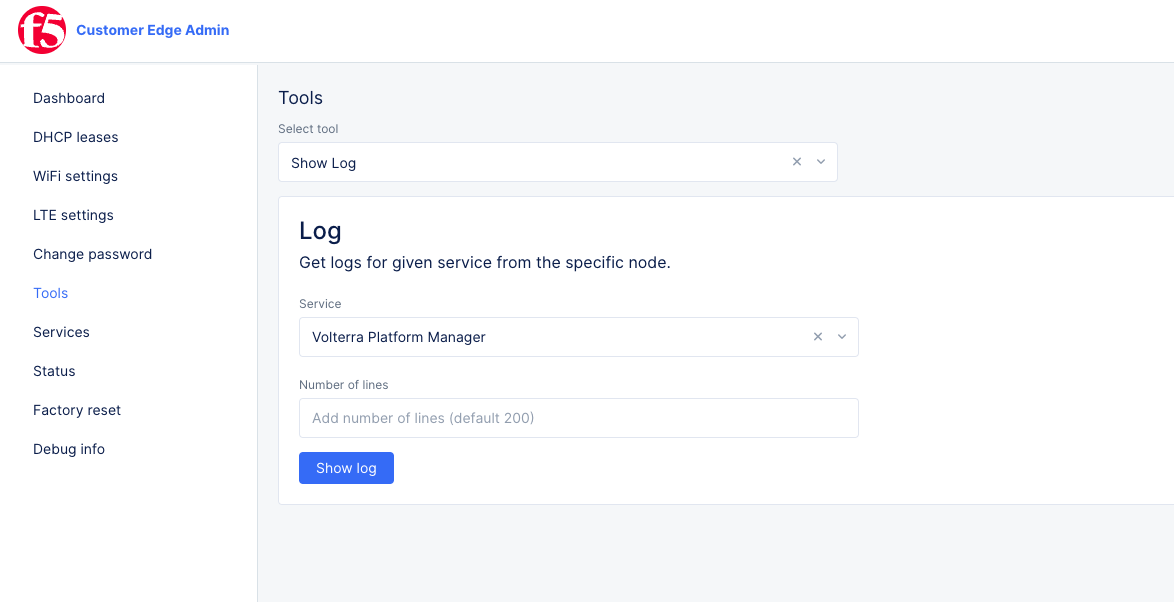
Figure: CLI Command Show Log
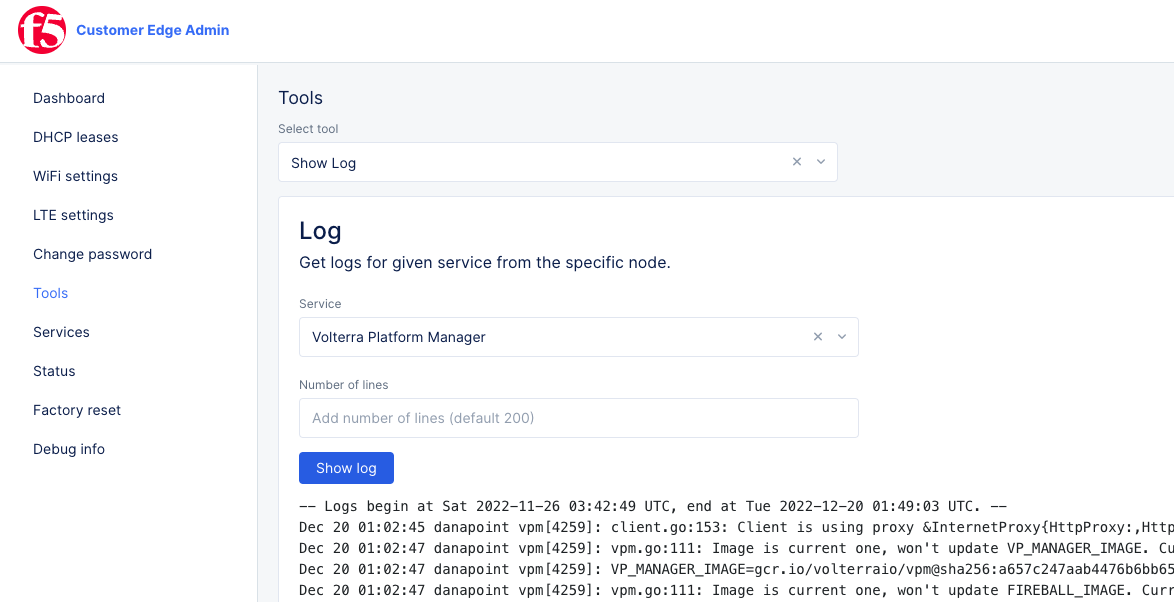
Figure: CLI Command Show Log
Step 4: Perform factory reset.
The site local UI provides you with an option to reset your node to factory settings.
-
From the menu on the left, select
Factory reset. -
Select
Trigger factory reset. The site status in the dashboard showsResetting. This process may take several minutes.
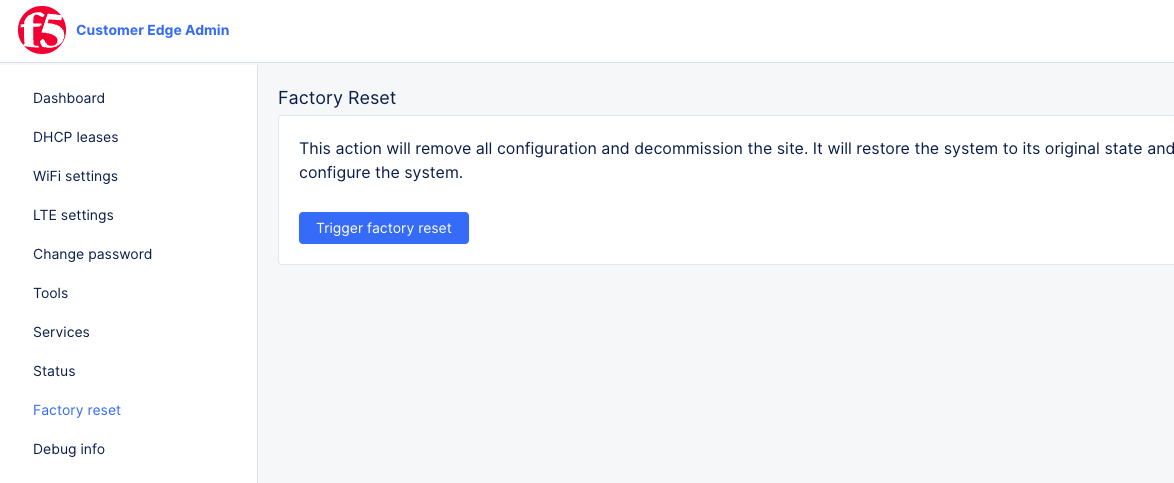
Figure: Factory Reset
Afterwards, you are required to perform initial configuration. Refresh the browser and perform the instructions listed in the Perform Initial Configuration chapter.
Note: You can also perform factory reset from Console. See Perform Factory Reset for more information.
Step 5: Collect debug information.
- From the menu on the left, select
Debug infoto load the debug info window.
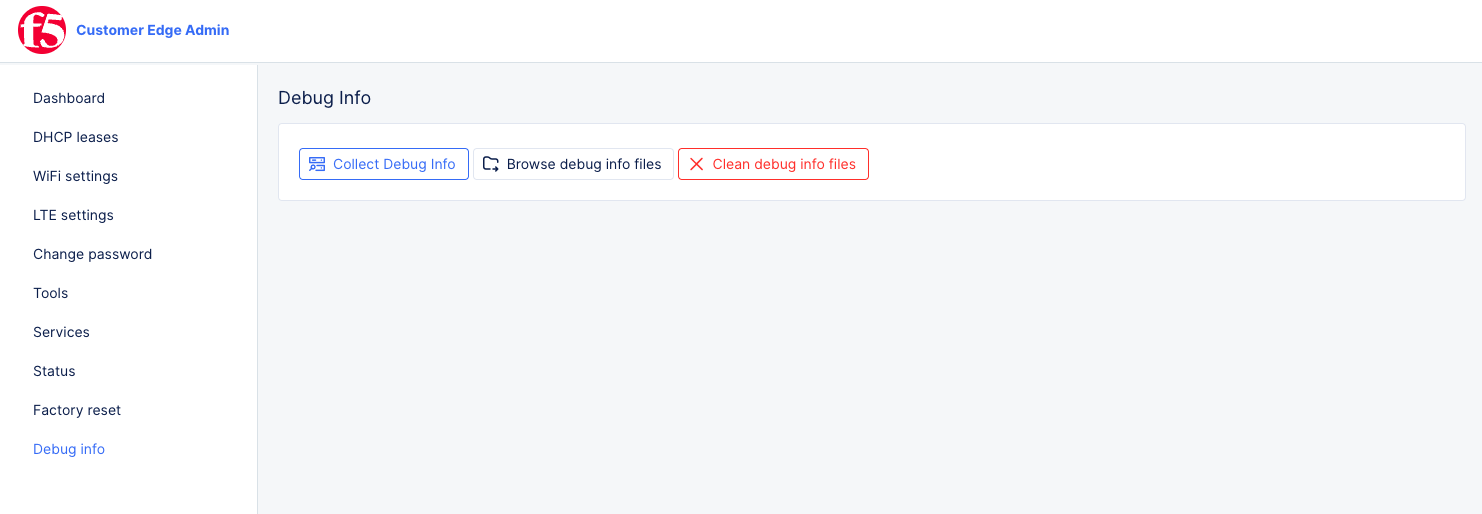
Figure: Site Debug Information
- Select
Collect Debug infoand wait for the debug collection to complete.
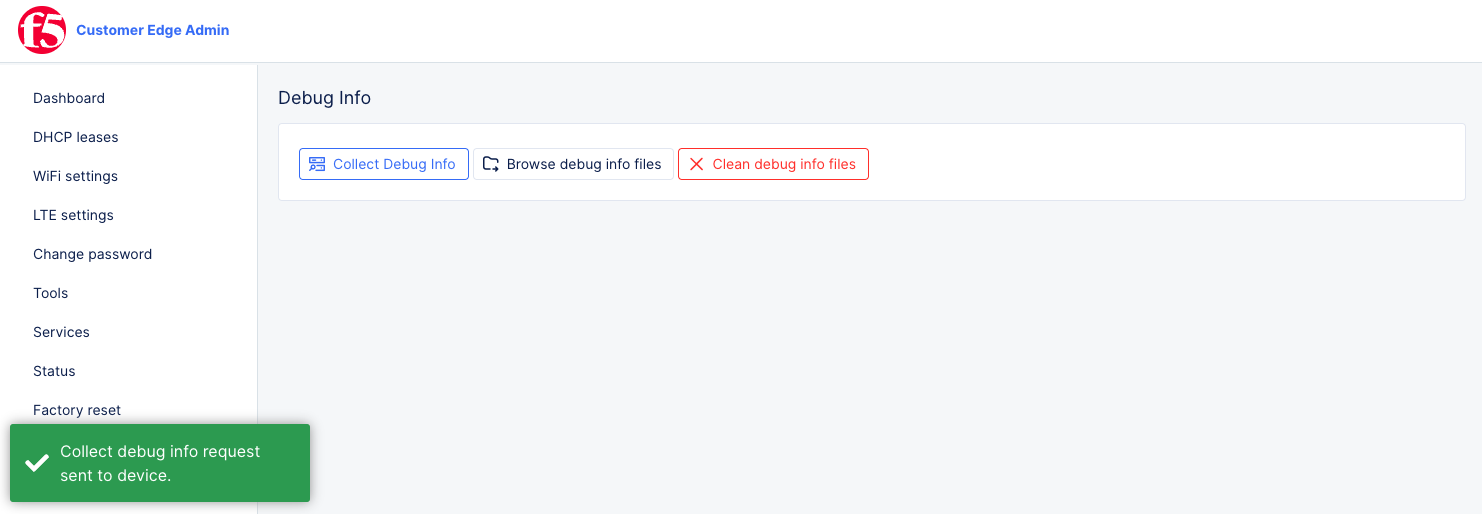
Figure: Site Debug Information
-
Select
Browse debug info filesto display the debug information files collected. -
Select the filepath to download a compressed file that contains the logs.

Figure: Download Logs File
- To delete the logs, select
Clean debug info files.
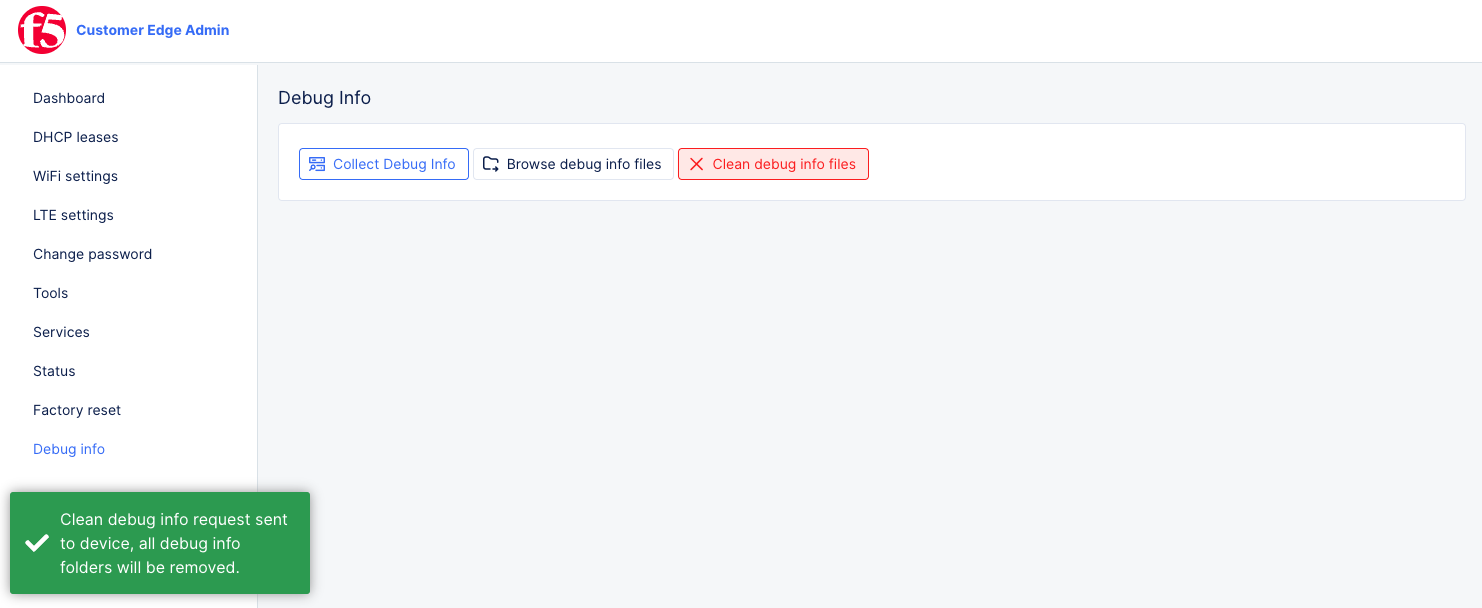
Figure: Delete Logs File
Concepts
- System Overview
- Core Concepts
- Networking
- F5 Distributed Cloud - Customer Edge
- F5 Distributed Cloud Site