Create Kubernetes Site
Objective
This guide provides instructions on how to deploy an F5® Distributed Cloud Services Site as a pod on a Kubernetes (K8s) cluster. For more information on Sites, see F5 Distributed Cloud Site.
Important: This feature provides basic functionality of launching a Distributed Cloud Services Site on K8s with limited functionality, tools, and observability. A Site deployed with Kubernetes only supports Mesh functionalities and does not support F5® Distributed Cloud App Stack. The supported Kubernetes version is 1.23. Only one or three pods are supported per cluster when deploying a customer edge (CE) Site on K8s. Deploying CE sites in a managed Kubernetes environment is not supported for production environments. It is only supported for proof-of-concept (PoC) deployments.
A Site deployed as a pod on a K8s cluster acts as a K8s ingress controller with built-in application security. It also enables the F5® Distributed Cloud Mesh (Mesh) features, such as discovery of services of the K8s cluster, publish of other Site's services on this Site, publish of this Site's discovered services on other Sites, and more.
F5 Distributed Cloud Services supports deploying a Site on a K8s cluster either using the kubectl command-line interface (CLI) tool or Helm charts. Both methods are covered in this guide.
Prerequisites
The following prerequisites apply:
-
A Distributed Cloud Services Account. If you do not have an account, see Getting Started with Console.
-
Allow traffic from and to the Distributed Cloud public IP addresses to your network and allowlist related domain names. See F5 Customer Edge IP Address and Domain Reference for Firewall or Proxy Settings guide for the list of IP addresses and domain names.
-
A deployed K8s cluster. For documentation on deploying:
-
The following requirements are for the managed K8s environment:
-
Managed K8s (EKS/AKS/GKE): Minimum 8 vCPUs, 32 GB RAM, and 80 GB disk storage. For a full listing of the resources required, see the Customer Edge Site Sizing Reference guide. All the nodes in a given CE Site should have the same resources regarding the compute, memory, and disk storage. When deploying in cloud environments, these nodes should use the same instance flavor.
-
Minikube: minimum 32 GB of memory per node. The driver should support HugePages for managed K8s. For example, for macOS you can use the
minikube start --driver=<driver>command to start Minikube with the driver that supports HugePages. For example, use theminikube start --driver=virtualbox --memory 32768command to start Minikube with VirtualBox driver. -
Kubernetes StorageClass with enabled Dynamic Persistent Volume Provisioner (PVC) with a minimum of 1 GB space. Use the
kubectl get storageclasscommand to check if dynamic PVC is enabled for your K8s StorageClass. The output with an entry withstandard (default)in theNAMEcolumn indicates that K8s storage class is enabled with Dynamic PVC.
-
-
Helm 3.2.0+ if you are using Helm chart to deploy your Site. See Helm Docs for more information on Helm.
-
Internet Control Message Protocol (ICMP) needs to be opened between the CE nodes on the Site Local Outside (SLO) interfaces. This is needed to ensure intra-cluster communication checks.
-
The minimum instance types required for CustomResourceDefinition (CRD) are the following:
- AWS: minimum size m5.2xlarge
- GCP: minimum size n2-standard-8
- Azure: minimum size Standard_D8_v4
Important: After you deploy the CE Site, the IP address for the SLO interface cannot be changed. Also, the MAC address cannot be changed.
Restrictions
The following restrictions apply and are not supported when advertising a load balancer on a Kubernetes Site:
- Fast ACLs
- Service Policy: Rejecting requests from specific source IP address
- Trusted client: Adding a specific source IP address as trusted client in load balancer
- API protection rules: Adding a rule with specific IP address
- API Rate Limiting: Based on Source IP address
- Blocked clients: Adding a specific IP address to blocker clients
- Malicious User Mitigation: Setting IP address or IP address plus TLS fingerprint as user identifier
- K8s Site: Cannot support DaemonSets for types other than Linux nodes
Manifest Updates
If you have a CE that was deployed prior to February 2025, you are using an older initContainers that pointed to busybox. After February 2025, the initContainers was updated to use tinytools. This update was made for security purposes. If you need your CE to use this latest type, you need to manually download the latest manifest and apply it.
Configuration Options
You can deploy Site as a pod through kubectl using a manifest file or using Helm charts.
kubectl-Based Configuration Sequence
Deploying a Site as a pod on an existing K8s cluster using kubectl requires you to perform the following sequence of actions:
- Create a Site token.
- Prepare a manifest file with the parameters required for Site provisioning.
- Deploy the Site using the kubeconfig of the K8s cluster and the manifest file.
- Perform Site registration.
- Verify that Distributed Cloud Services are running.
Helm-Based Configuration Sequence
Deploying a Site as pod on an existing K8s cluster using Helm requires you to perform the following sequence of actions:
- Create a Site token and set Site token environment variable.
- Clone the F5 Distributed Cloud Services Site on K8s Repo.
- Deploy the Site using the Helm installation command.
- Perform Site registration.
- Verify that Distributed Cloud Services are running.
Note: For both methods, ensure that you have reachability to your K8s cluster and set the kubeconfig environment variable with the kubeconfig of your K8s cluster using the
export KUBECONFIG=<kubeconfig.yml>command.
Create Site Token
Create a Site token or use an existing token. If you are configuring a multi-node Site, use the same token for all nodes.
Step 1: Navigate to Site tokens page.
-
Log into F5® Distributed Cloud Console.
-
Click
Multi-Cloud Network Connect.

Figure: Console Homepage
-
Select
Manage>Site Management>Site Tokens. -
Click
Add Site Tokento create a new token.
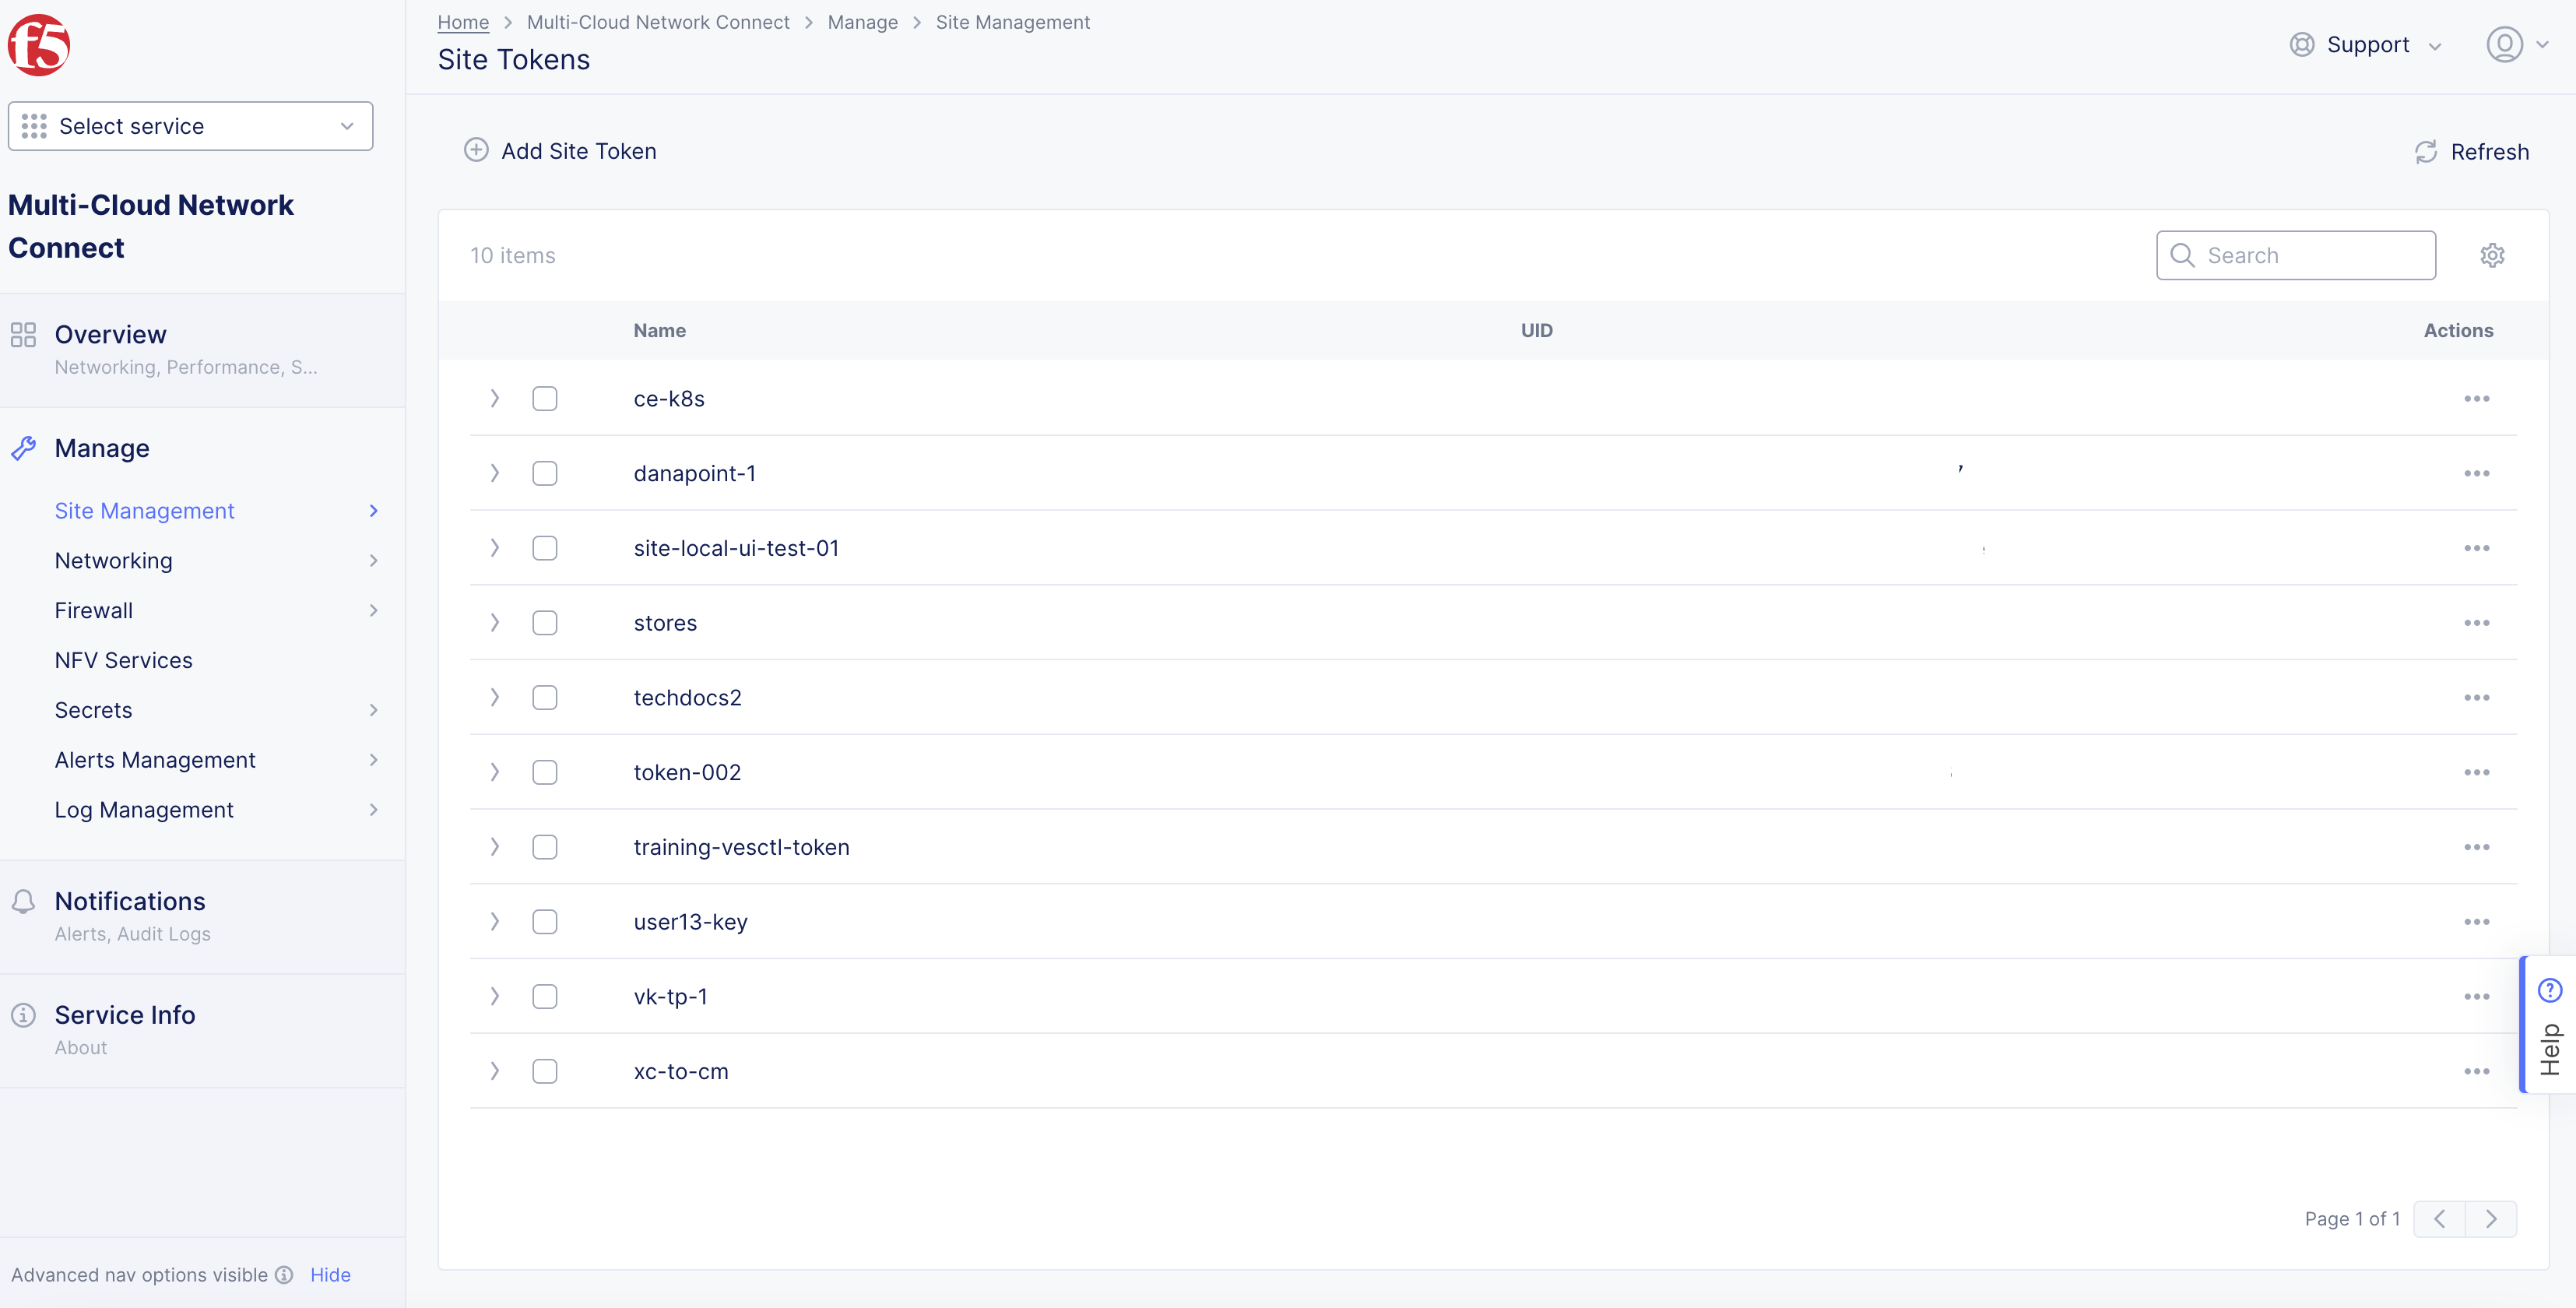
Figure: Site Tokens
Step 2: Generate a new Site token.
-
In the
Namefield, enter the token name. -
In the
Descriptionfield, enter a description for the token. -
Click
Save and Exit.
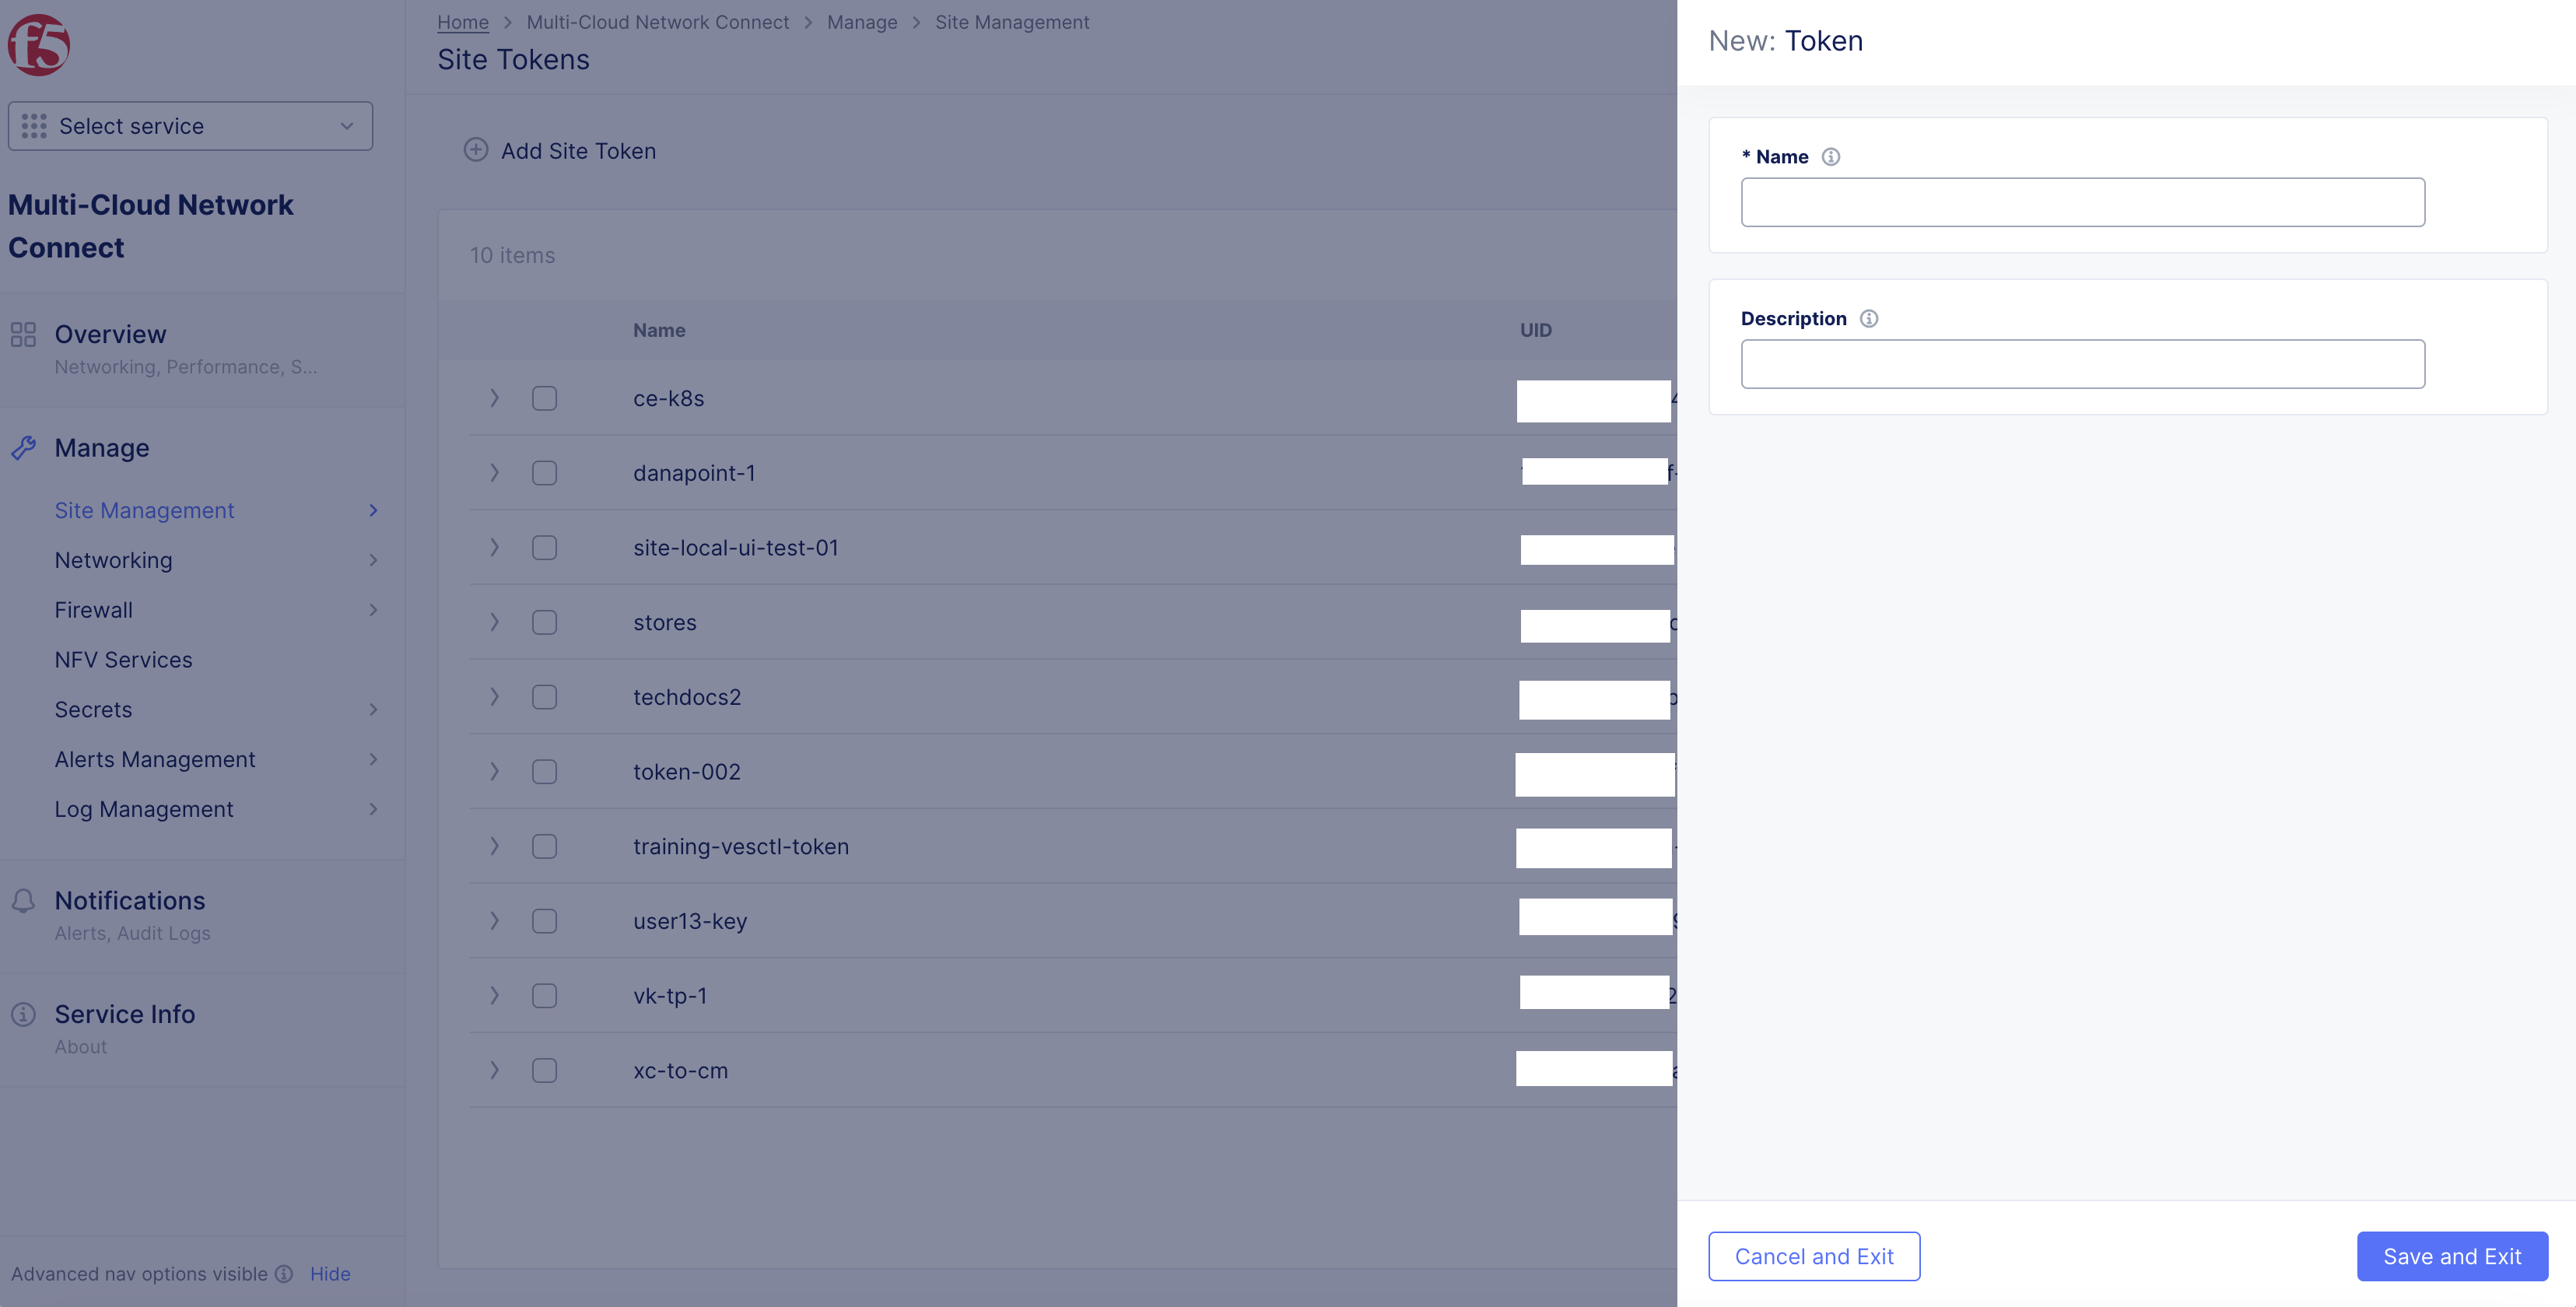
Figure: Site Token Form
Step 3: Note down the new token.
-
Find the token previously created or choose an existing token from the list of tokens displayed.
-
Click
>to expand the token details in JSON format and note down the value of theuidfield.
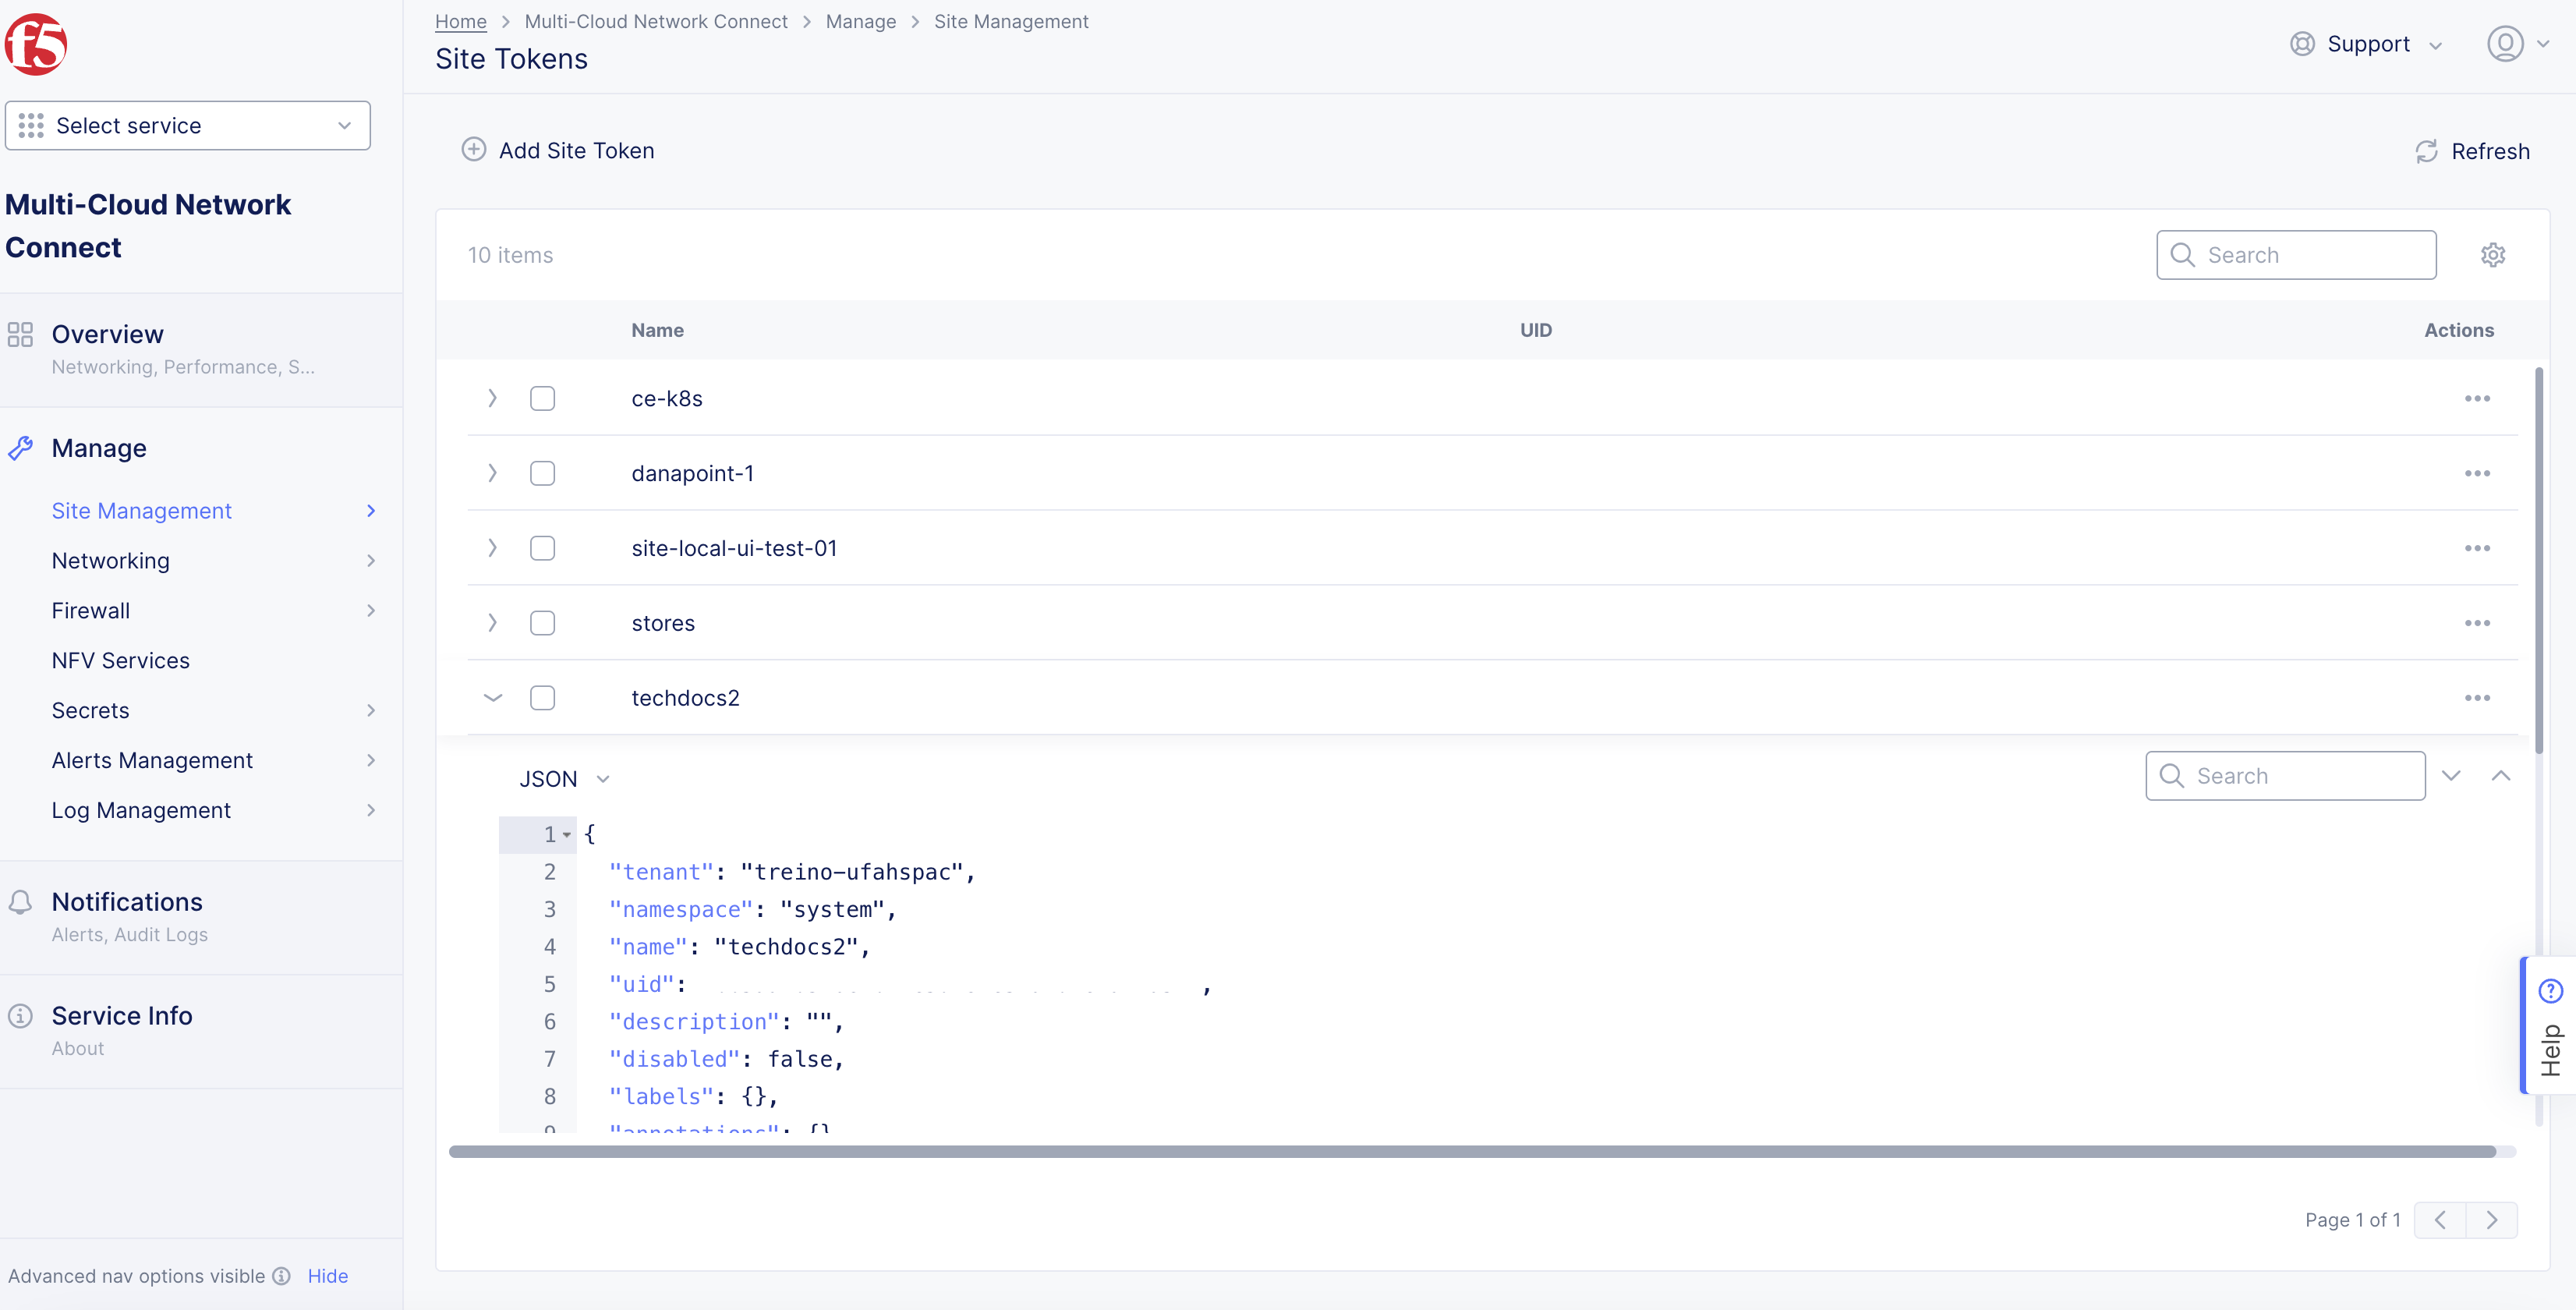
Figure: UID Field
Deploy Using Kubectl
Deploying a Site using kubectl involves preparing a manifest file and performing the kubectl apply operation on the K8s cluster.
Prepare the Manifest File
The manifest file contains a YAML schema used for descriptor information to support deployment of Kubernetes for a Site.
Step 1: Create the manifest file.
Download the sample Manifest Template.
Step 2: Edit the configuration.
-
Edit the configuration of the manifest file per the following guidelines:
-
In the
ClusterNamefield, type your cluster name. -
In the
LatitudeandLongitudefields, type the latitude and longitude values. -
In the
Tokenfield, type the Site token. -
In the
replicasfield, enter 1 for a single-node Site or 3 for a multi-node Site.
-
-
Save your changes.
Note: You can also set the cluster name, latitude, and longitude when you register a Site.
Deploy Site
Step 1: Deploy the Site using the kubeconfig file for the K8s cluster and manifest file.
- Type
kubectl apply -f <manifest>.yml.
kubectl apply -f <manifest>.ymlThis example displays the sample output of the command:
namespace/ves-system createdserviceaccount/volterra-sa createdrole.rbac.authorization.k8s.io/volterra-admin-role createdrolebinding.rbac.authorization.k8s.io/volterra-admin-role-binding createddaemonset.apps/volterra-ce-init createdserviceaccount/vpm-sa createdrole.rbac.authorization.k8s.io/vpm-role createdrolebinding.rbac.authorization.k8s.io/vpm-role-binding createdclusterrolebinding.rbac.authorization.k8s.io/ver createdconfigmap/vpm-cfg createdstatefulset.apps/vp-manager createdservice/vpm createdStep 2: Verify that the K8s pod for the Site was created.
Verify that the pod with the vp-manager-0 under the NAME column indicates that the Site pod was created.
- Type
kubectl get pods -n ves-system -o=wide.
This example displays the sample output of the command with minikube for a single-node Site:
NAME READY STATUS RESTARTS AGE IP NODE NOMINATED NODE READINESS GATESvolterra-ce-init-g8bd7 1/1 Running 0 7m15s 172.16.11.6 minikube <none> <none>vp-manager-0 1/1 Running 0 6m19s 172.17.0.7 minikube <none> <none>This example displays the sample output of the command with minikube for a multi-node Site:
NAME READY STATUS RESTARTS AGE IP NODE NOMINATED NODE READINESS GATESvolterra-ce-init-sgklz 1/1 Running 0 4m 172.16.11.12 minikube <none> <none>vp-manager-0 1/1 Running 0 3m59s 172.17.0.3 minikube <none> <none>vp-manager-1 1/1 Running 0 3m24s 172.17.0.4 minikube <none> <none>vp-manager-2 1/1 Running 0 3m16s 172.17.0.5 minikube <none> <none>Step 3: Check if the registration request was created.
You can check the request status from the Console or the kubectl CLI tool.
-
To check with Console:
-
Log into Console and then click
Multi-Cloud Network Connect. -
Click
Manage>Site Management>Registrations>Pending Registrations.
-
-
To check with
kubectl:- Type
kubectl logs vp-manager-0 -n ves-system.
- Type
kubectl logs vp-manager-0 -n ves-systemThis example provides the sample output of the command:
Current state: PENDING, registration fe5b5157-7066-4052-95f3-5b9d68e072c6 must be manually APPROVED and then automatically ADMITTED. Object status: &StatusType{ObjectStatus:&ves_io_schema4.StatusType{Status:,Reason:,Code:0,},CurrentState:PENDING,};2022-03-09 21:28:17.07967128 +0000 UTC m=+1318333.138793540,, waiting 15.716434773s before next tryDeploy Using Helm
Step 1: Set environment variables required for deployment.
The site-name is a name of your choice. The site-token is the token created in the Create Site Token section.
Enter the following commands:
-
export SITE_NAME=<site-name> -
export SITE_TOKEN=<site-token>
Step 2: Clone the F5 Distributed Cloud Services K8s Site repo.
Enter the following commands to clone the repo and change to its directory:
git clone https://gitlab.com/volterra.io/volterra-ce.git && cd volterra-ce
Step 3: Deploy the Site.
Enter the following command for AWS, Azure, GCP, and Minikube:
helm upgrade --install $SITE_NAME ./helm --set vpm.clusterName="$SITE_NAME" --set vpm.token="$SITE_TOKEN" --set vpm.latitude="50" --set vpm.longitude="50" --set siteToSiteNodePort.enabled=falseEnter the following command for OCP:
helm upgrade --install $SITE_NAME ./helm --set vpm.clusterName="$SITE_NAME" --set vpm.token="$SITE_TOKEN" --set vpm.latitude="50" --set vpm.longitude="50" --set siteToSiteNodePort.enabled=trueThe following is a sample output for the above command:
Release "alexminikube2" does not exist. Installing it now.NAME: alexminikube2LAST DEPLOYED: Thu Dec 8 18:31:36 2022NAMESPACE: defaultSTATUS: deployedREVISION: 1TEST SUITE: NoneNOTES:Please open https://console.ves.volterra.io/ and proceed to site registration.Register CE Site
After you install the F5 Distributed Cloud Services node, you must register it as a CE Site in the Distributed Cloud Console. For a multi-node CE Site, you must register each node.
Note: The USB allowlist is enabled by default. If you change a USB device, such as a keyboard after registration, the device will not function.
Register Multi-Node Site
Step 1: Navigate to the Site registration page.
-
Log into Console.
-
Click
Multi-Cloud Network Connect. -
Click
Manage>Site Management>Registrations.
Step 2: Accept the registration requests.
Registration requests are displayed in the Pending Registrations tab.
-
Click
Acceptto accept the registration requests from themaster-0,master-1, andmaster-2nodes. The node names differ. -
Enter the same values for the following parameters for all the registration requests:
-
In the
Cluster namefield, enter a name for the cluster. Ensure that all control nodes have the same name. -
In the
Cluster sizefield, enter3. Ensure that all control nodes have the same cluster size.
-
-
Enter all mandatory fields marked with the asterisk (
*) character. -
Click
Save and Exit.
Step 3: Check Site status and health.
It may take a few minutes for the Site health and connectivity score information to update.
-
Click
Overview>Infrastructure>Sites. -
Click on your Site name. The
Dashboardtab appears, along with many other tabs to inspect your Site. -
Click the
Site Statustab to verify the following:-
The
Update Statusfield has aSuccessfulvalue for theF5 OS Statussection. -
The
Update Statusfield has aSuccessfulvalue for theF5 Software Statussection. -
The
Tunnel statusandControl Planefields under theRE Connectivitysection haveupvalues.
-
Note: The factory reset functionality is not supported. To update a Site node, power off and then destroy it. Perform the same procedure as above to recreate a virtual machine (VM).
Register Single-Node Site
Step 1: Navigate to the Site registration page.
-
Log into Console.
-
Click
Multi-Cloud Network Connect. -
Click
Manage>Site Management>Registrations.
Step 2: Accept the registration requests.
Registration requests are displayed in the Pending Registrations tab.
-
Click
Acceptto accept the registration request for the node. -
In the form that appears, enter all mandatory fields marked with the asterisk (
*) character. -
Enter latitude and longitude values if you did not previously.
-
Enter other configuration information, if needed.
-
Click
Save and Exit.
Step 3: Check Site status and health.
It may take a few minutes for the Site health and connectivity score information to update.
-
Click
Overview>Infrastructure>Sites. -
Click on your Site name. The
Dashboardtab appears, along with many other tabs to inspect your Site. -
Click the
Site Statustab to verify the following:-
The
Update Statusfield has aSuccessfulvalue for theF5 OS Statussection. -
The
Update Statusfield has aSuccessfulvalue for theF5 Software Statussection. -
The
Tunnel statusandControl Planefields under theRE Connectivitysection haveupvalues.
-
Note: The factory reset functionality is not supported. To update a Site node, power off and then destroy it. Perform the same procedure as above to recreate a virtual machine (VM).
Verify Services
Verify that services were started after Site registration.
Type kubectl get pods -n ves-system -o=wide.
kubectl get pods -n ves-system -o=wideThis example provides the sample output of the command:
NAME READY STATUS RESTARTS AGE IP NODE NOMINATED NODE READINESS GATESetcd-5779568655-td4wq 2/2 Running 0 41m 10.244.1.4 aks-nodepool1-29573508-vmss000001 <none> <none>etcd-defrag-1587094200-58jjb 0/1 Completed 0 33m 10.244.1.5 aks-nodepool1-29573508-vmss000001 <none> <none>ver-0 13/13 Running 3 41m 10.244.0.8 aks-nodepool1-29573508-vmss000000 <none> <none>volterra-ce-init-5wsmb 1/1 Running 0 75m 10.240.0.5 aks-nodepool1-29573508-vmss000001 <none> <none>volterra-ce-init-sbjqp 1/1 Running 0 75m 10.240.0.4 aks-nodepool1-29573508-vmss000000 <none> <none>vp-manager-0 1/1 Running 2 72m 10.244.1.3 aks-nodepool1-29573508-vmss000001 <none> <none>The Site appears in Console, where you can deploy Mesh services.
Decommission Site
Decommissioning a Site requires you to deregister the Site from Console, and then delete that Site.
Step 1: Navigate to the list of registered Sites.
-
Log into Console.
-
Click
Multi-Cloud Network Connect.
Figure: Console Homepage
-
Click
Manage>Site Management>Registrations. -
Click the
Other Registrationstab.
Step 2: Perform decommissioning.
-
Find your Site and then click
.... -
Click
Decommission.
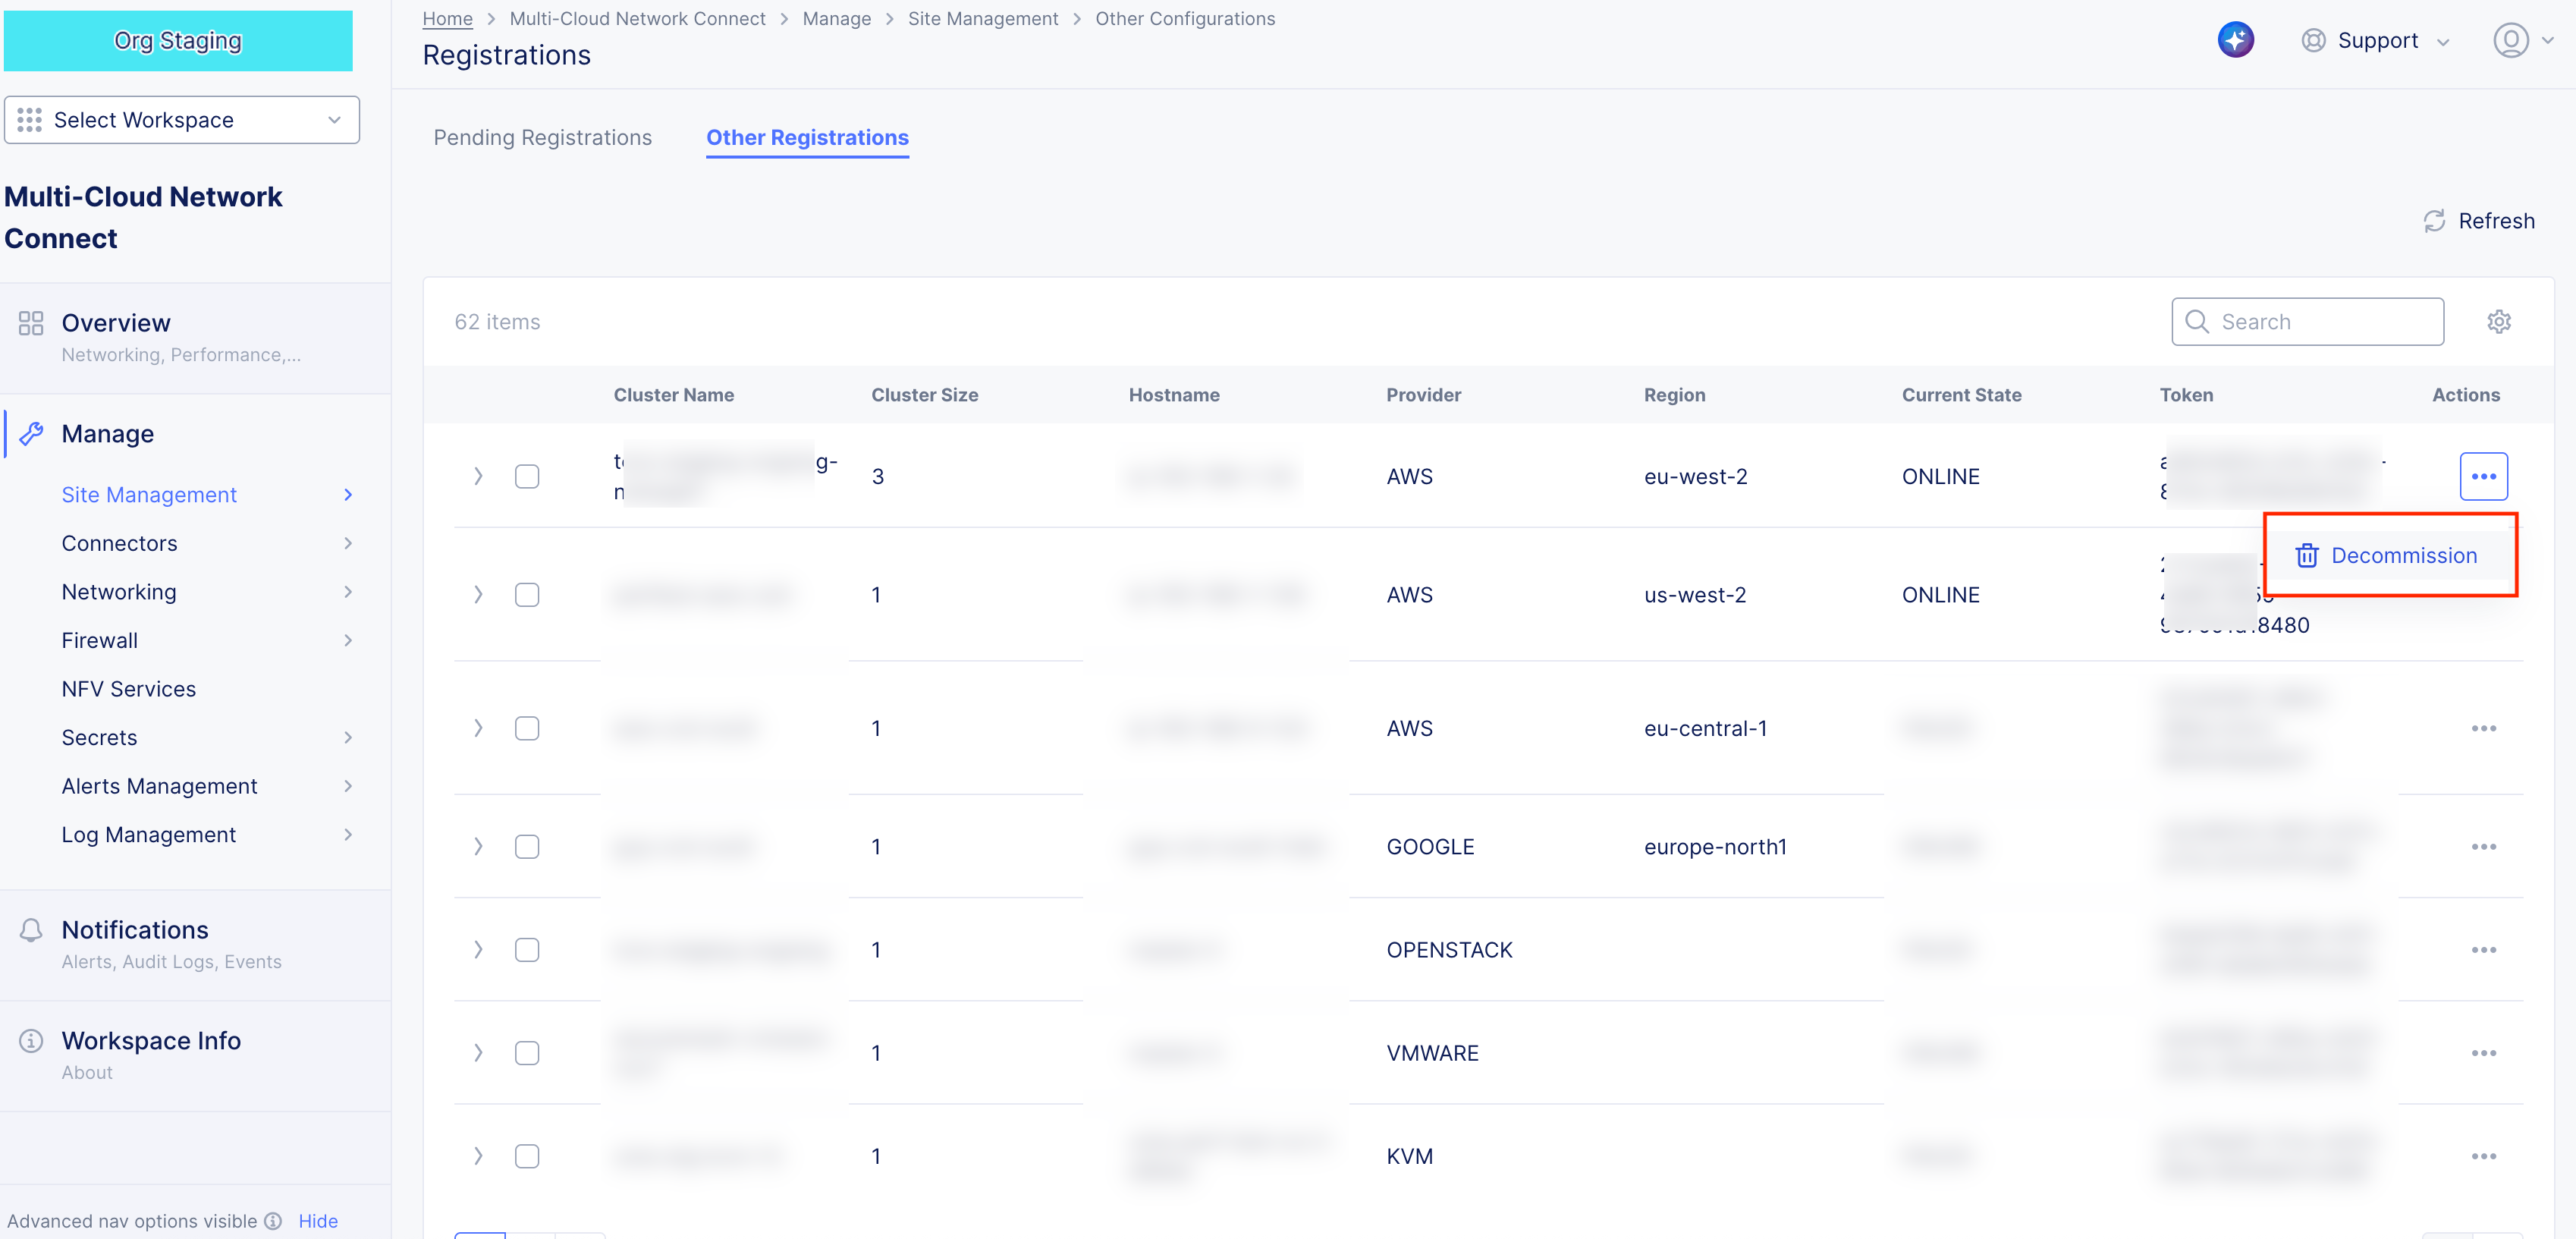
Figure: Decommission Site
- Click
Decommissionin the confirmation window to confirm the operation. After a few minutes, theCurrent Statecolumn displaysRETIRED.
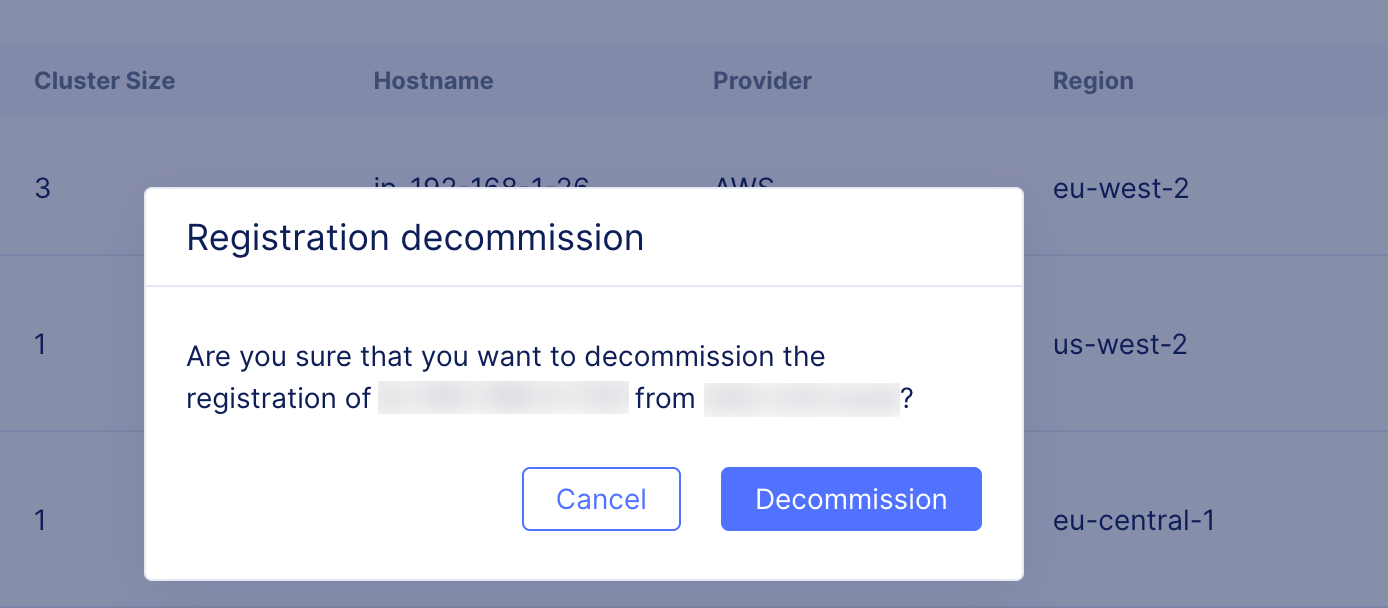
Figure: Confirm Decommission Site
Step 3: Delete the resources for the Site.
- In the terminal, use the
kubectltool to delete if Site is created using the manifest file.
Type kubectl delete -f <vpm-manifest>.yml.
kubectl delete -f <vpm-manifest>.yml- Use the cloud provider commands to delete the resources if Site is created using Helm. The following are sample commands for AWS, Azure, and GCP.
eksctl delete cluster --name $SITE_NAME  --region us-west-2
gcloud container clusters delete --region us-west1 $SITE_NAME
az aks delete --resource-group $SITE_NAME --name $SITE_NAME
Step 4: Delete the decommissioned Site.
-
Navigate to
Overview>Infrastructure>Sites. -
Find your Site from the list and then click
.... -
Click
Delete. -
Click
Deletein the confirmation window to complete the operation.
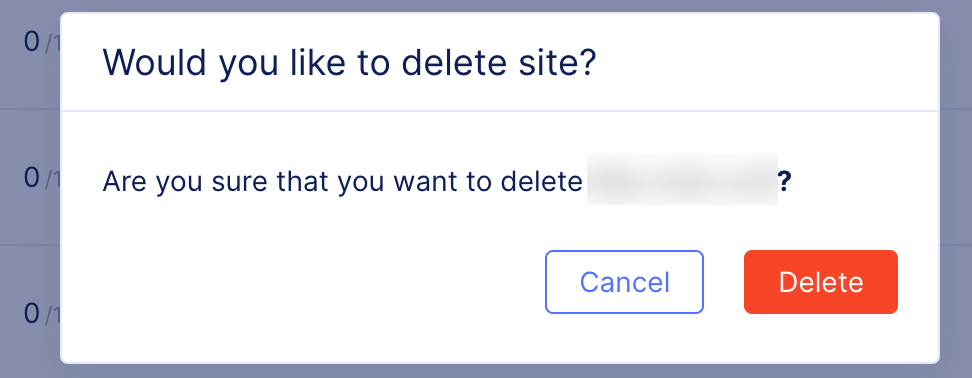
Figure: Confirm Delete Site
Perform Scaling for Site
You can perform a scale-up or scale-down of Site nodes by changing the replicas of the vp-manager pods.
Note: Scale-up for the sites also creates the VER pods, as there can be only one VER pod per node.
Step 1: Update the replicas using the kubeconfig file for the K8s cluster.
- Type
kubectl --kubeconfig=<kubeconfig-of-existing-k8s-cluster> edit statefulset/vp-manager -n ves-system.
kubectl --kubeconfig=<kubeconfig-of-existing-k8s-cluster> edit statefulset/vp-manager -n ves-system-
In the kubeconfig file
replicasfield, enter a new number. -
Save the file. The changes apply automatically.
Step 2: Verify that the new pods have started.
- Type
kubectl get pods -o=wide -n ves-system.
kubectl get pods -o=wide -n ves-systemThis example assumes that the replicas are set to 2:
NAME READY STATUS RESTARTS AGE IP NODE NOMINATED NODE READINESS GATESetcd-5bcbfc8689-8fx4g 2/2 Running 0 19h 10.244.1.23 aks-nodepool1-29573508-vmss000001 <none> <none>etcd-defrag-1587184200-dg765 0/1 Completed 0 42m 10.244.1.52 aks-nodepool1-29573508-vmss000001 <none> <none>ver-0 13/13 Running 2 16h 10.244.0.12 aks-nodepool1-29573508-vmss000000 <none> <none>ver-1 13/13 Running 0 17m 10.244.1.53 aks-nodepool1-29573508-vmss000001 <none> <none>volterra-ce-init-5wsmb 1/1 Running 0 26h 10.240.0.5 aks-nodepool1-29573508-vmss000001 <none> <none>volterra-ce-init-sbjqp 1/1 Running 0 26h 10.240.0.4 aks-nodepool1-29573508-vmss000000 <none> <none>vp-manager-0 1/1 Running 0 12m 10.244.1.54 aks-nodepool1-29573508-vmss000001 <none> <none>vp-manager-1 1/1 Running 2 15m 10.244.0.14 aks-nodepool1-29573508-vmss000000 <none> <none>Concepts
API References
On this page:
- Objective
- Prerequisites
- Restrictions
- Manifest Updates
- Configuration Options
- Create Site Token
- Deploy Using Kubectl
- Prepare the Manifest File
- Deploy Site
- Deploy Using Helm
- Register CE Site
- Register Multi-Node Site
- Register Single-Node Site
- Verify Services
- Decommission Site
- Perform Scaling for Site
- Concepts
- API References