Collect Access Logs
Objective
This guide provides instructions on how to collect logs using the F5® Distributed Cloud Services API. F5 provides API support to fetch various types of logs so that you can analyze and obtain insights during troubleshooting or process the logs further to feed to your monitoring systems.
Using the instructions provided in this guide, you can collect logs using the F5® Distributed Cloud Console API and also learn how to process the logs further according to your requirements.
Prerequisites
-
A valid Account is required. If you do not have an account, see Create an Account.
-
A virtual host advertising your application.
Collect Access Logs
The example in this guide shows how to collect various access logs using the access_logs API. This example also includes a sample script that collects the logs within a specific time interval.
Step 1: Download the API credentials.
Features can be viewed, and managed in multiple services.
This example shows Logs setup in Administration.
- Open
F5® Distributed Cloud Console> selectAdministrationbox.
Note: Homepage is role based, and your homepage may look different due to your role customization. Select
All workspacesdrop-down menu to discover all options. Customize Settings:Administration>Personal Management>My Account>Edit work domain & skillsbutton >Advancedbox > checkWork Domainboxes >Save changesbutton.
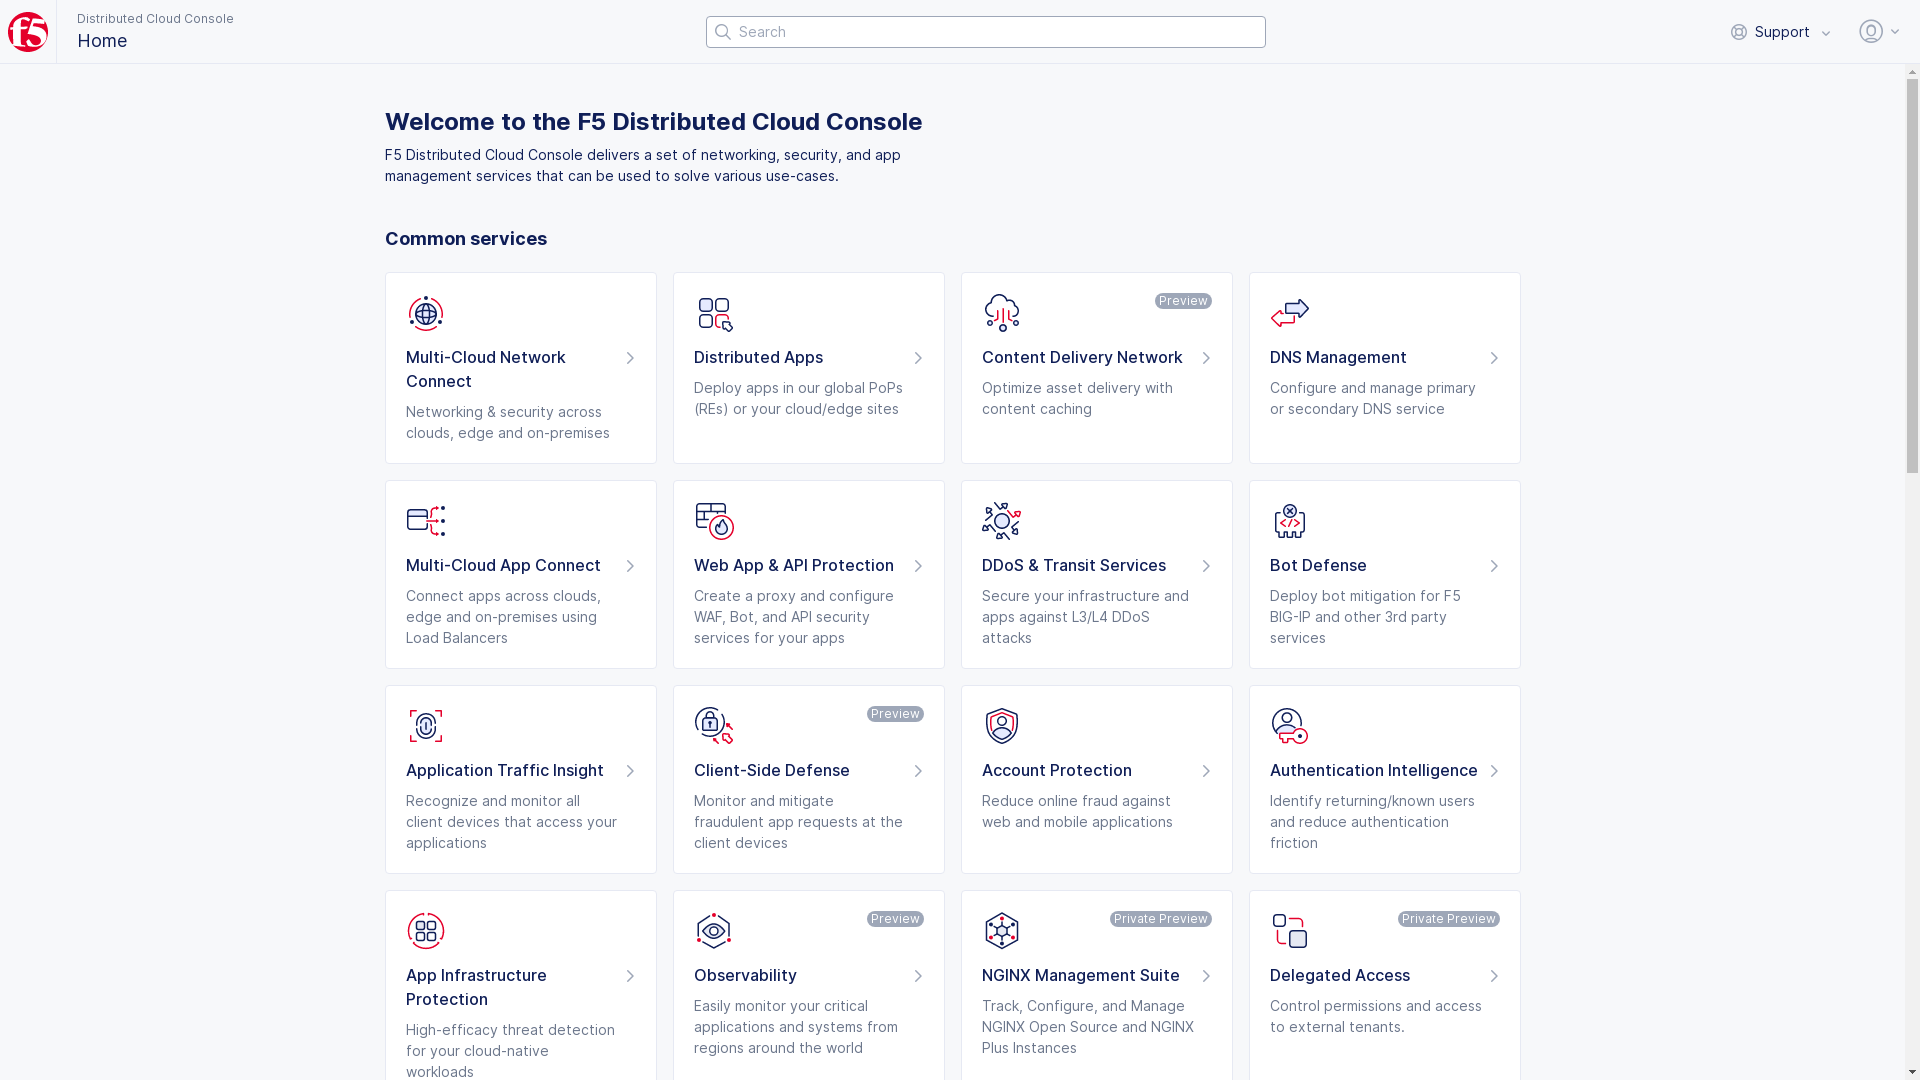
Figure: Homepage
Note: Confirm
Namespacefeature is in correct namespace, drop-down selector located in upper-left corner. Not available in all services.
- Select
IAMin left-menu > selectService Credentials.
Note: If options are not showing available, select
Showlink inAdvanced nav options visiblein bottom left corner. If needed, selectHideto minimize options from Advanced nav options mode.
- Select
Create service credentialsto download the credentials in the p12 format.
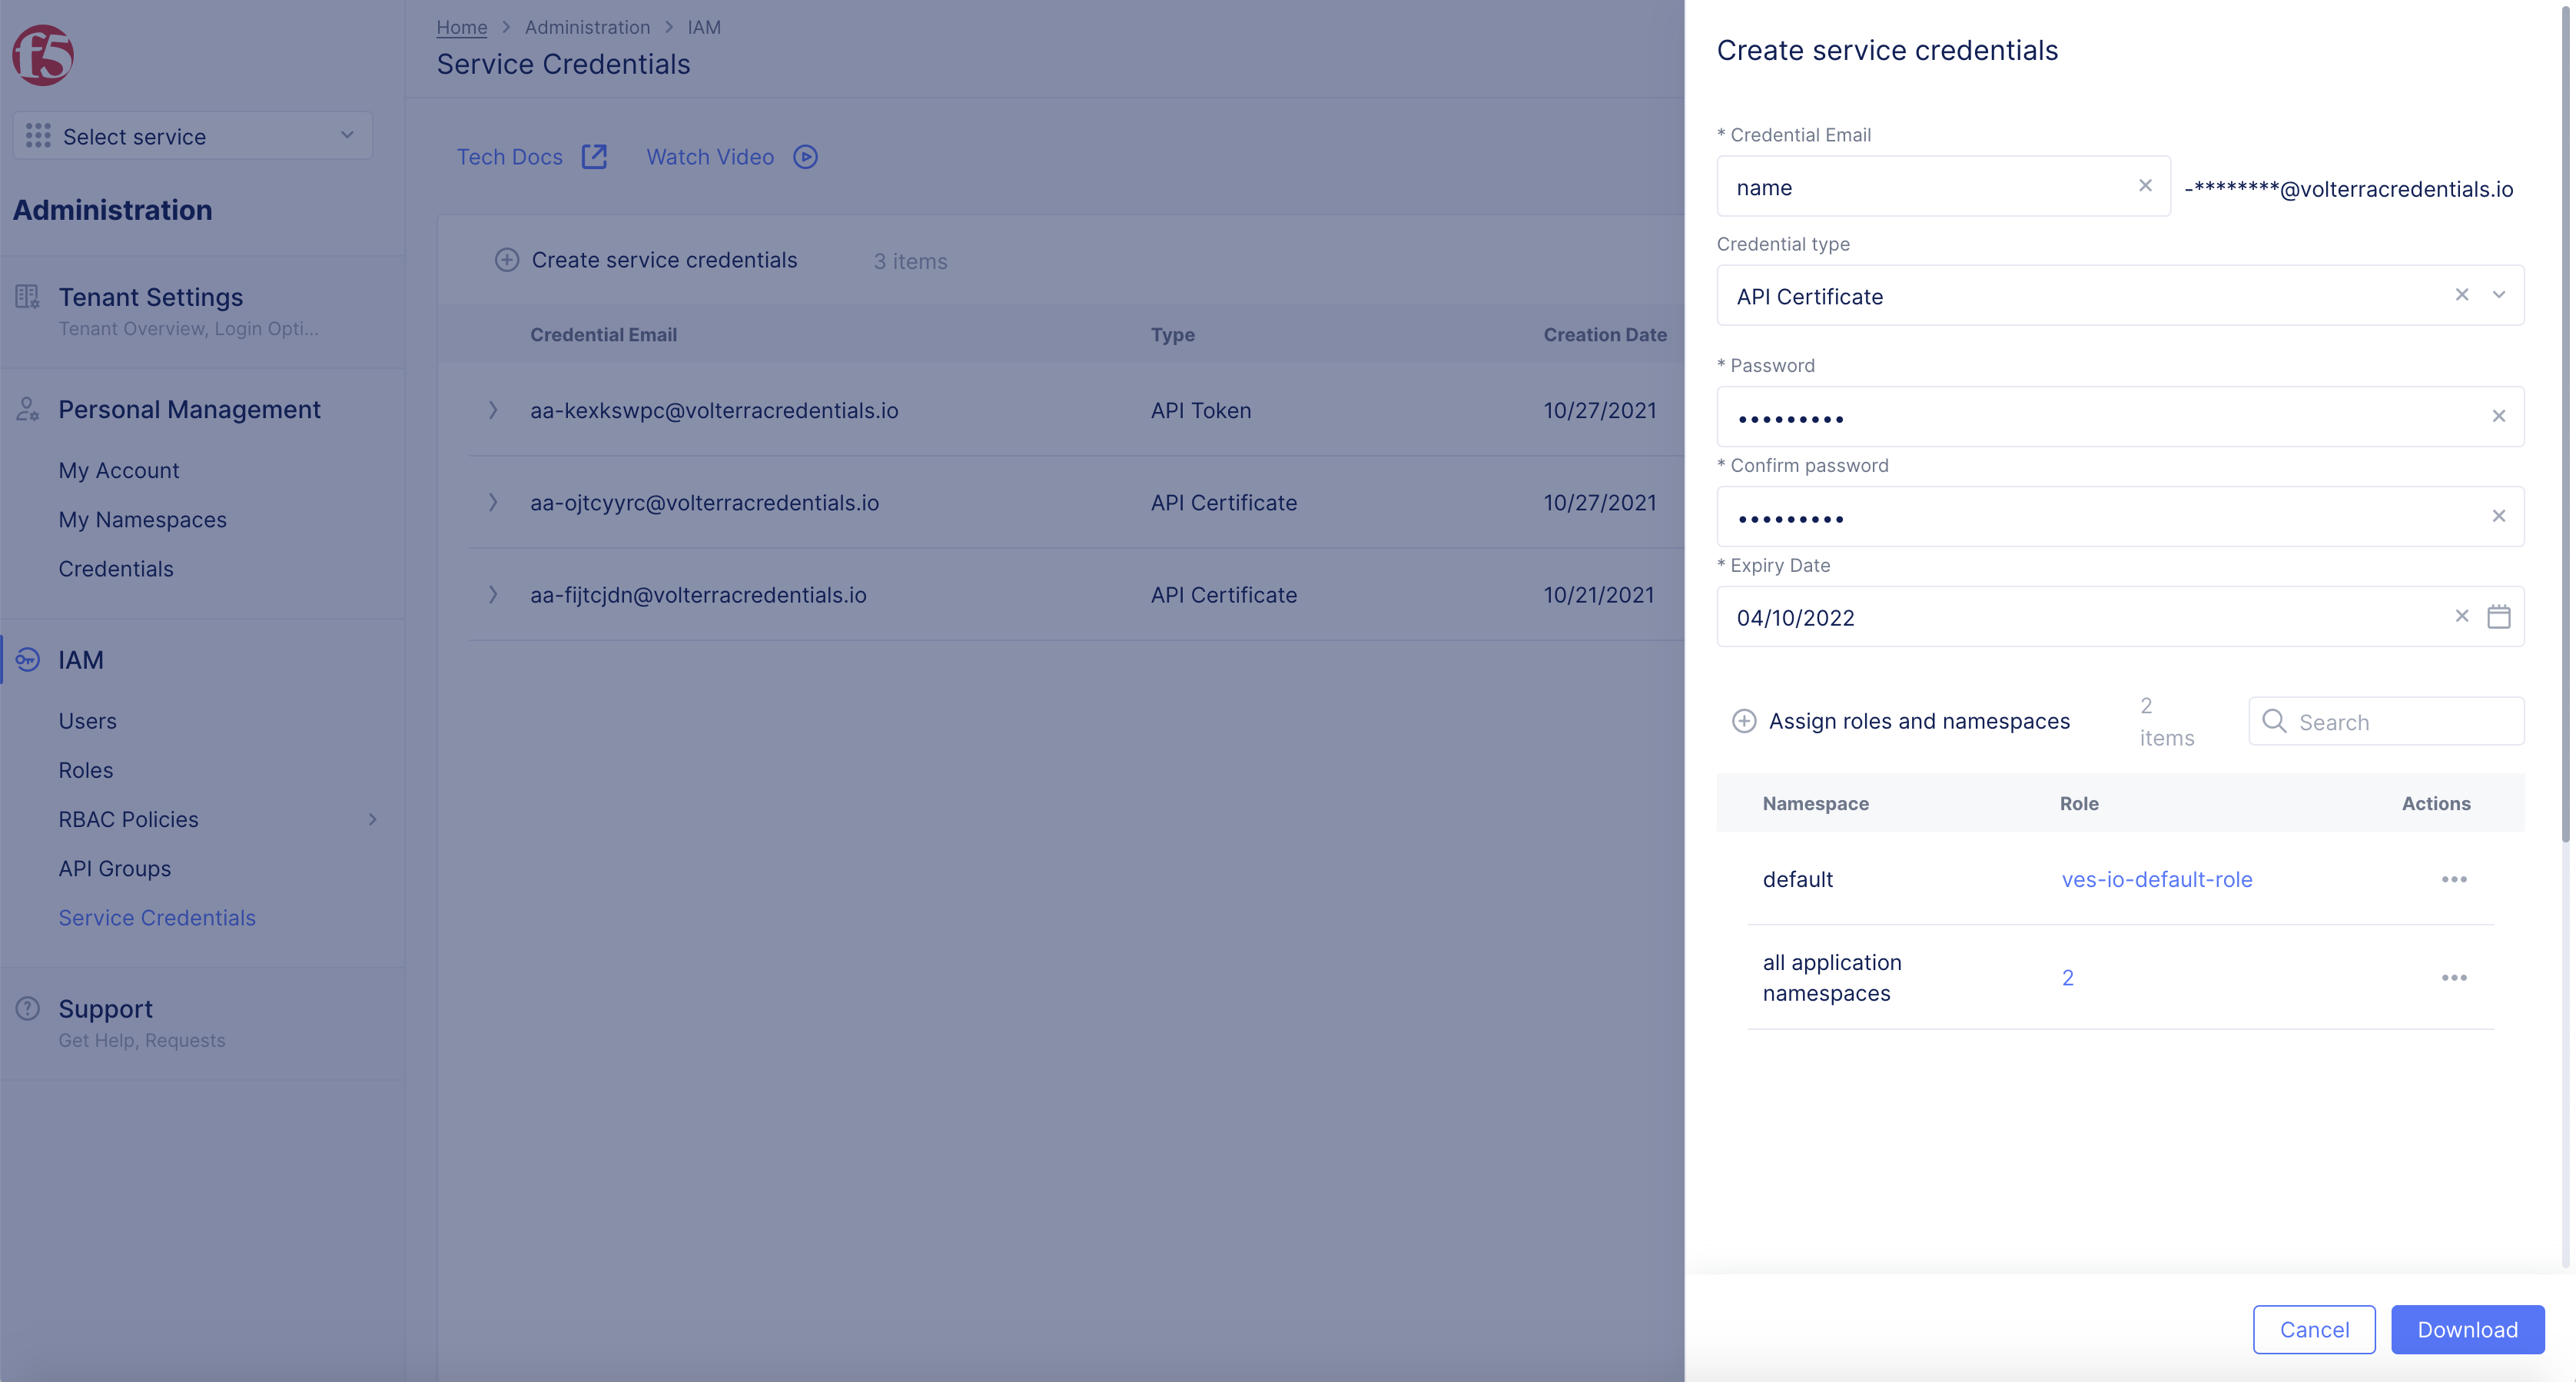
Figure: Access Logs
Step 2: Enter the API request using a client to get the logs.
This example shows curl to get the logs.
curl -v -k --cert-type P12 --cert /<path-to-your-api-creds>.p12:<api-password> -X POST https://<tenant>.console.ves.volterra.io/api/data/namespaces/<namespace>/access_logsNote: The
<path-to-your-api-creds>is the full path to the downloaded API credentials file and<api-password>is the password you set for the credentials file. The<namespace>is the name of your namespace<tenant>is the name of your tenant.
Step 3: You can also execute a POST request specifying the time interval in which you want to collect the logs for a specific virtual host.
curl -v -k --cert-type P12 --cert ~/<path-to-your-api-creds>.p12:volterra -X POST https://<tenant>.console.ves.volterra.io/api/data/namespaces/<namespace>/access_logs --data-binary '{"query":"{vh_name=\"<vhostname>\"}","namespace":"<namespace>","start_time":"2020-03-21T15:43:00.000Z","end_time":"2020-03-21T16:43:00.000Z"}' --compressedCollect Logs Using a Script
Step 1: Download sample Script to collect access logs.
- Download sample Script.
Step 2: Set the following environment variables.
export NAMESPACE=<the Volterra NAMESPACE containing logs>export DOMAIN=<the Volterra tenant URL https://$DOMAIN.console.ves.volterra.io.>export VH_NAME=<the virtual host to gather logs from >export P12_FILE=<the path to your p12 file >export VES_P12_PASSWORD=<the password to your p12 file >Step 3: Execute the access-logs-pull.sh script.
./access-logs-pull.sh