Configure Storage in Fleet
Objective
This guide provides instructions on how to set storage for your applications using the F5® Distributed Cloud Services fleet of sites. Storage configuration set using fleet gets applied to all the sites that are part of the fleet and will be accessible to the workloads on those sites. For more information on fleets, see Fleet.
Using the instructions provided in the document, you can define the following storage configuration using fleet:
-
Storage devices: Configuration for a specific hardware appliance.
-
Storage classes: Class to which the appliance belongs to and this is dependent on the appliance provider. For example, a class can be a fast pool or slow pool of devices.
-
Storage interfaces: Interfaces for storage devices.
Note: This guide provides instructions on setting storage for an existing fleet by editing the fleet object configuration. However, you can also define the storage configuration similarly while creating a fleet. For information on how to create a fleet, see Create Fleet guide.
Prerequisites
-
F5 Distributed Cloud Account is required. In case you do not have an account, see Getting Started with Console.
-
F5 Distributed Cloud site.
-
Storage devices (cloud or on-premises data centers).
Configuration
Use the following steps to configure storage for your applications.
Note: By default, a Distributed Cloud site deployed in AWS will support Elastic Block Store (EBC), GCP supports Google Cloud Storage, and Azure supports Azure Disk Storage.
Step 1: Navigate to the Fleets page.
-
Select the
Multi-Cloud Network Connectservice. -
Navigate to
Manage>Site Management>Fleets.
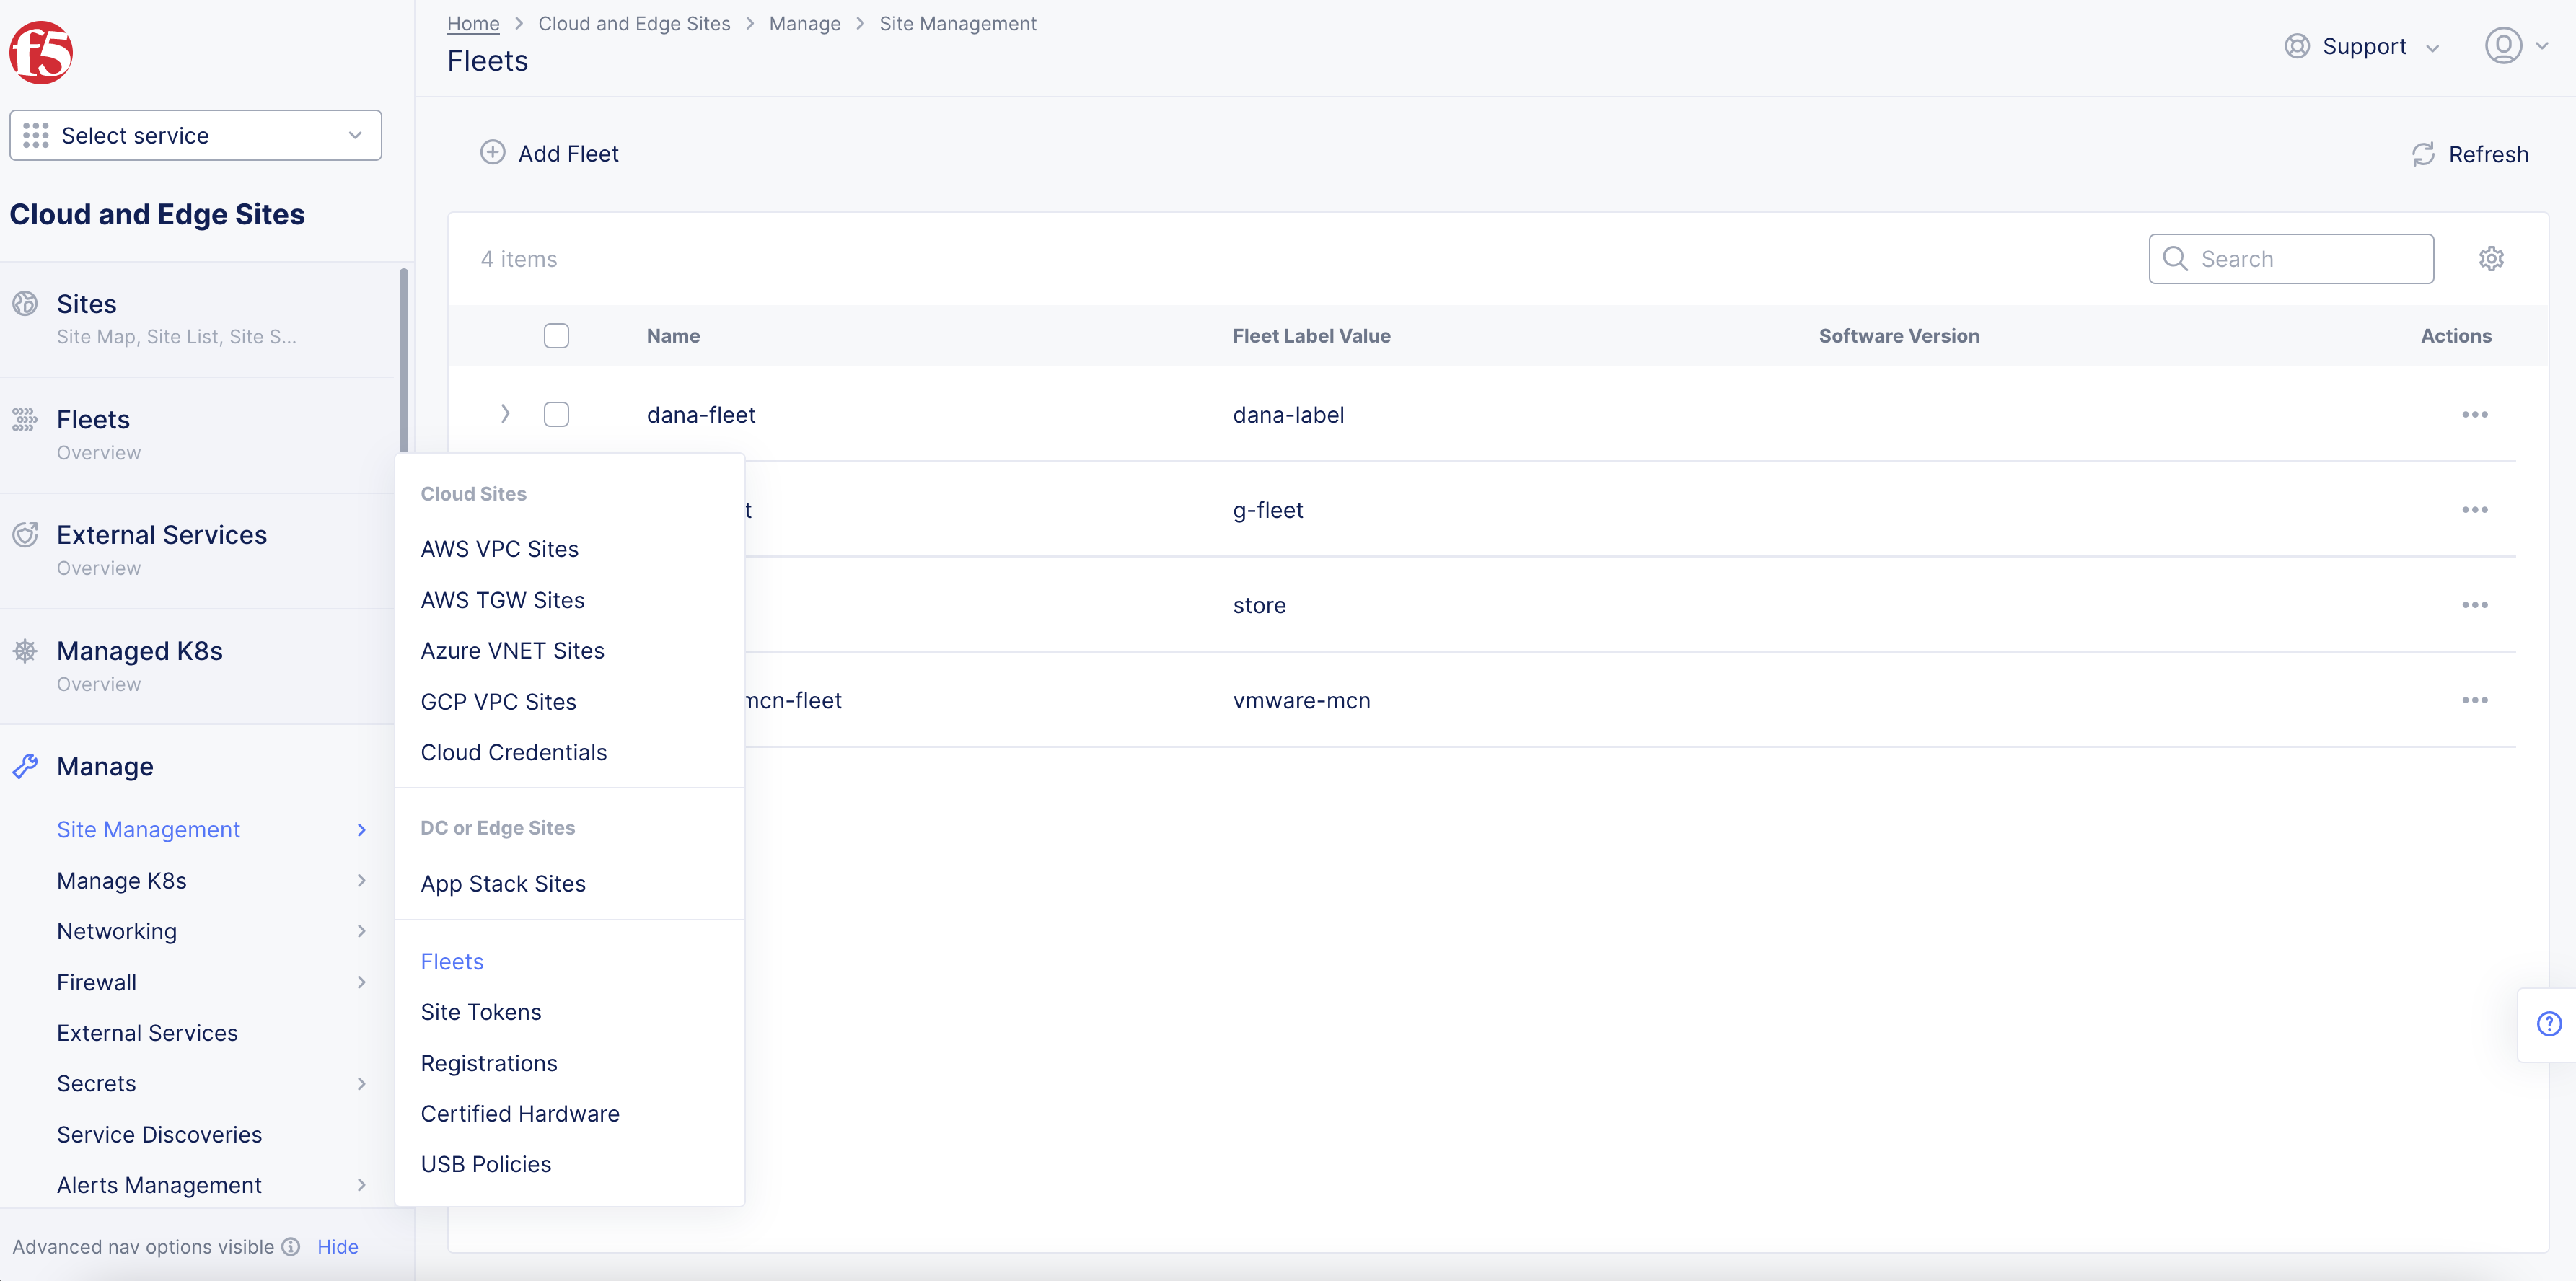
Figure: Fleet list
Step 2: Edit fleet set interfaces for storage.
-
Select
...>Managefor the fleet object you want to define storage configuration. -
Click
Edit Configurationin the upper right corner. -
Navigate to the
Storage Configurationsection. -
From the
Select Storage Interface Configurationmenu, selectList of Storage Interface. -
Select an interface from the displayed list or click
Add Item. You can add multiple interfaces using theAdd itemoption.
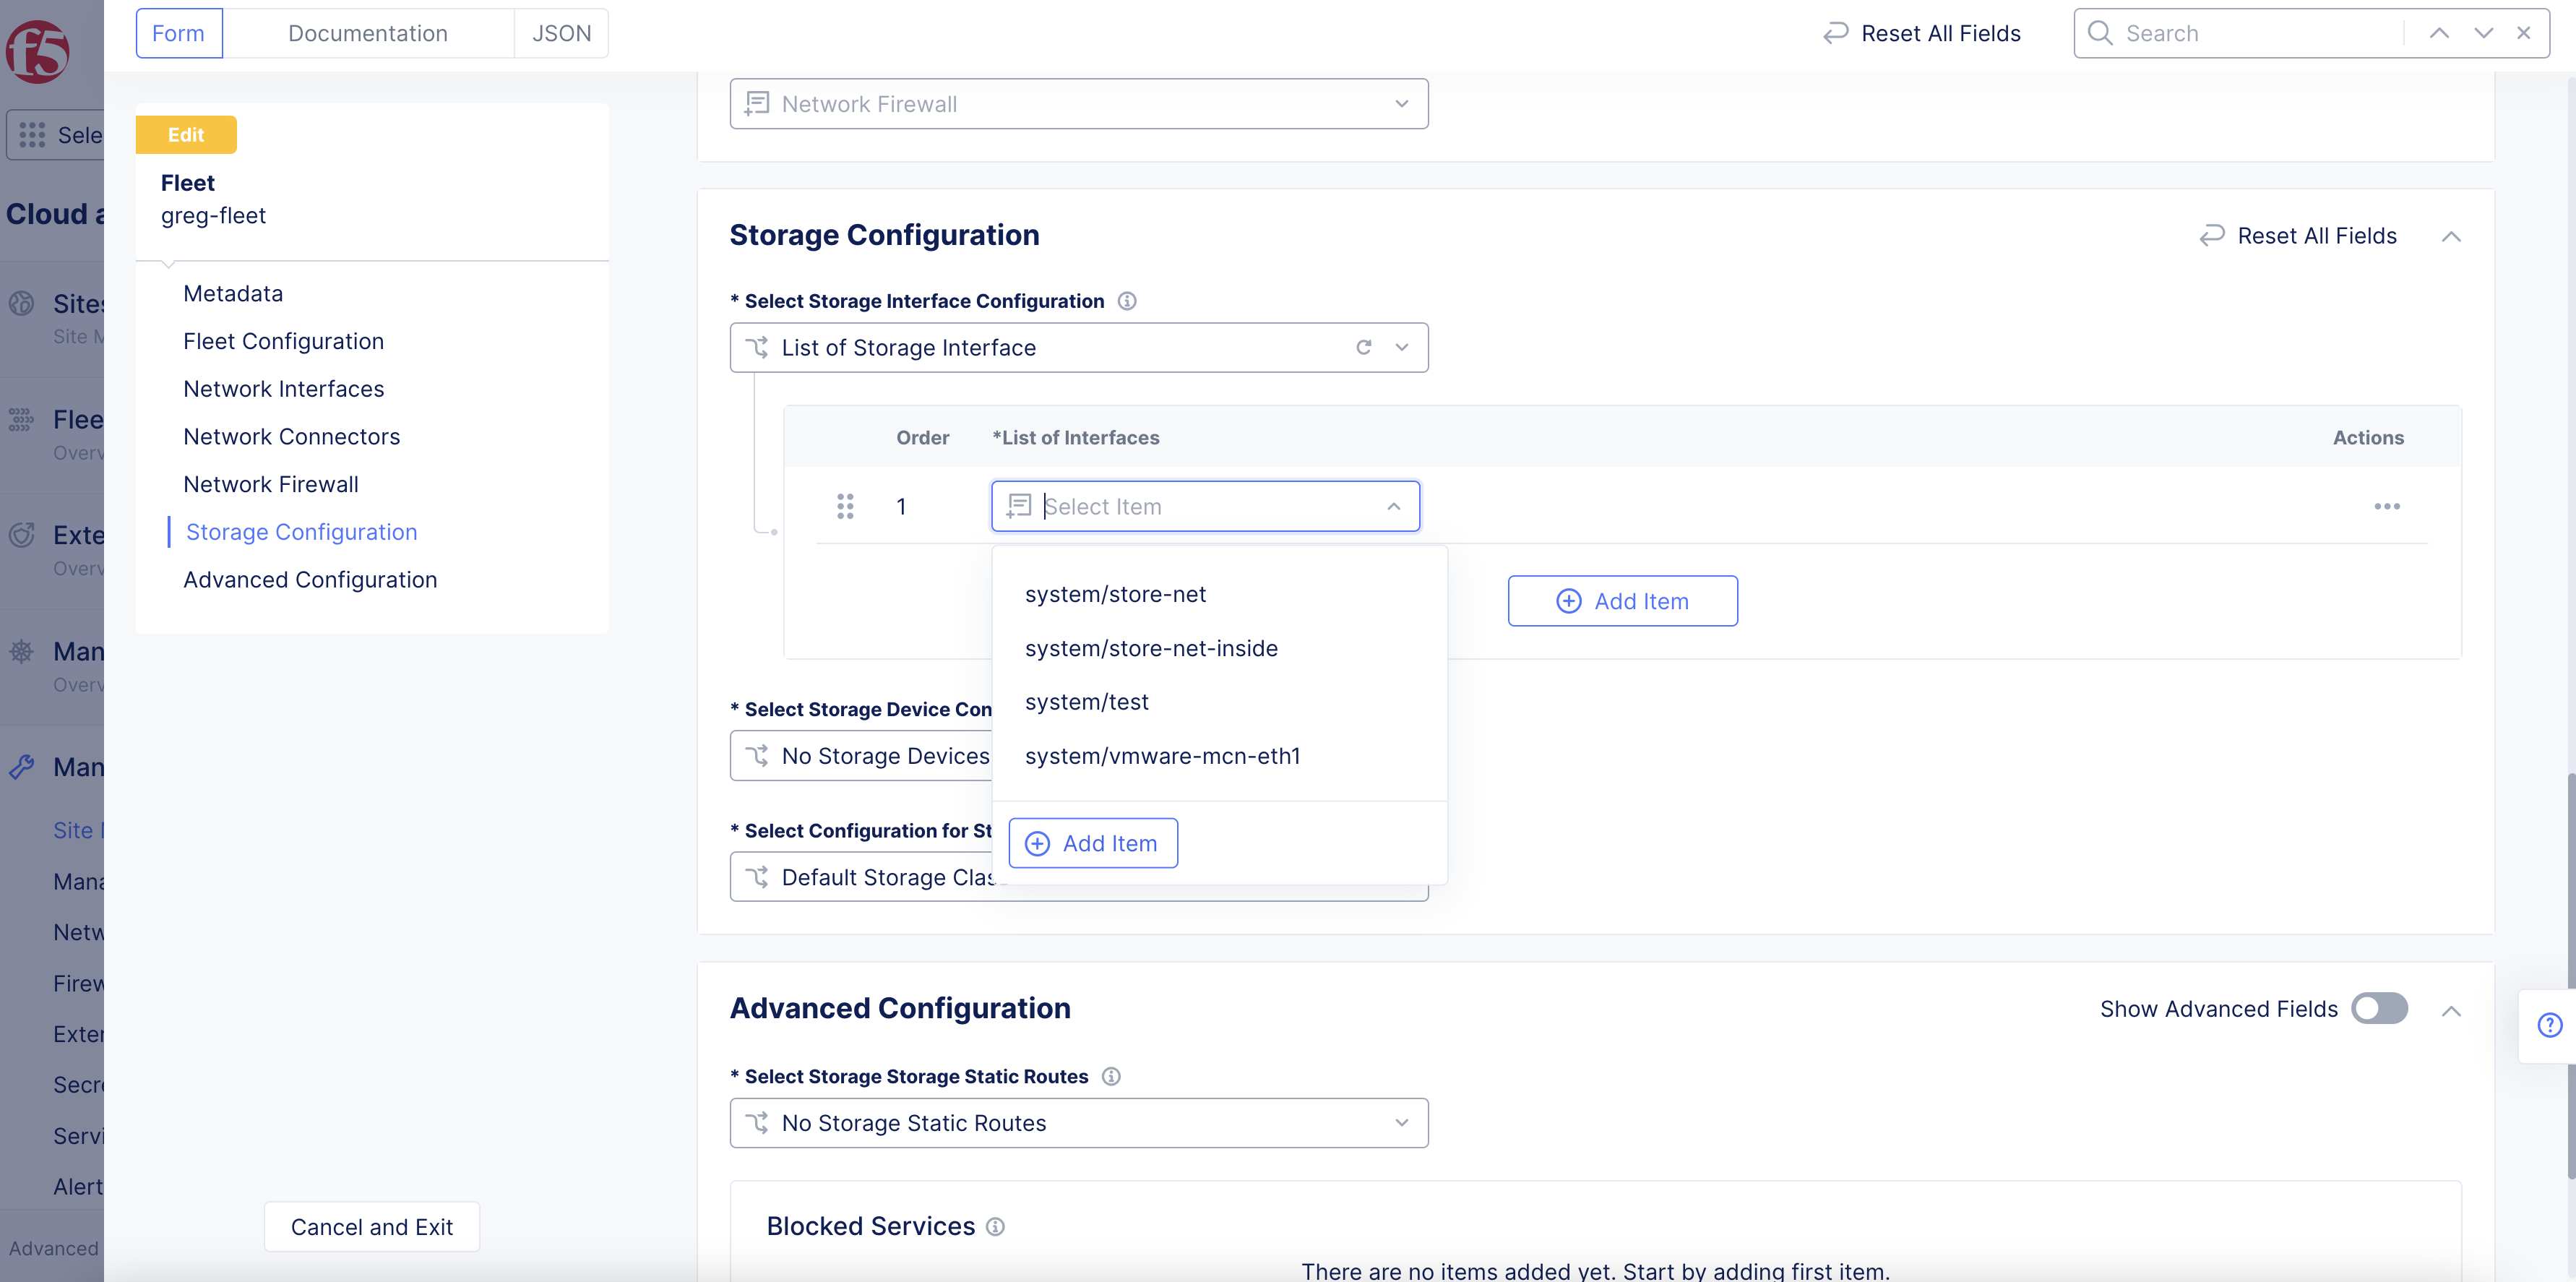
Figure: Interfaces for Storage Devices
Note: See Interfaces for instructions on creating network interfaces. See Multi Node Site Network Setup Using Fleet for instructions on how to configure networking using fleet for multi node sites.
Step 3: Configure storage devices.
- From the
Select Storage Device Configurationmenu, selectList of Storage Devices
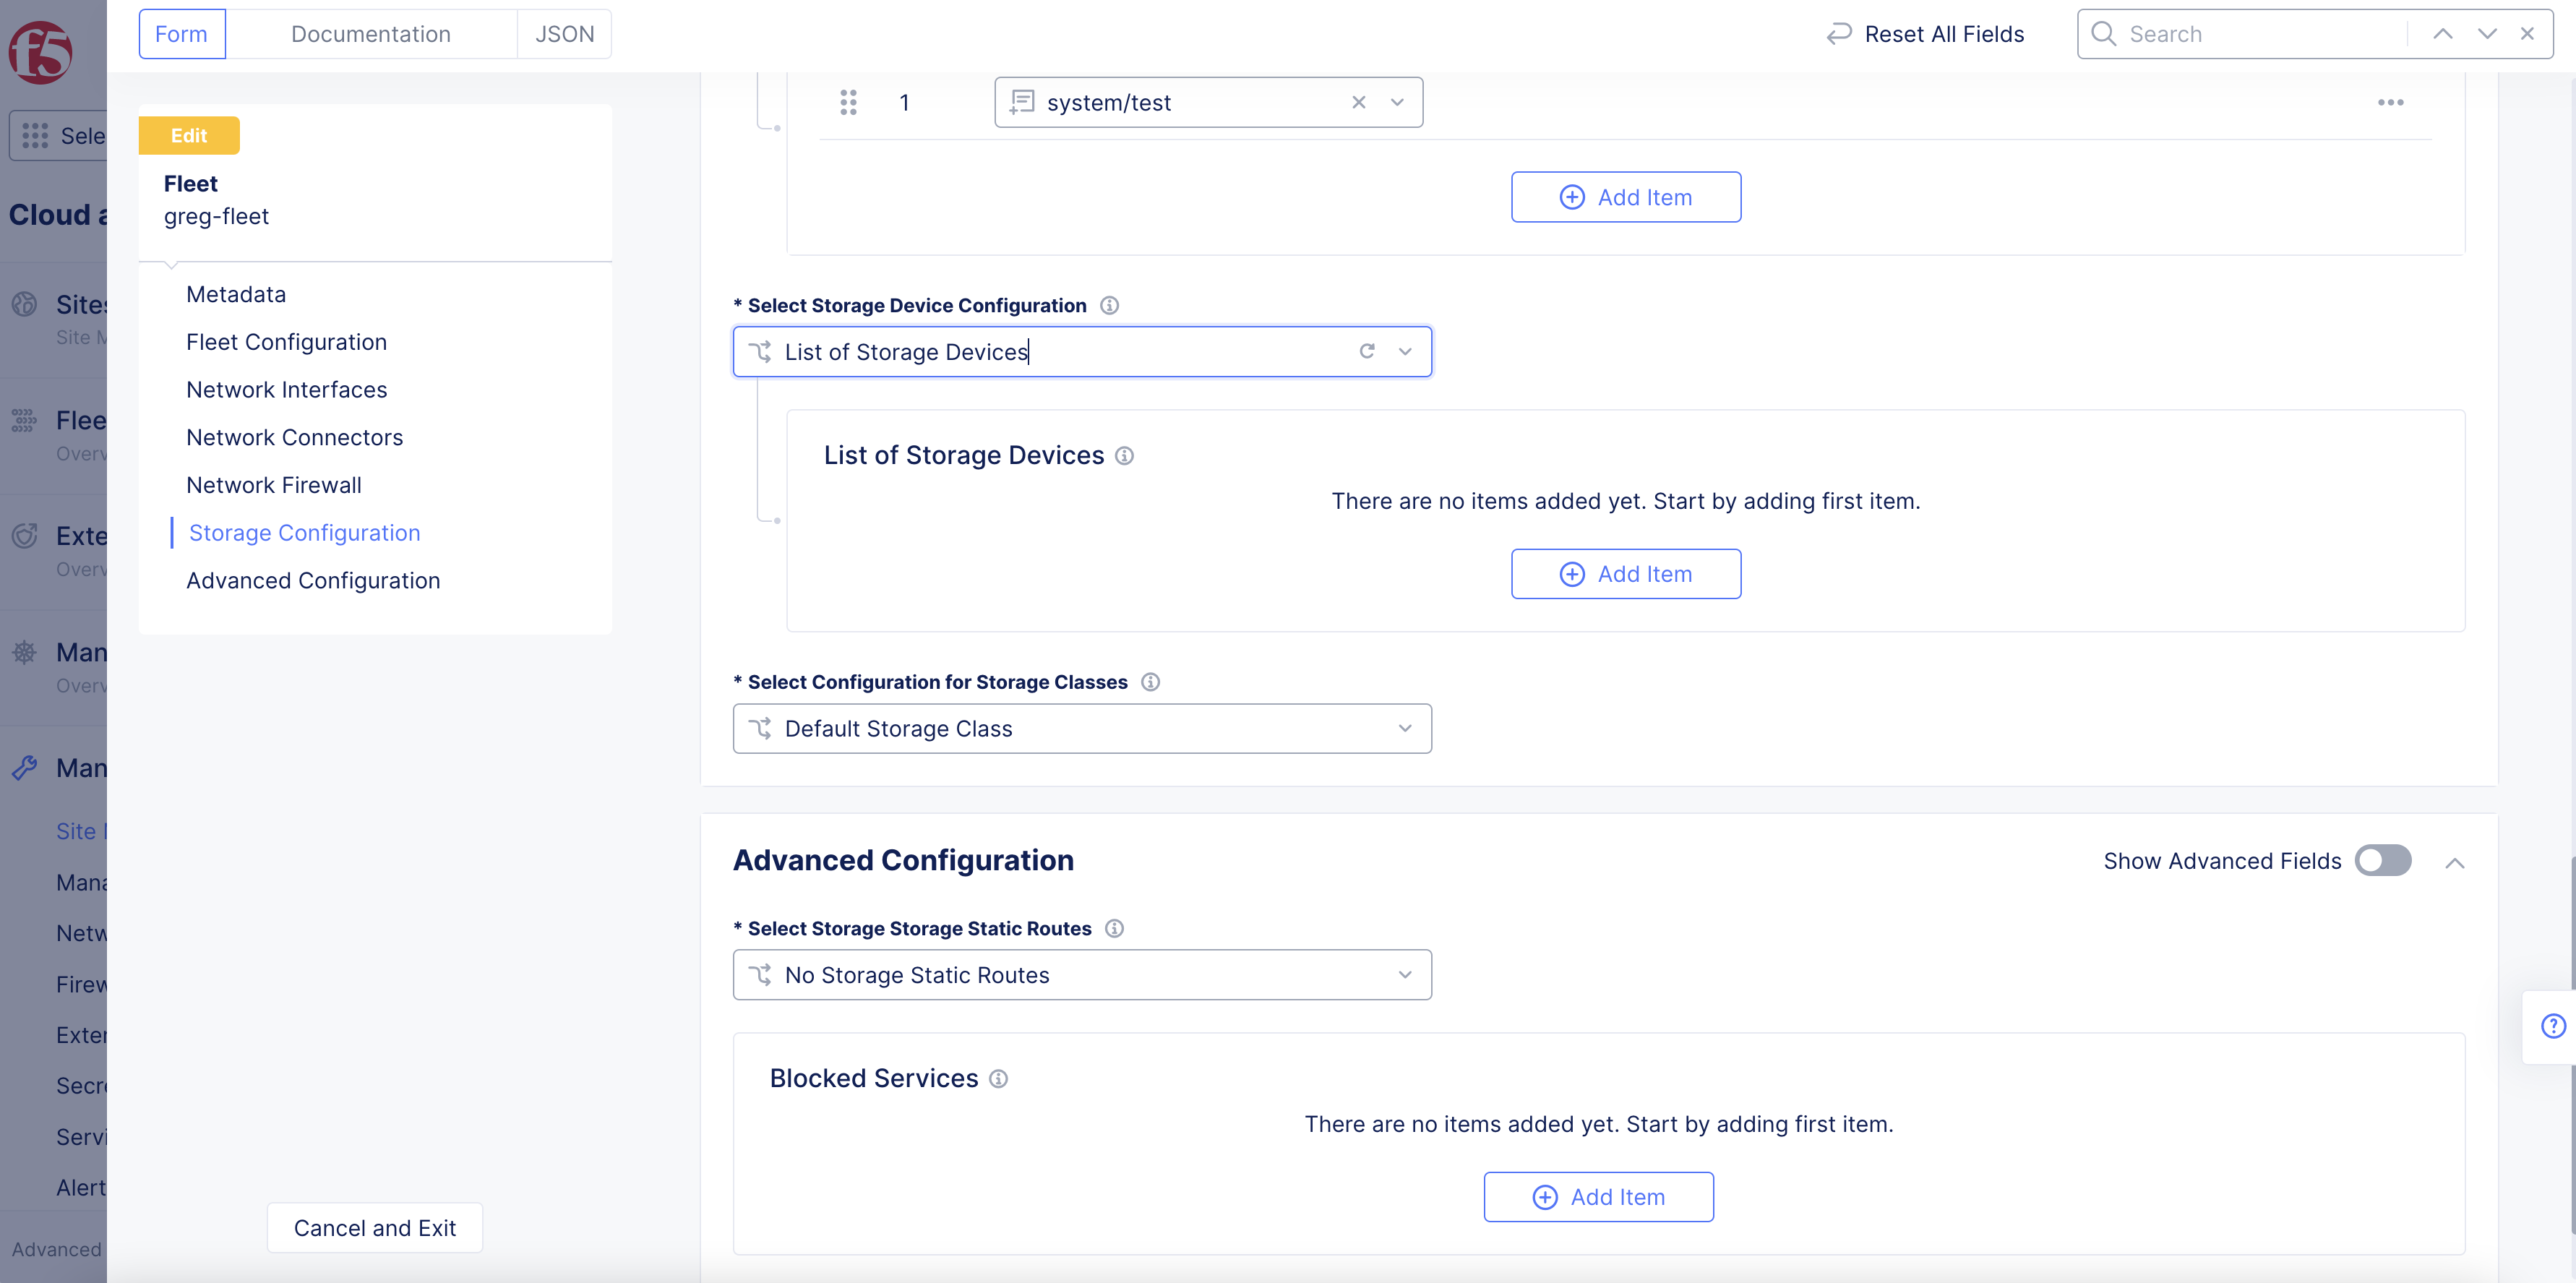
Figure: Storage Devices Option
-
Under the
List of Storage Devicesfield, clickAdd Item. -
Enter a name in the
Storage Devicefield. Ensure that this name corresponds to the class in which the storage device falls. The classes are used by vK8s for storage related actions.
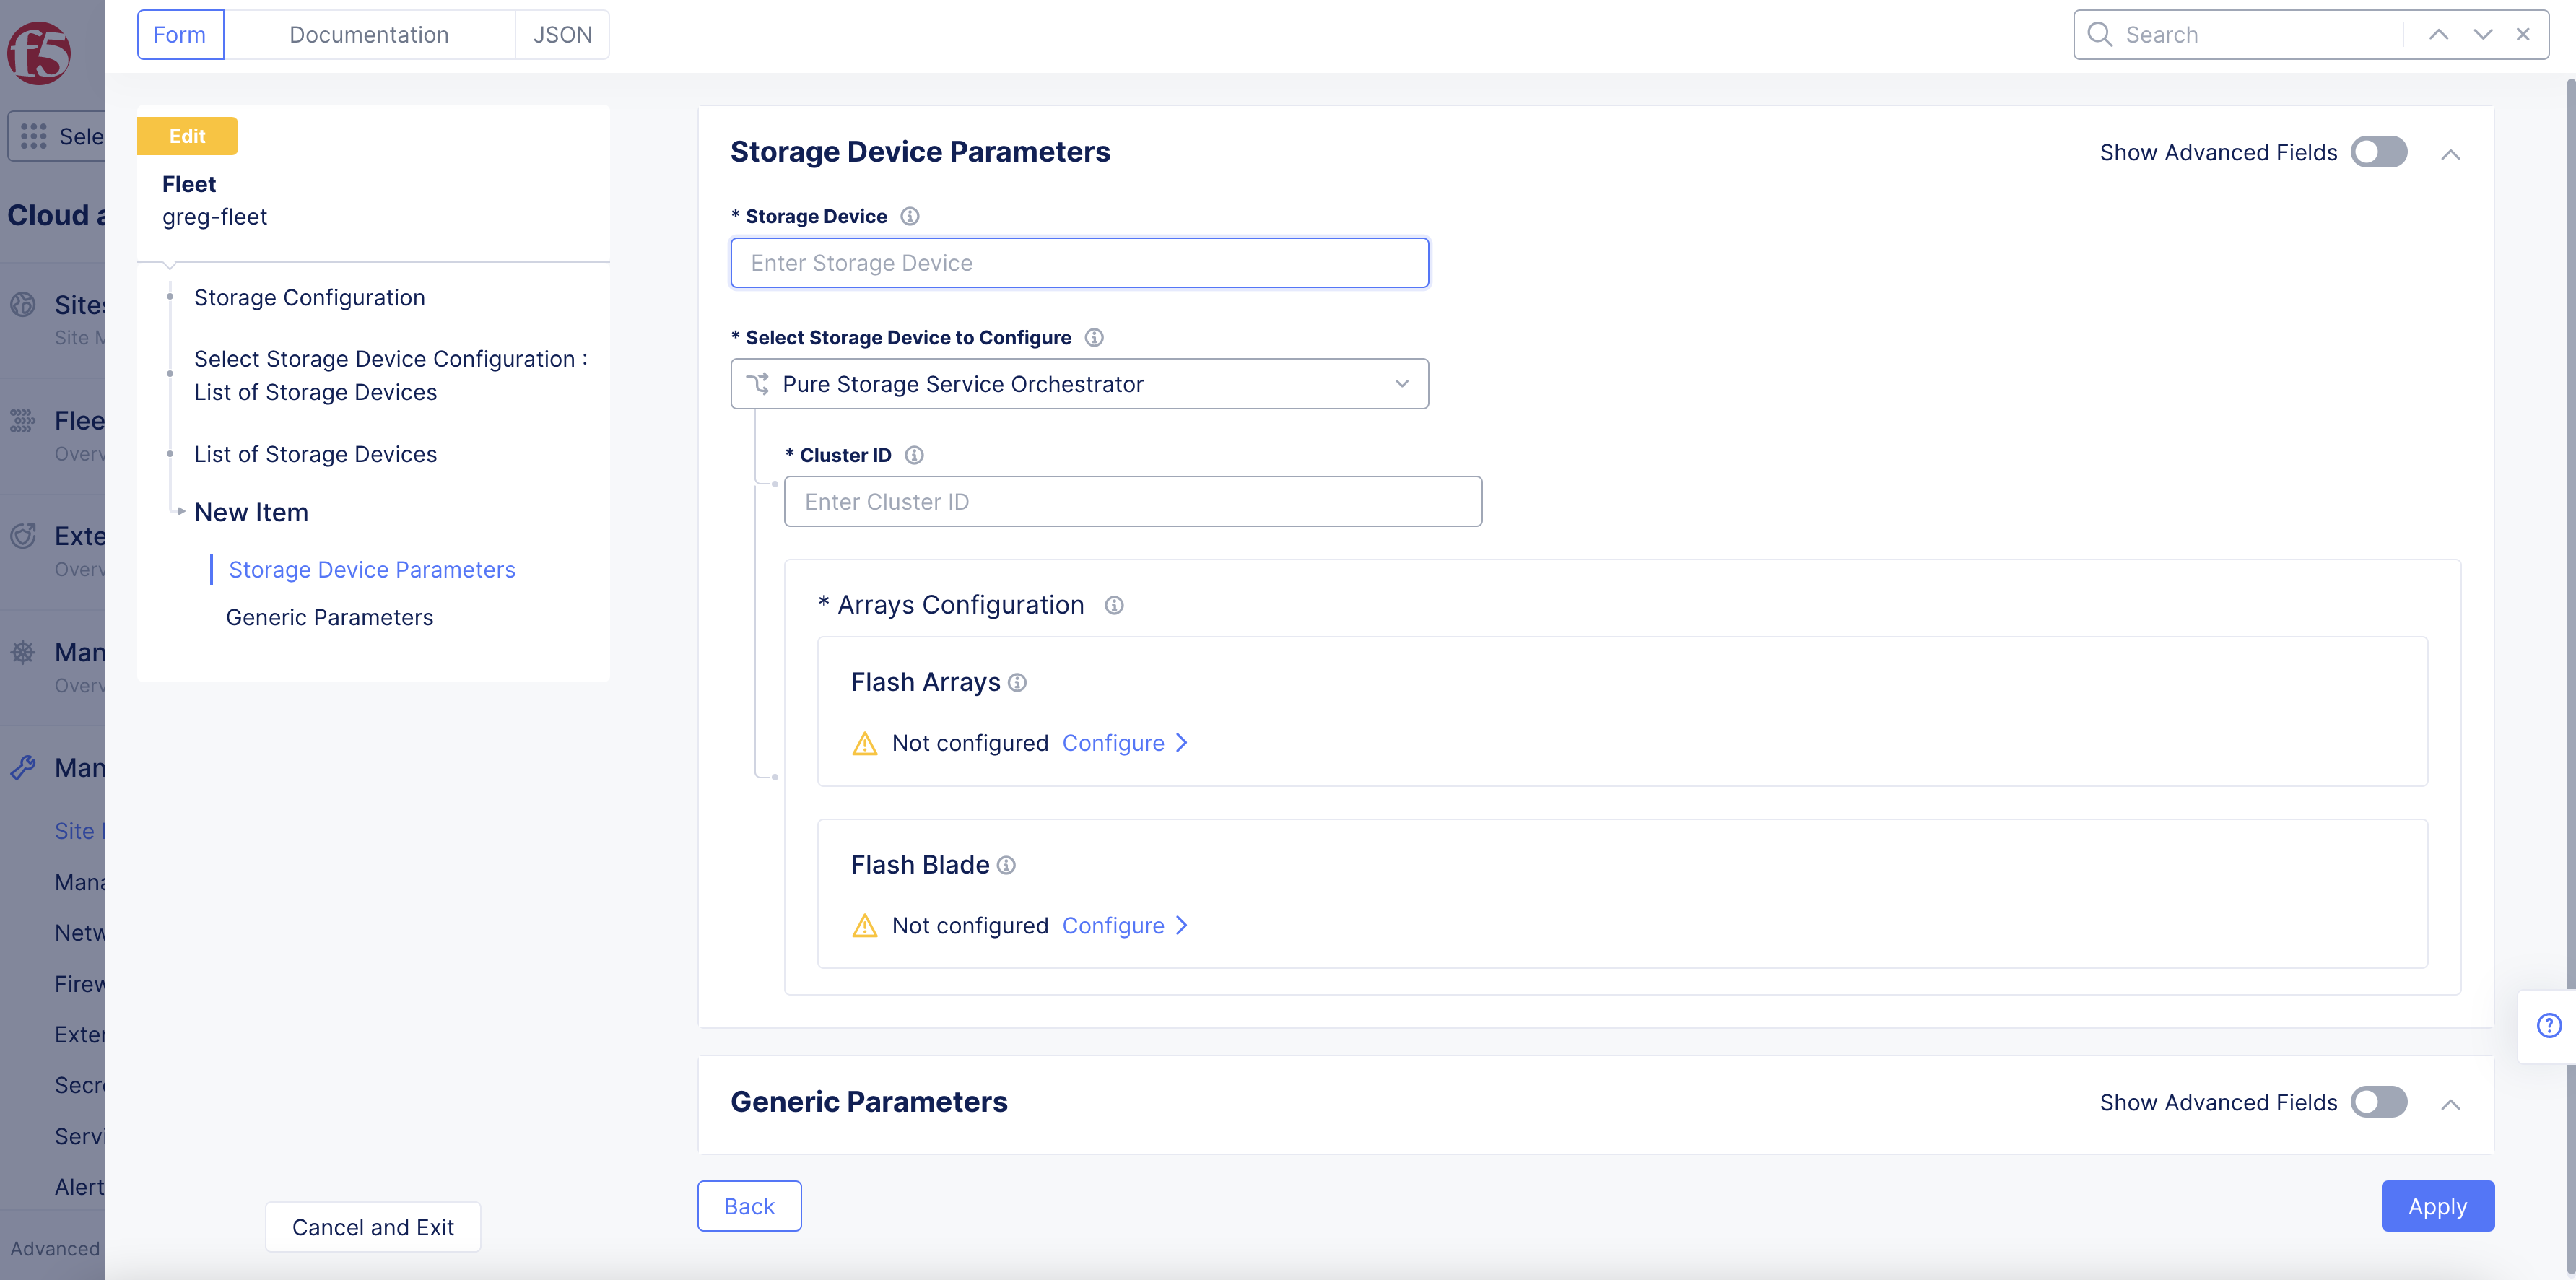
Figure: Storage Devices Parameters
- From the
Select Storage Device to Configuremenu, select an option and perform one of the following based on that option:
NetApp Trident
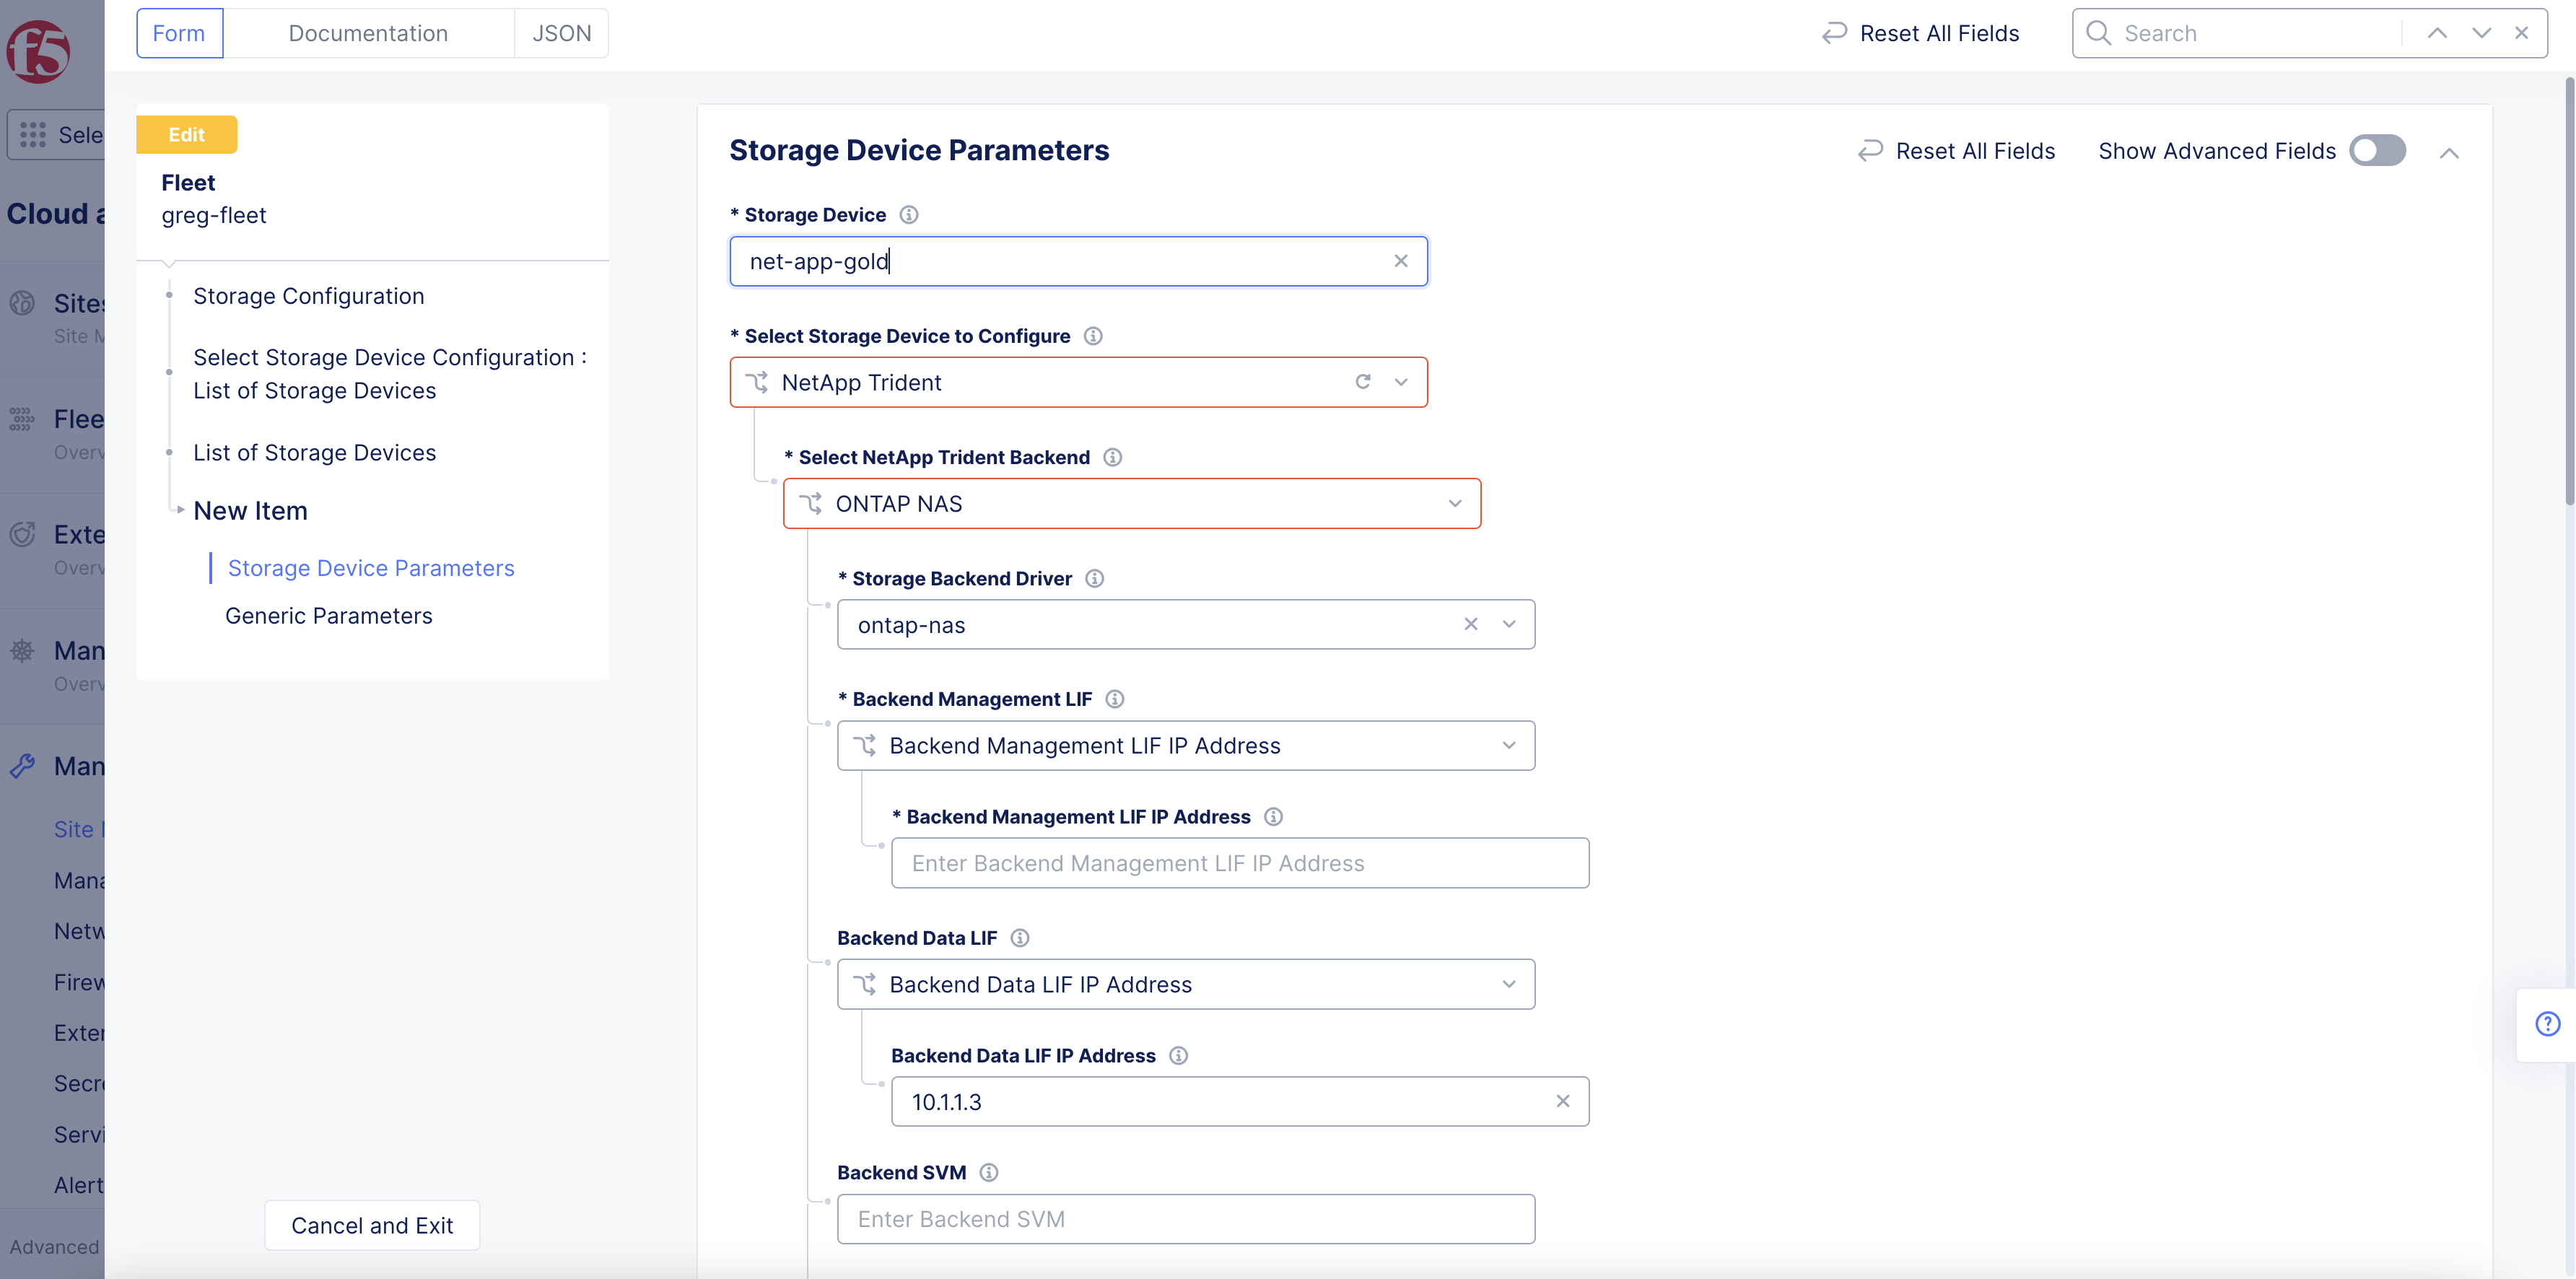
Figure: NetApp Device Backend LIFs
-
From the
Select NetApp Trident Backendmenu, select an option. TheONTAP NASis selected by default. -
Select an option from the
Backend Management LIFmenu. TheBackend Management LIF IP Addressis selected by default. Enter an IP address for the backend management logical interface in theBackend Management LIF IP Addressfield. In case you select the name option, enter the backend management interface name. -
Select an option from the
Backend Data LIFmenu. TheBackend Data LIF IP Addressis selected by default. Enter an IP address for the backend data interface in theBackend Data LIF IP Addressfield. In case you select the name option, enter the backend data interface name. -
Enter a username in the
Usernamefield. ClickConfigurefor thePasswordfield. Enter your password in theSecretpage and clickBlindfold. Wait for the Blindfold to complete encrypting your password and clickApply. -
Enter a certificate in the
Client Certificatefield. ClickConfigurefor theClient Certificatefield. Enter your text for your secret in theSecretpage and clickBlindfold. Wait for the Blindfold to complete encrypting your password and clickApply. -
Enter a certificate in the
Trusted CA Certificatefield. ClickConfigurefor theTrusted CA Certificatefield. Enter your text for your secret in theSecretpage and clickBlindfold. Wait for the Blindfold to complete encrypting your password and clickApply.
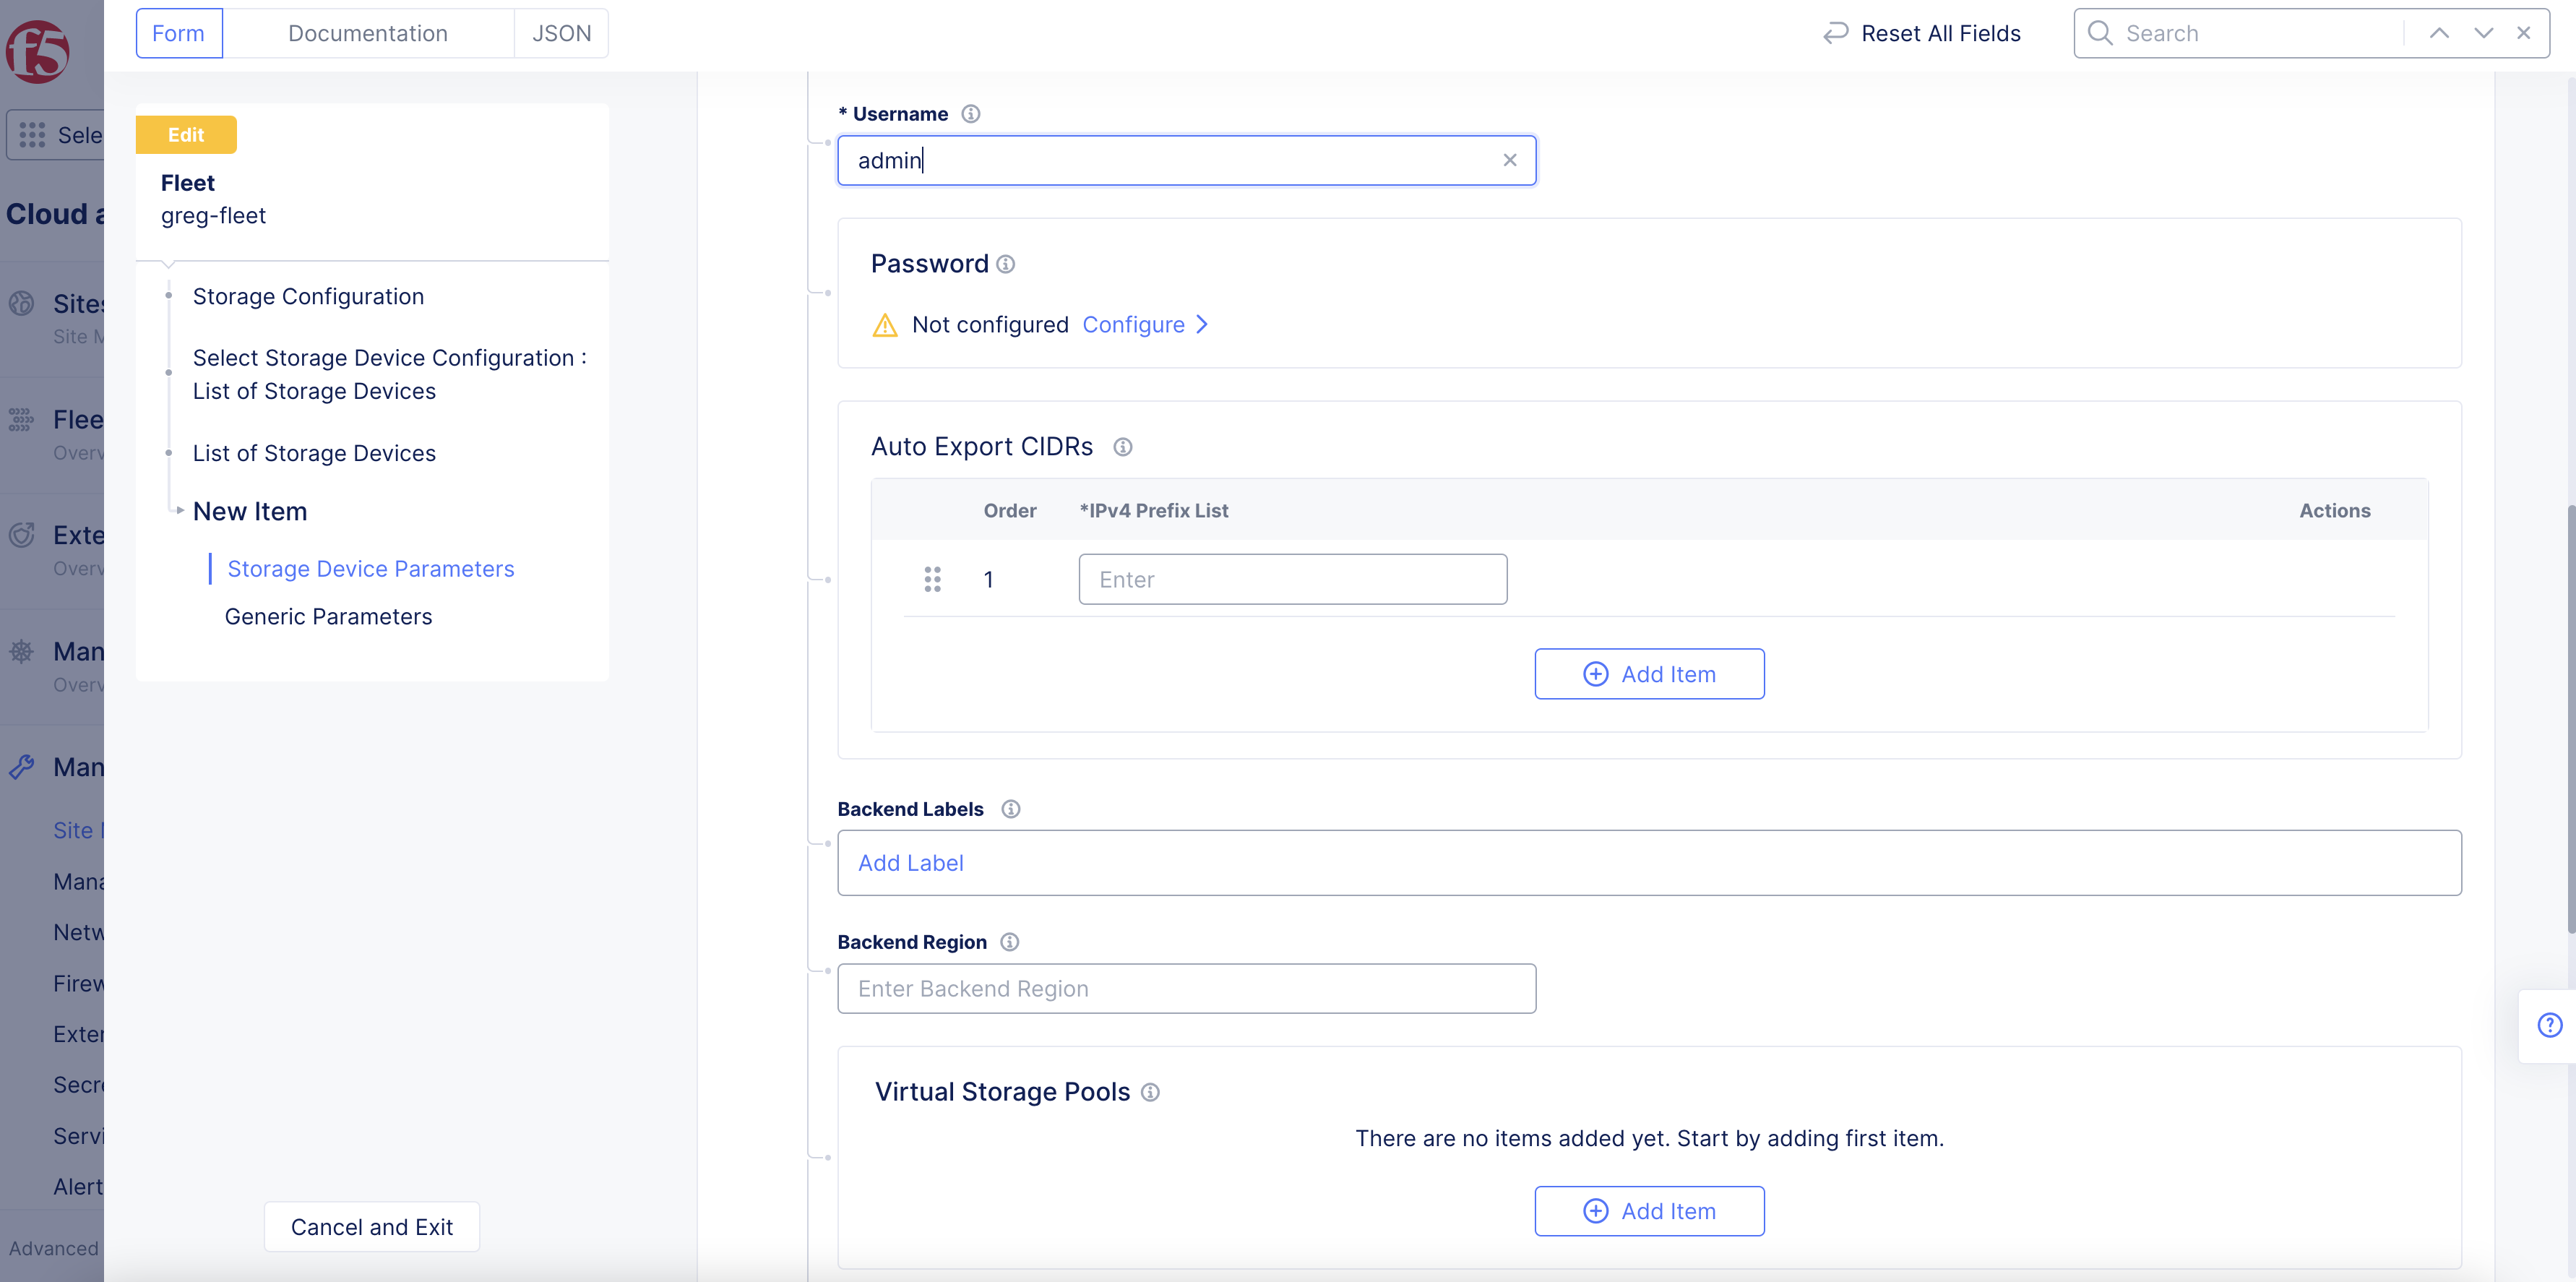
Figure: NetApp Device Password
- Enter CIDR for your K8s nodes in the
Auto Export CIDRsfield in case auto export policy is enabled for your storage device.
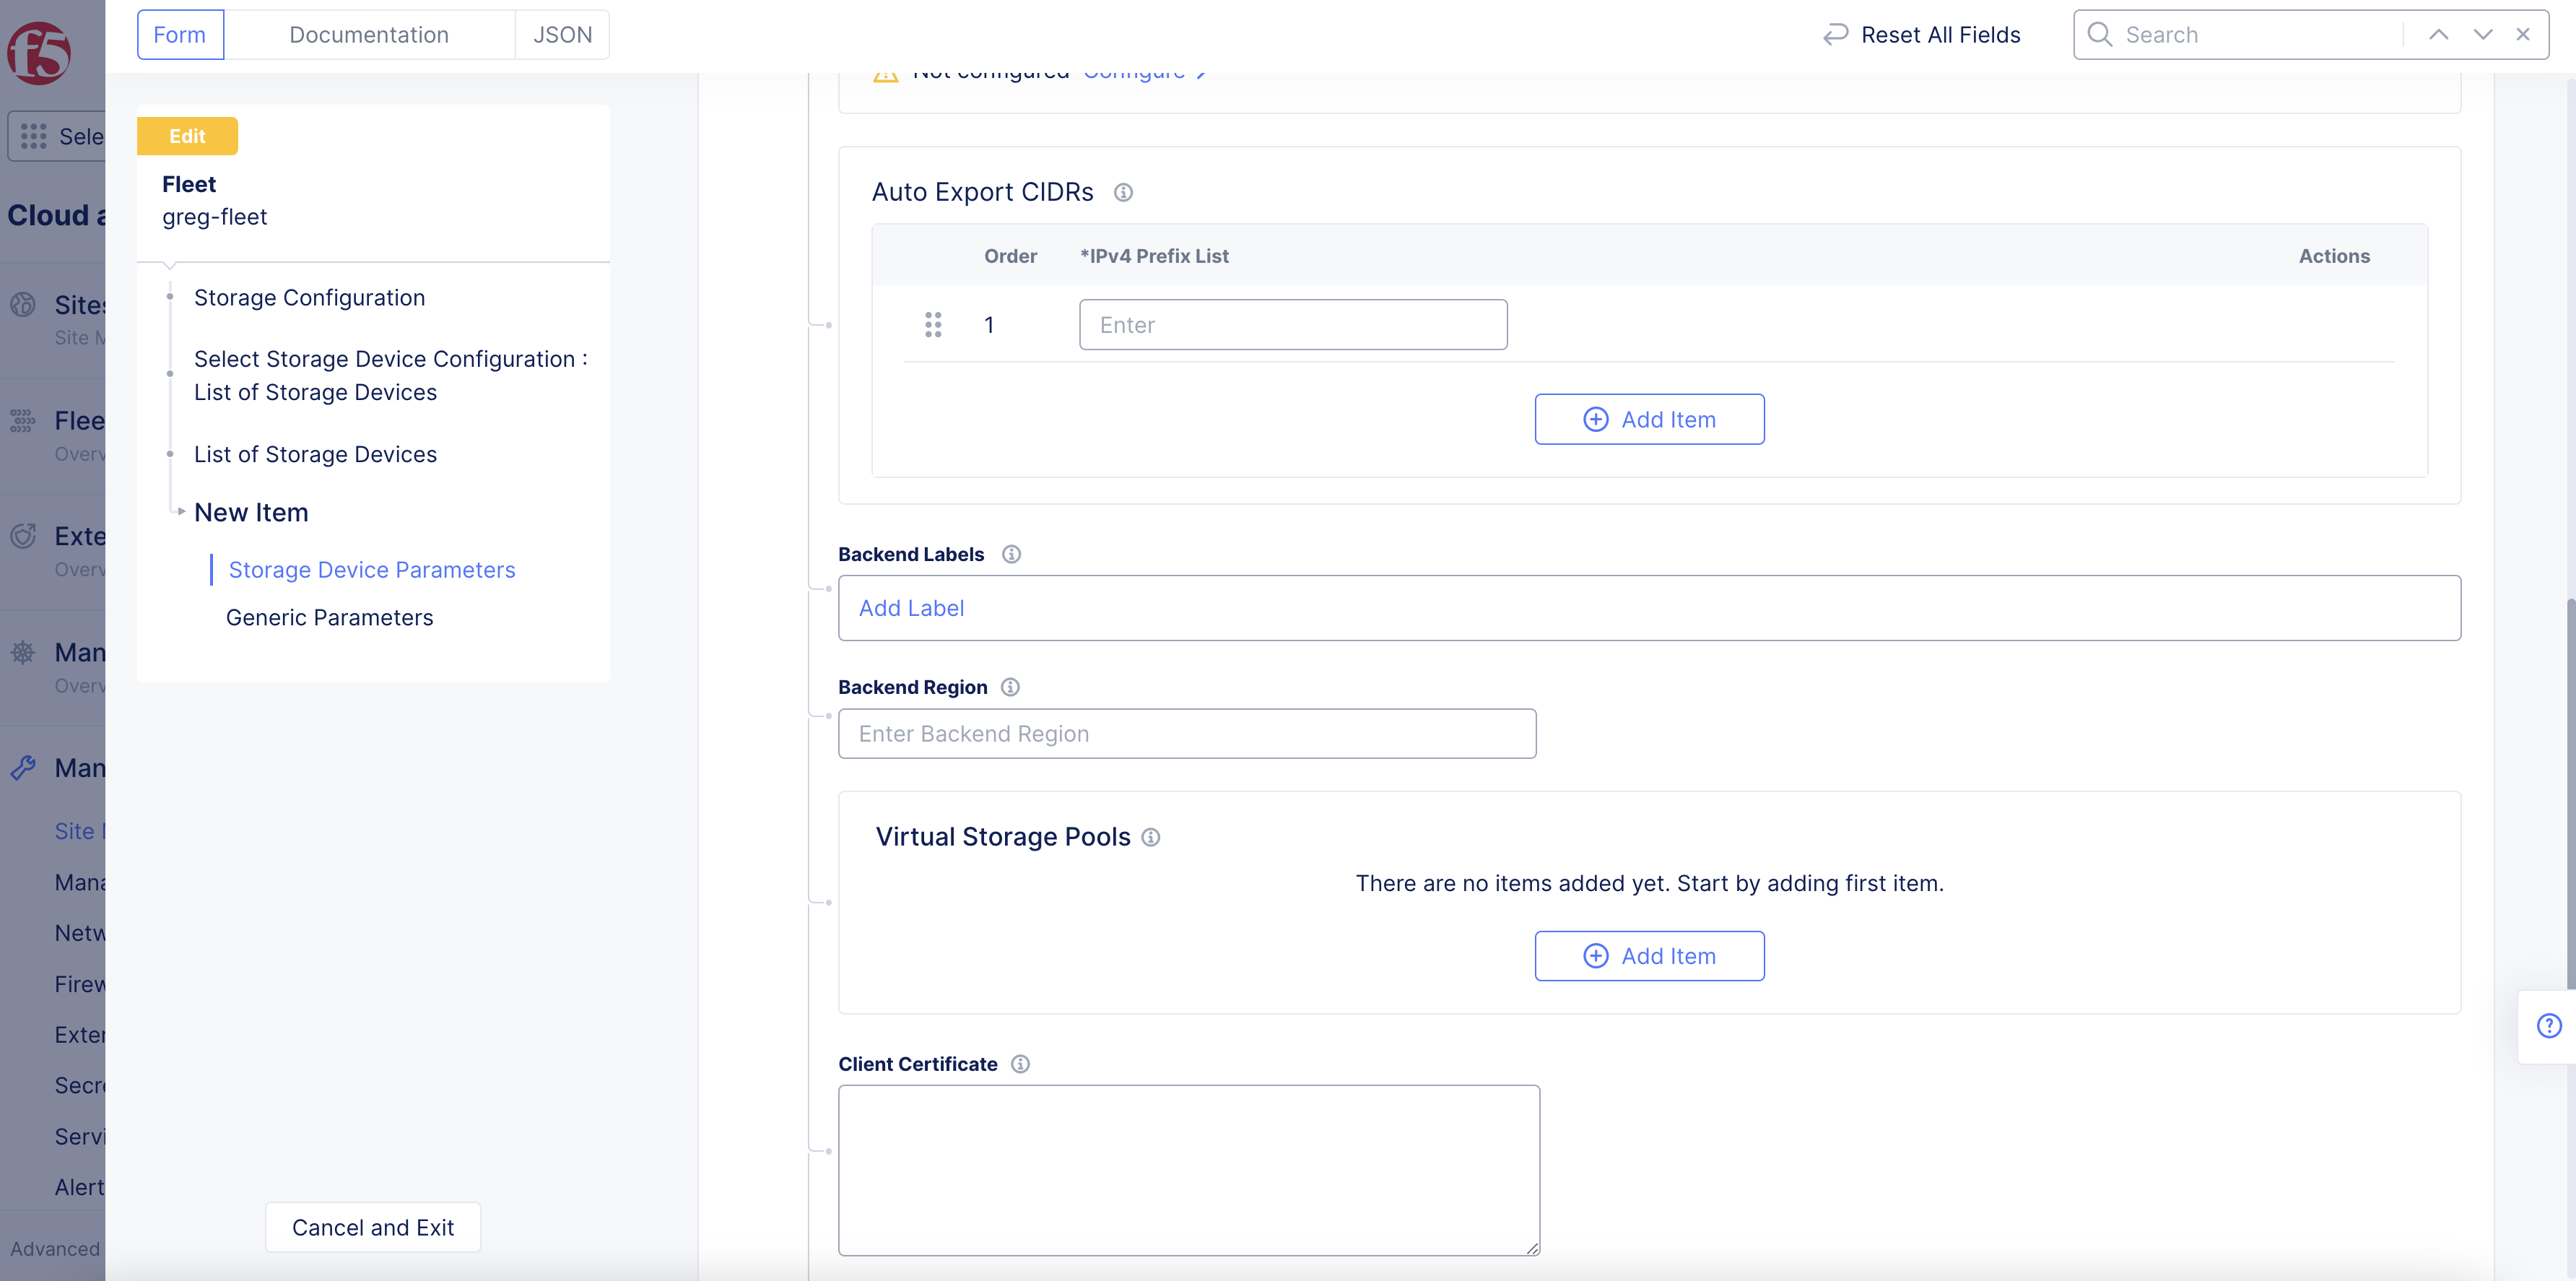
Figure: NetApp Device AutoExport CIDRs
-
If you are configuring virtual storage, then in the
Virtual Storage Poolssection, enter a label and region for the storage, and clickAdd Itemone or more times to add pool labels and pool zones. -
Click
Apply.
Pure Storage Service Orchestrator
- Enter a cluster identifier in the
Cluster IDfield. This is used to identify the volumes used by the datastore. Alphanumeric characters and underscores are allowed.
Note: Unique cluster ID is required for multiple K8s cluster using the same storage device.
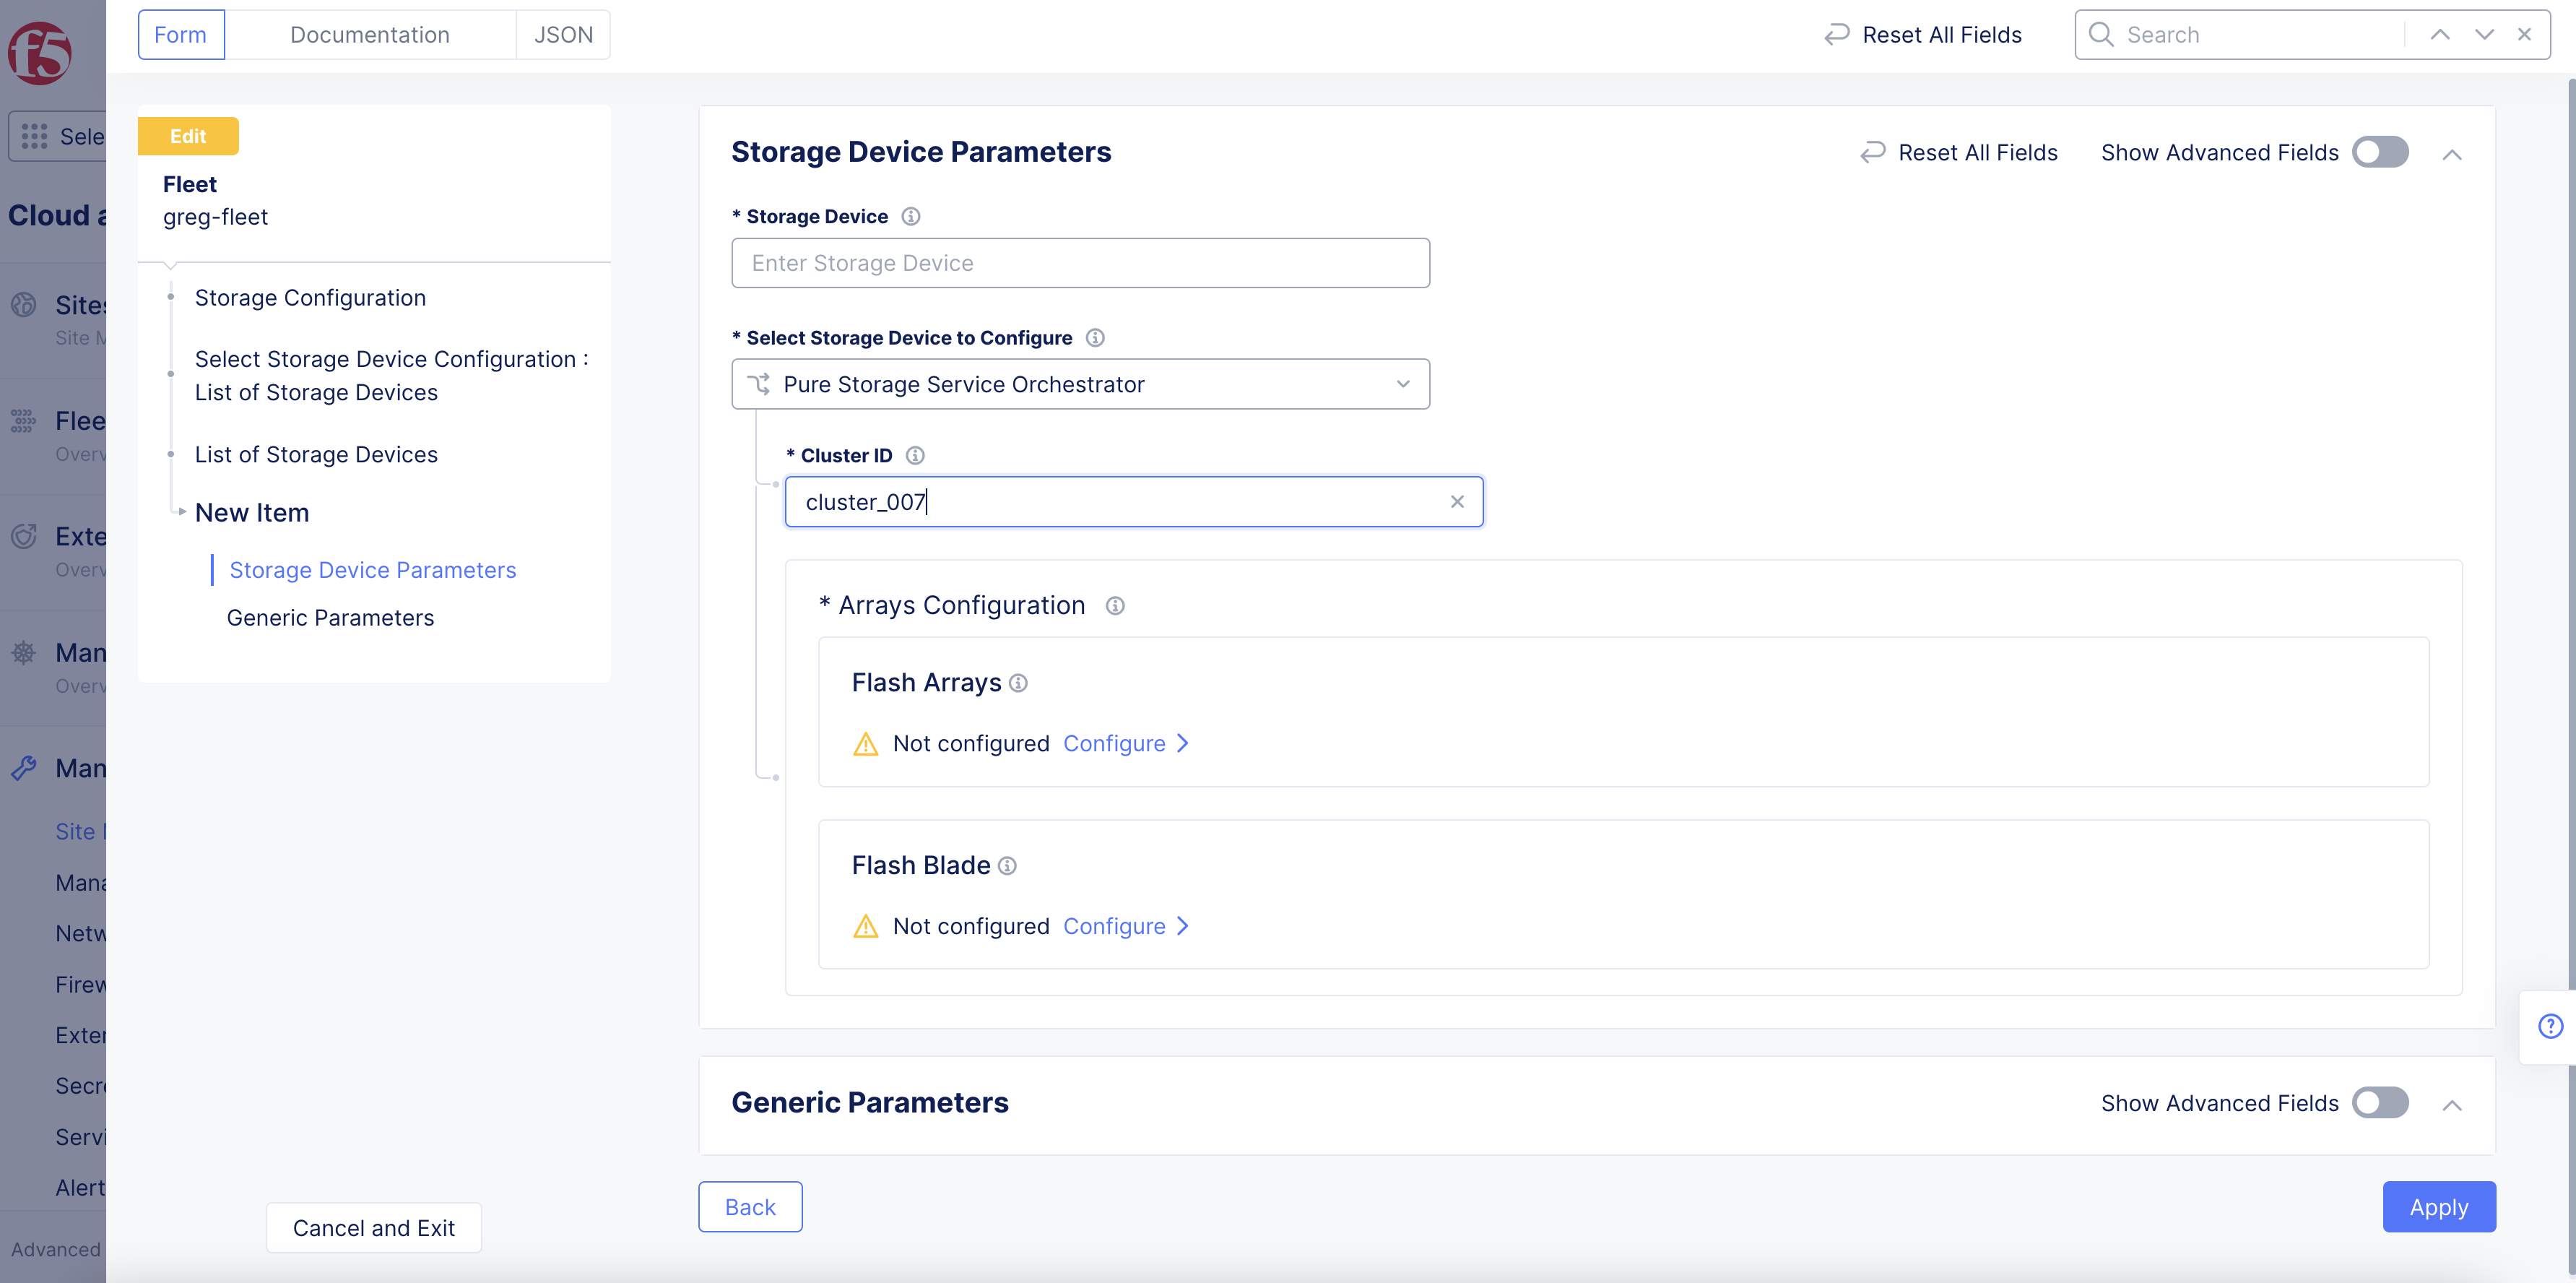
Figure: Pure Storage Orchestrator Device
-
Click
Configureunder theFlash Arraysfield. -
Click
Add Itemto add a flash array endpoint.
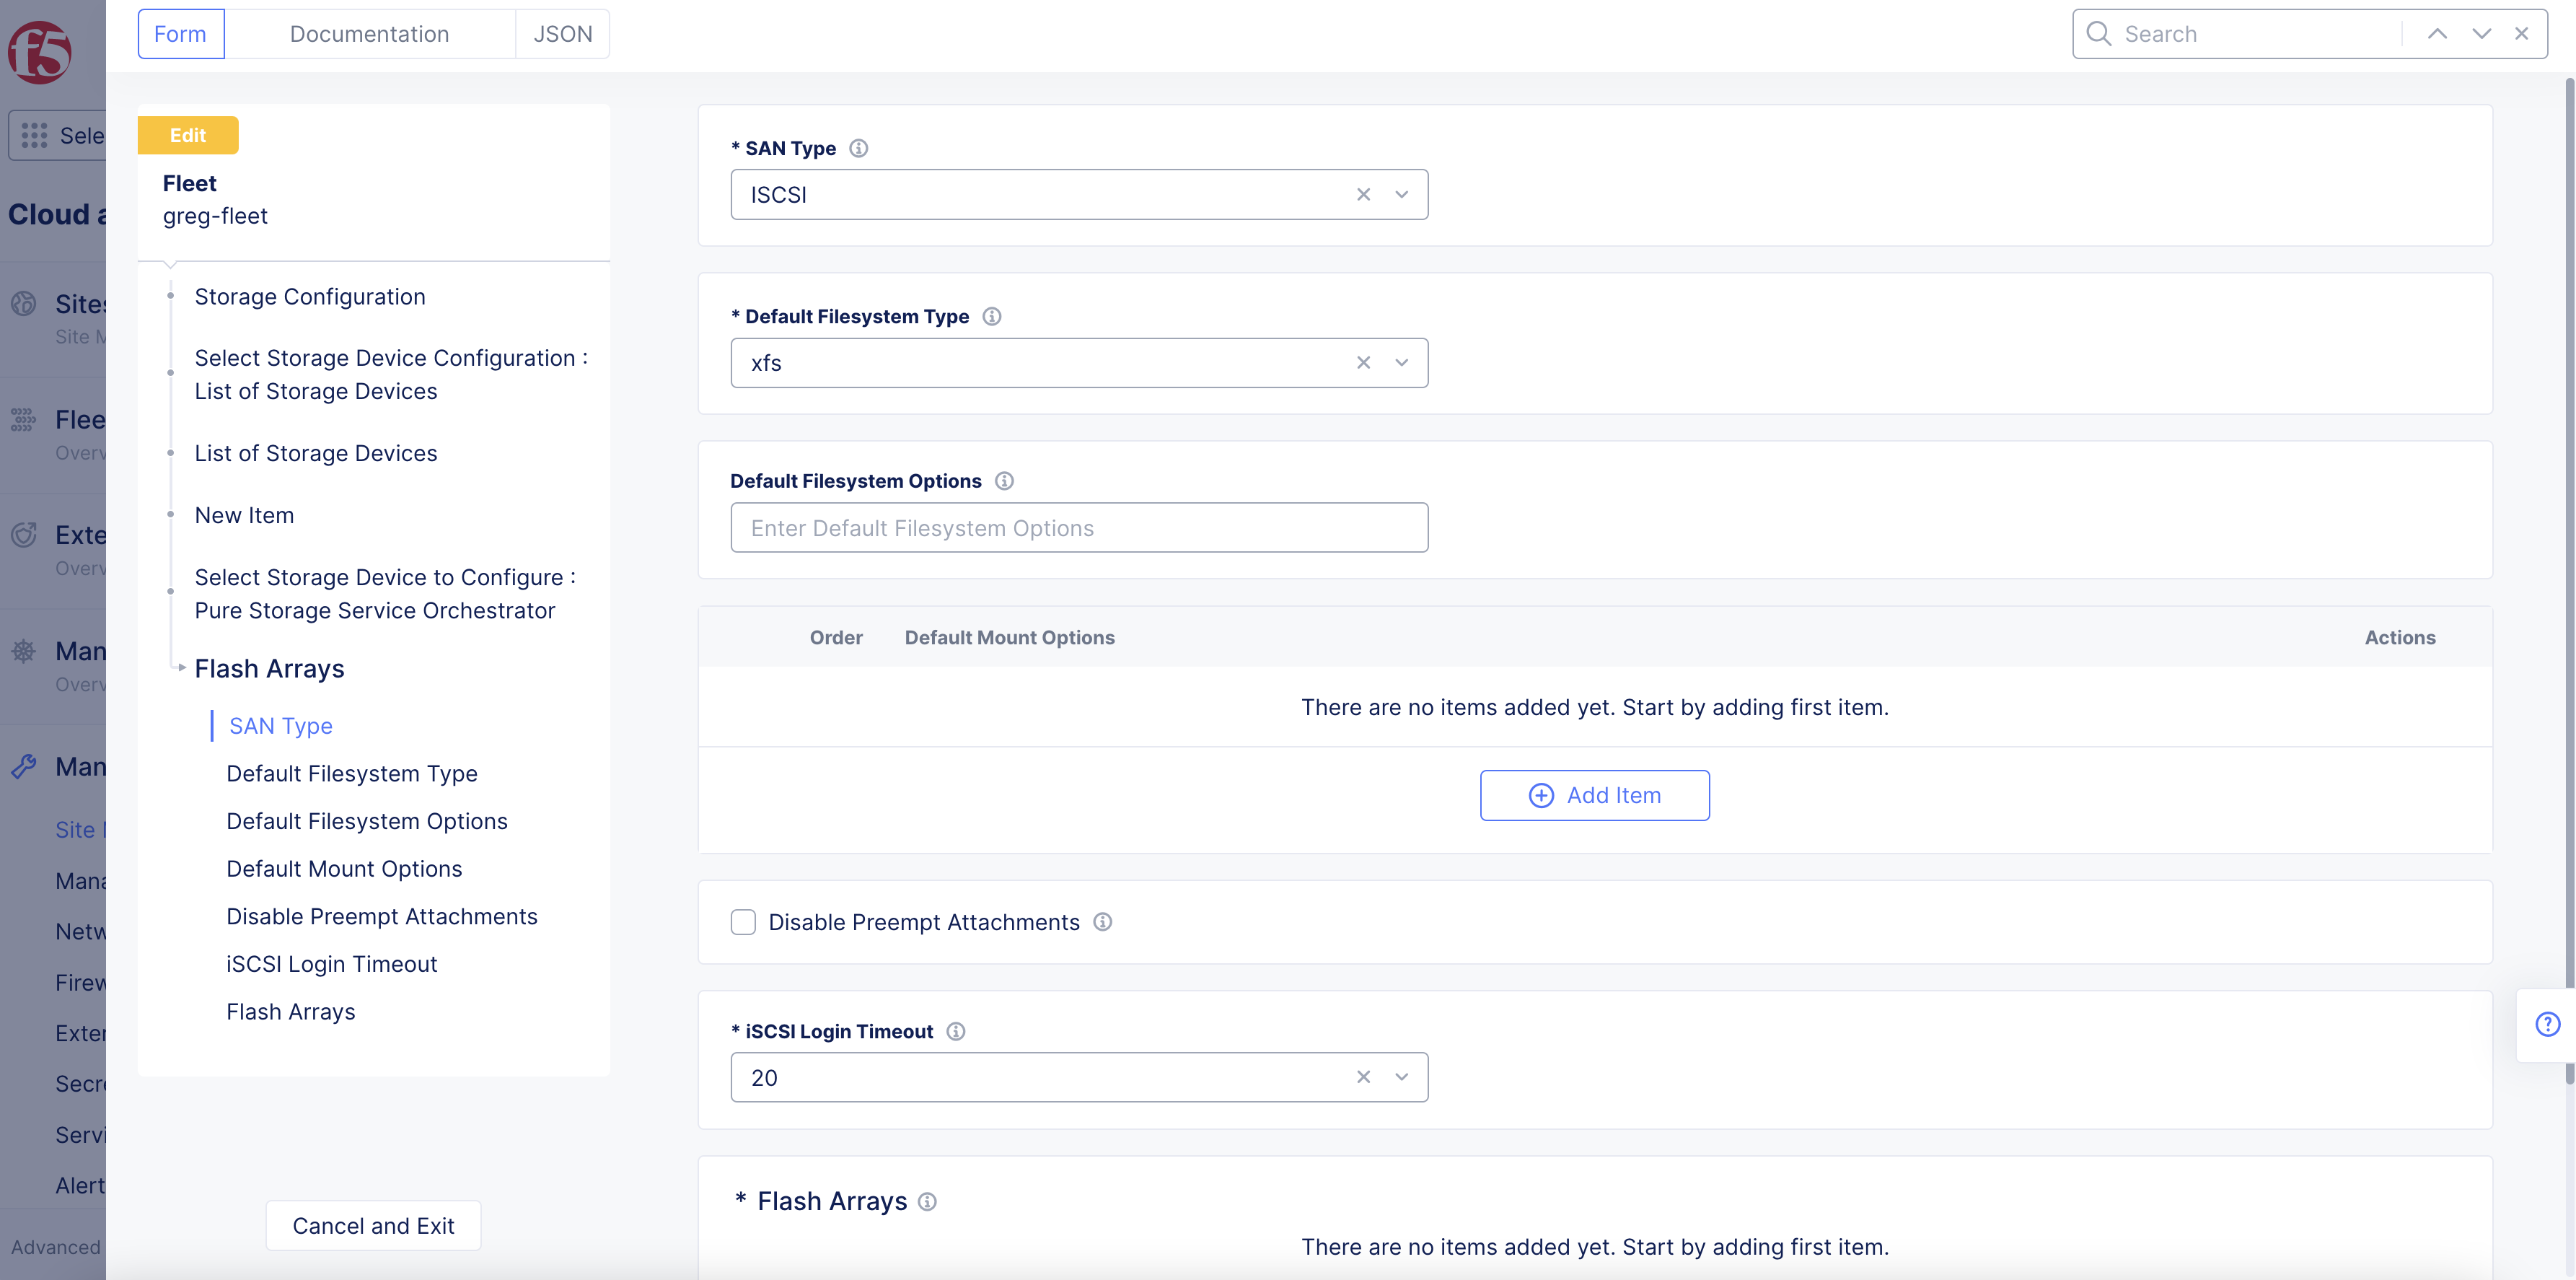
Figure: Pure Storage Flash Arrays
- Enter an IP address in the
Management Endpoint IP Addressfield.
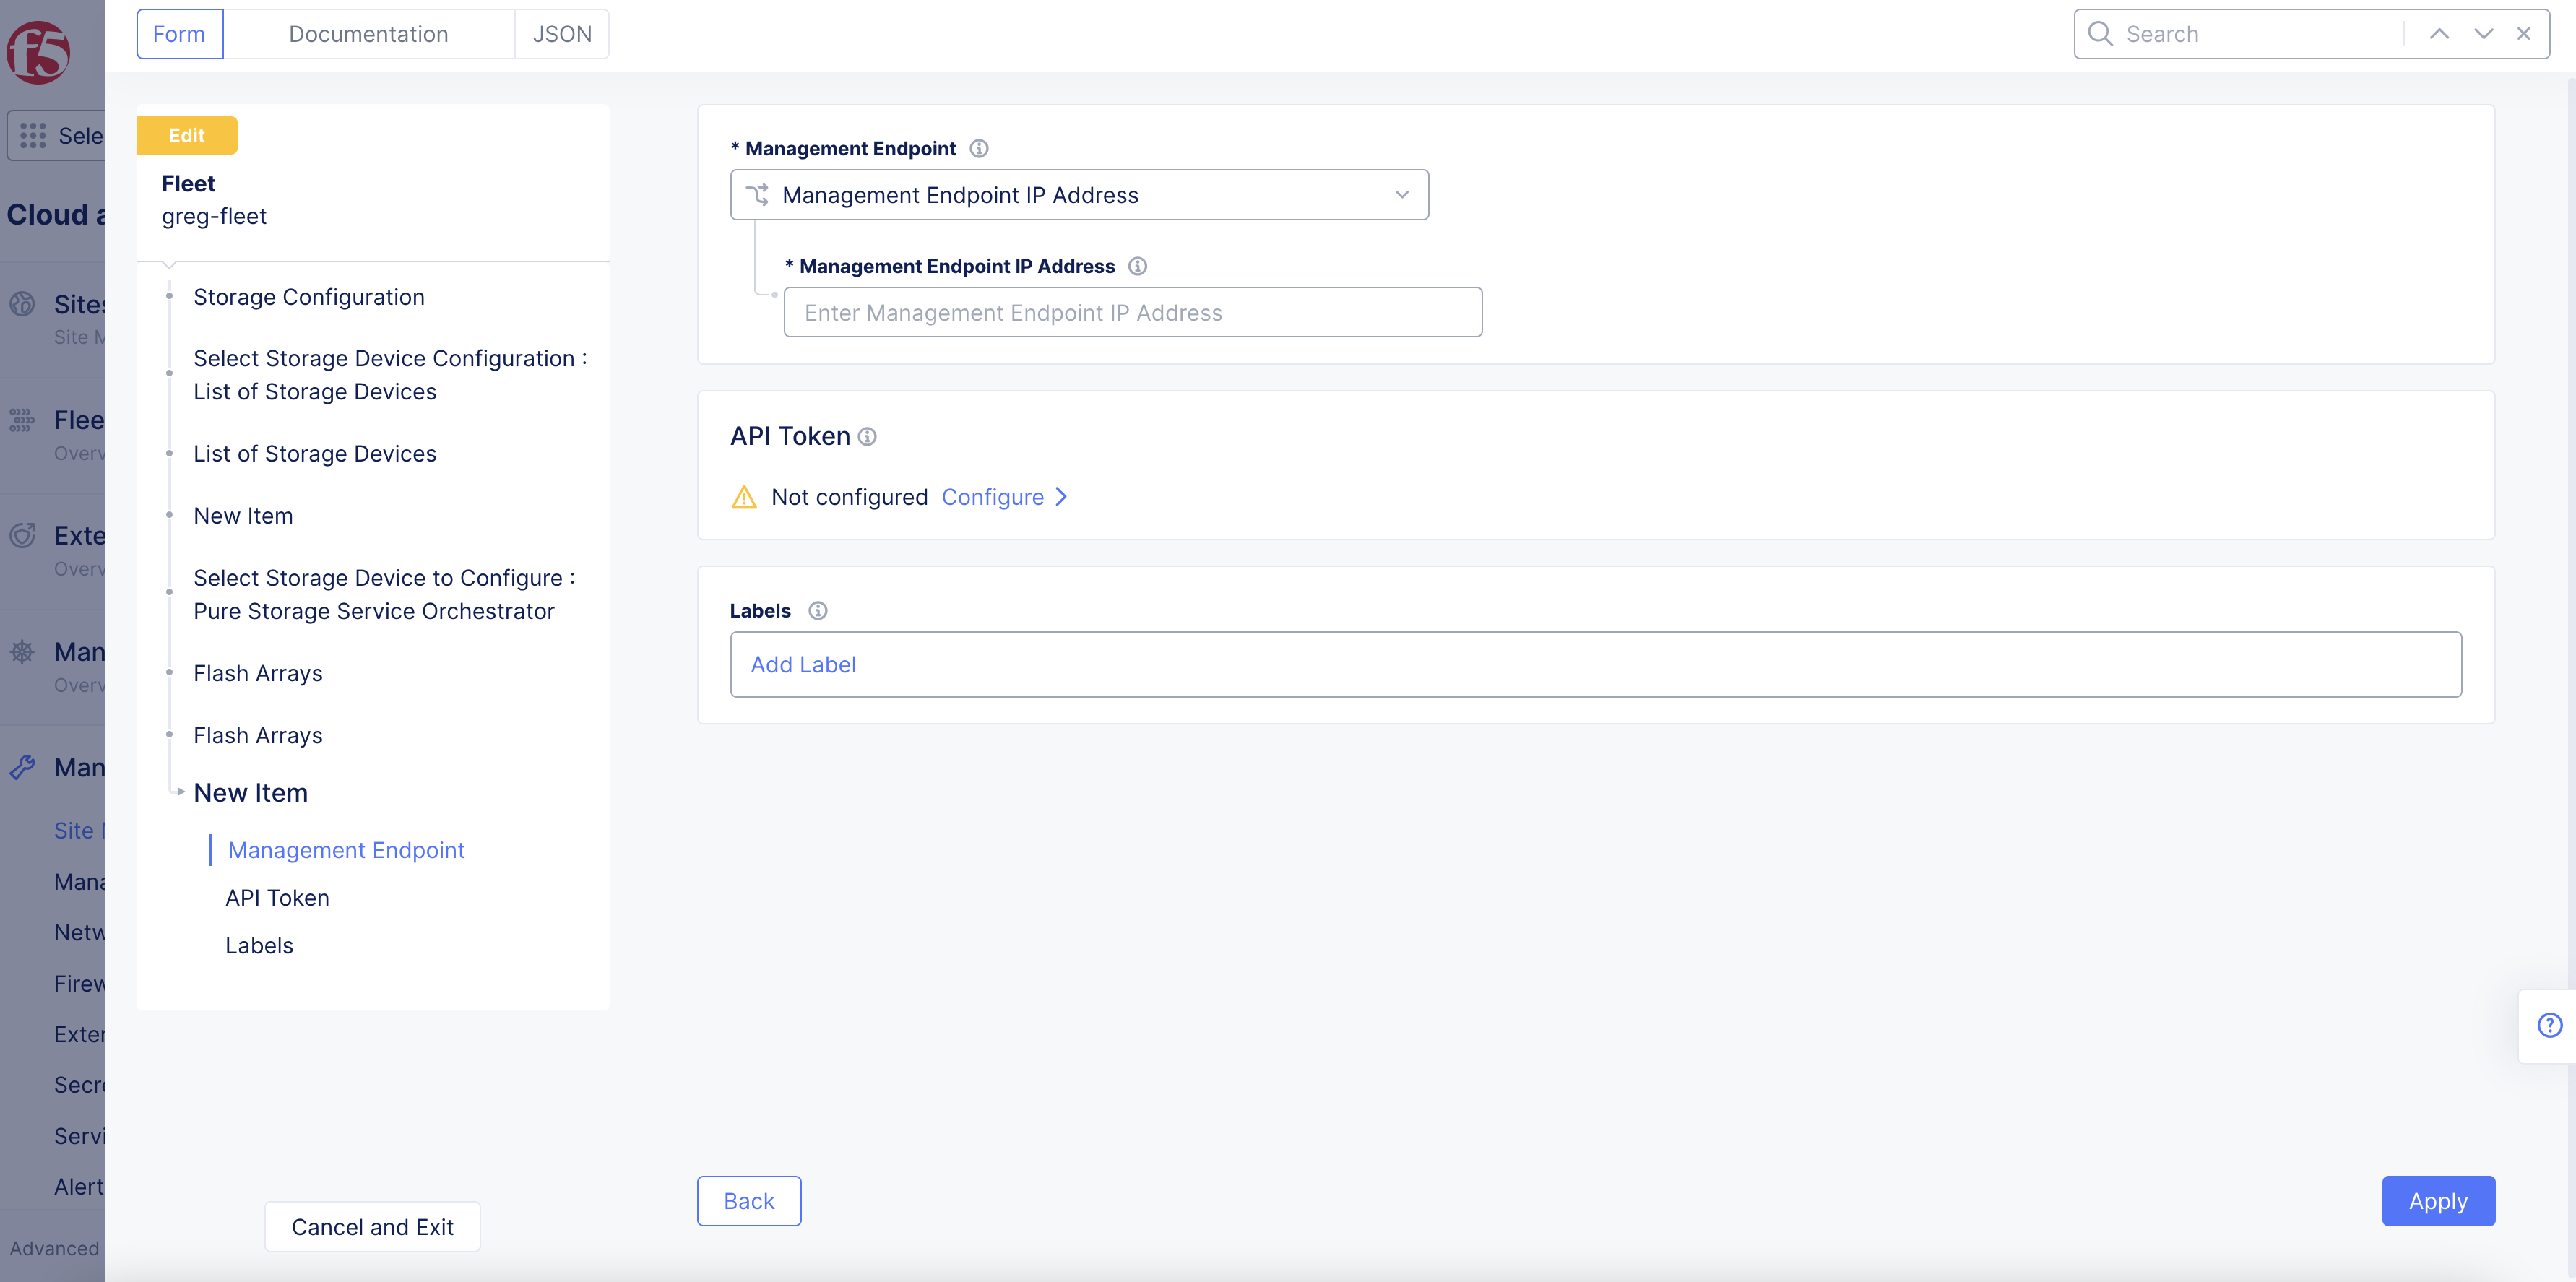
Figure: Pure Storage Flash Array endpoint
-
Click
Configureunder theAPI Tokenfield. Enter the token in the secret field and clickBlindfold. ClickApplyafter the Blindfold encryption is completed. -
Optionally, select labels for this endpoint.
-
Click
Apply. -
Click
Configureunder theFlash Bladefield. -
Click
Add Itemto add a flash blade endpoint.
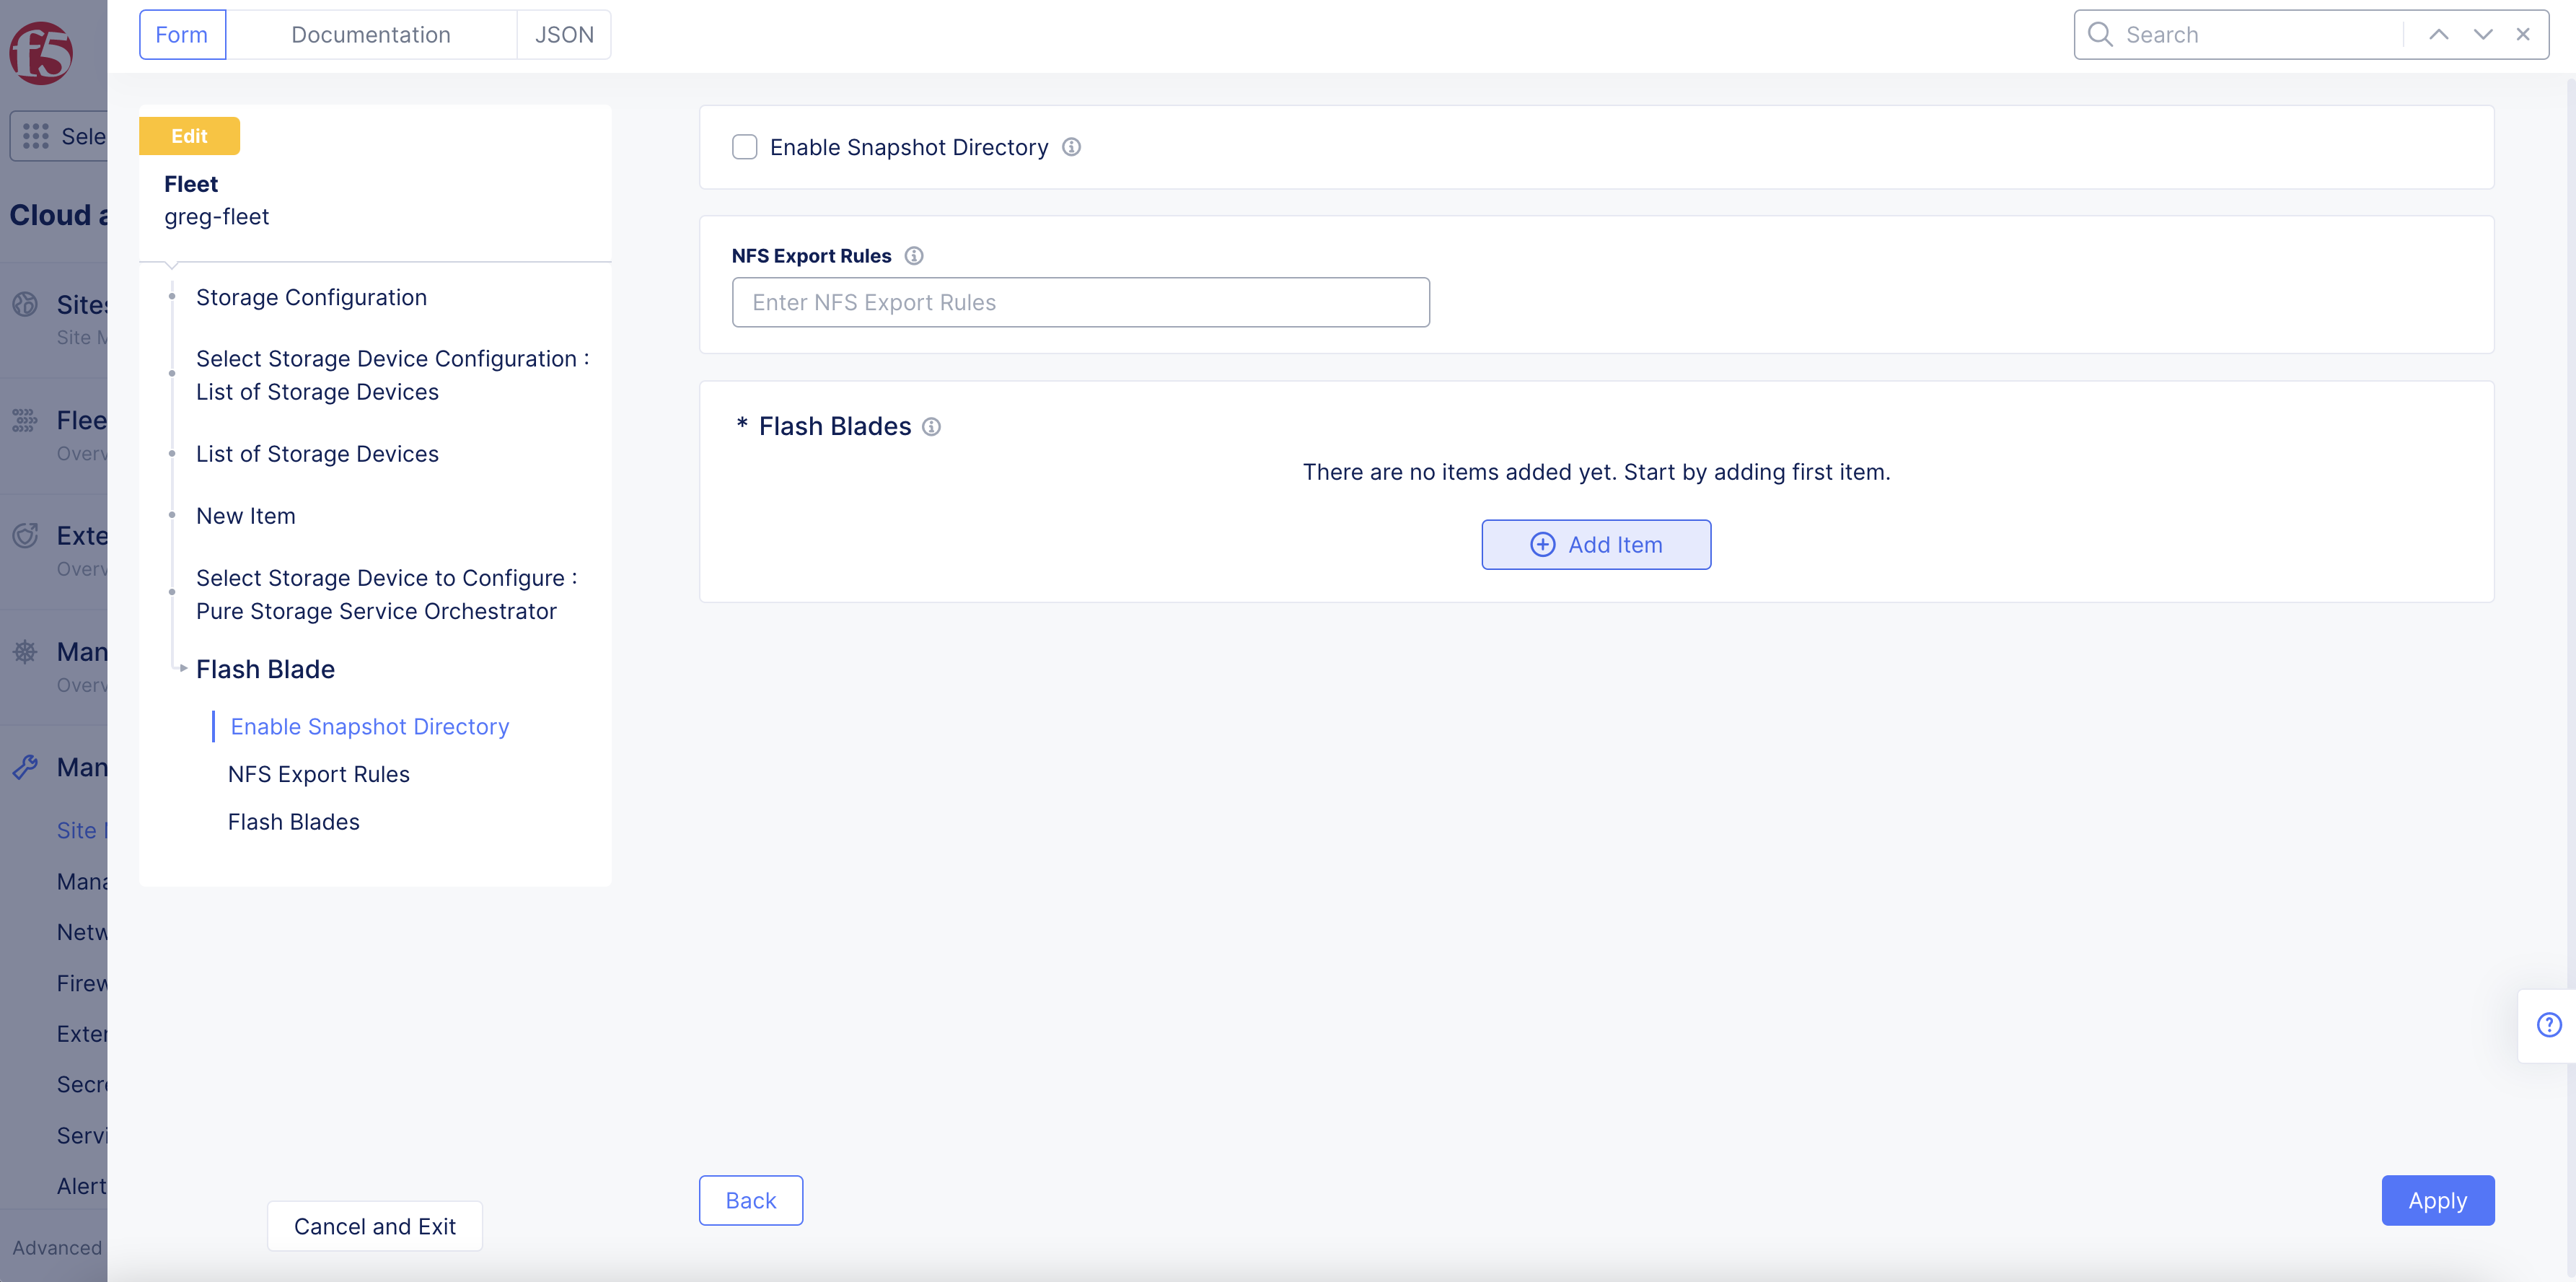
Figure: Pure Storage Flash Blade
- Enter the IP address in the
Management Endpoint IP Addressfield.
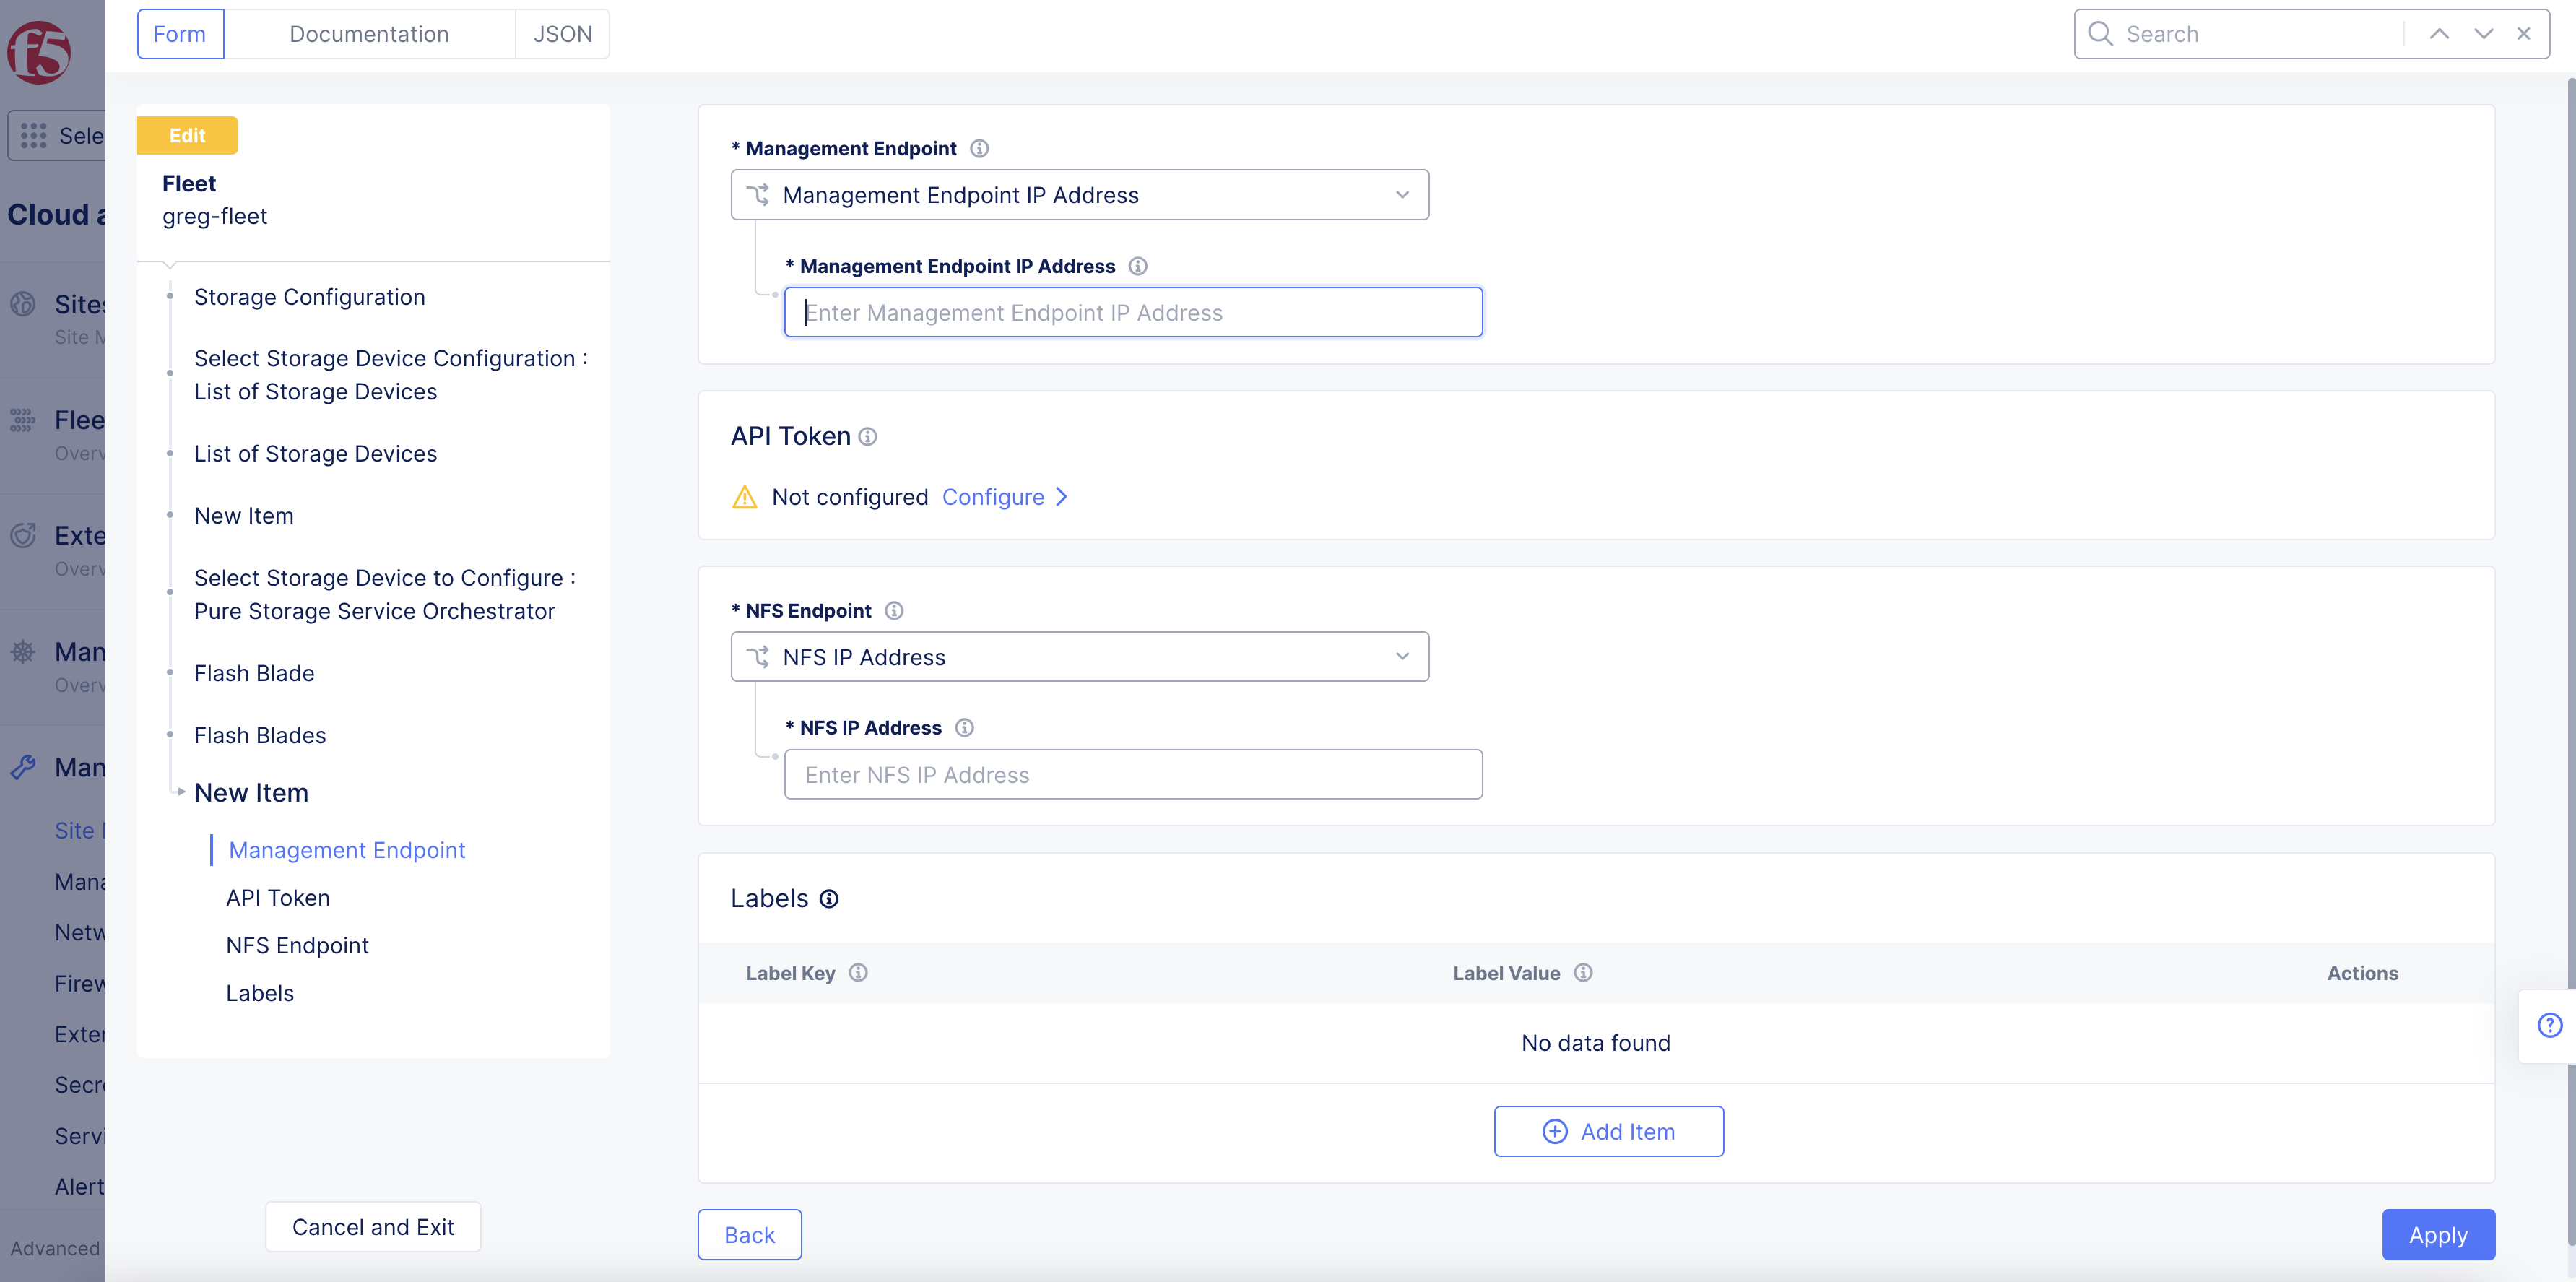
Figure: Pure Storage Flash Blade Endpoint
-
Click
Configureunder theAPI Tokenfield. Enter the token in the secret field and clickBlindfold. ClickApplyafter the Blindfold encryption is completed. -
Enter the IP address in the
NFS IP Addressfield. -
Optionally, add labels for this endpoint.
-
Click
Apply.
Note: You can change the management or NFS endpoints to specify management endpoint name or NFS DNS name.
- Click
Apply.
Custom Storage
The custom storage classes option is used for storage devices or external storages which are deployed outside F5 Distributed Cloud Services. For example, the option allows you to configure custom storage classes for AWS, GCP, etc.
-
Select
Custom Storagefor theSelect Storage Device to Configurefield. -
Click
Add Item.
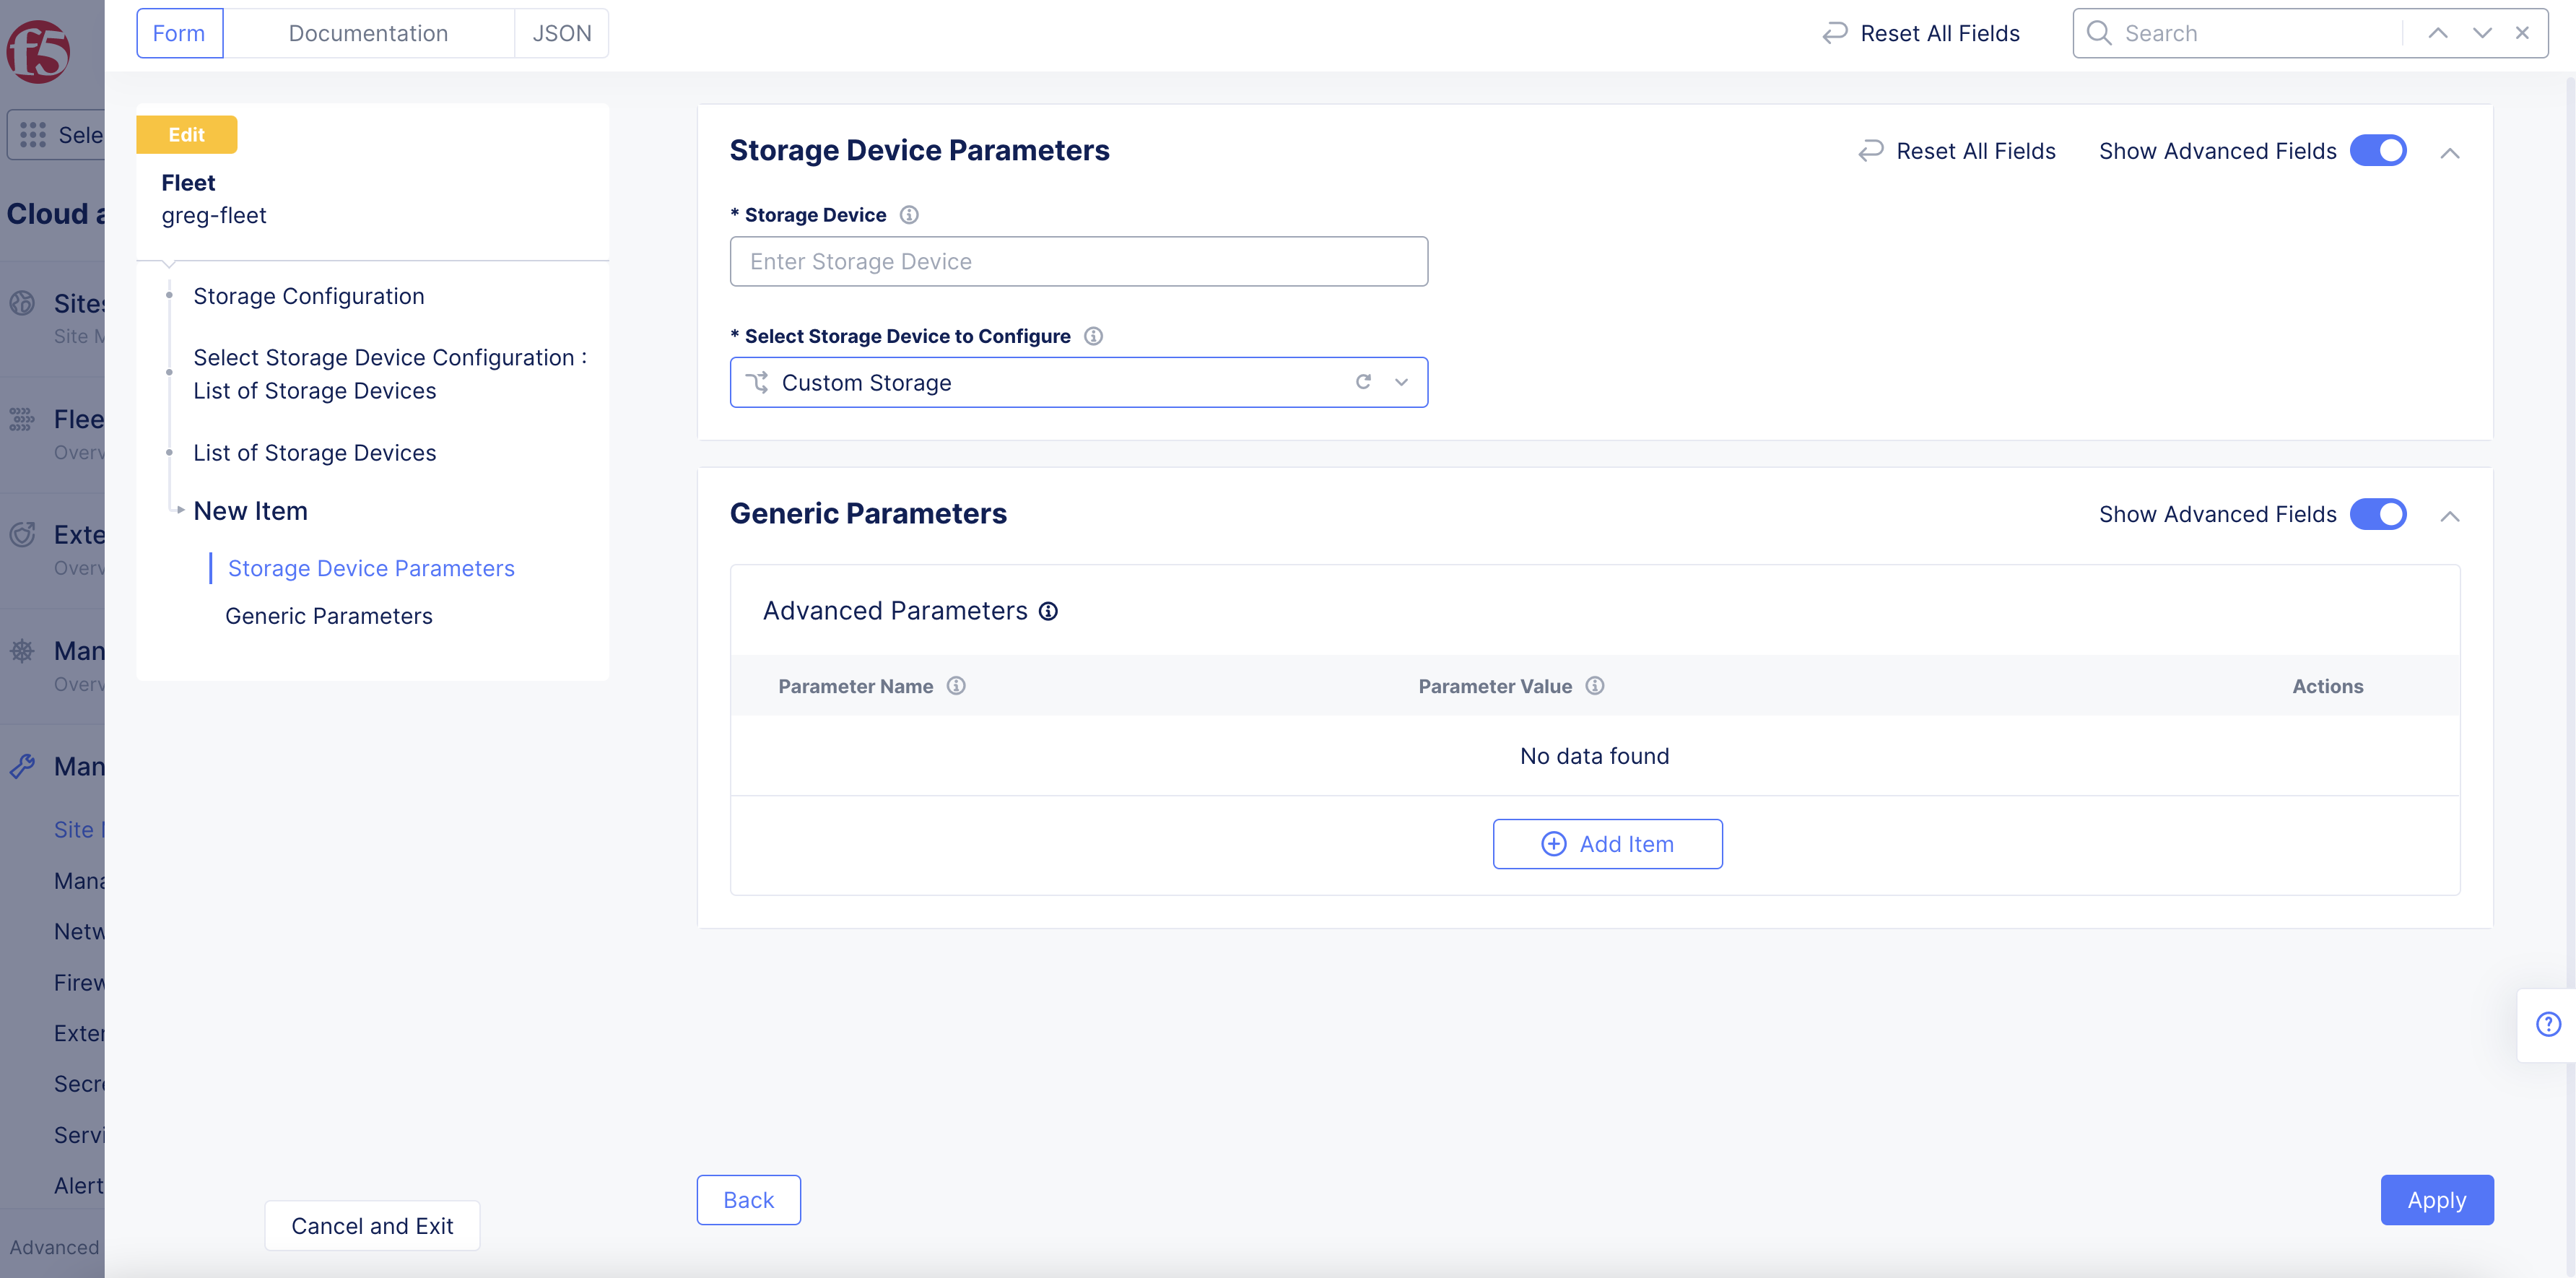
Figure: Custom Storage Device
-
Optionally, in the
Parameter NameandParameter Valuefields, enter the required information. -
Click
Apply.
HPE Storage
-
Select
HPE Storagefor theSelect Storage Device to Configurefield. -
In the
Storage Namefield, enter a name. -
In the
Storage Server IP addressfield, enter an IP address. -
In the
Storage server Portfield, enter a port number. -
In the
Usernamefield, enter the username used to connect to the HPE storage device. -
To configure the password, click
Configure. Then perform the following:-
For the
Blindfolded Secretoption, complete the configuration by entering the secret text to blindfold. -
For the
Clear Secretoption, enter the secret text in plaintext format or Base64. -
Click
Apply. -
Click
Applyagain to complete configuration.
-
Note: You can add multiple devices using the
Add itemoption.
Step 4: Configure storage classes.
You can use default storage classes supported in K8s or you can customize the classes. If you are using default classes, ensure that the storage device names correspond to the K8s classes.
NetApp Trident
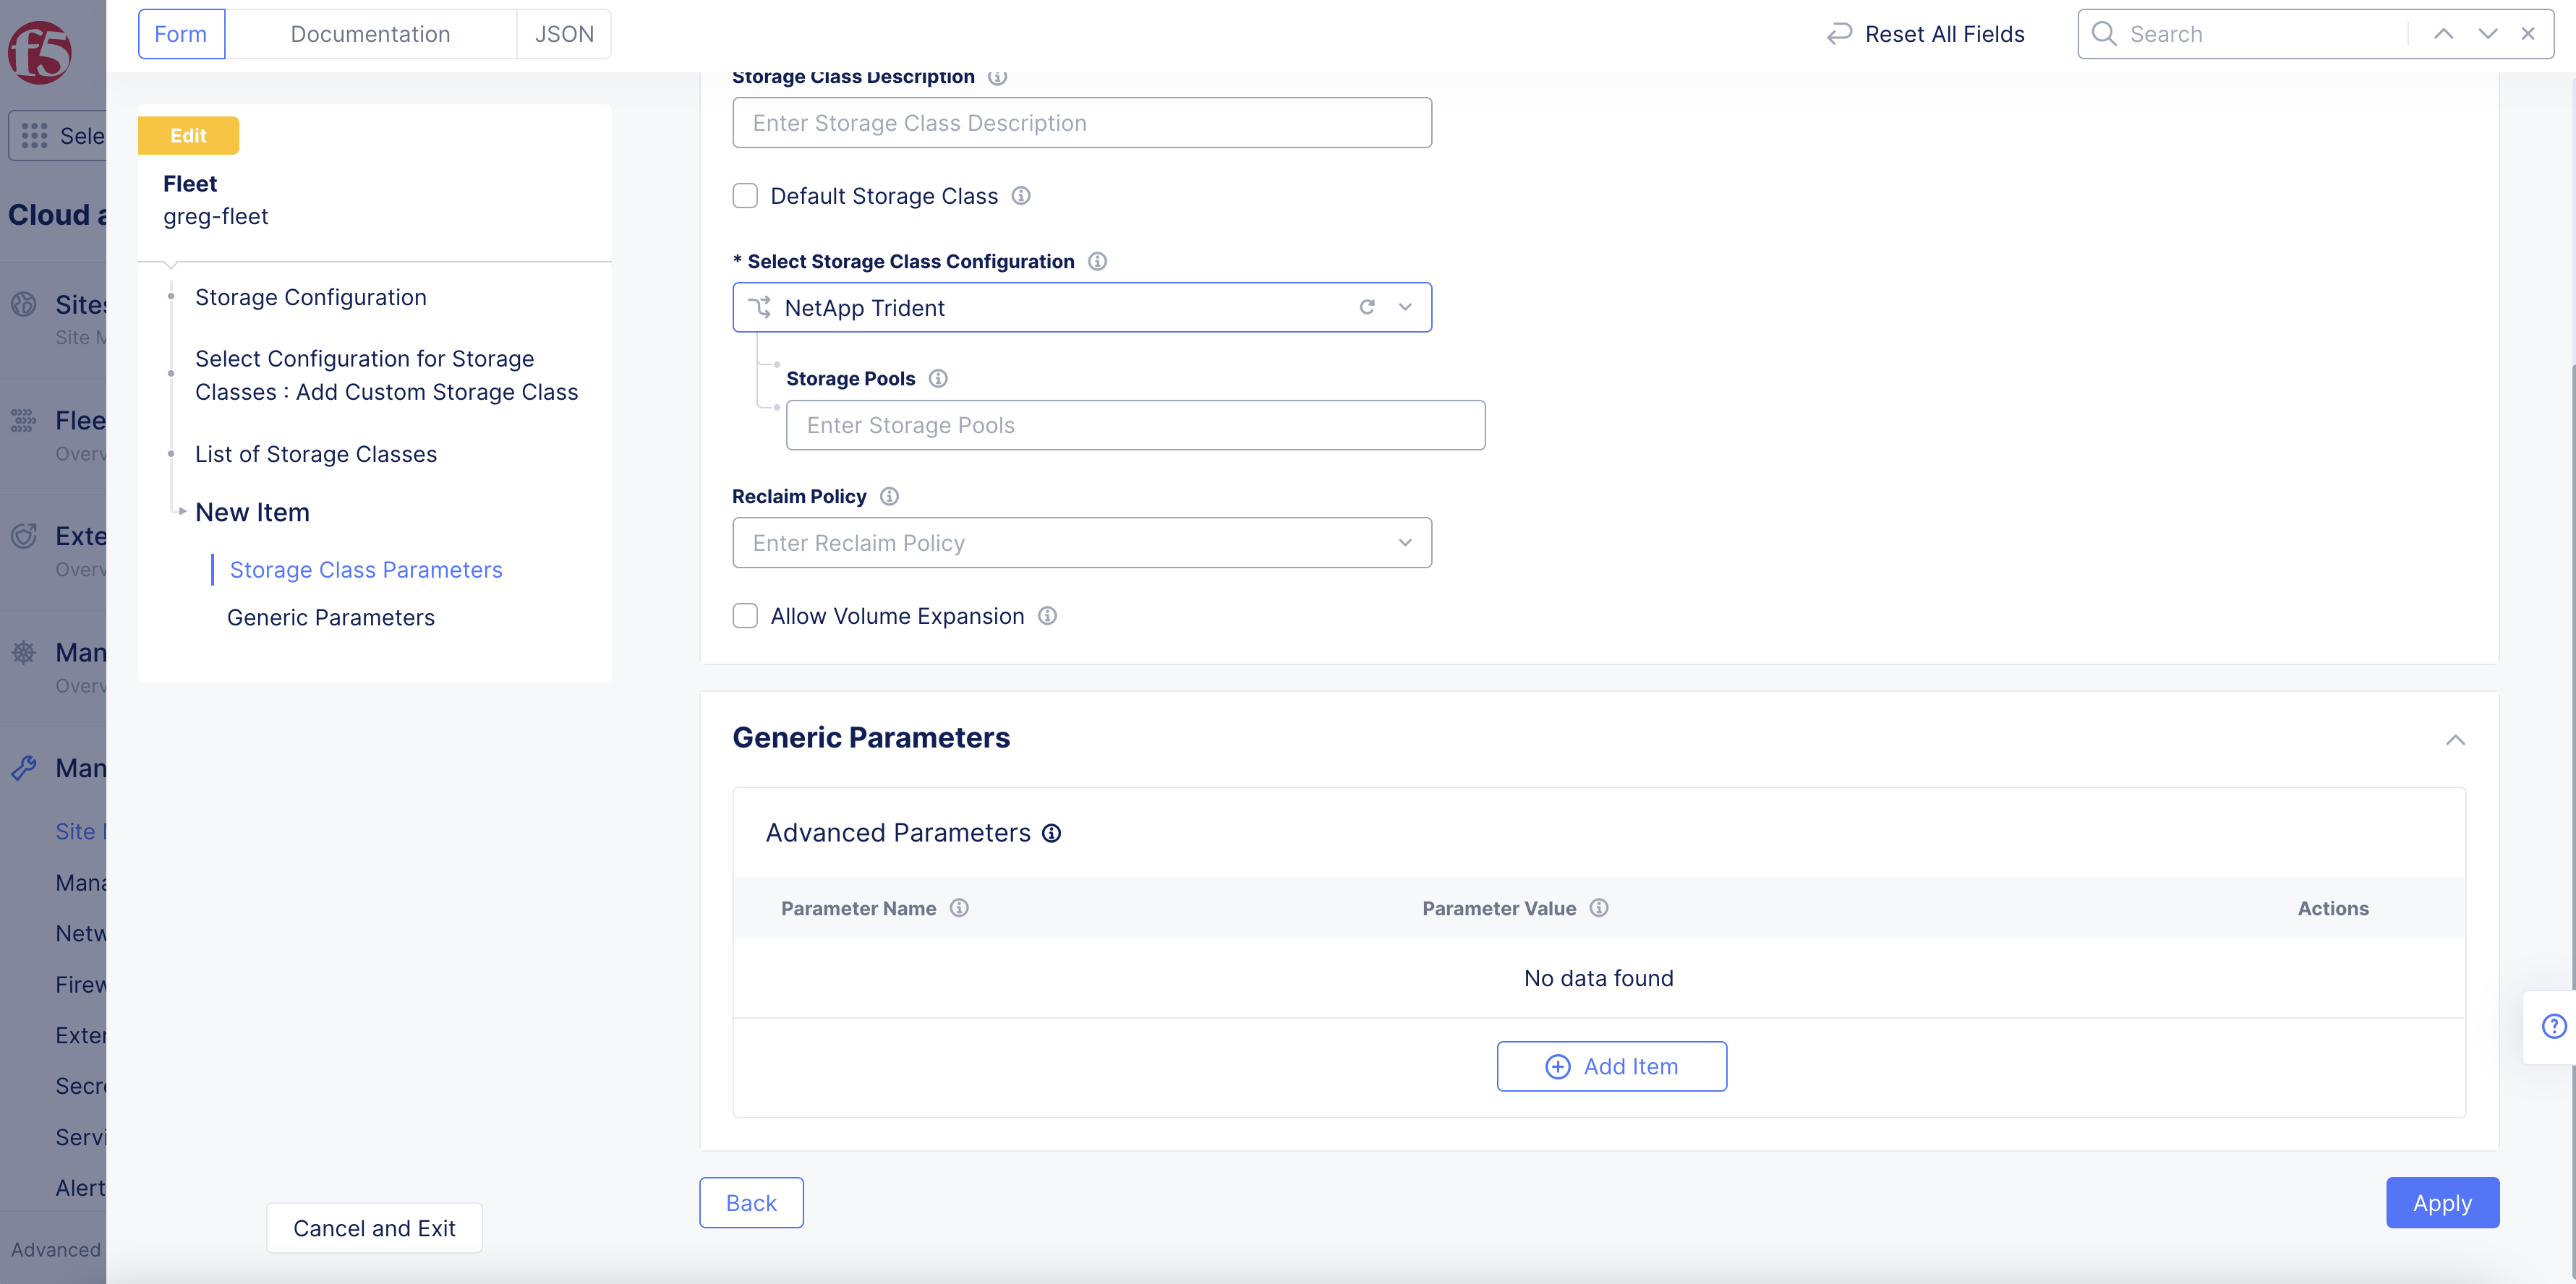
Figure: NetApp Class
- Click
Add Item.
Pure Storage Service Orchestrator
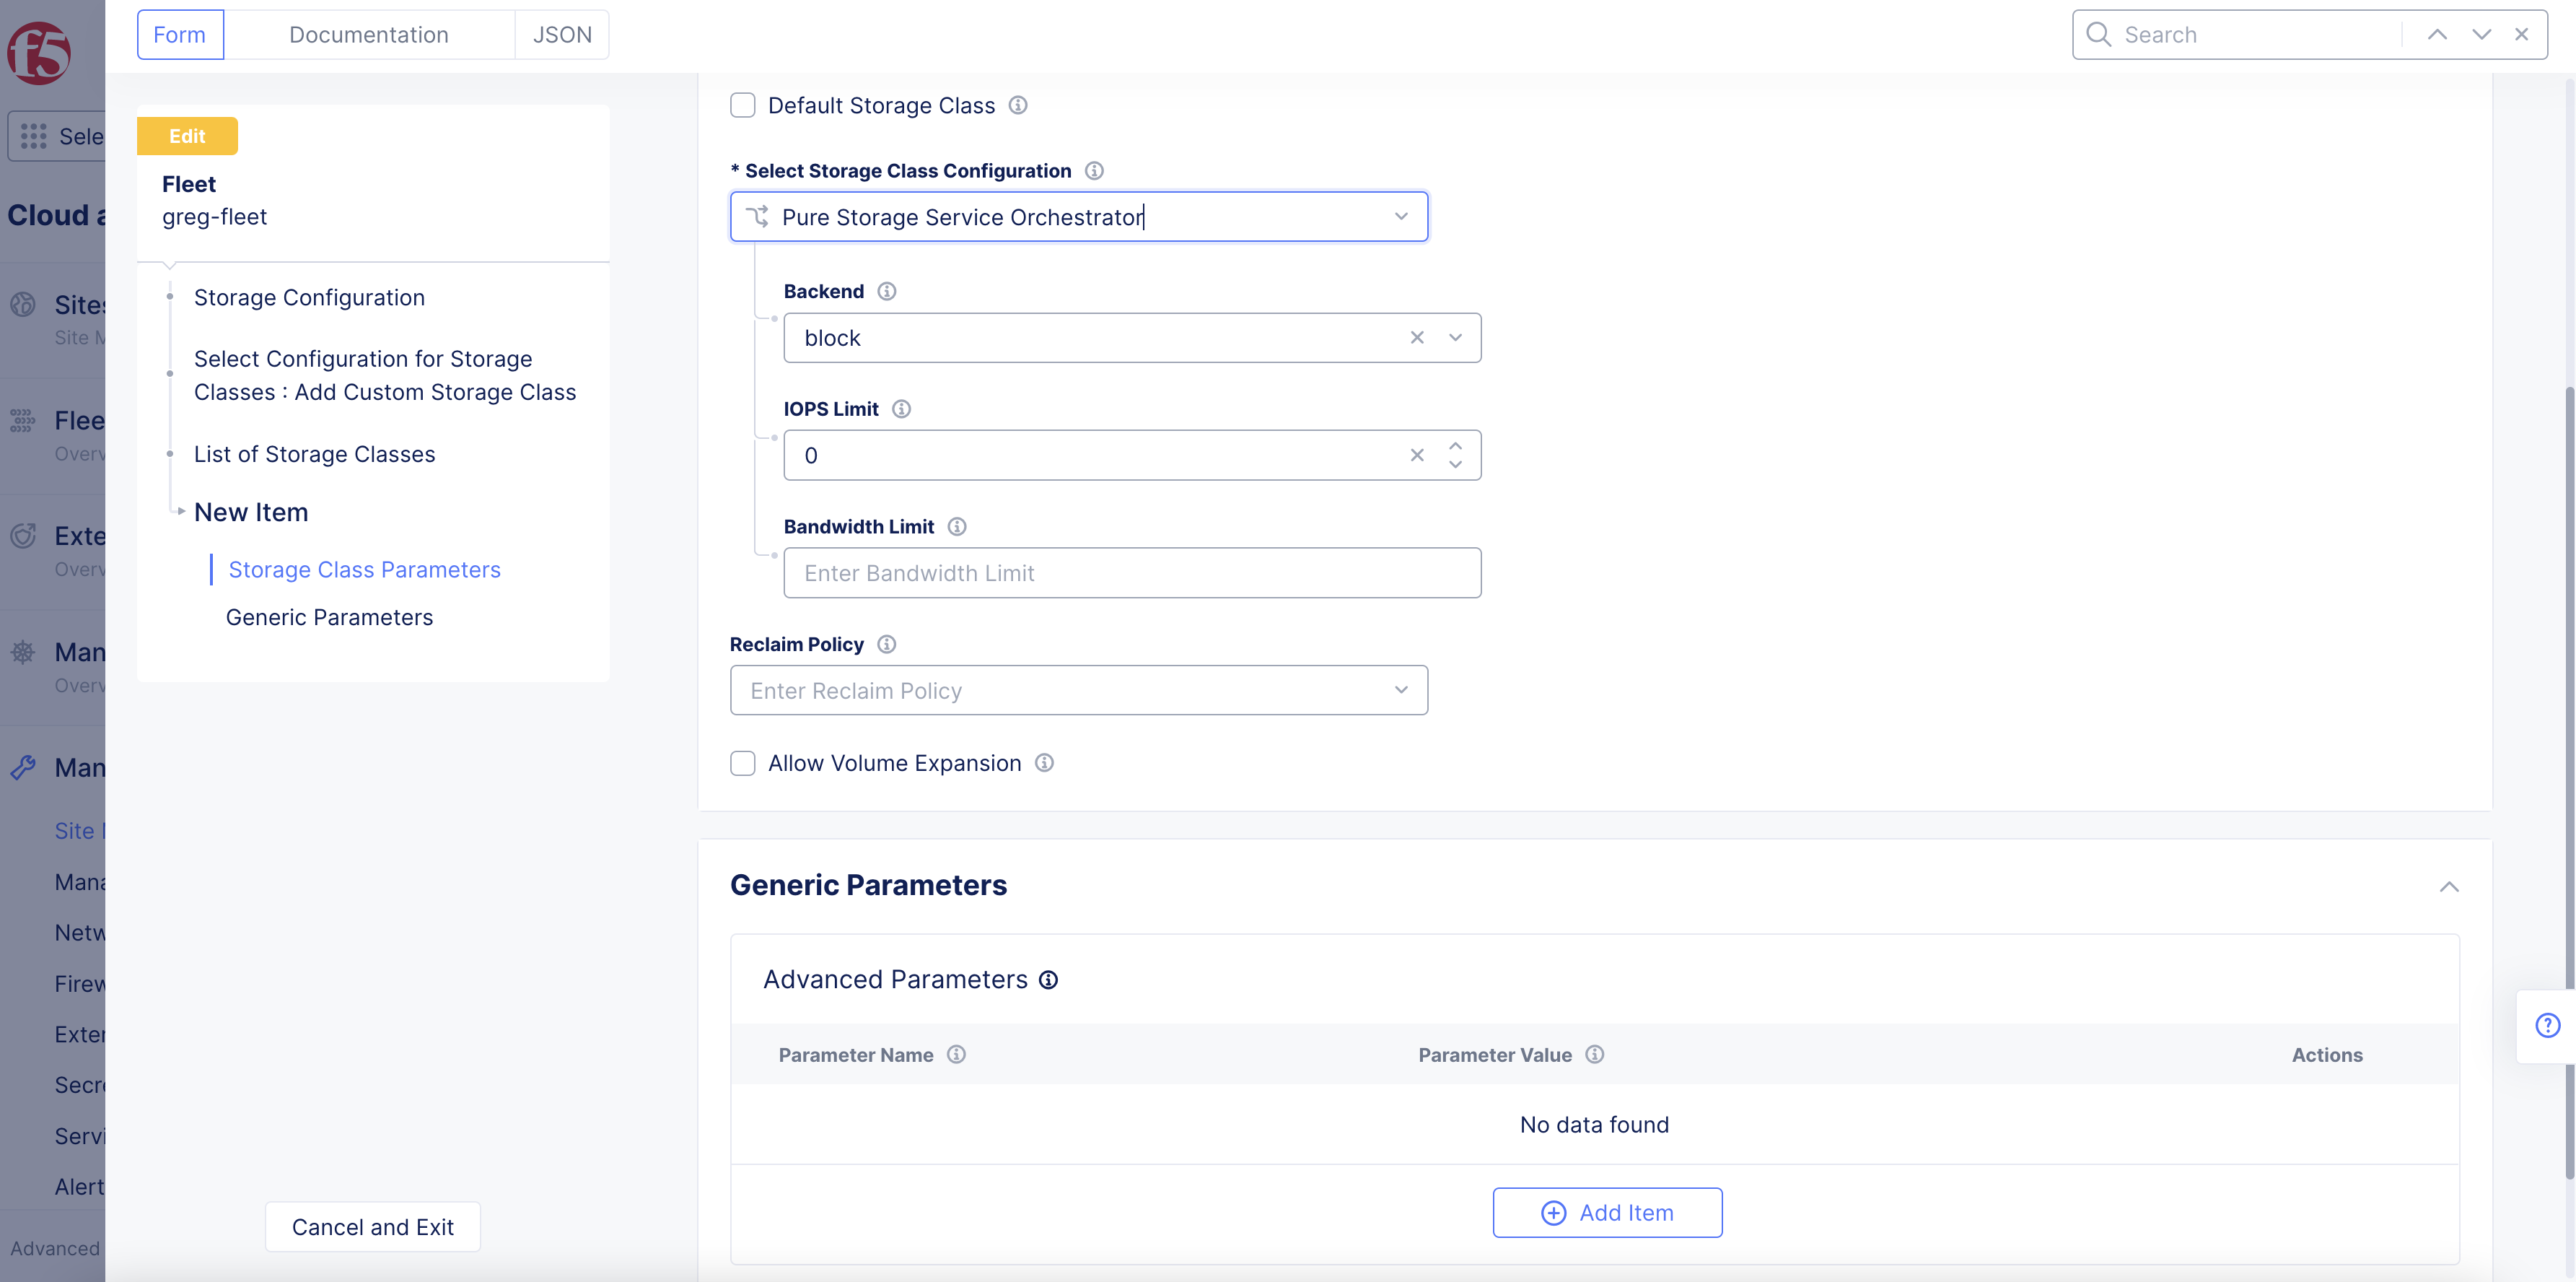
Figure: Pure Storage Orchestrator Class
-
Select an option from the
Backendmenu. Theblockoption is selected by default. -
Optionally, enter IOPS and bandwidth limits in their respective fields.
-
Click
Add Item.
Custom Storage Class
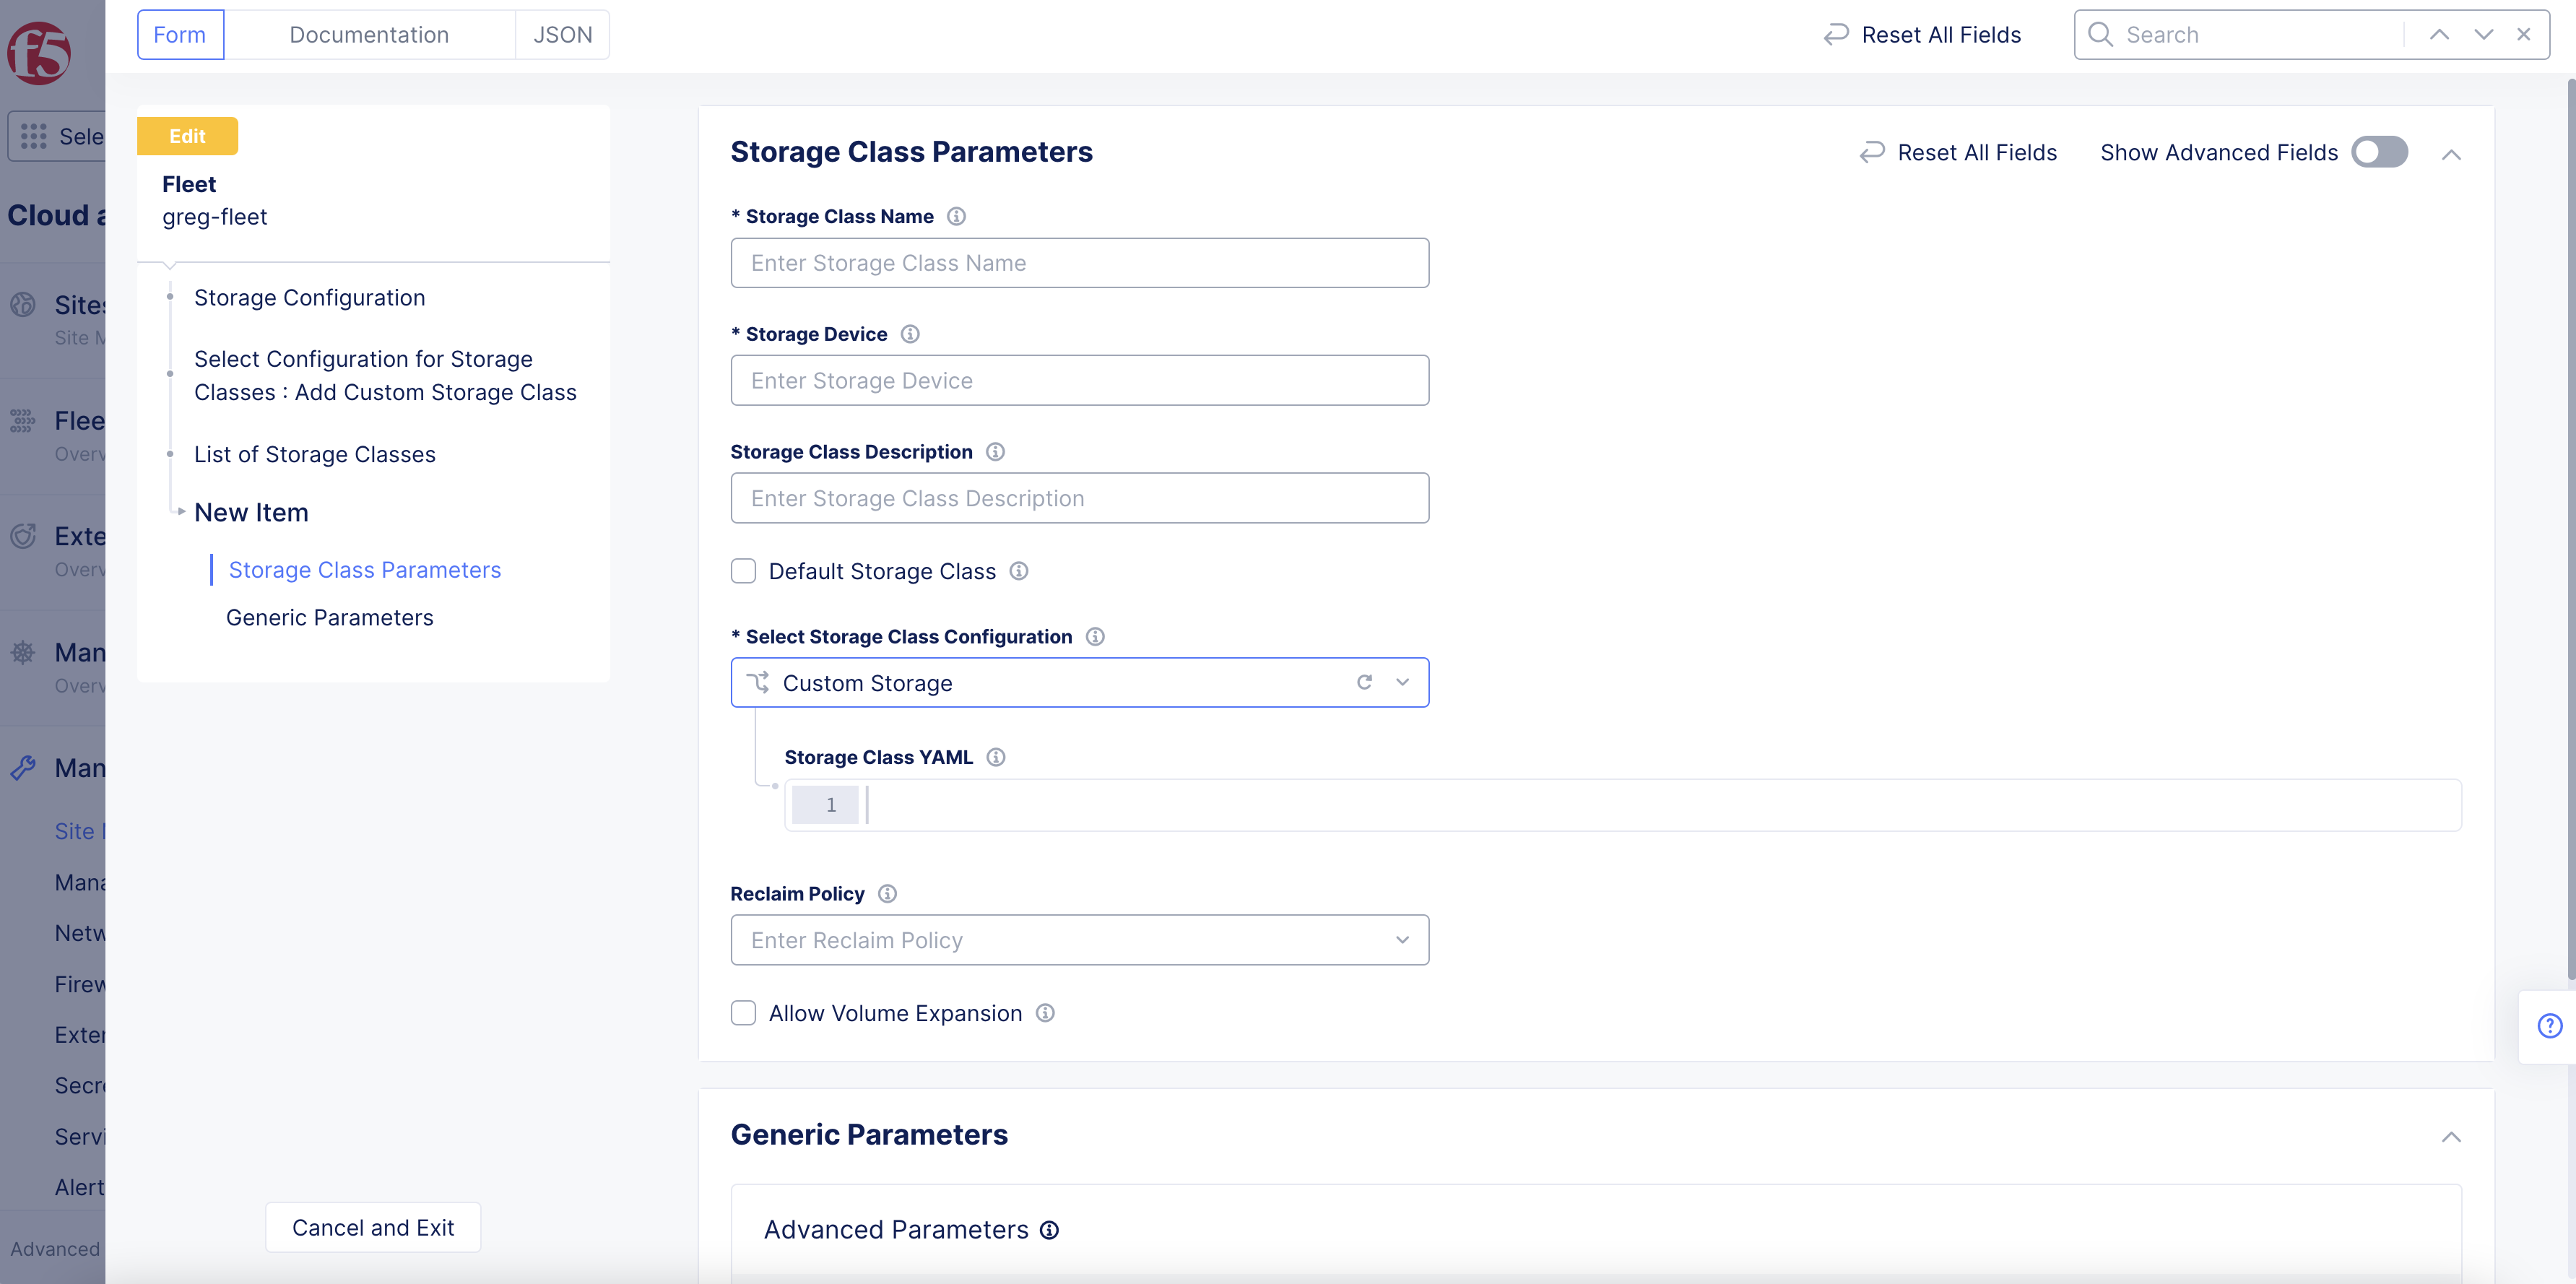
Figure: Storage class parameters
-
Select
Add Custom Storage Classfor theSelect Configuration for Storage Classesfield. -
Click
Add Itemunder theList of Storage Classesfield. This opens theStorage Class Parameterspage. -
Enter a name for the
Storage Class Namefield. This name will appear in K8s. -
Enter a name in the
Storage Devicefield. This is the storage device that will be used by this class, as entered in Step 3. -
Optionally, enter a storage class description.
-
Optionally, check the
Default Storage Classbox to make this storage class the default for the K8s cluster. -
Select
Custom Storagefor theSelect Storage Class Configurationfield. -
Enter the storage class YAML. It must have the configuration of
apiVersion: storage.k8s.io/v1
kind: StorageClass
...
-
Enter a
Reclaim Policy. -
Optionally, check the
Allow Volume Expansionbox. -
Optionally, enter generic/advanced parameters.
-
Click
Add Item.
HPE Storage
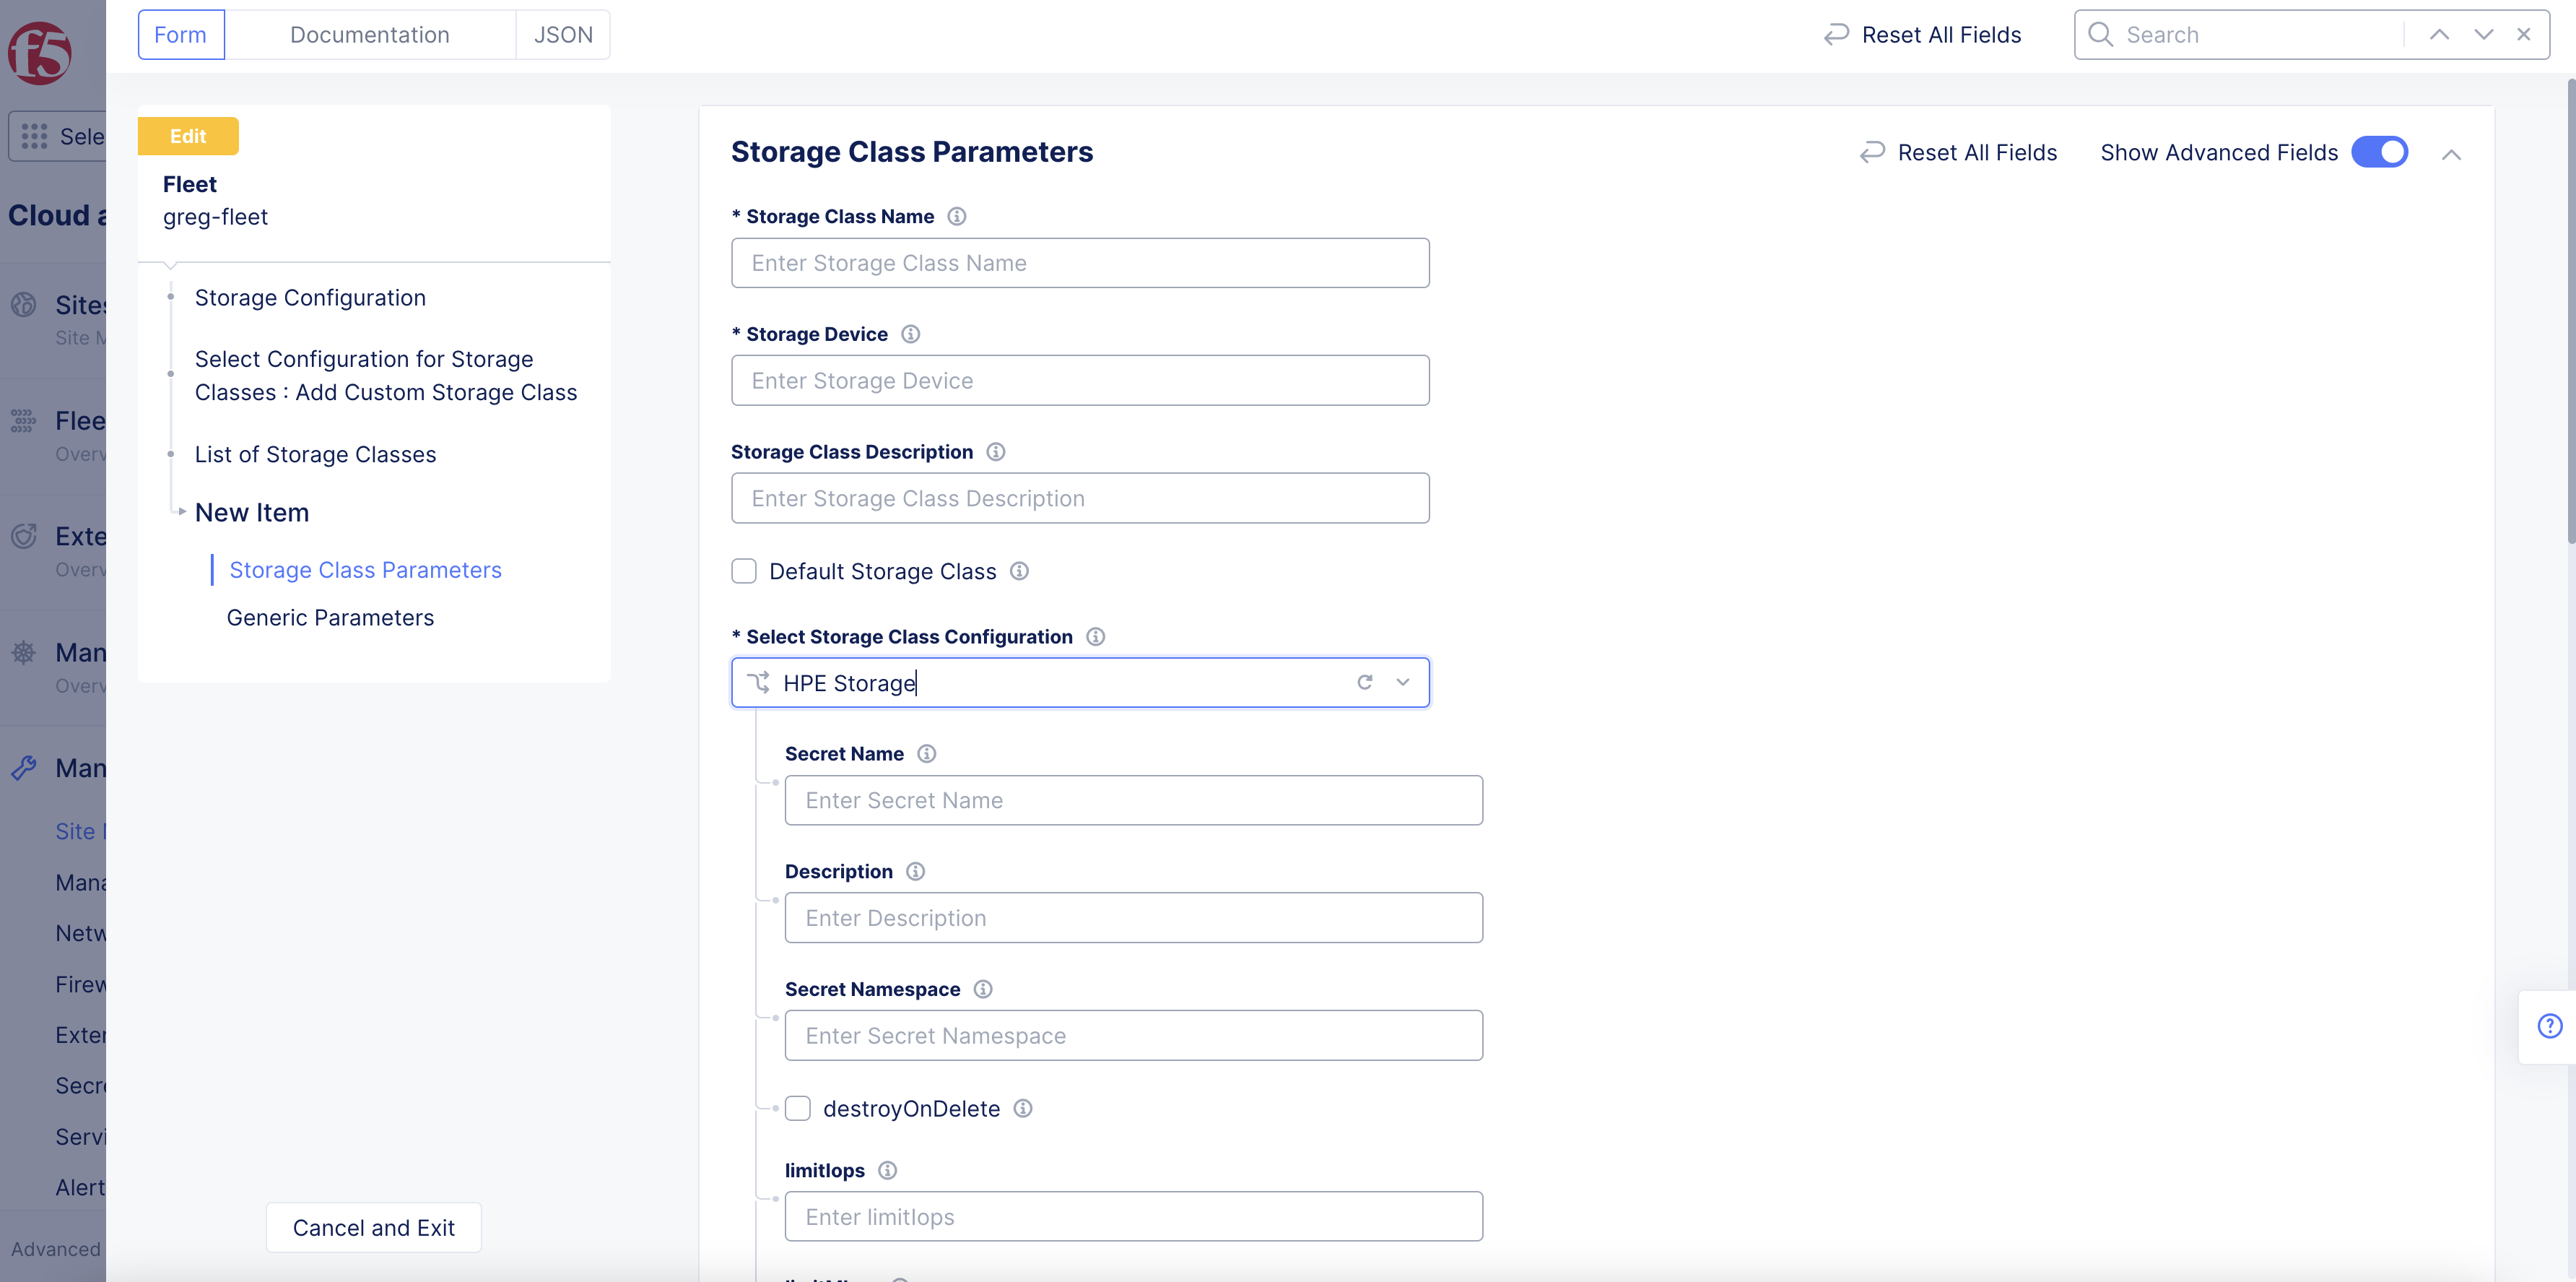
Figure: Storage class parameters
Complete the required parameters.
Note: You can add multiple classes using the
Add itemoption.
Step 5: Complete applying storage configuration to fleet.
Click Save and Exit to apply the storage configuration fleet.
Note: You can add the sites to fleet by adding the fleet label to the site configuration. See Create Fleet guide for more information.