Configure Certificate Revocation List
Objective
This guide provides instructions on how to configure a load balancer so that it receives a Certificate Revocation List (CRL) periodically using F5® Distributed Cloud Console (Console) guided configuration. A CRL is a file that stores digital certificates that have been revoked by an issuing authority before or on the assigned expiration date or known to be tampered with. When a client browser makes a request to a server, the server will request the digital certificate from the client browser and check it against this CRL.
Typically, the CRL file is stored on an external Certificate Authority (CA) issuing server. However, you can configure your load balancer to fetch this CRL file from an external server so that it can validate and authorize client requests. The CRL file can be updated hourly, daily or weekly, depending on the provider. You can modify the update interval during the configuration process (as demonstrated below).
Prerequisites
The following prerequisites apply:
-
An F5® Distributed Cloud Services Account. If you do not have an account, see how to Create an Account.
-
A valid DNS domain delegated to Distributed Cloud Services. For instructions on how to delegate your domain, see Domain Delegation.
-
A Distributed Cloud Services Customer Edge (CE) site for deploying your applications on the CE site. If you do not have a site, create a site using the instructions included in the Site Management guides. See the vK8s Deployment guide to deploy your applications on the Distributed Cloud Services network cloud or edge cloud.
Configuration
Create CRL Object
You must create the CRL object first and perform initial configuration before you attach it to a load balancer.
Step 1: Navigate to CRL object creation.
-
Log into Console.
-
Click
Multi-Cloud App Connect.
Figure: Console Homepage
-
Change to your application namespace.
-
Click
Manage>Load Balancers>Certificate Revocation List. -
Click
Add Certificate Revocation List.
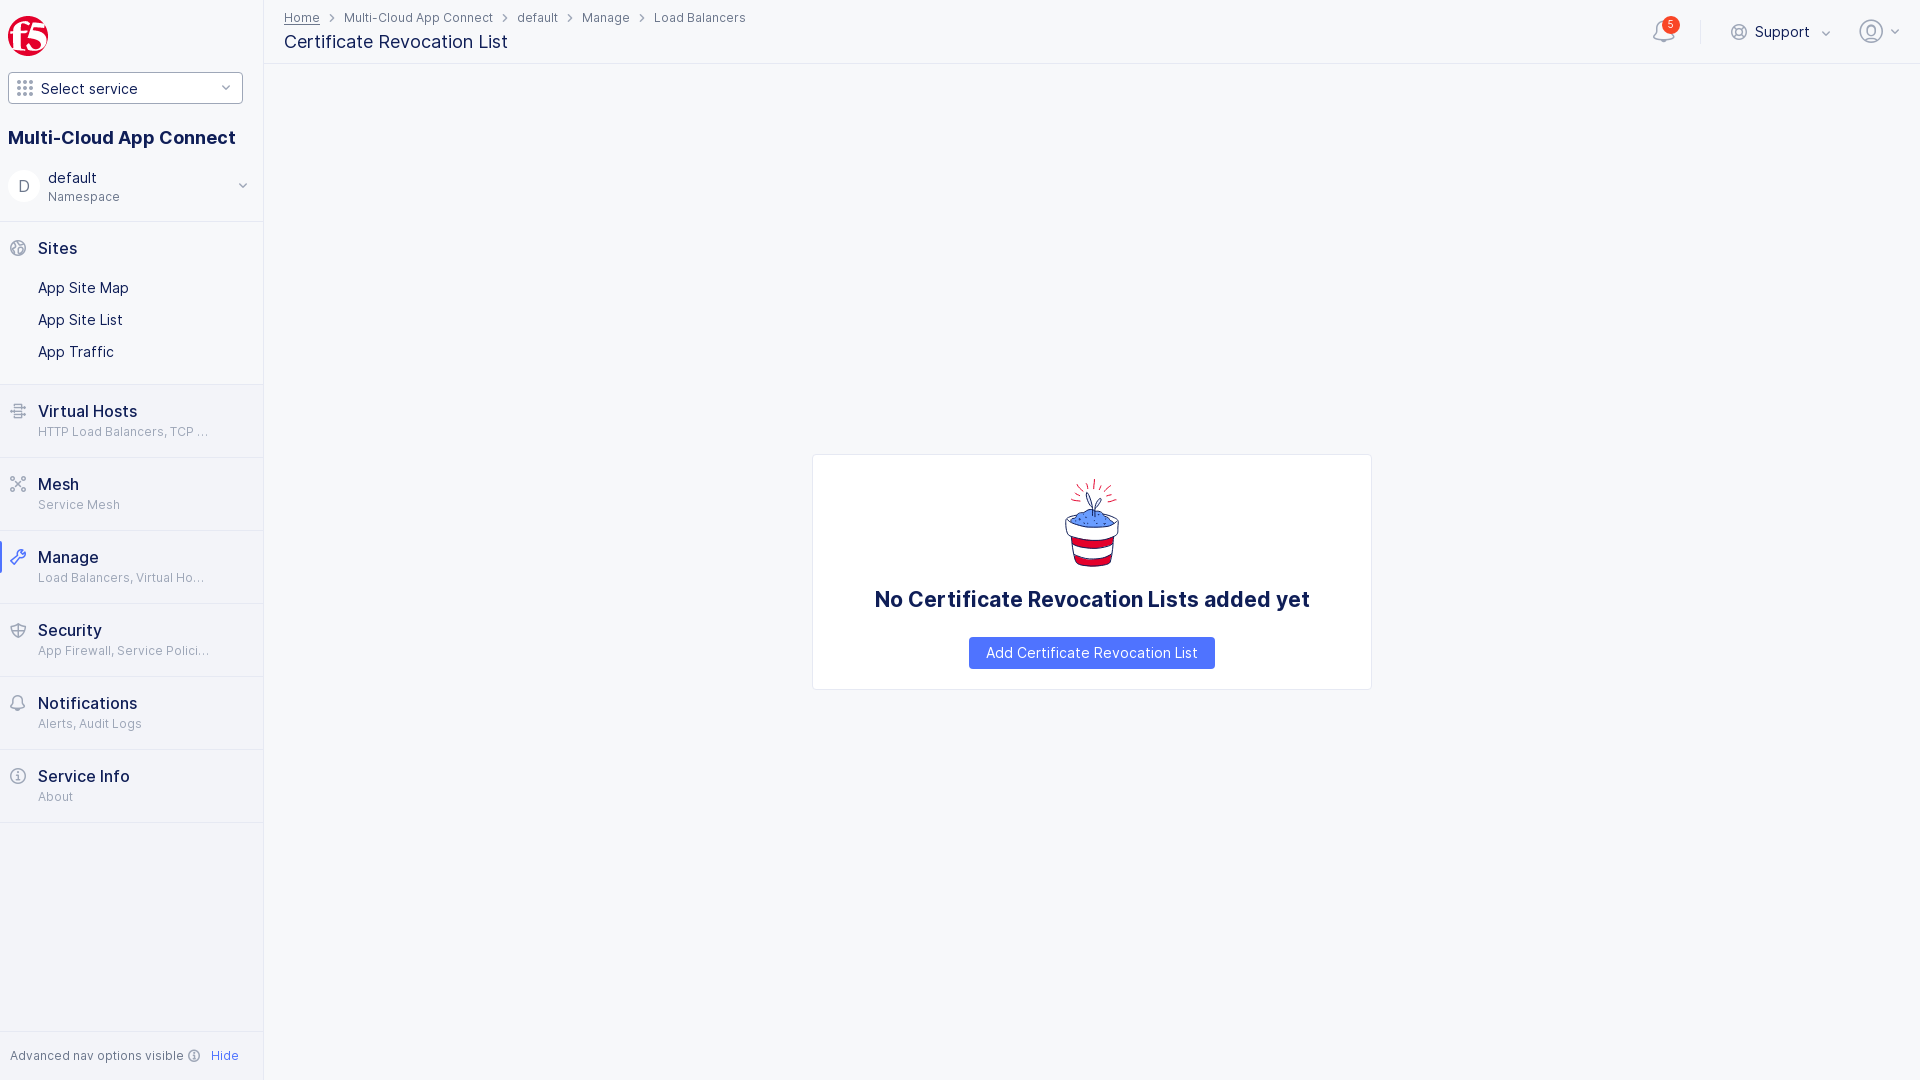
Figure: Add Certificate Revocation List
Step 2: Configure CRL object metadata.
-
In the
Metadatasection, enter a name for the object in theNamefield. -
Optionally, add a description and labels.
Step 3: Configure CRL server information.
-
In the
CRL Server Addresssection, enter the CRL server IP address in theCRL Server addressfield. -
From the
CRL Server Portmenu, use the up and down arrows to select a server port range.
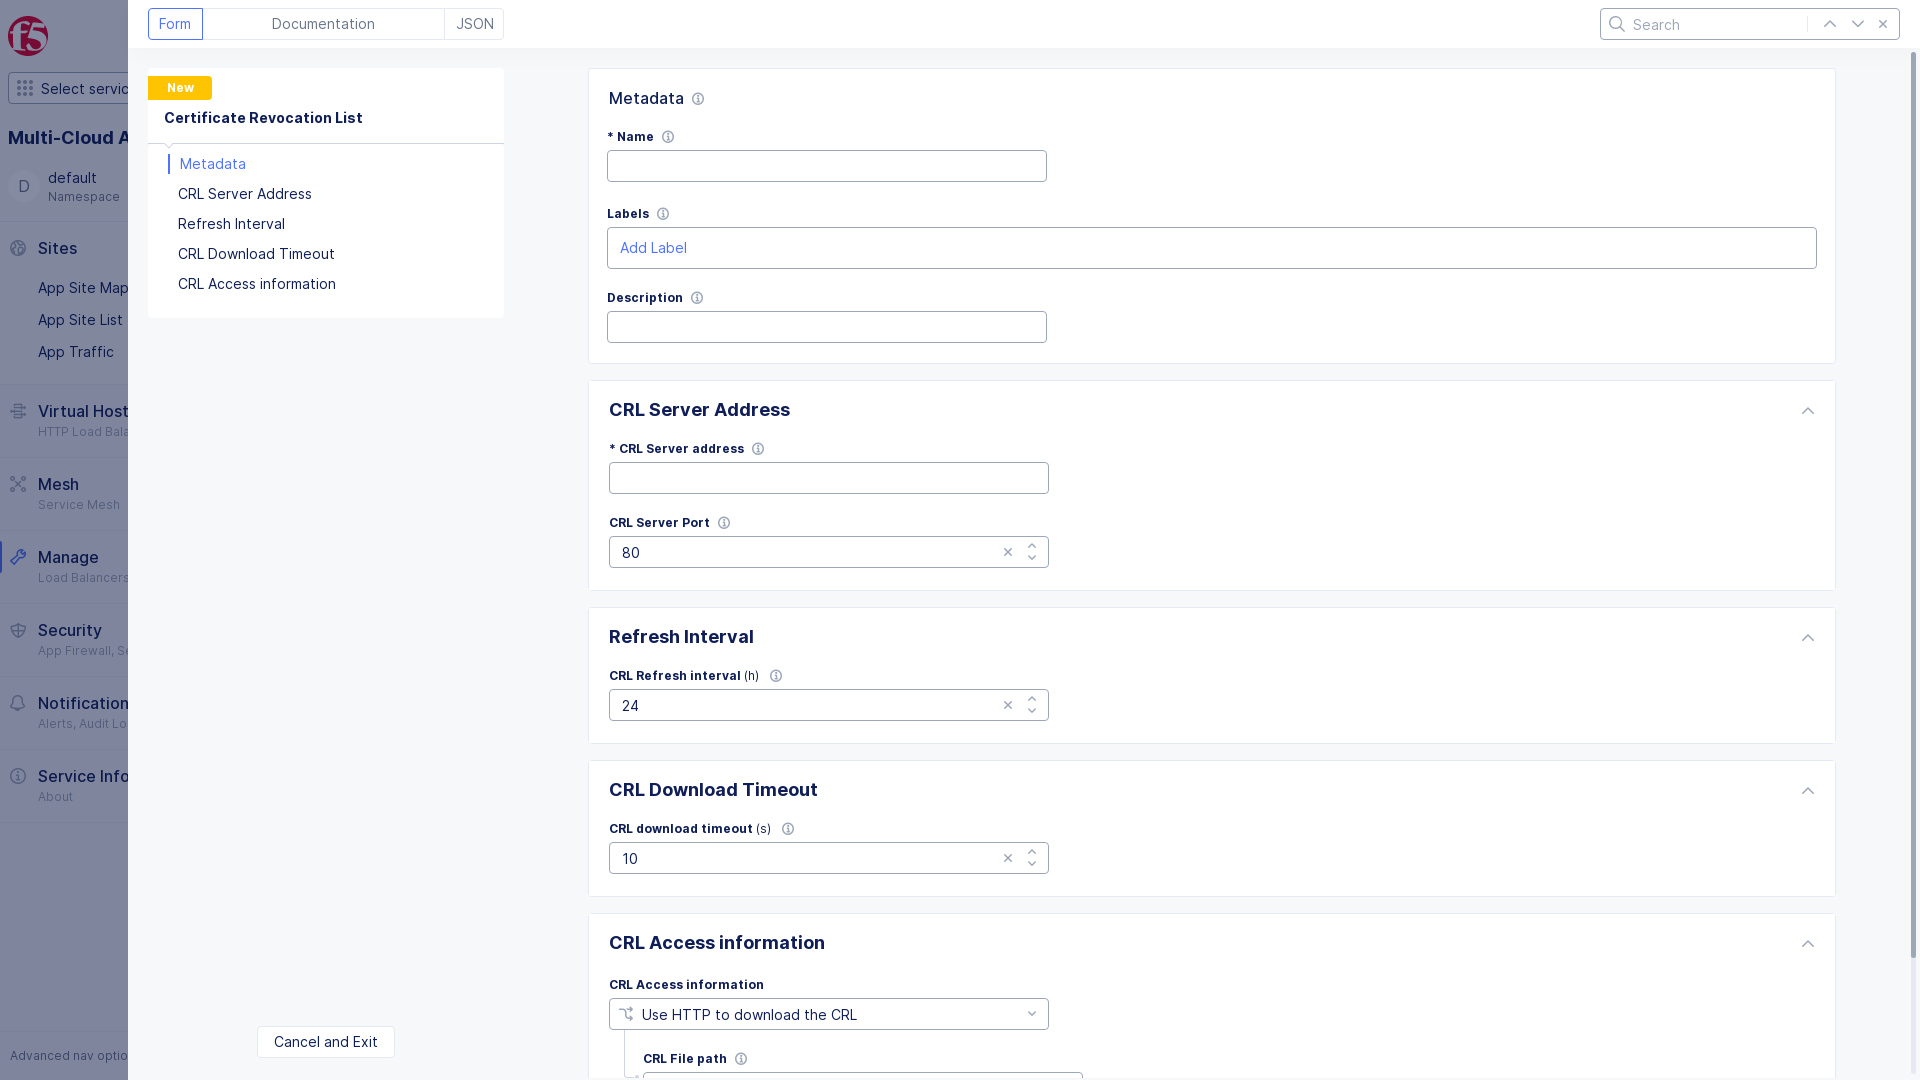
Figure: Configure CRL Server
Step 4: Configure CRL server refresh interval.
In the Refresh Interval section, set the interval rate in hours to fresh the CRL server. For example, 24 is 24 hours.
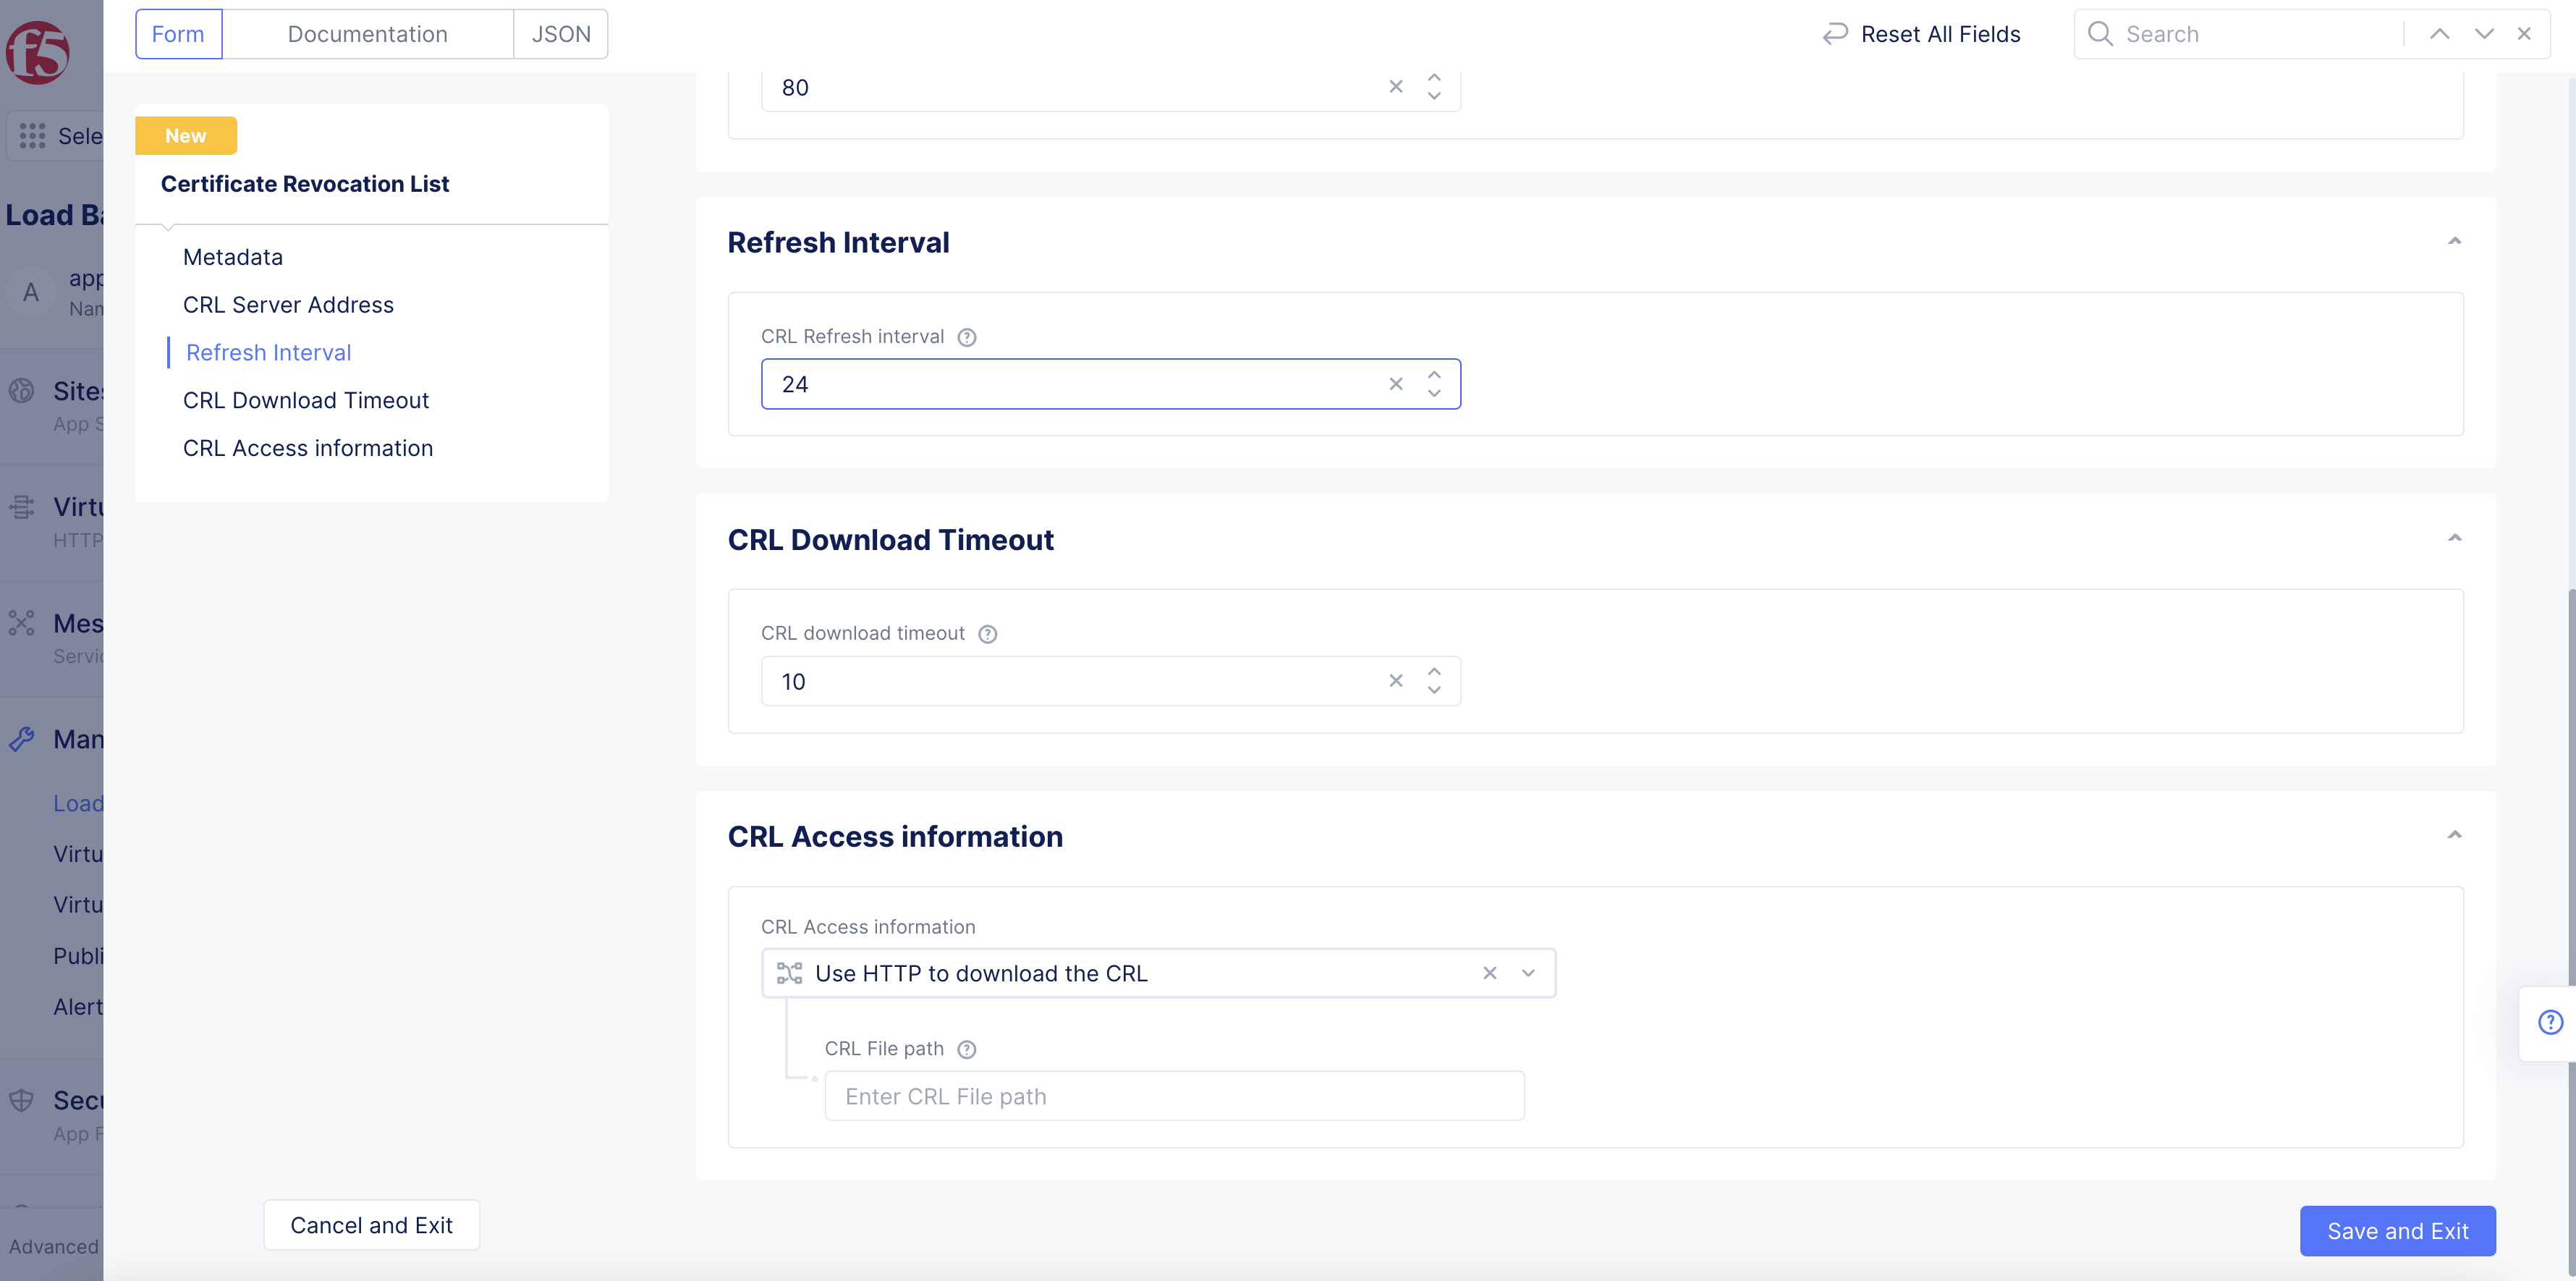
Figure: CRL Server Refresh Rate
Step 5: Configure download wait time.
In the CRL Download Timeout section, select the CRL download wait time interval in seconds from the CRL download timeout drop-down menu.
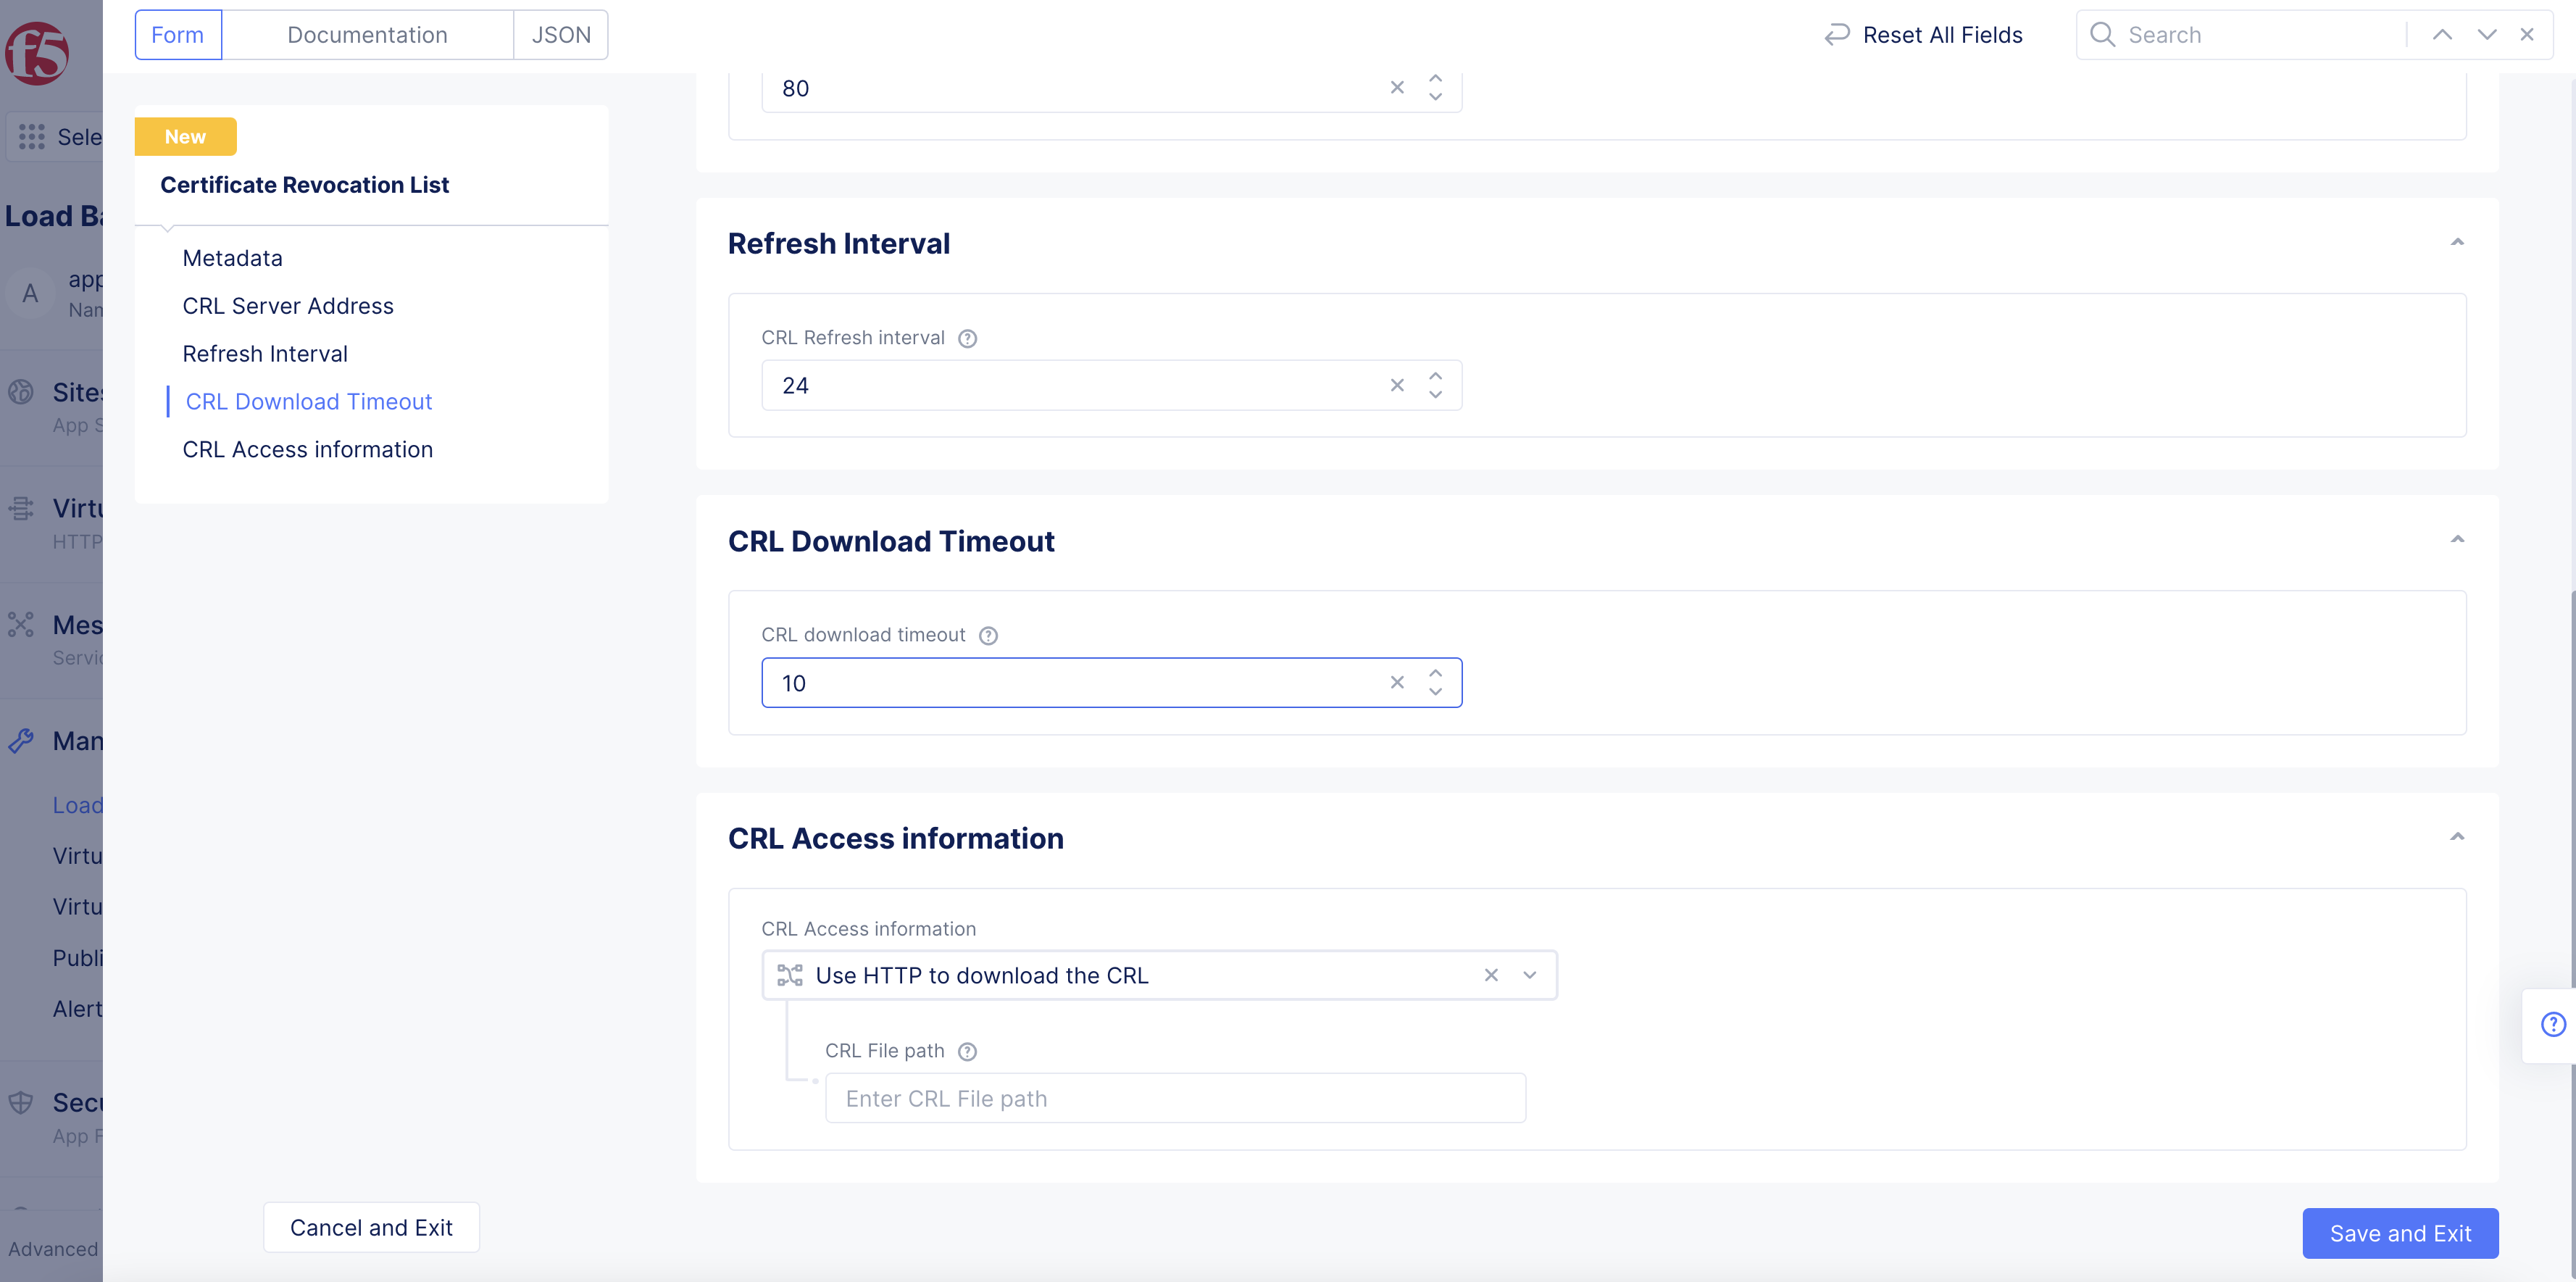
Figure: Timeout Interval
Step 6: Configure CRL file access.
In the CRL Access information section, select how to download the CRL file to the server. The default option is Use HTTP to download the CRL.
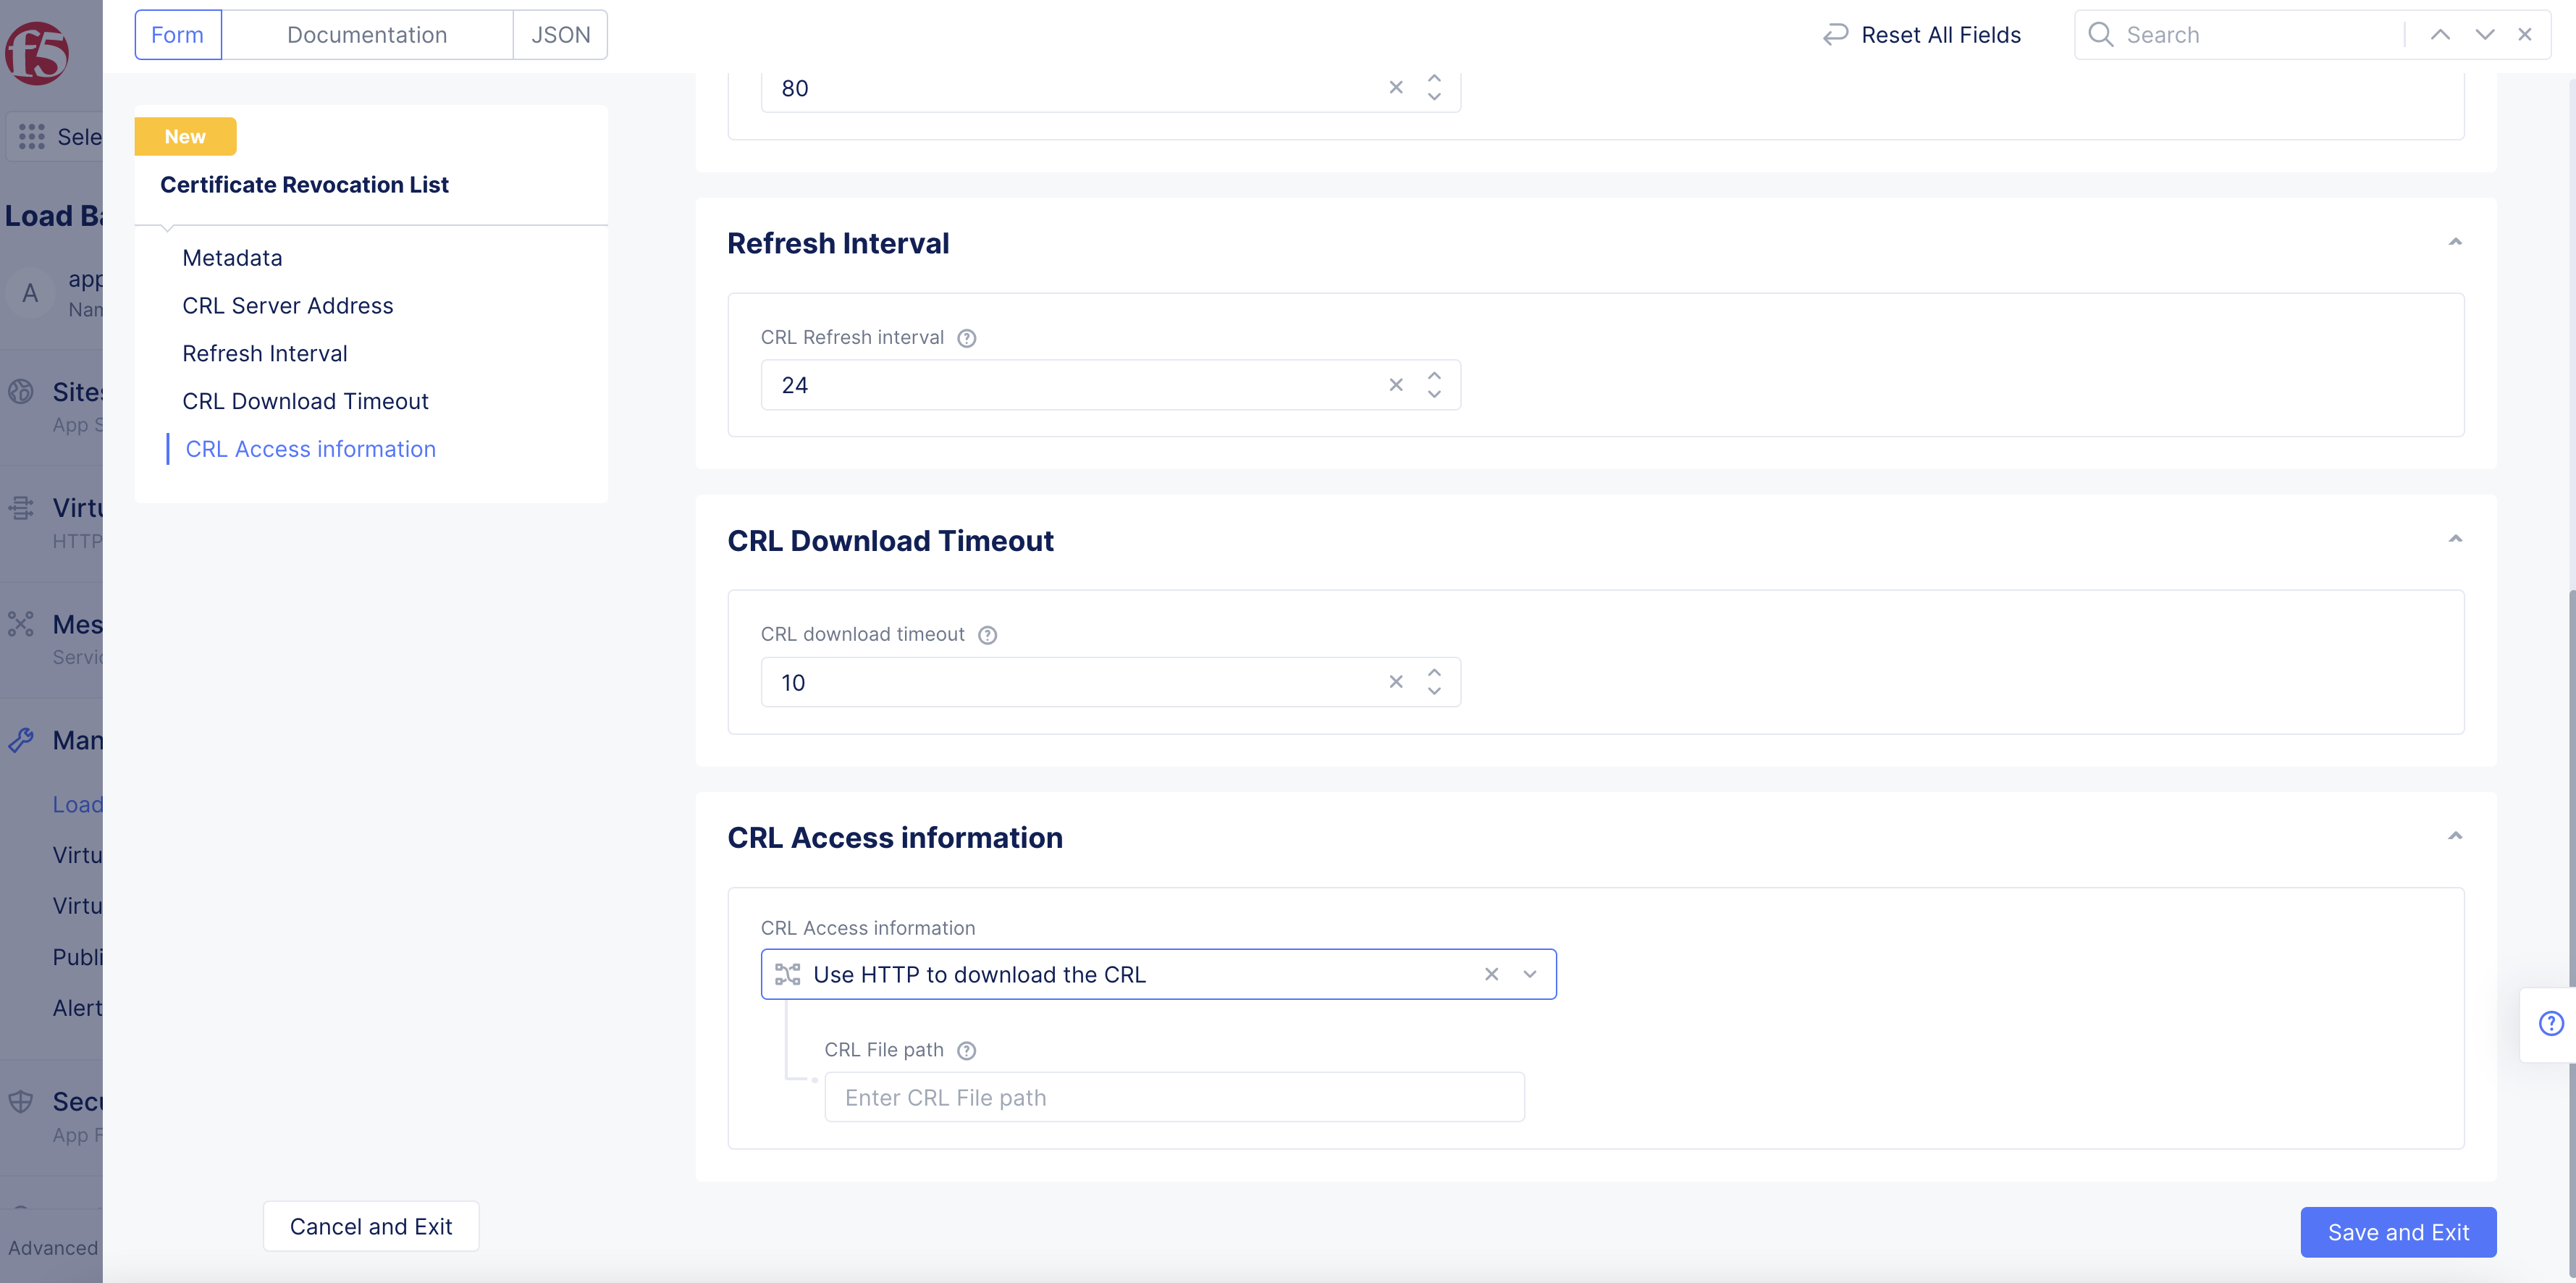
Figure: Access Information
Step 7: Complete CRL object creation.
Click Save and Exit to complete creating the CRL object.
Attach CRL Object to Load Balancer
After you create the CRL object, you must attach it in your load balancer configuration to enable it.
The steps below assume you are enabling the CRL object in an existing load balancer. However, you can also enable the CRL object while creating a new load balancer.
Step 1: Navigate to your load balancer.
-
In Console, click
Multi-Cloud App Connect>Manage>Load Balancers>HTTP Load Balancers. -
For your load balancer, click
...>Manage Configuration. -
Click
Edit Configuration.
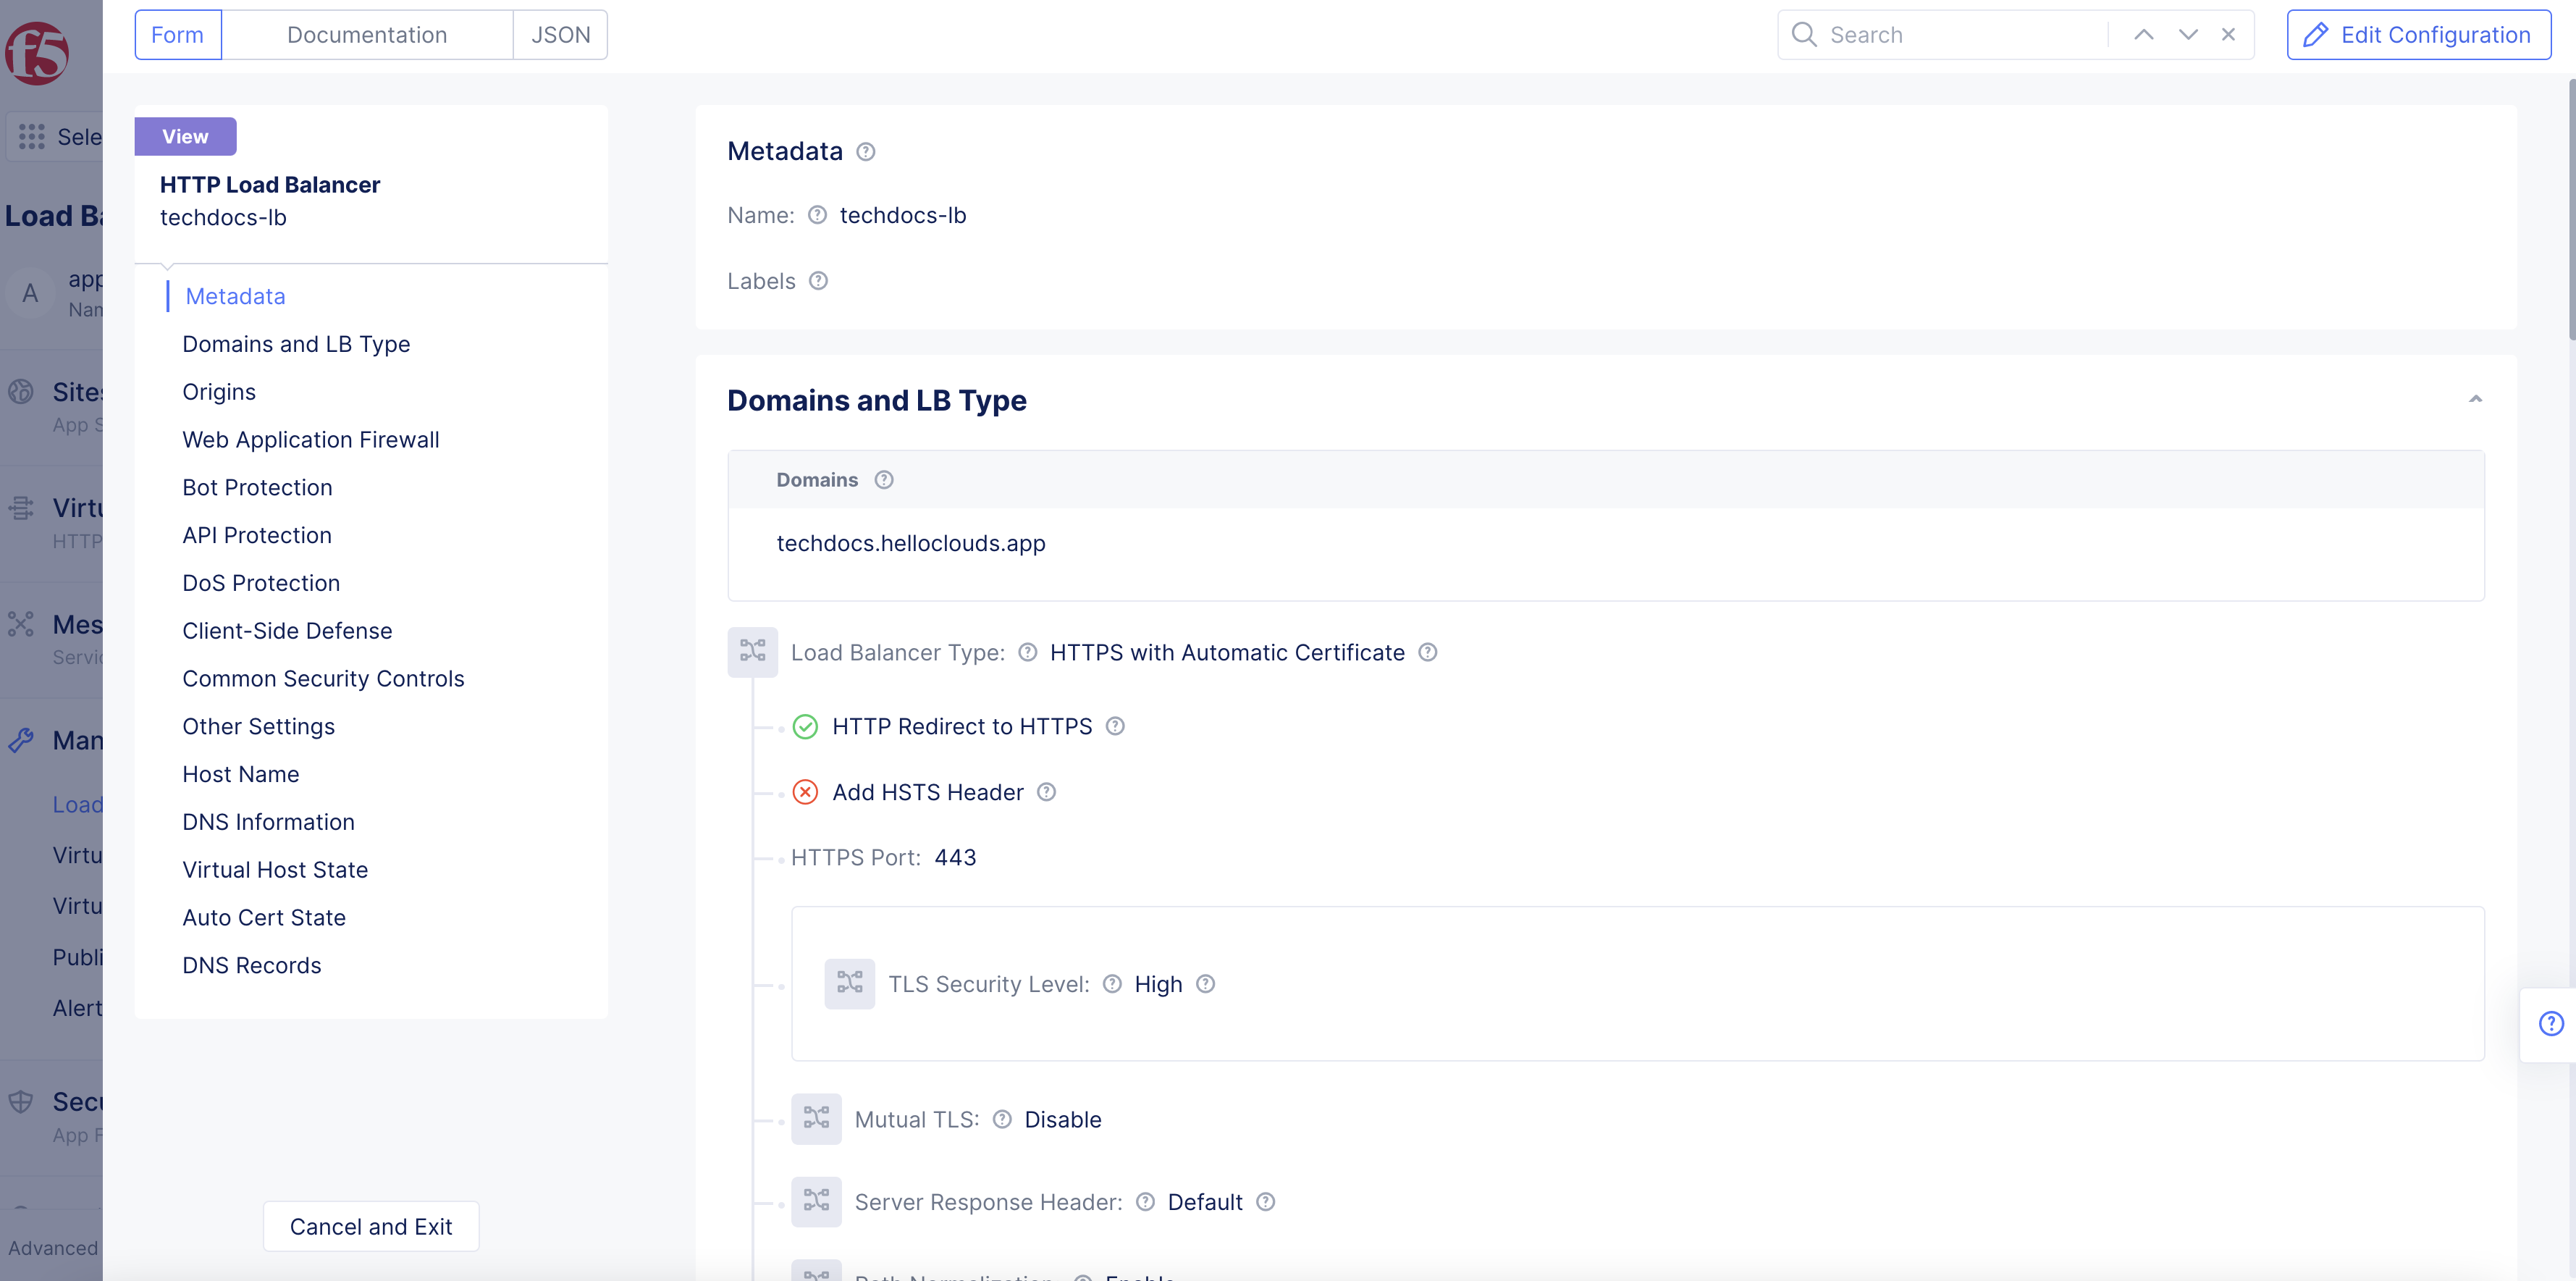
Figure: Edit Configuration
Step 2: Edit load balancer configuration.
-
In the
Domains and LB Typesection, enable theShow Advanced Fieldsoption. -
From the
Mutual TLSmenu, selectEnable.
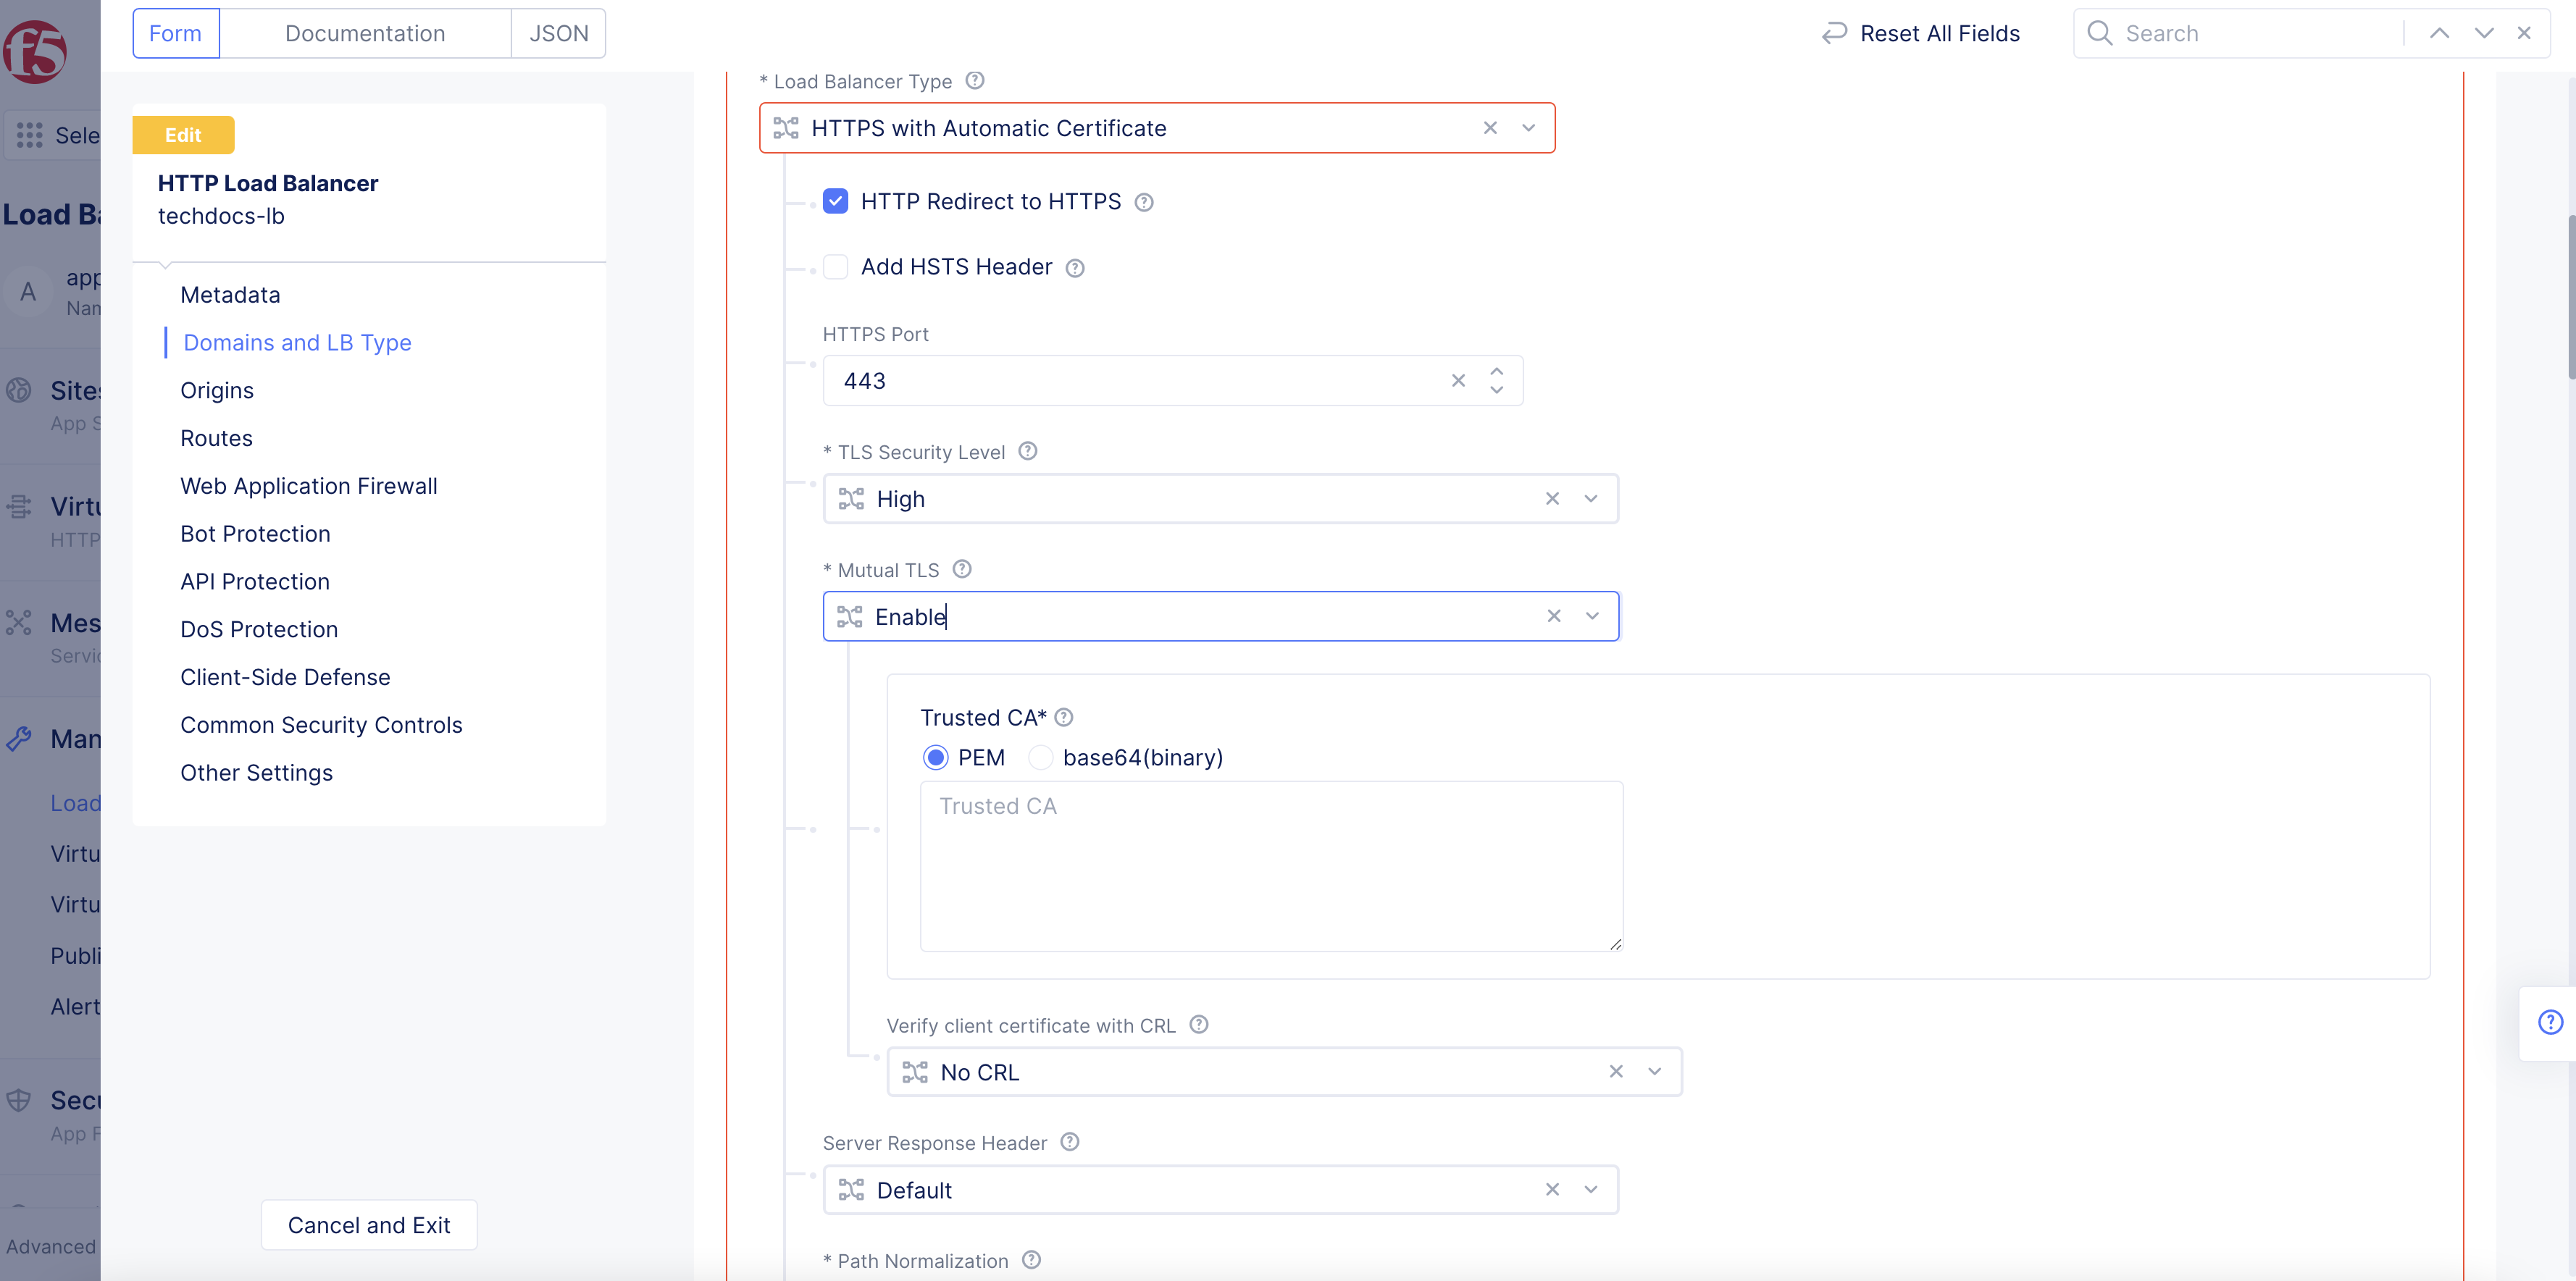
Figure: Configure mTLS
-
In the
Trusted CAfield, enter the certificate authority information, and select an encoding option withPEMorbase64(binary)and paste in the trusted CA. -
From the
Verify client certificate with CRLmenu, selectCRL.
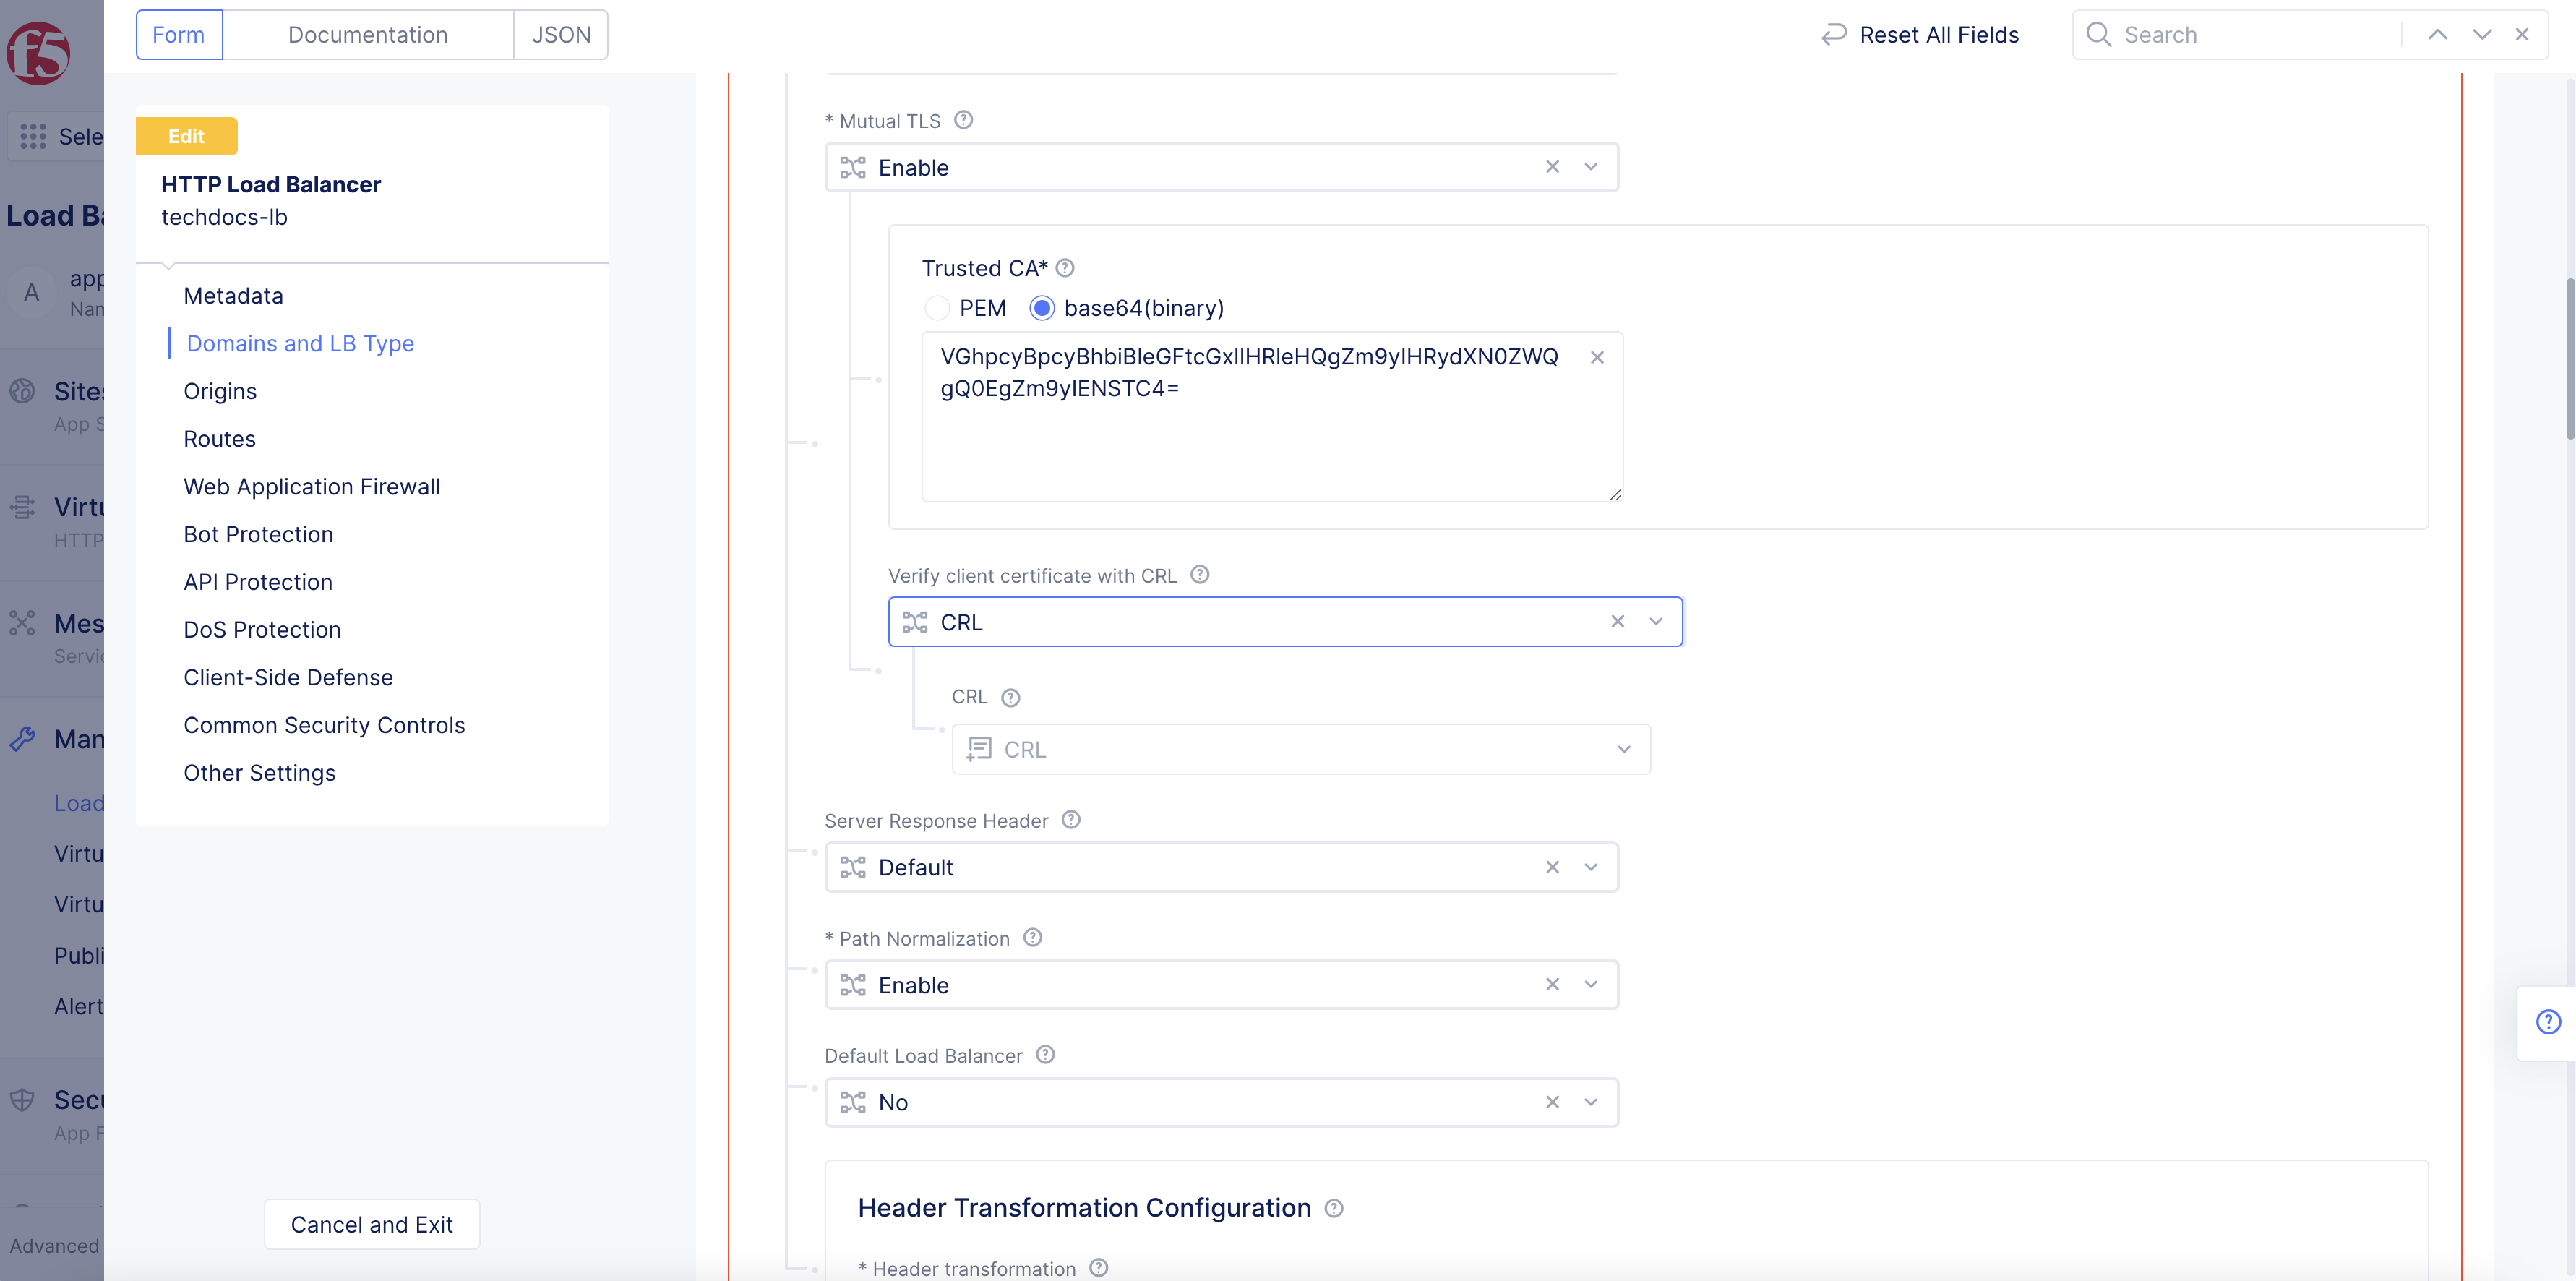
Figure: Select CRL
- From the
CRLmenu, select the CRL object previously created.
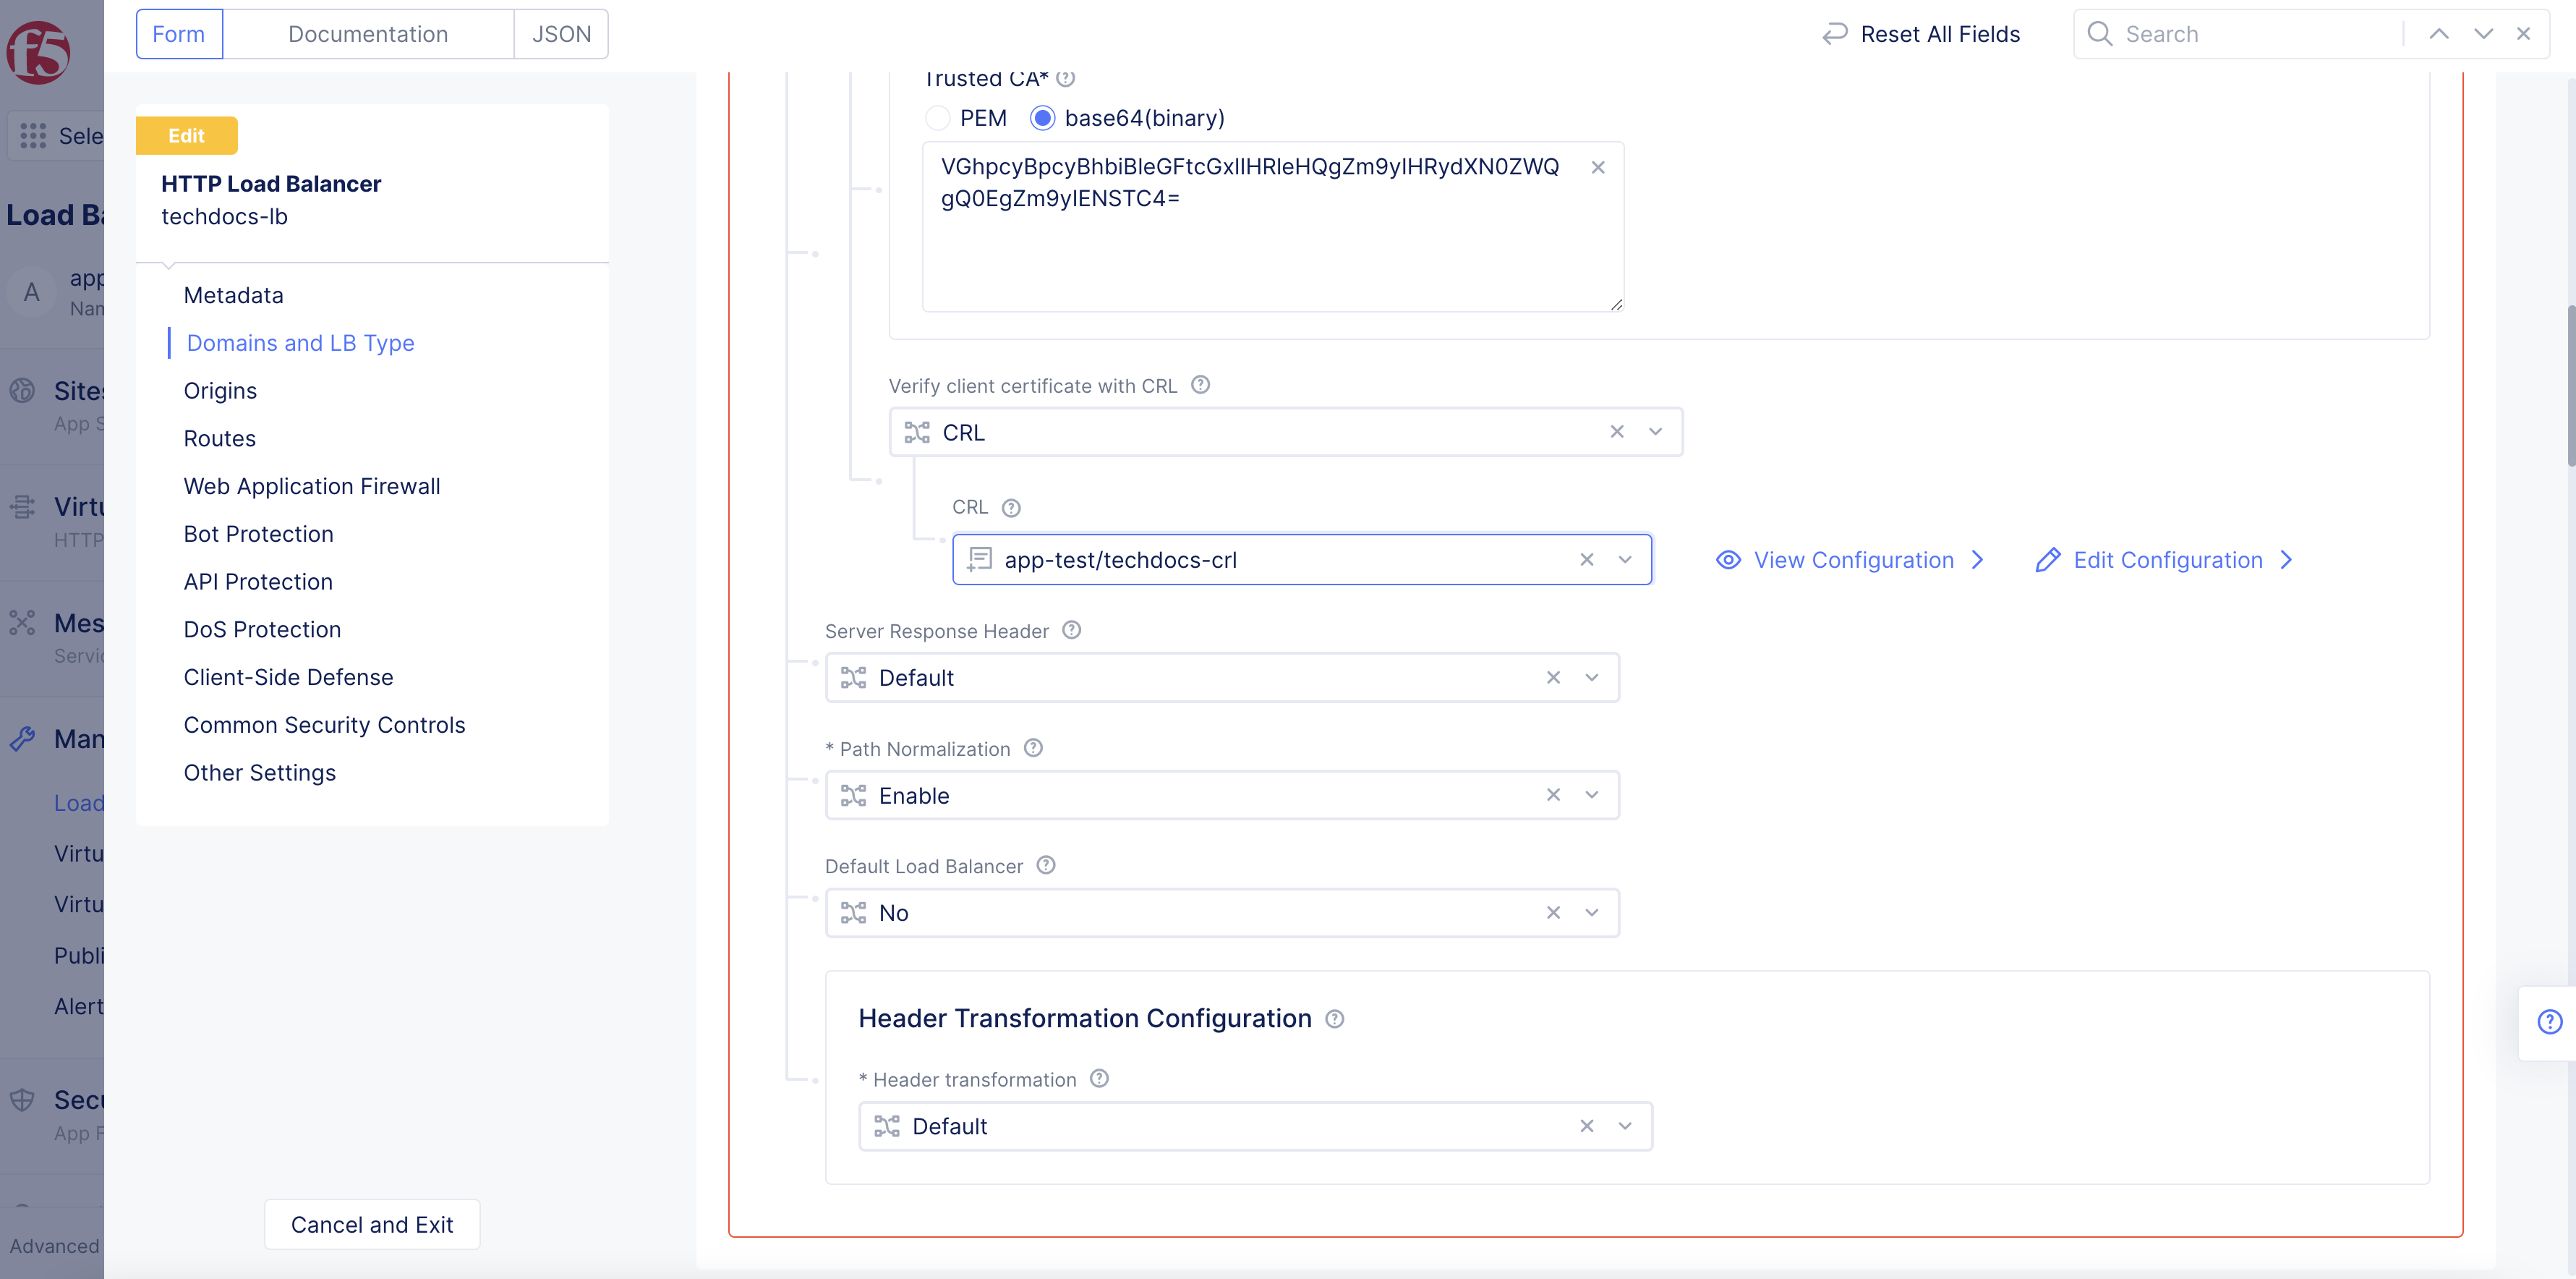
Figure: Select CRL Object
Step 3: Configure custom advertisement policy.
-
In the
Other Settingssection, selectCustomfrom theVIP Advertisementmenu. -
Click
Configure.
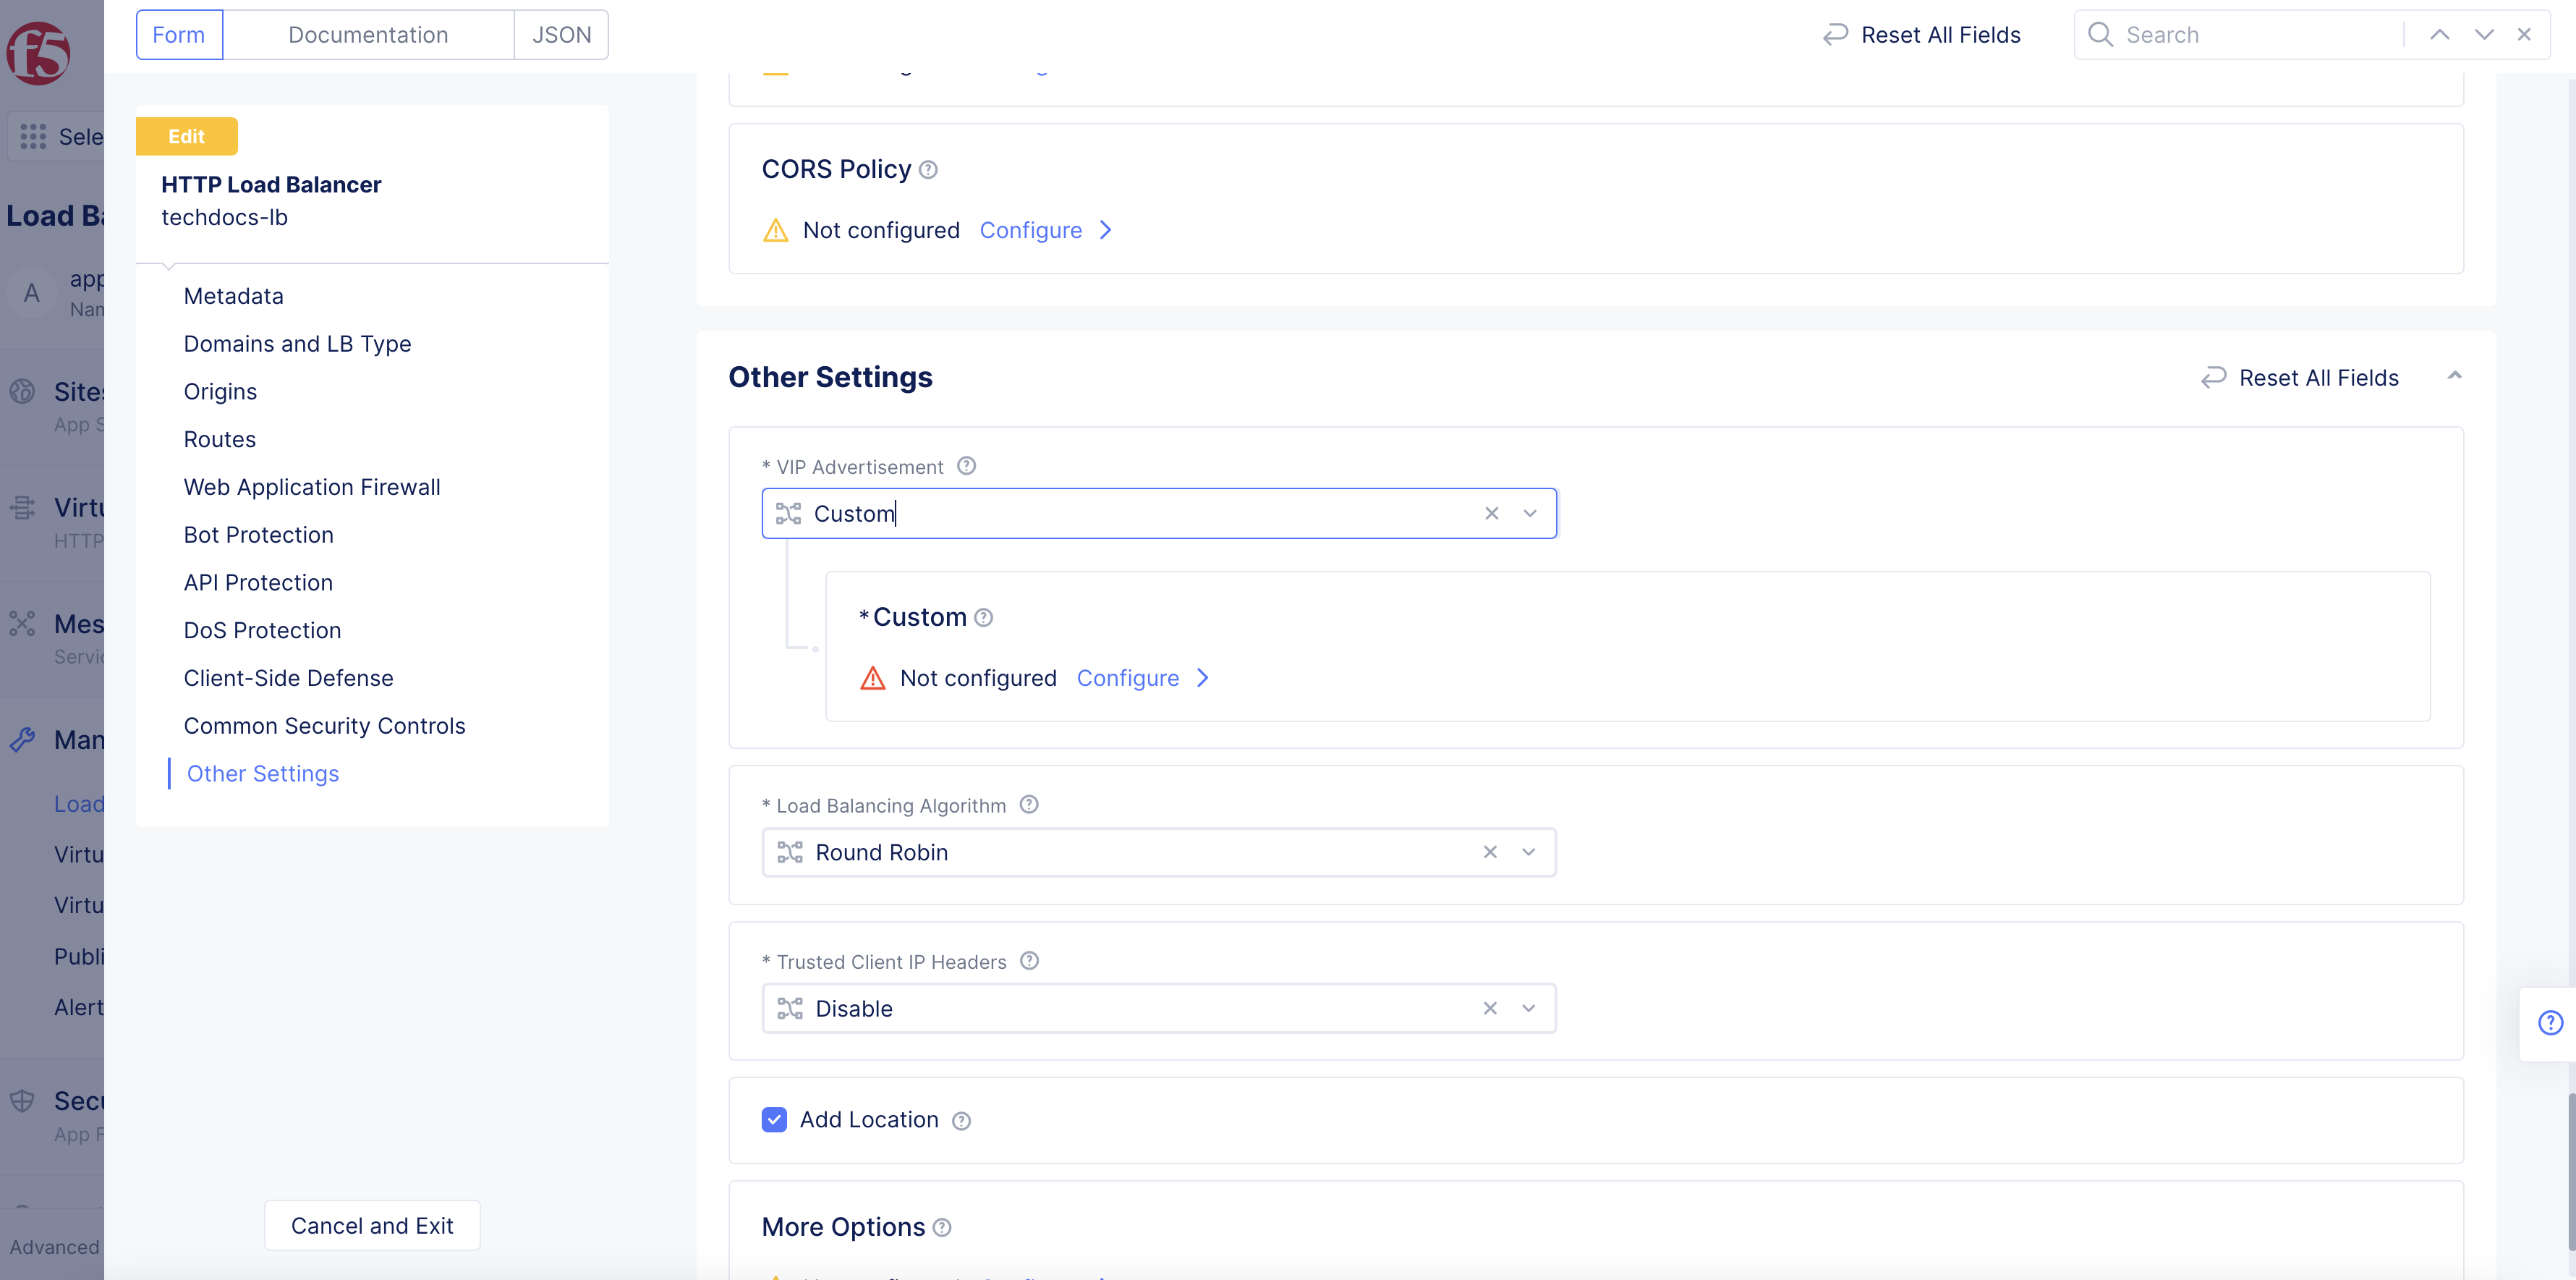
Figure: VIP Advertise Policy
- Complete the configuration for the VIP advertise policy using the HTTP Load Balancer guide.
Step 4: Complete CRL configuration.
Click Save and Exit.