Manipulate Server Header in HTTPS Response
Objective
This document provides instructions on how to manipulate the server header value in an HTTPS response for requests to your load balancer. For more information on load balancers, see Proxy & Load Balancer.
The HTTP load balancer responds with the server response header value volt-adc by default. You can set a response header using the header processing options for your load balancer and manipulate it with the server header response setting. For information on how to set the header processing, see Configure HTTP Header Processing.
Using the instructions provided in this guide, you can do the following:
-
Set default response header value
-
Set a specific header value
-
Append a specific header value
-
Set to pass an existing header value
Prerequisites
The following prerequisites apply:
-
An F5 Distributed Cloud Account. If you do not have an account, see Getting Started with Console.
-
A load balancer acting as a proxy for a service. If you do not have a load balancer configured, see HTTP Load Balancer.
Configuration
Perform the following steps in F5® Distributed Cloud Console (Console) to set the header processing:
Step 1: Navigate to your load balancer.
-
Log into Console.
-
Click
Multi-Cloud App Connect.
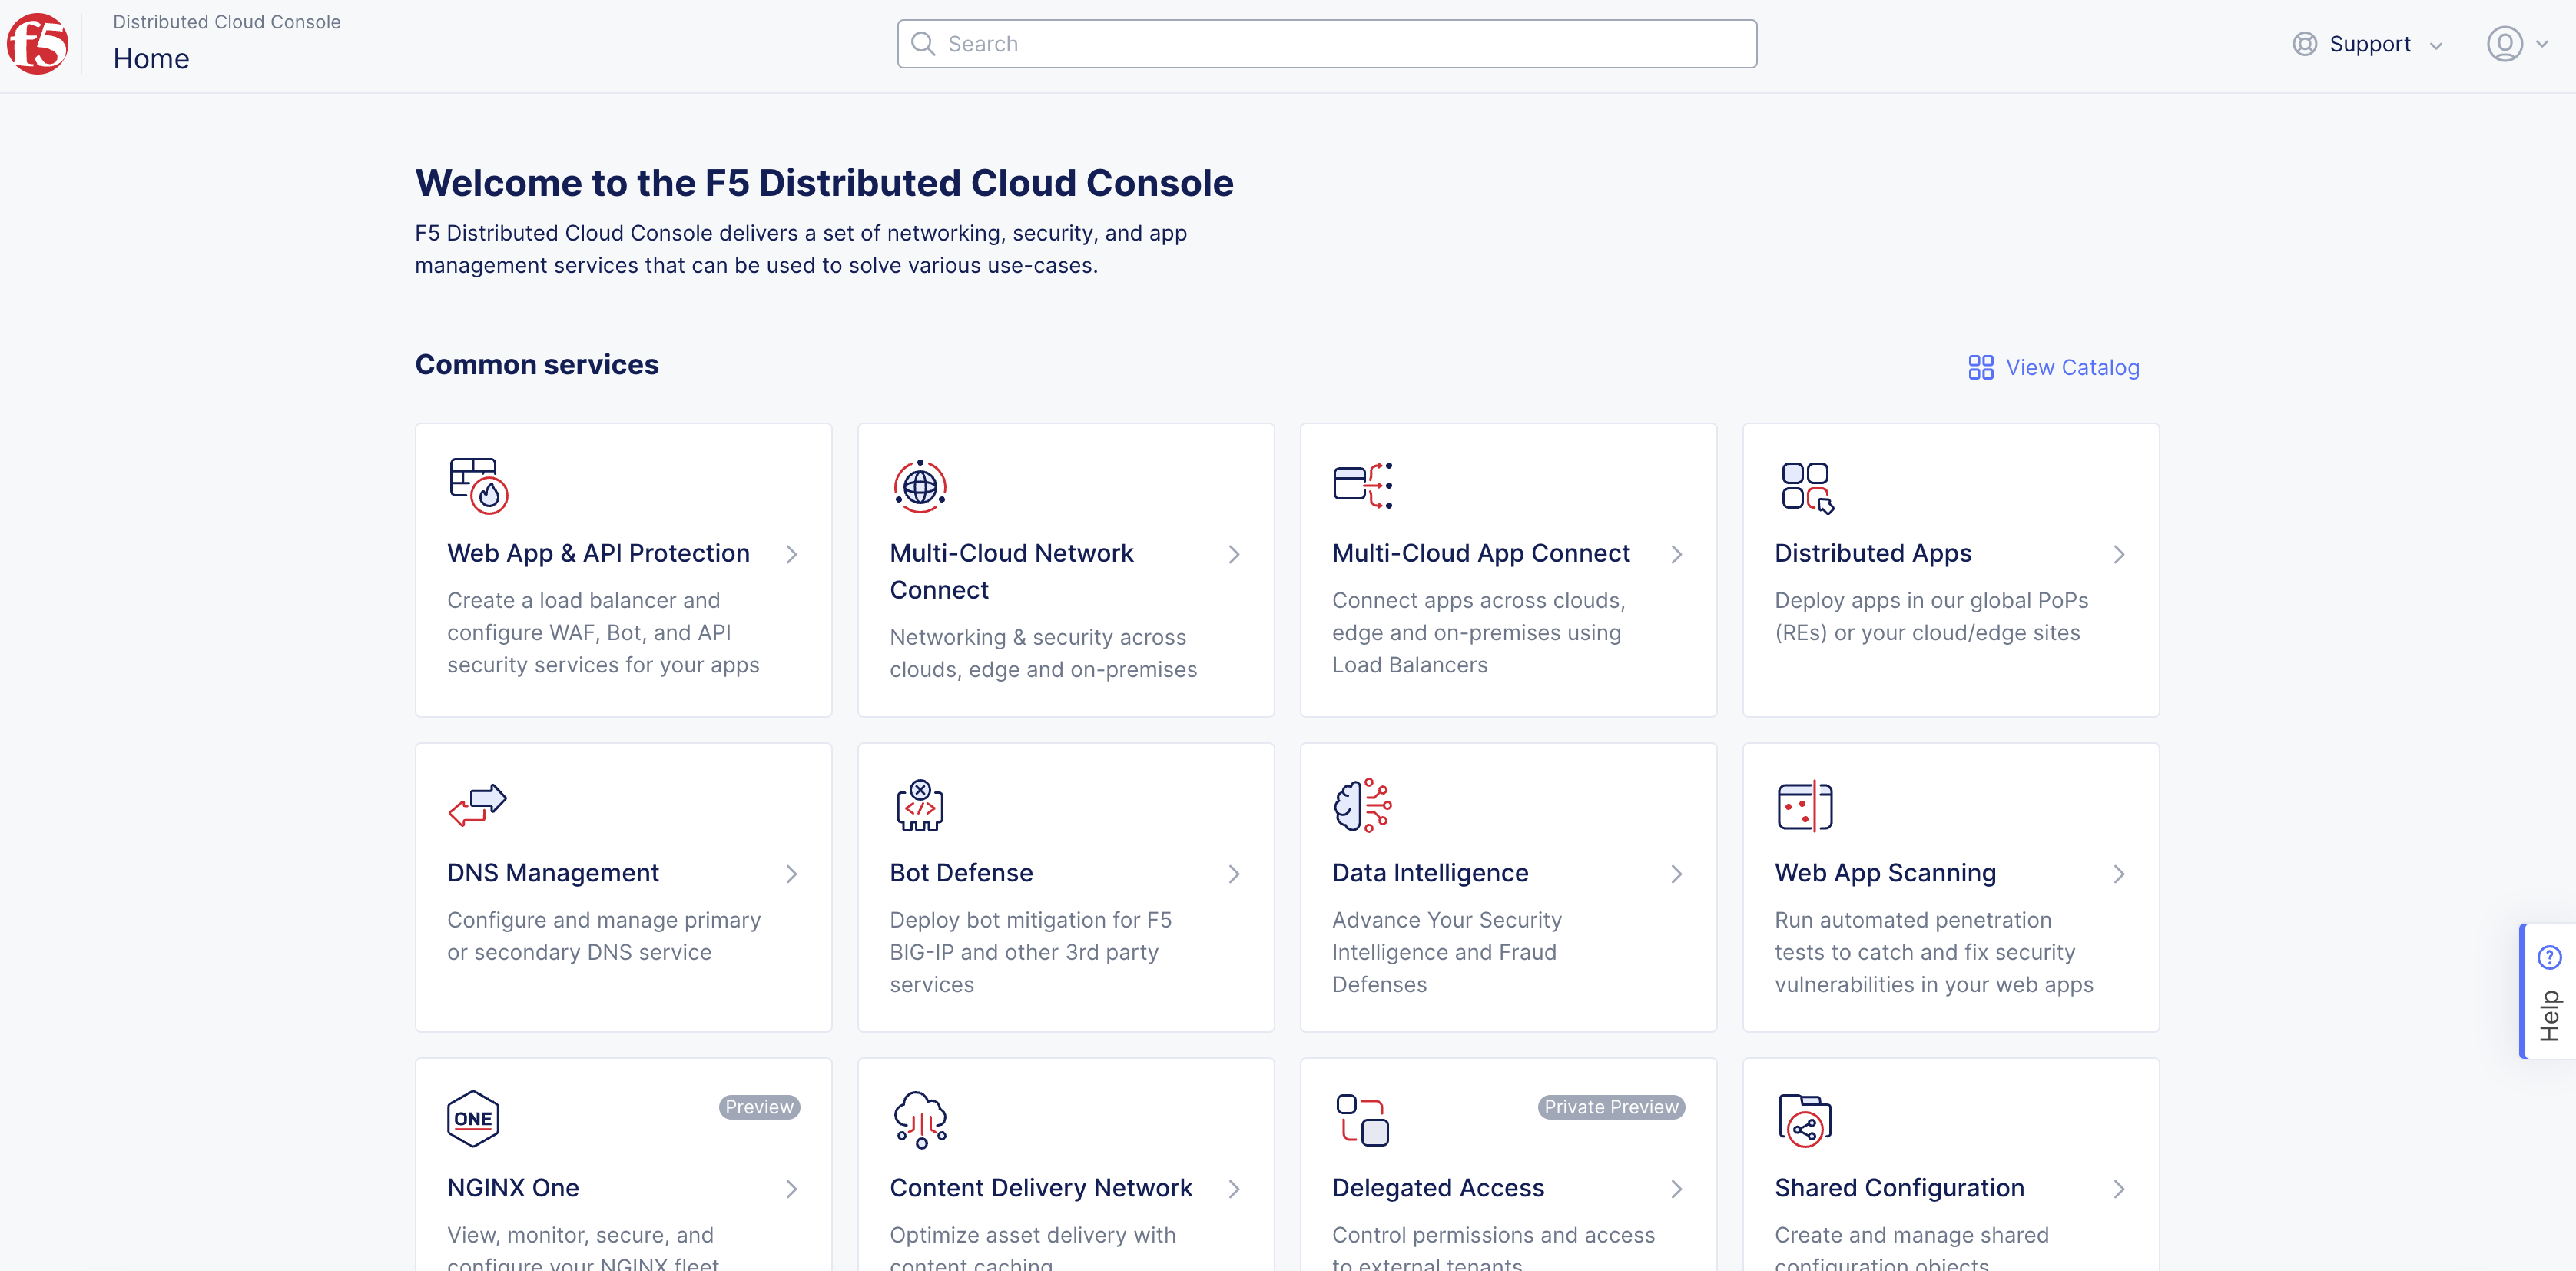
Figure: Console Homepage
- Click
Manage>Load Balancers>HTTP Load Balancers.
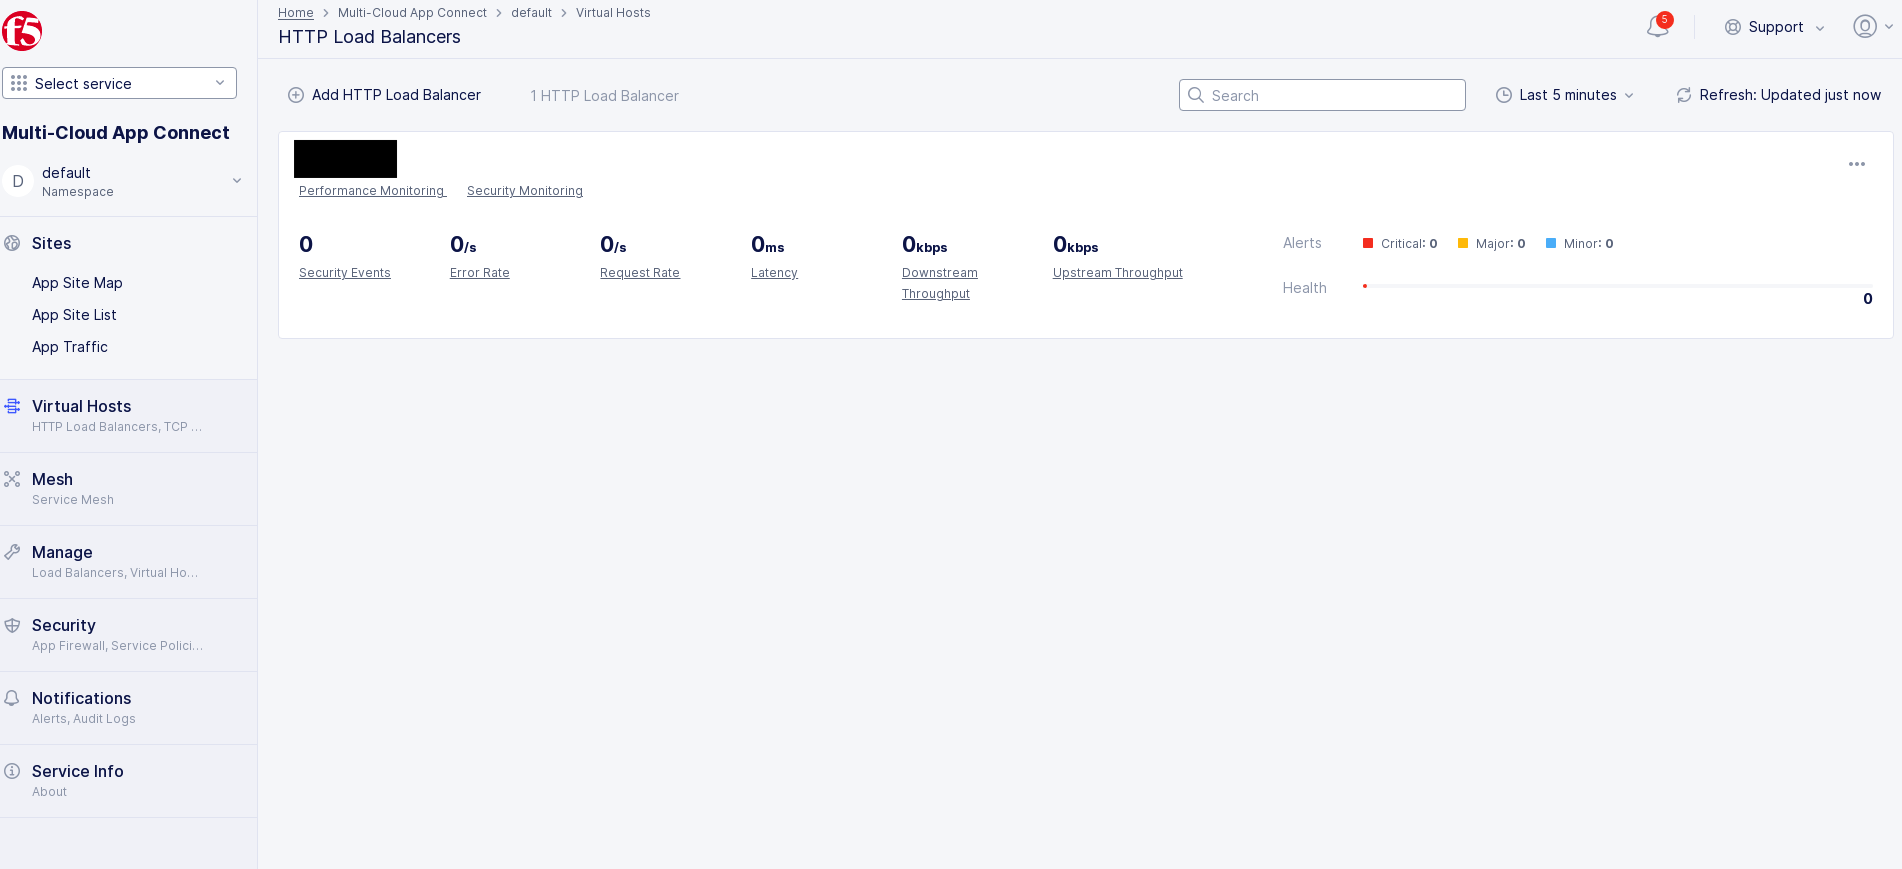
Figure: Load Balancer List
-
Find your load balancer and click
...>Manage Configuration. -
Click
Edit Configurationin the top right corner.
Step 2: Set server response header.
-
In the
Domains and LB Typesection, enable theShow Advanced Fieldsoption. -
From the
Server Response Headermenu, select an option and perform one of the following:-
Select
Defaultto set the header value as a default response ofvolt-adc. -
Select
Modify header valueto set a specific value. Enter the value in theModify header valuefield. -
Select
Append header valueto set a specific value if the server header is not already present. If it is already present, it is just passed. Set the value in theAppend header valuefield. -
Select
Do not modifyto pass the server header that is already present. If it is absent, nothing is appended.
-

Figure: Menu Options
Note: You can set a response header in the
Other Settingssection using the header processing options. Using server response headers together with advanced configuration, you can modify or hide the server response headers for security purposes.
Step 3: Save changes.
Click Save and Exit to complete editing the load balancer.
Note: For more information on HTTP load balancer creation, see the HTTP Load Balancer guide.
Step 4: Verify the server header in the HTTP response.
-
Send an HTTP request using the domain you set in the HTTP load balancer. You can use command-line interface (CLI) tools, like
curl, to request. -
Verify that the HTTP response includes the server header value per your load balancer configuration.