Configure JavaScript Challenge
Objective
This guide provides instructions on how to configure the JavaScript challenge for the application traffic. The JavaScript challenge functionality enables the load balancer to perform client browser compatibility test by redirecting to a page with JavaScript. For more information on the load balancer, see Load Balancing and Service Mesh.
Enabling this functionality allows only those clients that are capable of executing JavaScript (mostly browsers) to complete the HTTP request.
When load balancer is configured to execute JavaScript challenge, it redirects the browser to an HTML page embedded with JavaScript for every new HTTP request. The Load balancer chooses a set of random numbers for every new client and sends these numbers along with an encrypted answer with the request such that it embed these numbers as input in the JavaScript.
JavaScript runs on the browser of requestor and performs a complex mathematical operation. The script submits the answer to the load balancer. Load balancer validates the answer by comparing the calculated answer with the decrypted answer (which was encrypted when it was sent back as a reply) and allows the request to the upstream server only if the answer is correct.
The load balancer tags response header with a cookie to avoid JavaScript challenge for subsequent requests.
The JavaScript challenge serves following purposes:
- Validate that the request is coming from a browser that is capable of running JavaScript
- Force the browser to run a complex operation that requires it to spend many CPU cycles. This slows down a potential DoS attack by making it difficult to launch a large request flood without having to spend even larger CPU cost at their end.
Prerequisites
The following prerequisites apply:
-
An F5 Distributed Cloud Account. If you do not have an account, see Getting Started with Console.
-
An HTTP load balancer advertising your application. See HTTP Load Balancer for instructions on configuring HTTP load balancer. See Deploy for deploying your applications in a Distributed Cloud network cloud or edge cloud.
Configuration
Enabling the JavaScript challenge requires you to optionally prepare a custom message page encoded in Base64 format and apply it in the HTTP load balancer configuration. This example shows preparing a custom page and enabling the JavaScript challenge with it.
Configuration Sequence
Enabling JavaScript challenge requires you to perform the following sequence of actions.
| Phase | Description |
|---|---|
| Prepare Custom Page for Redirection. | Prepare a page to which the load balancer redirects. |
| Enable JavaScript Challenge | Apply the custom page in load balancer configuration. |
Prepare Custom Page for Redirection
The load balancer redirects to a page with default message or a custom message while performing the JavaScript challenge. The custom message can be in plain text or an HTML element such as a paragraph and applied to the load balancer through its configuration option. This example shows preparing a custom message in HTML paragraph.
Perform the following to prepare a custom message.
Step 1: Create a file with your custom message.
Create a file with your message in plain text or embedded in an HTML element such as paragraph. This example shows a sample message in a paragraph element stored in the test-redirect file.
<p>
Hello! Please wait.
</p>
Step 2: Apply Base64 encoding to the file.
Convert the file using Base64 encoding and store the output string for later use.
openssl base64 -in test-redirect
PHA+CgpIZWxsbyAhISEgUGxlYXNlIHdhaXQgCgo8L3A+Cg==
Enable JavaScript Challenge
Step 1: Navigate to the HTTP Load Balancers page.
-
Select the
Multi-Cloud App Connectservice. -
Select the desired namespace from the
Namespacedrop-down menu. -
Navigate to
Manage>Load Balancers>HTTP Load Balancers.
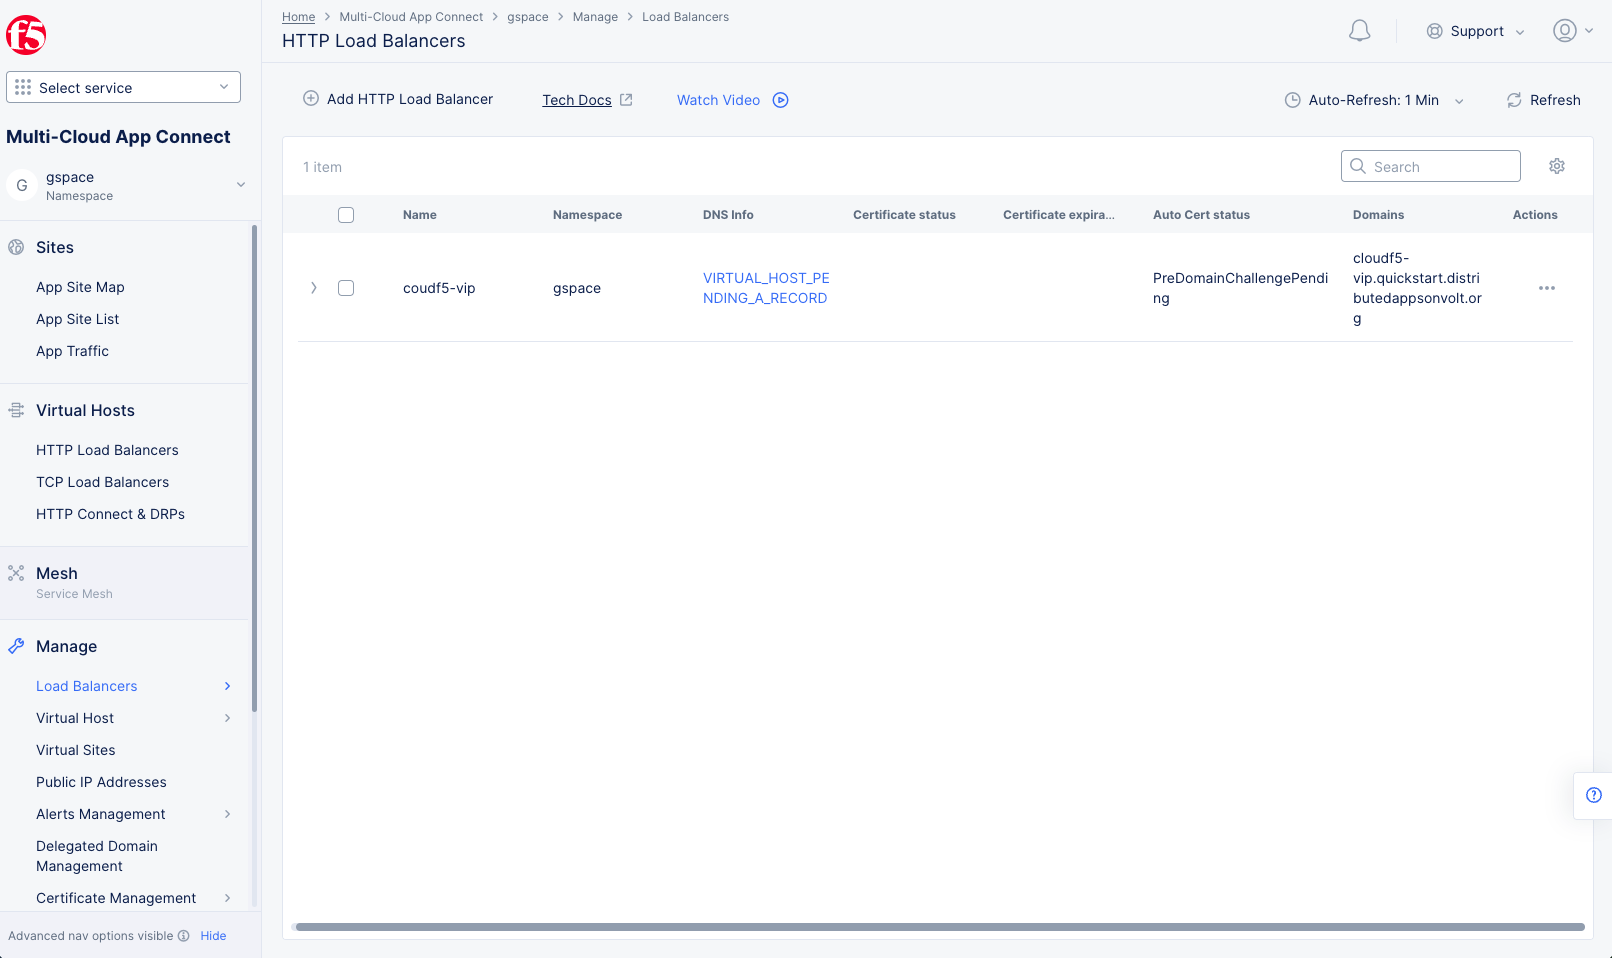
Figure: Load Balancers
Step 2: Enable security options for JavaScript challenge.
-
Click
...>Manage Configurationfor your load balancer to open its configuration viewer. -
Click
Edit Configurationin the upper right. -
In the
Common Security Controlssection, perform the following:-
Enable the
Show Advanced Fieldsoption. -
From the
Malicious User Mitigation And Challengesmenu, selectJavascript Challenge. -
Select
View Configuration.
-
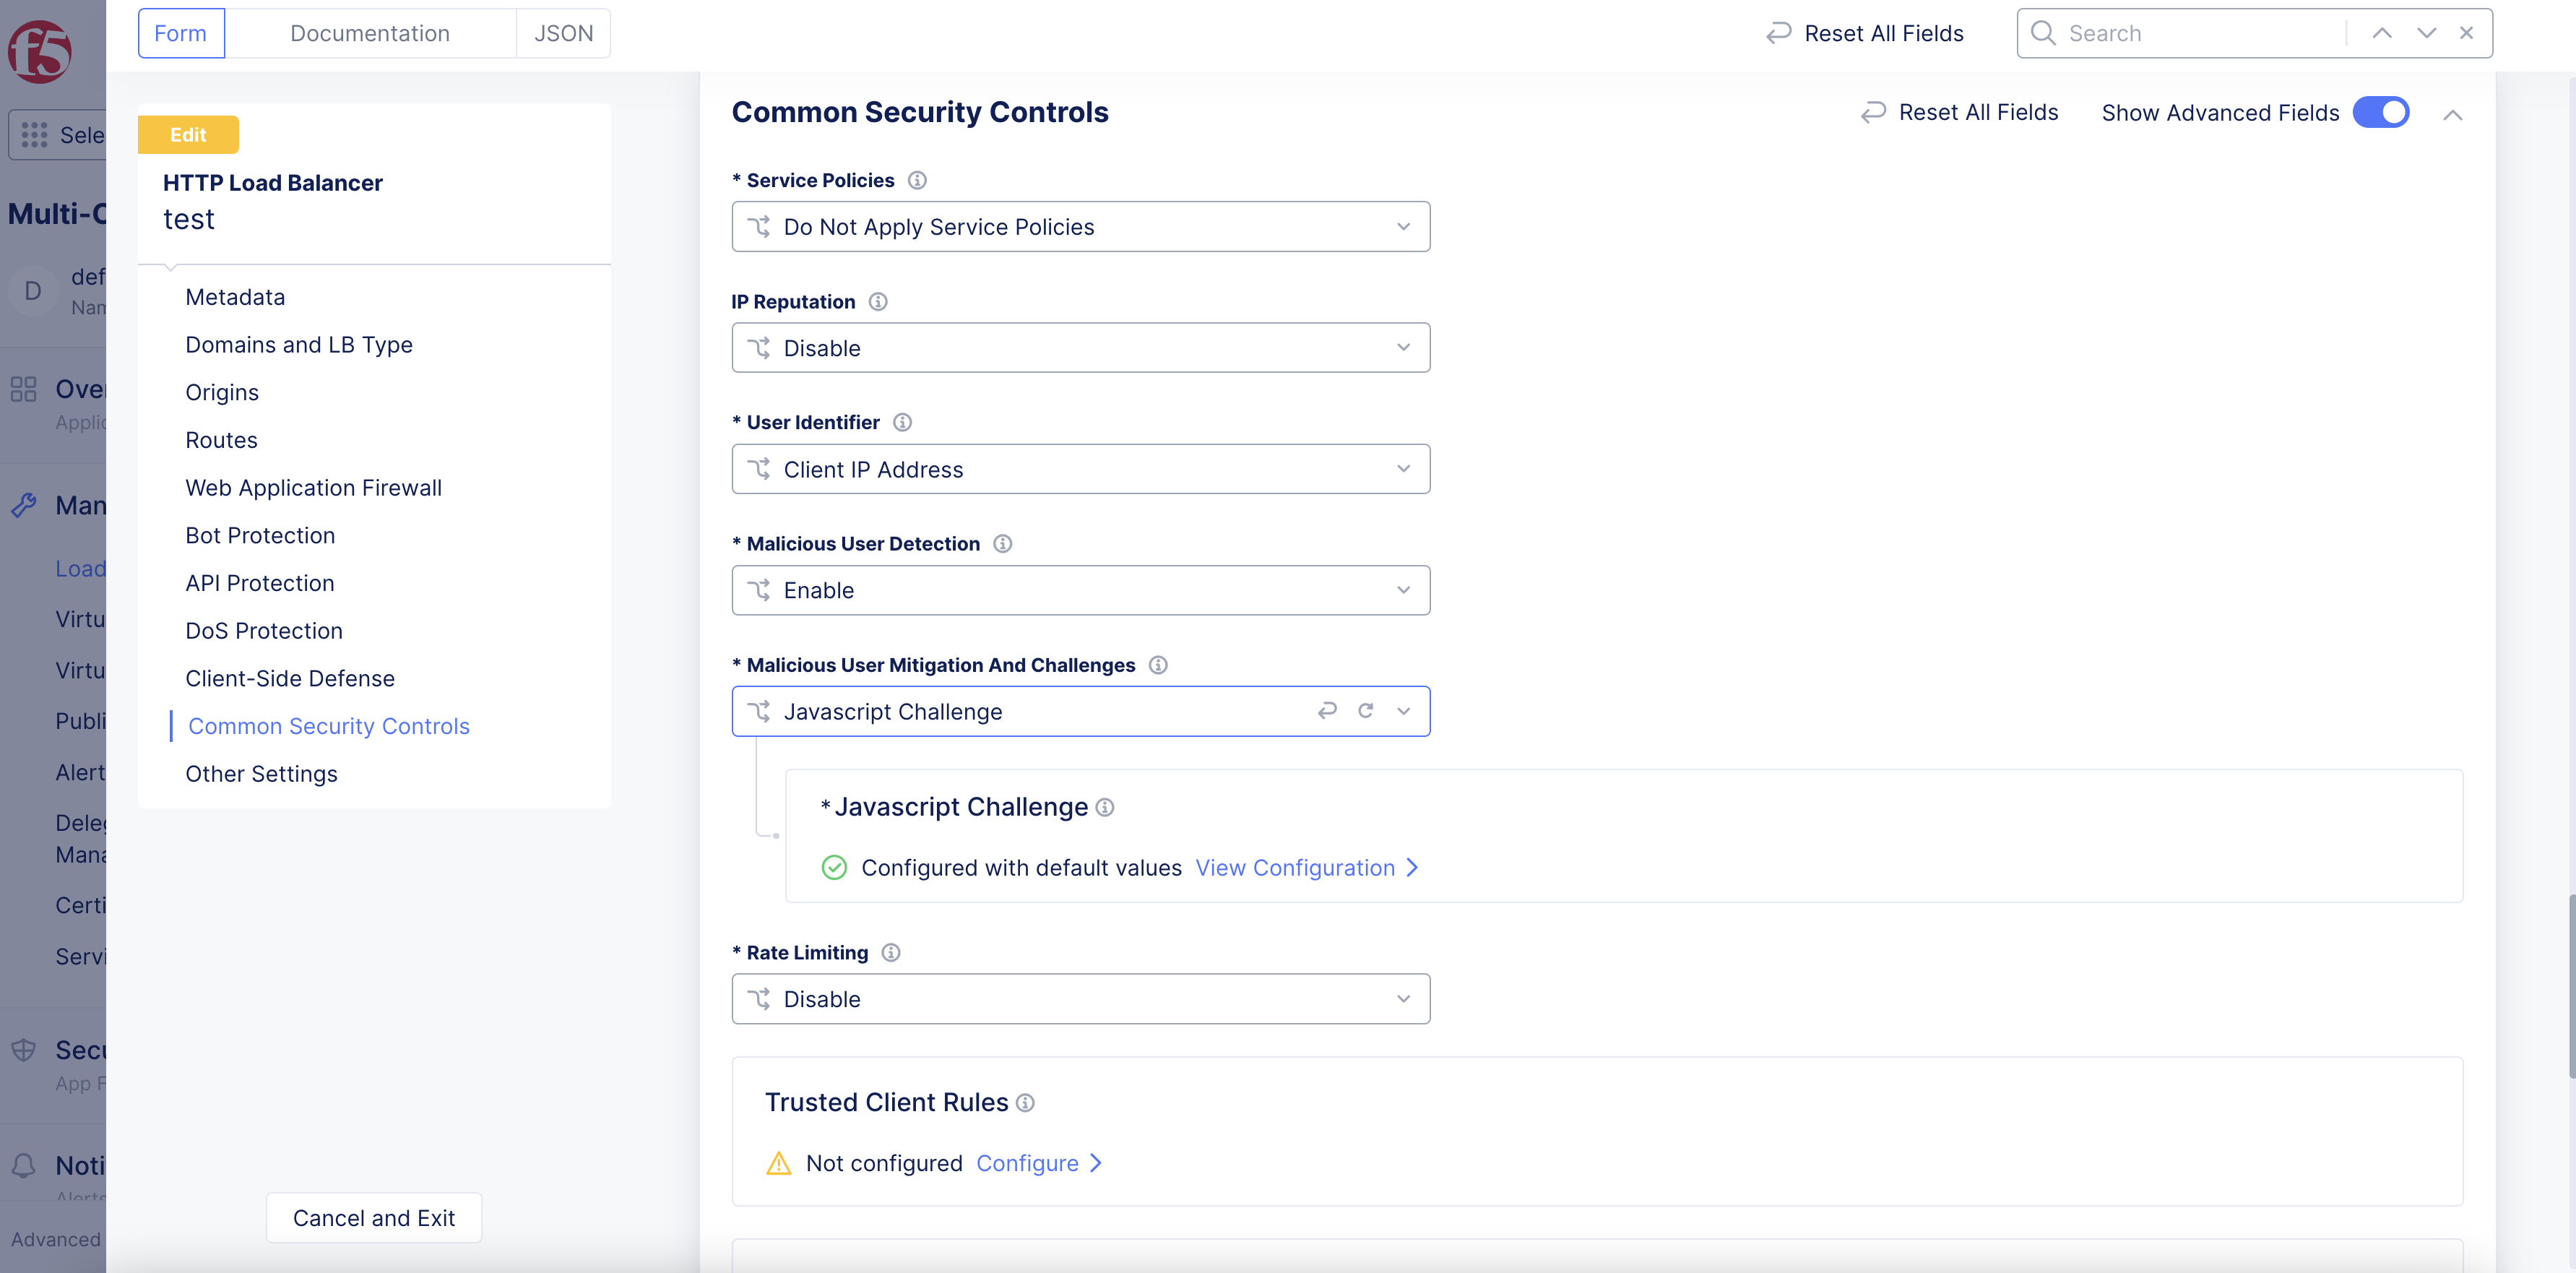
Figure: JavaScript Challenge Option
-
Optionally, configure the
Javascript DelayandCookie Expiration Periodoptions. -
Under
Custom Message for Javascript Challenge, selectBase64. -
Paste the custom message into the box.
-
Click
Apply. -
Click
Save and Exit.
Verify JavaScript Challenge Functionality
After enabling JavaScript challenge functionality, you can send request to the application domain from a browser and check if the load balancer redirects to the page you configured.
Step 1: Send request from the browser to your application domain.
Send a request by loading the domain specified in the load balancer configuration. This example shows the request for the hipster application deployed.
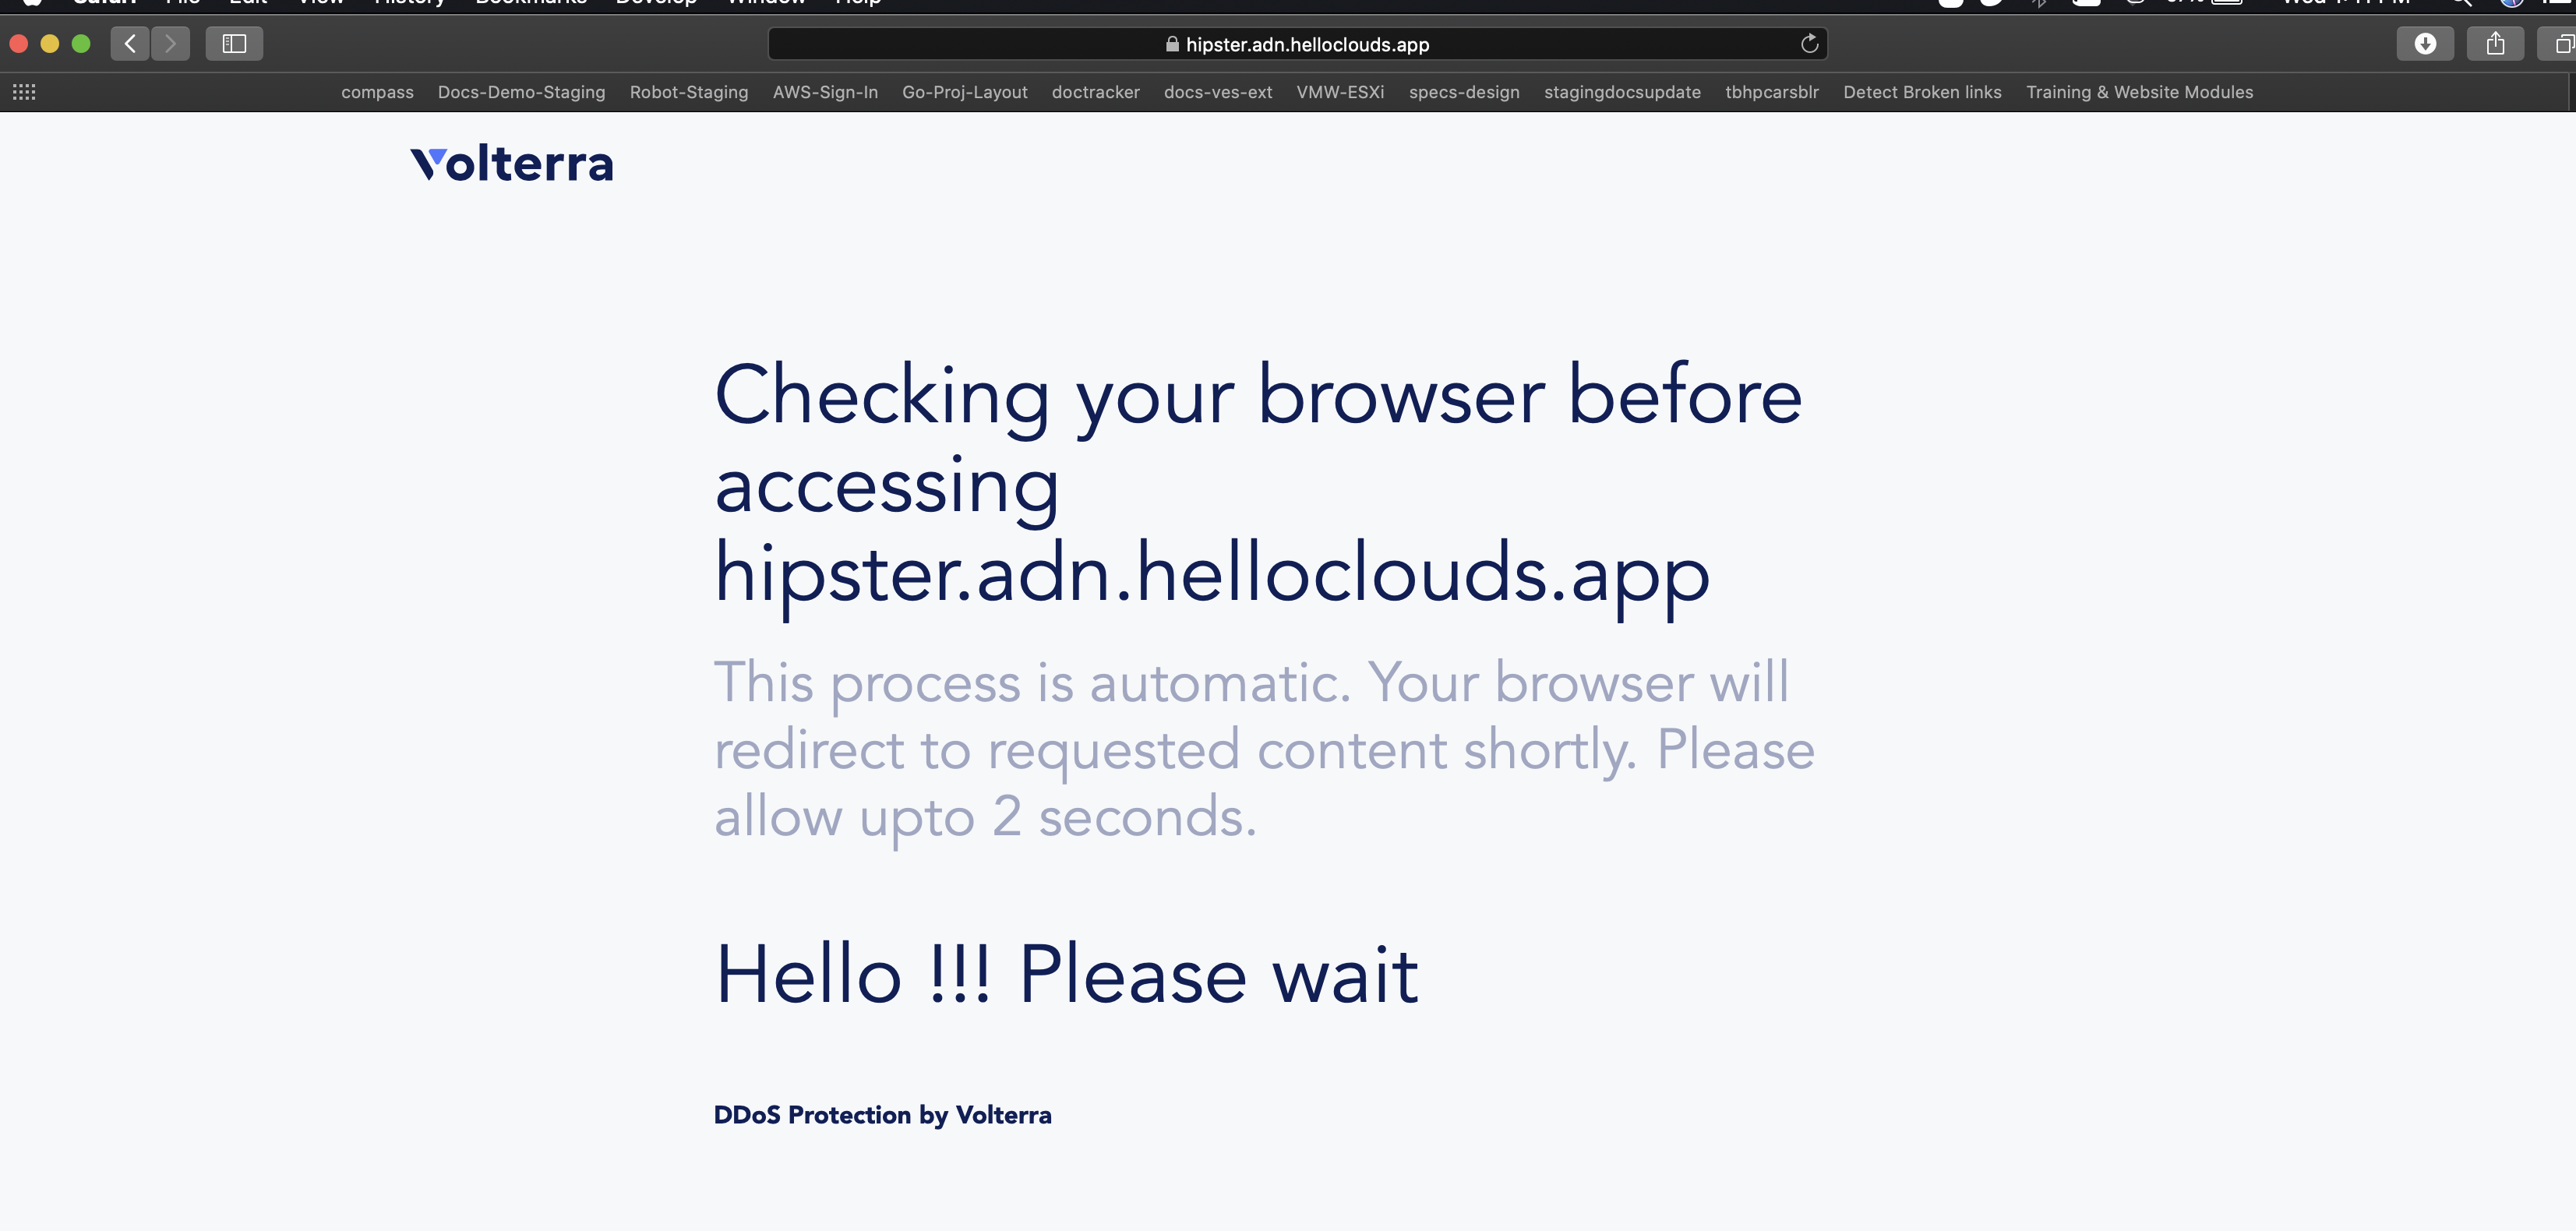
Figure: JavaScript Challenge Redirection Message Page
Step 2: Verify the JavaScript challenge.
Check if the custom page you configured is displayed. After the configured delay, verify if the load balancer redirects to your application site. This example shows that after the delay, the load balancer loads the requested hipster application page.

Figure: JavaScript Challenge Redirection Message Page
Note: You can check the status of the JavaScript challenge functionality for any issues. Go to the
HTTP Load Balancerspage and use the...>Show Child Objectsoption of the load balancer. Then in theRoutesection, clickViewfor your load balancer and use the drop-down menu to show route status for a particular site.