Configure WebSocket Support
Objective
This document provides instructions on how to enable WebSocket-based communication for your application. WebSocket provides a persistent connection between client and server over HTTP or HTTPS.
Using the instructions provided in this guide, you can enable WebSocket connection for your services provisioned using an HTTP load balancer or virtual host. For more information, see Virtual Host.
Note: When configuring WebSocket support, it is recommended to use HTTP/1.1 for origin.
Prerequisites
The following prerequisites apply:
-
An F5 Distributed Cloud Account. If you do not have an account, see Getting Started with Console.
-
An HTTP load balancer or a virtual host acting as a proxy for a service. See HTTP Load Balancer and Create a Virtual Host for instructions on creating load balancer and virtual host, respectively.
Configuration Sequence
You can use an HTTP load balancer or virtual host to configure WebSocket support for your application.
-
In case of HTTP load balancer, enabling WebSocket support is part of the HTTP load balancer configuration.
-
Enabling WebSocket-based communication in case of a virtual host requires performing the following sequence of actions:
| Phase | Description |
|---|---|
| Create Endpoint and Cluster | Create objects required for virtual host. |
| Create Route with WebSocket | Create route enabled for WebSocket communication. |
| Create Advertise Policy and Virtual Host | Create advertise policy and virtual host with the route and policy. |
Note: You can enable WebSocket communication while creating the route, or you can edit an existing route to enable WebSocket support.
Configure WebSocket Using HTTP Load Balancer
Note: A server must not send a Transfer-Encoding header field in any response with a status code of 1xx (Informational) or 204 (
No Content). A server must not send a Transfer-Encoding header field in any 2xx (Successful) response to aCONNECTrequest (Section 4.3.6 of RFC 7231).
Perform the following steps to create a route enabled with WebSocket support for an HTTP Load Balancer:
Step 1: Log into Console and go to HTTP load balancer settings.
- From the Console homepage, click
Multi-Cloud App Connect.
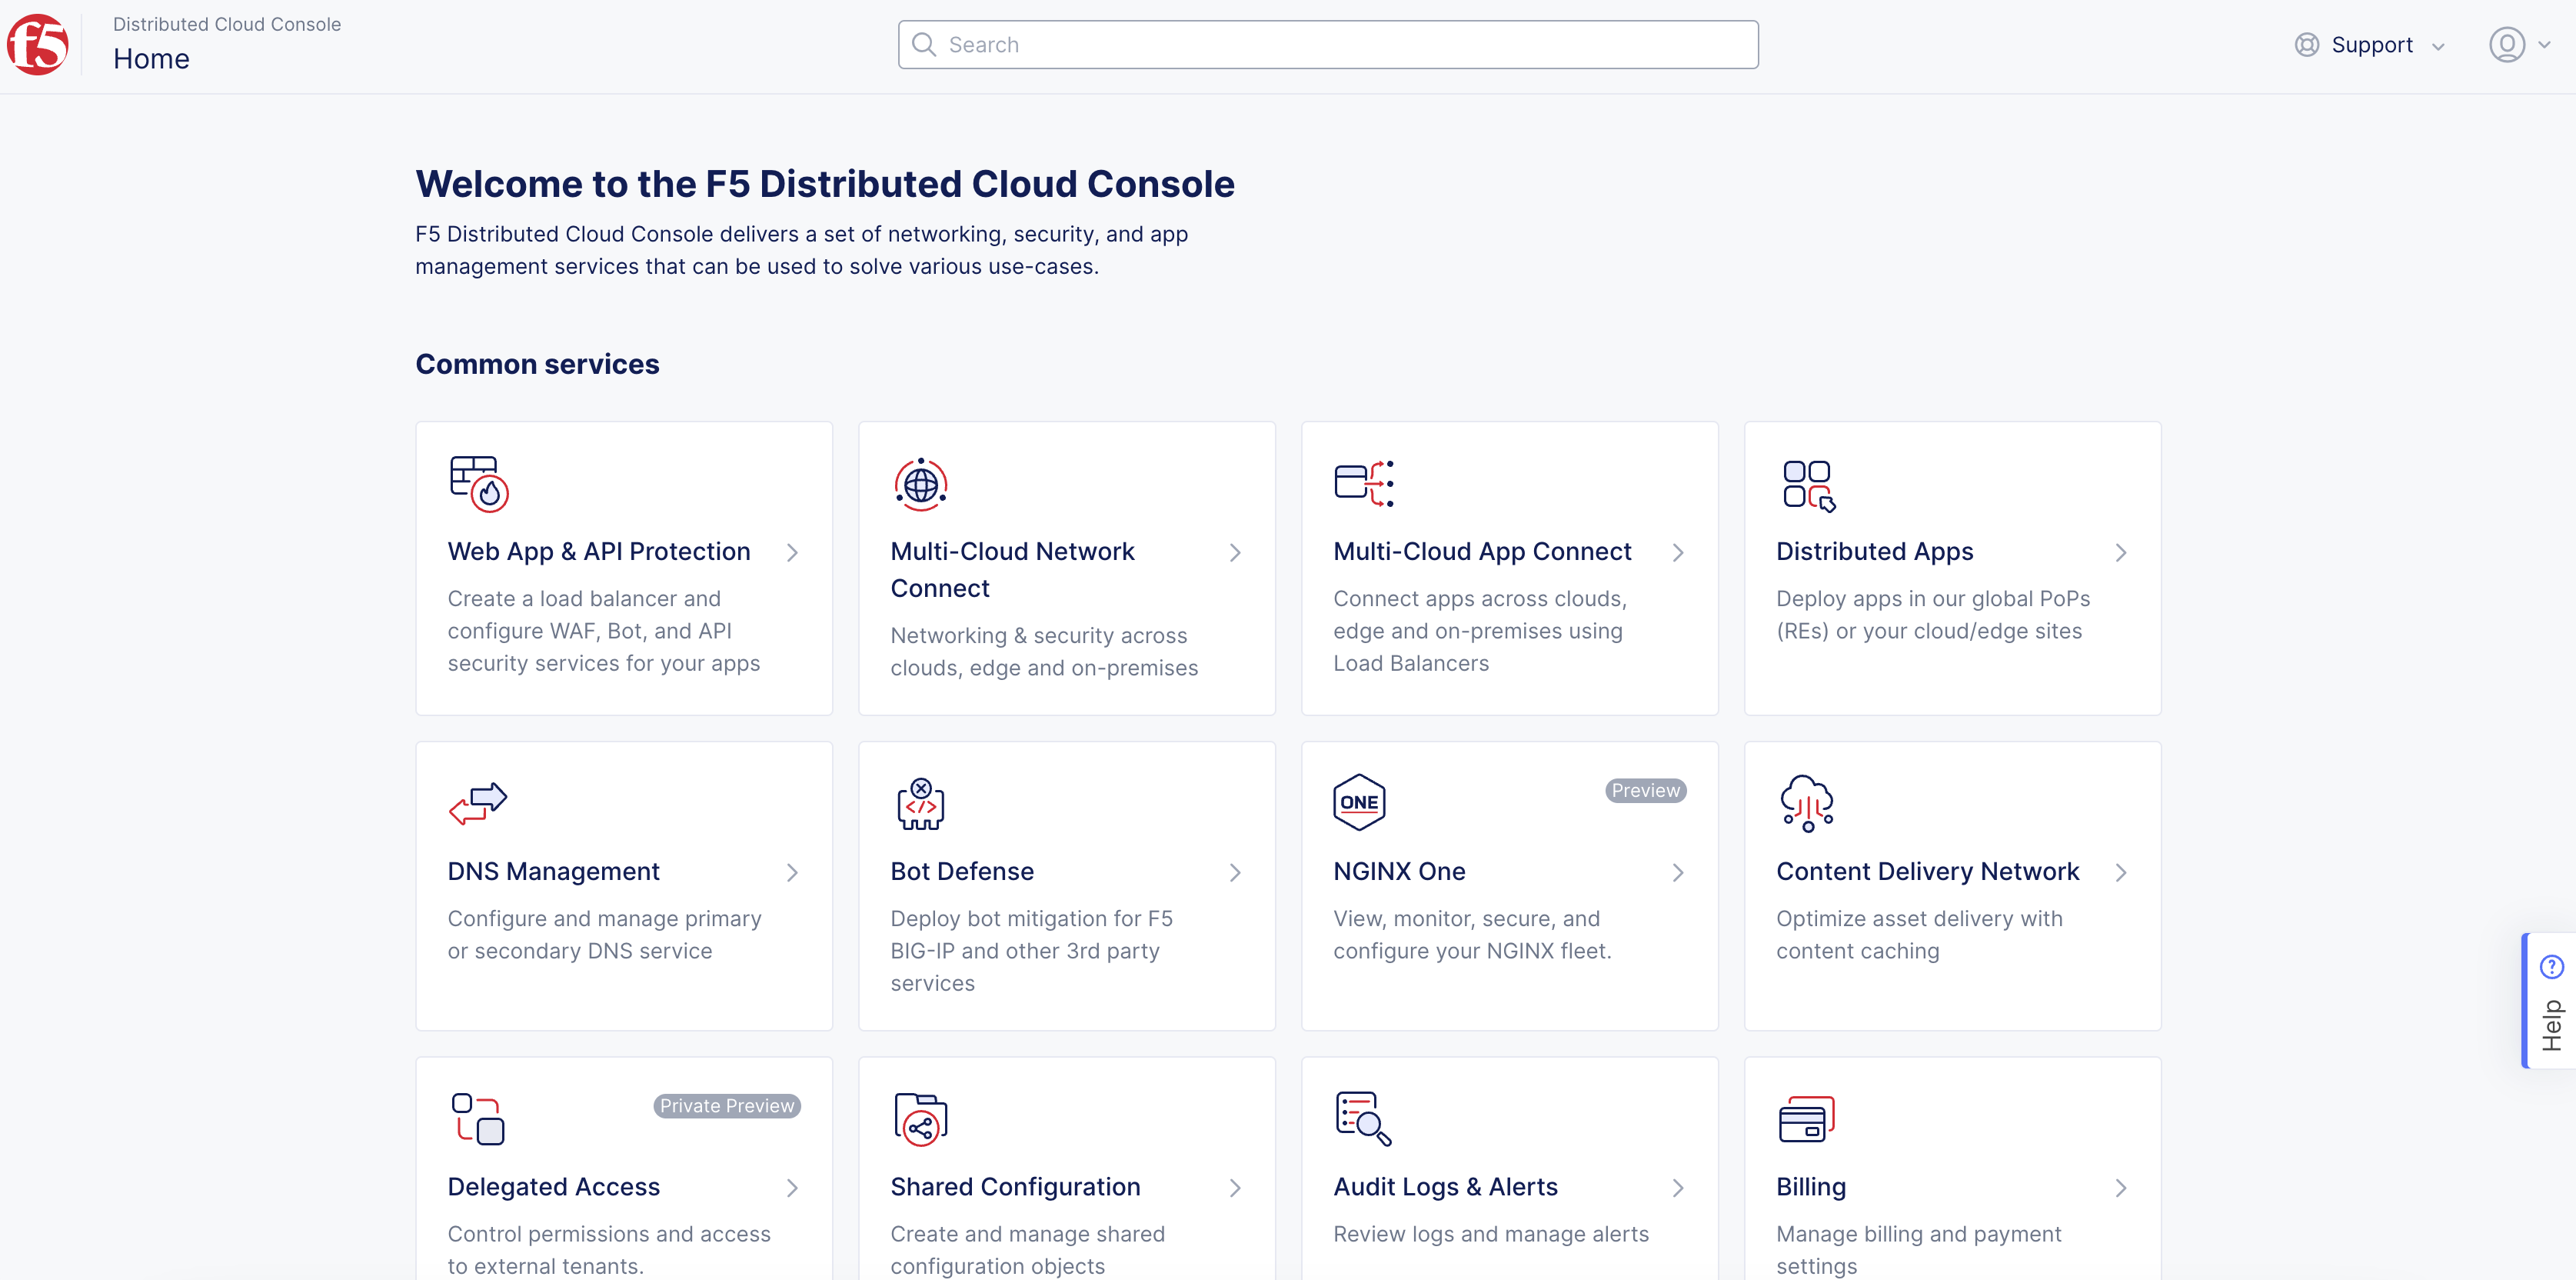
Figure: Console Homepage
-
Select a namespace.
-
Navigate to
Manage>Load Balancers>HTTP Load Balancers. -
Click
...for your load balancer and selectManage Configurationto open the load balancer configuration form. -
Click
Edit Configurationin the top right corner of the form.
Step 2: Start configuring routes.
-
In the
Routessection, clickConfigure. -
Click
Add Itemin theRoutespage. This opens the route configuration form. By default, a simple route configuration loads. -
Enter required fields, such as HTTP method, path match, and option associated to the path match selected (such as prefix, path, or regex).
-
Click
Add iteminOrigin Poolssection, select an origin pool from theOrigin Poolmenu, and then clickApply.
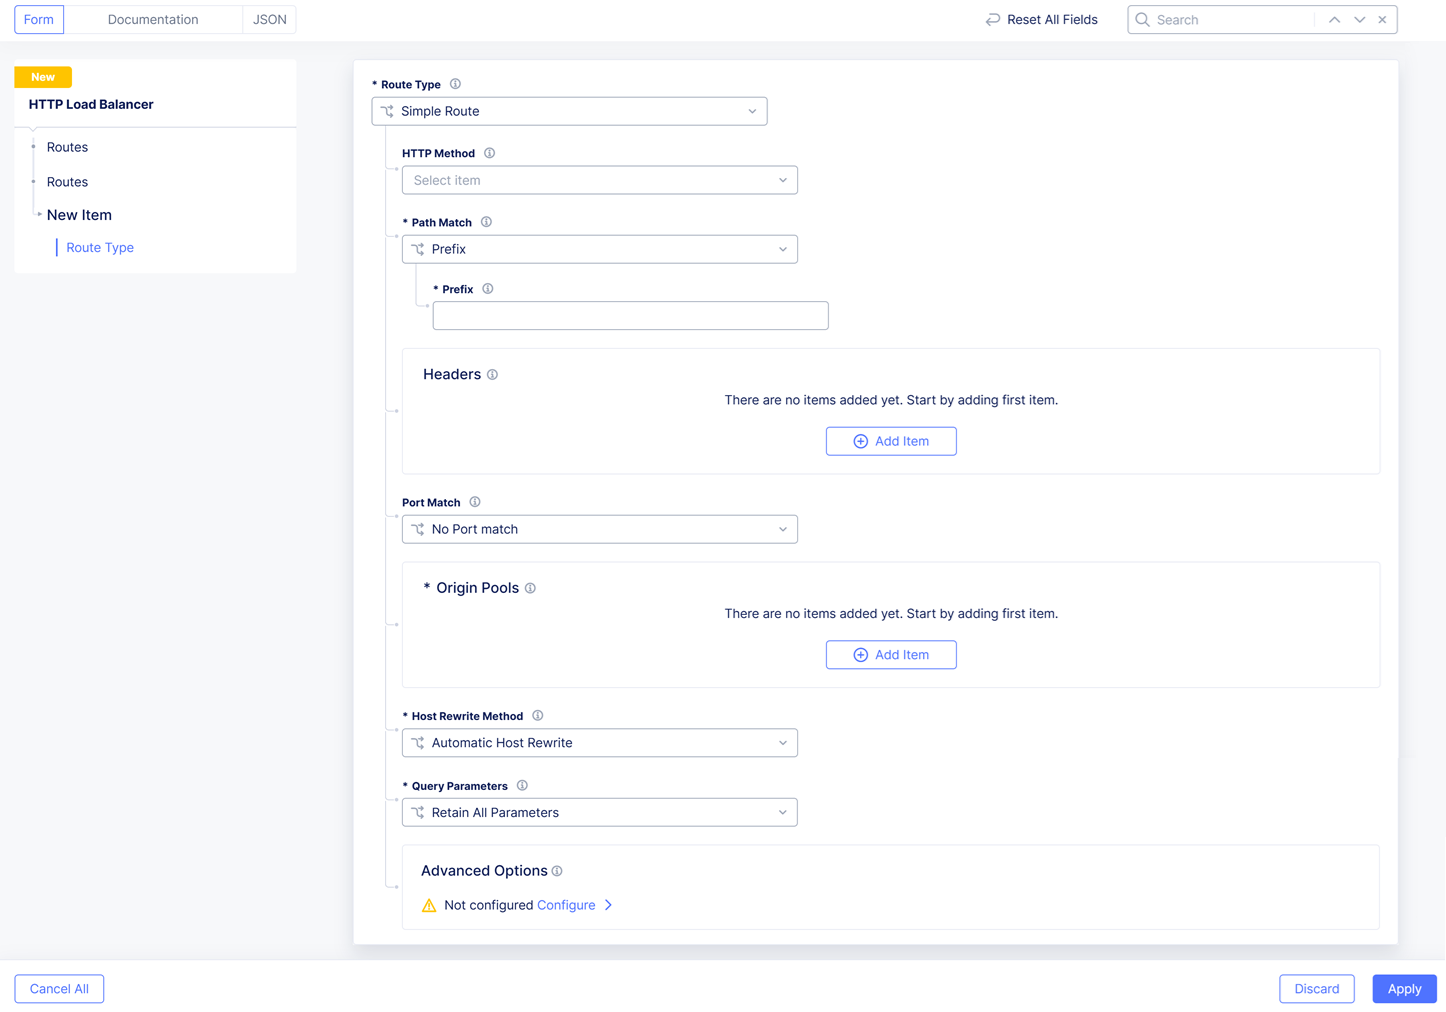
Figure: HTTP Load Balancer Simple Route
-
Scroll down and click
Configurefor theAdvanced Optionsfield. This opens the advanced route configuration options. -
Scroll down to the
Protocol Upgradessection and click on theEnable/Disable Websocket Upgrademenu, and then select theEnable WebSocketoption.
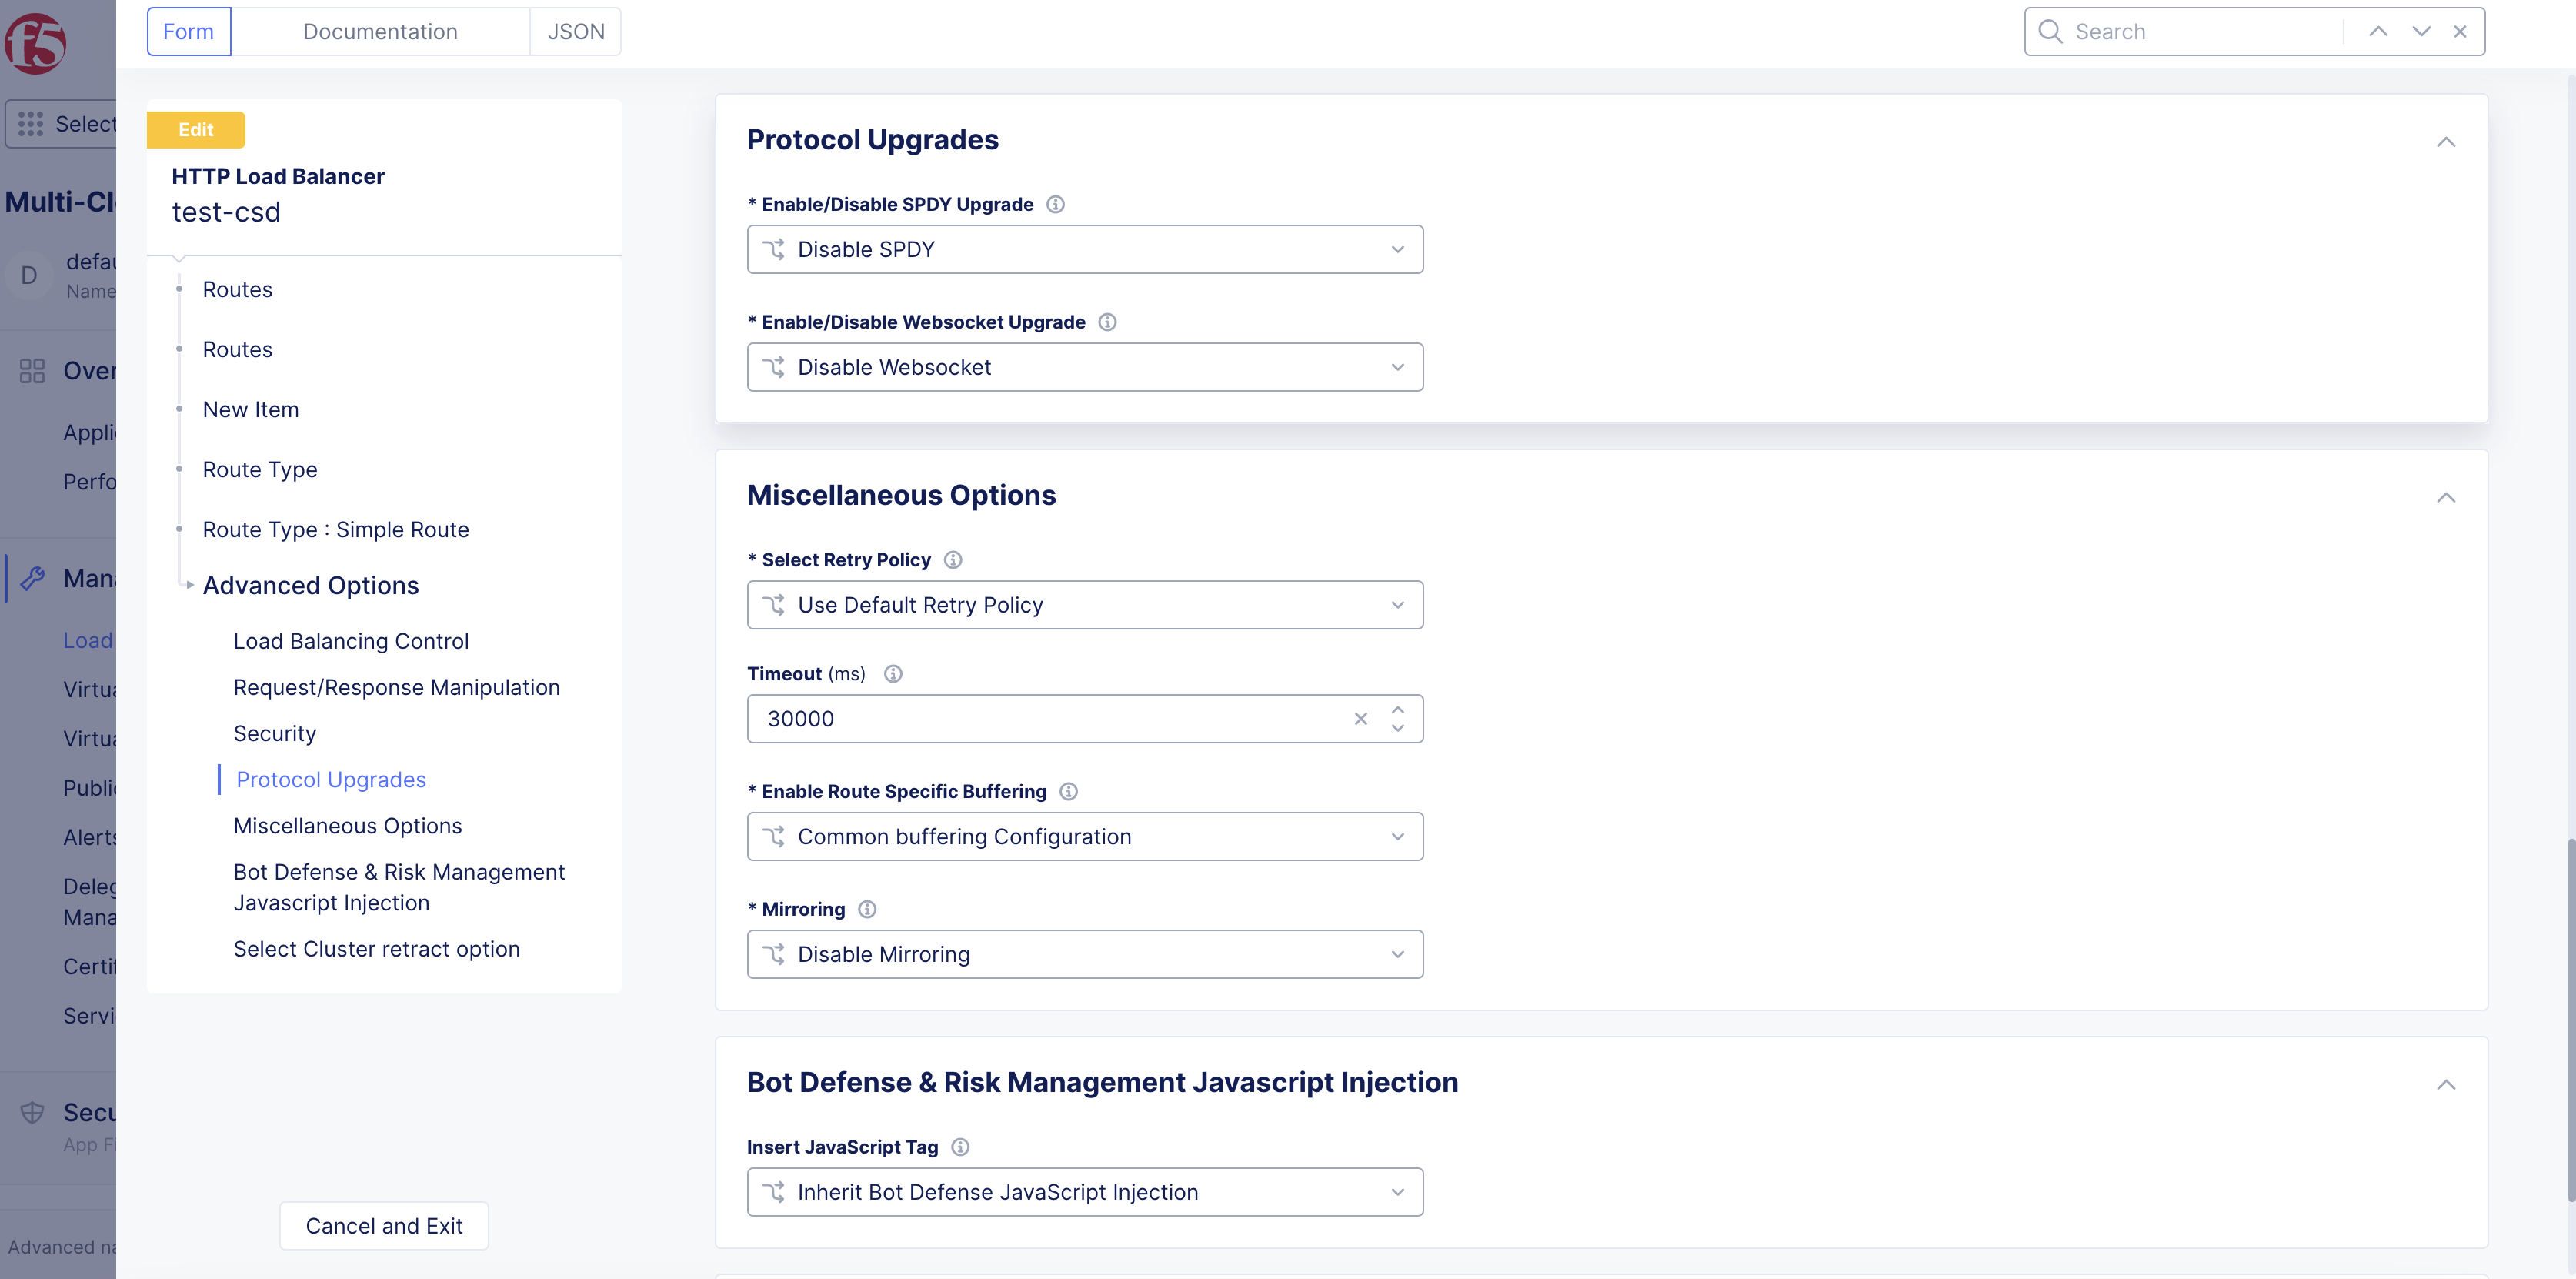
Figure: Load Balancer WebSocket Configuration
-
Enable the
Use Websocketoption. -
Scroll down and click
Apply.
Step 3: Enable WebSocket communication.
-
Click
Applyin the simple route page. -
Click
Applyin the routes list page. -
Click
Save and Exitin the load balancer configuration form.