Configure TLS Fingerprinting
Objective
This document provides instructions on how to enhance security for your applications by configuring TLS fingerprinting in your service policy rules. To know more about how F5® Distributed Cloud Services secure your applications using service policies, See Service Policy.
TLS fingerprinting is a method of extracting certain parameters from a TLS client request (ClientHello) and comparing with a predefined or customized set of fingerprints to identify attack patterns. This enhances the protection for your application from DDoS attacks by identifying clients that could be parts of botnets.
TLS fingerprinting from Distributed Cloud Services support the setting of predefined or custom fingerprints using service policy rules. Also, you can obtain the top TLS fingerprints from the virtual host dashboard to update your TLS fingerprint-based service policy rules to dynamically handle the DDoS attacks.
Using the instructions provided in this document, you can create service policies with policy rules to matching the set TLS fingerprints. Per the match conditions, you can set the action of blocking the traffic to secure your applications.
Prerequisites
-
An F5 Distributed Cloud Account. If you do not have an account, see Getting Started with Console.
-
An application provisioned using Distributed Cloud Services. Install the Distributed Cloud Services node or cluster image. See Deploy Applications for instructions on how to deploy your applications on Distributed Cloud Services sites.
-
A virtual host to load balance and serve your application. If you do not have a virtual host, see Virtual Hosts.
Configuration
Configuring the TLS fingerprints and dynamically protecting your application requires the following:
-
Configuring the service policy with rules that deny the traffic matching configured fingerprints.
-
Monitoring the virtual host dashboard to check the top TLS fingerprints and update it in the service policy rules to block the associated traffic. This enhances security and reduces the dynamic nature of DDoS attacks by botnets.
Note: You can create a new policy rule or update an existing rule.
Configuration Sequence
Configuring a service policy requires you to perform the following sequence of actions:
| Phase | Description |
|---|---|
| Configure TLS Fingerprints | Create a service policy rule with TLS fingerprints. |
| Monitor and Update TLS Fingerprints | Obtain the top TLS fingerprints from virtual host dashboard and update the service policy rule with it. |
Configure TLS Fingerprints
The TLS fingerprints are applied through the service policies. A service policy requires you to configure service policy rules, apply them to a service policy, and then activate that service policy. This chapter provides instructions on how to set TLS fingerprints in a service policy rule. For detailed instructions on applying a service policy, see Configure a Service Policy.
Step 1: Start service policy creation process.
-
Log into F5® Distributed Cloud Console (Console).
-
Click
Multi-Cloud App Connect.
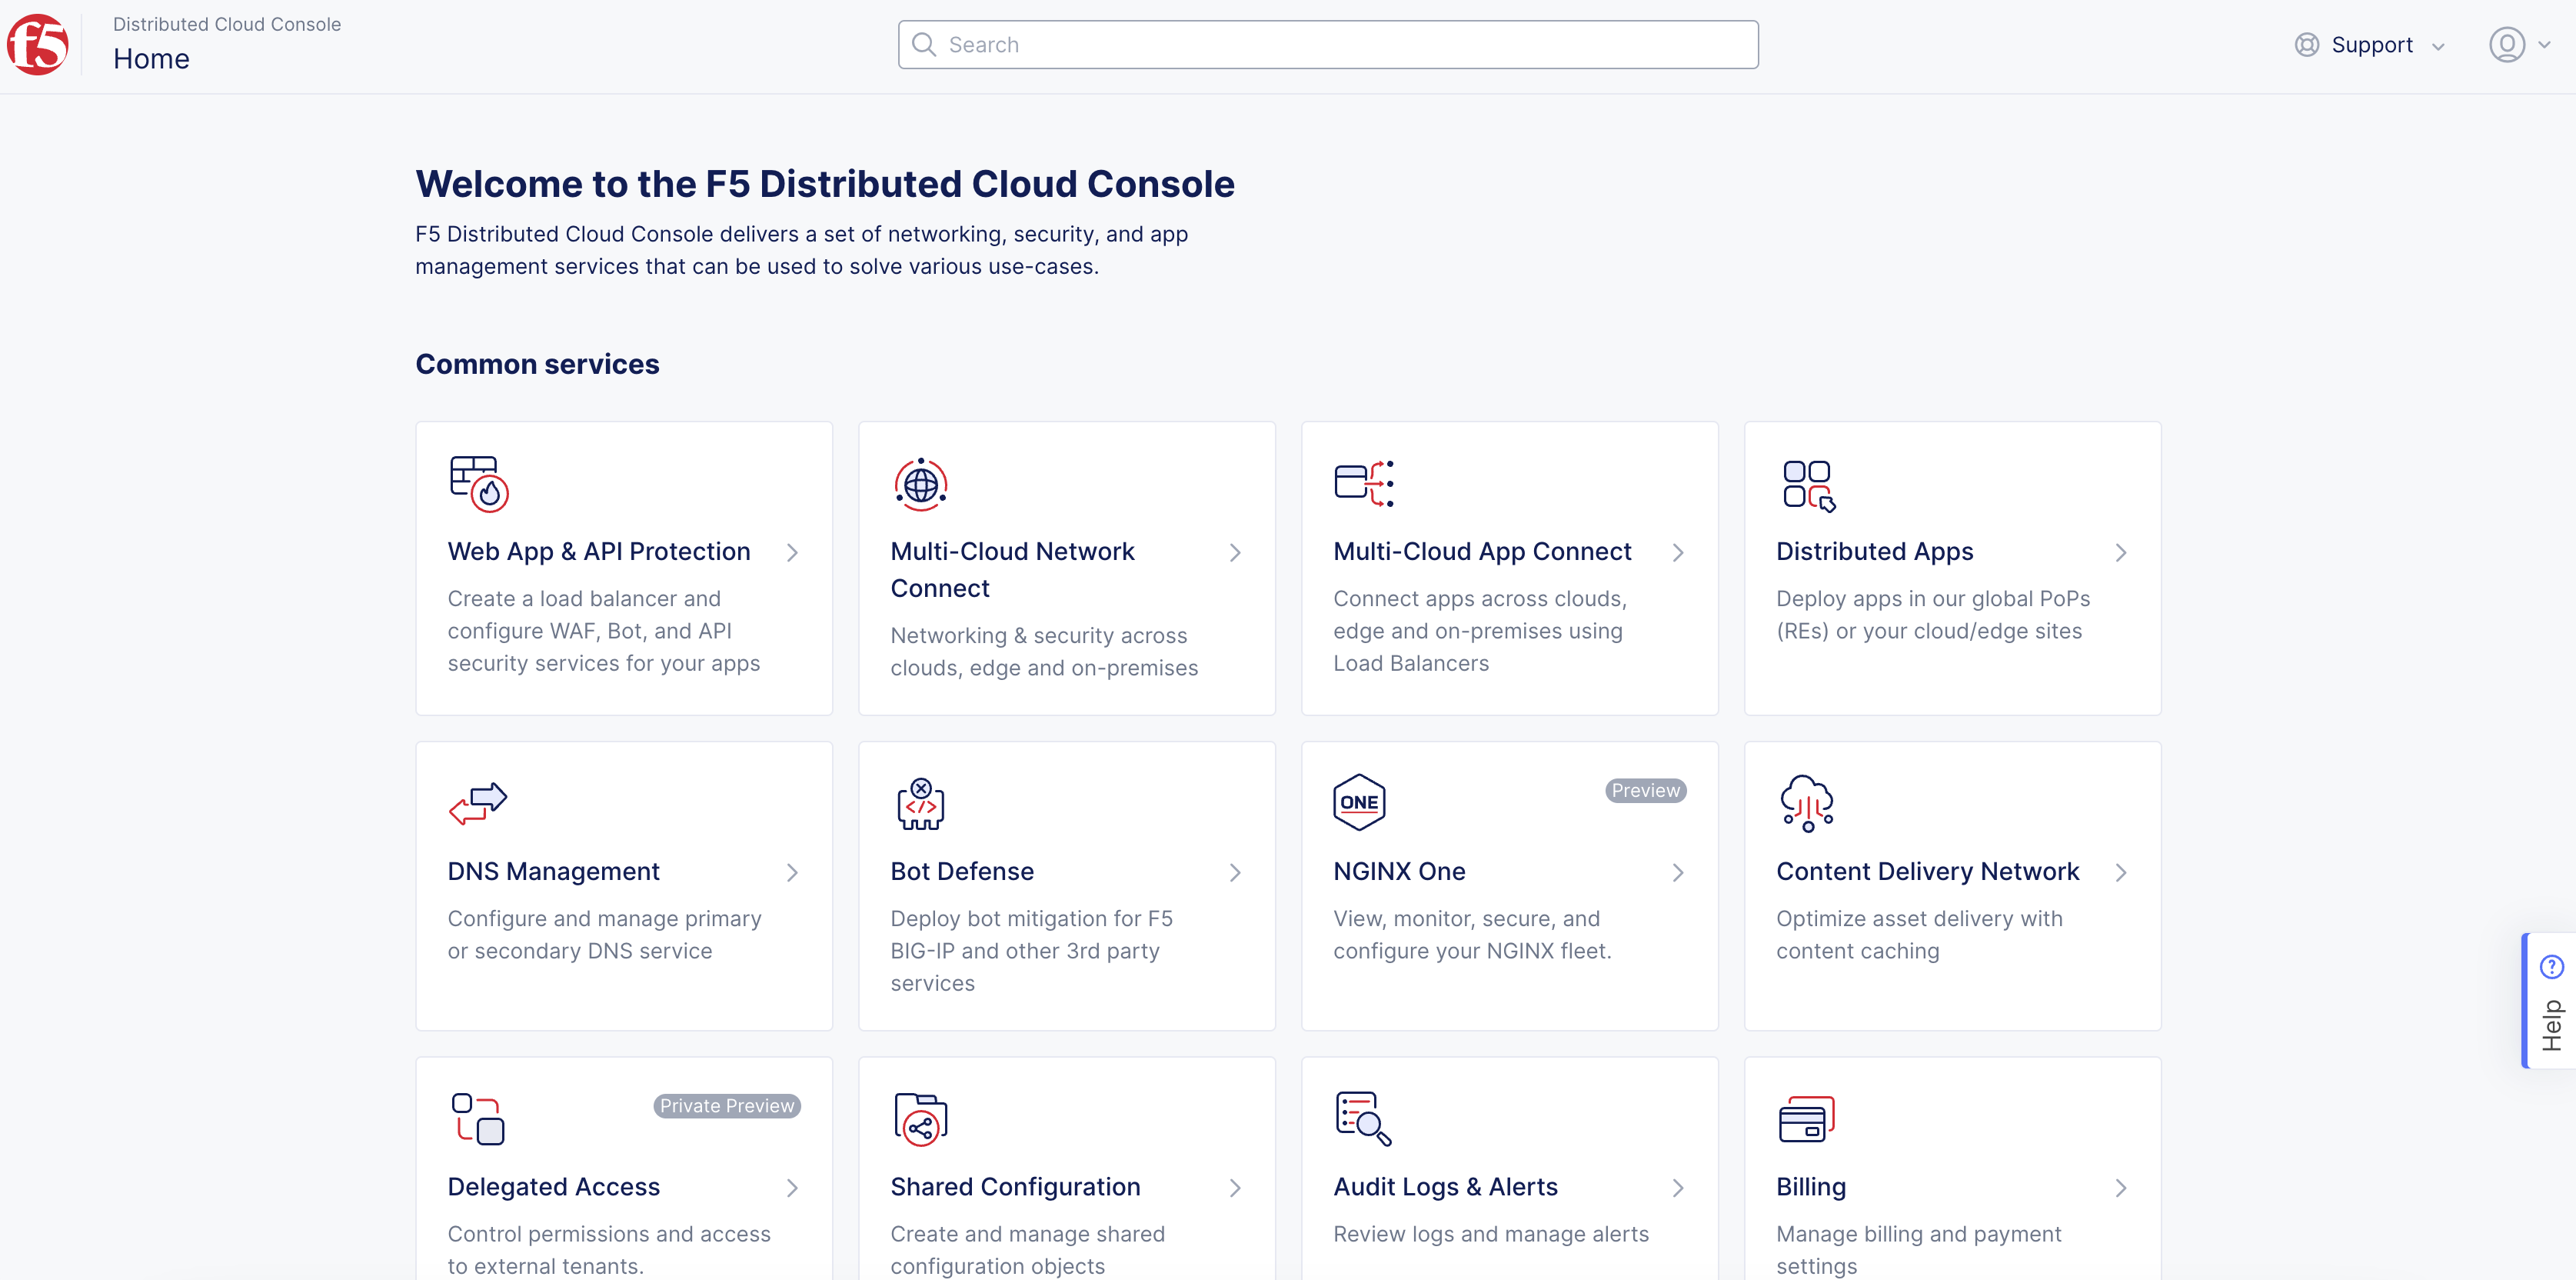
Figure: Console Homepage
-
Select your namespace from the drop-down menu.
-
Click
Security>Service Policies>Service Policies. -
Click
Add Service Policy.
Step 2: Configure service policy.
-
In the form, add a name in the
Namefield. -
From the
Server Selectionmenu, select an option. -
From the
Select Policy Rulesmenu, selectCustom Rule List, and then selectConfigure. -
Click
Add Item. -
Add a name, and complete the configuration in the
Actionsection. For more information, see Configure a Service Policy guide.
Step 3: Apply predefined TLS fingerprints.
-
In the
Clientssection, enable theShow Advanced Fieldsoption. -
Under
TLS Fingerprint Matcher, clickConfigure. -
From the
TLS fingerprint classesmenu, select predefined fingerprint classes. These classes include sets of curated fingerprints classified into categories.
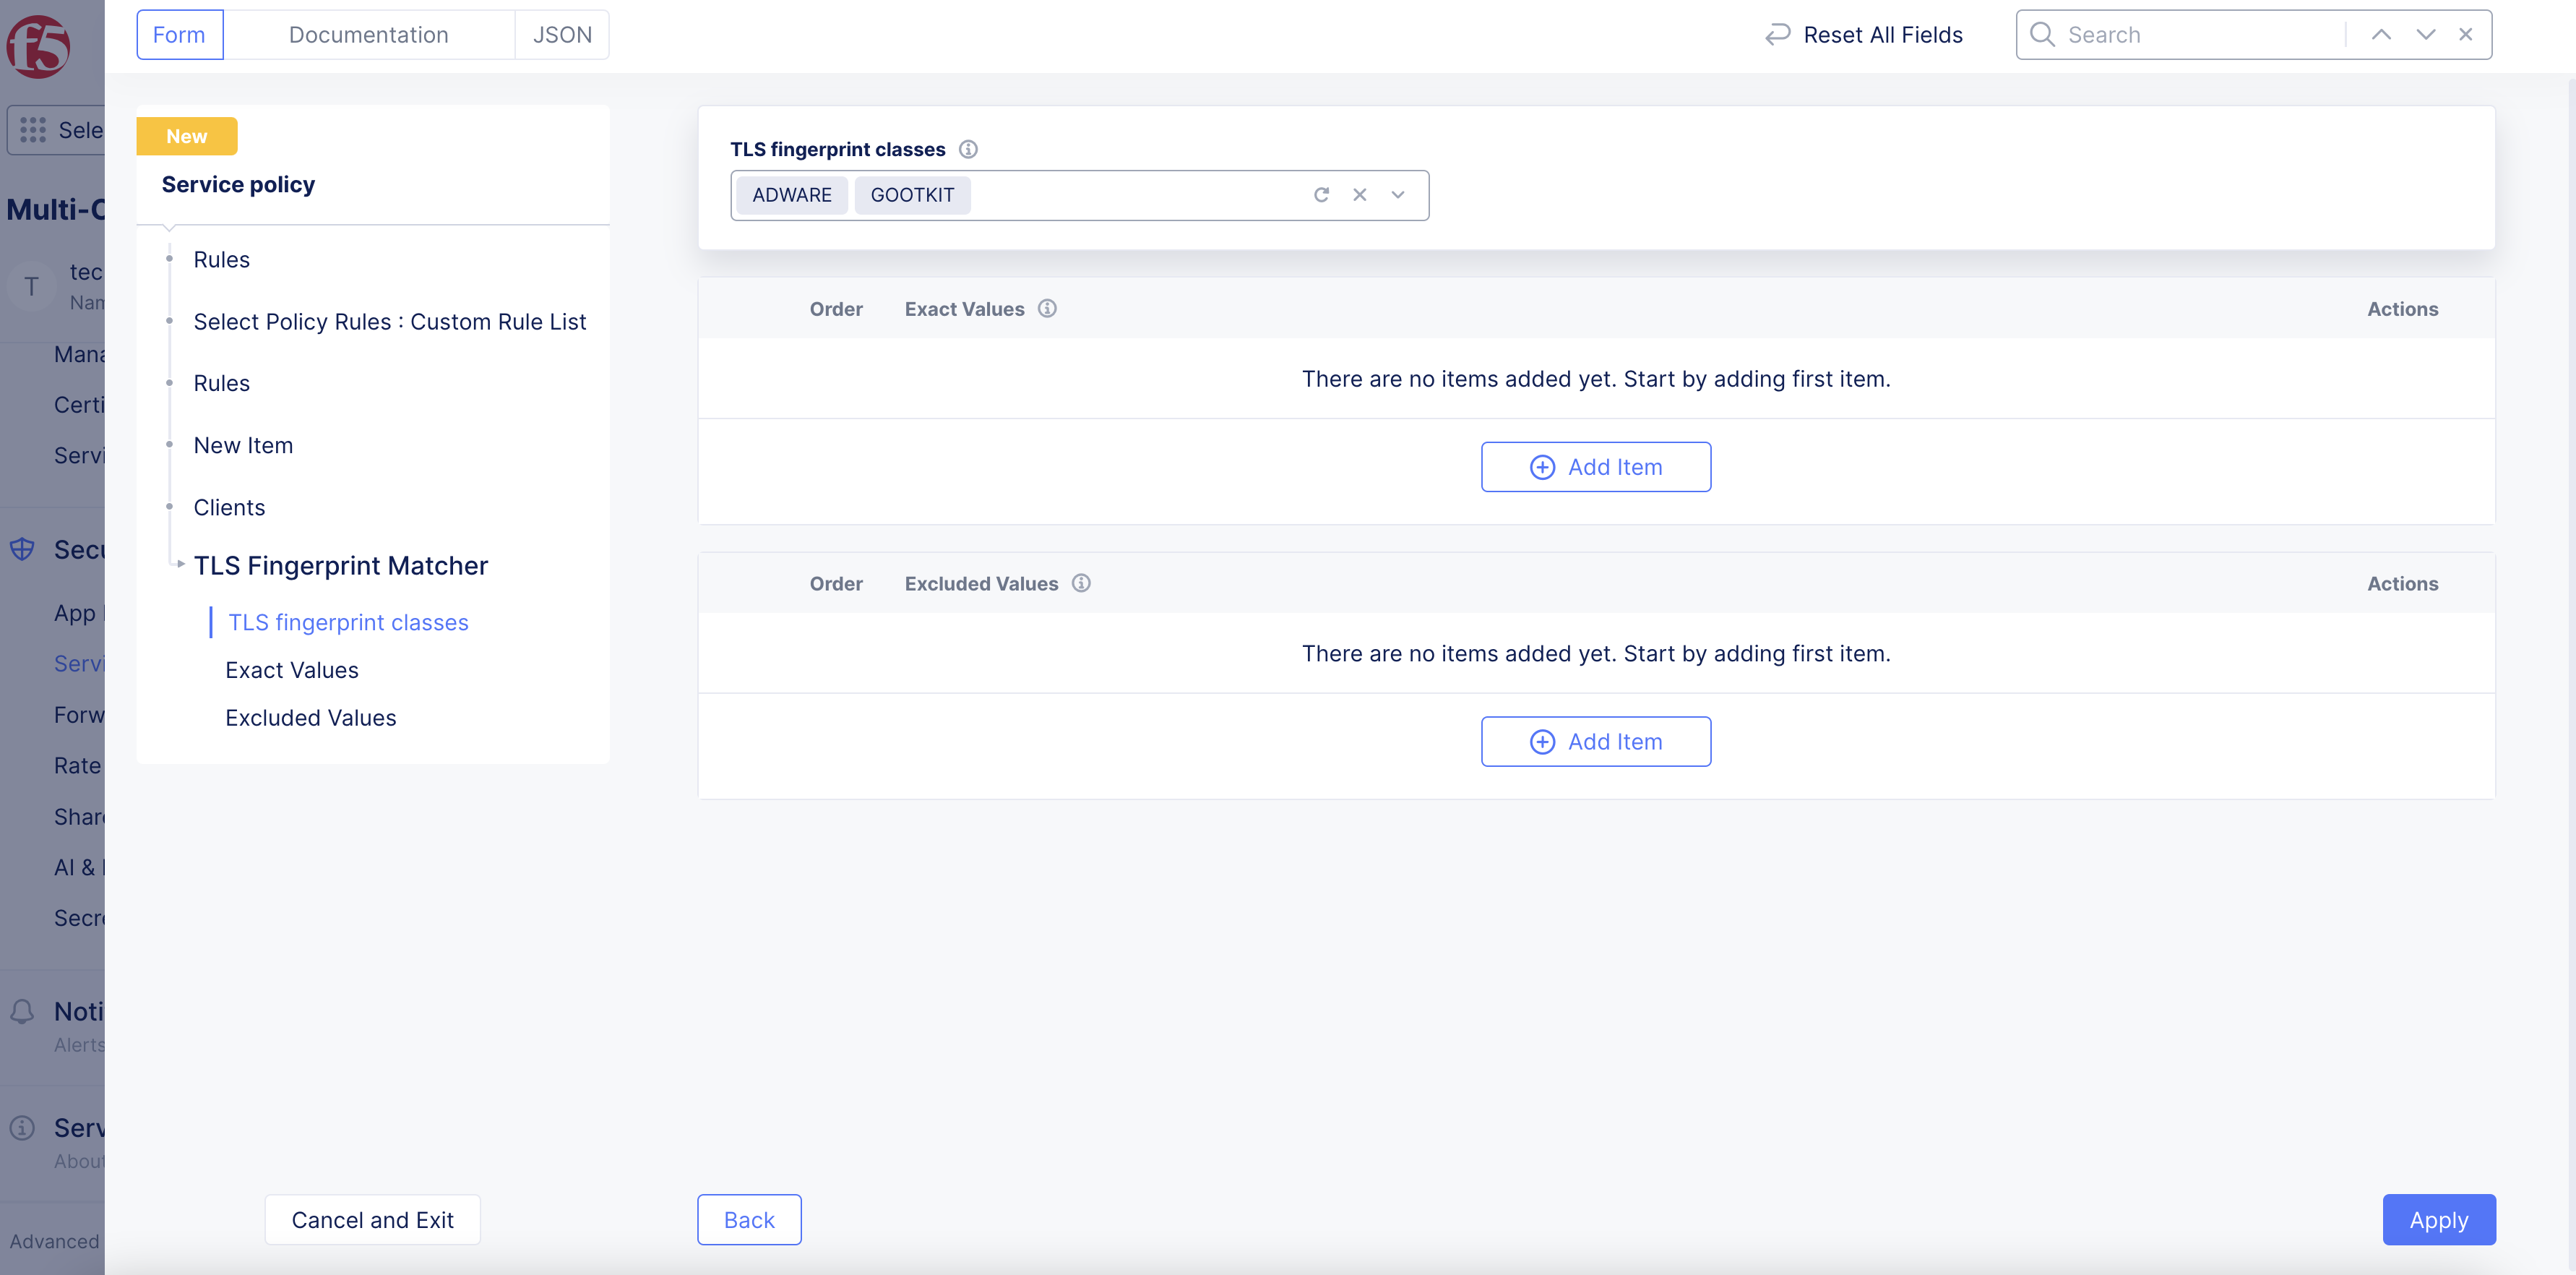
Figure: TLS Fingerprint Classes
-
Optionally, set exact fingerprint values to match:
-
In the
Exact Valuesfield, clickAdd Item. -
Click
See Common Valuesand select a value. -
To add more values, click
Add Item.
-
-
Optionally, set specific fingerprint values to exclude from matching:
-
In the
Excluded Valuesfield, clickAdd Item. -
Click
See Common Valuesand select a value. -
To add more values, click
Add Item.
-
Note: Refer to the Classes and Fingerprints guide to find fingerprint classification. This is useful in choosing a fingerprint for excluding in cases where a legitimate fingerprint may belong to one of the predefined classes.
-
Click
Applyto set the TLS fingerprint configuration. -
Click
Applyto set the new rule. -
Click
Applyto complete rule configuration. -
Click
Save and Exitto complete service policy configuration.
Step 4: Activate the service policy.
-
Click
Security>Service Policies>Active Service Policies. -
Click
Select Active Service Policies. -
Find the service policy that was previously created or edited and select it from the menu.
-
Click
Save and Exit.
Step 5: Apply the service policy in the load balancer.
-
Click
Manage>Load Balancers>HTTP Load Balancers. -
Find your load balancer and click
...>Manage Configuration>Edit Configuration. -
In the
Common Security Controlssection, perform the following:-
From the
Service Policiesmenu, selectApply Specified Service Policies. -
Click
Configure. -
From the menu, select the service policy that was previously created.
-
Click
Apply.
-
-
Click
Save and Exit.
Monitor and Update TLS Fingerprint
The load balancer dashboard presents the top TLS fingerprints hitting the domain for your application. You can monitor the dashboard and take the top the TLS fingerprints and apply them in the service policy rule to prevent client requests from matching that fingerprint.
The TLS fingerprints configured in the service policies in the namespace apply to all the load balancers of that namespace.
Step 1: Navigate to load balancer dashboard.
-
In Console, click
Distributed Apps. -
Navigate to the namespace of your load balancer.
-
Click
Load Balancers>HTTP Load balancer.
Step 2: Find the top TLS fingerprint from the dashboard.
-
Find the load balancer for your application from the displayed list and click on it to open the dashboard.
-
Scroll down to the
Top TLS Fingerprintssection and note the fingerprint value displayed.
Step 3: Edit the service policy rule to add the fingerprint collected in the previous step.
-
In the
Multi-Cloud App Connectservice, navigate toSecurity>Service Policies>Service Policies. -
Click
...>Manage Configuration>Edit Configurationto open the edit form for the service policy created in the Configure TLS Fingerprints chapter. -
In the
Rulessection, clickEdit Configuration. -
Find the rule and then click
...>Edit. -
In the
Clientssection, enable theShow Advanced Fieldssection. -
In the
TLS Fingerprint Matcherfield, clickConfigure. -
In the
Exact Valuesfield, clickAdd Item. -
Enter the fingerprint you obtained in the previous step.
-
Click
Applyto add the fingerprint value. -
Click
Apply. -
Click
Applyto save the new configuration to the service policy rule. -
Click
Save and Exitto save the service policy configuration.