Configure OCSP Stapling
Objective
This document provides instructions on how to enable Online Certificate Status Protocol (OCSP) stapling for your certificates. OCSP stapling provides improved information on the revocation status and enhances efficiency of bandwidth management. To learn more about support for OCSP stapling, see OCSP Stapling.
Using the instructions provided in this guide, you can request and obtain an OCSP must-staple certificate from a Certificate Authority (CA) and apply it in an F5® Distributed Cloud Services load balancer.
Prerequisites
-
An F5 Distributed Cloud Account. If you do not have an account, see Getting Started with Console.
-
A load balancer. If you do not have a load balancer configured, see HTTP Load Balancer.
Generate Certificate with OCSP Must-Staple Extension
Enabling OCSP stapling requires you to first obtain a certificate with OCSP must-staple extension from a CA.
Note: Self-signed certificates are not supported for OCSP stapling.
Perform the following to obtain a CA-signed certificate with OCSP must-staple extension:
Step 1: Create a TLS configuration file with the CN and DNS entries pointing to your CA domain name.
This example shows the sample configuration file tls_config with ocsp-must-2.helloedge.app as the sample domain name:
[req]
distinguished_name = req_distinguished_name
req_extensions = v3_req
prompt = no
[req_distinguished_name]
CN = ocsp-must-2.helloedge.app
[v3_req]
keyUsage = keyEncipherment, digitalSignature
extendedKeyUsage = serverAuth
subjectAltName = @alt_names
tlsfeature = status_request
[alt_names]
DNS.1 = ocsp-must-2.helloedge.app
Step 2: Create a Certificate Signing Request (CSR) with the OCSP Must-Staple extension.
This example shows a sample CSR:
openssl req -new -out out.csr -newkey rsa:2048 -nodes -sha256 -keyout out.key -config tls_config
Step 3: Request and obtain a certificate from the CA.
This example shows a sample request from the Let's Encrypt CA:
sudo certbot certonly --register-unsafely-without-email --manual --preferred-challenges dns --must-staple --csr out.csr -d ocsp-must-2.helloedge.app
Step 4: Verify that the certificate is enabled with OCSP support.
- Check for the method from the command line:
openssl x509 -in <cert-name>.crt -noout -text
- Import and view the certificate from a browser:
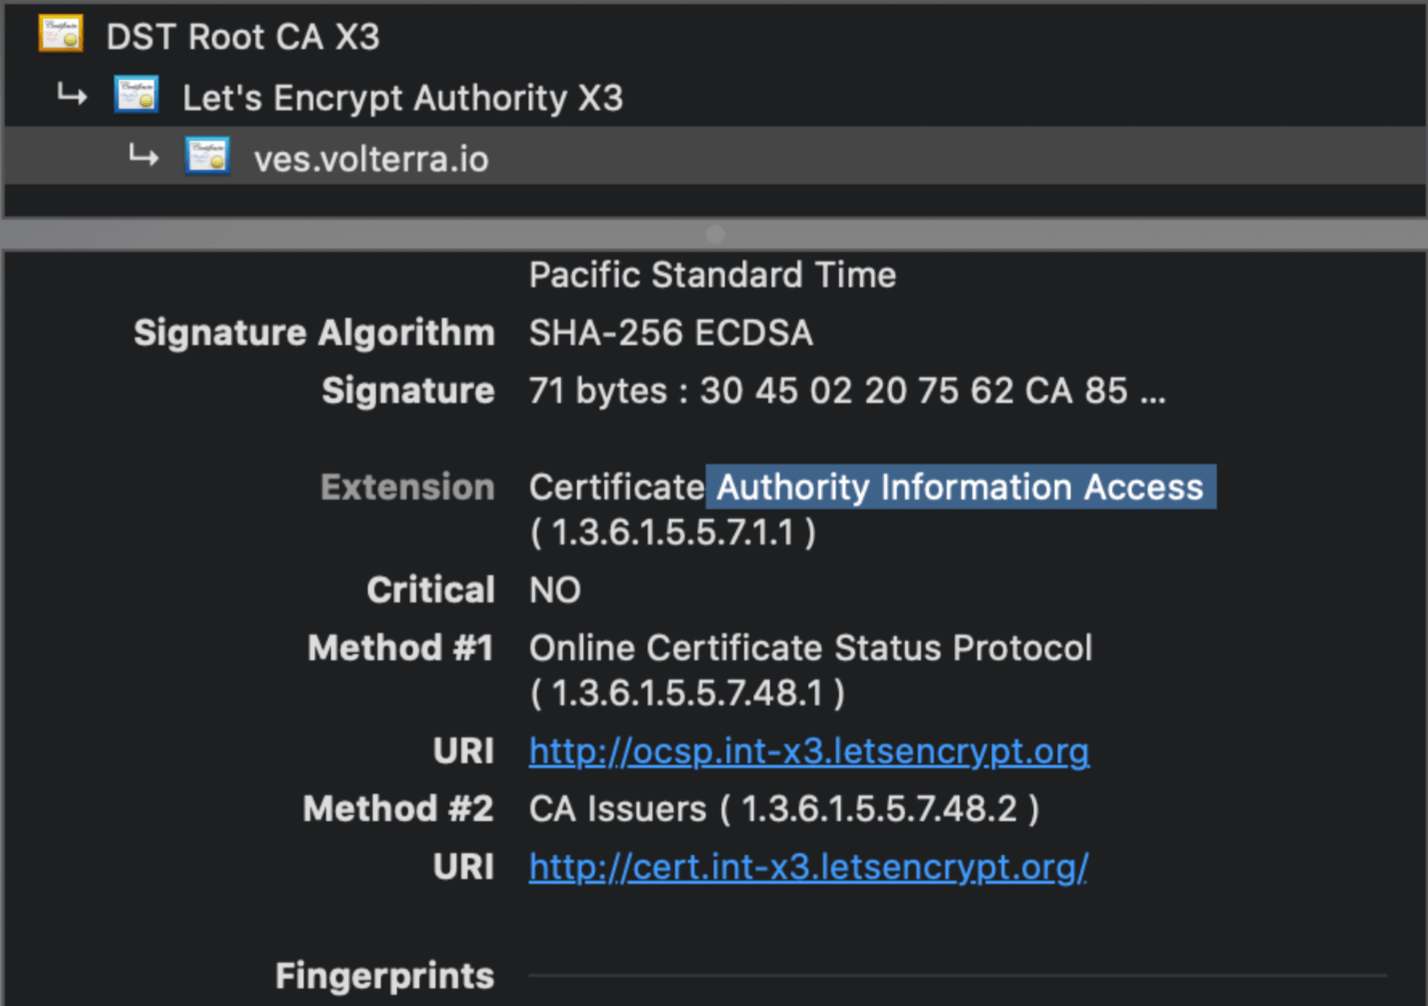
Figure: OCSP Enabled CA Signed Certificate
Apply Certificate in Load Balancer Configuration
Apply the certificate created in the section above to the configuration of the load balancer.
Step 1: Navigate to load balancer to edit.
-
In Console, select
Multi-Cloud App Connect. -
Navigate to
Manage>Load Balancers>HTTP Load Balancers. -
Find your load balancer and then select
...>Manage Configuration. -
Select
Edit Configuration.
Step 2: Configure certificate information.
-
In the
Domains and LB Typesection, perform the following:-
From the
Load Balancer Typemenu, selectHTTPS with Custom Certificate. -
From the
TLS Configurationmenu, selectInline Certificate (legacy). -
Click
Configure. -
Click
Add Item. -
In the
Certificatebox, clickImport from File. -
In the popup window, click
Upload Fileto select the certificate file. Then clickImport. -
Optionally, enter a description for this certificate file.
-
From the
OCSP Stapling choicemenu, selectFetch with F5XC default settingsorUse hash algorithms in custom order. If you chose a hash algorithm, select it from theHash Algorithmsmenu. -
Click
Applyto save OCSP configuration. -
Click
Applyto save TLS parameters configuration.
-
Step 3: Save load balancer configuration.
Click Save and Exit.