Configure IP Reputation Service
Objective
This guide provides instructions on how to enable the IP Reputation Service from within F5® Distributed Cloud Console (Console). This feature enables you to allow or deny IP addresses based on a threat category or a threat score. The threat categories are configured from within your load balancer configuration, and the threat scores are configured using a service policy. The IP Reputation Service includes a database of known malicious IP addresses. This database is updated continuously.
To learn more about security and load balancing concepts, see Security and Load Balancing and Service Mesh.
Prerequisites
The following prerequisites apply:
-
An F5 Distributed Cloud Account. If you do not have an account, see Getting Started with Console.
-
An HTTP load balancer. For instructions on how to create an HTTP load balancer, see HTTP Load Balancer.
Configuration
You can enable detection using a basic method (threat categories) or a more advanced method (label selectors with threat categories and IP scores).
Note: You can only use one method per load balancer. You cannot use both the basic and advanced methods together.
-
Basic method: Using single or multiple IP threat categories. The categories include the following:
-
Spam Sources: Includes Tunneling Spam messages through proxy, anomalous SMTP activities, and Forum Spam activities.
-
Mobile Threats: Includes IP addresses of malicious and unwanted mobile applications.
-
Network Attacks: Includes IP addresses that are known to attack networks.
-
Windows Exploits: Includes active IP addresses offering or distributing malware, shell code, rootkits, worms, or viruses.
-
Web Attacks: Includes cross-site scripting, iFrame injection, SQL injection, cross domain injection, or domain password brute force.
-
Botnets: Includes botnet command and control channels and infected zombie machines controlled by the botnet controller.
-
Scanners: Includes all reconnaissance, such as probes, host scan, domain scan, and password brute force.
-
Denial of service: Includes DoS, DDoS, anomalous SYN flood, and anomalous traffic detection.
-
Reputation: When enabled, denies access to IP addresses currently known to be infected with malware or to contact malware distribution points.
-
Phishing: Includes IP addresses hosting phishing sites or other kinds of fraud activities, such as click fraud or gaming fraud.
-
Anonymous Proxies/Tor Proxy: Includes IP addresses providing proxy and anonymization services, as well as The Onion Router (Tor) anonymizer addresses.
-
-
Advanced method: Using a label selector with two label options:
reputation.ves.io/ip-trustscoreandreputation.ves.io/ip-threat-category. You can use one or the other, or you can use both labels together in expressions. The lower the score, the higher the risk is for that particular IP address.
This table provides the score and corresponding score levels:
| Score Range | Score | Risk |
|---|---|---|
| 1-50 | Low | High |
| 51-80 | Medium | Medium |
| 81-100 | High | Low |
This guide provides both methods for configuring the IP Reputation Service: (1) deny malicious IP addresses using a load balancer and (2) deny malicious IP addresses based on scores using a service policy. This guide also assumes you are using an existing HTTP load balancer.
Note: No steps are shown for applying a service policy for a load balancer. Once a service policy is made active, it is automatically applied on a load balancer by default.
Deny Malicious IPs Using IP Threat Categories
You can configure your load balancer to deny IP addresses based on known IP threat categories.
Step 1: Navigate to load balancers in Console.
- From the Console homepage, click
Multi-Cloud App Connect.
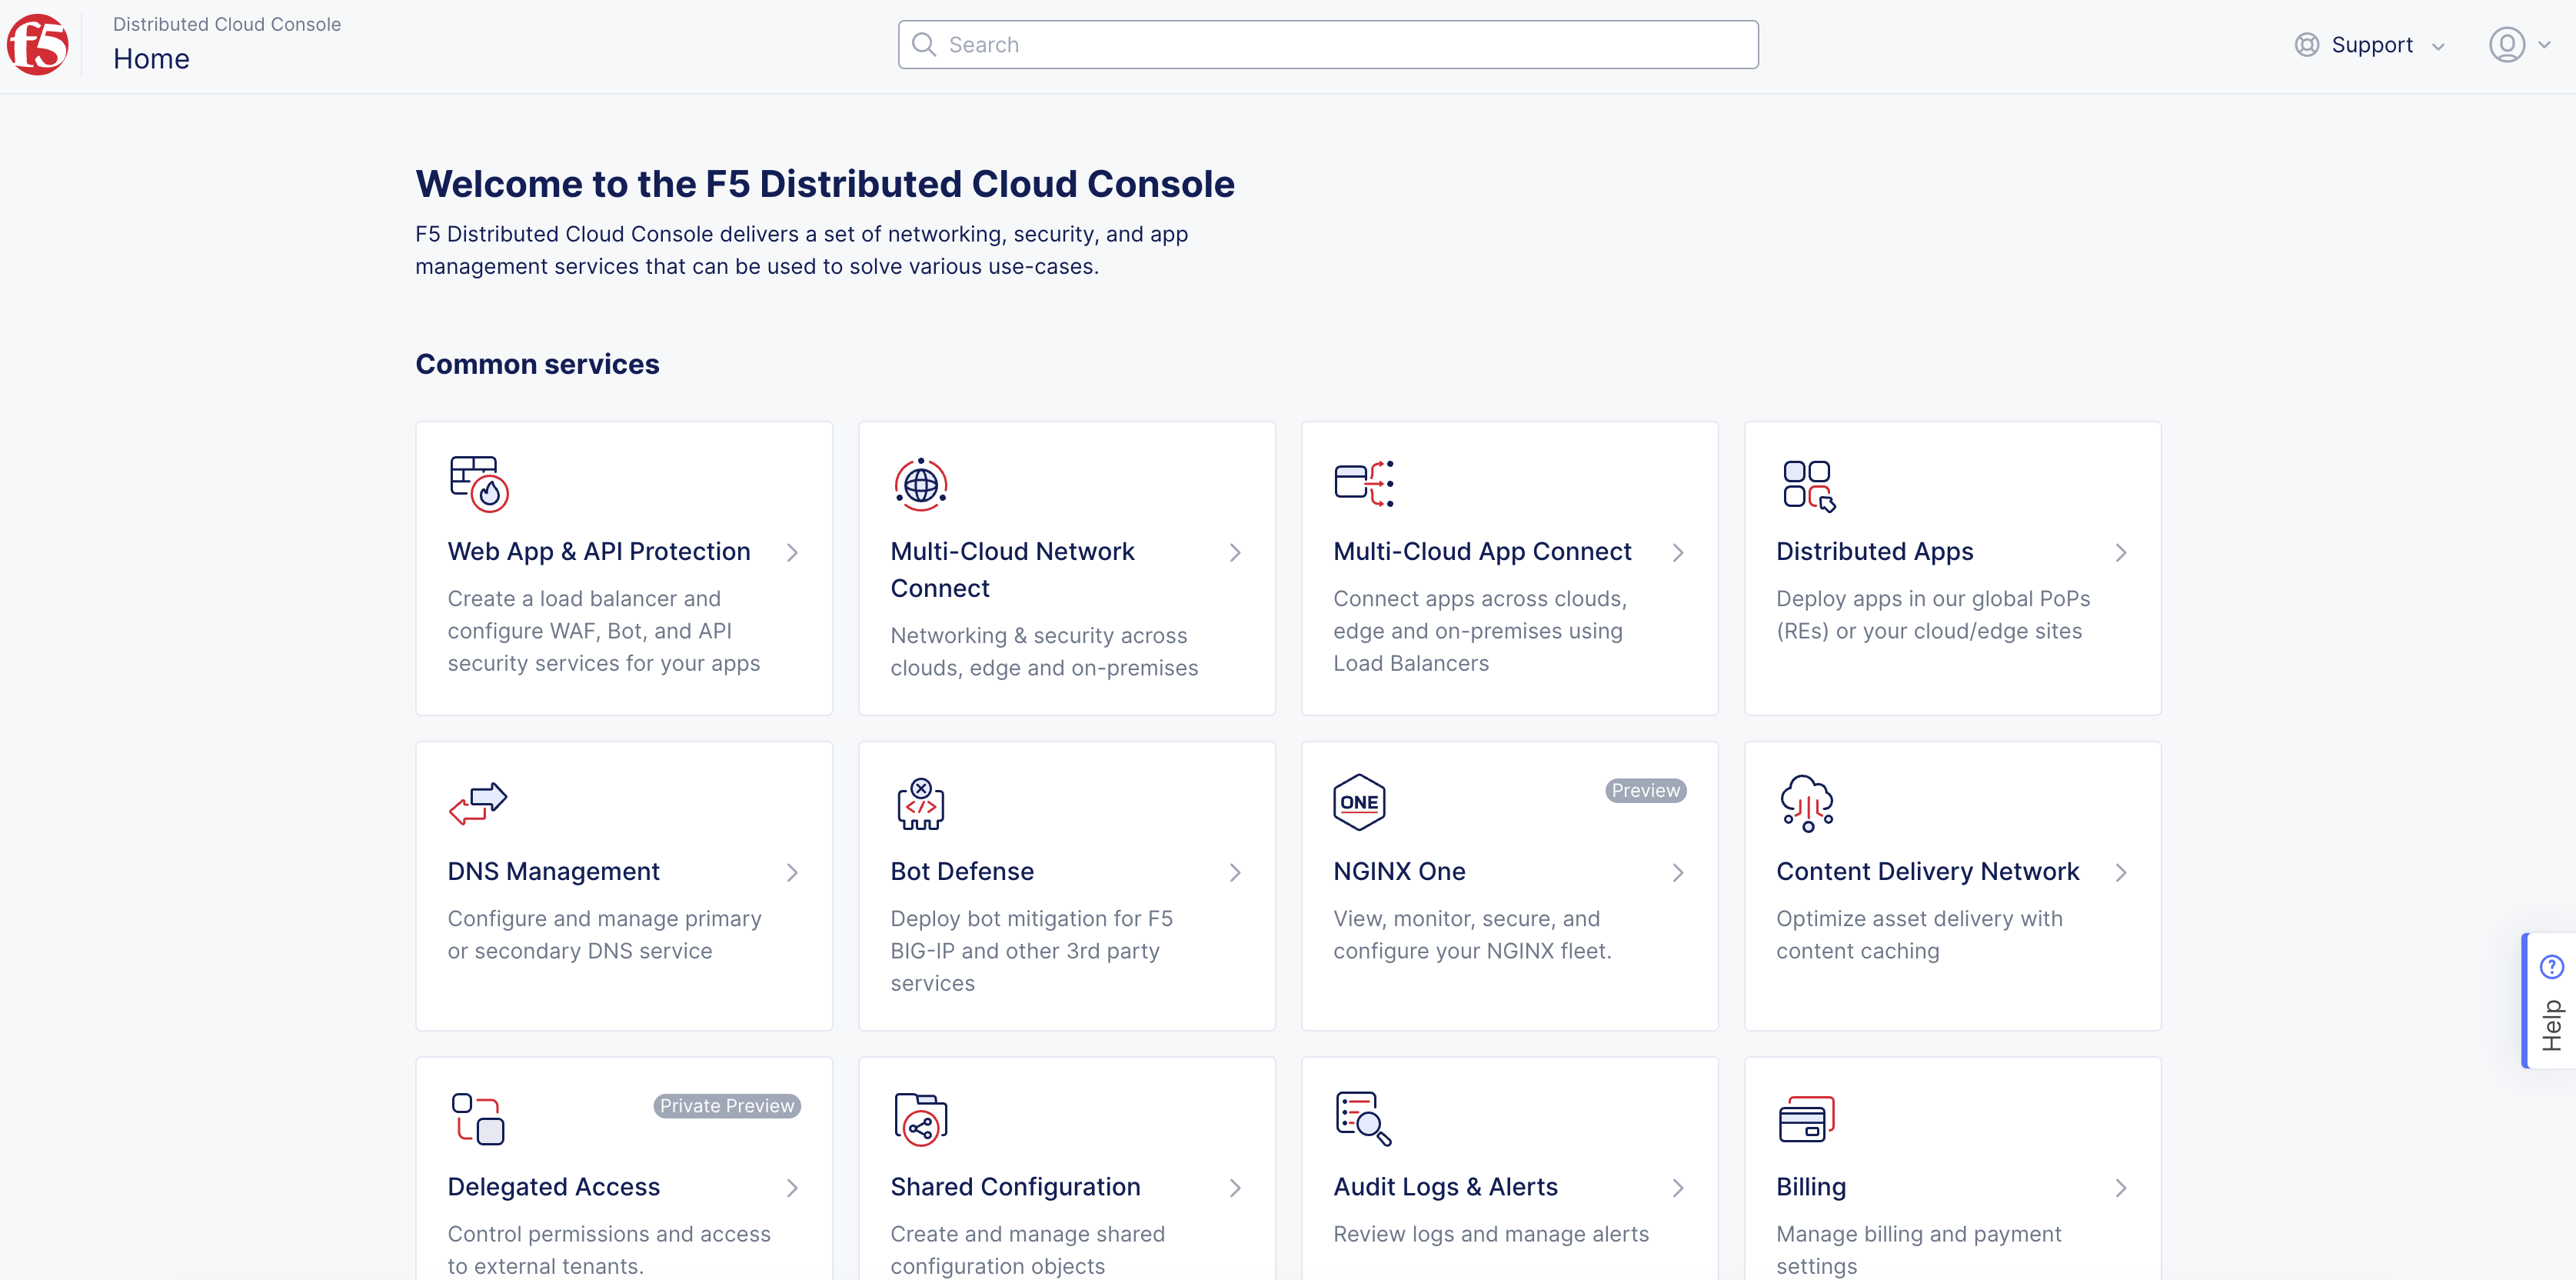
Figure: Console Homepage
-
Select the desired namespace.
-
Click
Manage>Load Balancers>HTTP Load Balancers.
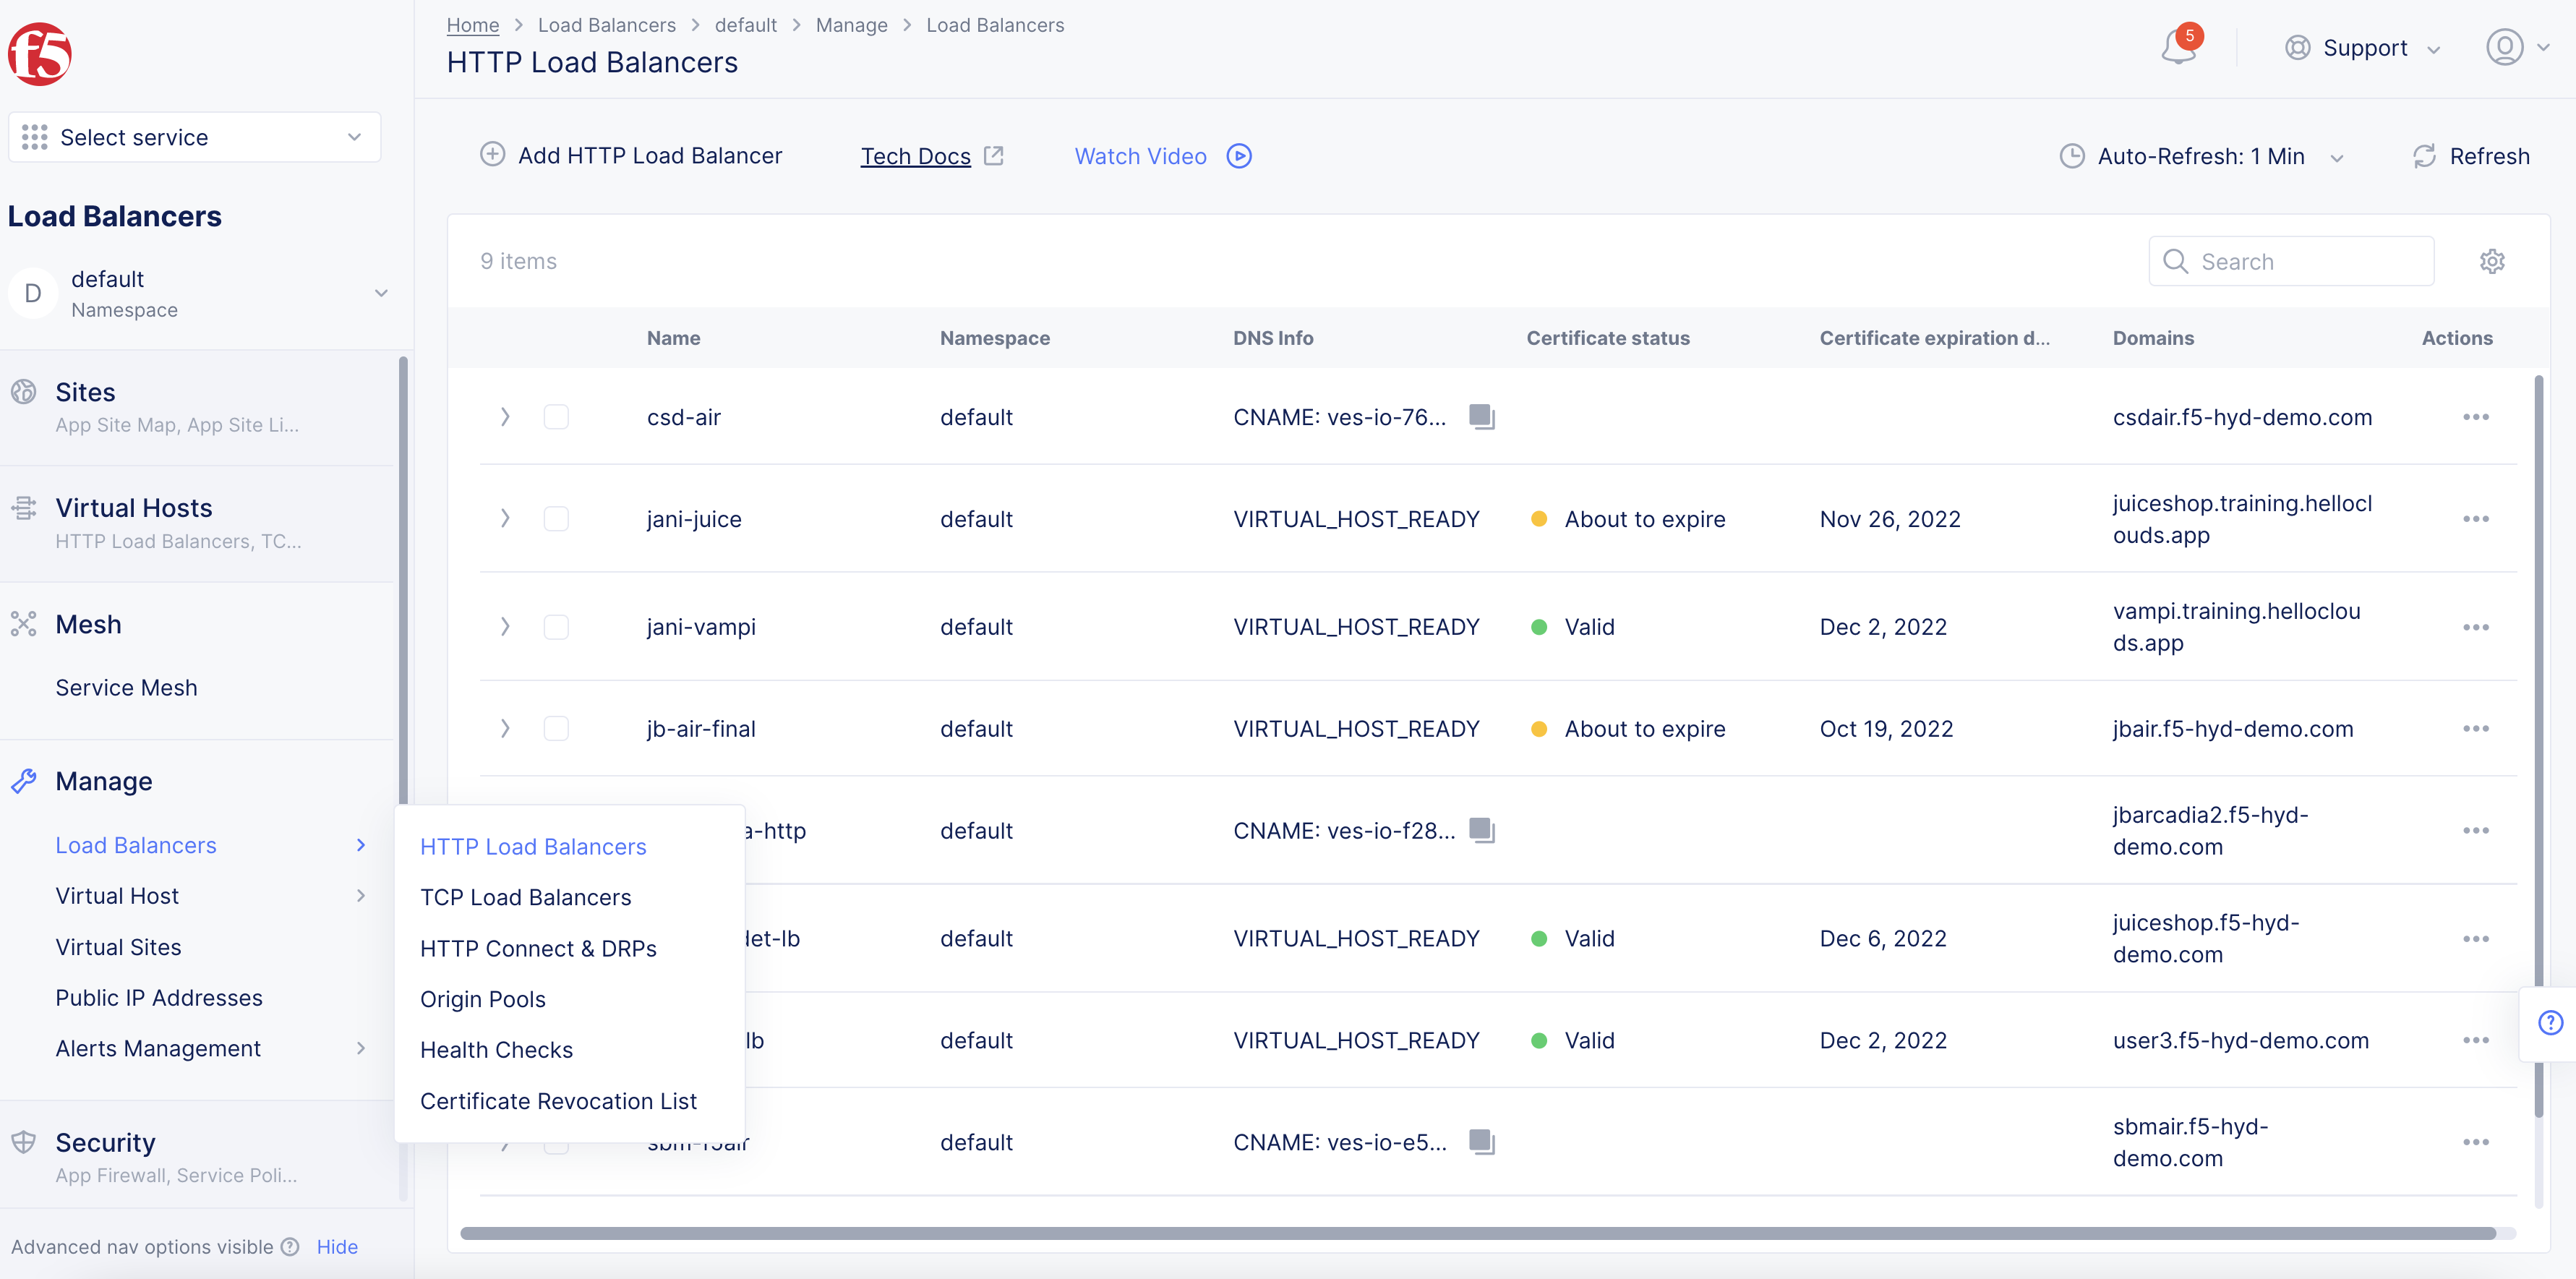
Figure: List of Load Balancers
- Find your load balancer and click
...>Manage Configuration.
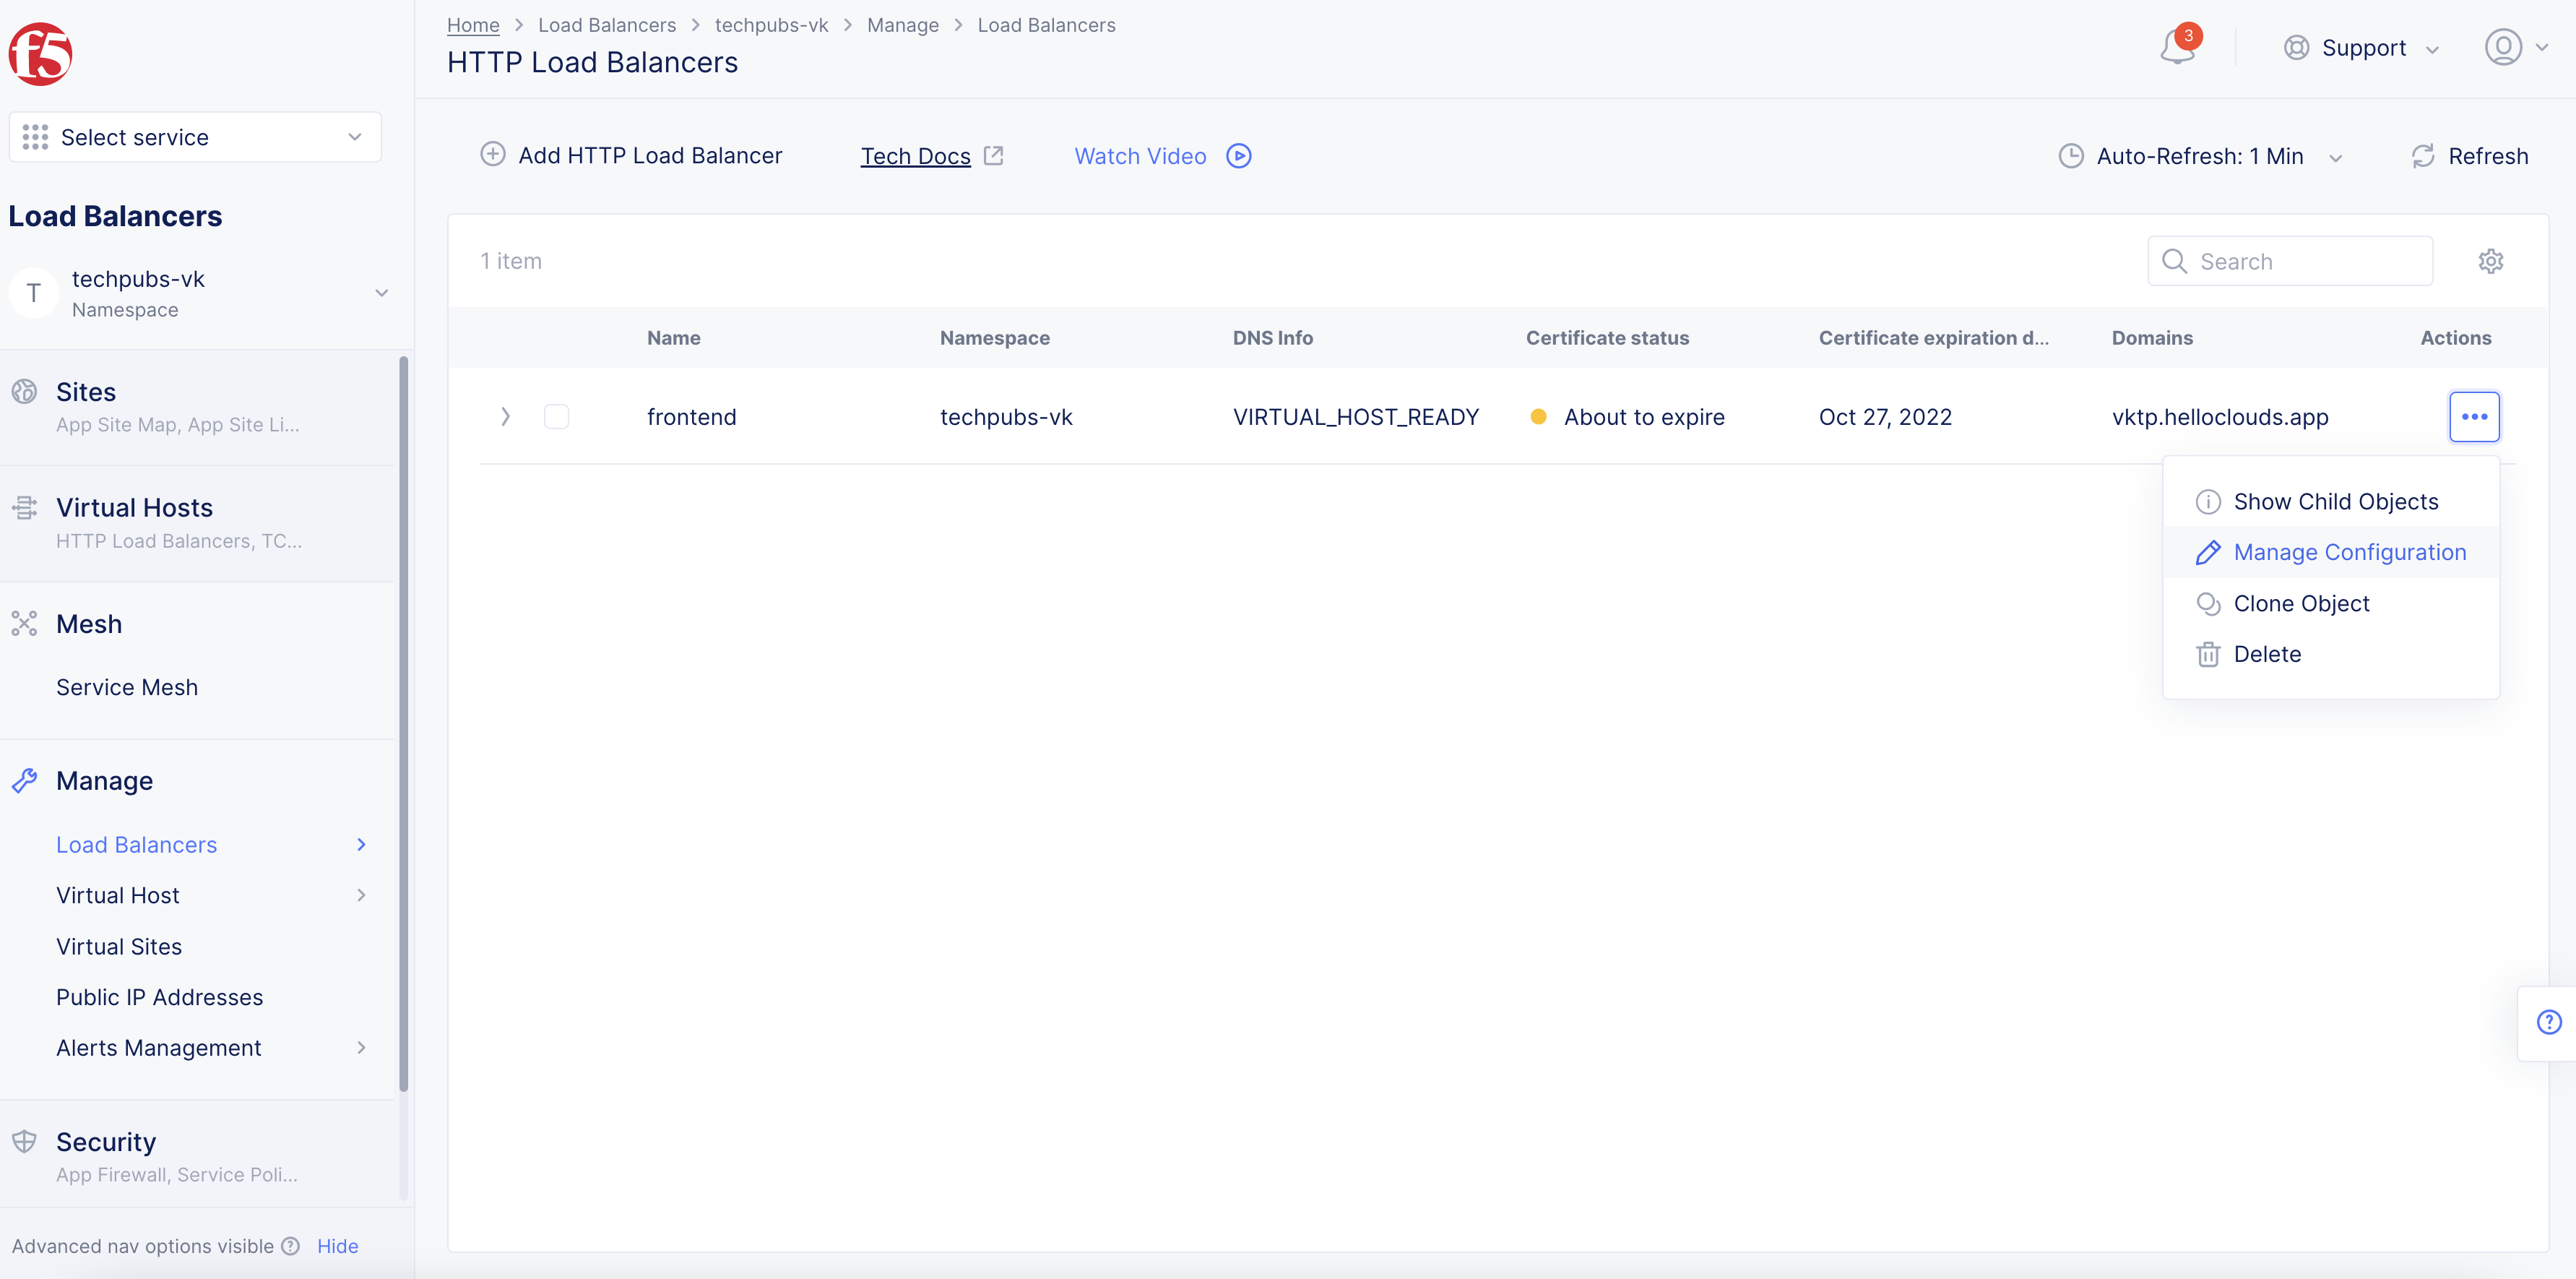
Figure: Manage Configuration
- Click
Edit Configuration.
Step 2: Enable the IP Reputation Service feature.
-
In the load balancer configuration form, scroll to the
Common Security Controlssection. -
From the
IP Reputationmenu, selectEnable.
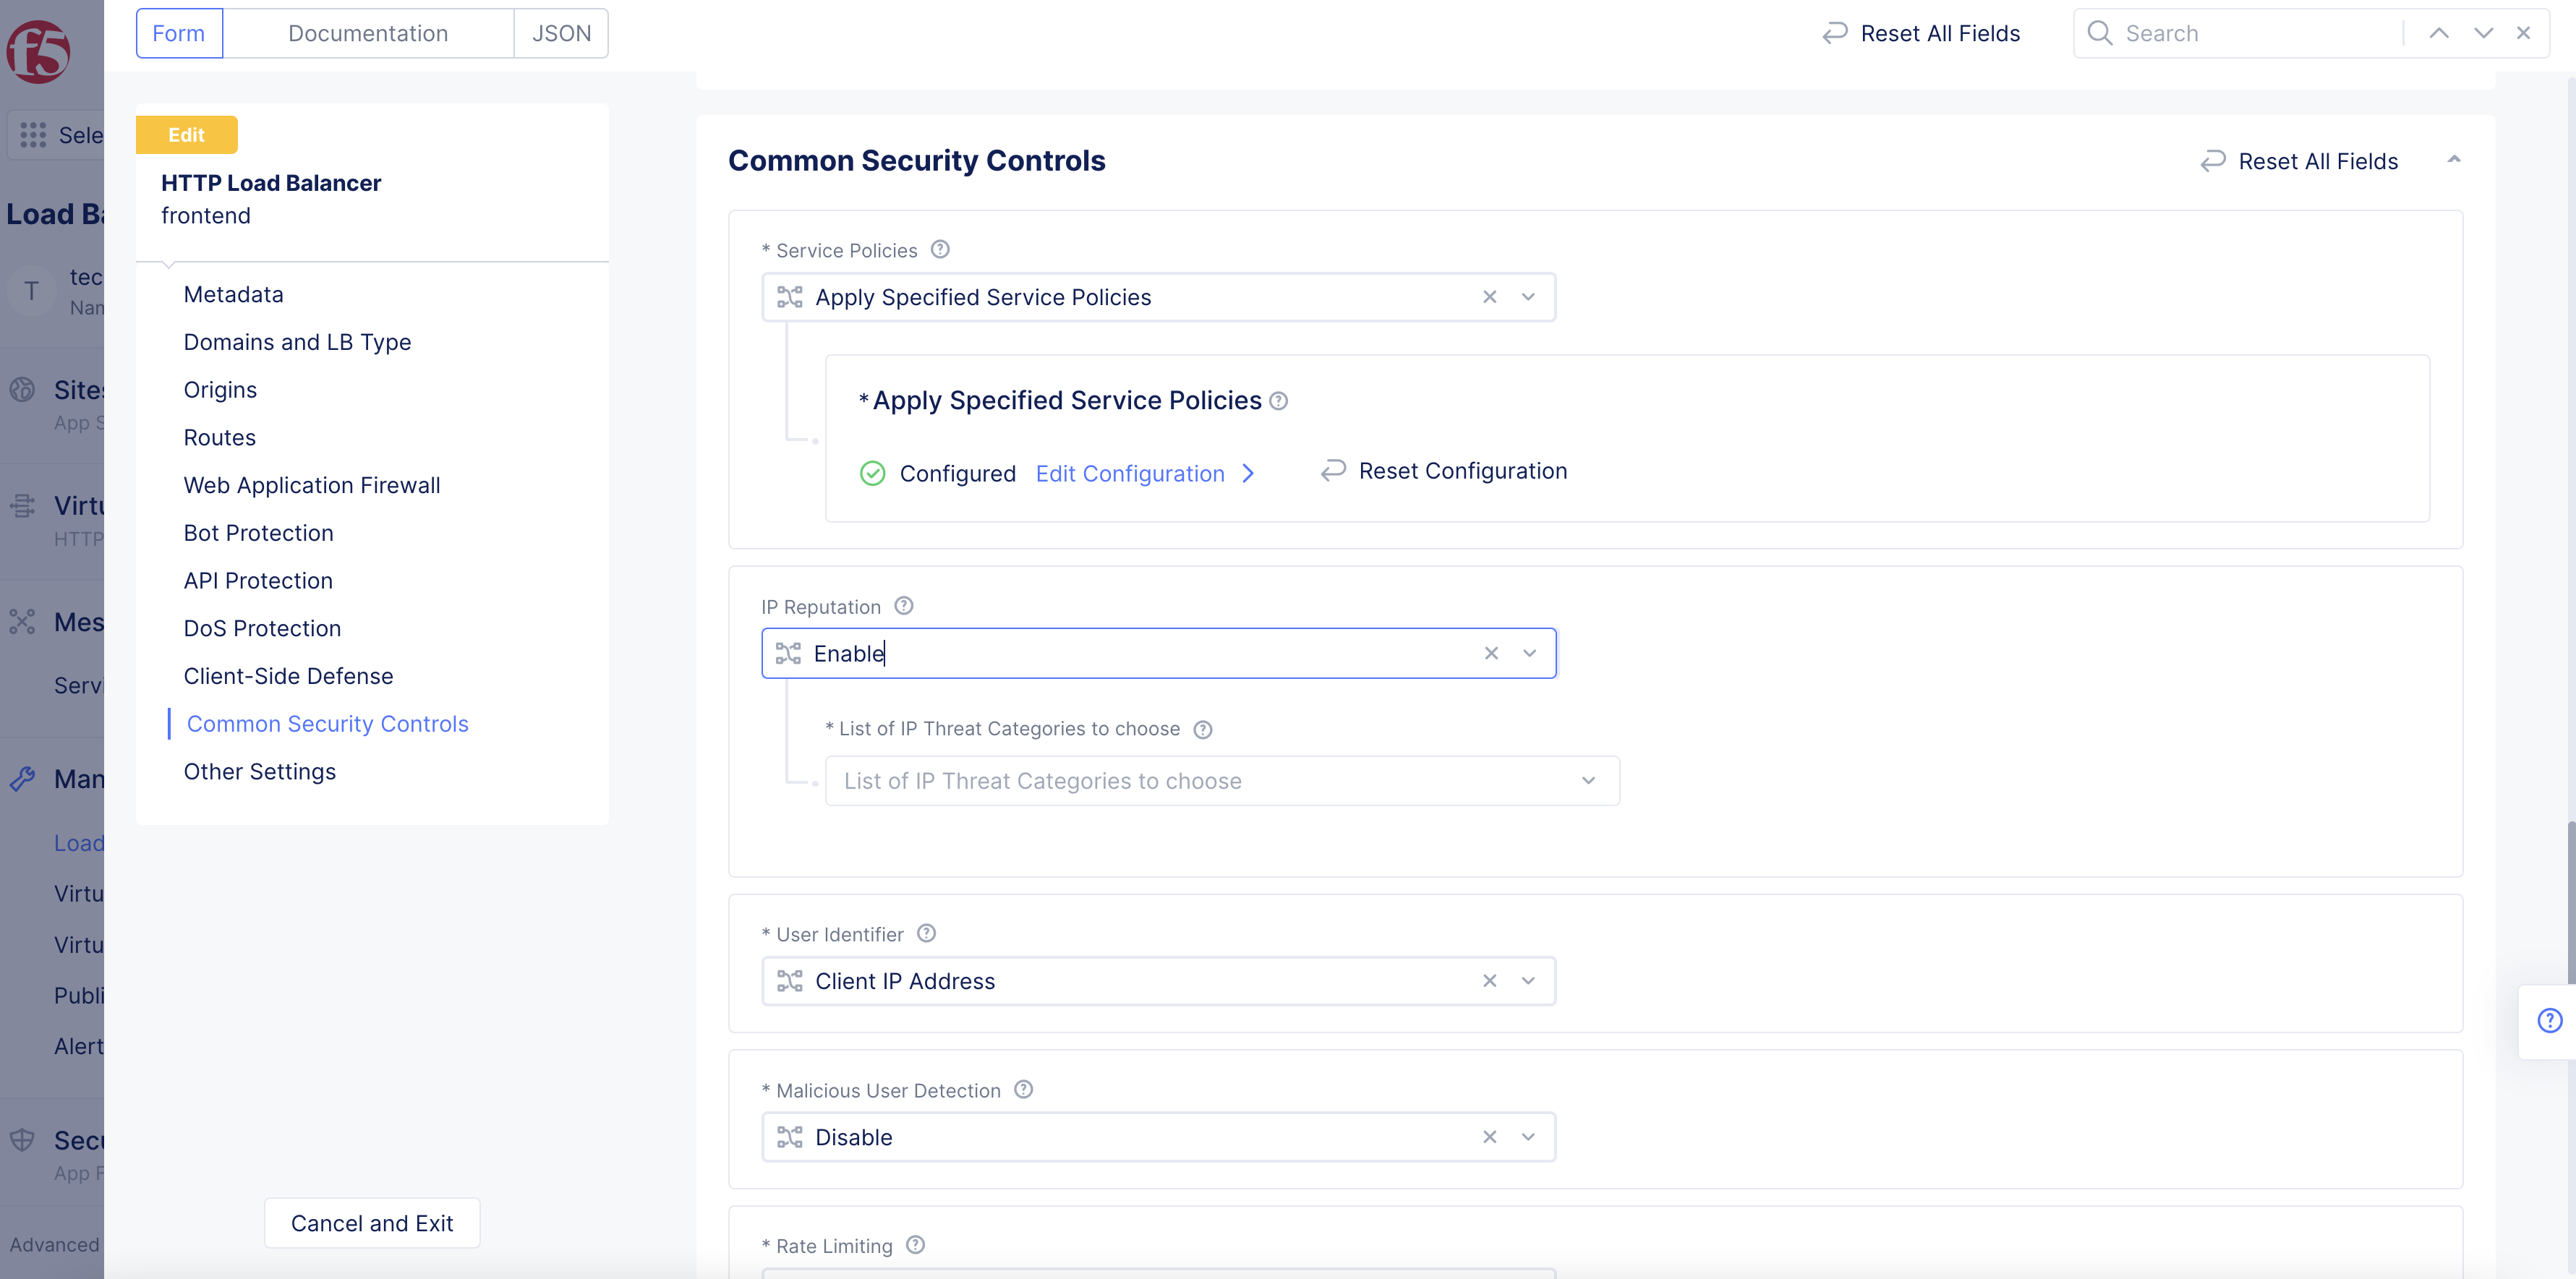
Figure: Enable
- From the
List of IP Threat Categories to choosemenu, select an IP threat category. You can choose more than one category.
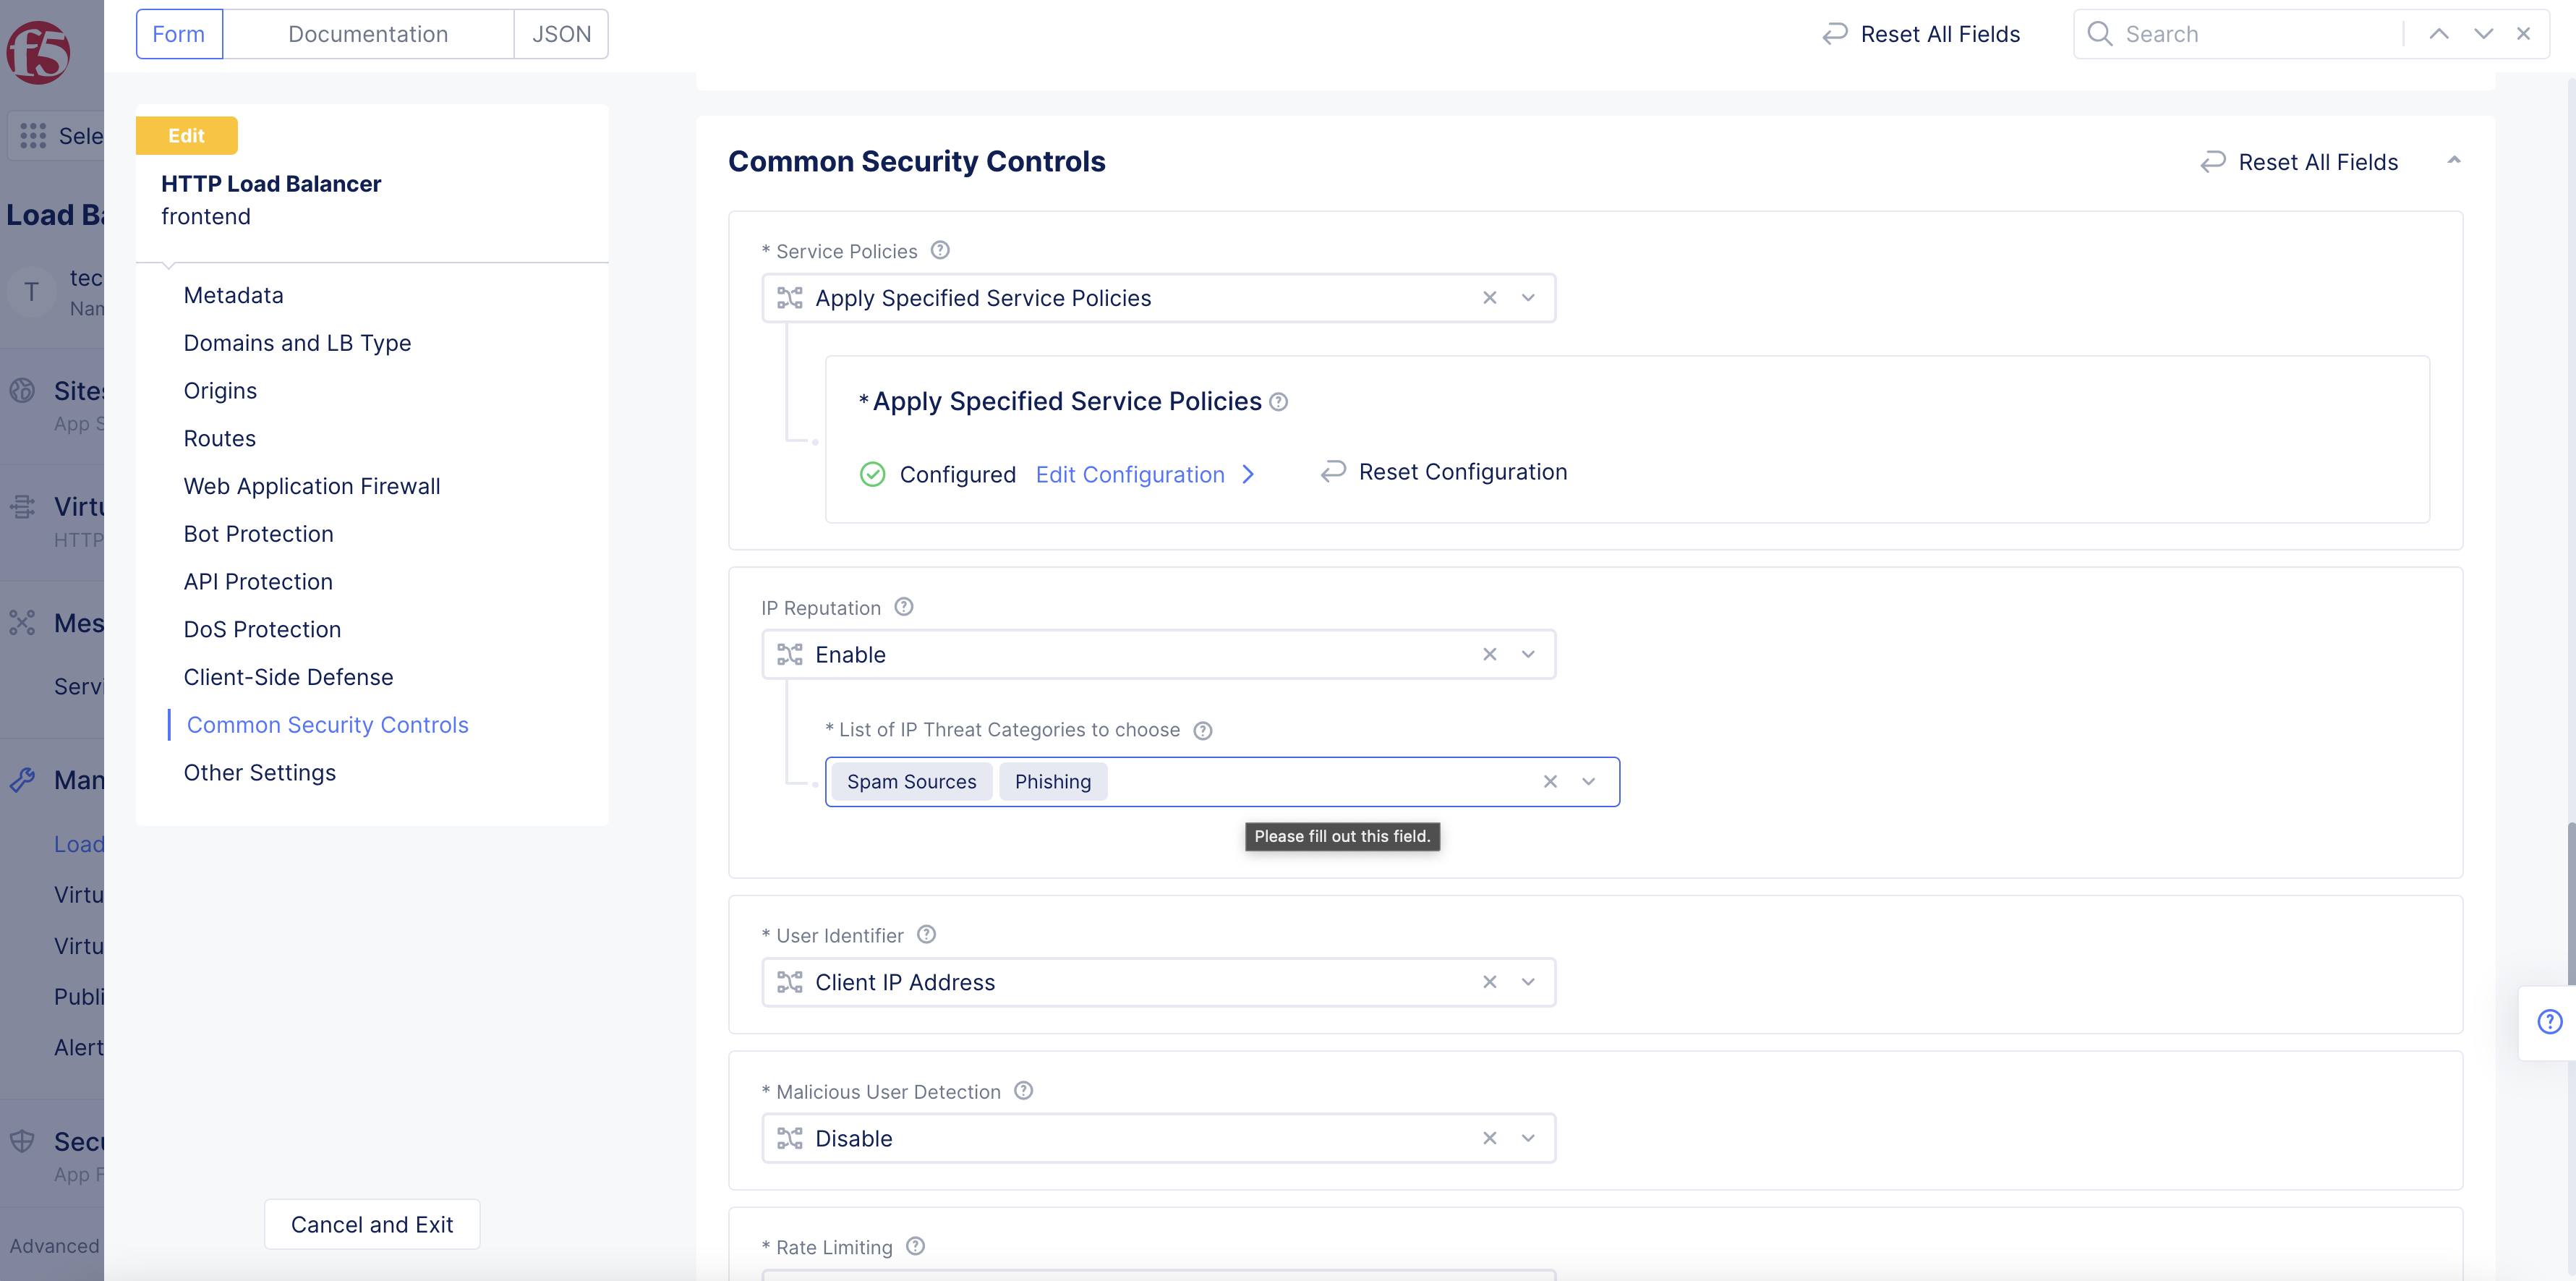
Figure: Select IP Threat Categories
Step 3: Complete configuration and save the new settings.
-
Complete the rest of the configuration for the required settings, if needed.
-
After you finish, click
Save and Exit.
Step 4: Verify the operation.
After you configure your load balancer, send a test request from a client IP address. If there is no match for an IP address, the request will be allowed. If the IP address matches, then the request will be denied.
Deny Malicious IPs Using Label Selectors
You can configure your service policy to deny an IP address based on its reputation score. Note that the lower the score attached to a particular IP address, the higher the malicious risk with that IP address. Note that this is a more advanced method than the one shown above for load balancers.
Step 1: Navigate to service policies in Console.
- From the
Consolehomepage, clickWeb App & API Protection.
Figure: Console Homepage
- Click
Manage>Service Policies>Service Policies.
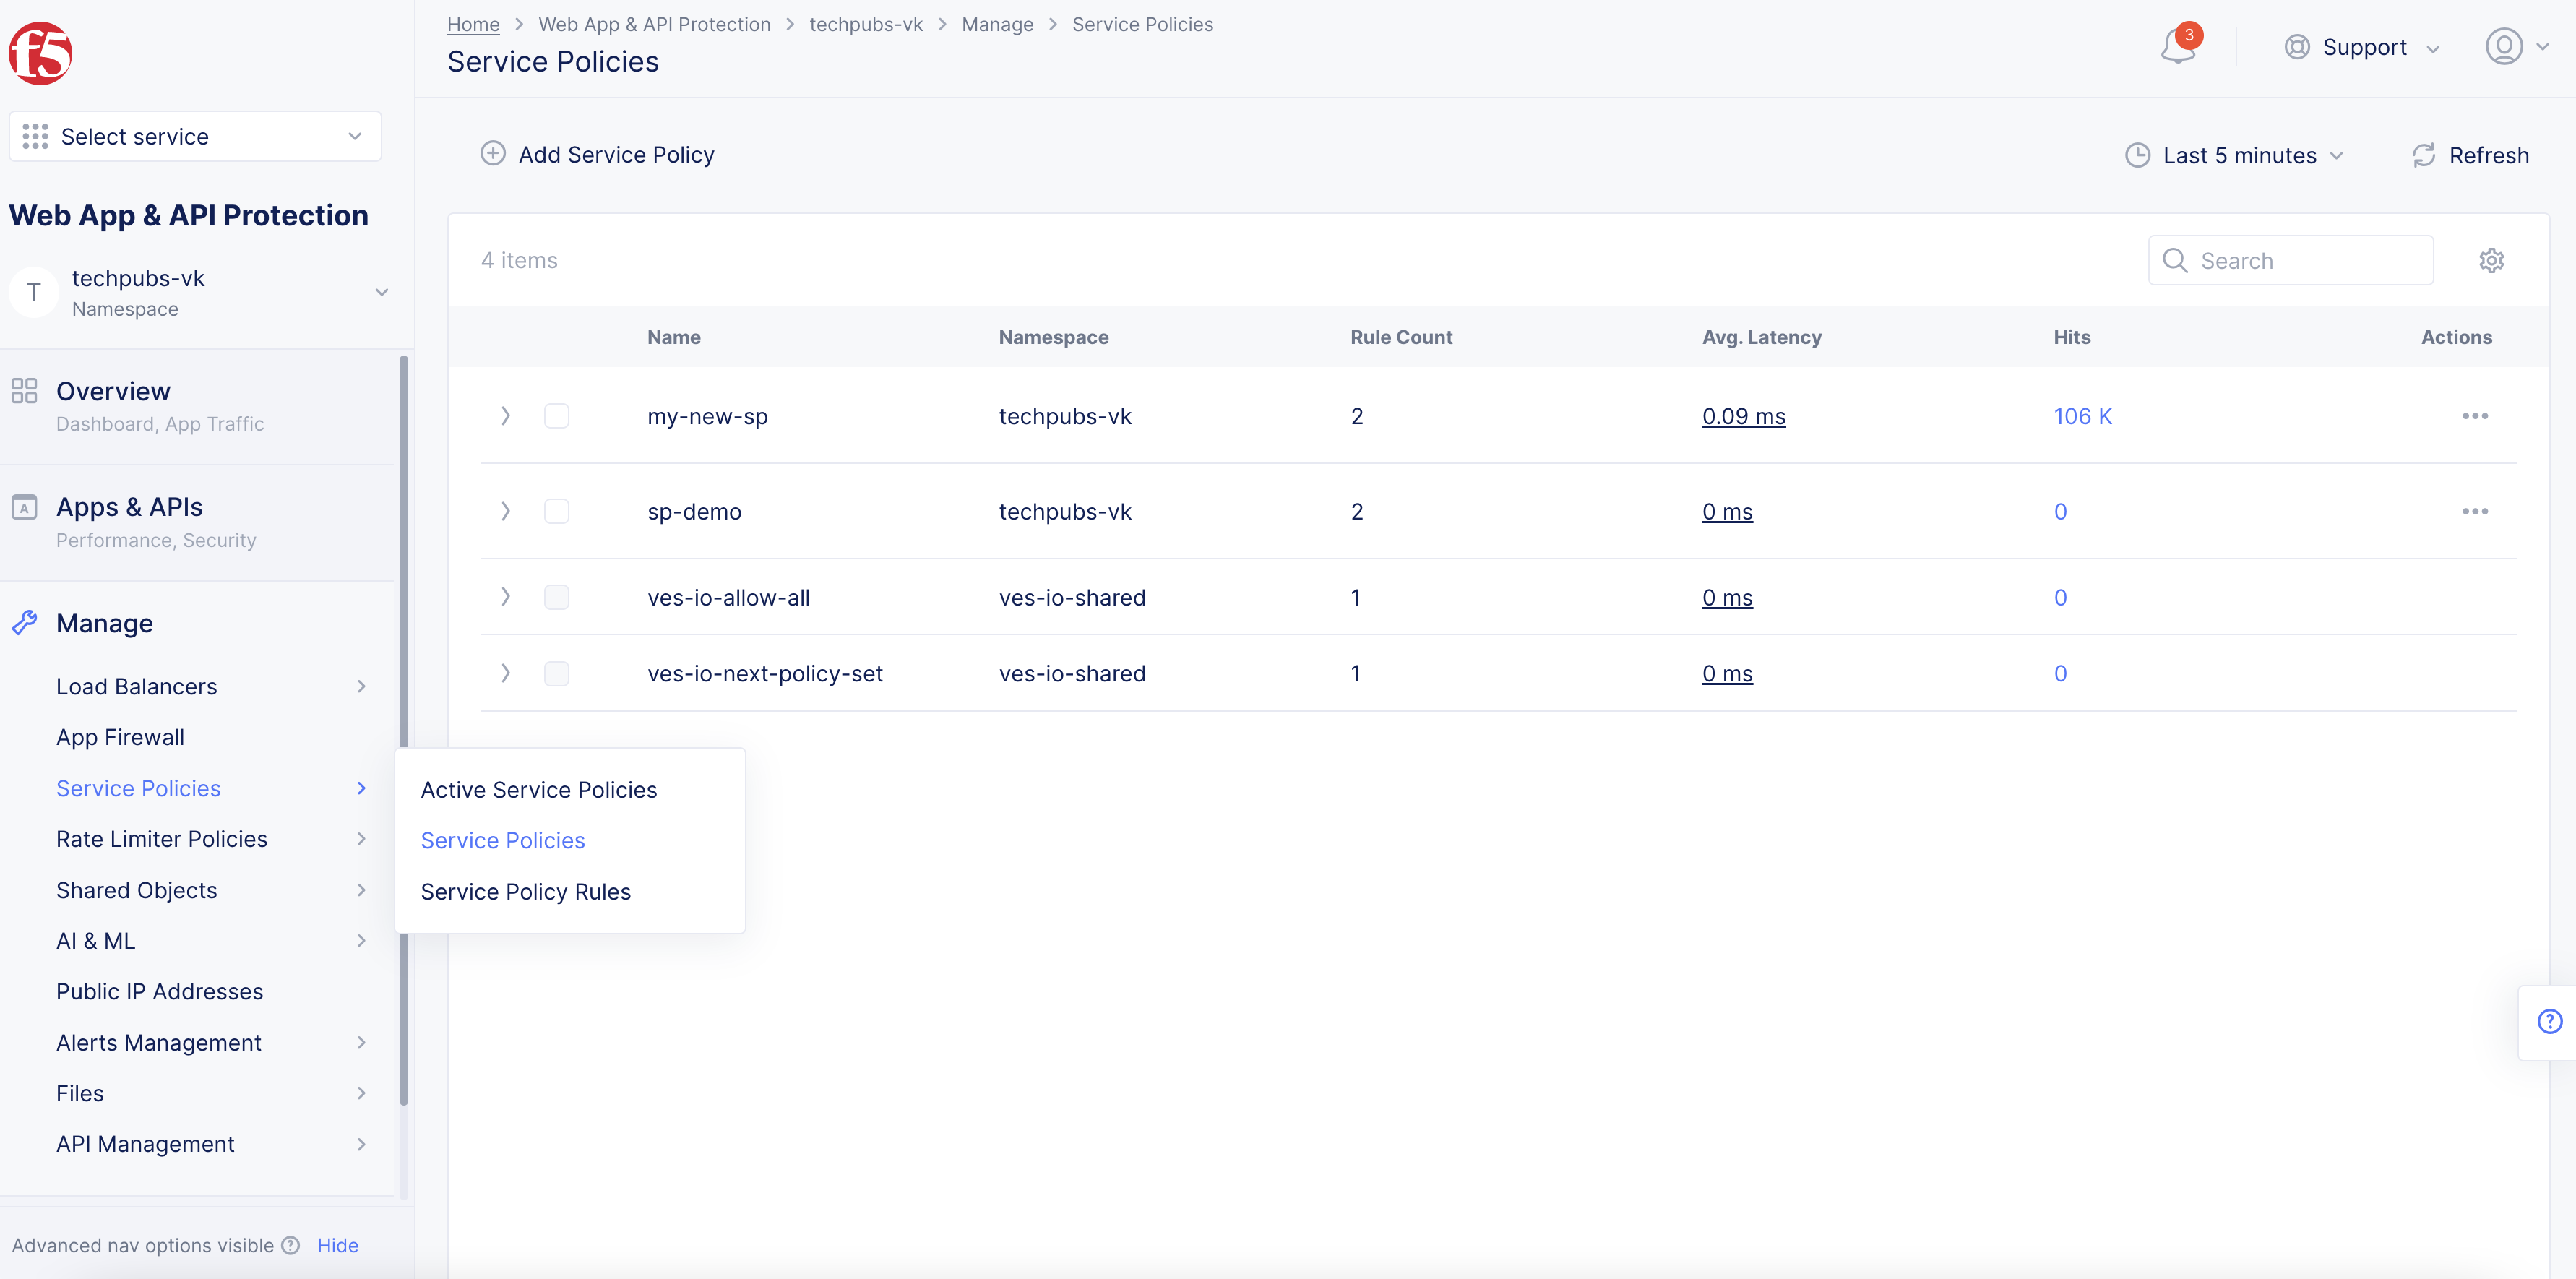
Figure: List of Service Policies
Step 2: Create custom rule using label selector.
-
Click
Add Service Policy. -
In the
Rulessection, from theSelect Policy Rulesmenu, ensureCustom Rule Listis selected. -
Click
Configure.
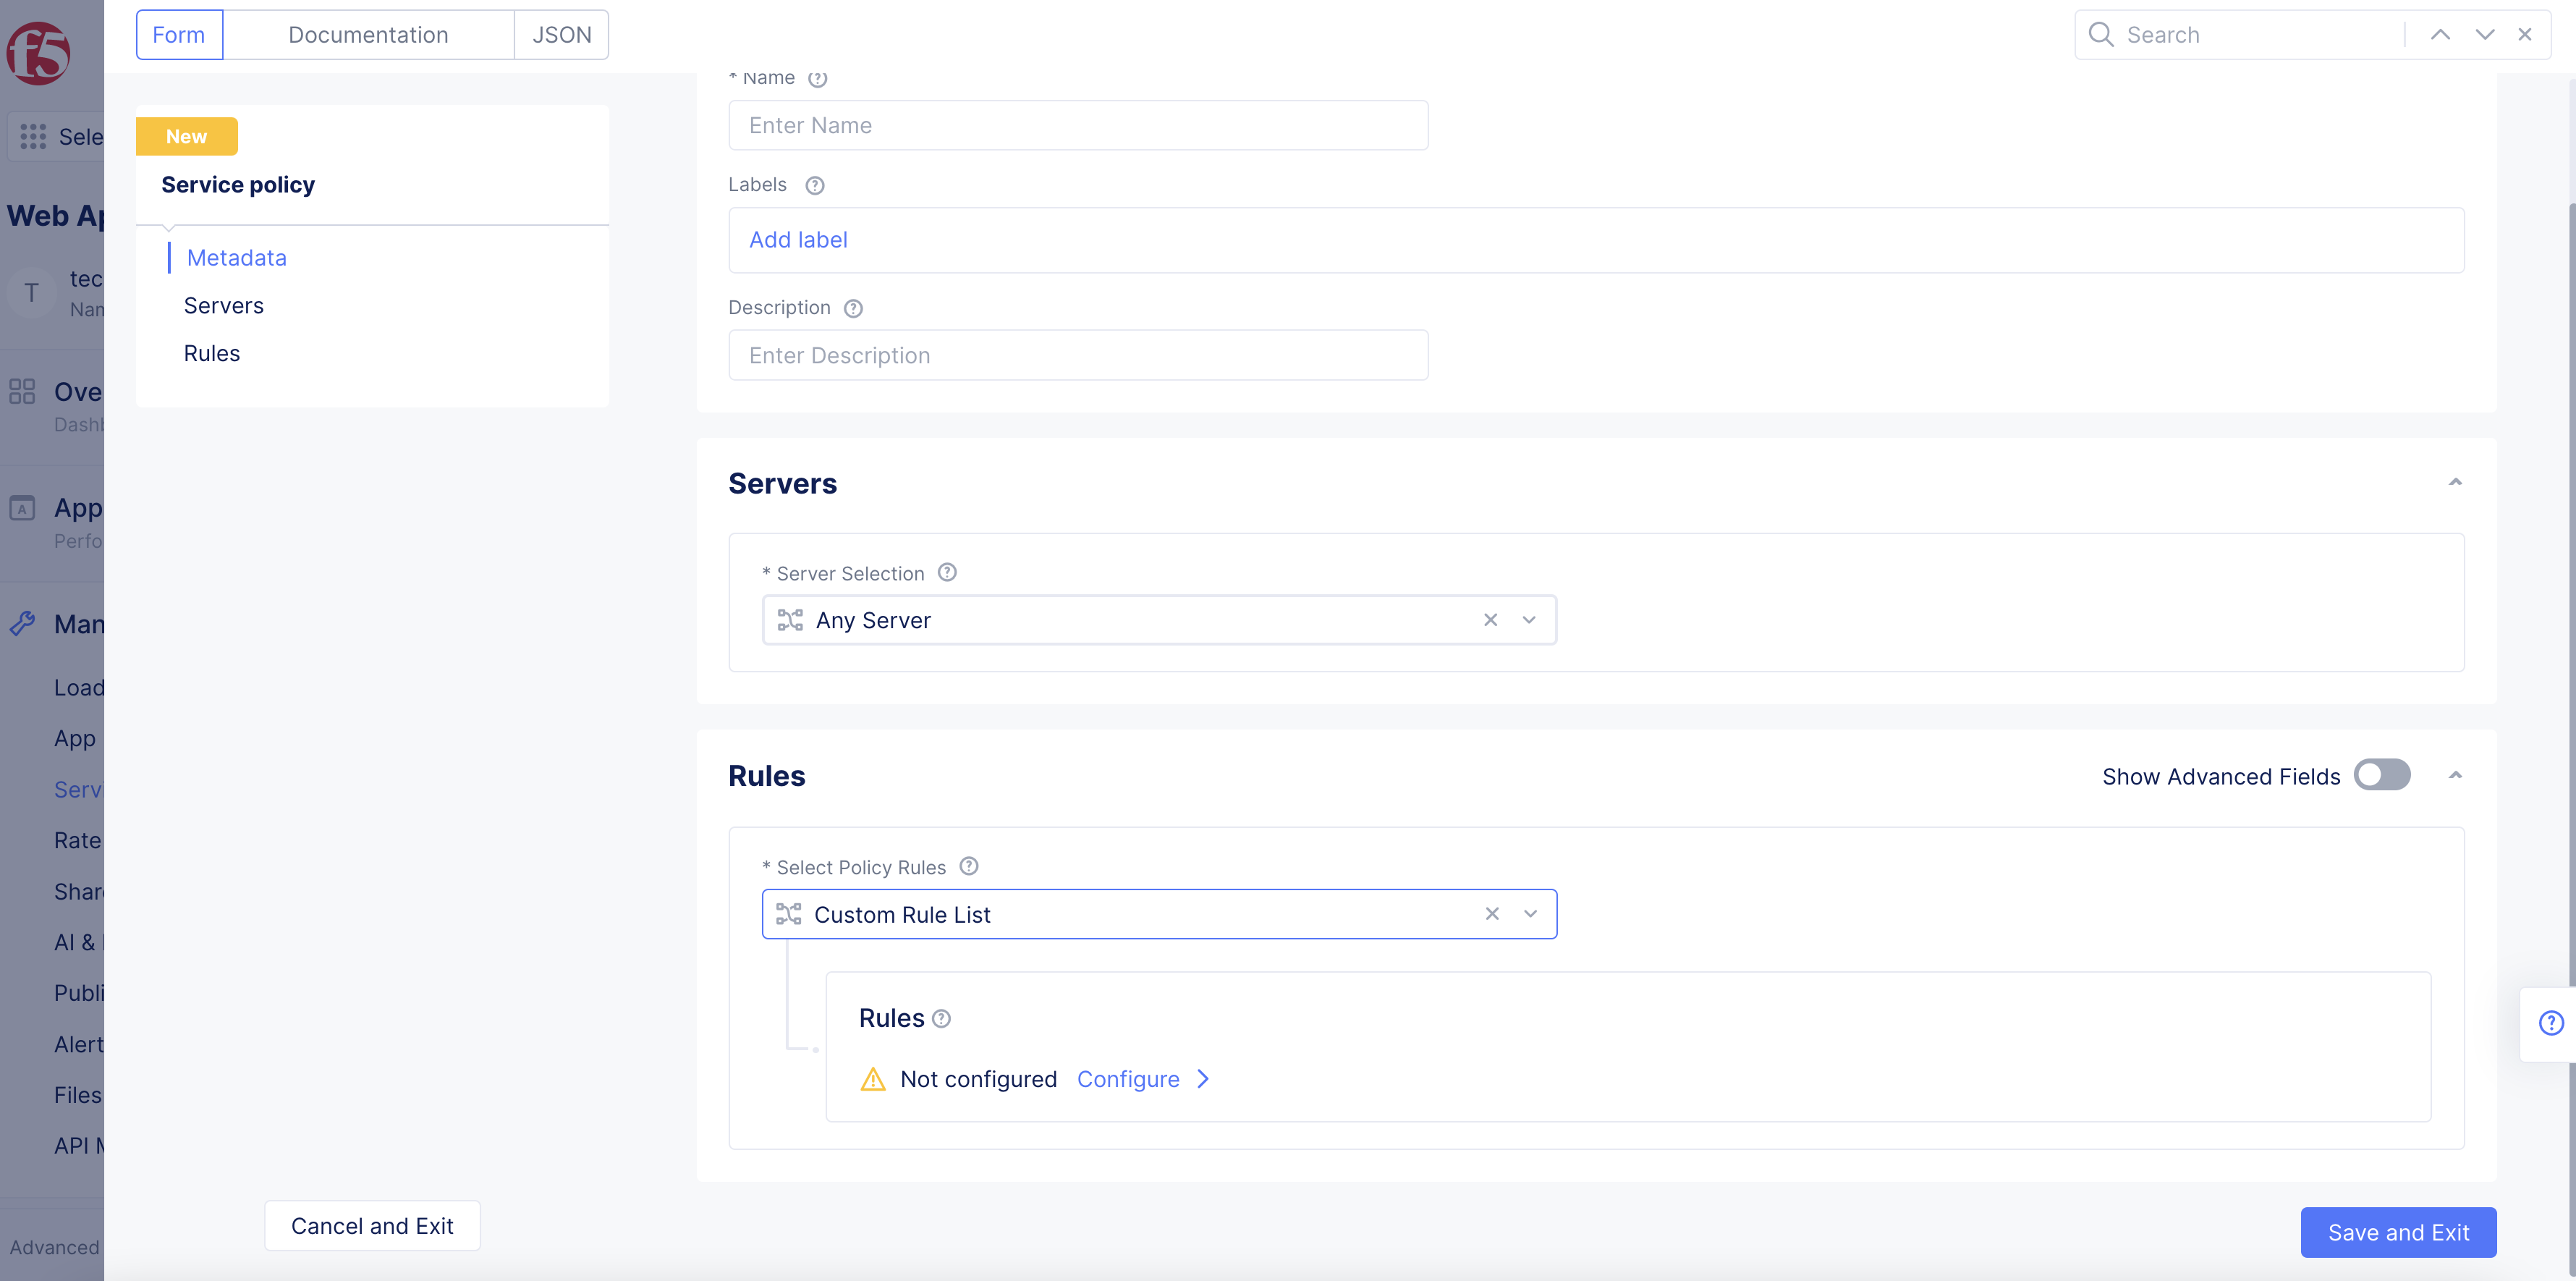
Figure: Configuration
- Click
Add Item.
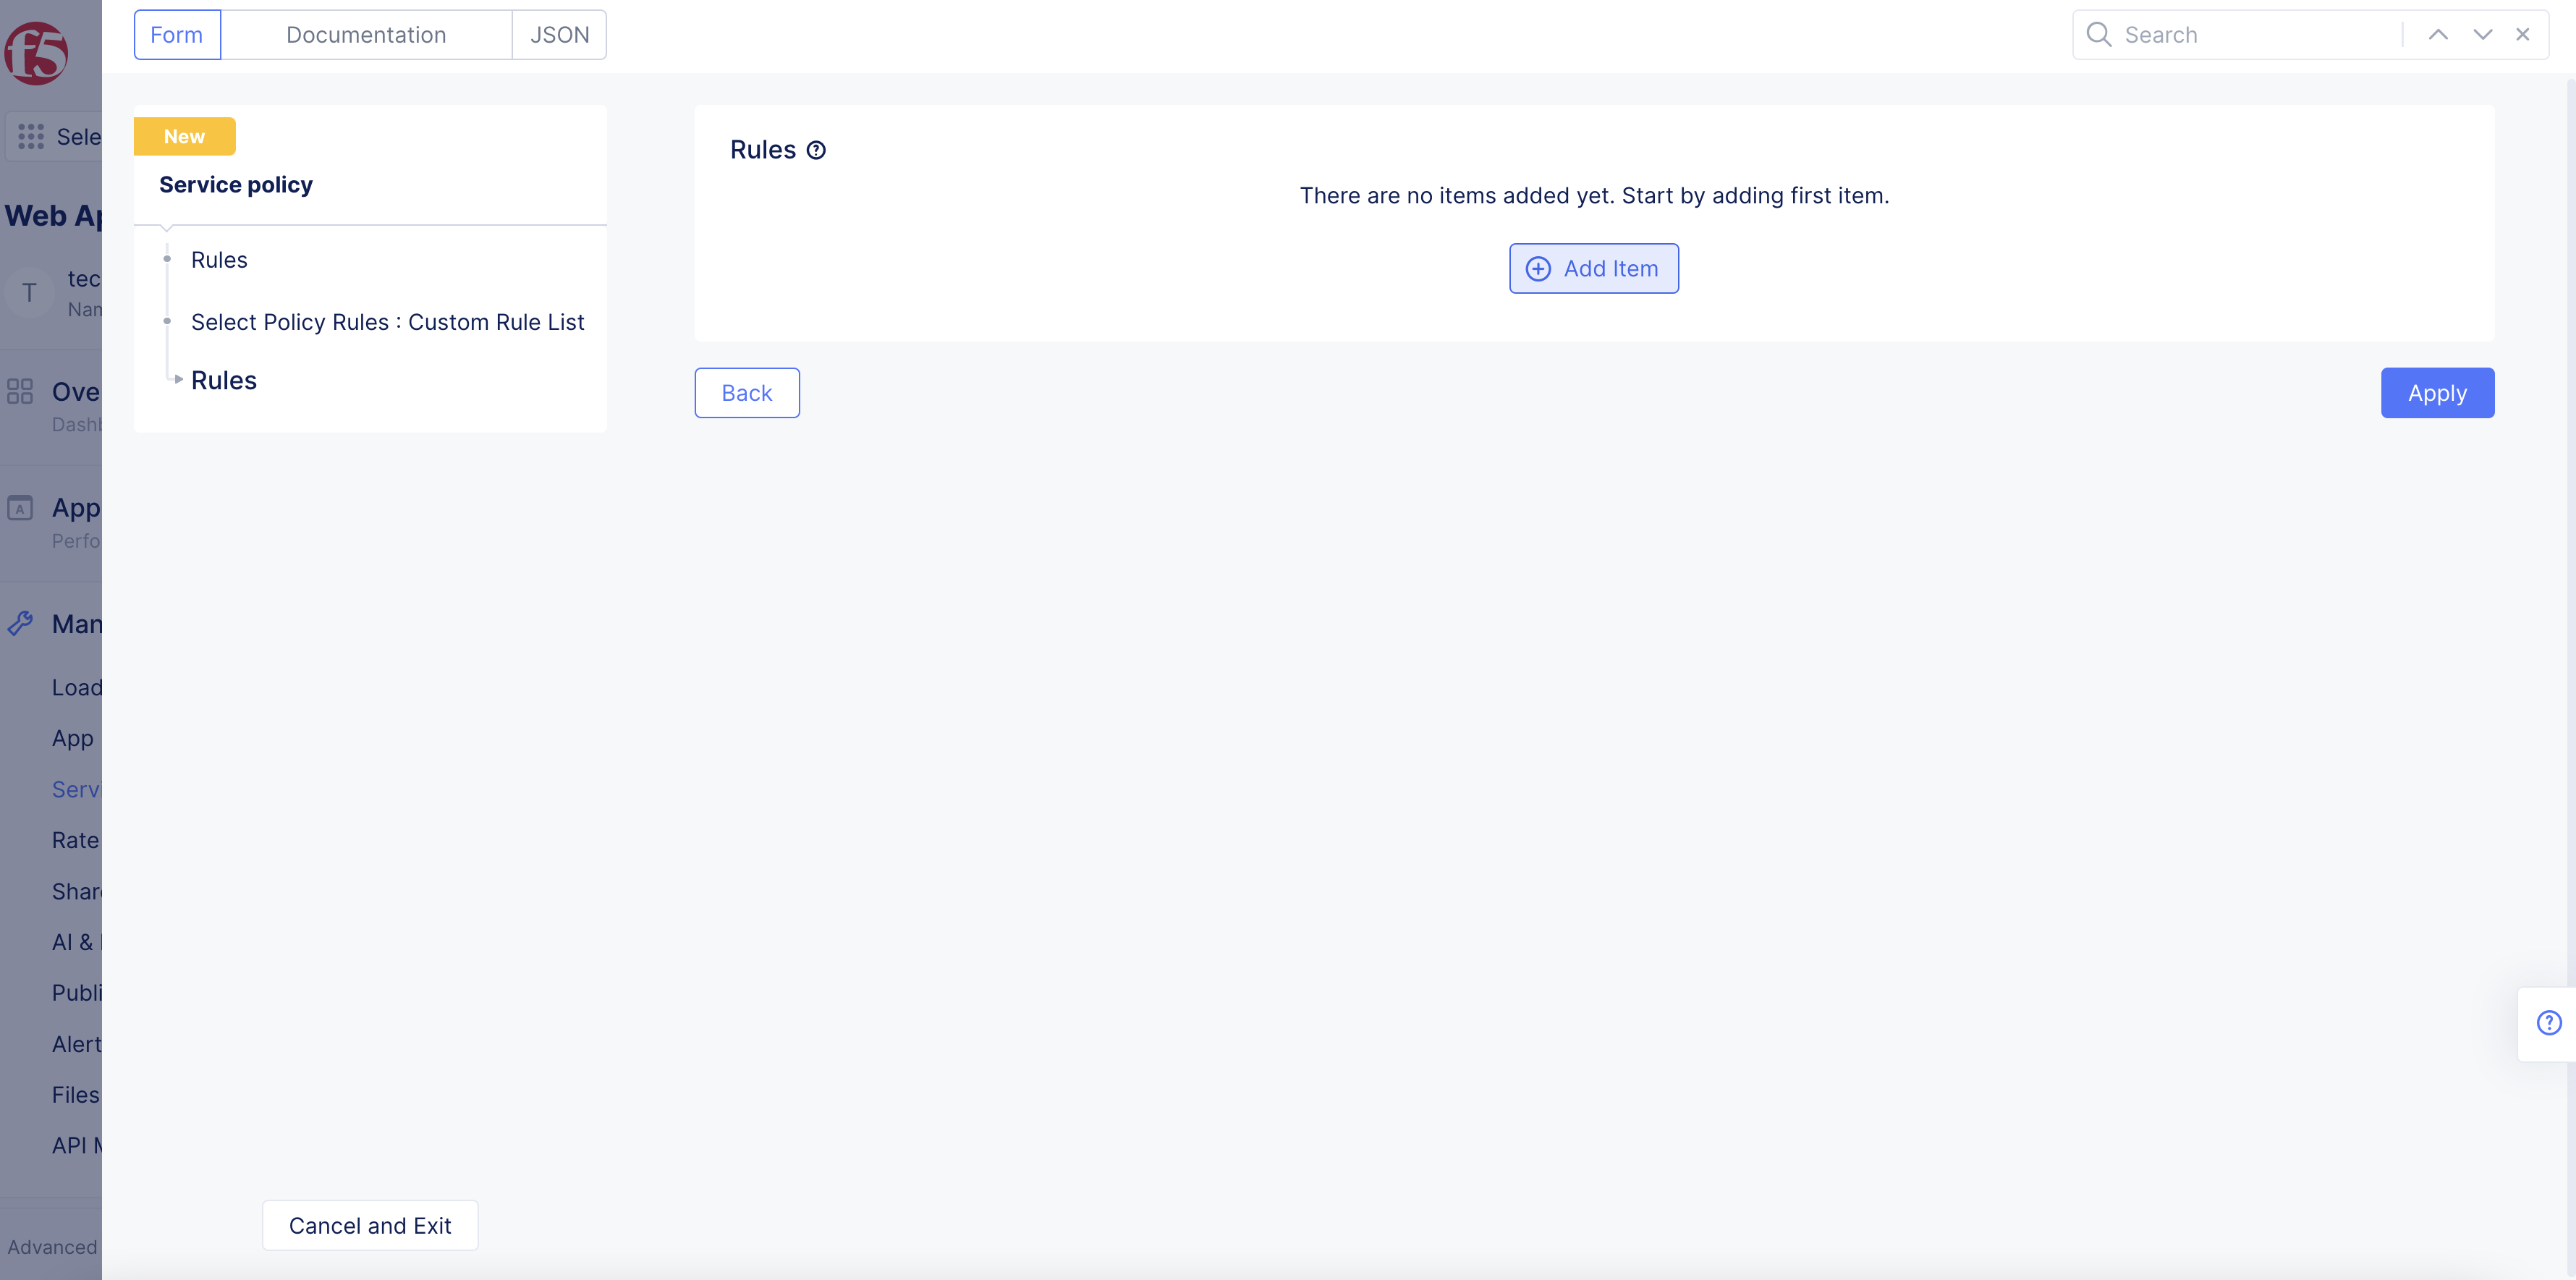
Figure: Add Rule
-
In the
Namefield, enter a name for this new rule. -
In the
Rule Specificationfield, clickView Configuration.
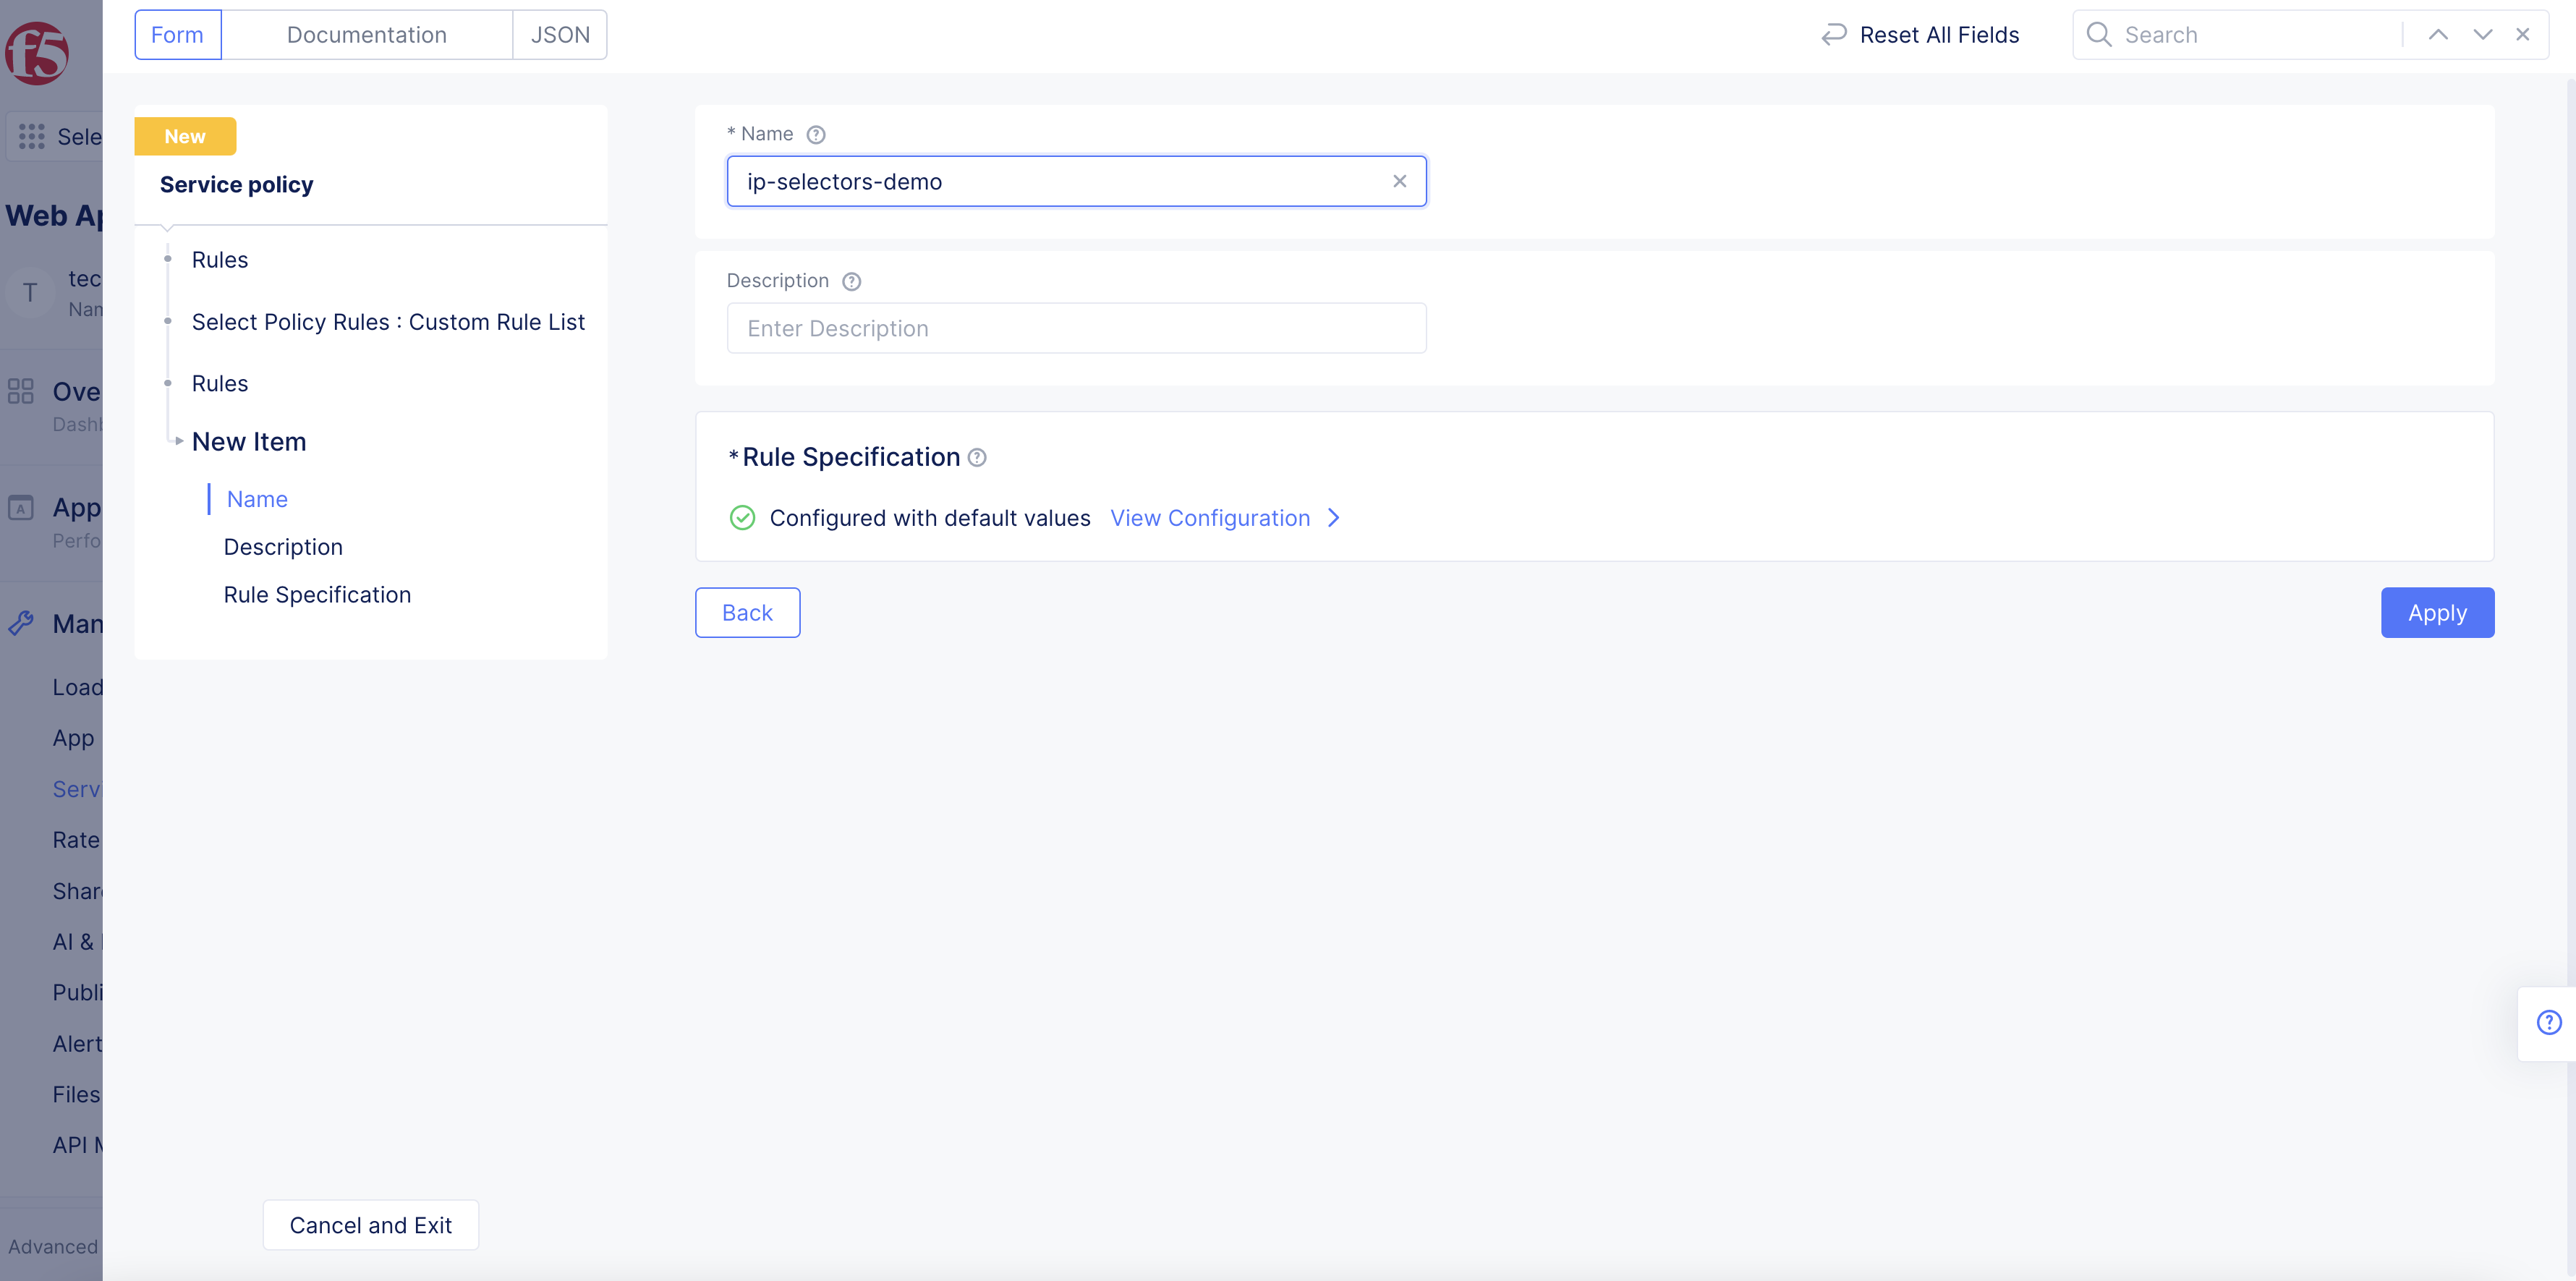
Figure: Add Rule Name
-
In the
Clientssection, selectGroup of Clients by Label Selectorfrom theClient Selectionmenu. -
From the
Selector Expressionmenu, clickAdd label: -
To use an IP score:
-
Select the
reputation.ves.io/ip-trustscorelabel selector. -
Select the
INoperator. -
Select from the three options available. To block IP addresses that pose the highest risk, select
LOW. -
Click
Apply.
-
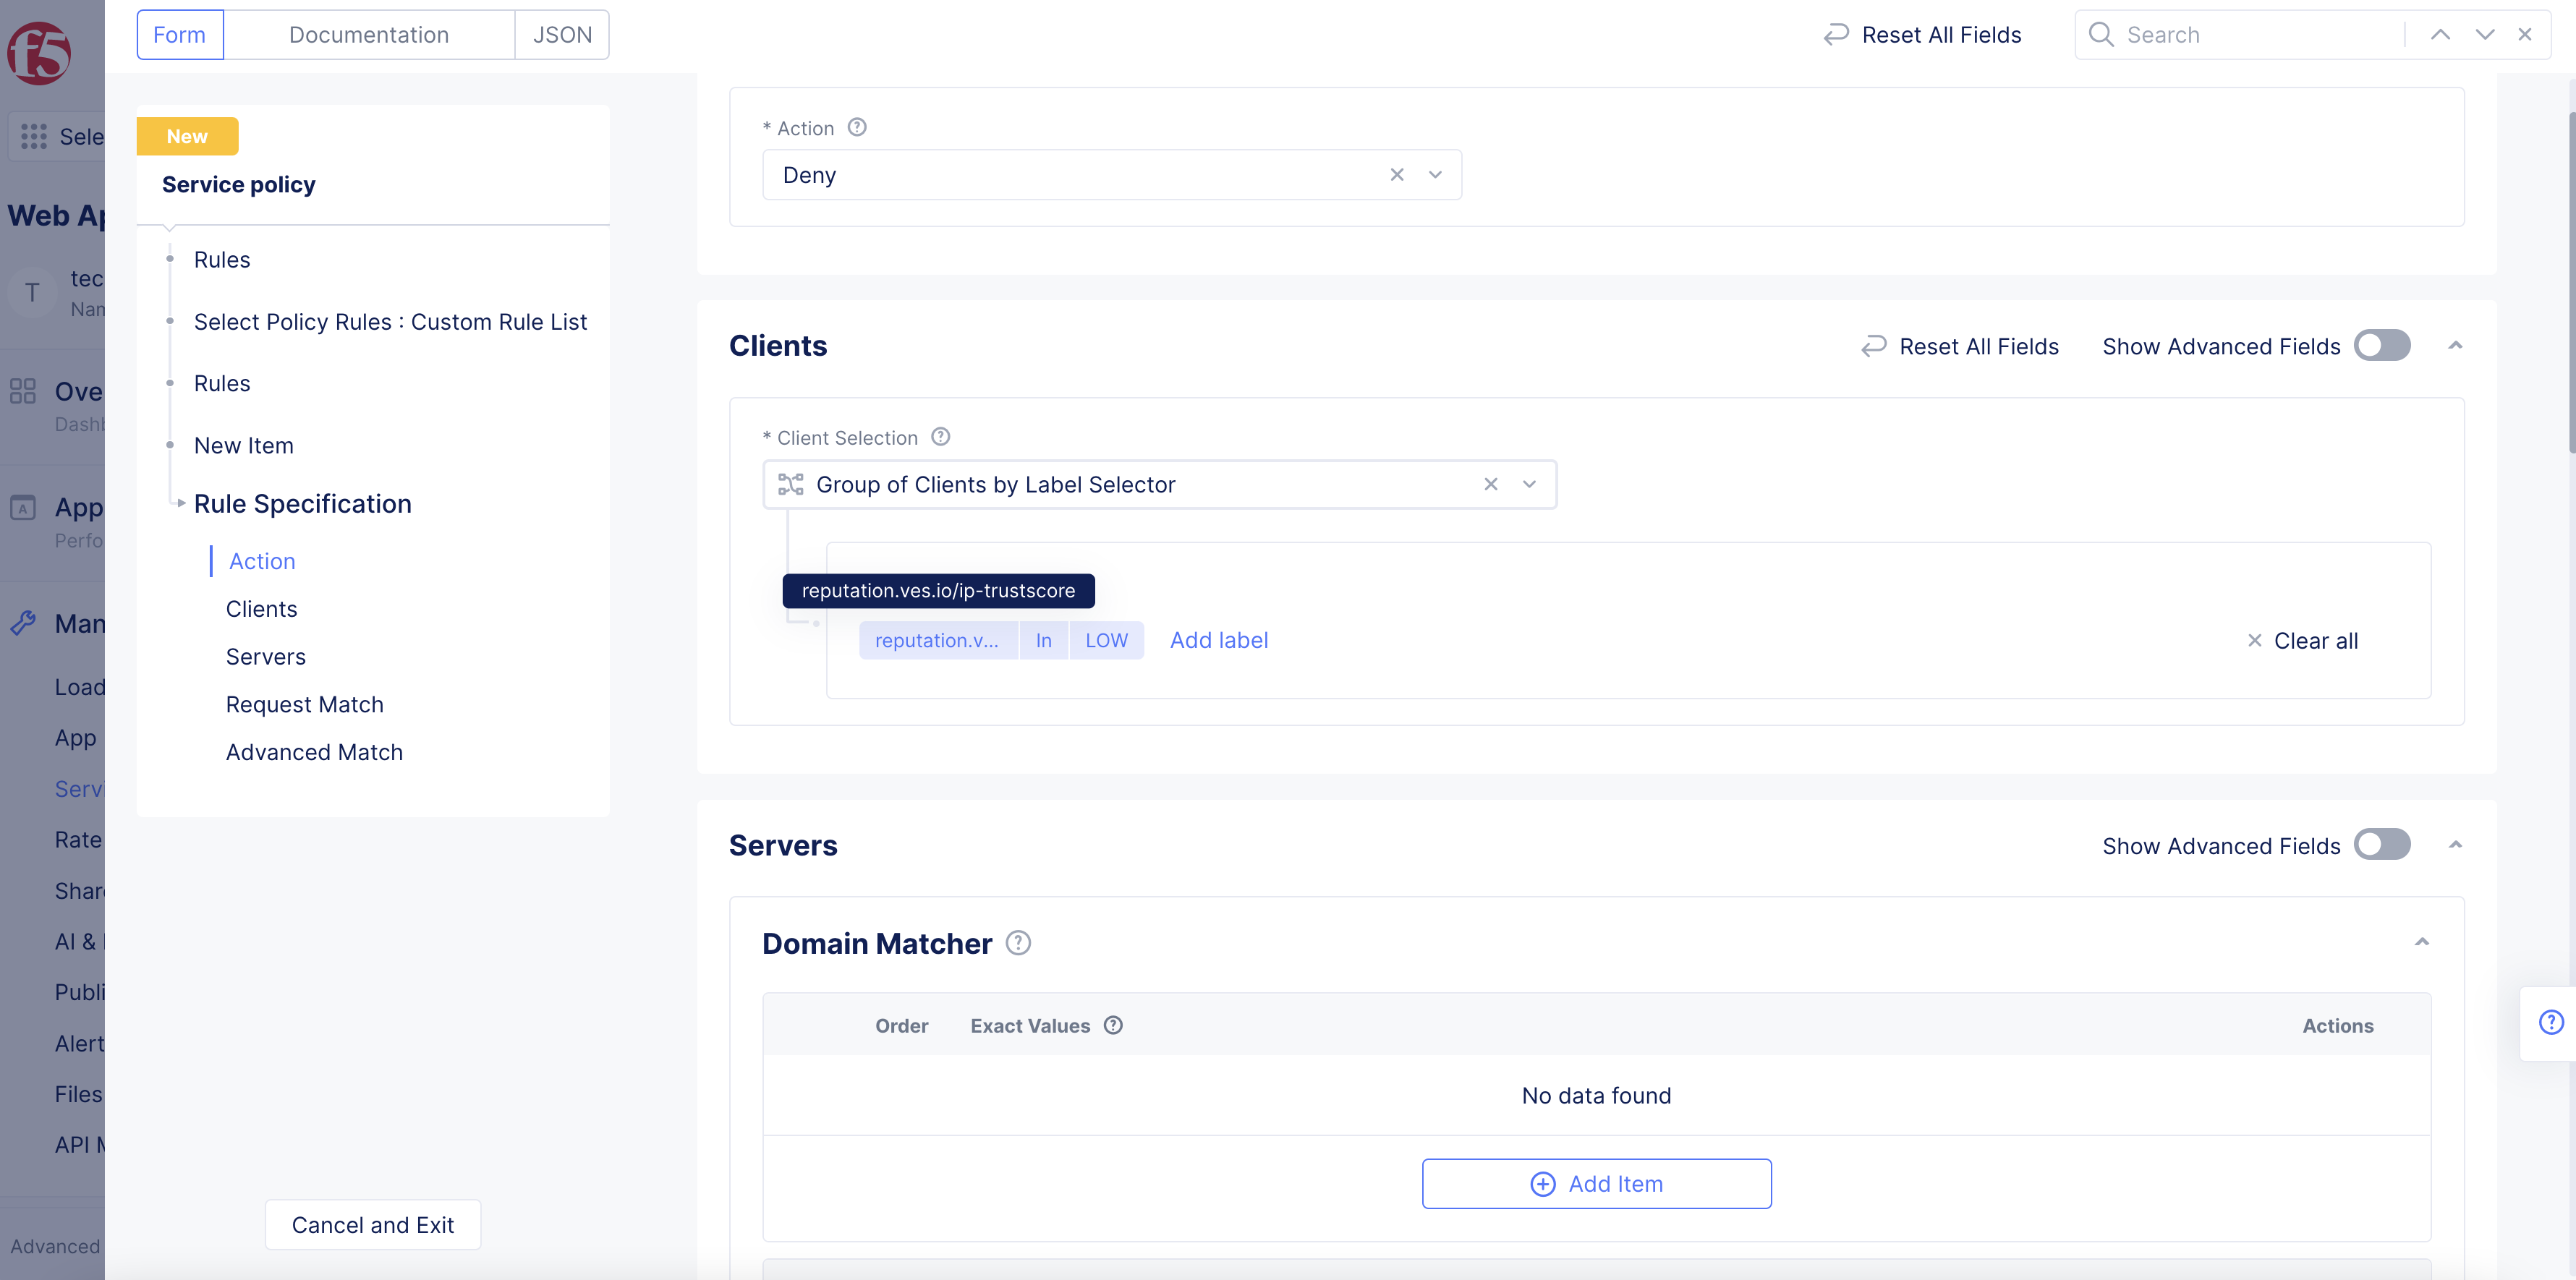
Figure: Use IP Score Label
-
To use an IP threat category:
-
Select the
reputation.ves.io/ip-threat-categorylabel selector. -
Select the
INoperator. -
Select a category from the options available. You can select more than one option.
-
Click
Apply.
-
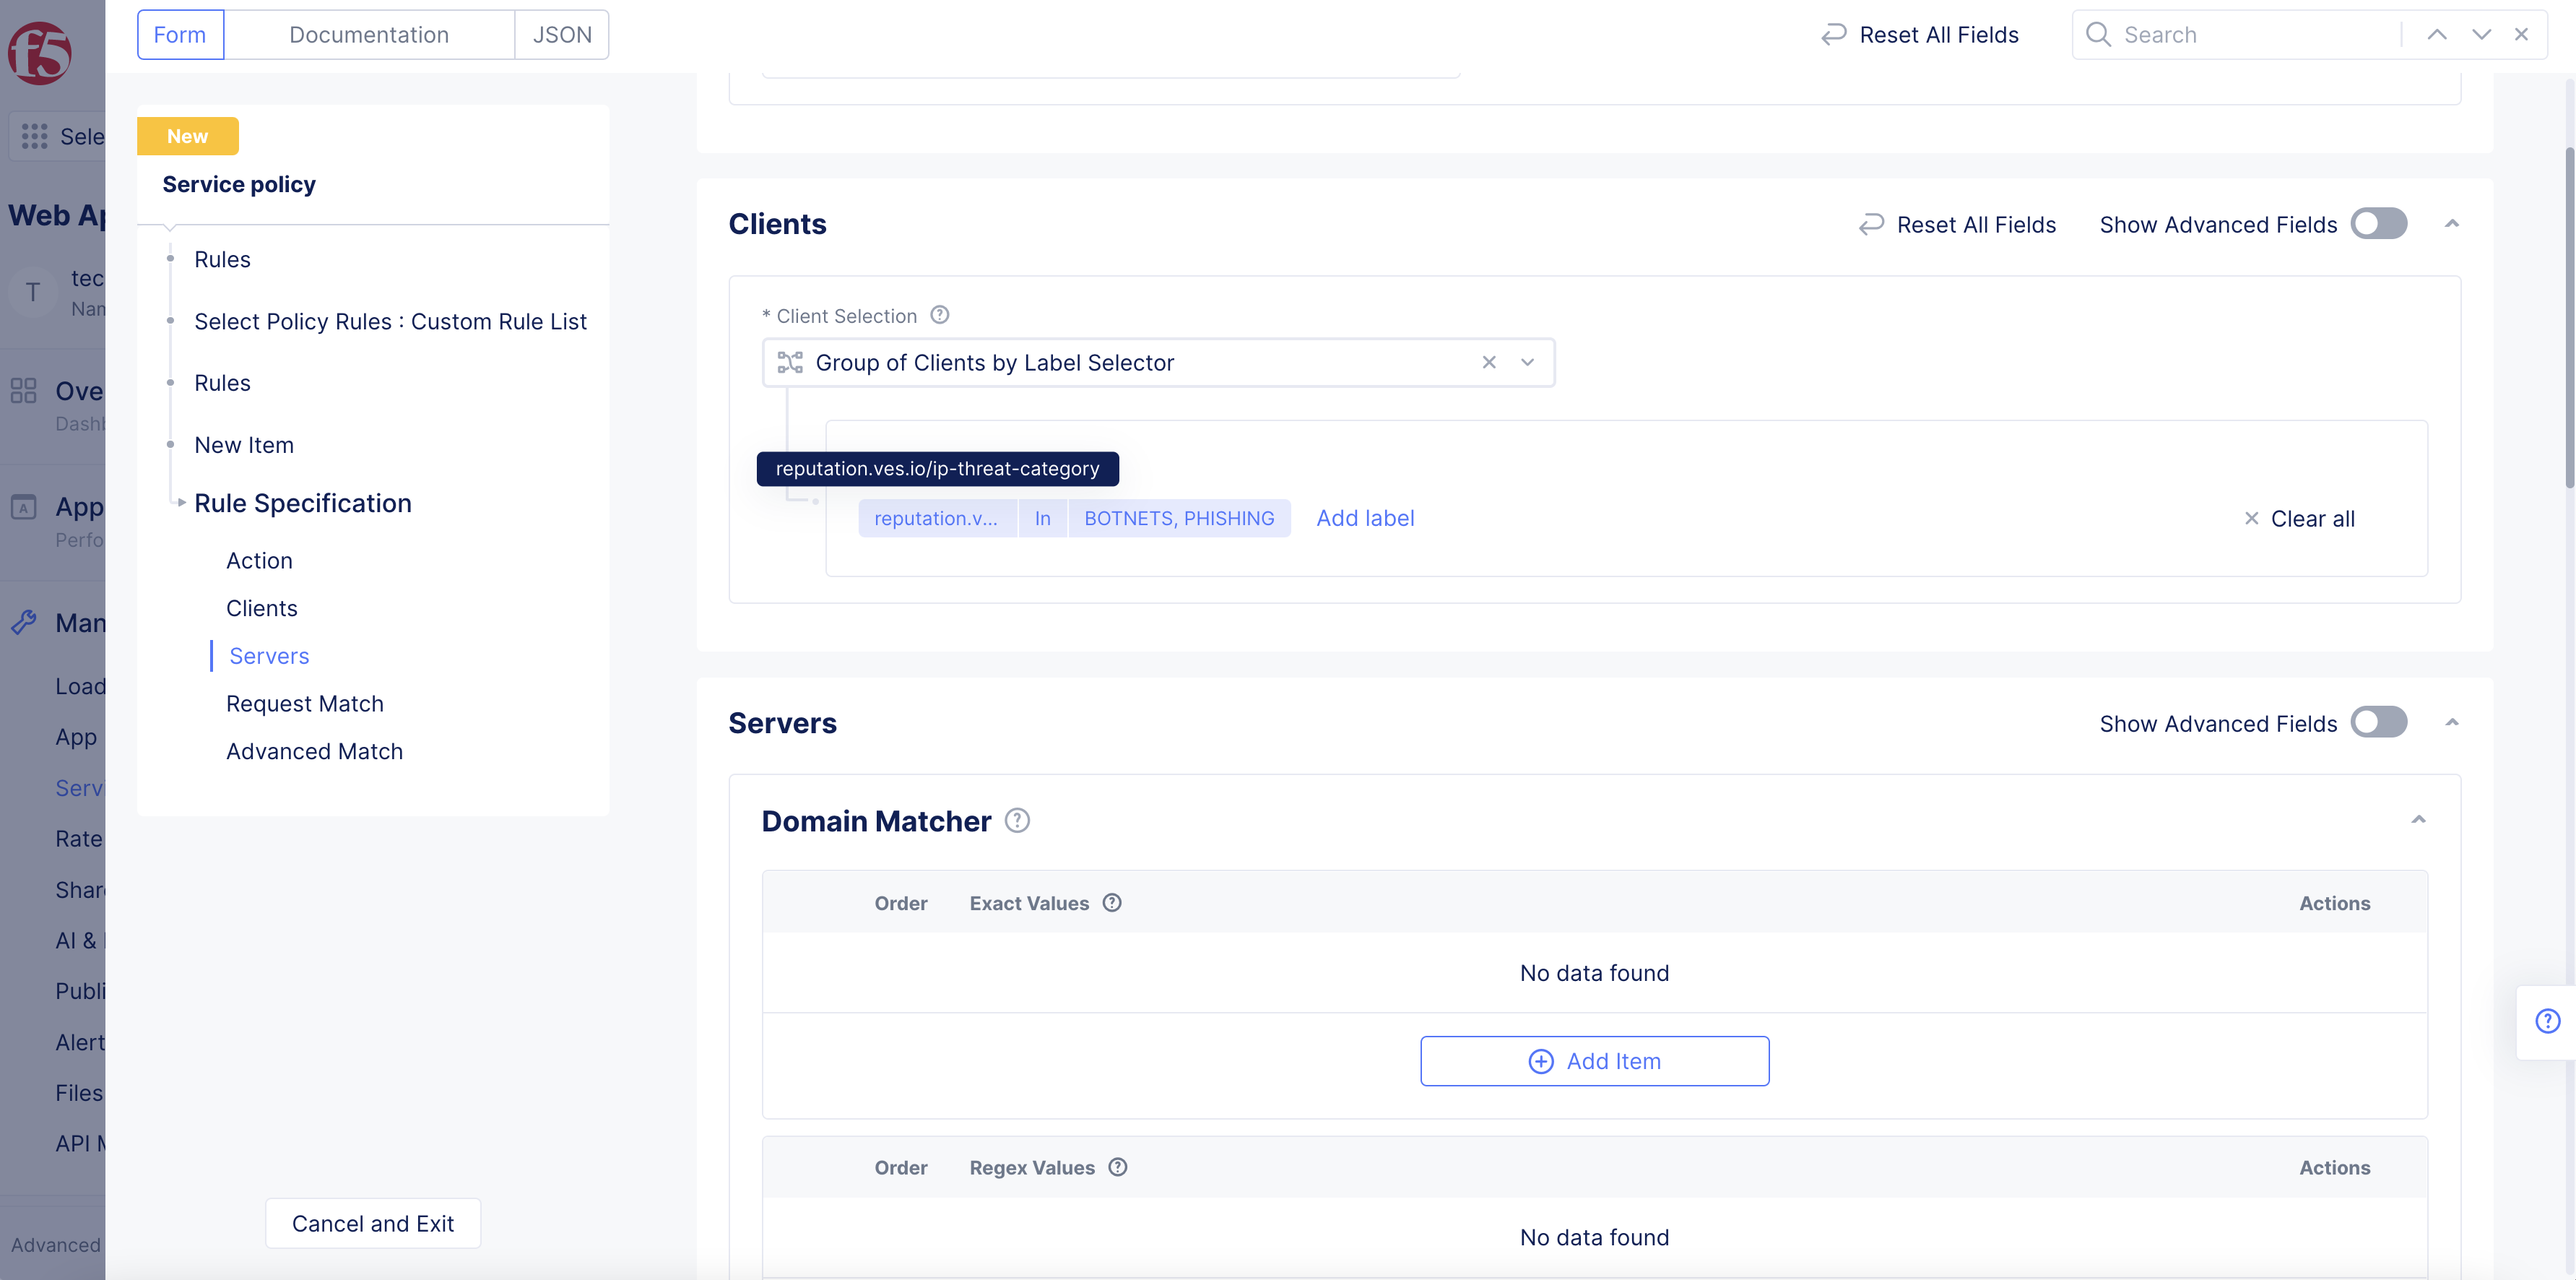
Figure: Use IP Category Label
-
Click
Apply. -
Click
Apply. -
Click
Apply.
Step 3: Complete configuration and save the new settings.
-
Complete the rest of the configuration for the required settings.
-
After you finish, click
Save and Exit.
Step 4: Create a default rule to allow all other IP addresses.
To allow all other IPs by default, you must create a default allow rule within the same service policy.
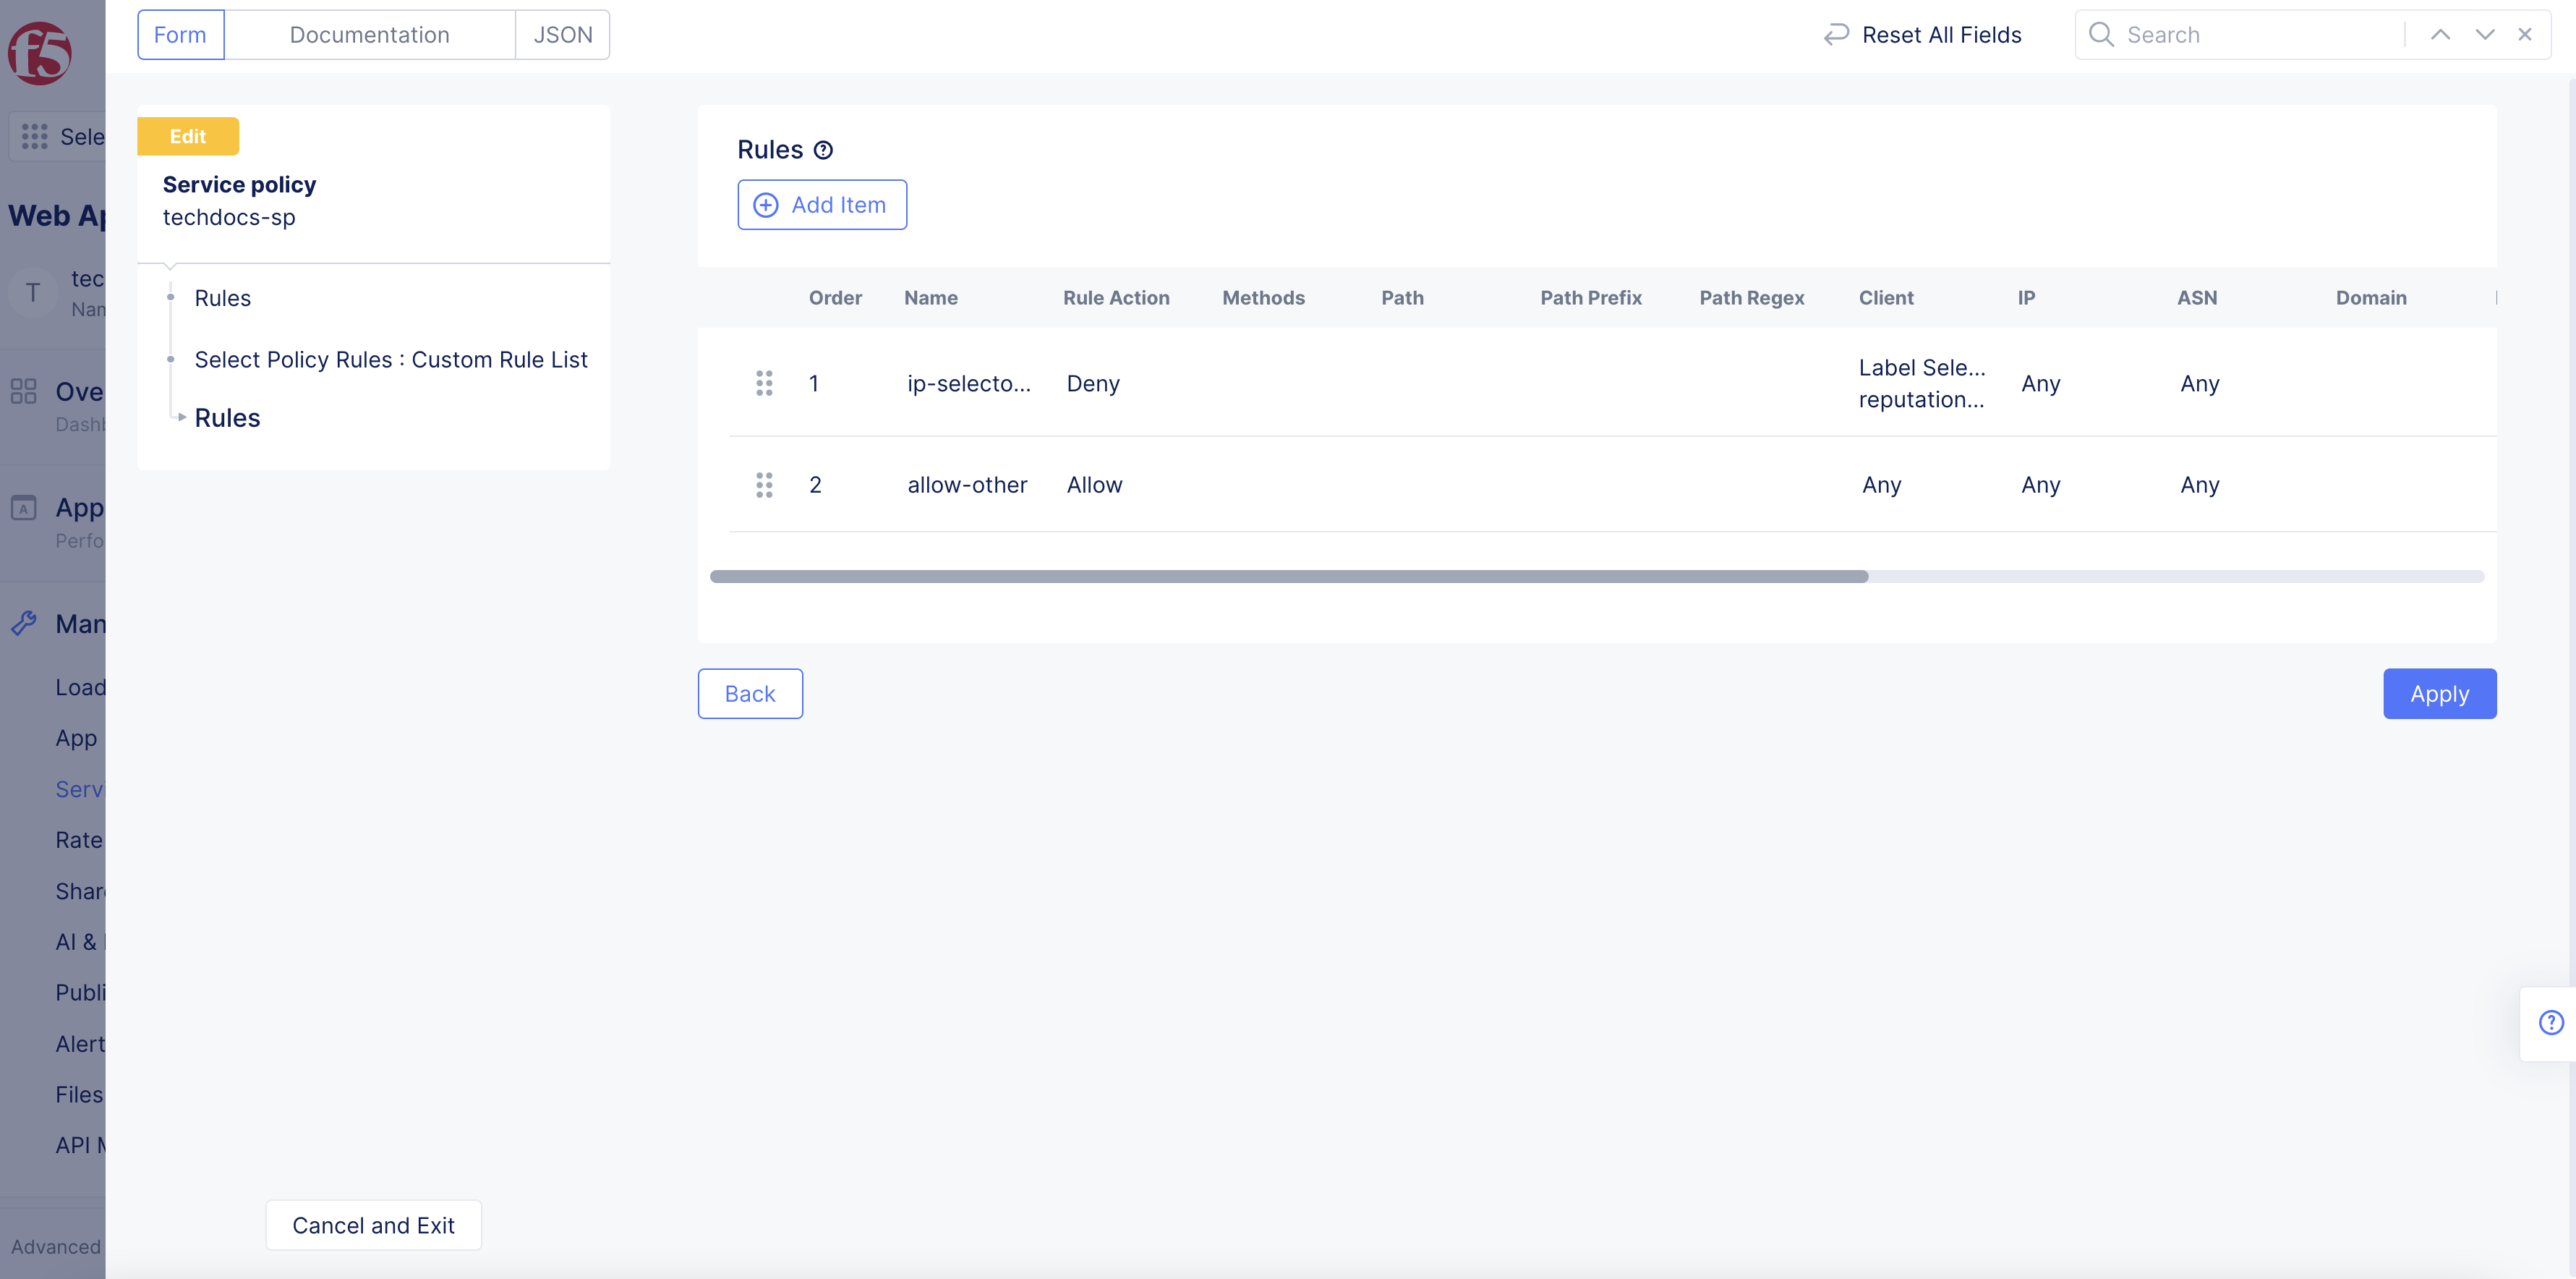
Figure: Allow All Other IP Addresses
Step 5: Verify the operation.
After you configure the service policies for your load balancer, send a test request from a client IP address. If there is no match for an IP address, the request will be allowed. If the IP address matches, then the request will be denied.
Verify Security Events in Console
If an IP address is in the threat categories or threat scores, a security event will be generated and available for you to view.
Step 1: Navigate to your load balancer.
In Console, navigate to Distributed Apps > Load Balancers > HTTP Load Balancers to select your load balancer.
Step 2: View security events.
-
Select the
Security Monitoringtab. -
Click the
Security Eventstab orRequeststab to view traffic for your load balancer. -
Expand the information for the specific event using the
>symbol.
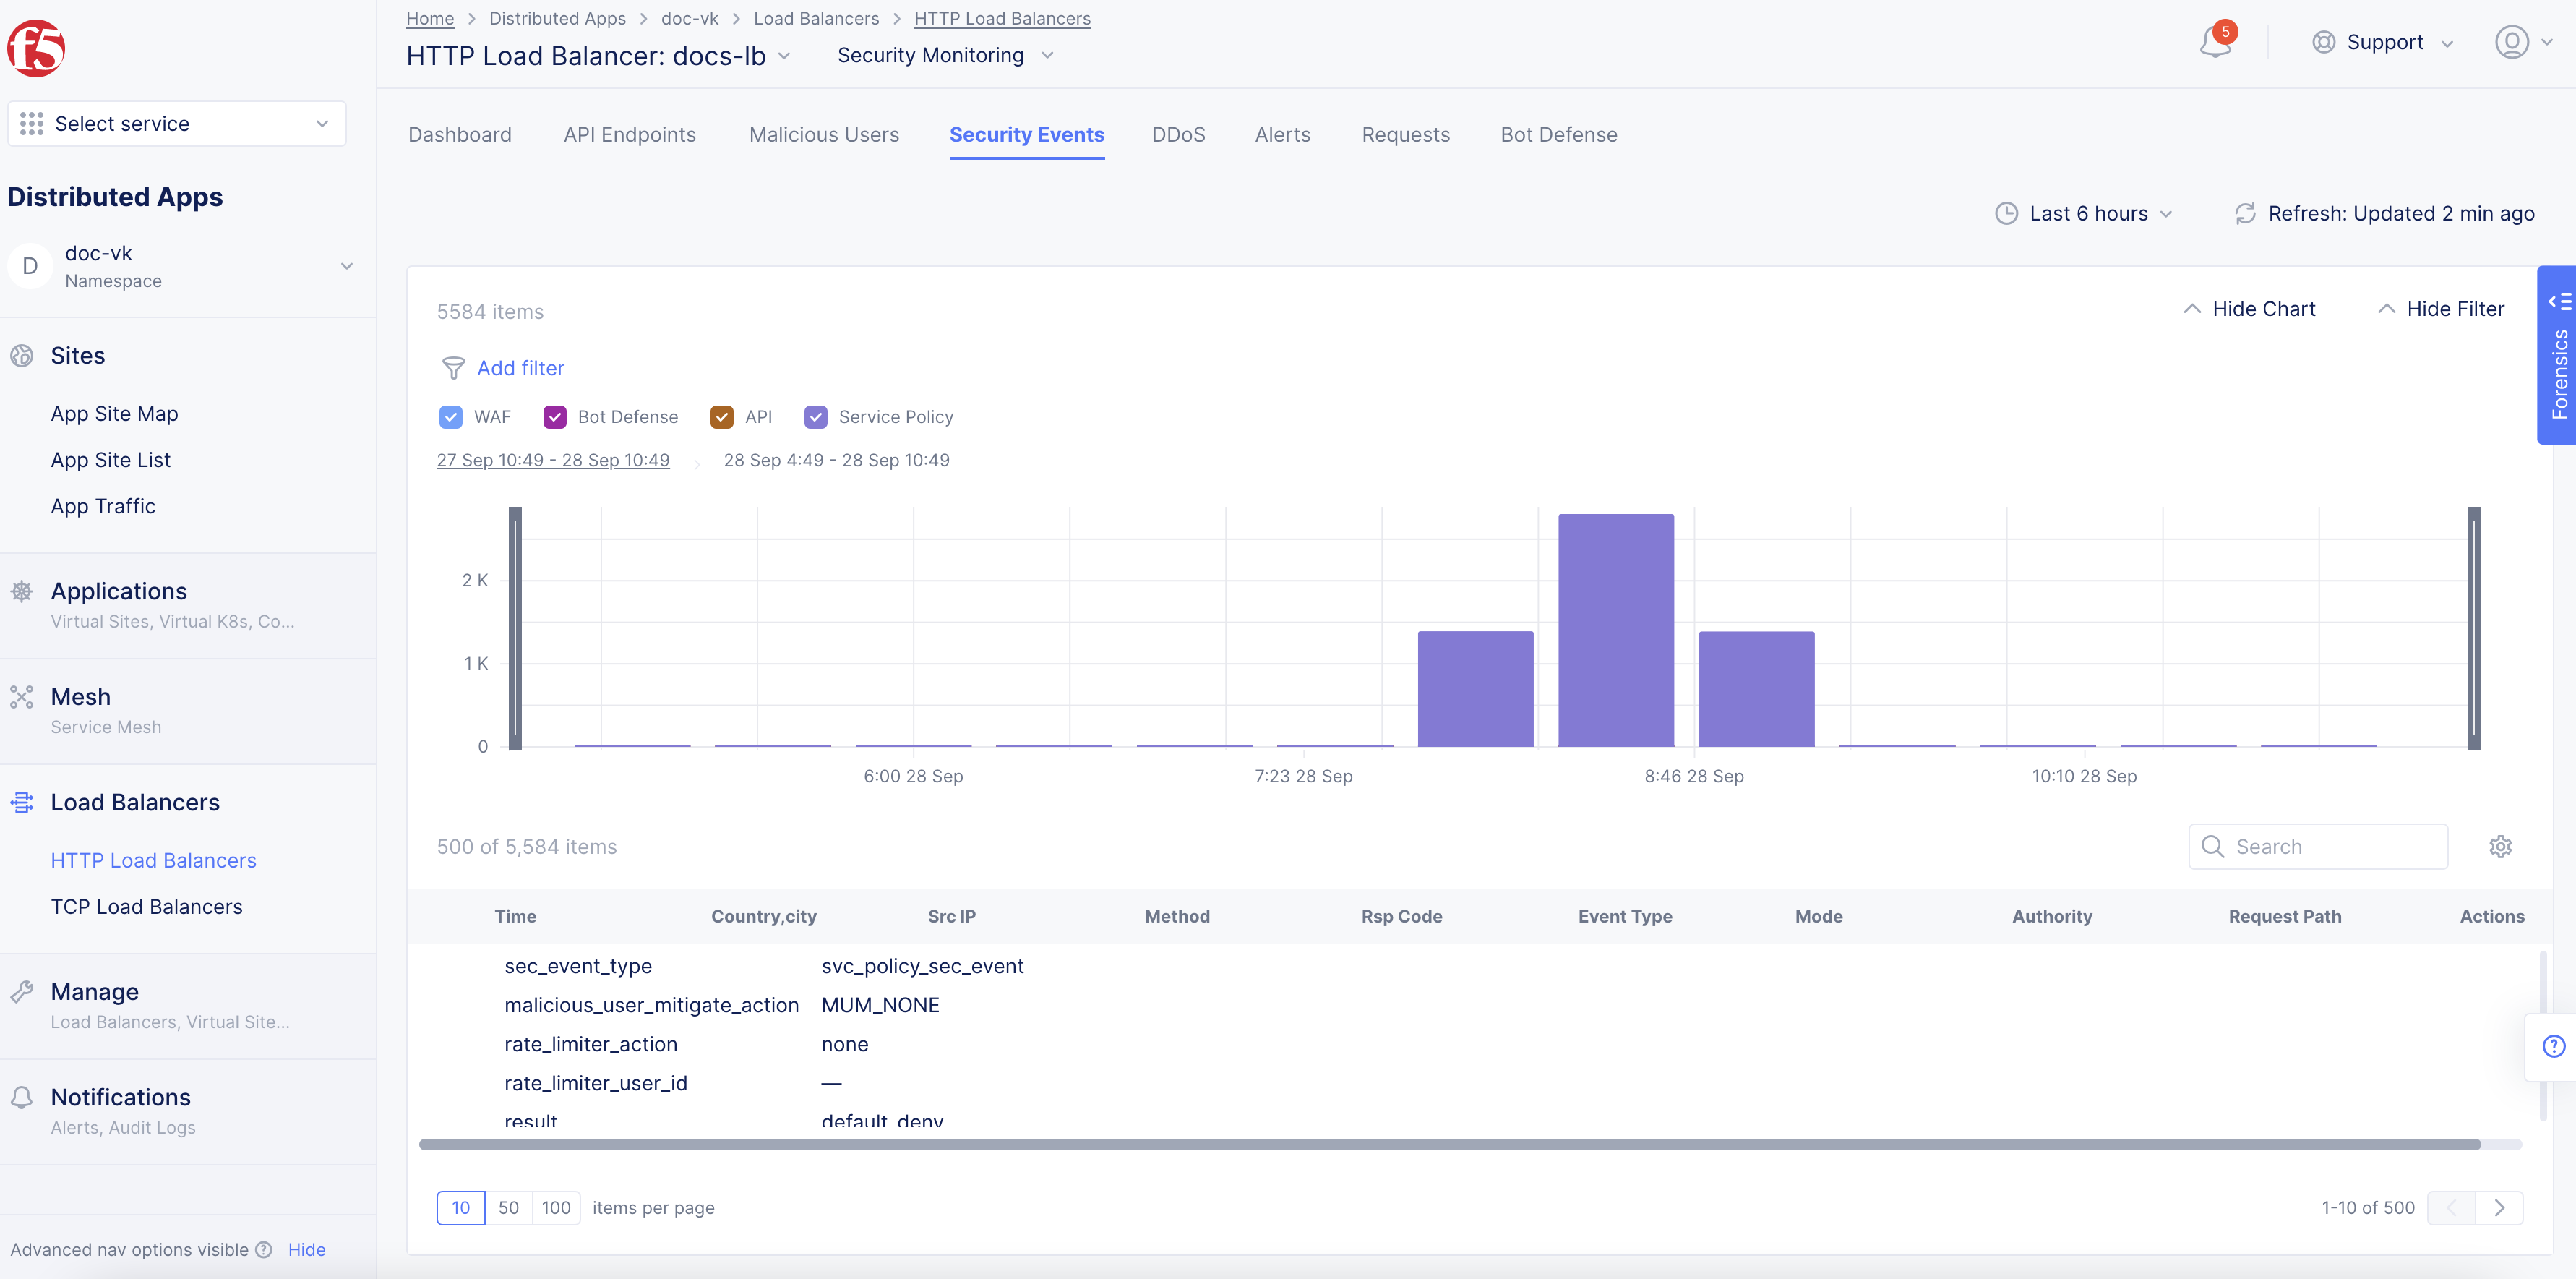
Figure: View Security Events