Configure HTTP Header Processing
Objective
This document provides instructions on how to configure various HTTP header processing options for your web application. The supported actions include processing headers, such as request/response headers, header sizes, etc.
Using the instructions provided in this guide, you can set header processing for your services provisioned using an HTTP load balancer. For more information on load balancers, see Proxy & Load Balancer.
Important: The Header Processing Options outlined below can only be used on HTTP Load Balancers and cannot be used on a CDN Distribution/Load Balancer. The underlying software is different between HTTP Load Balancers and CDN Load Balancers, and the header manipulation options discussed in this document are not compatible with CDN Load Balancers.
Predefined Header Variables
F5® Distributed Cloud Services provide predefined header variables. For example, you can set a response header to add with a name as x-volterra-added and value as $[geoip_city]. This returns the city from where the request arrived.
Refer to the following table for supported predefined header variables and descriptions:
| Header Variable | Description |
|---|---|
$[req_header_xxx] | Fetch the request header with name. Header name (xxx) is in lower case and hyphen (-) replaced with underscore (_). |
$[resp_header_xxx] | Fetch the request header with name. Header name (xxx) is in lower case and hyphen (-) replaced with underscore (_). |
$[query_params] | Return all query parameters in the request. |
$[query_param_xxx] | Fetch query parameter with name. Query parameter name (xxx) is in lower case and hyphen (-) replaced with underscore (_). |
$[url] | Returns the URL. |
$[path] | Returns the path. |
$[sni] | Returns the server name identifier (SNI). Empty if SNI is absent. |
$[scheme] | Returns HTTPS or HTTP based on the request. |
$[protocol] | Returns HTTP protocol. |
$[client_address] | Client address. |
$[original_client_address] | First entry in XFF header is treated as original client address. |
$[server_address] | Address of the upstream server that handled the request. |
$[status] | Response code. |
$[src_site] | Name of the VER site that received the request. |
$[dest_site] | Name of the VER site handling the request. |
$[tenant] | Tenant of the request. |
$[namespace] | Namespace of the request. |
$[app_type] | Returns the app type for the request. |
$[user] | Returns the user of the request. |
$[geoip_country] | GeoIP lookup output. Returns the country from where the request arrived. |
$[geoip_asn] | GeoIP lookup output. Returns the ASN of the requestor. |
$[geoip_region] | GeoIP lookup output. Returns the region from where the request arrived. |
$[geoip_city] | GeoIP lookup output. Returns the city from where the request arrived. |
$[cookie_xxx] | Extract the cookie of the given name. Cookie name (xxx) is in lower case and hyphen (-) replaced with underscore (_). |
$[tls_fingerprint] | TLS fingerprint of the request. |
$[req_start_time] | Indicates the request start time. Can be customized using format strings. For example: $[req_start_time(%Y/%m/%dT%H:%M:%S%z)]. It can also be customized using additional specifiers, like %s, %f, and %[1-9]f, where %s is the number of seconds since the Epoch and %f/$[1-9]f is a fractional number indicating nanoseconds. For example: the variable $[req_start_time(%s.%3f)] returns a value of 1527590590.528. |
$[client_port] | Provides the value of a client's (downstream) port. |
$[client_ssl_cipher] | Cipher used by the client. |
$[client_ssl_serial] | Client certificate serial number. |
$[client_ssl_issuer] | Client certificate issuer. |
$[client_ssl_subject] | Client certificate subject (same as DN). |
$[client_tls_version] | Client TLS version. |
$[client_ssl_cert_validity_start] | Client certificate validity start timestamp. |
$[client_ssl_cert_validity_end] | Client certificate validity end timestamp. |
Headers Added by Default
F5® Distributed Cloud load balancer adds a set of HTTP headers by default as shown in the table below:
| HTTP Header | Description |
|---|---|
X-Forwarded-For | Holds the downstream client IP address and prepends the same if the downstream request already had one. |
X-Forwarded-Proto | Holds HTTP Protocol used - HTTP vs HTTPS. |
X-Envoy-External-Address | Holds the downstream client IP address. |
X-Envoy-Original-Authority | Holds the actual domain name used by the downstream client. |
X-Request-Id | Holds an UUID identifying the http request. If the downstream request also had X-Request-Id then the header would be unmodified. |
X-Envoy-Expected-Rq-Timeout-Ms | mentions the upstream timeout configured on the load balancer matching route. |
In general, the load balancer does not modify or delete HTTP headers unless it is one of the earlier mentioned reserved headers (other than X-Request-Id which will not be updated).
The following headers will be replaced if the request contained the same header:
- X-Forwarded-Proto
- X-Envoy-External-Address
- X-Envoy-Original-Authority
- X-Envoy-Expected-Rq-Timeout-Ms
Prerequisites
The following prerequisites apply:
-
An F5 Distributed Cloud Account. If you do not have an account, see Getting Started with Console.
-
A load balancer acting as a proxy for a service. If you do not have a load balancer configured, see HTTP Load Balancer.
Configuration
Perform the following steps in F5® Distributed Cloud Console (Console) to configure header processing:
Step 1: Navigate to your load balancer.
-
Log into Console.
-
Click
Multi-Cloud App Connect.
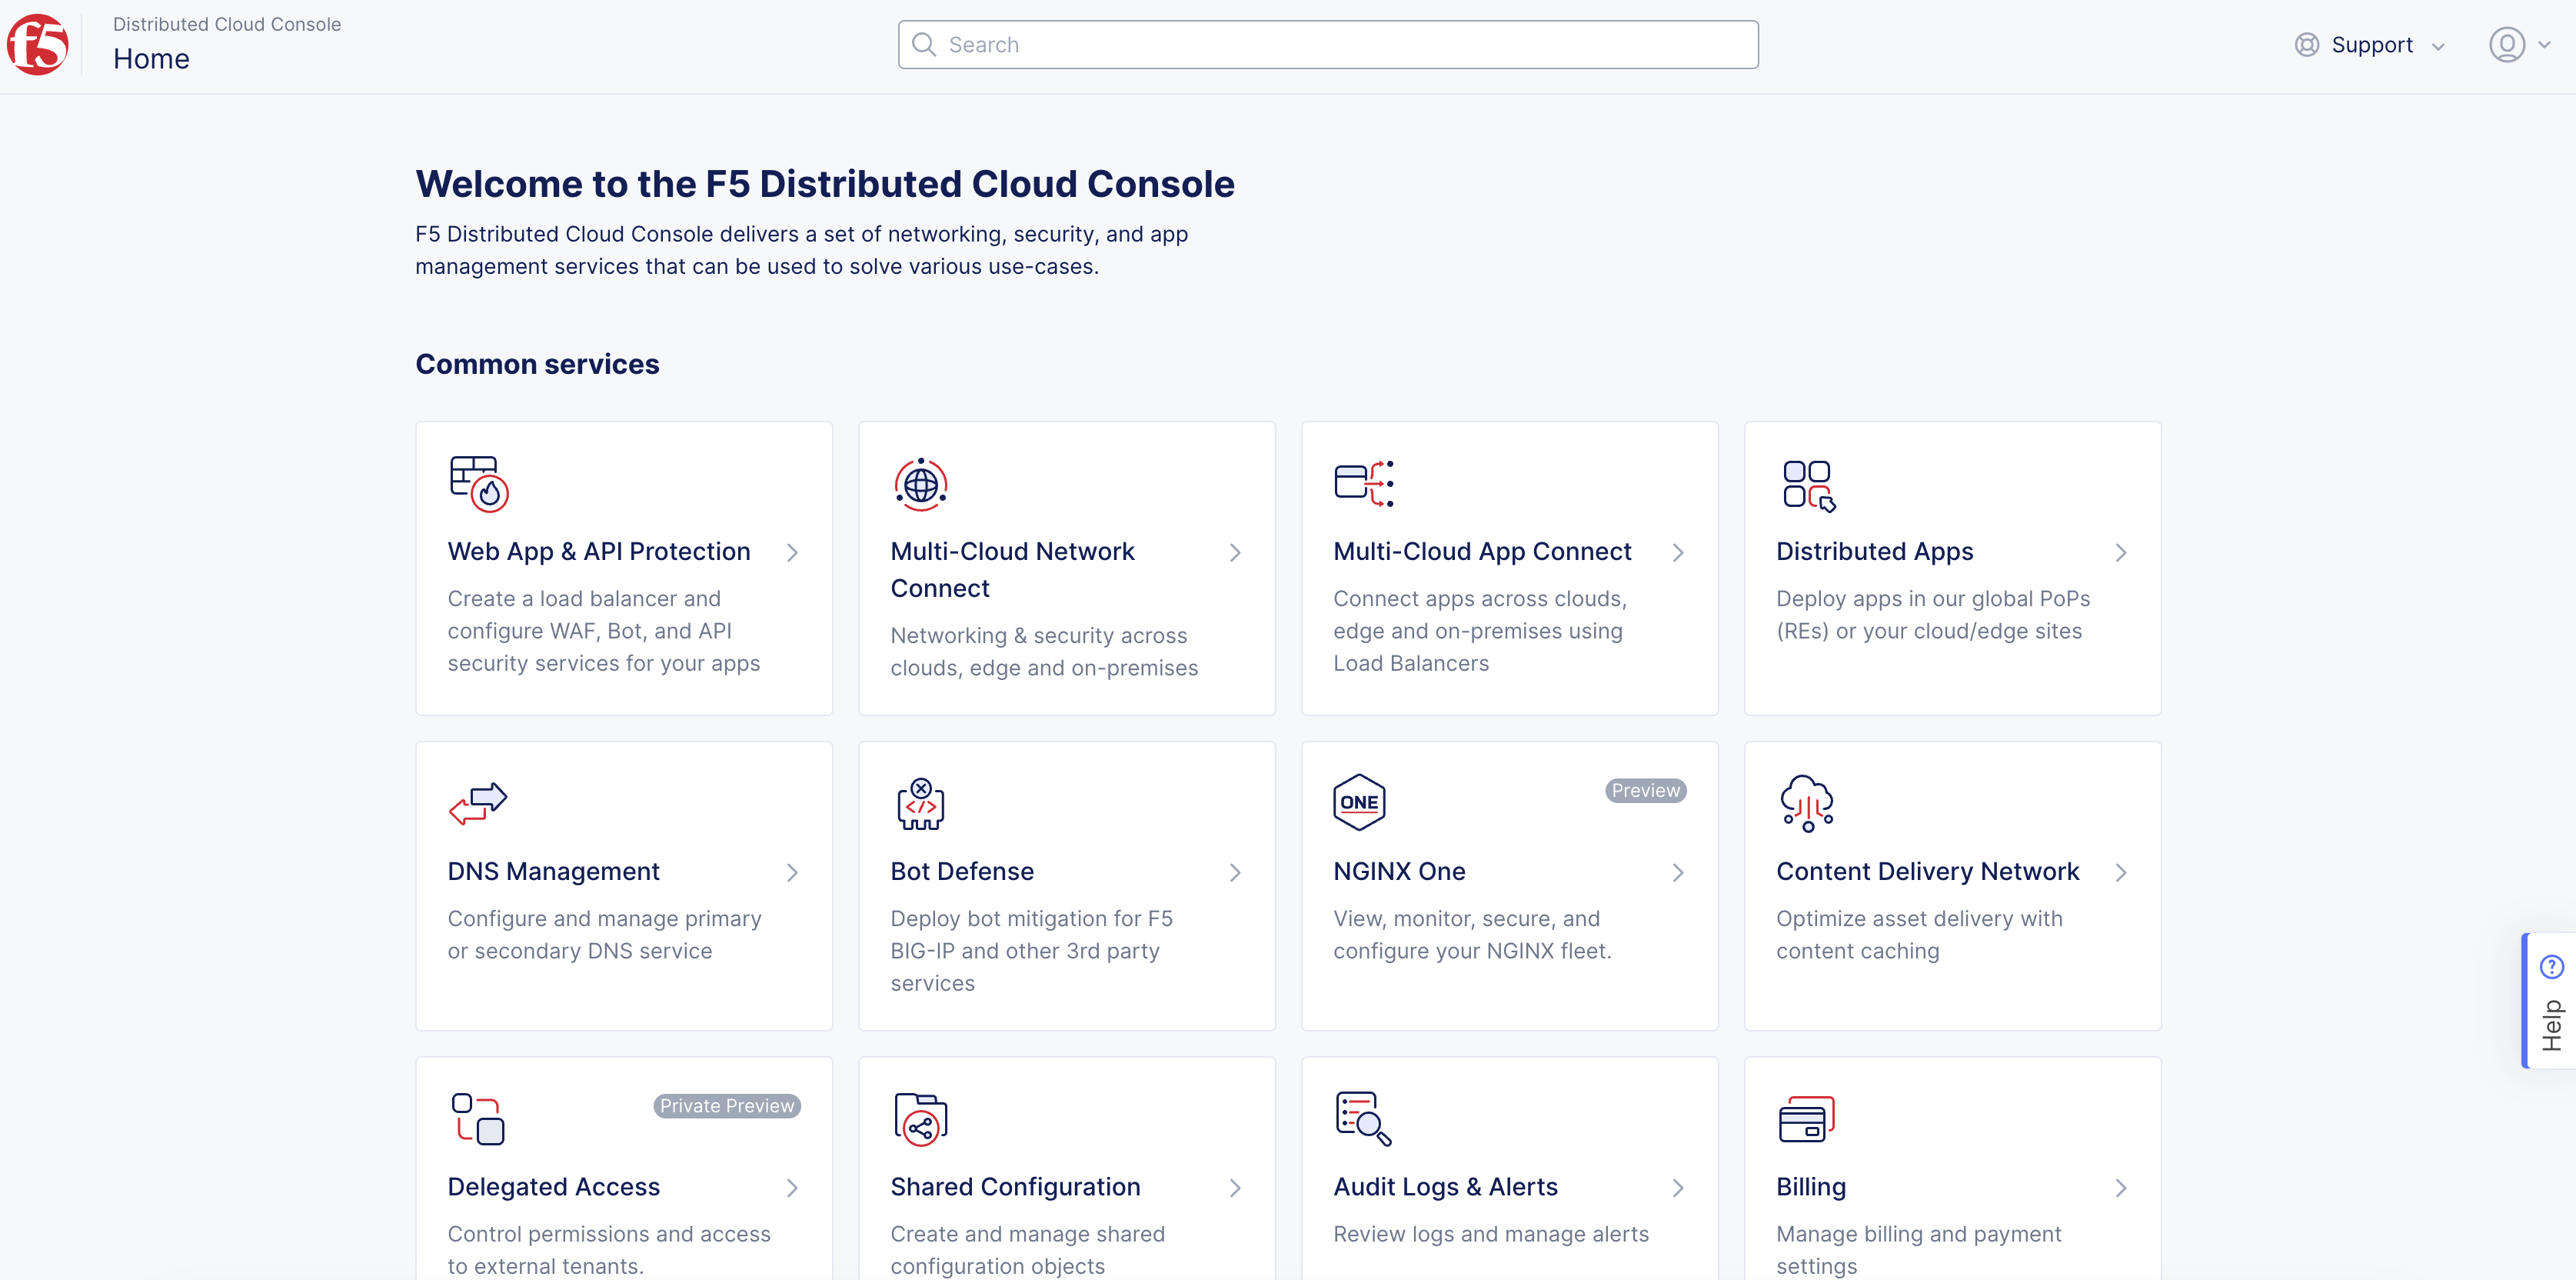
Figure: Console Homepage
-
Change to your application namespace.
-
Click
Manage>Load Balancers>HTTP Load Balancers.
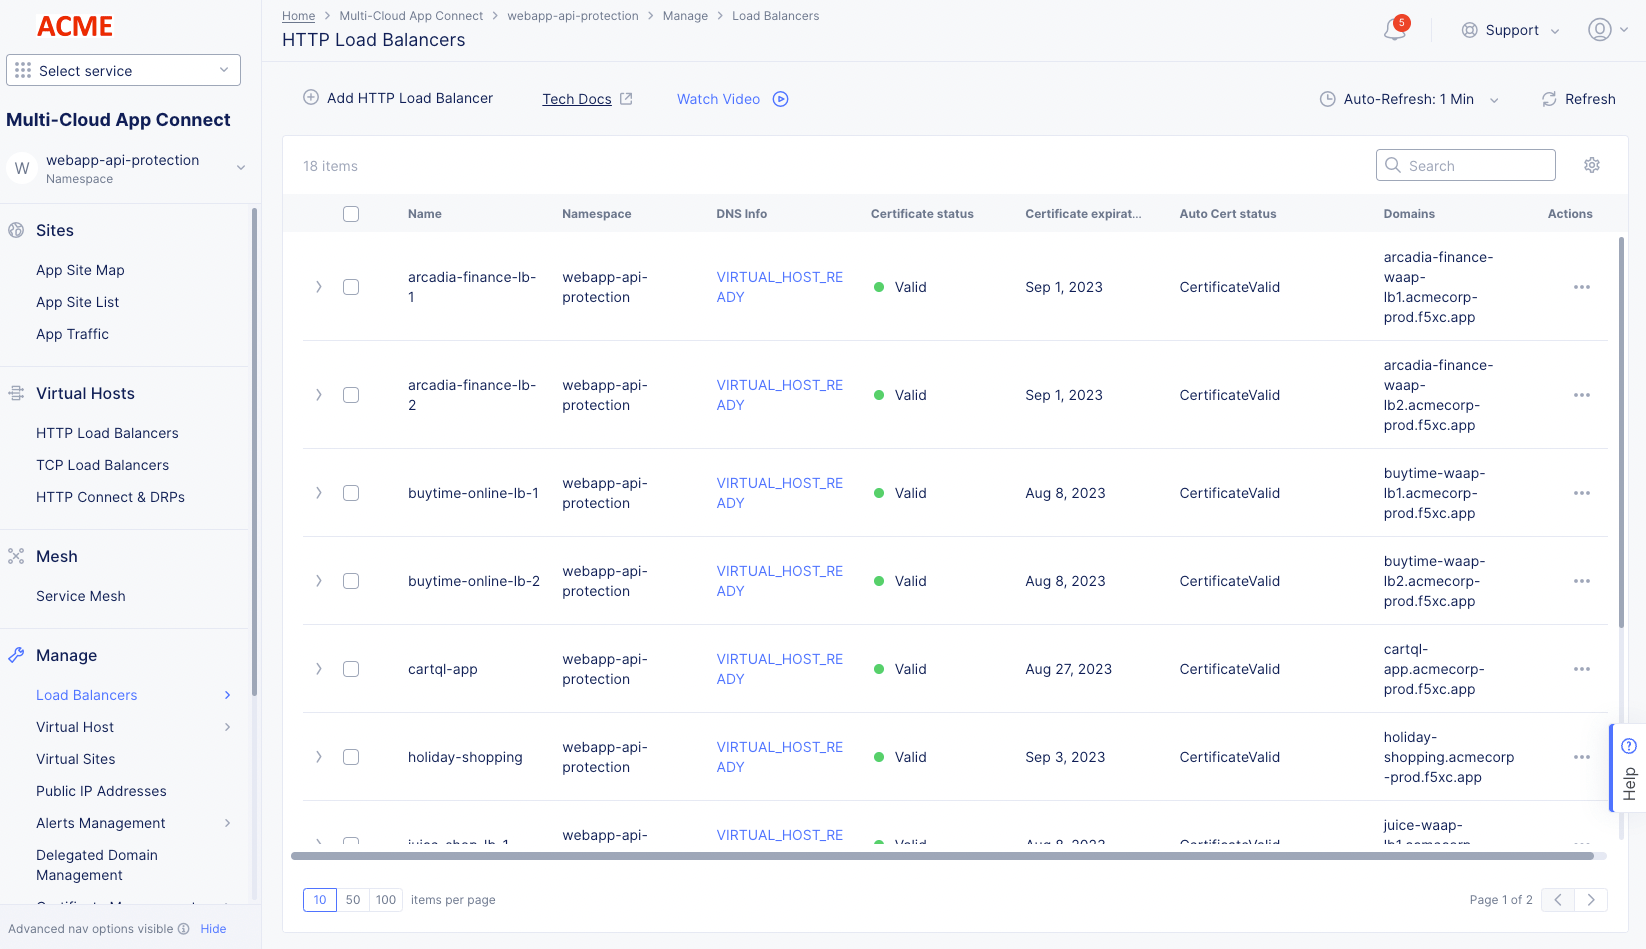
Figure: HTTP Load Balancers
- Find your load balancer and click
...>Manage Configuration.
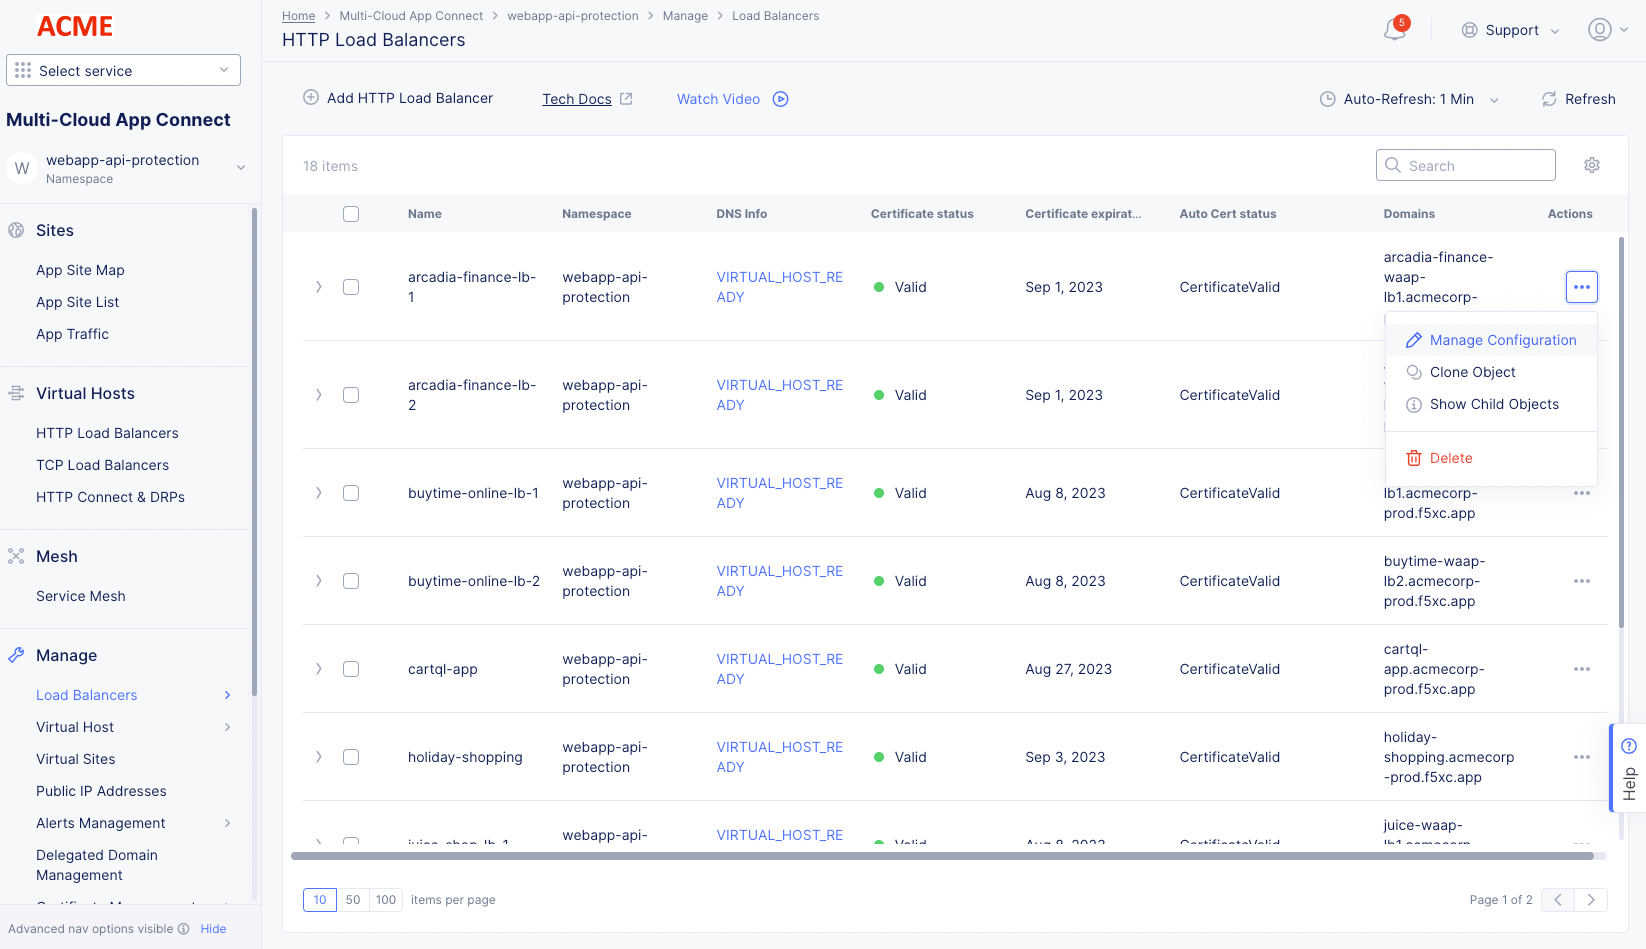
Figure: Edit HTTP Load Balancer
- Click
Edit Configuration.
Step 2: Start advanced fields configuration.
-
Navigate to the
Other Settingssection. -
Optionally, select the
Add Locationcheckbox. This will add thex-volterra-locationheader in the response messages, with the value as the Regional Edge (RE) site. In case of CE sites, this option is ignored. -
Click
Configureunder theMore Optionsfield. This opens the header processing configuration page.
Step 3: Configure adding request headers.
-
In the
Header Optionssection under theAdd Request Headersfield, clickAdd Item. -
Enter the header name.
-
Select a choice from the
Value or Secretmenu, and then either enter the value name or configure the secret value. -
Optionally, select the
Appendcheckbox to append to existing values. -
Click
Apply.
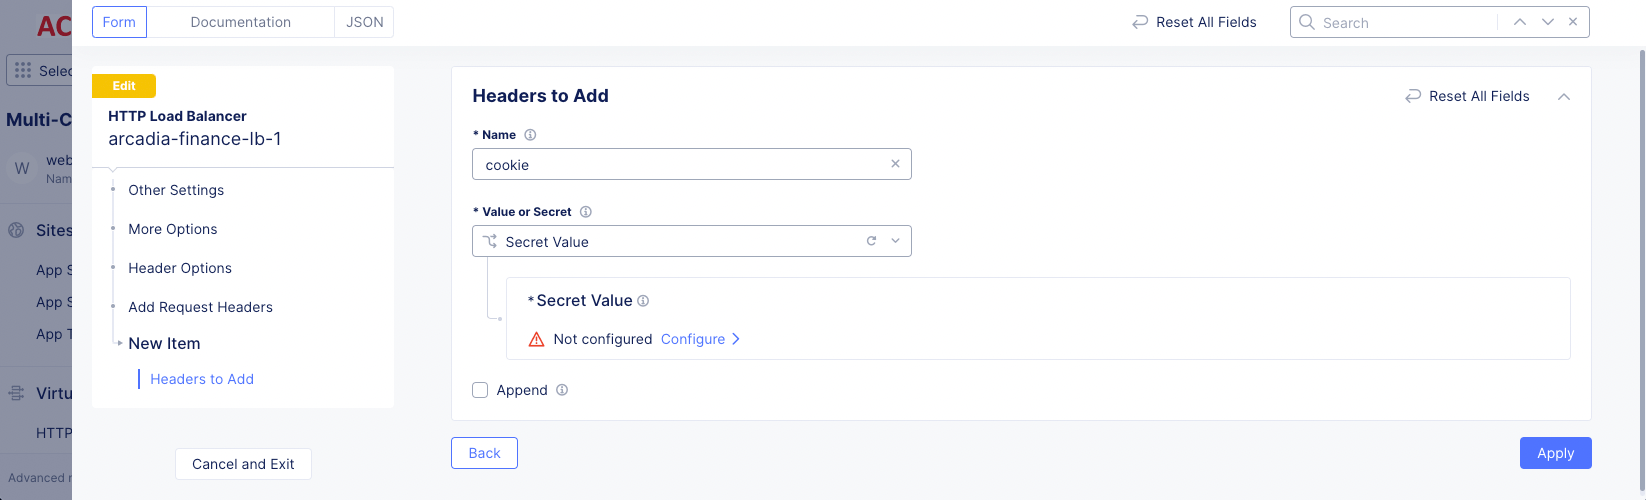
Figure: Add Request Header
- Use the
Add itemoption to specify multiple headers.
Note: The Distributed Cloud Services proxy adds the
x-forwarded-forheader by default for all requests. You can set the value of this header into another. Add a request header to the header name of your choice with value as$[req_header_x-forwarded-for].
Step 4: Configure removing request headers.
-
Under the
Remove Request Headersfield, clickAdd item. -
Enter the header key. This preserves the requester's original IP address by removing the header.
-
Use the
Applyoption to specify multiple headers.
Note: The Distributed Cloud Services proxy adds
x-forwarded-forheader by default for all requests.
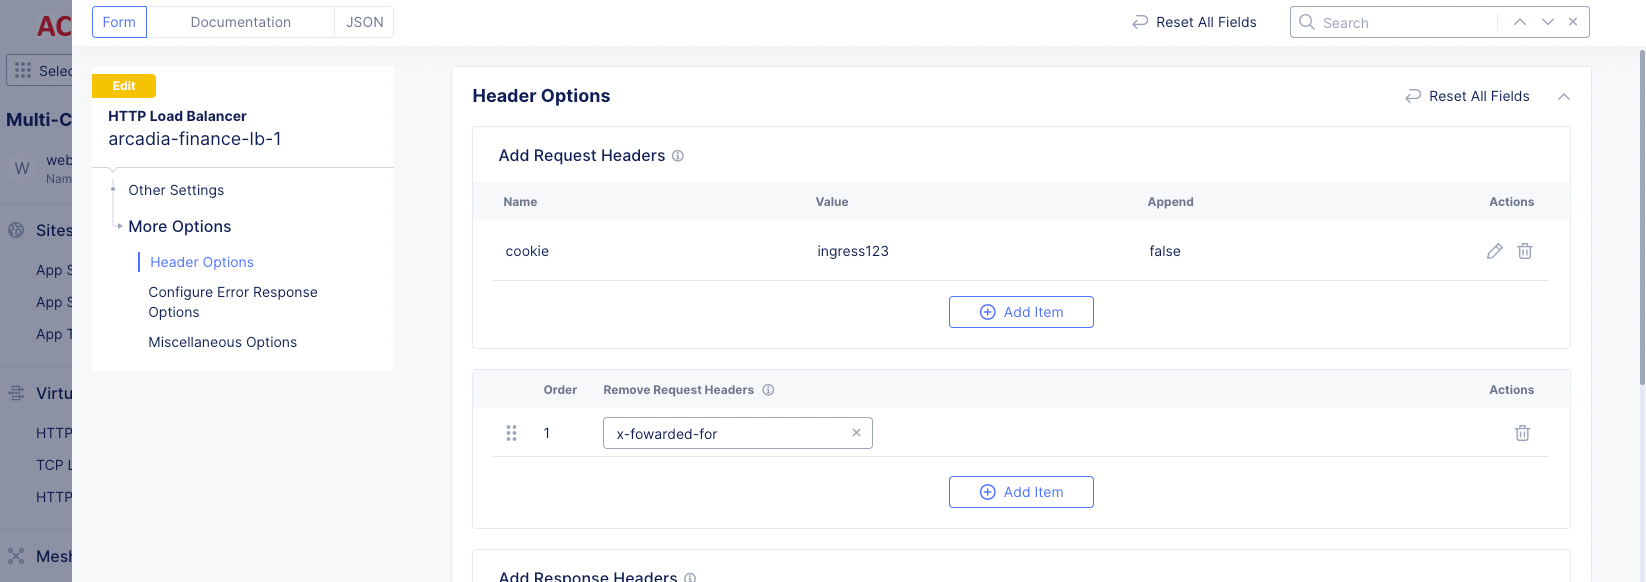
Figure: Remove Request Header
Step 5: Configure adding response headers.
-
Under the
Add Response Headersfield, clickAdd Item. -
Enter the header name.
-
Select a value from the
Value or Secretmenu, and then enter the value name. -
Optionally, select the
Appendcheckbox to append to existing values. -
Click
Add Item.
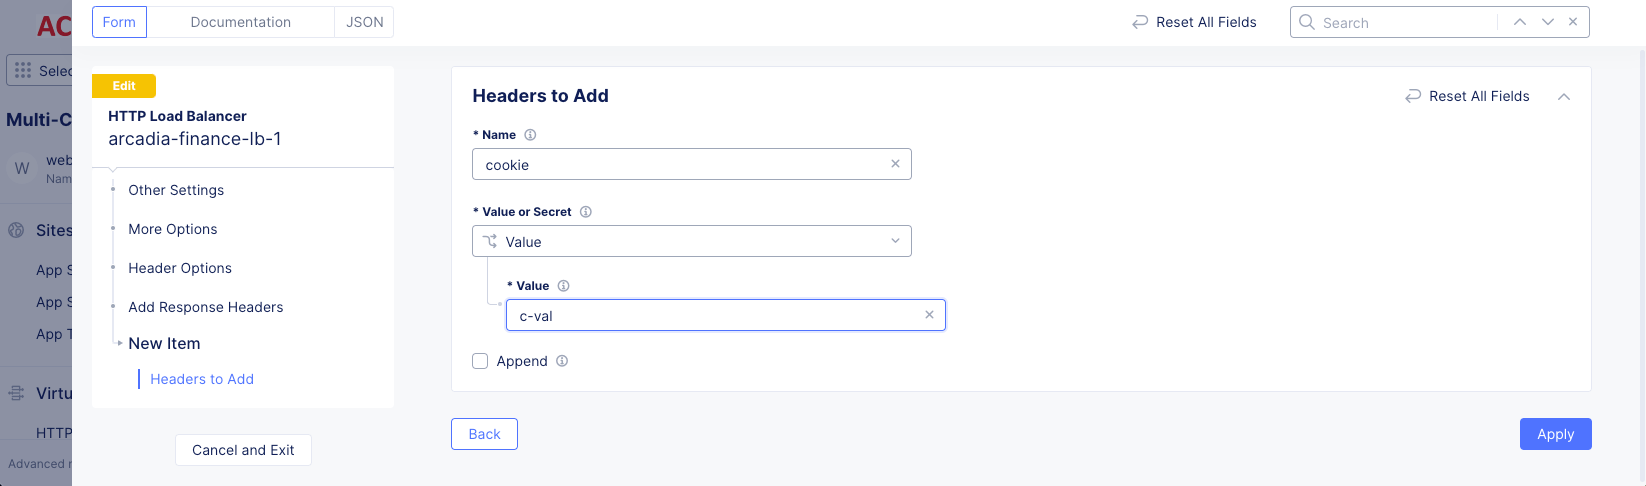
Figure: Add Response Header
Note: You can set the HTTP Strict Transport Security (HSTS) by adding the
Strict-Transport-Securityresponse header and a value. A sample value ismax-age=31536000.
- Use the
Add itemoption to specify multiple headers.
Step 6: Configure removing response headers.
-
Under the
Remove Response Headersfield, clickAdd item. -
Enter the response header to remove.
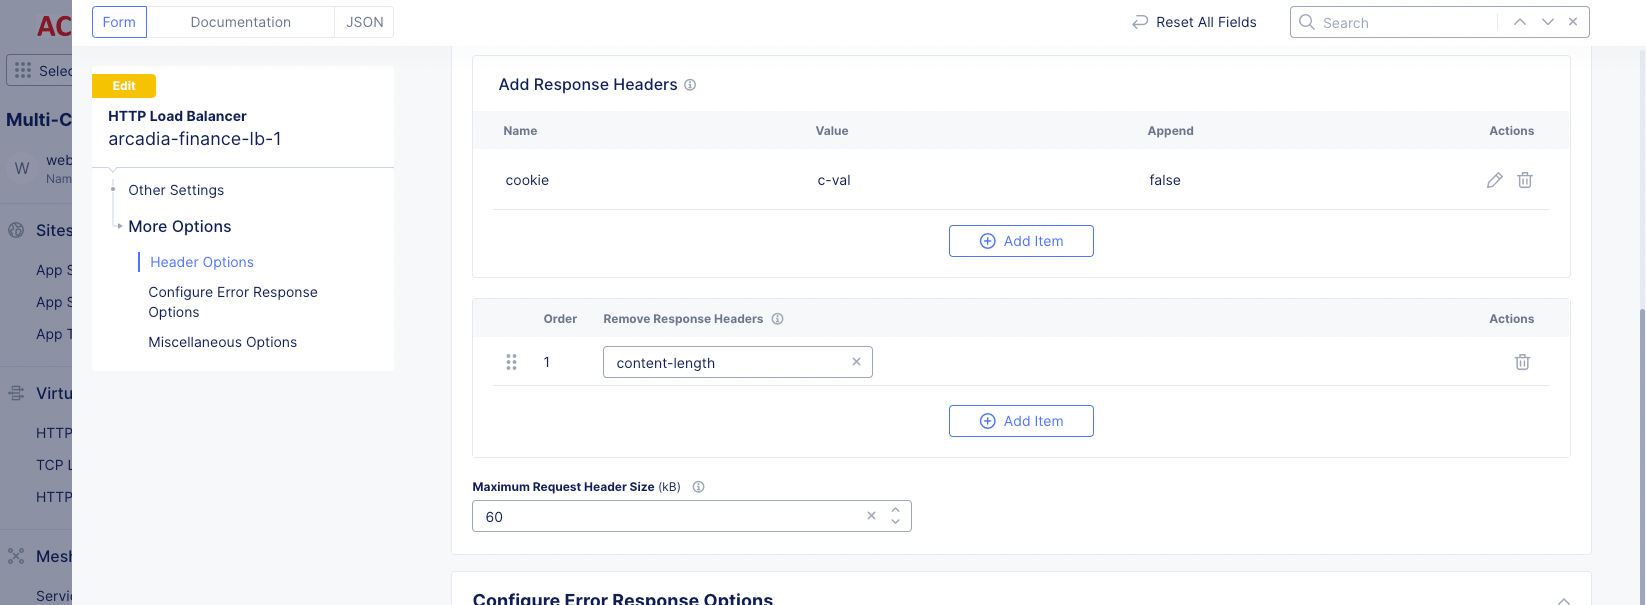
Figure: Remove Response Header
- Use the
Add itemoption to specify multiple headers.
Step 7: Set a maximum size for the request header.
Set a value for the Maximum Request Header Size field to limit the allowed maximum size of the header in the request. The maximum value allowed is 96 KiB and the default value is 60 KiB.
Step 8: Configure the error response options.
-
In the
Configure Error Response Optionssection, under theCustom Error Responsesfield, clickConfigure. -
Click
Add item. -
Enter a numerical value. The value must be 3, 4, 5, or in the 300-599 range.
-
Under the
Error Response Bodyfield, clickConfigure. -
Choose a string encoding type from the options available.
-
Enter a response in the box.
-
Click
Apply. -
Click
Apply.
Step 9: Configure miscellaneous options.
-
In the
Miscellaneous Optionssection under theBuffer Policyfield, clickConfigure. -
Enter a numeric value for the maximum request size for the buffer.
-
Optionally, select the
Disablecheckbox to disable a particular route. -
Click
Apply. -
Under the
Compression Parametersfield, clickConfigure. -
Complete the configuration parameters, and then click
Apply.
Step 10: Complete configuring header processing.
-
Click
Applyto apply the header options to the load balancer configuration. -
Click
Save and Exitto save the load balancer configuration.