Configure BGP ASN Sets
Objective
This document provides instructions on how to create BGP Autonomous System Number (ASN) sets and apply them to service policies to control application traffic originating or reaching the Autonomous Systems identified by the ASNs in F5® Distributed Cloud Services. To know more about service policies, see Service Policy.
Using the instructions provided in this guide, you can create BGP ASN sets and configure a service policy to allow traffic for one ASN and drop for another ASN.
Prerequisites
The following prerequisites apply:
-
An F5 Distributed Cloud Account. If you do not have an account, see Getting Started with Console.
-
An application running on vK8s or deployed on an edge site. If you do not have an application running on vK8s or on an edge site, see vK8s Deployment.
-
ASN Standard supported: RFC 4893 - 4-byte BGP ASN nomenclature. Note that autonomous system dot notation (asdot) is used only for display.
Configuration
Configuration Sequence
Configuring BGP ASN sets and applying them in service policy requires performing the following sequence of actions:
| Phase | Description |
|---|---|
| Create BGP ASN Sets | Create BGP ASN sets from the security options in the F5 Distributed Cloud Console. |
| Create Service Policy Rules | Create a policy rule to permit traffic from one BGP ASN and drop traffic from another BGP ASN set. |
| Create a Service Policy | Create a policy with the configured rules. |
Create BGP ASN Sets
BGP can be viewed and managed in multiple services: Multi-Cloud Network Connect, Multi-Cloud App Connect, Web App & API Protection, Distributed Apps, and Shared Configuration.
This example shows BGP setup in Shared Configuration.
Step 1: Log into F5® Distributed Cloud Console, select Add BGP ASN set.
- Open
F5® Distributed Cloud Consolehomepage, selectShared Configurationbox.
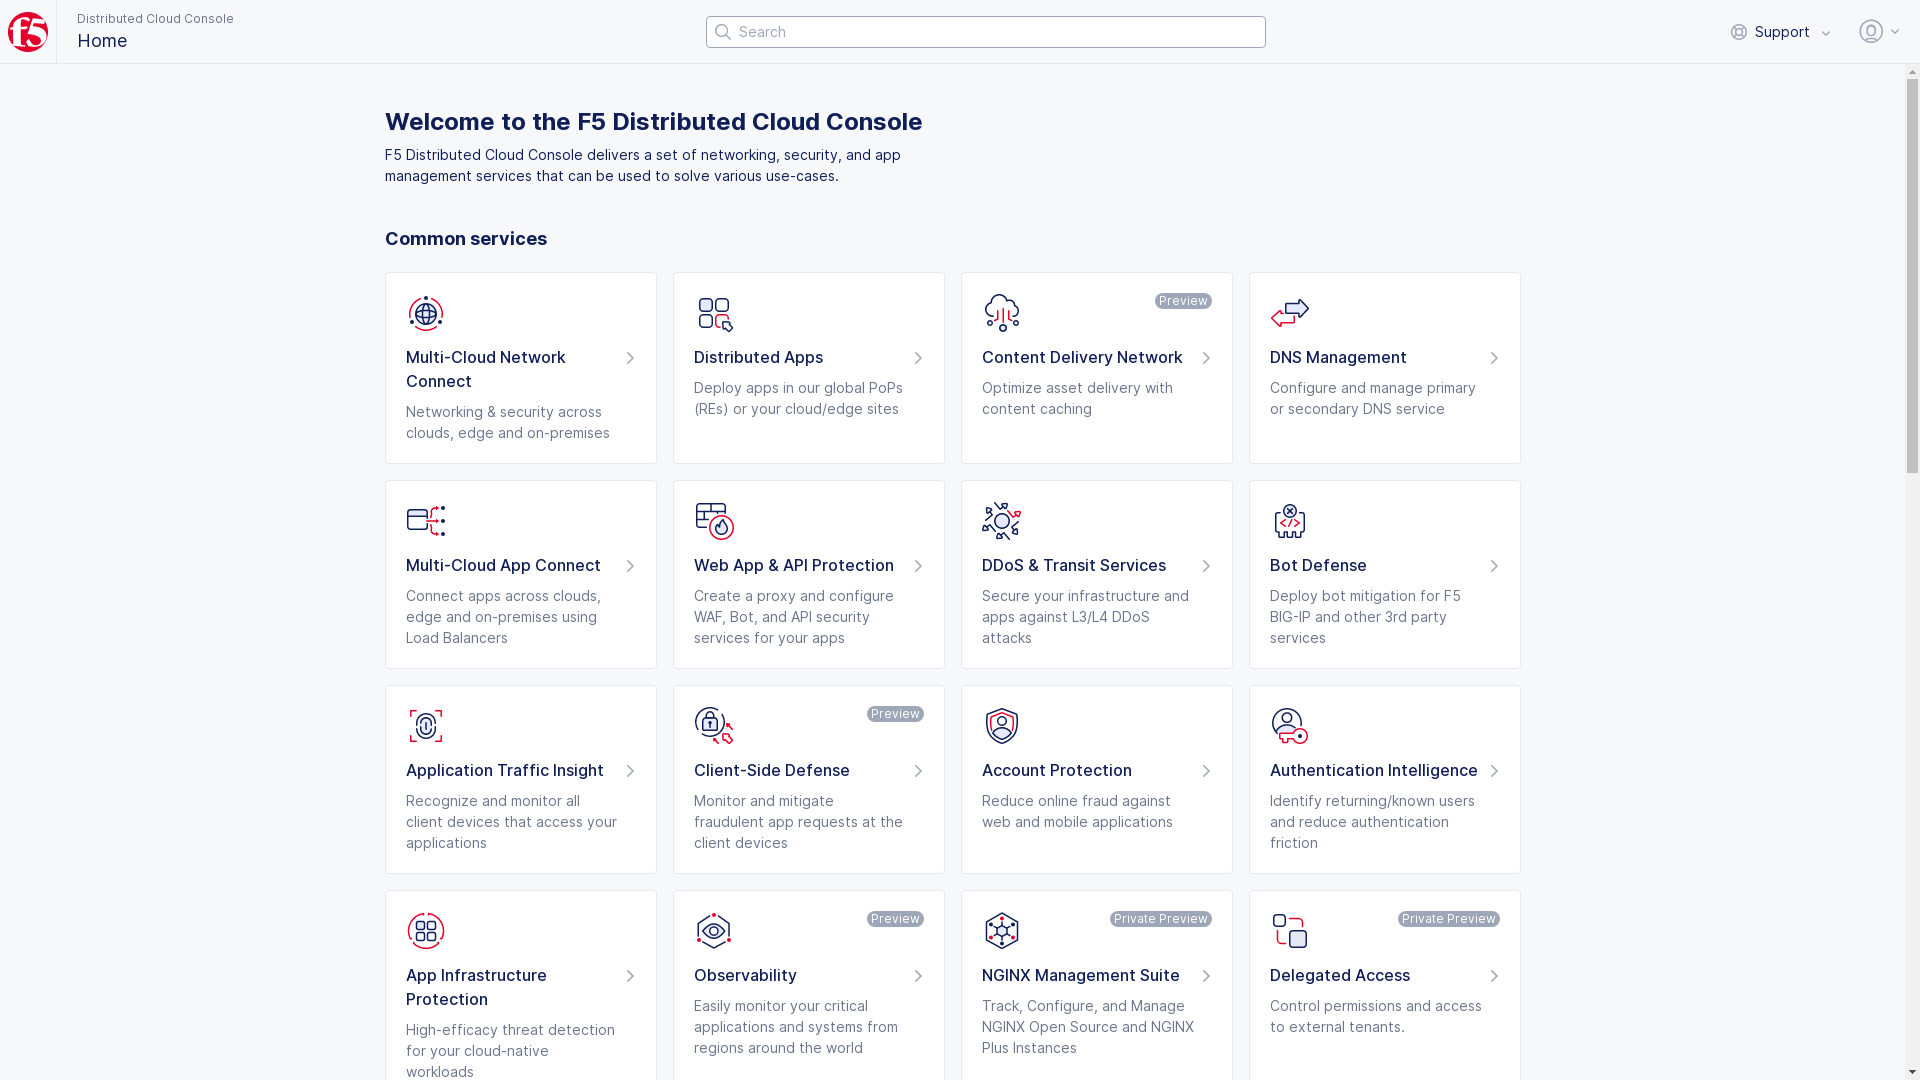
Figure: Homepage
Note: Confirm
Namespacefeature, if available in service, is on correct namespace, drop-down selector located in upper-left corner.
- Select
Managein left column menu > selectFirewall>BGN ASN Sets.
Note: If options are not showing available select
Advanced nav options visibleShowlink in bottom left corner. SelectHideto minimize options from Advanced nav options mode if needed.
- Select
Add BGN ASN setbutton.
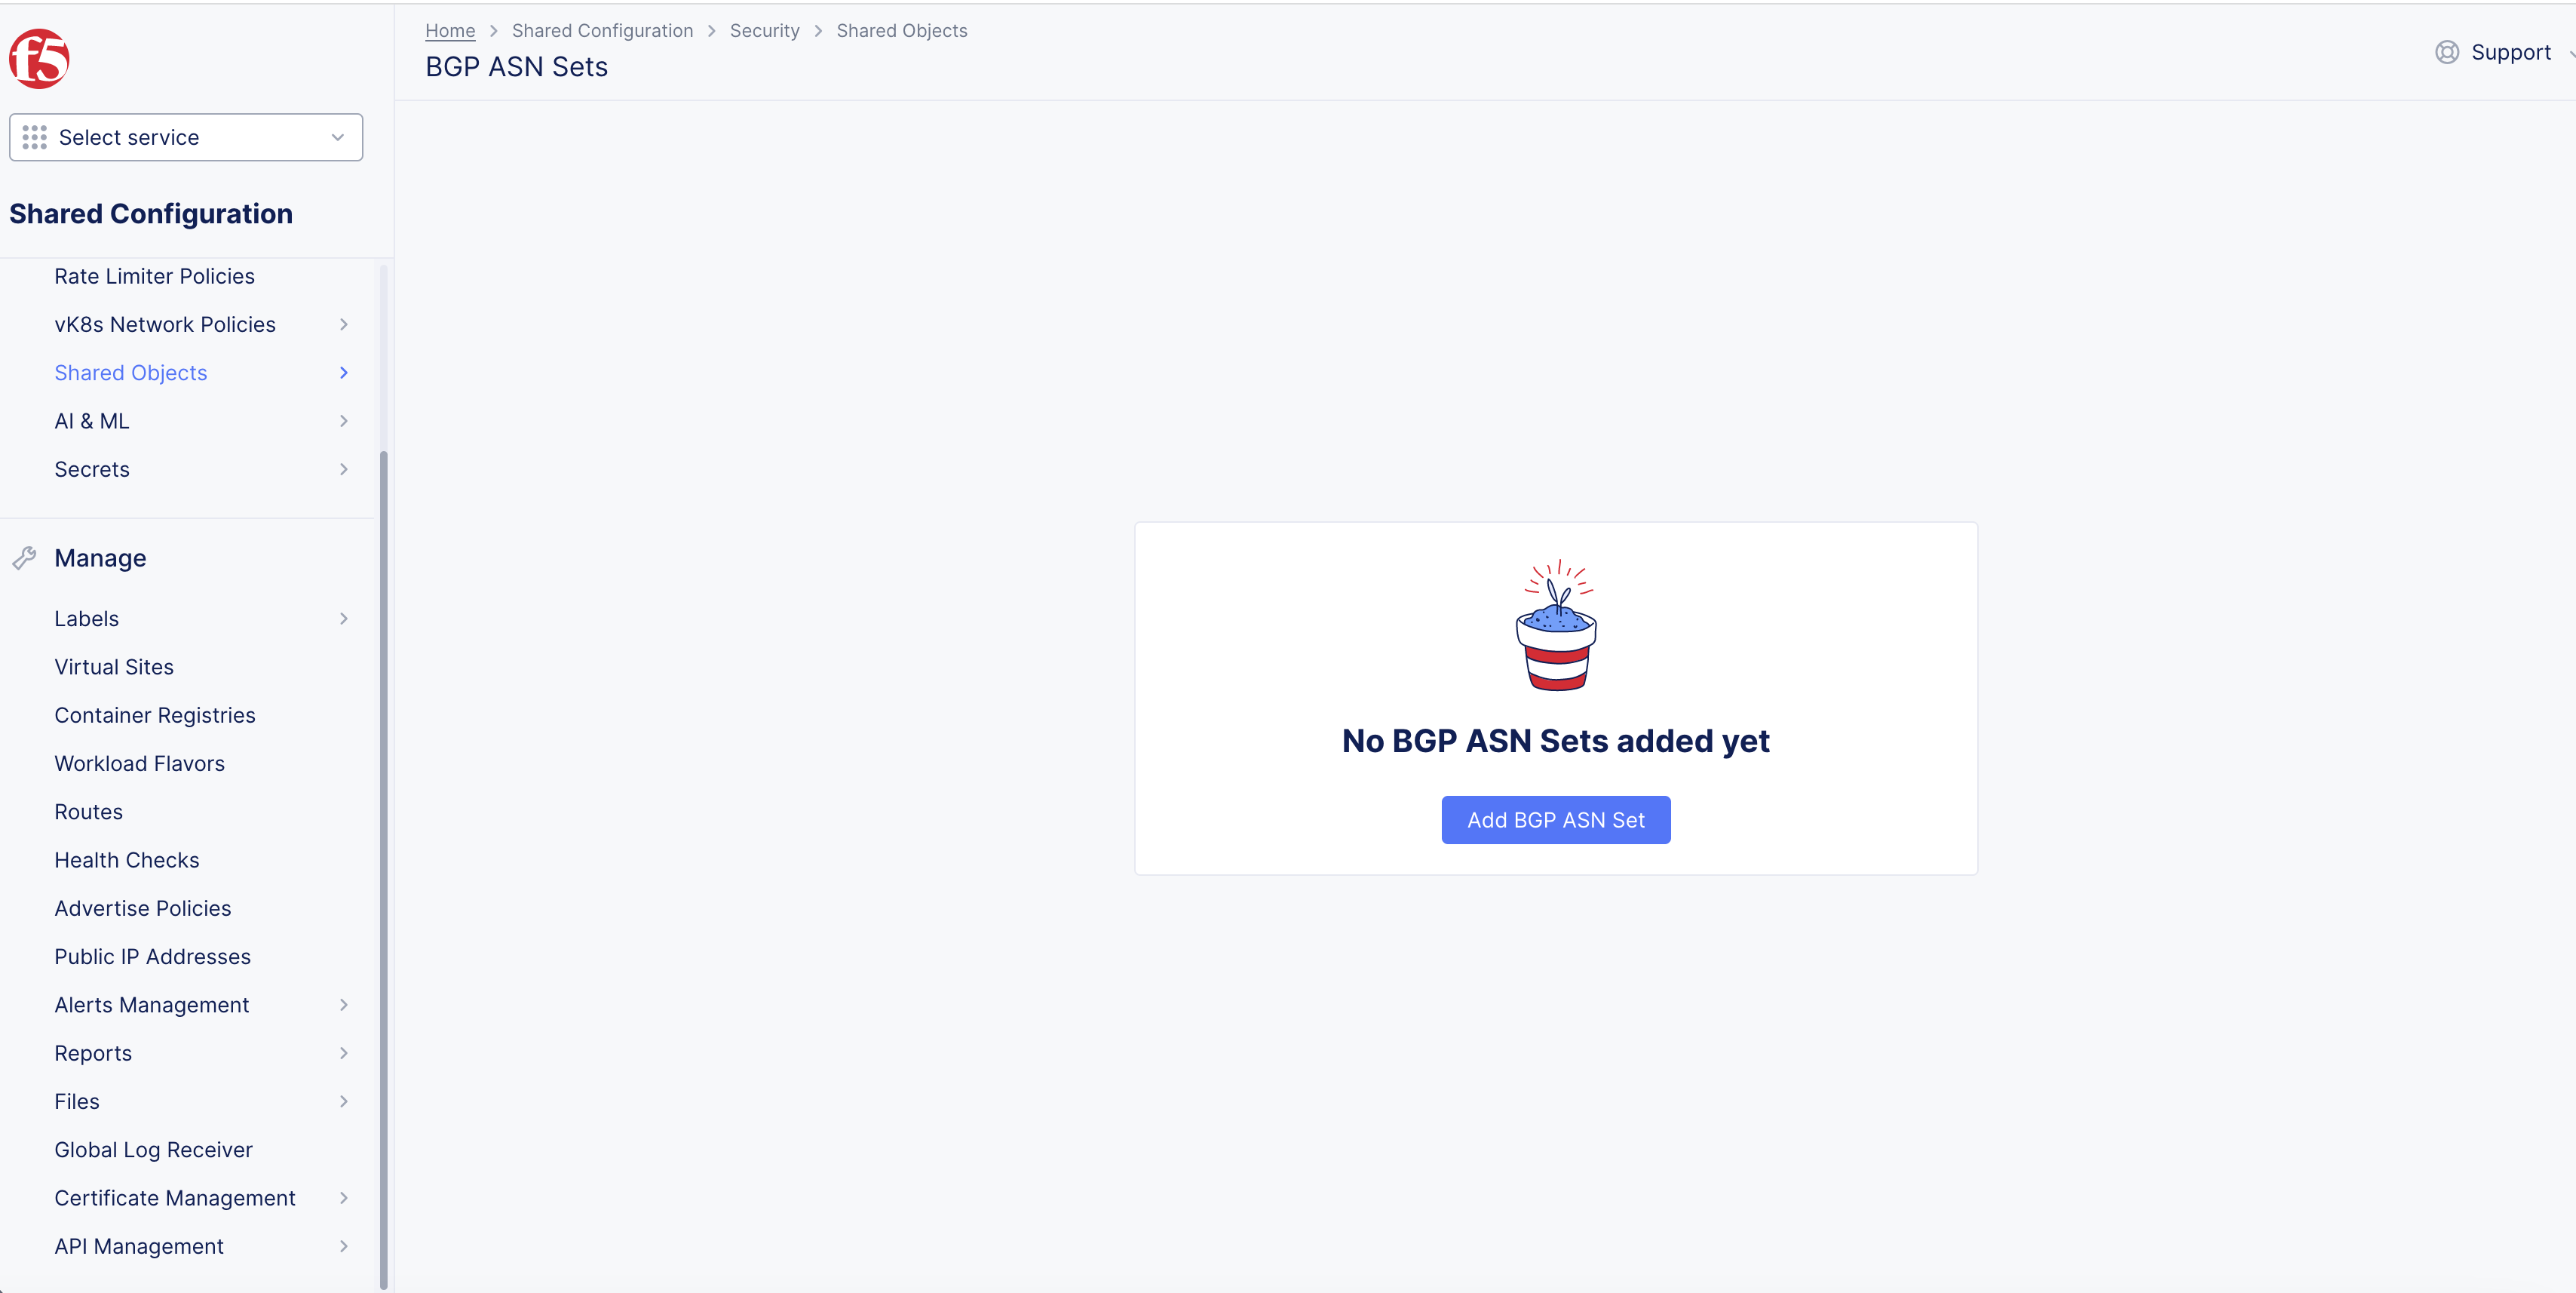
Figure: F5® Distributed Cloud Console
Note: You can also change to load balancers and create the ASN set.
Step 2: Create BGN ASN Set.
-
Enter
Name, enterLabelsandDescriptionas needed. -
Enter
AS Numbersin box inList of AS Numberssection.
Note: Enter the numbers of ASNs from which you want to allow traffic.
-
Select
Add Itembutton to add moreAS Numbersoptions. -
Select
Save and Exitbutton.
Step 3: Repeat Step 1 and 2 to create another BGP ASN set with the numbers of ASNs from which you want to block the traffic.
-
Repeat step 1: Log into
F5® Distributed Cloud Console, selectAdd BGP ASN set. -
Repeat step 2: Create BGN ASN Set.
-
Select traffic you want to block.
Create Service Policy Rules
Service policy rules are used in controlling the traffic based on various conditions. This example shows how to allow or reject traffic coming from specific ASNs. For more information on service policies and rules, see Create Service Policy Rule.
Step 1: Select location of where you want to create your Service Policy.
-
Select the namespace where you want to create your Service Policy. Select
Securityfrom the configuration menu andNetwork Securityfrom the options pane. SelectService Policy Rulesand selectAdd service policy rule. The policy rule creation form gets loaded. -
Select
Multi-Cloud Network Connect> SelectManage.
Figure: Homepage
-
Select
Firewall>Service Policies>Add Service Policybutton. -
Configurelink inRulesbox. -
Select
+ Add Itembutton inRulespage. -
Enter
Name, enterDescriptionas needed. -
Select
Configurelink inRules Specificationbox in newRulespage. -
Select
AllowinActionbox. -
Toggle
Show Advanced FieldsinClientsbox in new page. -
Select
Source ASN Matchdrop-down menu.-
Select
BGN ASN Sets>+ Select ASN Setbutton > check box of ASN orAdd new BGN Asn setbutton. -
Enter
Name,AS Numbers>Continuebutton >Select ASN Setbutton. -
Select
ASN Listoption. -
AS Numbersbox appears. -
Select
Applybutton.
-
Step 2: Enter a name and select Allow in Action box.
-
Enter name.
-
Select Allow in
Actionbox.
Step 3: Select ASN Matcher to open the form to apply BGP ASN set. Select Select ASN set, and select the set you created in the Create BGP ASN Sets chapter.
-
Select
ASN Matcher. -
Select
ASNset created from BGP ASN Set setup.
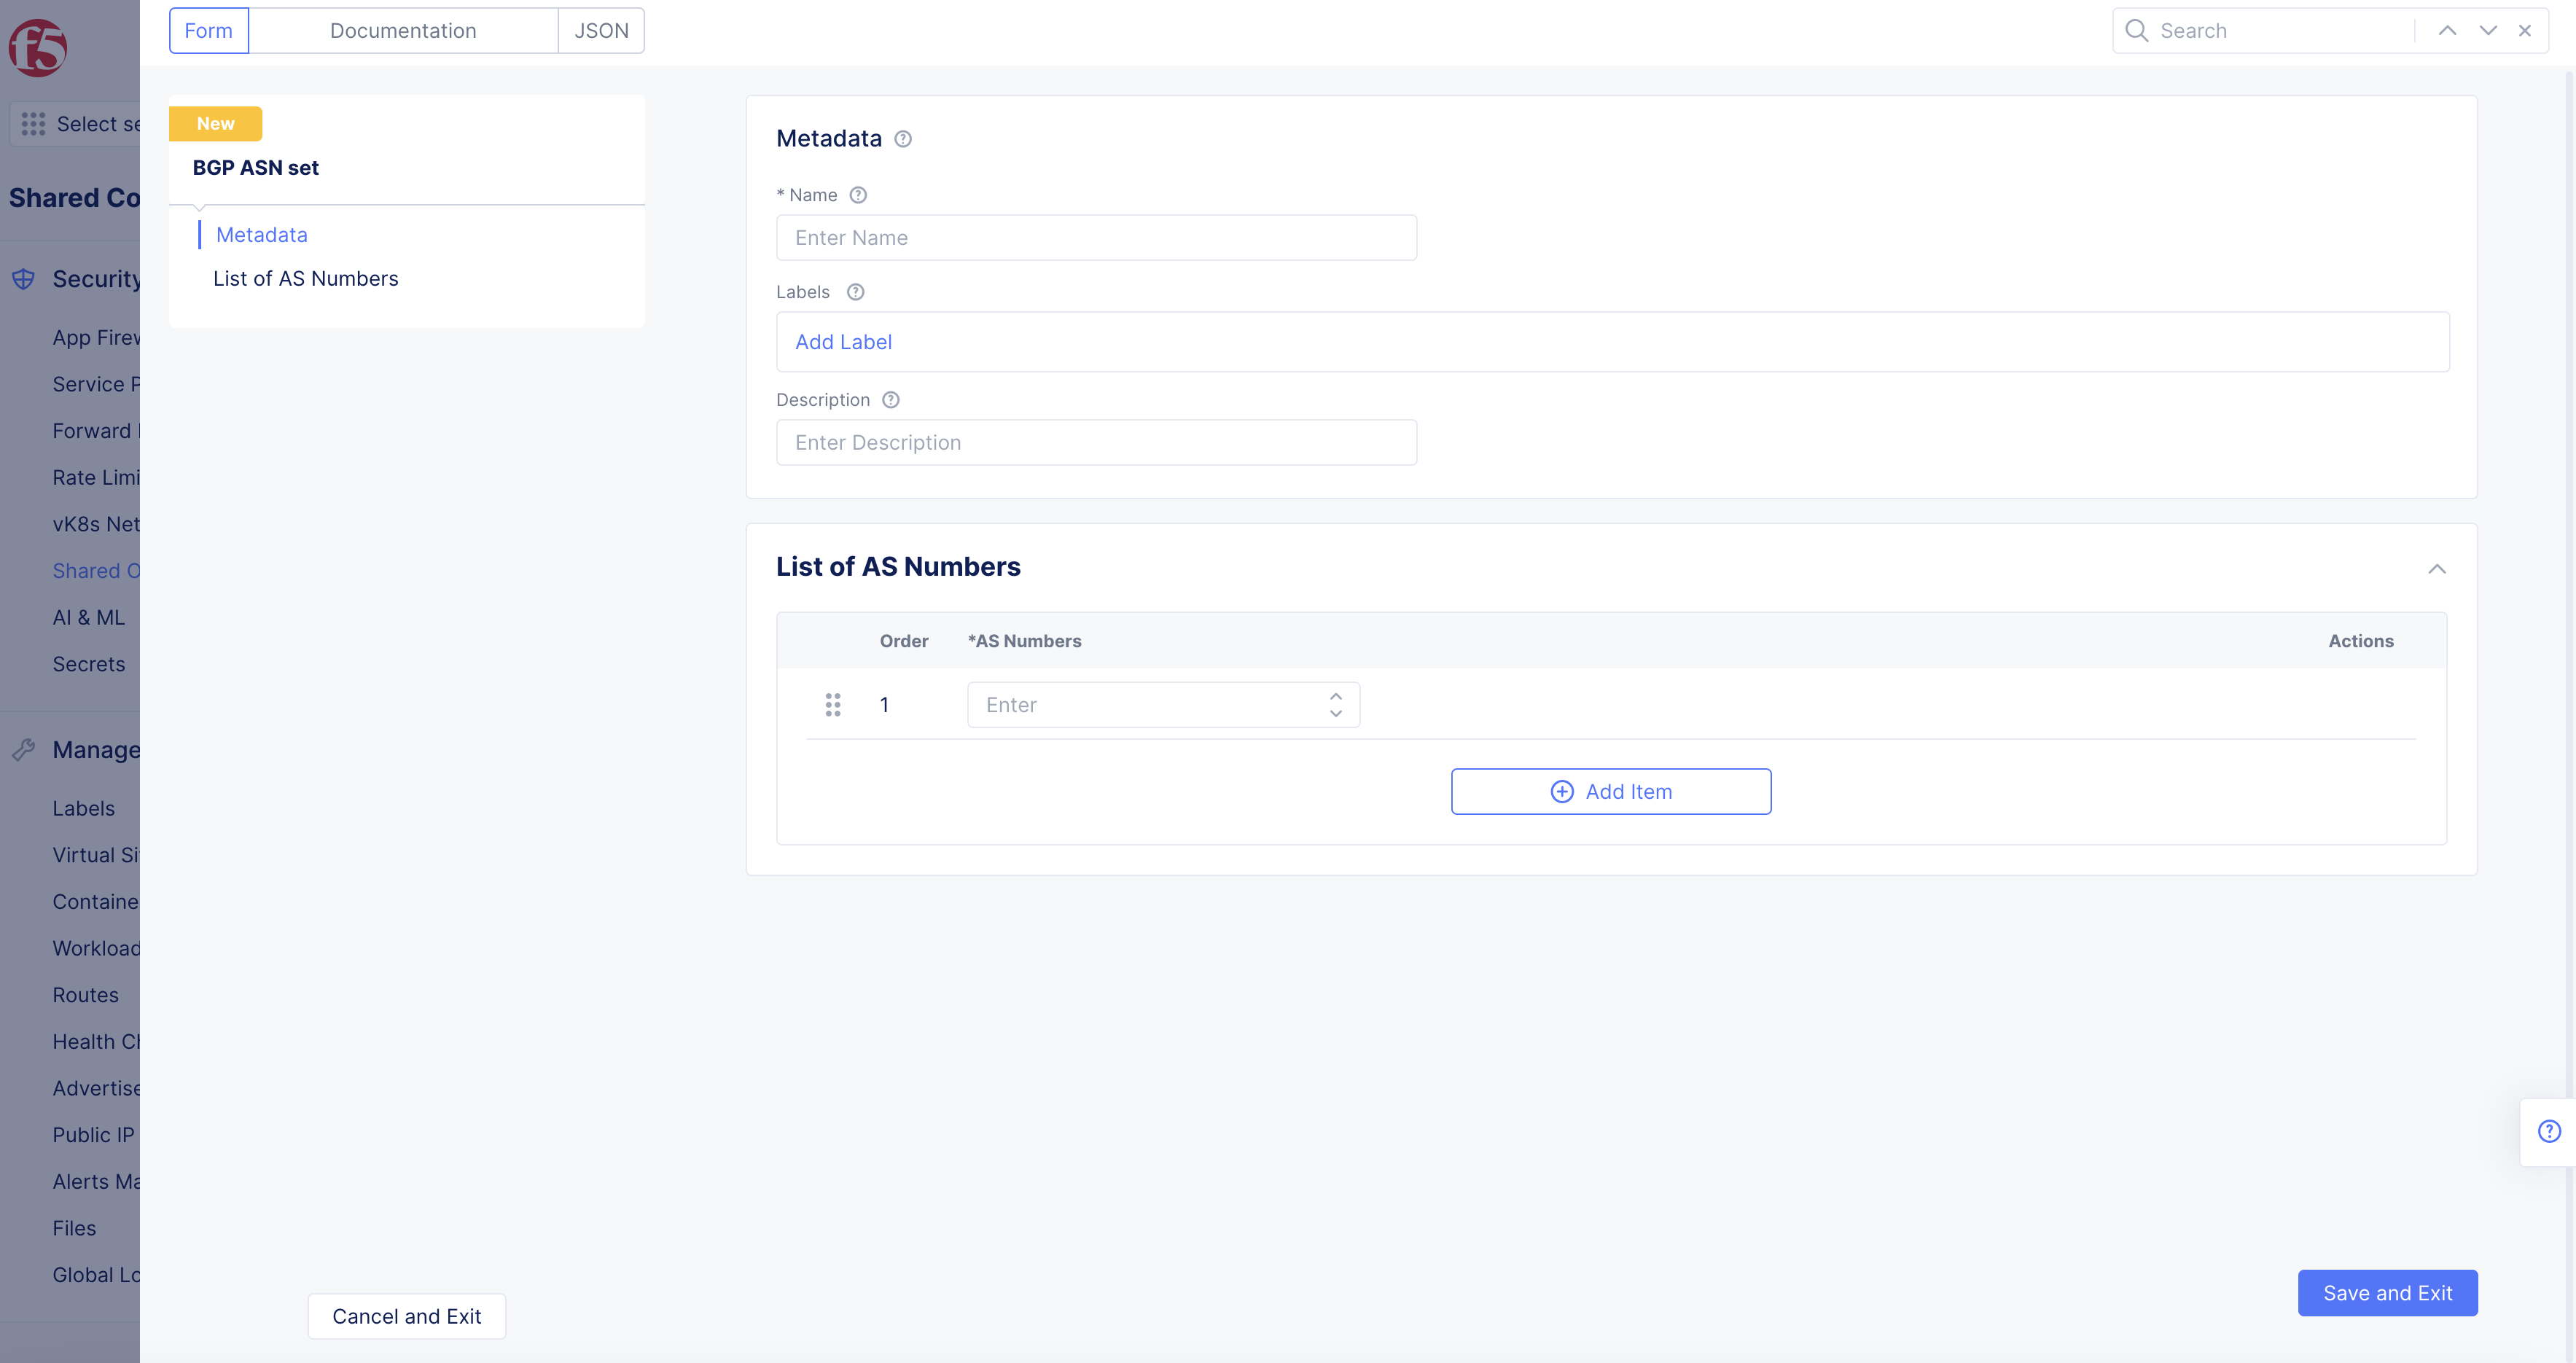
Figure: Service Policy Rule AS Matcher
Step 4: Select Select ASN set, and Apply to apply the ASN set to the service policy rule.
-
Select
ASN set. -
Apply
ASN settoService policy rule.
Step 5: Select Add service policy rule to complete creating service policy rule.
-
Select
Add service policy rule. -
Enter info as needed.
Step 6: Repeat Step 1 to Step 5.
-
Repeat Step 1 to Step 5 for creating a rule to block traffic from the second ASN set created in the Create BGP ASN Sets chapter.
-
Ensure that you set the
ActionasDeny.
Create a Service Policy
Service policies apply rules in the order as per the specified configuration. For more information on service policies, see Configure Service Policy.
Step 1: Select location of Service Policy Rule.
-
Select the same namespace where you created your service policy rule.
-
Select
Securityfrom the configuration menu andNetwork Securityfrom the options pane. -
Select
Service Policiesand selectAdd service policy. -
Policy creation form gets loaded.
Step 2: Enter a name for the policy, and set First Rule Match for the Rule Combining Algorithm field.
-
Enter
namefor policy. -
Set
First Rule MatchinRule Combining Algorithmbox.
Step 3: Select rule, and add the rules created in the Create Service Policy Rules chapter.
-
Select rule. -
Add rules created in
Create Service Policy Ruleschapter. -
Select
rule.
Note: It is recommended to first add the rule that allows traffic from Autonomous Systems and then add the rule that drops traffic from the other set of Autonomous Systems.
Step 4: Select Add service policy to complete service policy creation.
-
Select
Add service policy. -
Complete service policy creation.
Note: You can use other fields of service policy creation such as
Server Name Matcherfor granular control. For more information, see Configure Service Policy.
You can use this policy in a service policy set and apply the BGP ASN sets to control your application traffic. For more information on service policy set configuration, see Configure Service Policy Set.