Disable Advertising on Public Network
Objective
This document provides instructions on how to enable the ability to disable advertisement for services on public internet at tenant-level in F5® Distributed Cloud Services. After disabling the advertisement, you can enable advertising at individual namespace-level. For information advertisement concepts, see Advertisement Policy.
Using the instructions provided in this guide, you can raise a support request to turn on disabling of advertisement on public internet tenant-level, selectively enable advertisement at namespace-level, and turn off disabling of advertisement at tenant-level.
Prerequisites
The following prerequisites apply:
-
A valid Account is required. If you do not have an account, see Create an Account.
-
A load balancer. If you do not have a load balancer, see HTTP Load Balancer.
-
API certificate or API token for API requests. If you do not have API certificate or token, see My Credentials.
Limitations
The following limitations apply:
-
Turning on and turning off the ability to disable advertisement on public internet at tenant-level is granted through support request only.
-
Enabling and disabling of advertising on public Internet at namespace-level is supported only using APIs.
Tenant-level vs Namespace-Level Control
After turning on the ability to disable advertisement at tenant-level, advertisement on public Internet for all namespaces is disabled. You can disable advertisement at tenant-level using a support request and then selectively turn on the ability at namespace-level using the UpdateAllowAdvertiseOnPublic API. At namespace-level, the API has the following 3 values you can set:
-
Default
-
Enable
-
Disable
The following table presents the behavior of advertisement for various combinations of tenant-level and namespace-level settings:
| Default Disable at Tenant-Level | Allow at Namespace-Level | Advertise on Public |
|---|---|---|
| TRUE | Default | No |
| TRUE | Enable | Yes |
| TRUE | Disable | No |
| FALSE | Default | Yes |
| FALSE | Enable | Yes |
| FALSE | Disable | No |
Disable Advertisement at Tenant-Level
Enabling the ability to disable the advertisement on public Internet requires you to raise a support request.
Features can be viewed and managed in multiple services.
This example shows Disable Advertising configuration in Administration.
Step 1: Raise support request to disable advertising on Internet.
- From the F5® Distributed Cloud Console (Console) homepage, select
Administration.
Note: Homepage is role based, and your homepage may look different due to your role customization. Select
All Servicesdrop-down menu to discover all options.
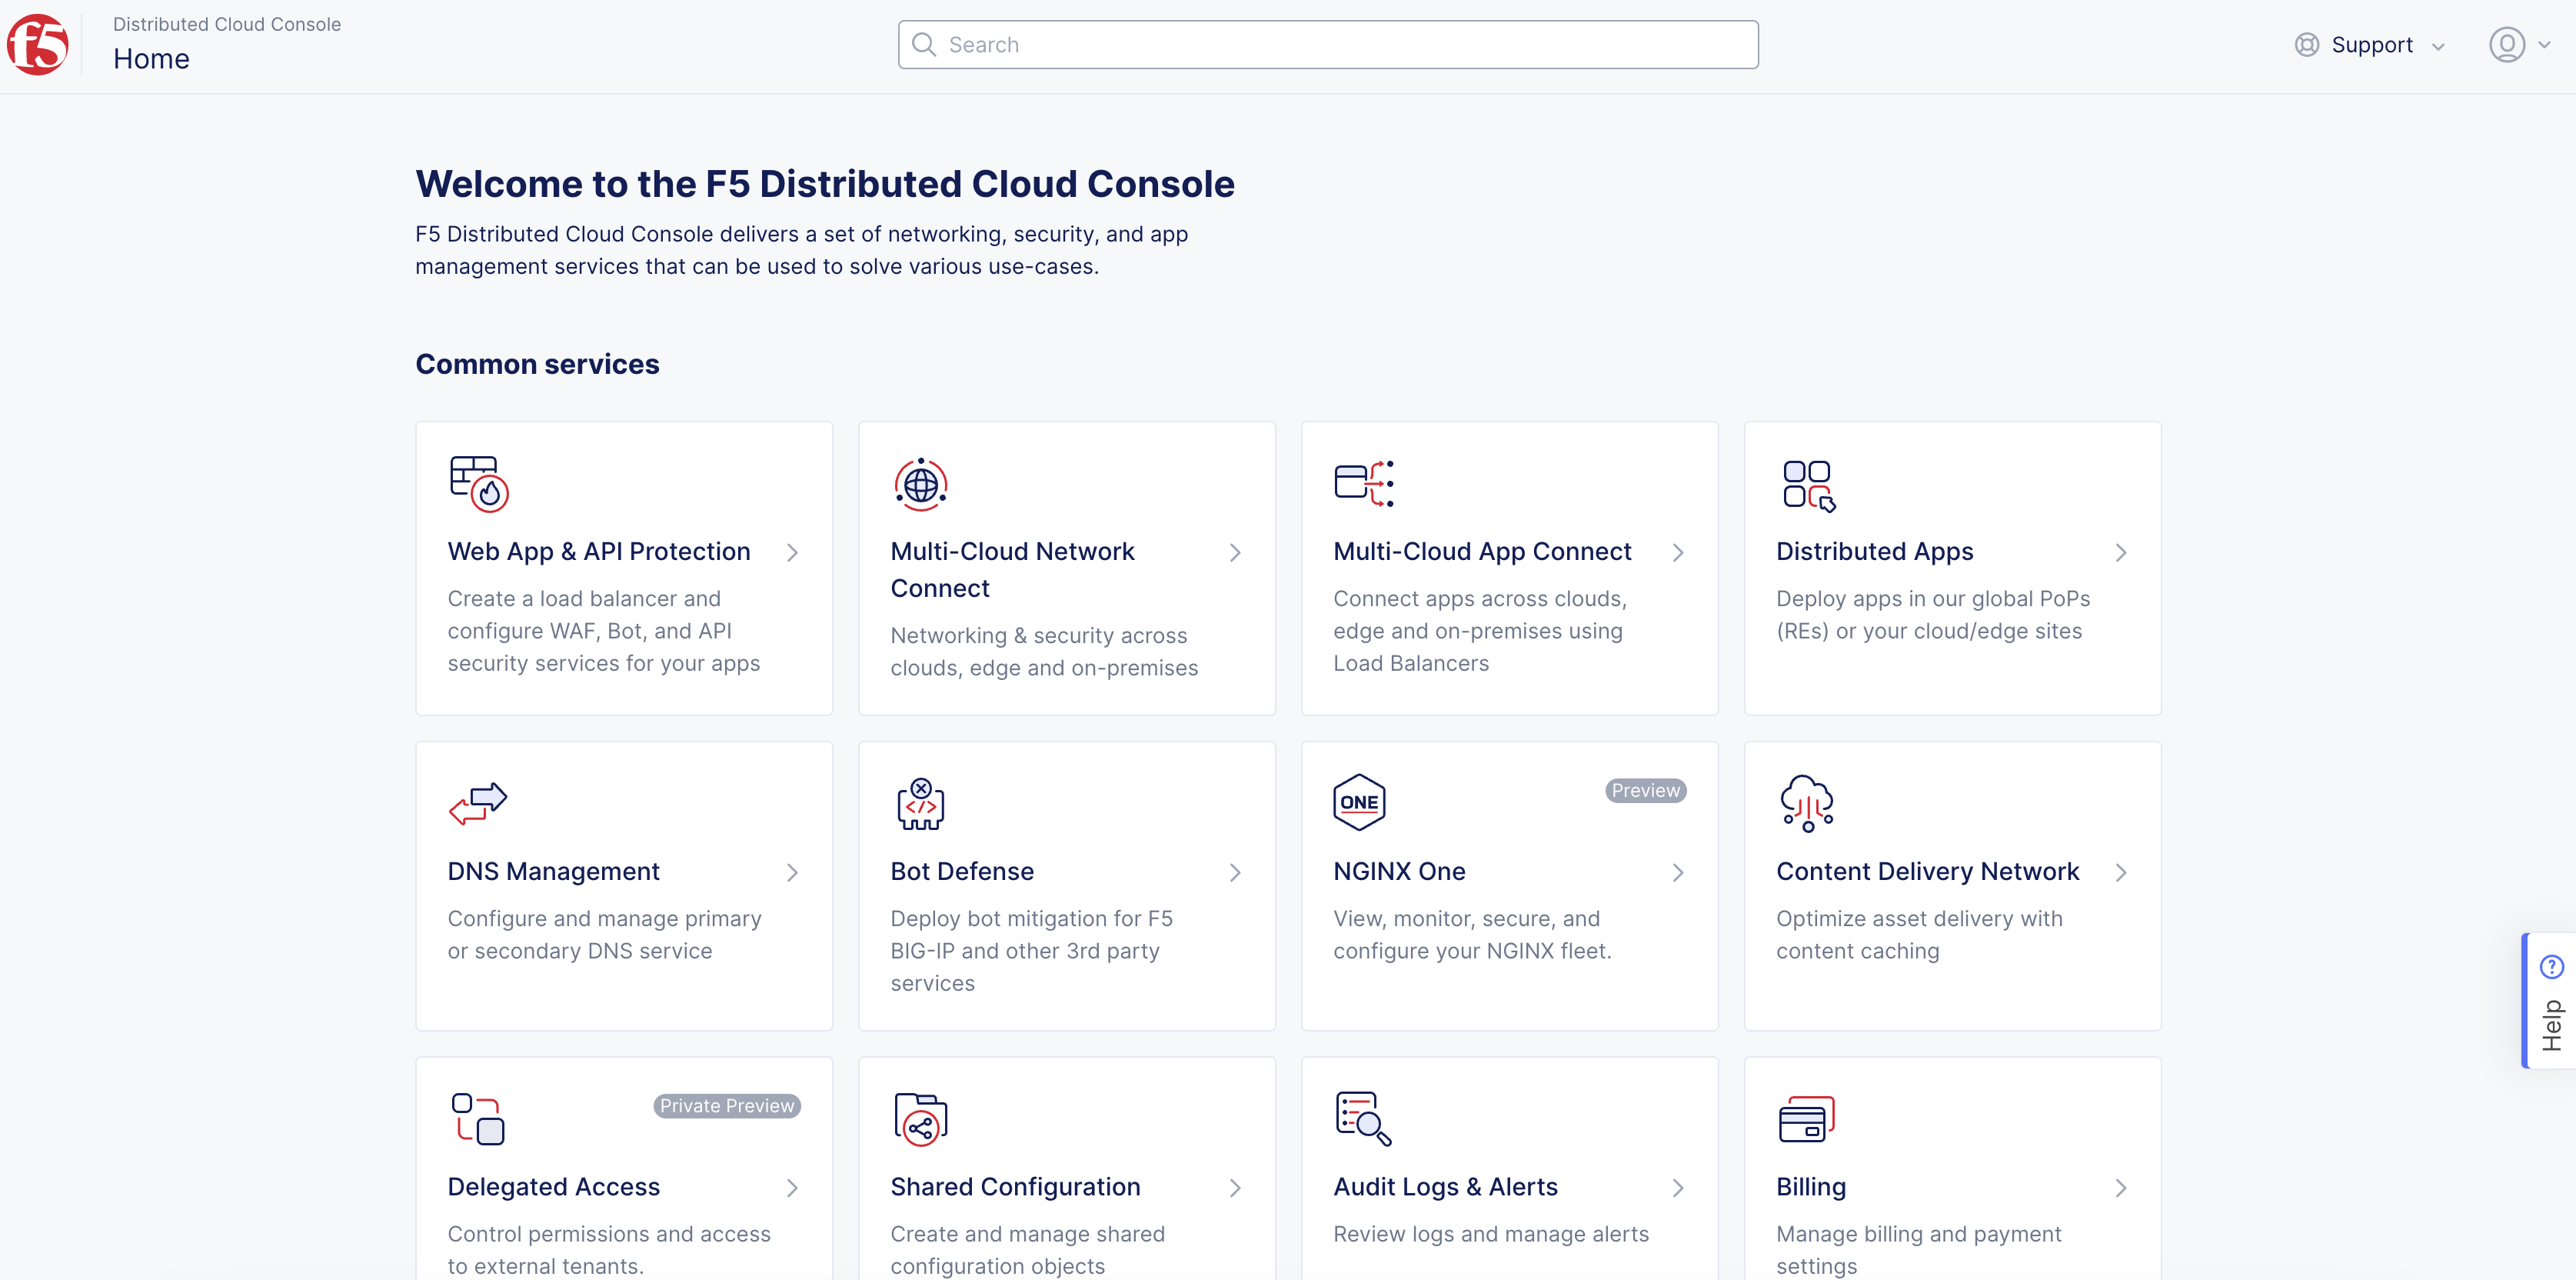
Figure: Homepage
- Select
Support>Requests.
Note: If options are not showing available, select
Showlink inAdvanced nav options visiblein bottom left corner. If needed, selectHideto minimize options from Advanced nav options mode.
- Select
Add Requests.
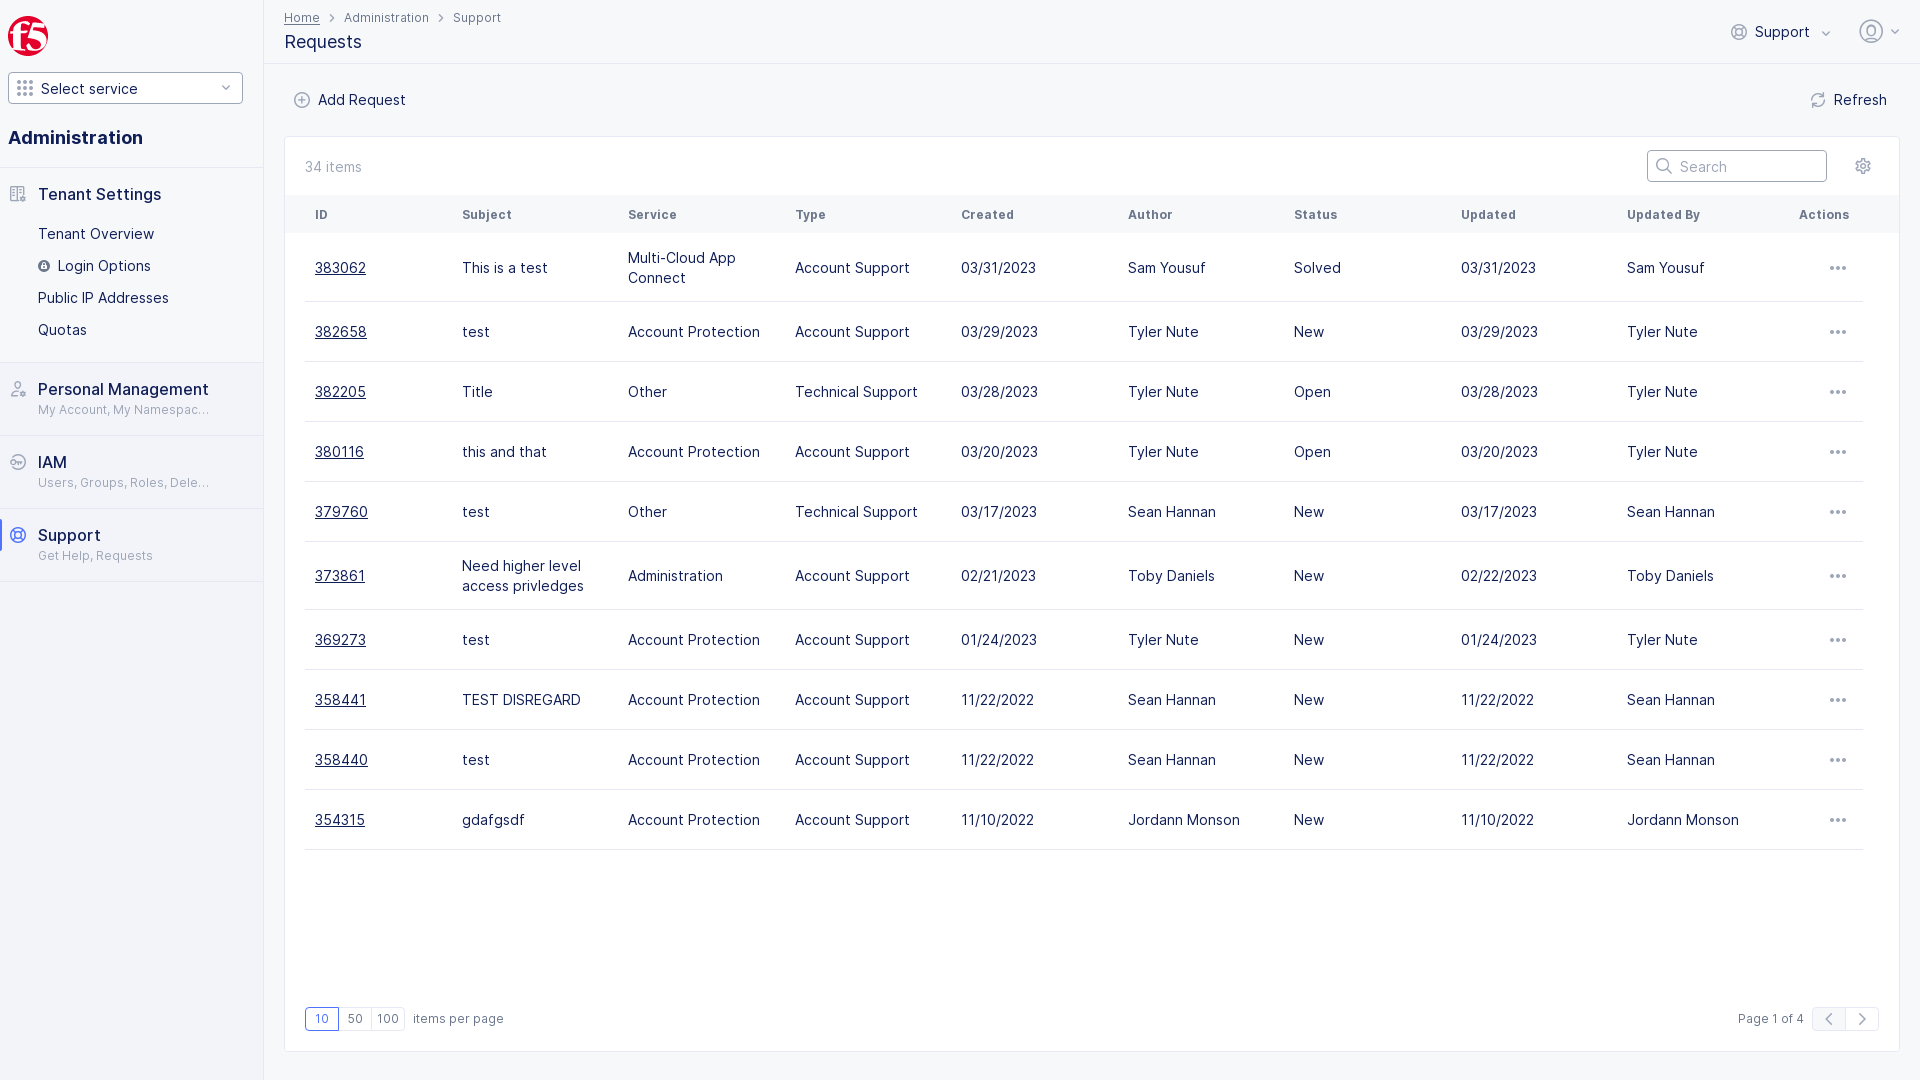
Figure: Support Add Request
-
From the
Servicemenu, selectOther. -
From the
Typemenu, selectTechnical Support. -
From the
Topicmenu, selectOther. -
From the
Priorityoptions, select a level to indicate this request.Normalis the default value. -
In the
Please provide a subject for your issuefield, enter a short title for this request. -
In the
Please explain the problem belowfield, enter a detailed account for this request. -
Select
Submit Request.
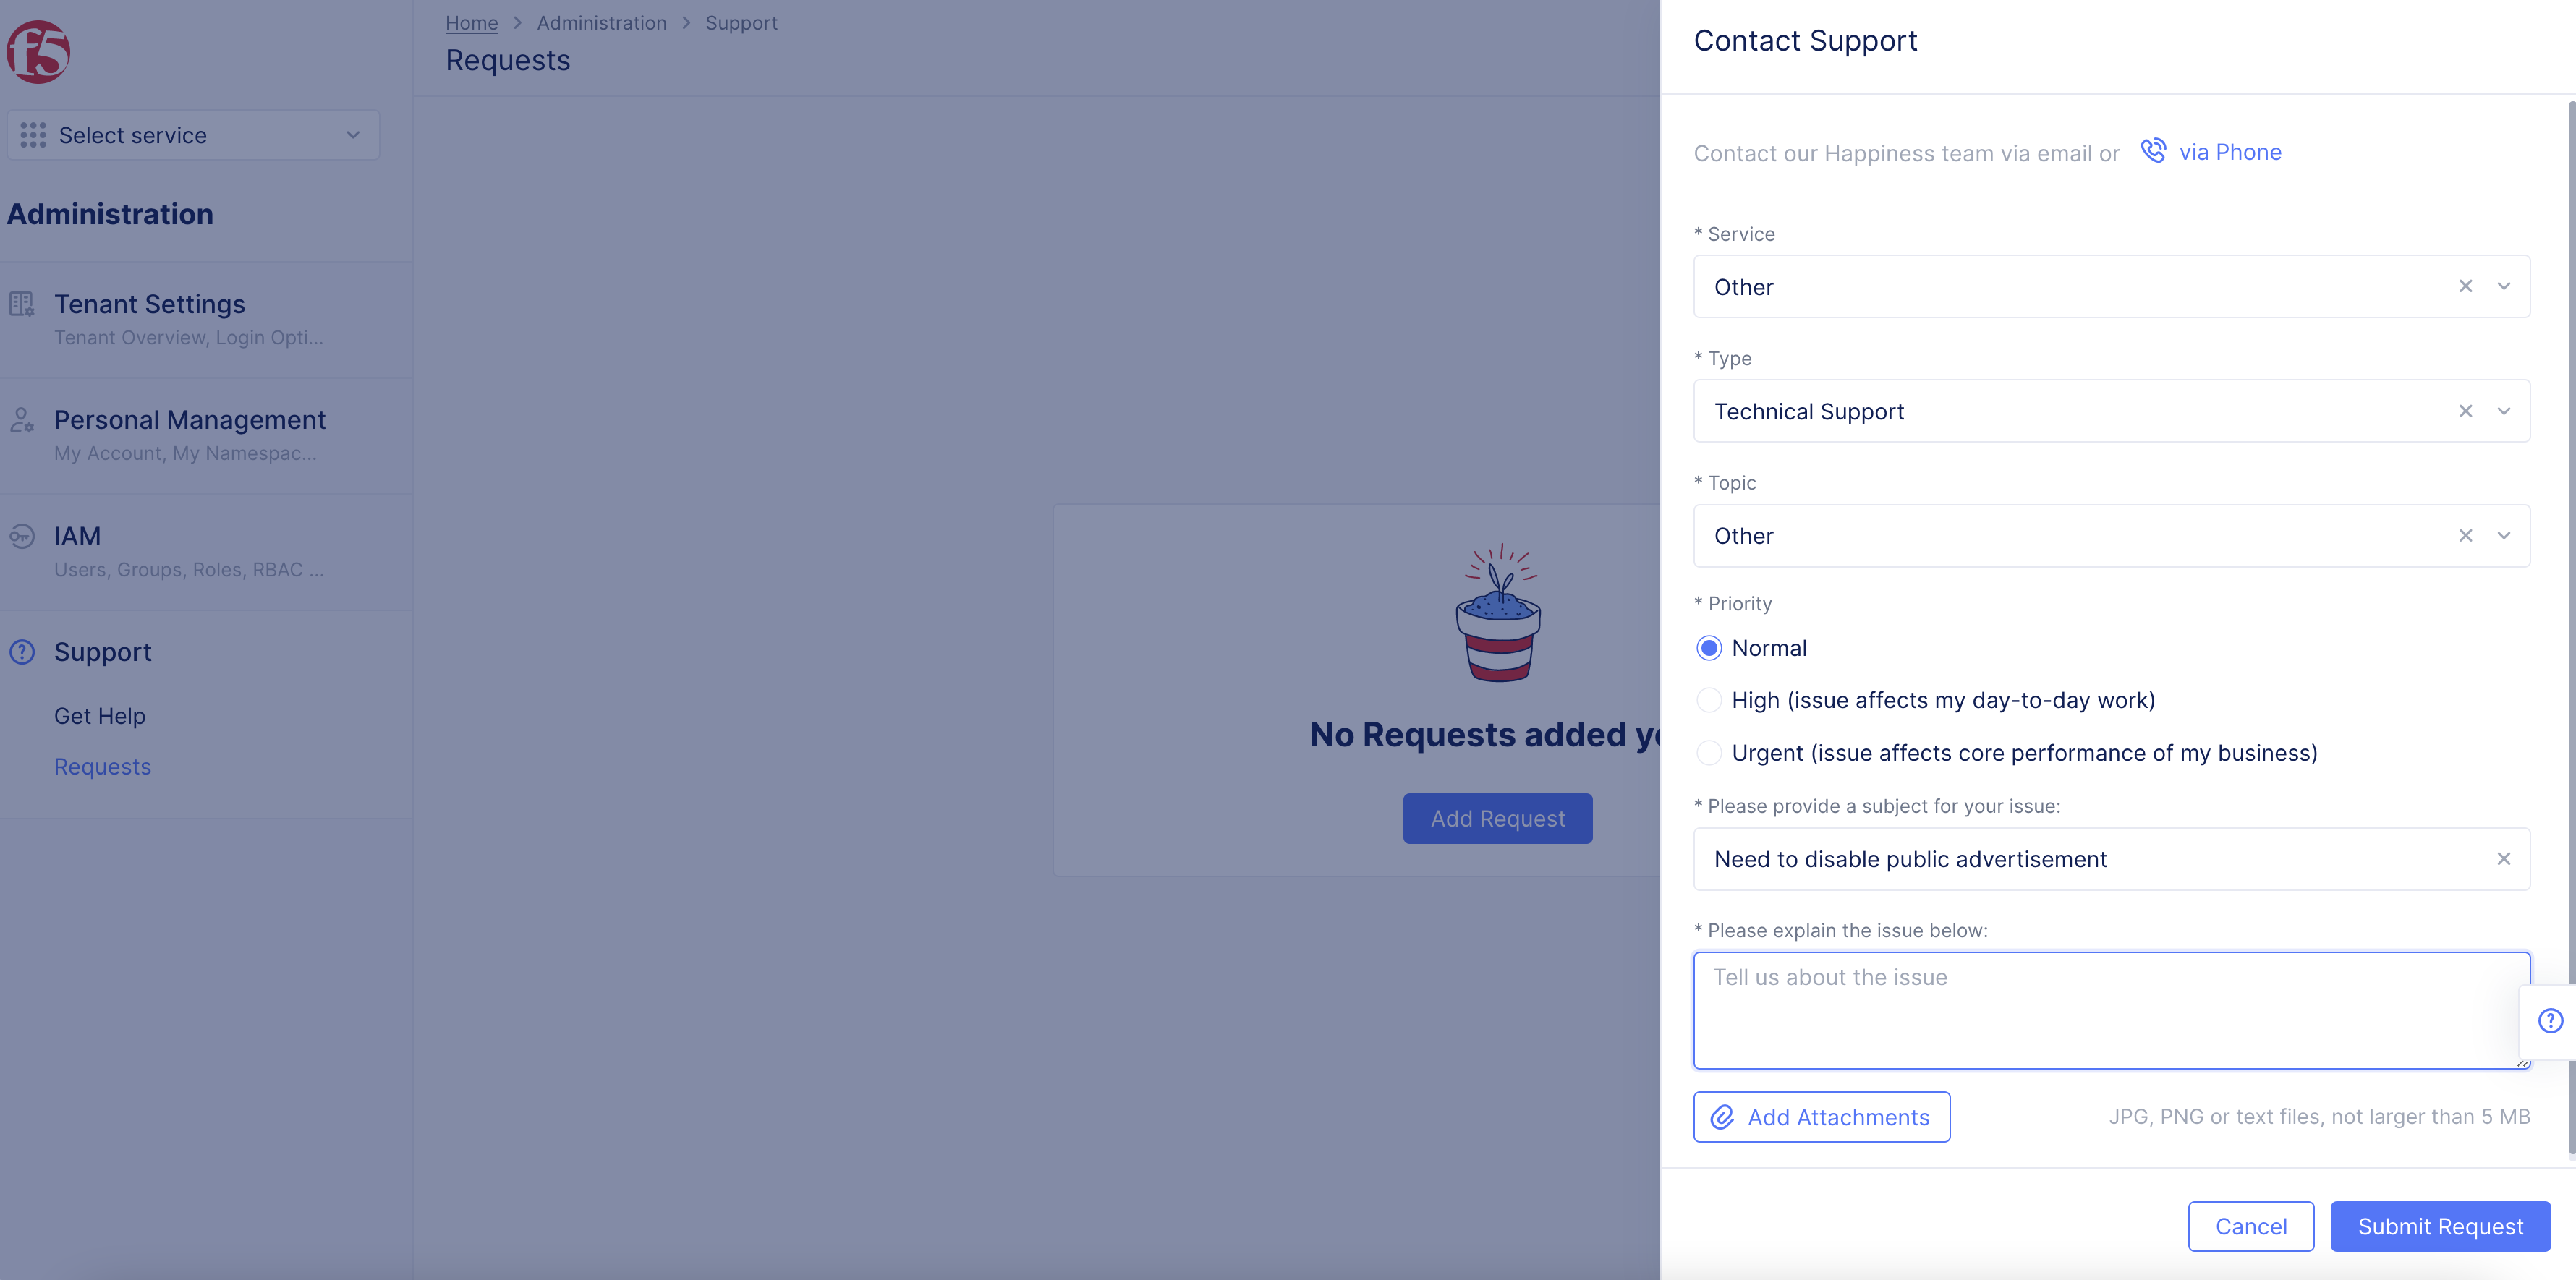
Figure: Contact Support
Note: F5 support disables the advertisement on public networks for your tenant and confirms.
Step 2: Verify advertisement on public Internet is disabled.
-
Select
F5logo to open homepage navigation. -
Select
Multi-Cloud App Connect. -
Select
Virtual Hosts>HTTP Load Balancers. -
Select
Add HTTP Load Balancer. Or edit an existing load balancer. -
Enter info requested. Refer to the HTTP Load Balancer guide.
-
In the
Other Settingssection, selectInternetfrom theVIP Advertisementmenu.
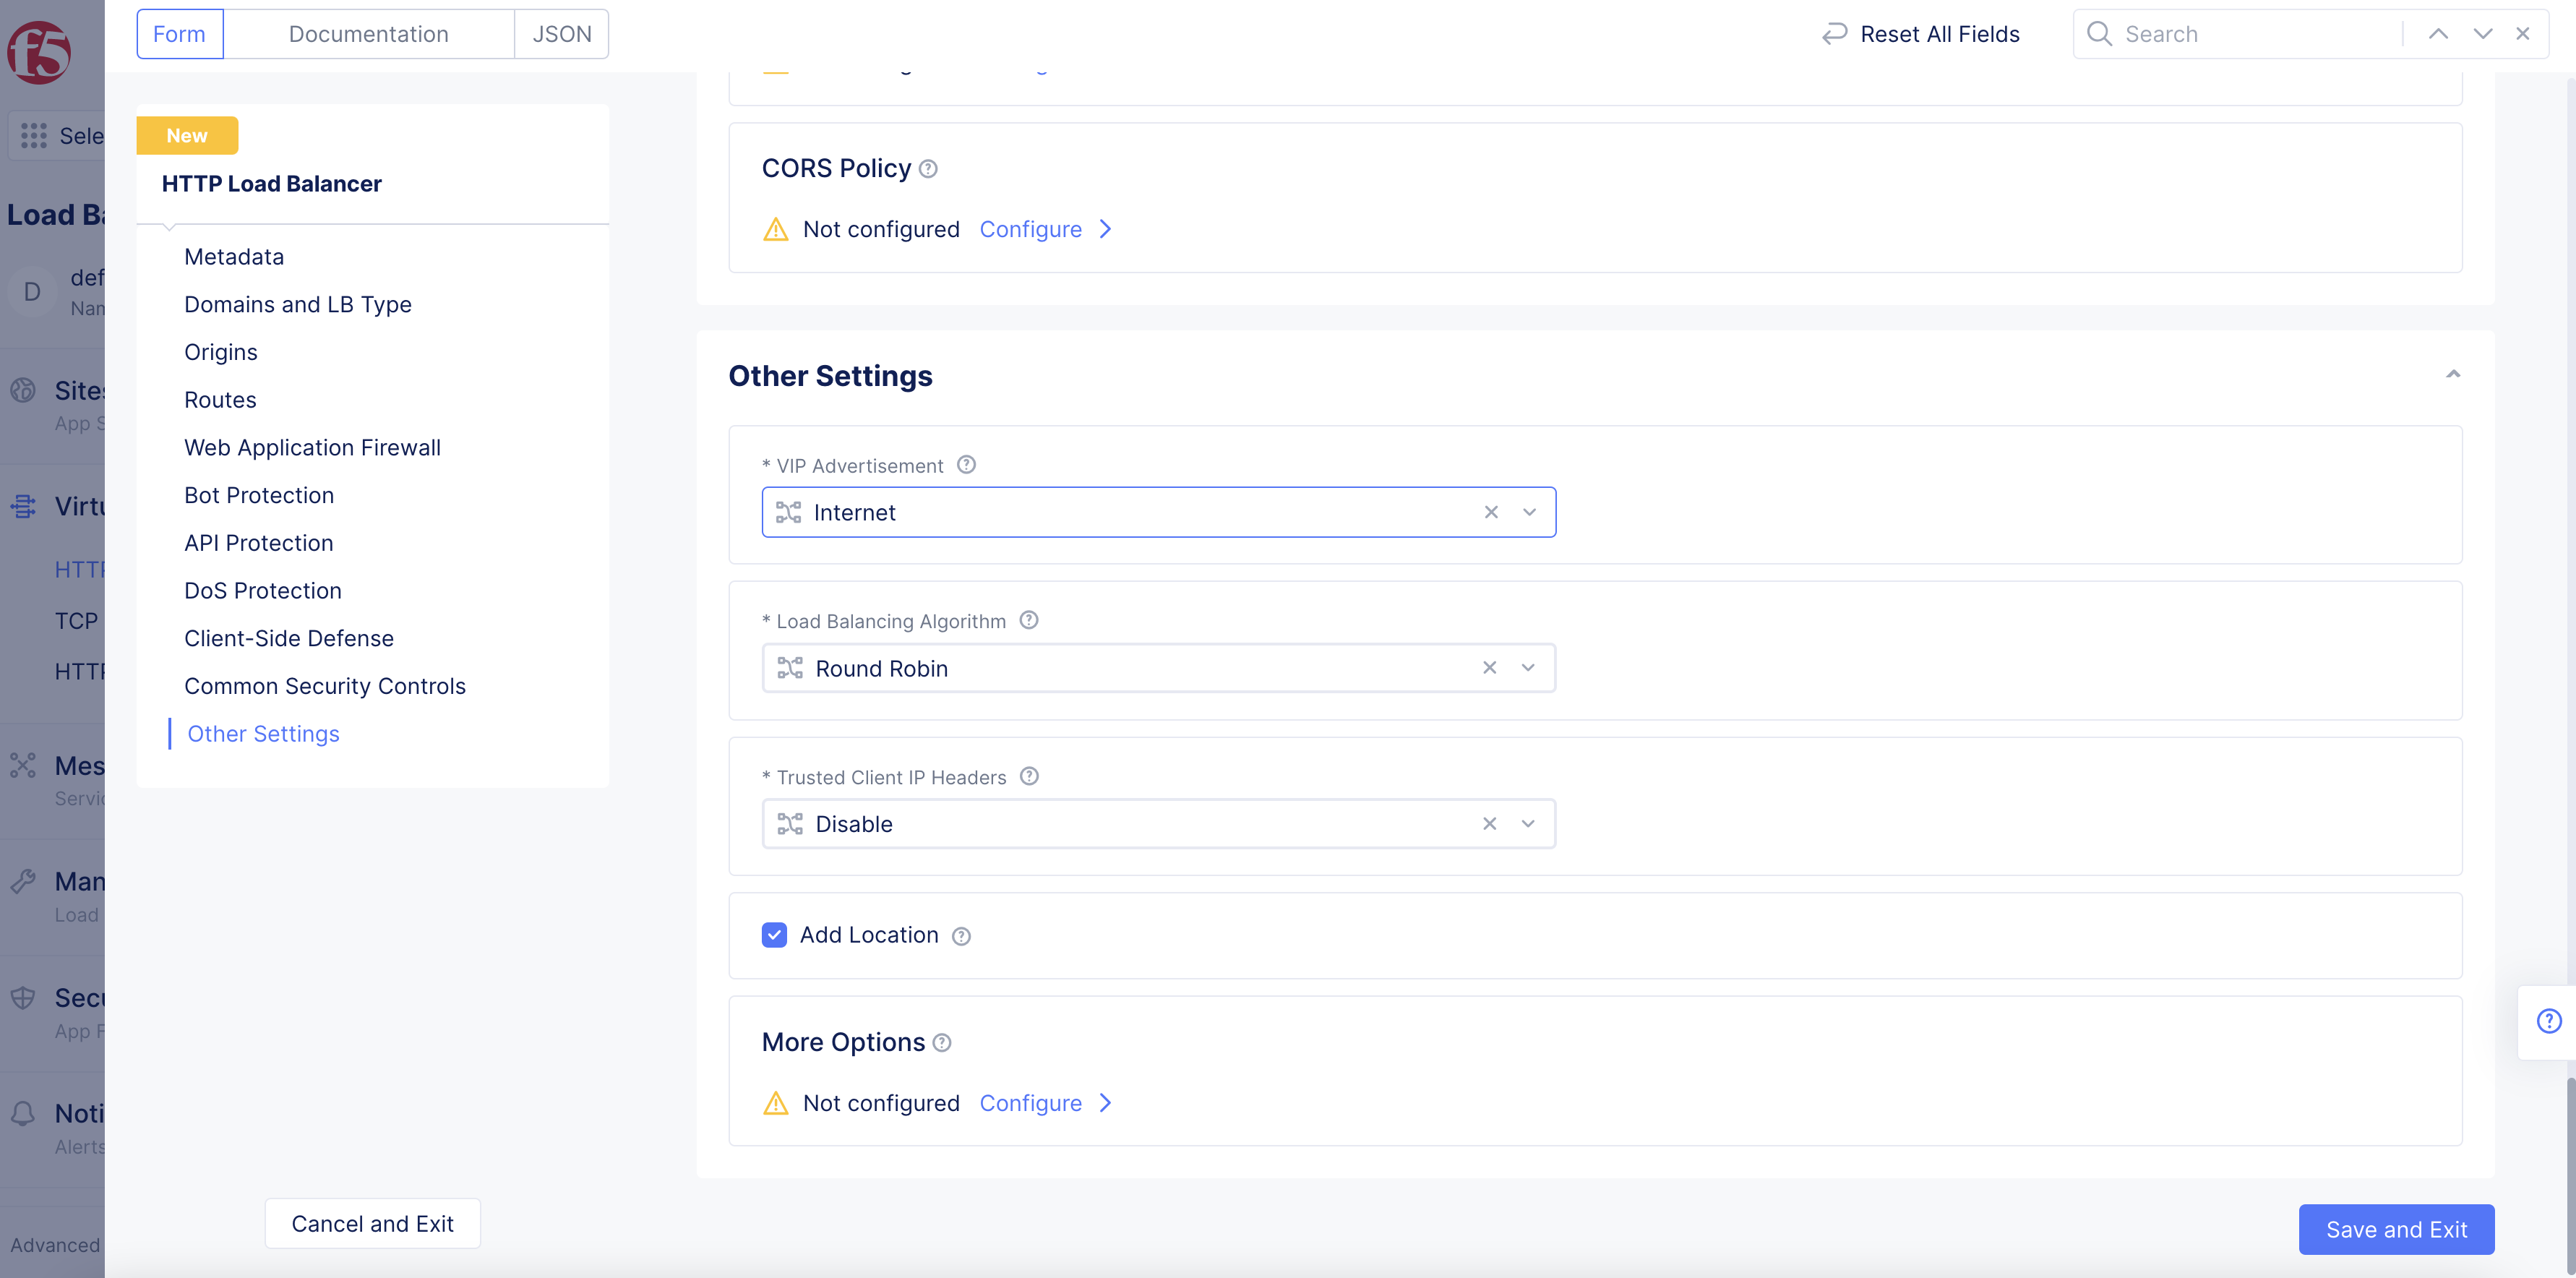
Figure: Advertise on Internet
- Select
Save and Exit.
An error is returned mentioning that advertisement on public internet is not allowed.
Enable Advertisement at Namespace-Level
Perform the following steps:
Step 1: Enable advertisement on public network at namespace level.
In a terminal, enter the following command:
Note: Replace
<api-creds>with your API certificate file name and<namespace>with the namespace name for which you want to enable advertising on public Internet. Replace<password>with the password for your API certificate.
curl -k -X POST --cert-type P12 --cert ~/Downloads/<api-creds>.p12:<password> https://<tenant>.console.ves.volterra.io/api/web/namespaces/<namespace>/update_allow_advertise_on_public
Step 2: Verify that advertisement on public Internet at namespace level is allowed.
-
Select
F5logo to open homepage navigation to open Console homepage. -
Select
Multi-Cloud App Connect. -
Select
Virtual Hosts>HTTP Load Balancers. -
Select
Add HTTP Load Balancer. -
Perform configuration per the instructions provided in the HTTP Load Balancer guide.
-
In the
Other Settingssection, selectInternetfrom theVIP Advertisementmenu.
Figure: Advertise on Internet
- Select
Save and Exit.
The load balancer is created successfully and requests to the configured domain over Internet are successful.