Create a New App in Web App Scanning
Objective
This guide explains how to create a new app in the Scan service F5® Distributed Cloud Web App Scanning. Once the app has been created, you can start testing it with the automated penetration testing service in Distributed Cloud Web App Scanning and uncover its potential vulnerabilities.
To follow this guide, you need the following prerequisites:
-
A Distributed Cloud Services Account. If you do not have an account, see Create an Account.
-
A deployed web application with a frontend accessible from the Internet.
Note: If your web application is protected by a firewall or security group (limiting public access to the application), please create a rule to allow inbound traffic on ports 80 and 443 from the following IP addresses, which are used by Distributed Cloud Web App Scanning.
- 34.140.183.146
- 35.241.176.167
- 34.77.66.77
- 34.140.250.140
- 34.22.187.249
- 34.76.63.69
- 35.240.12.220
- 35.189.201.255
- 34.140.113.67
- 34.79.111.124
Make sure to enable the Use Known IP Address option in the Test Profile used for scanning. If this option is not enabled, the traffic from Distributed Cloud Web App Scanning will originate from an ephemeral IP address.
Set Up a New Web Application for Testing
Step 1: Log into the Distributed Cloud Web App Scanning Console and create a new application.
-
Log into the Distributed Cloud Web App Scanning Console.
-
Click on Applications in the menu.
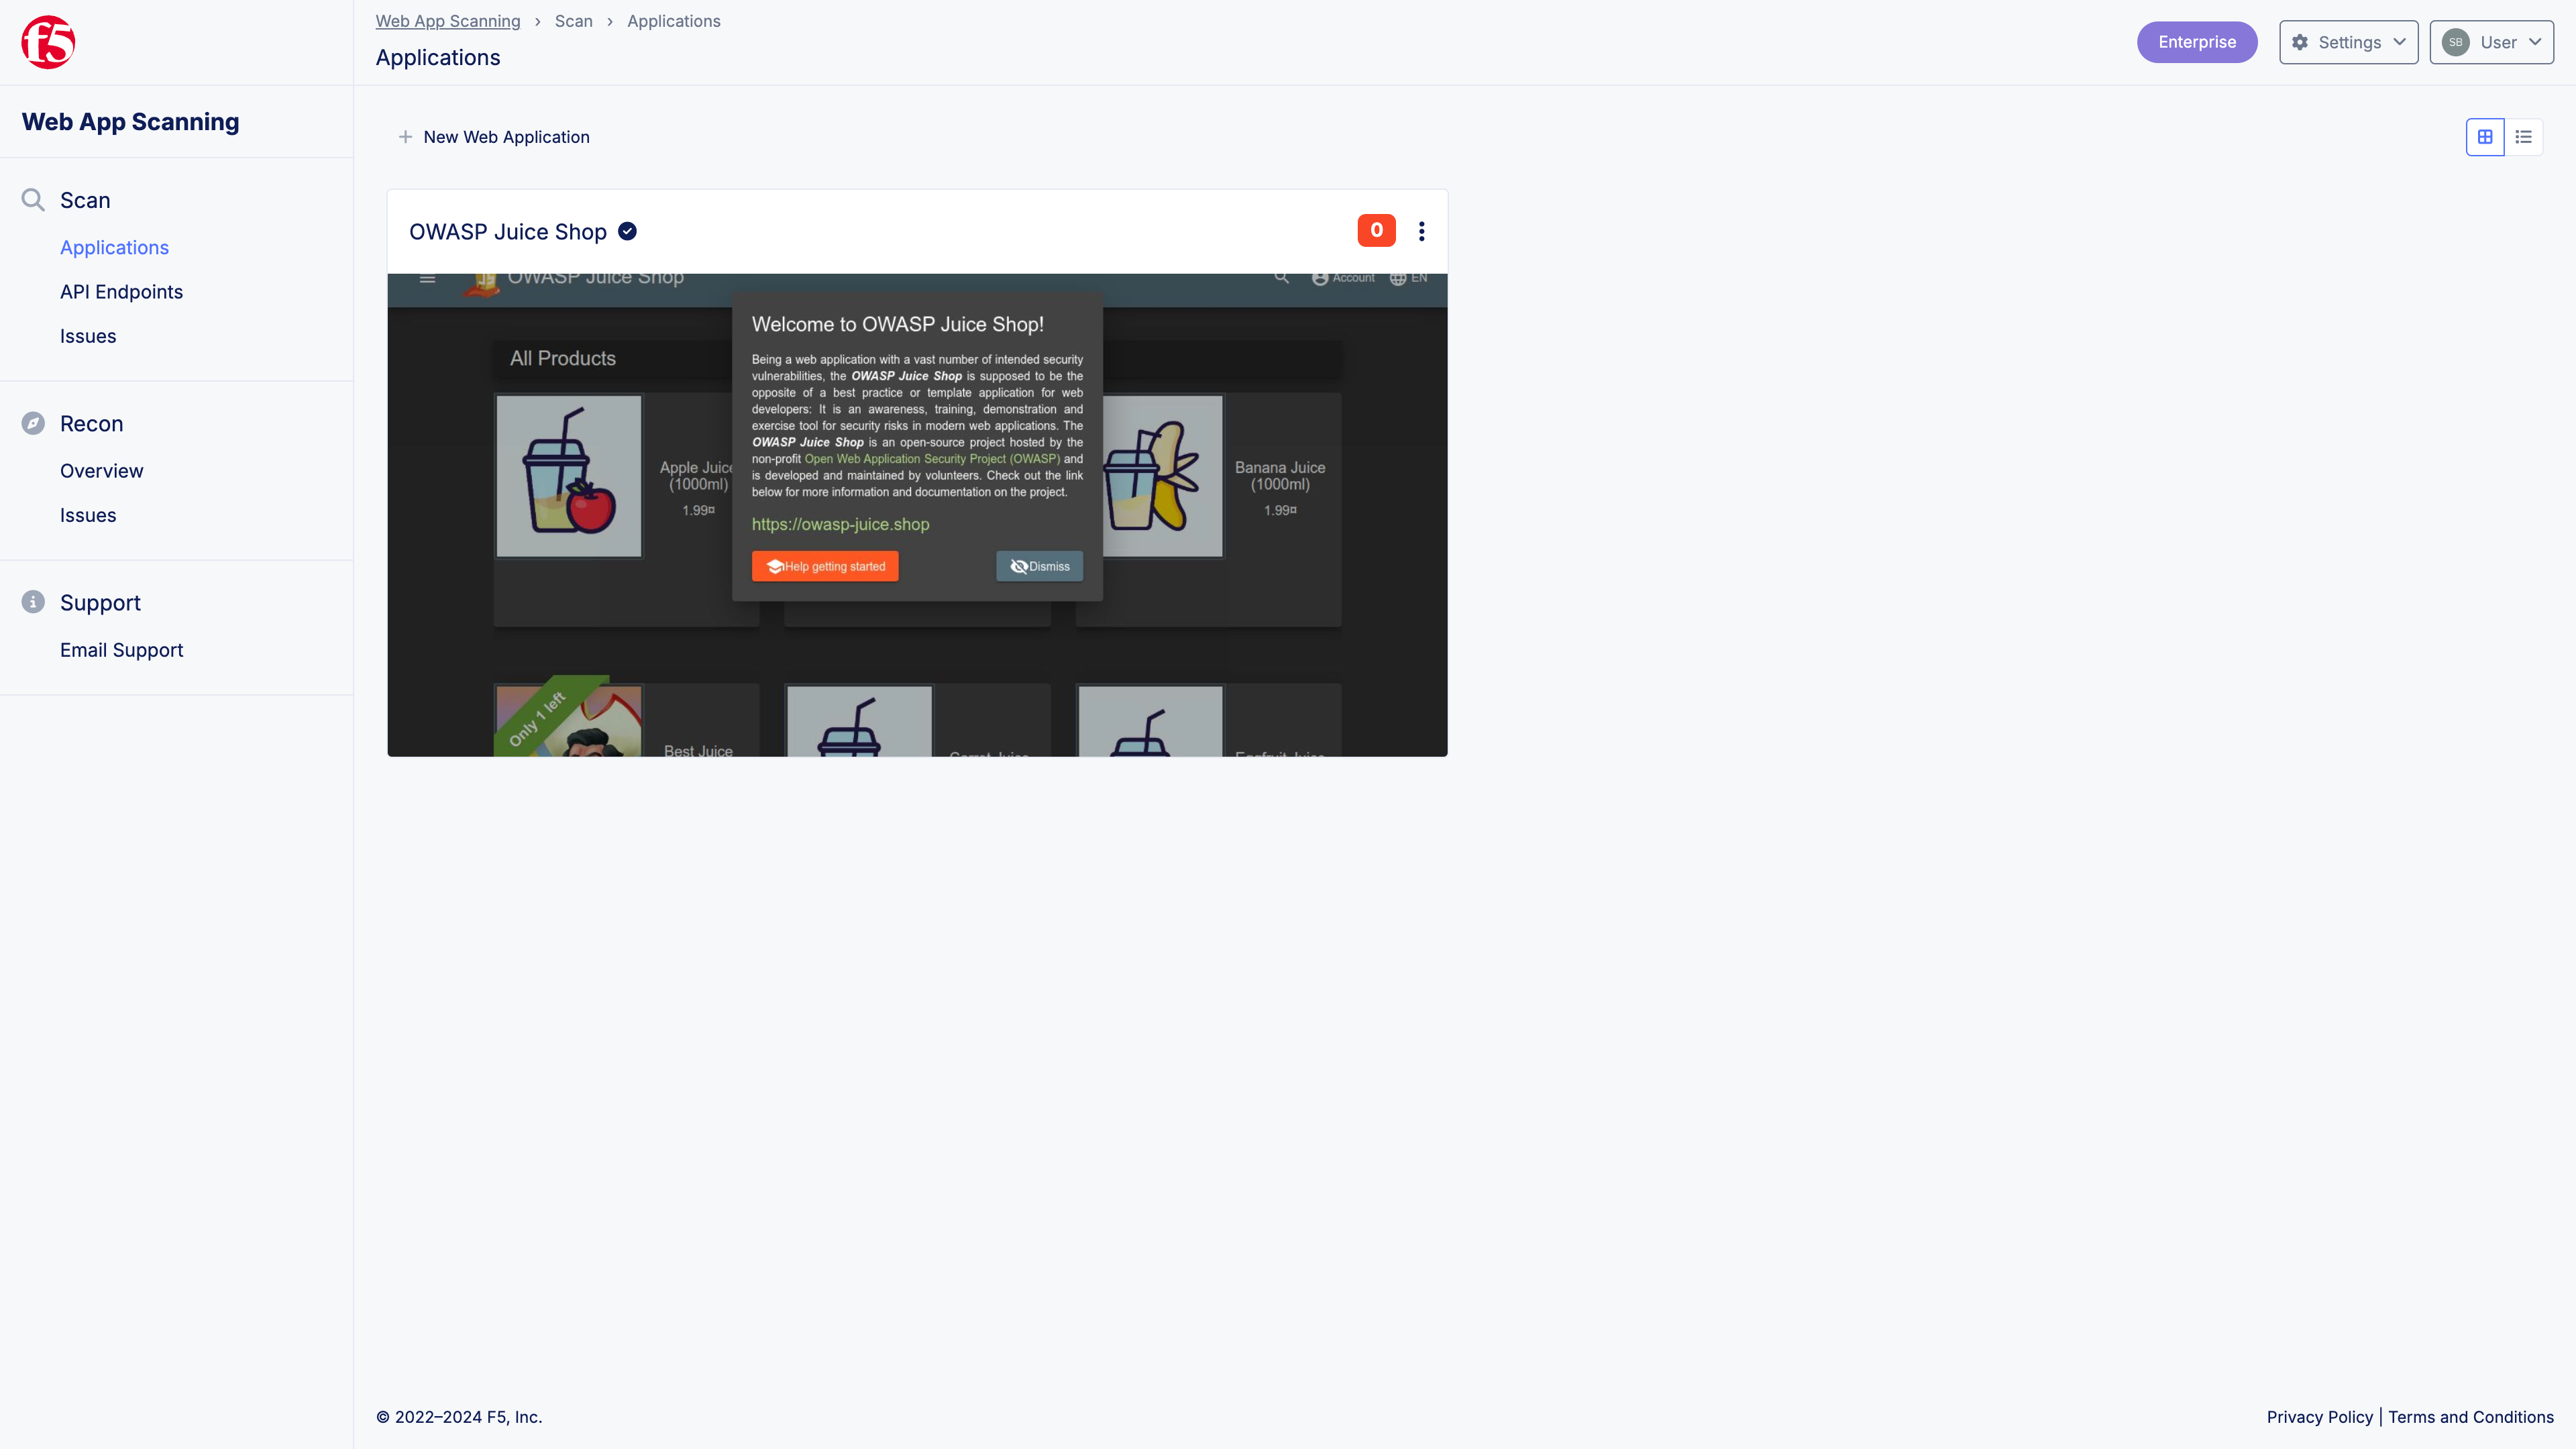
Figure: App Overview
- Click on New Web Application.
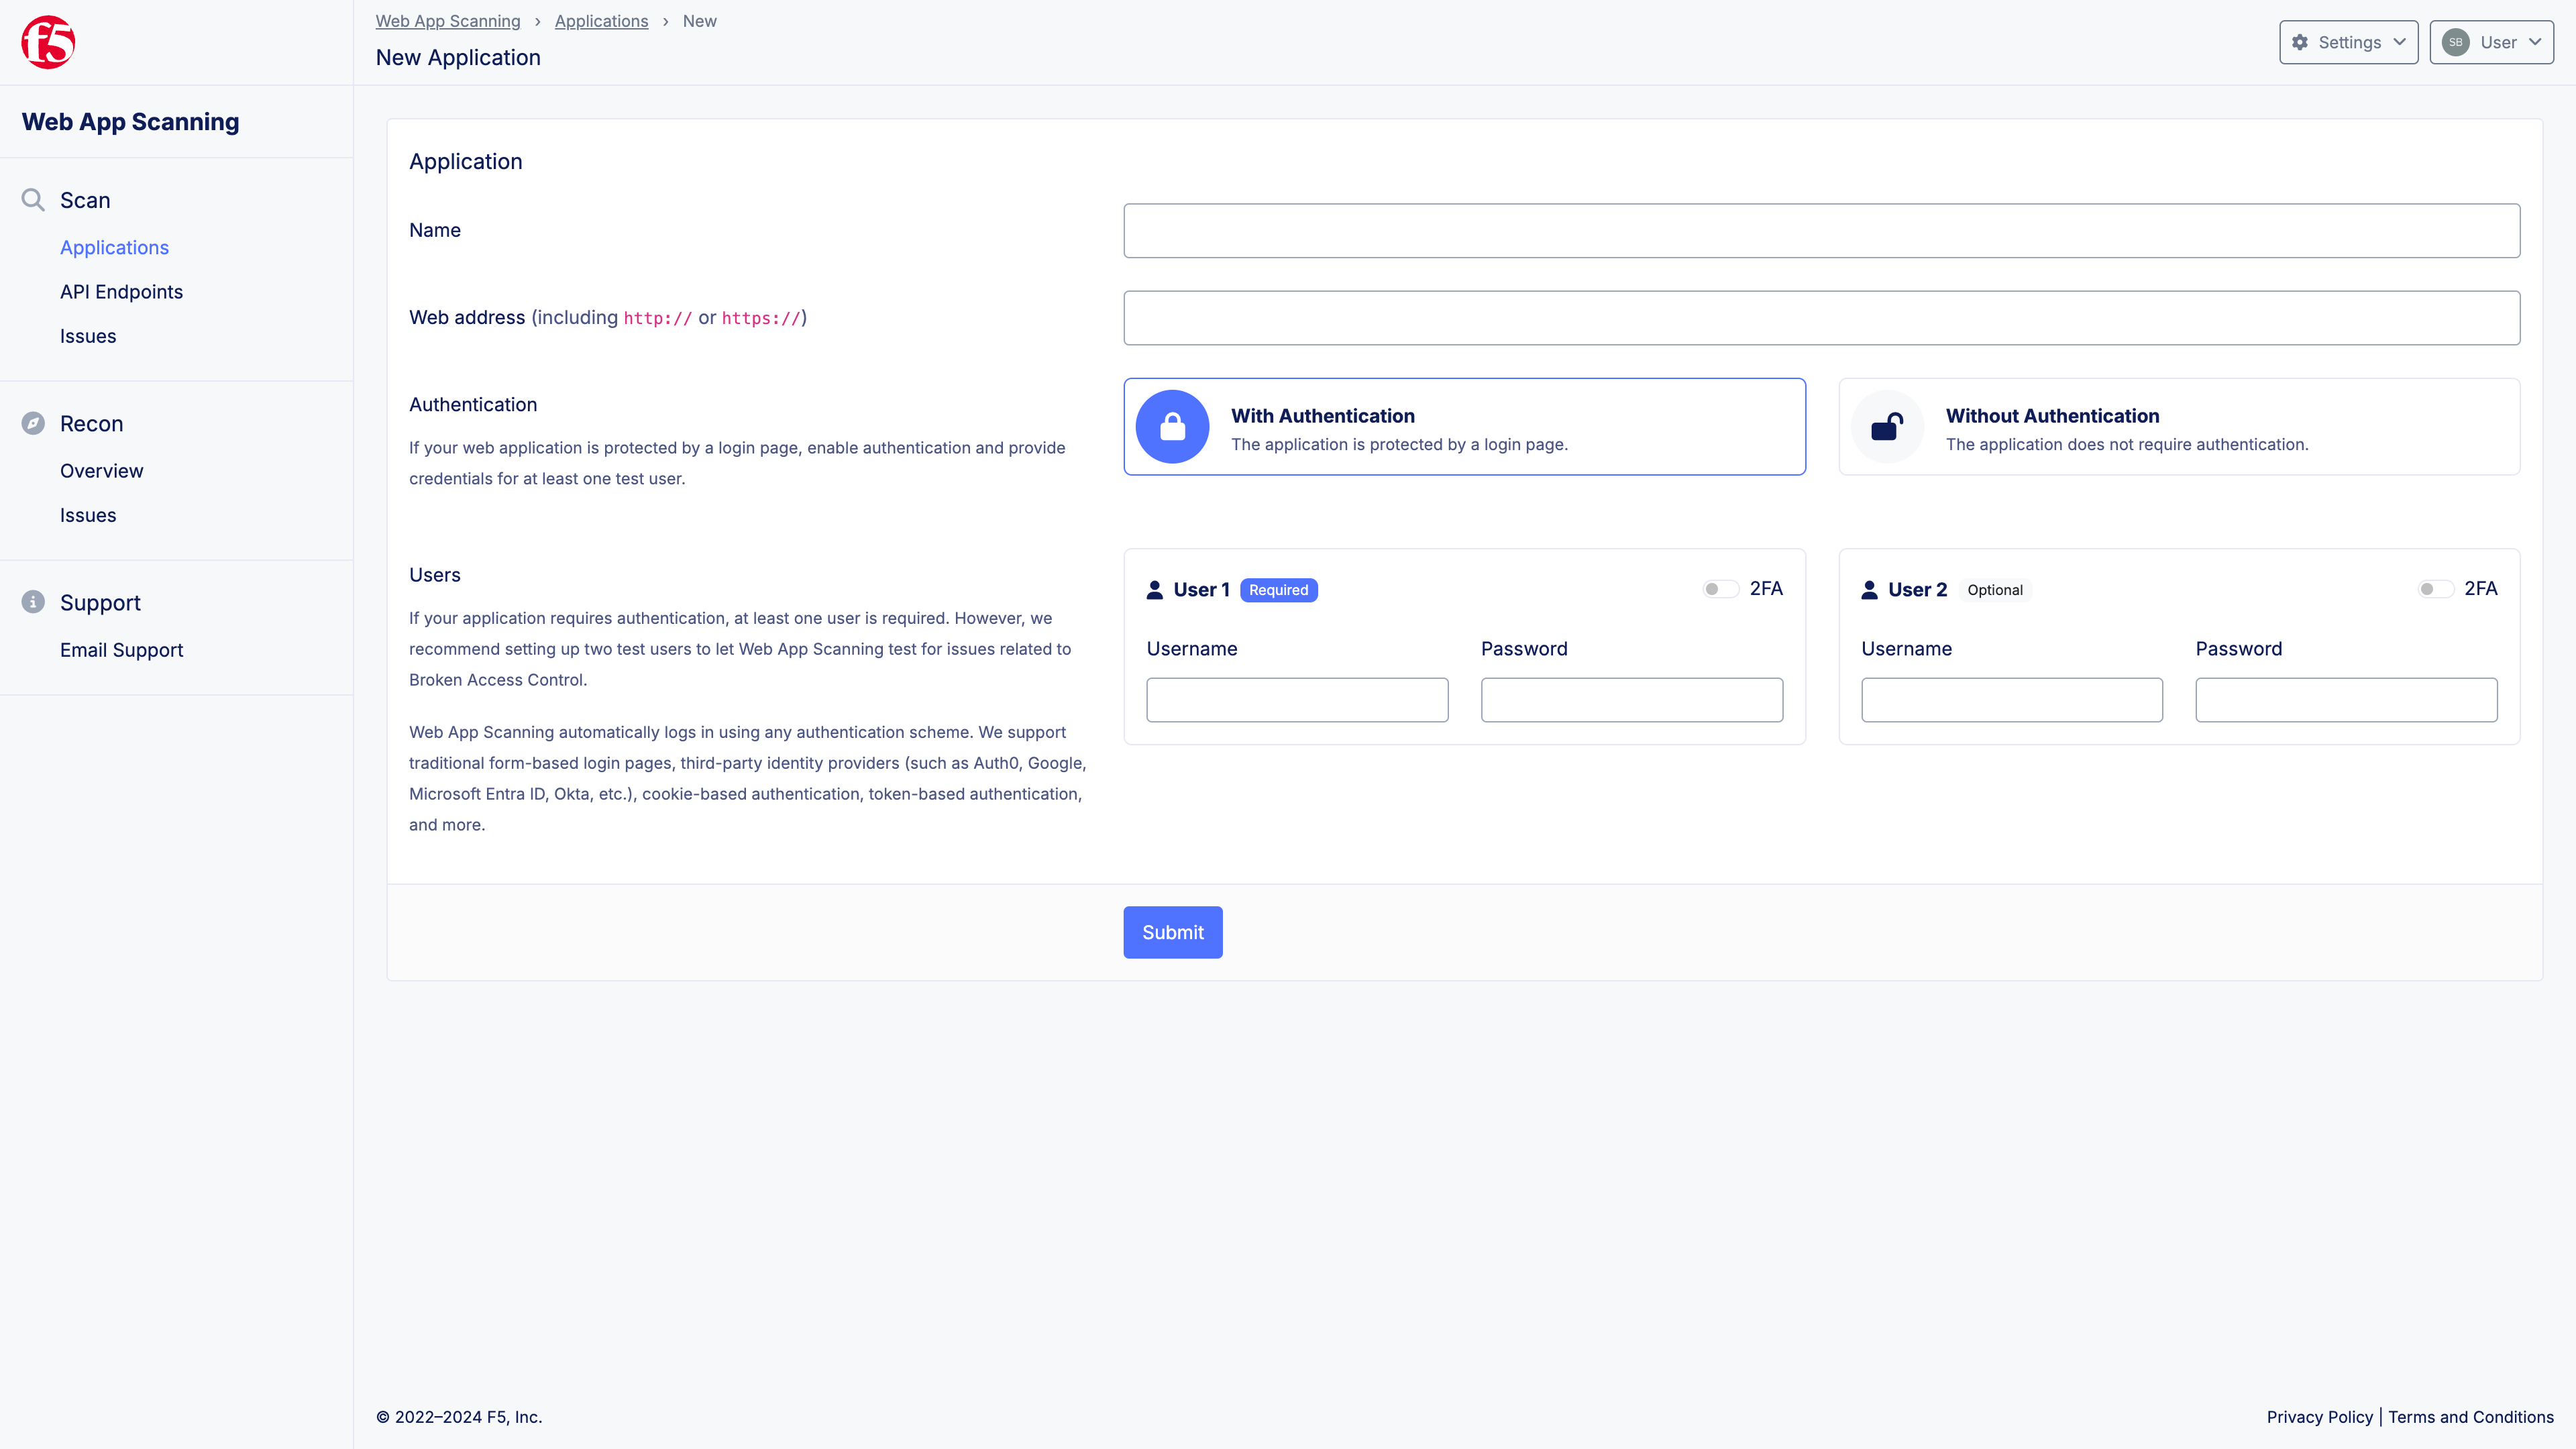
Figure: New Web Application
-
Provide a name of your application.
-
Provide the URL of the application (i.e., the address you would type into your browser to navigate to the application).
-
If your application is protected by a login page, provide credentials for one or more test users that Distributed Cloud Web App Scanning can use for logging into your application. If Two-Factor Authentication (RFC 6238) is enabled on your test user(s), please provide the secret key required to one-time passwords.
-
Click on Create.
Step 2: Verify domain ownership.
- Before starting a penetration test, you must verify your ownership of the domain on which the application is hosted.
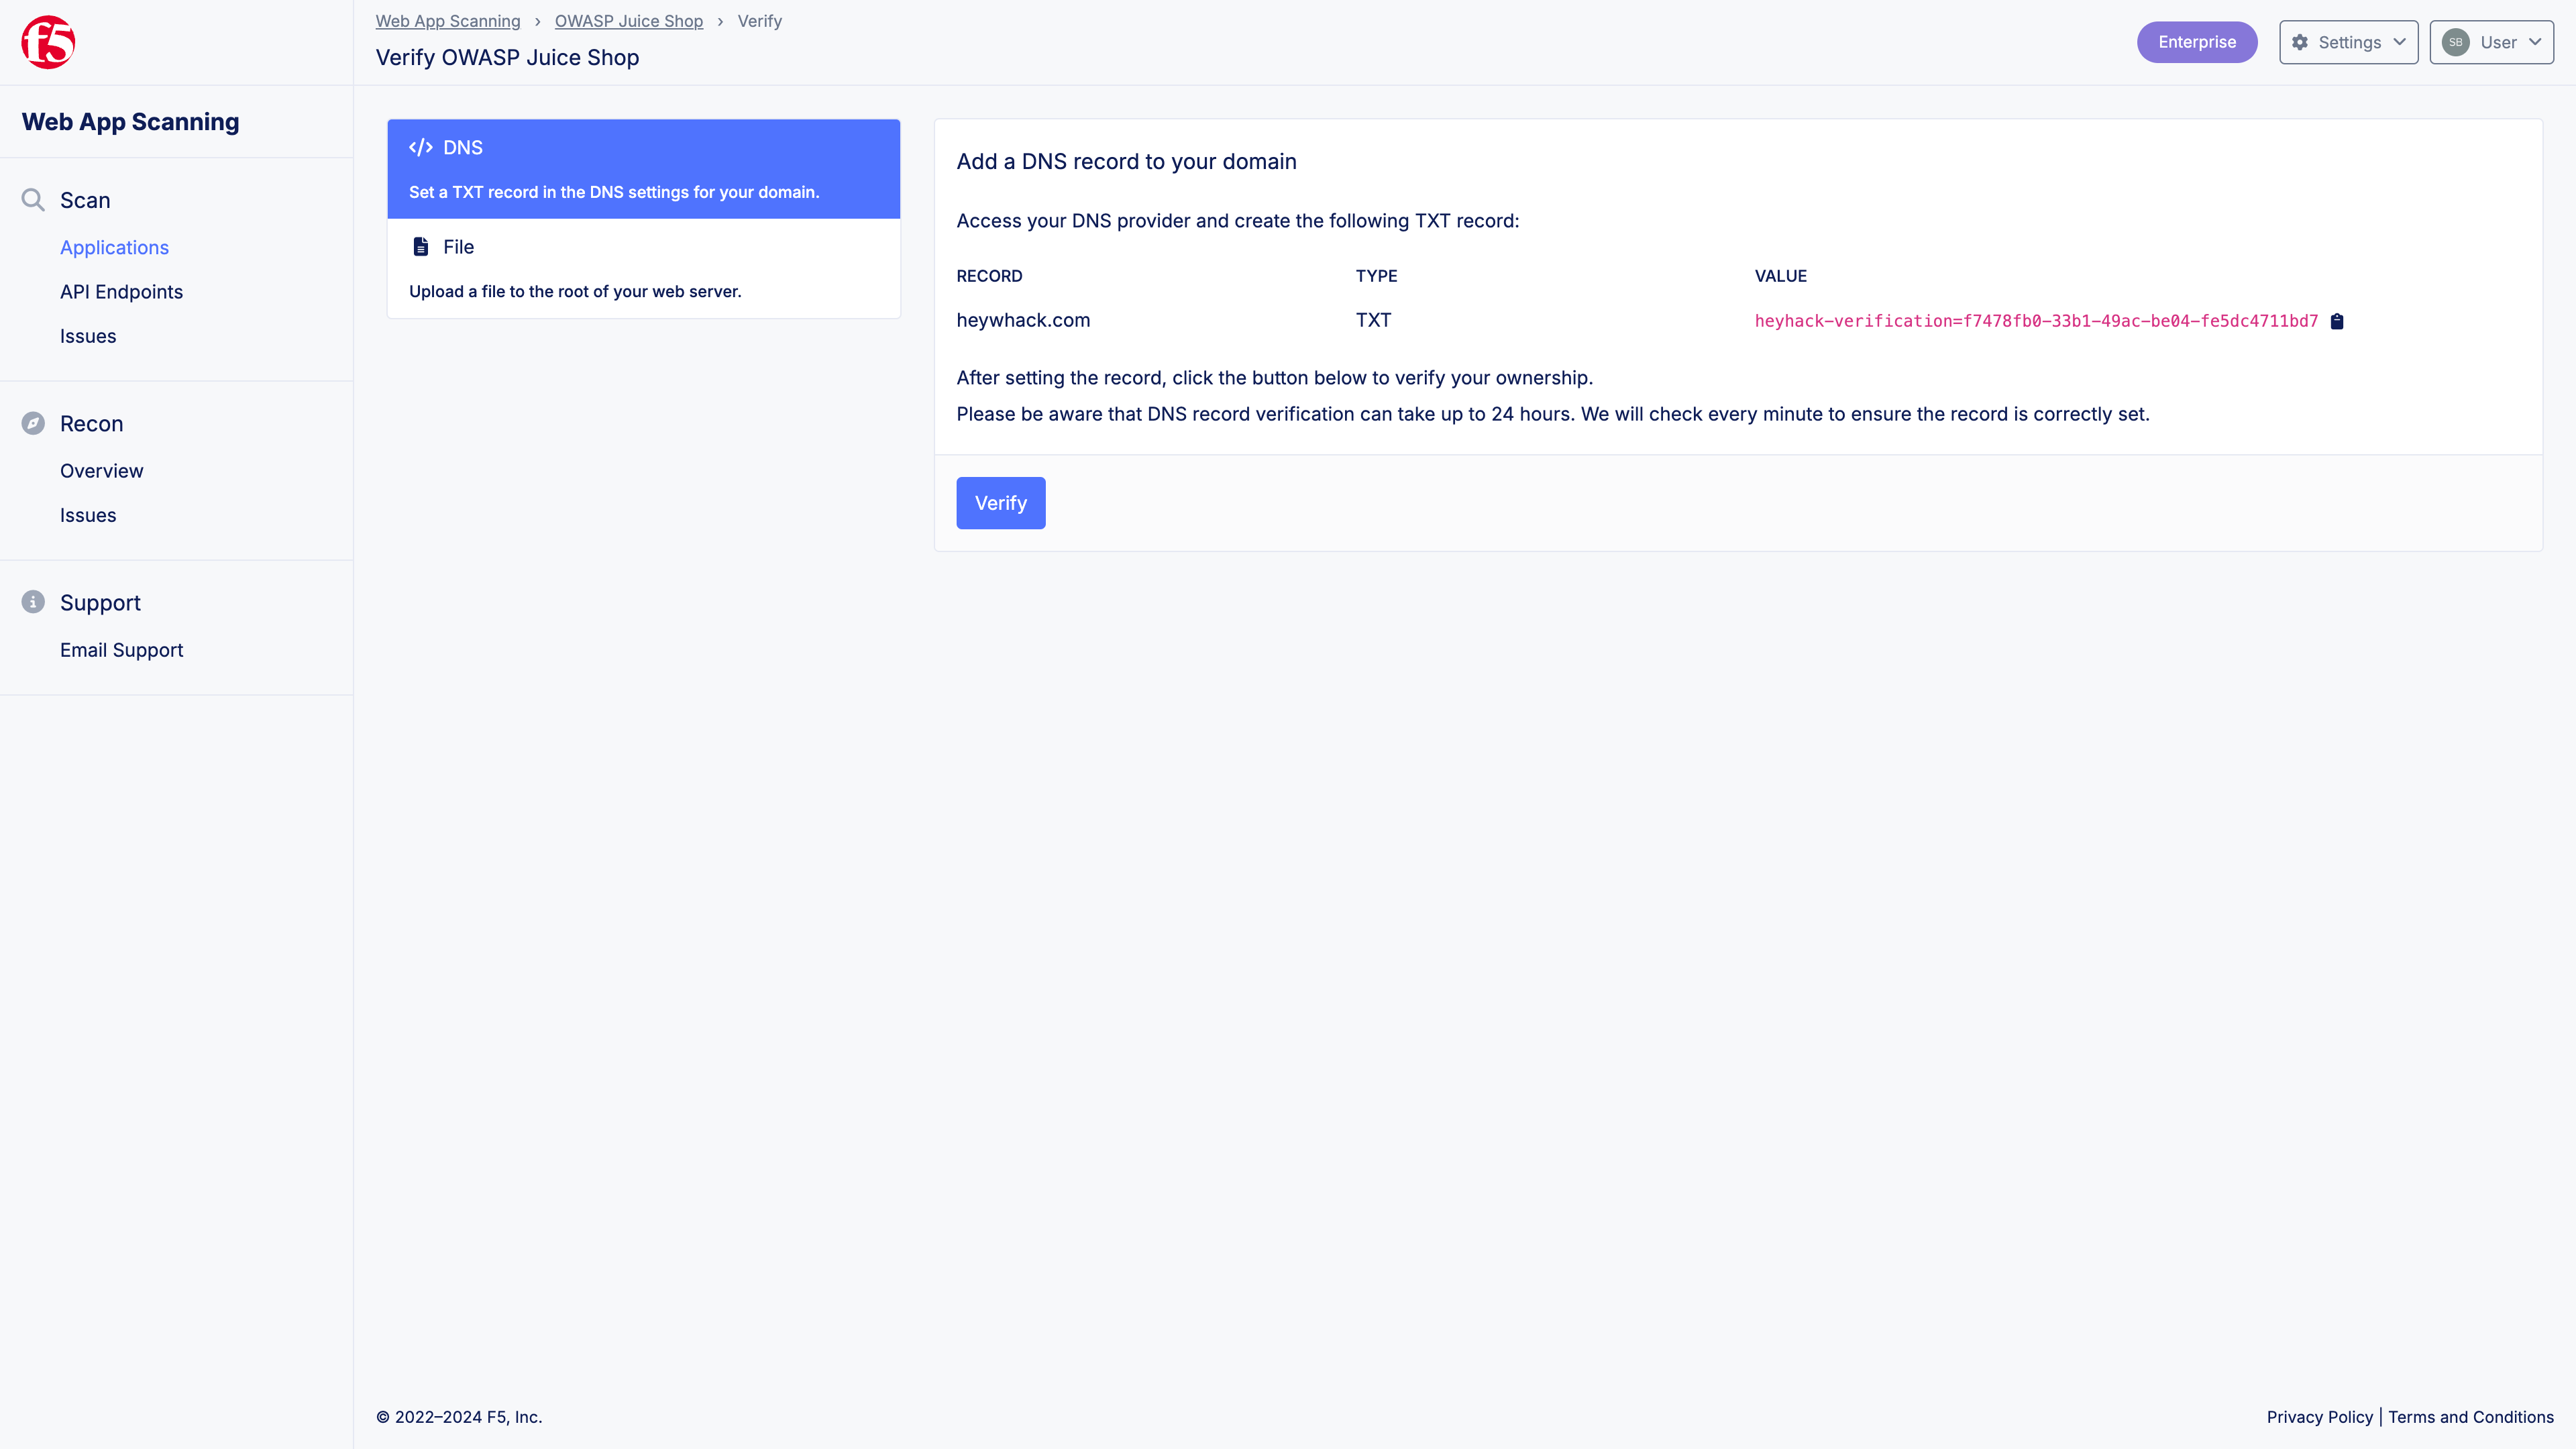
Figure: Domain Verification
-
Either set a TXT record at the root of your DNS zone or upload a file to the root of your web server to let Distributed Cloud Web App Scanning verify your ownership.
-
Please allow up to 24 hours for the domain verification procedure to complete. Though, in many cases, the procedure completes in a matter of minutes.
Step 3: Review test profile settings.
-
Before starting your first penetration test, review the test profile settings. You can do so by navigating to your newly created application and clicking on the pencil icon with the label Manage.
-
Navigate to the Profiles section.
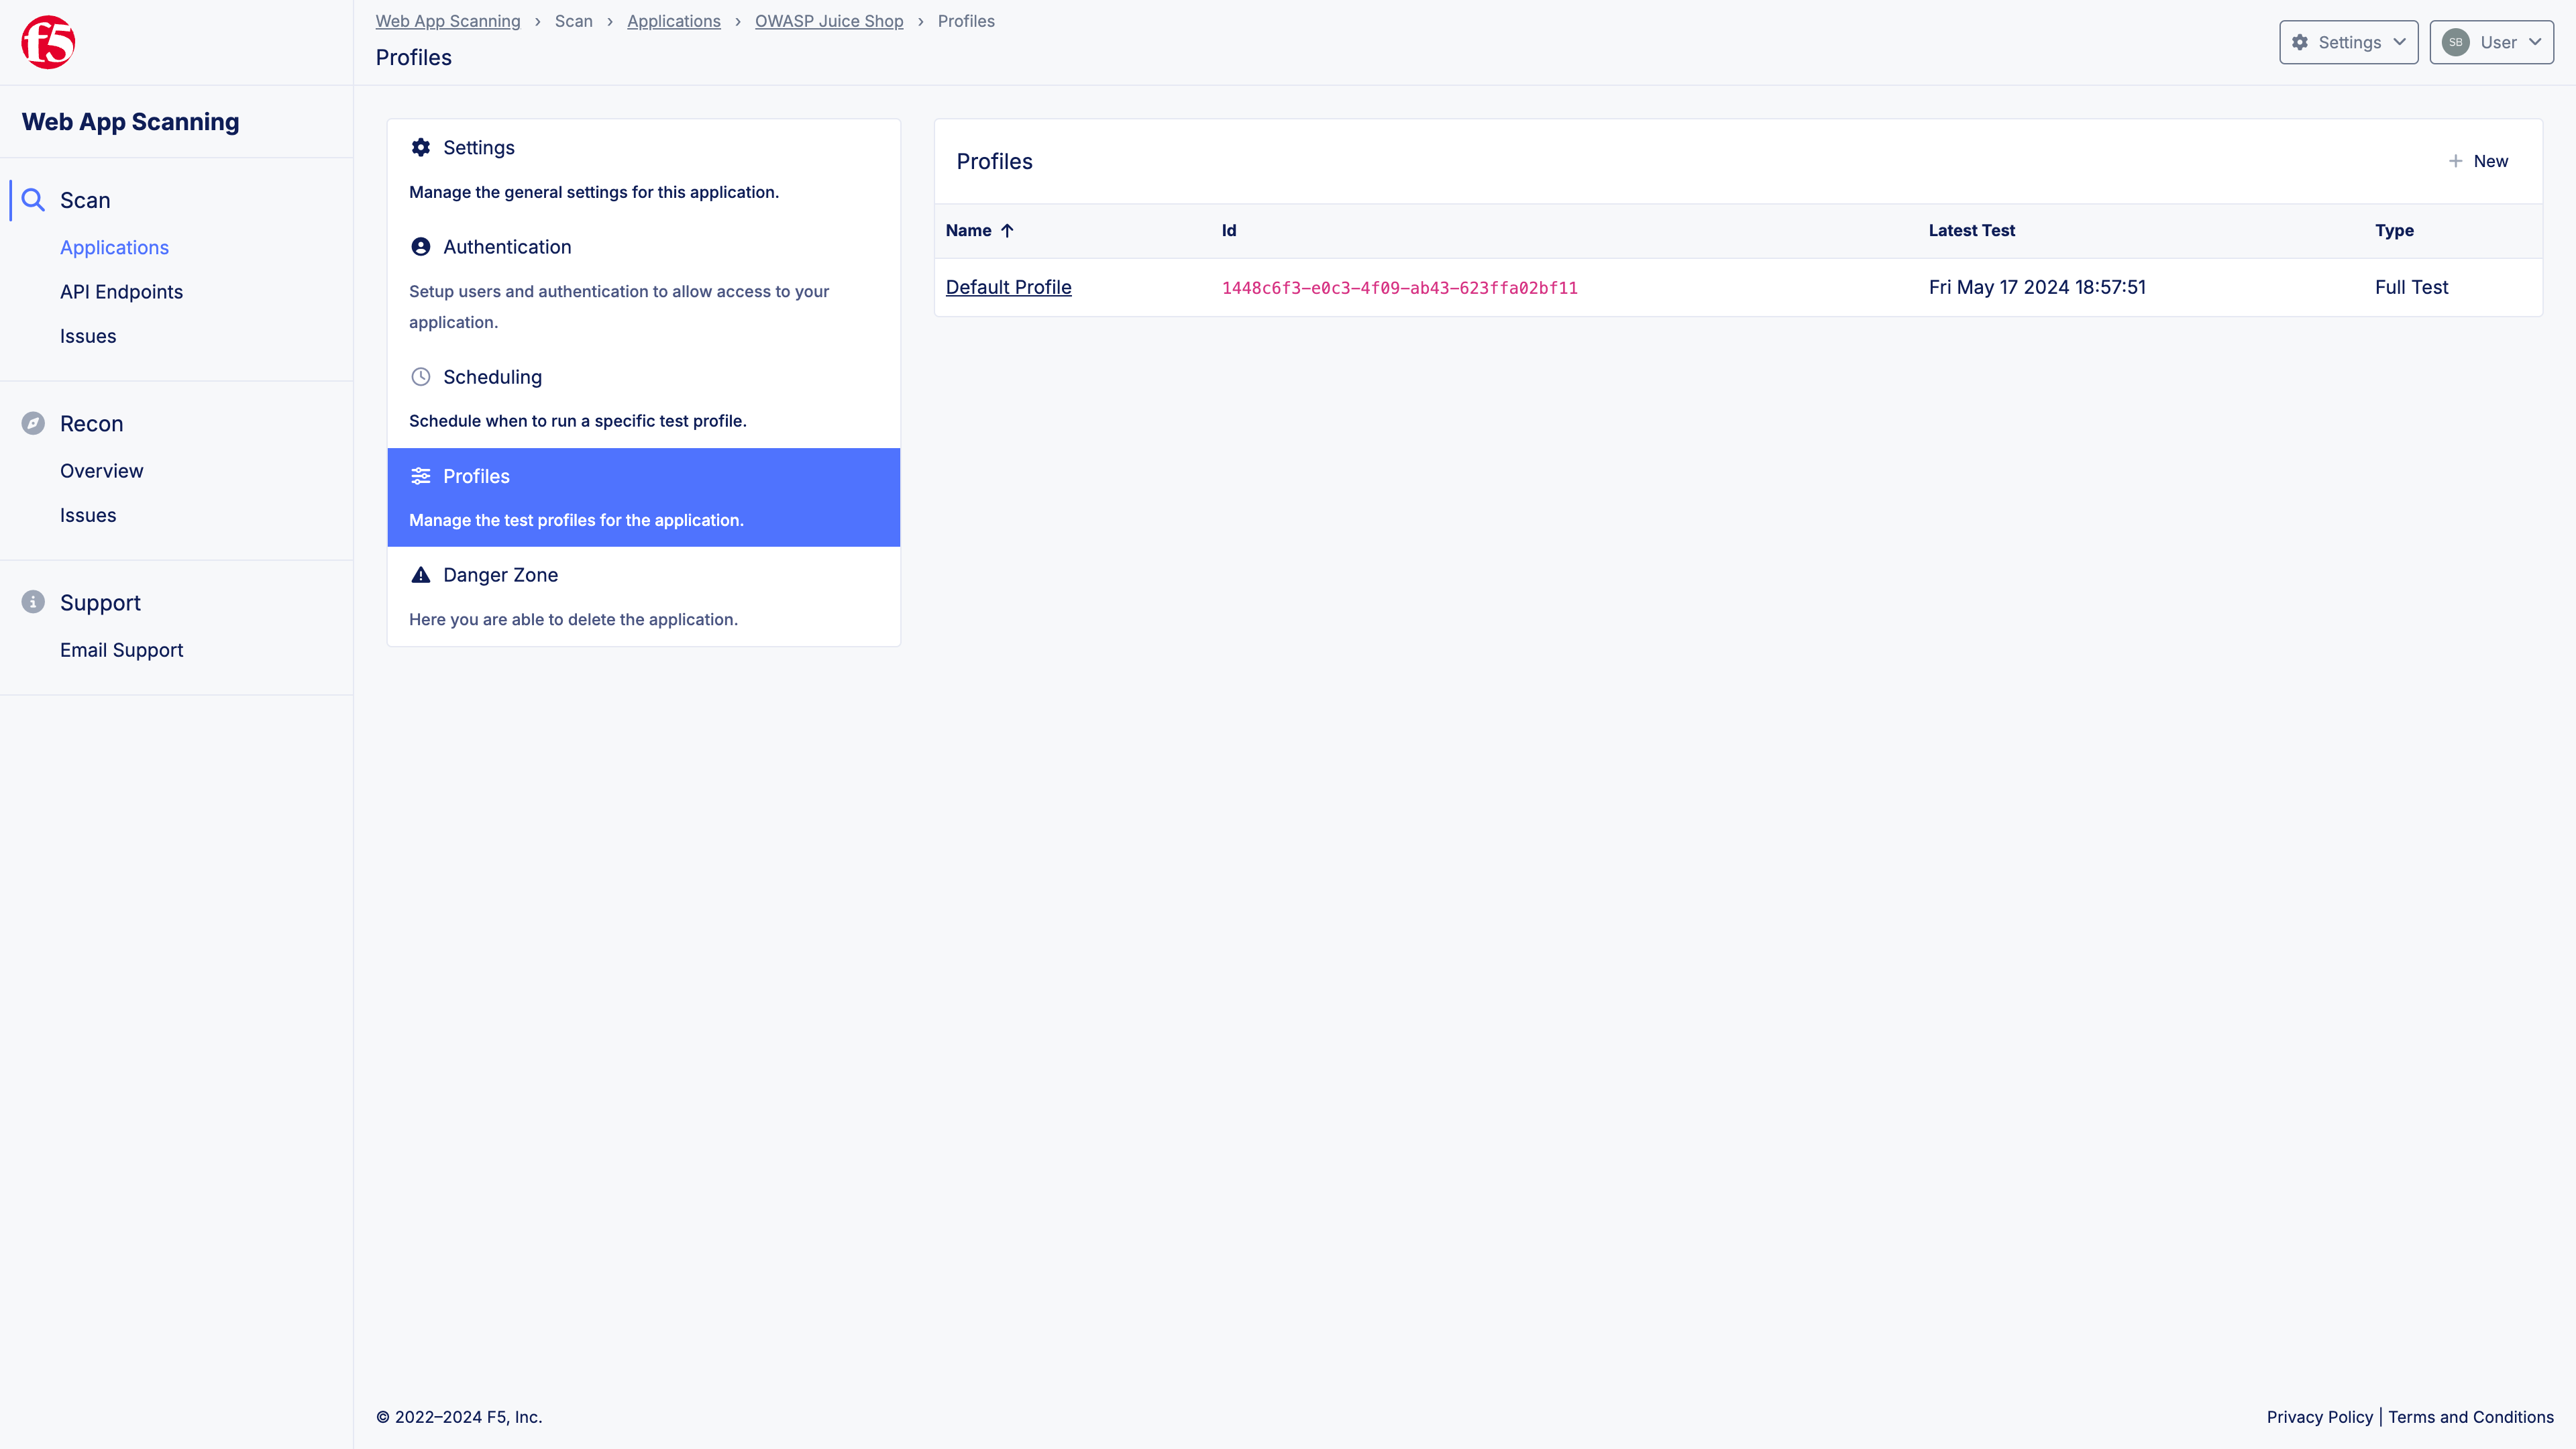
Figure: Test Profiles
-
Click on Default Profile.
-
Review the settings of the profile to ensure they meet your requirements.
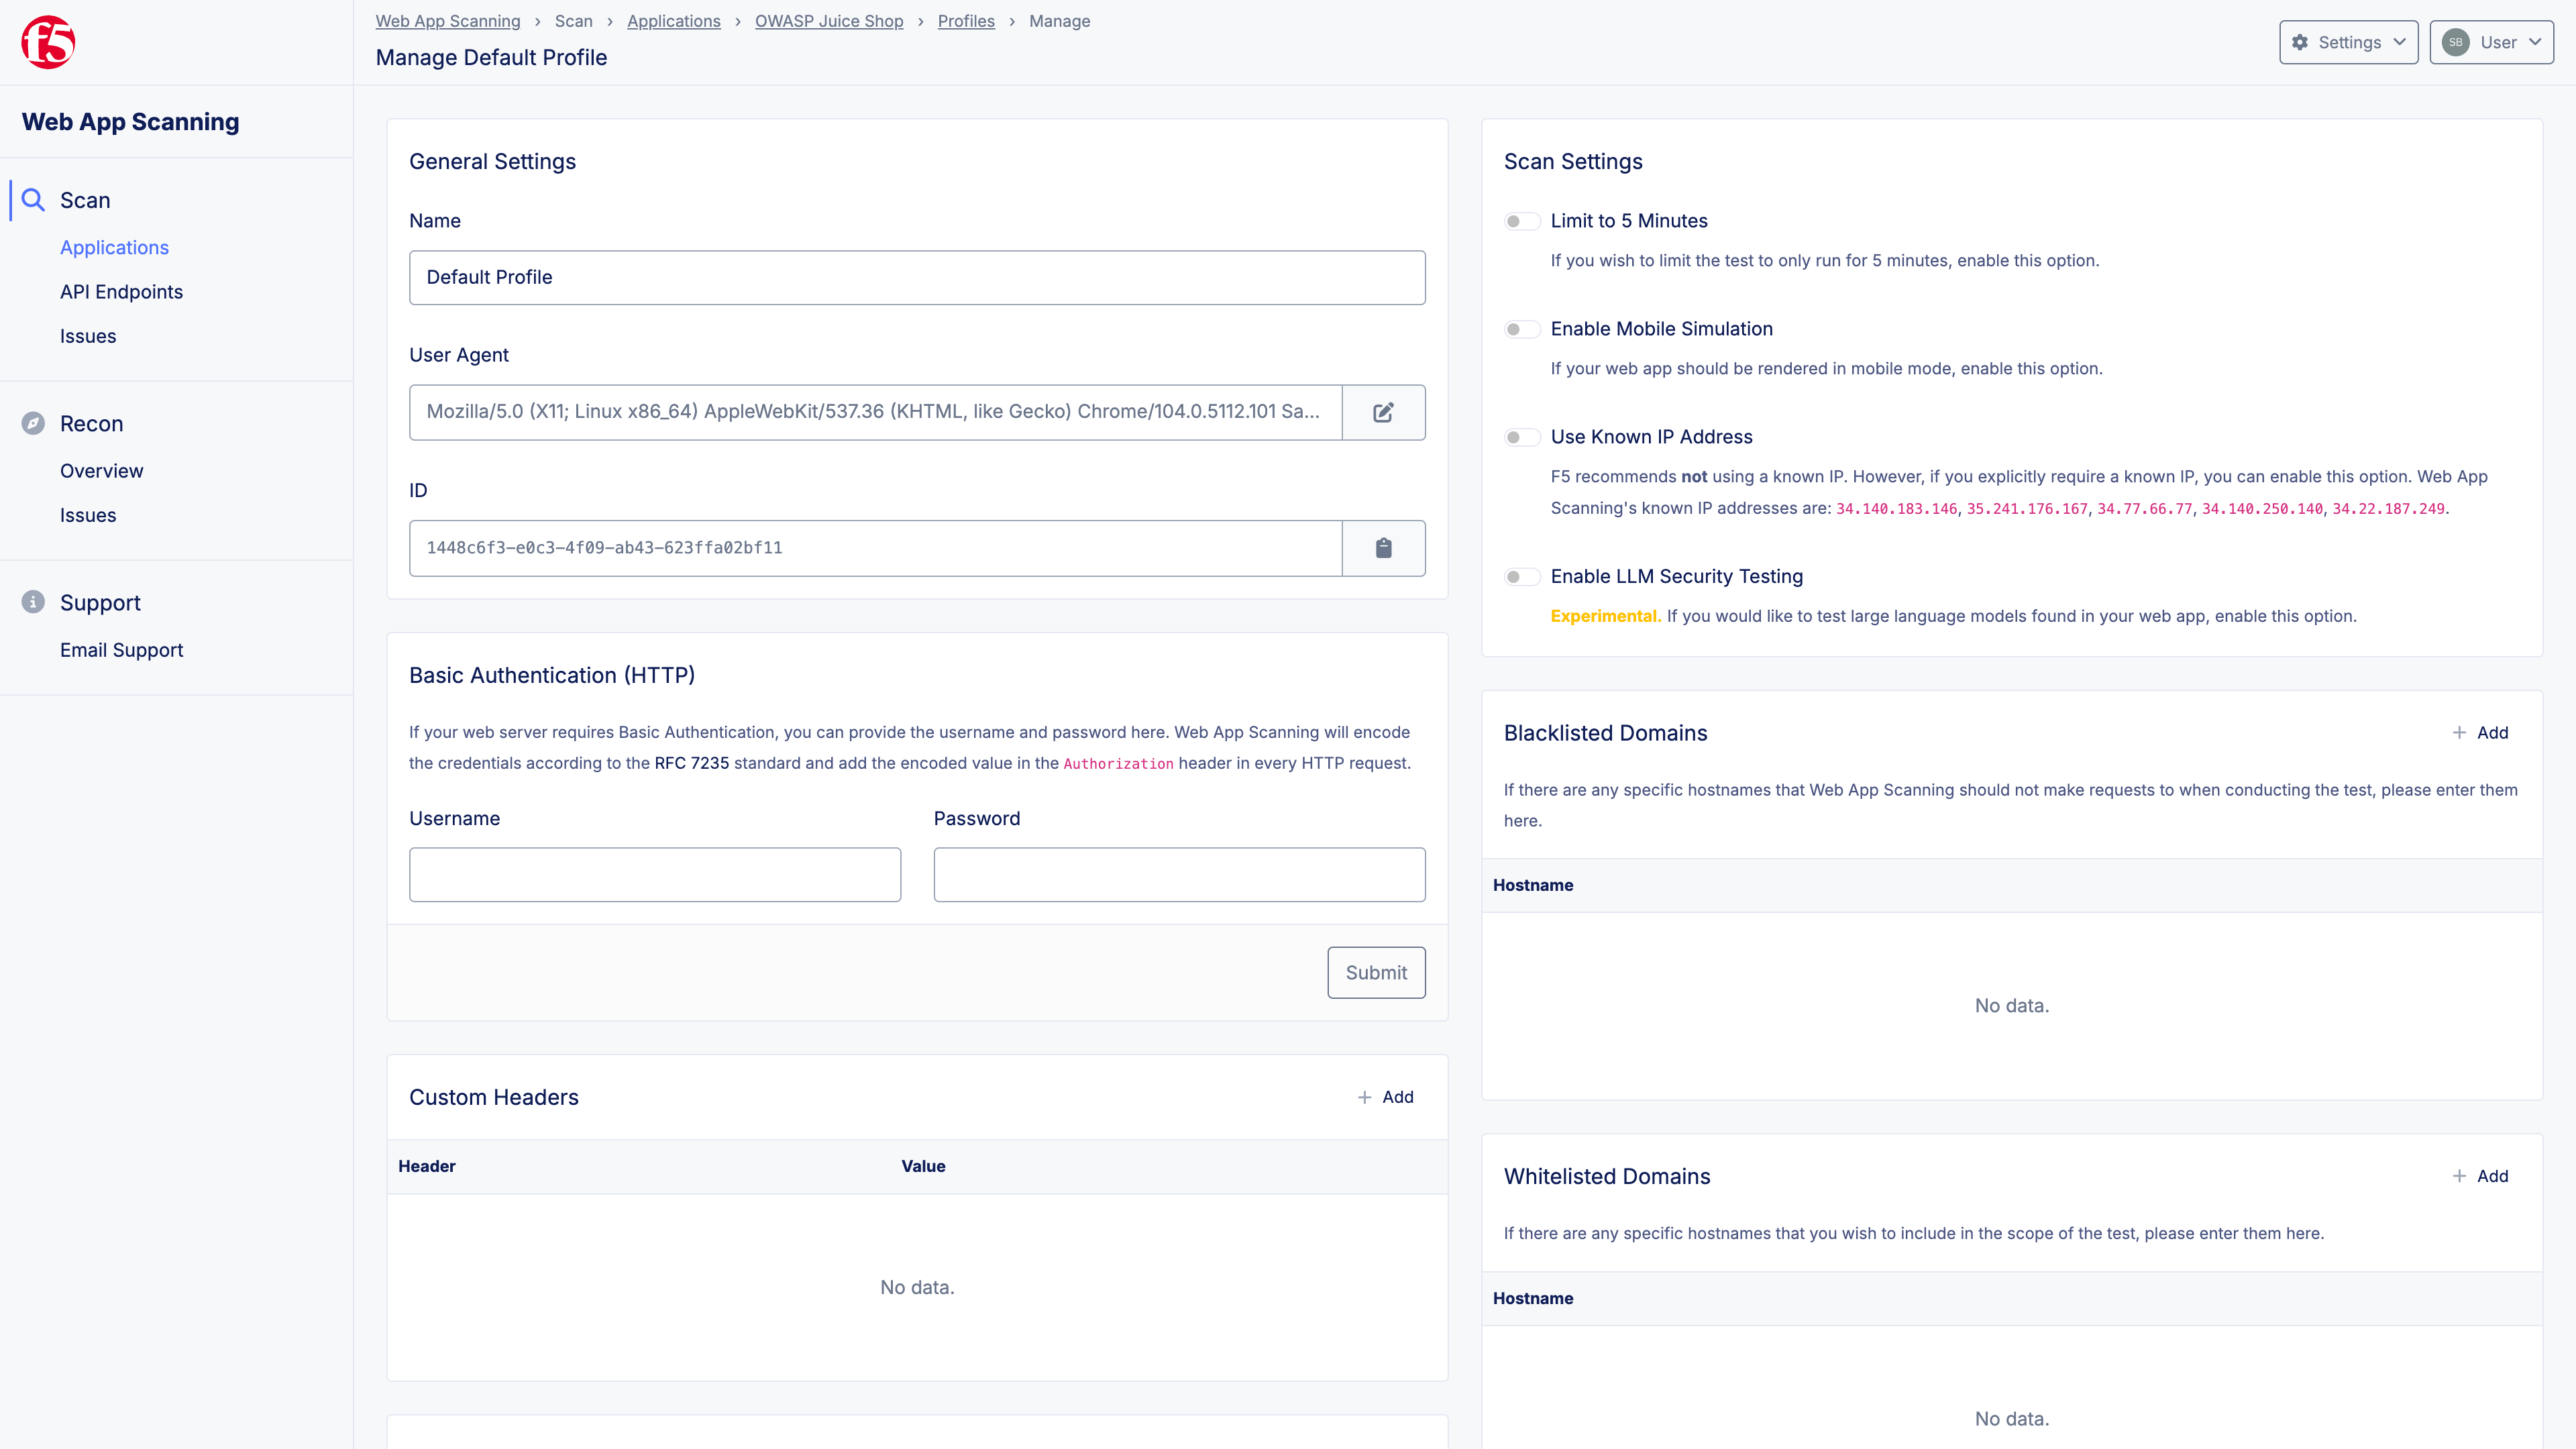
Figure: Test Profile Settings
Step 4: Start penetration test.
-
Once you have reviewed the settings of your default test profile, you can start a new penetration test by clicking on the green play button with the label Start Test on the application page.
-
You will be asked to confirm the start. Click on Start Test.
-
The test will commence within a few minutes. If you have enabled email notifications, you will automatically receive an email once the test starts and when it completes. Moreover, if you have enabled them, you will receive notifications when new vulnerabilities have been found.
Note: Depending on the size of your web application, a penetration test may take several hours to complete. On average, web apps tested by Distributed Cloud Web App Scanning take 2–4 hours to test.