Setting Up API Protection
Objective
This document provides instructions on configuring API Protection on the F5® Distributed Cloud Platform. This core capability is essential for dynamically securing and monitoring your application's API endpoints.
Prerequisites
-
F5 Distributed Cloud Console SaaS account.
Note: If you do not have an account, see Getting Started with Console.
-
Active HTTP Load Balancer configured for your application within the Distributed Cloud environment. See Setting up a load balancer on WAAP.
-
OpenAPI Specification files, if applicable.
-
API Discovery is set up.
Concepts
- OpenAPI Specification: A standard format used to define and describe RESTful APIs. By uploading OpenAPI specs, you can define the structure of your APIs and ensure that API Discovery is aware of all intended endpoints.
- Schema Validation: Ensures that API traffic conforms to a specified schema. This is crucial for preventing security vulnerabilities, especially those highlighted in the OWASP API Security Top 10. Schema validation can block or report non-compliant traffic.
- API Protection: Encompasses a set of features, including schema validation, service policies, and threat protection, designed to secure your API endpoints from attacks and unauthorized access.
Configuration
The configuration process is divided into two sections: API Discovery and API Protection.
| Activity | Description |
|---|---|
| Find HTTP Load Balancer | Locate the specific HTTP Load Balancer where API Discovery will be enabled. |
| Upload OpenAPI Specs and Apply API Definitions | Upload OpenAPI Specification files, create API definitions, and apply them to the load balancer. |
| Configure API Protection (Schema Validation) | Set up schema validation as part of API Protection. |
Set Up API Discovery
Step 1: Prepare OpenAPI Specification Files.
Prepare your OpenAPI specification files locally with the required API definitions.
Step 2: Upload OpenAPI Specification Files and Apply API Definitions.
- Log into Console.
Figure: Console Homepage
-
Click
Web App & API Protection. -
Select your namespace.
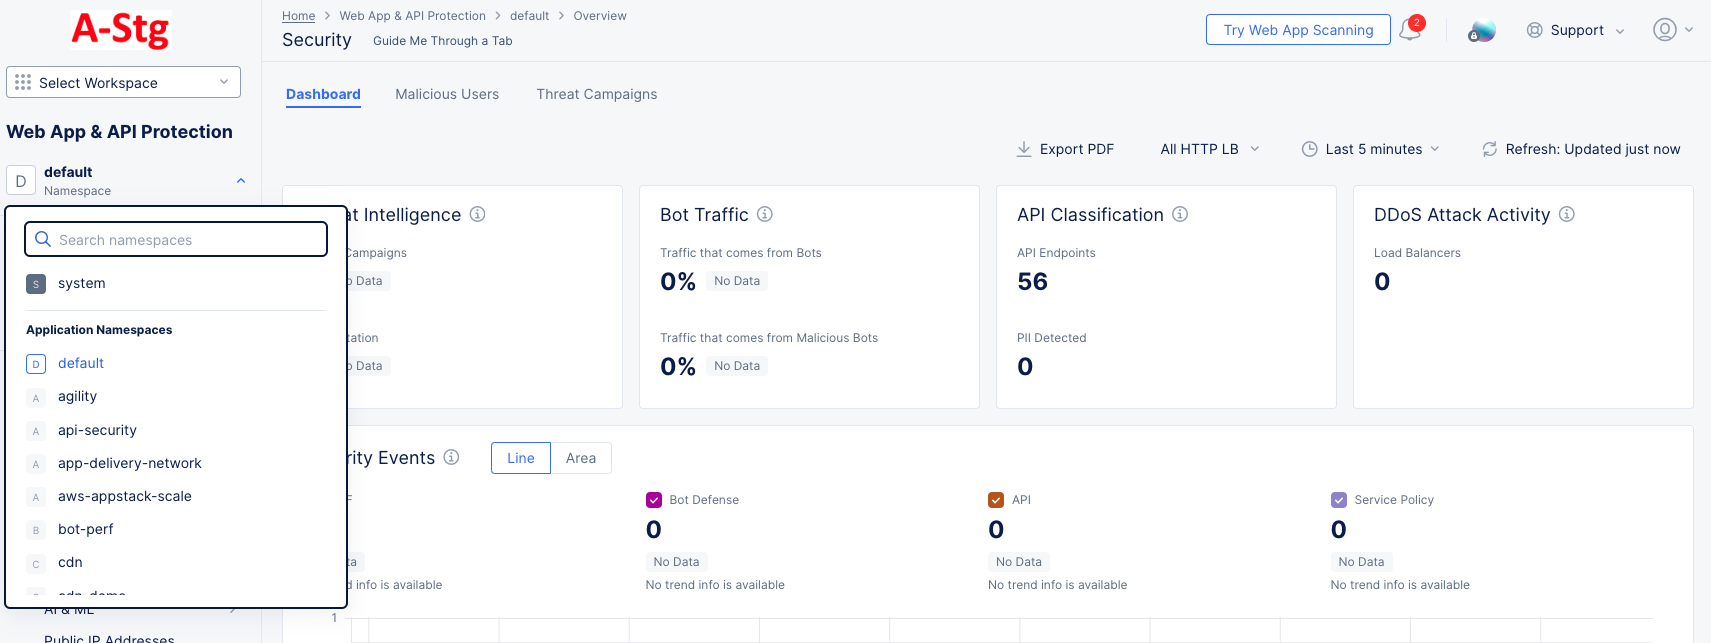
Figure: Select Namespace
- Navigate to
Manage>Files>OpenAPI Files.

Figure: OpenAPI Files
- Click
Add OpenAPI File.
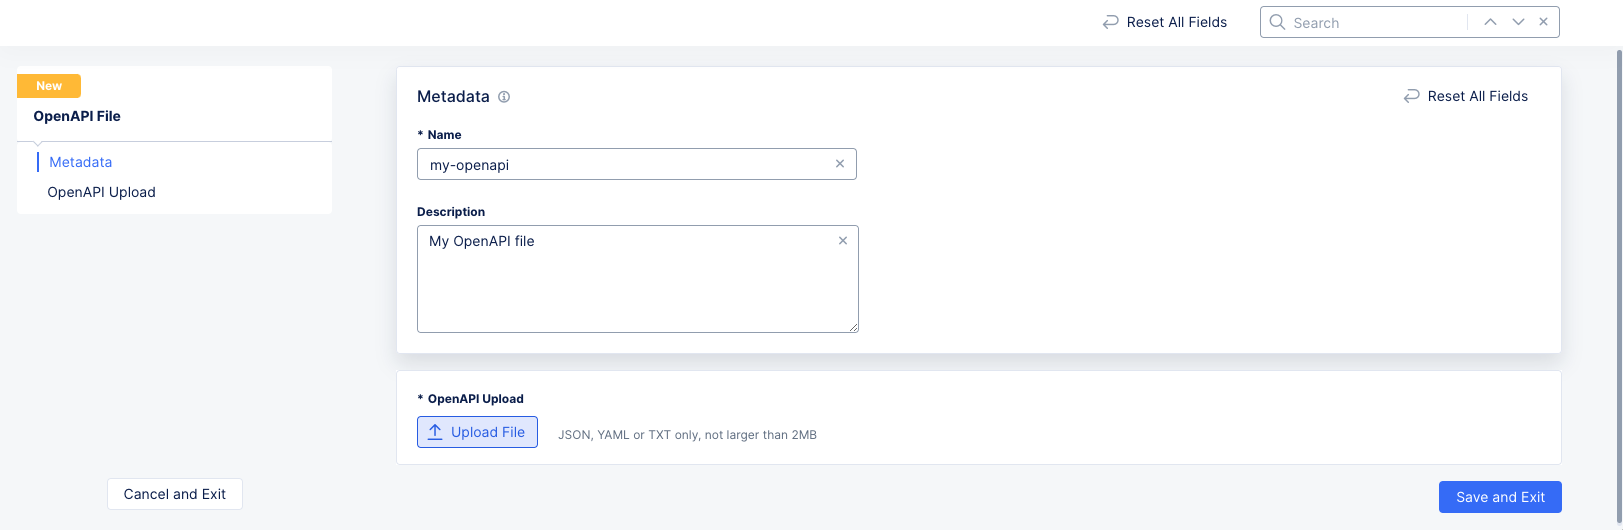
Figure: Upload OpenAPI File
-
Enter a name for this file and optionally add a description.
-
Click
Upload Fileand select your file from the system window.
Step 3: Create and Apply API Definition.
- Navigate to
Manage>API Management>API Definition.
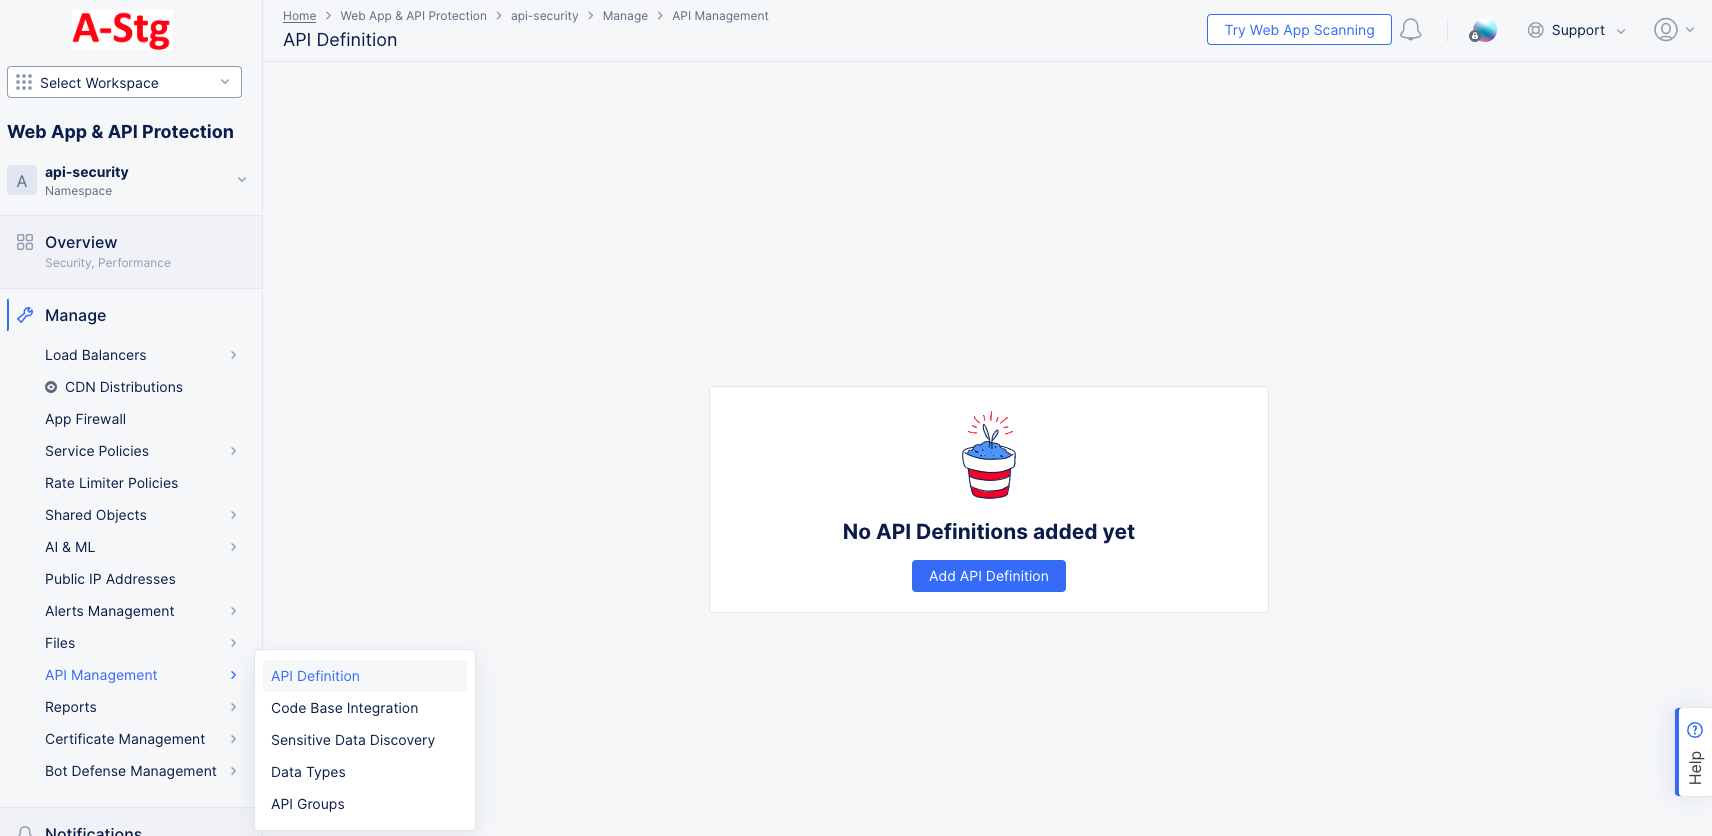
Figure: API Definitions
- Click
Add API Definition.
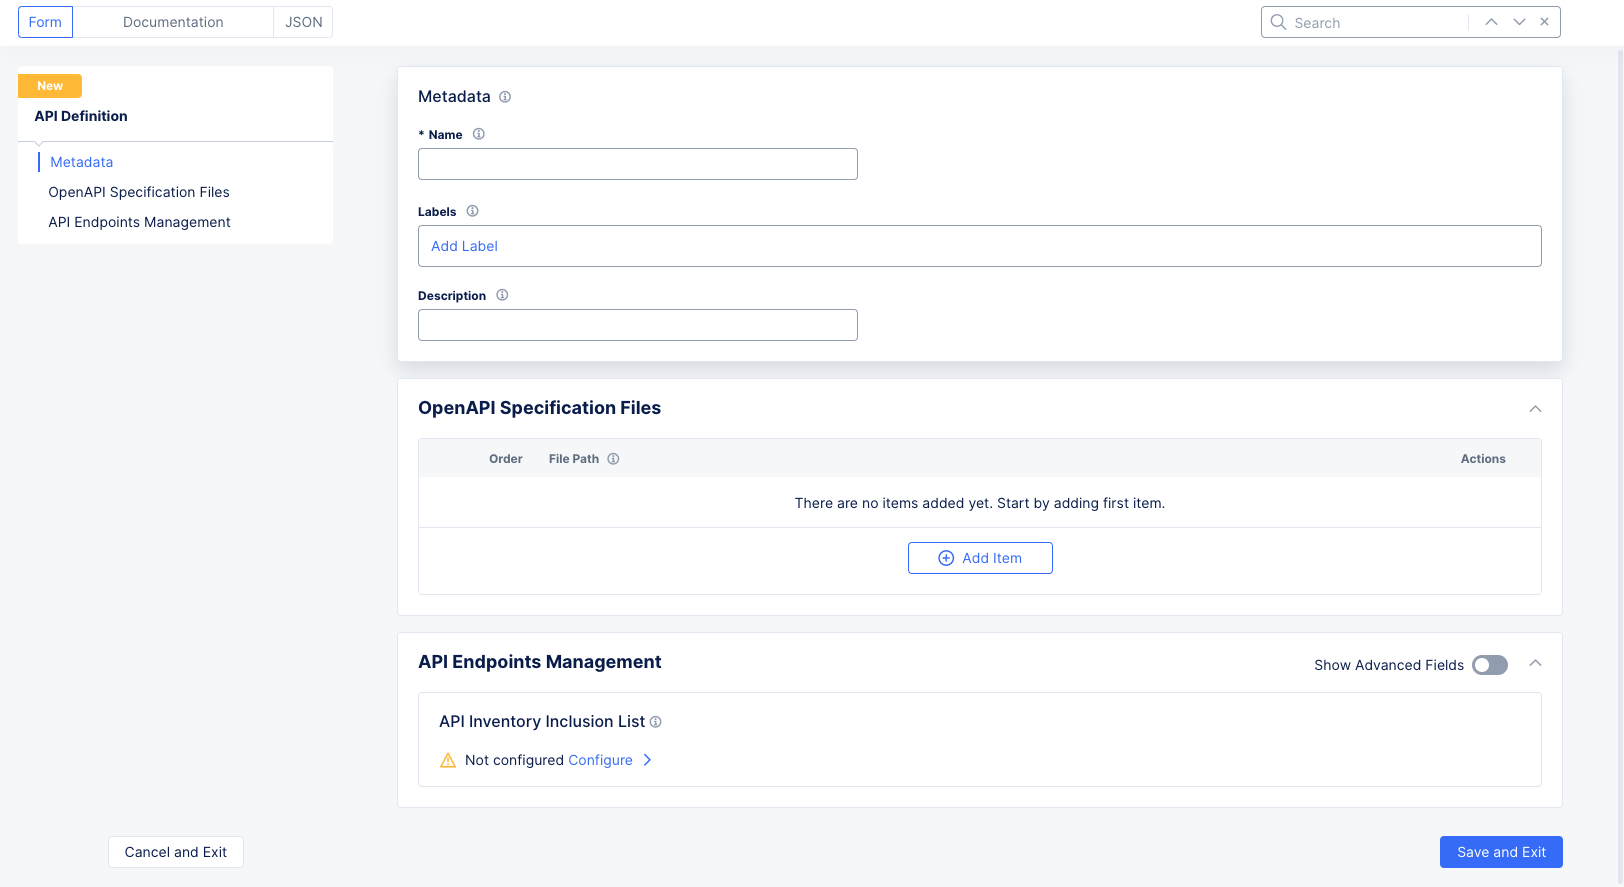
Figure: API Definition Form
-
Enter a name for this file and optionally add labels and a description.
-
Click
Add Itemand select the OpenAPI specification file you uploaded in the previous step. -
Click
Save and Exit. -
Click
Manage>Load Balancers>HTTP Load Balancers. -
In the
Actionscolumn for your load balancer, select...>Manage Configuration. -
Select
Edit Configurationin the upper right corner.
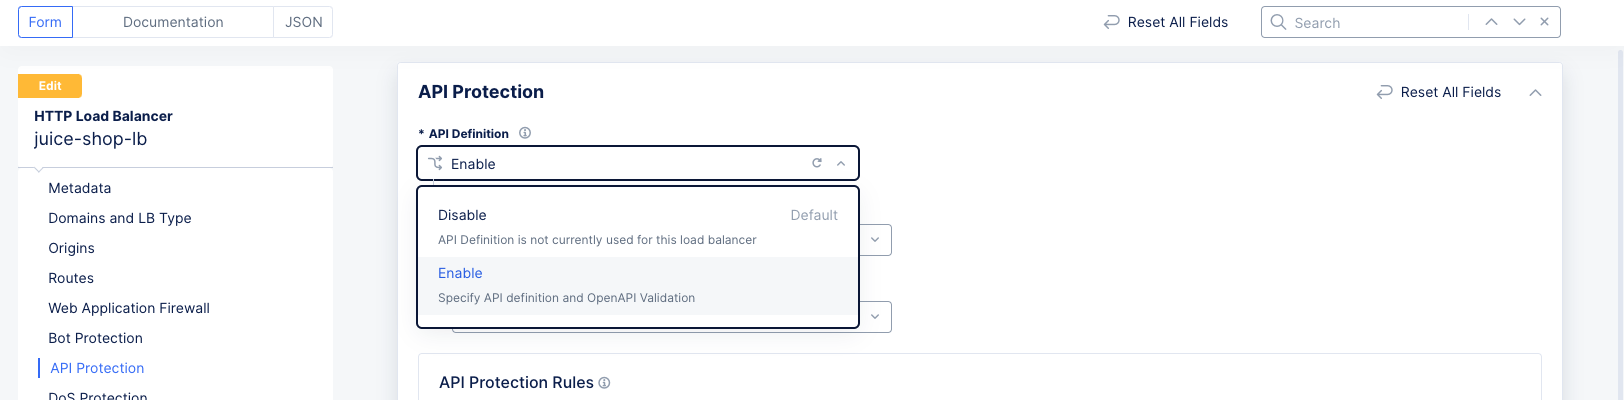
Figure: Enable API Definition
- In the
API Protectionsection, use theAPI Definitiondrop-down menu to selectEnable.
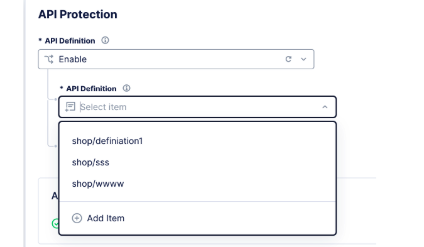
Figure: Select API Definition
-
Select one of your API definitions from the
API Definitiondrop-down menu. -
Click
Save and Exitto save your updated load balancer configuration.
Set Up API Protection
Validation is disabled by default. Follow these steps to enable and configure it.
Step 1: Enable OpenAPI Validation.
-
Click
Manage>Load Balancers>HTTP Load Balancers. -
In the
Actionscolumn for your load balancer, select...>Manage Configuration. -
Select
Edit Configurationin the upper right corner. -
Scroll down to the
API Protectionsection.
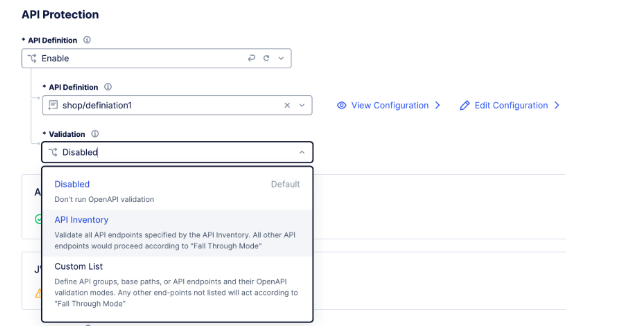
Figure: API Definition Validation Choices
- Choose a validation method.
Step 2: API Inventory Validation
-
Select
API Inventoryin theValidationdrop-down menu. -
API Inventory is configured with default values. Click
View Configurationto make changes.
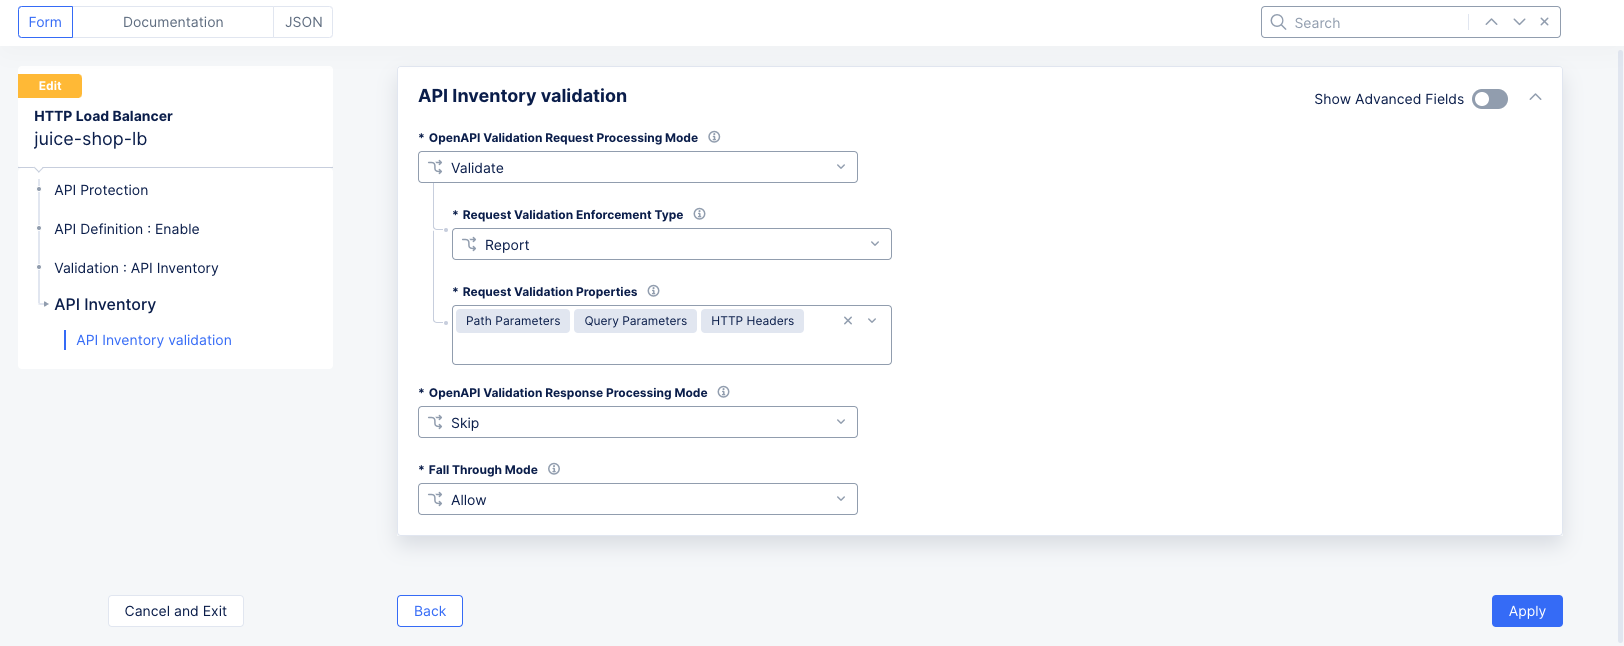
Figure: API Definition Validation Form
-
Choose
ValidateorSkipfor theOpenAPI Validation Request Processing Modedrop-down menu to enforce or skip validation, respectively. ForValidate, also do the following:-
Choose
ReportorBlockfor theRequest Validation Enforcement Typeto either allow traffic and log an event (Report) or block it entirely (Block). -
Specify which parameters should be validated using the
Request Validation Propertiesdrop-down menu.
-
-
Choose
ValidateorSkipfor theOpenAPI Validation Response Processing Modedrop-down menu to enforce or skip validation, respectively. ForValidate, also do the following:-
Choose
ReportorBlockfor theRequest Validation Enforcement Typeto either allow traffic and log an event (Report) or block it entirely (Block). -
Specify which parameters should be validated using the
Request Validation Propertiesdrop-down menu.
-
Alternative Custom List Validation
- Select
Custom Listin theValidationdrop-down menu, and then clickConfigure.
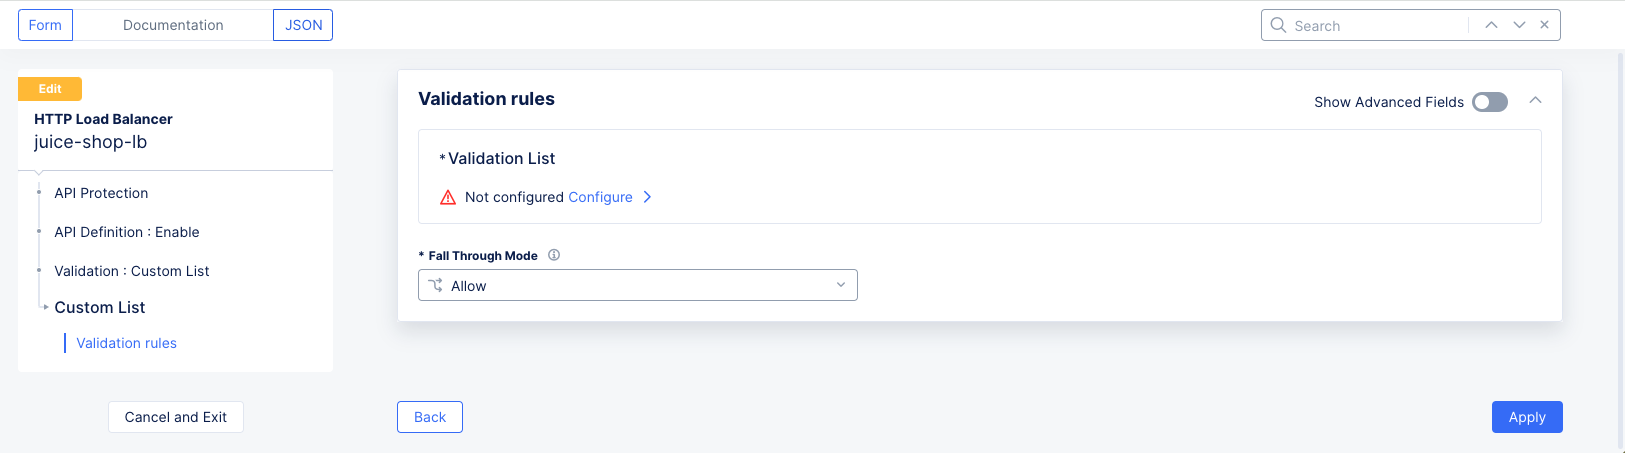
Figure: Custom List Validation Form
-
Click
Configureto build your list of validation rules. -
For each rule you want to add, click
Add Itemin theValidation List.

Figure: Custom Validation Form
- Enter a name for the rule and then specify the endpoint, domain, and methods to validate.
- Click
Applyto save each rule you add. - When you're done adding rules, click
Applyto save the rule list.
- For endpoints not specified in either the API file or custom rules, the
Fall Through Modedetermines the behavior. The default isAllow, which allows any unprotected endpoint. For different behavior, selectCustom.
Custom Fall Through
-
Select
Customin theFall Through Modedrop-down menu and then clickConfigureto build your rules list. -
For each rule you want to add, click
Add Itemin theCustom Fall Through Listand specify the endpoint, domain, and methods to validate.
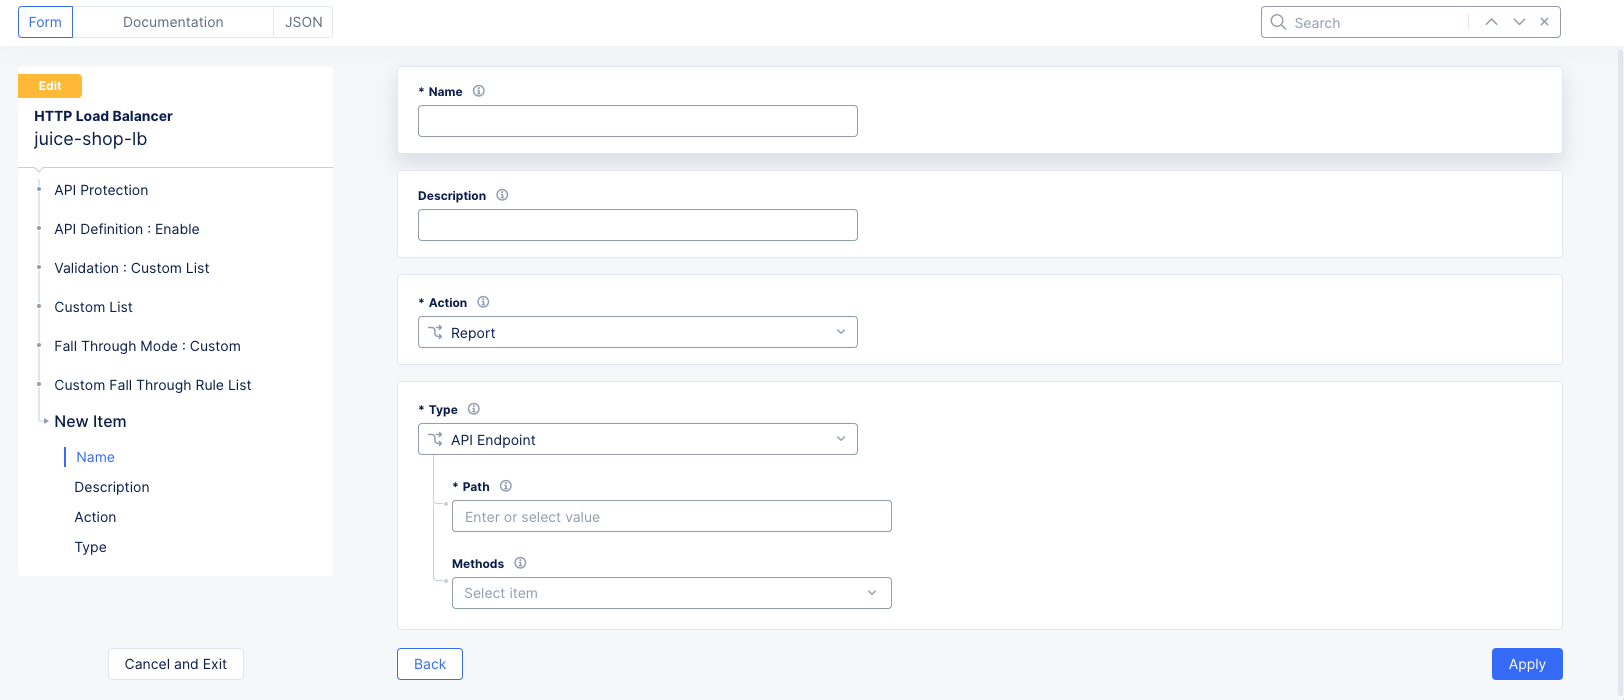
Figure: Custom Fall Through
-
Enter a name for this rule and optionally a description.
-
Choose
Skip,Report, orBlockfrom theActiondrop-down menu. -
Click
Applyto save each rule. Then clickApplyto save the Custom Fall Through Rule List.
-
Click
Applyto save the validation rules and get back to the load balancer configuration form. -
Click
Save and Exitto save the changes to your load balancer.