Integrating Distributed Cloud Services with Your Ticket Tracking System
Objective
If you are creating solutions based on F5® Distributed Cloud Services APIs, you need the ability to report and track issues found with your implementation. Distributed Cloud Console (Console) provides reporting and tracking capabilities using your ticket tracking system (currently, Jira is supported), for instance with discovered security events and vulnerabilities related to APIs. In order to take advantage of these capabilities, the first step is to integrate with your ticket tracking system.
This guide provides instructions on how to integrate an F5® Distributed Cloud Services site with a product management tool.
Prerequisites
The following prerequisites apply:
-
A Distributed Cloud Services Account. If you do not have an account, see Getting Started with Console.
-
An existing ticket tracking system supported by Distributed Cloud Services.
Integrate with Your Ticket Tracking System
Step 1: Log into Console and add a ticket tracking system.
-
Log into Console.
-
Click
Shared Configuration.
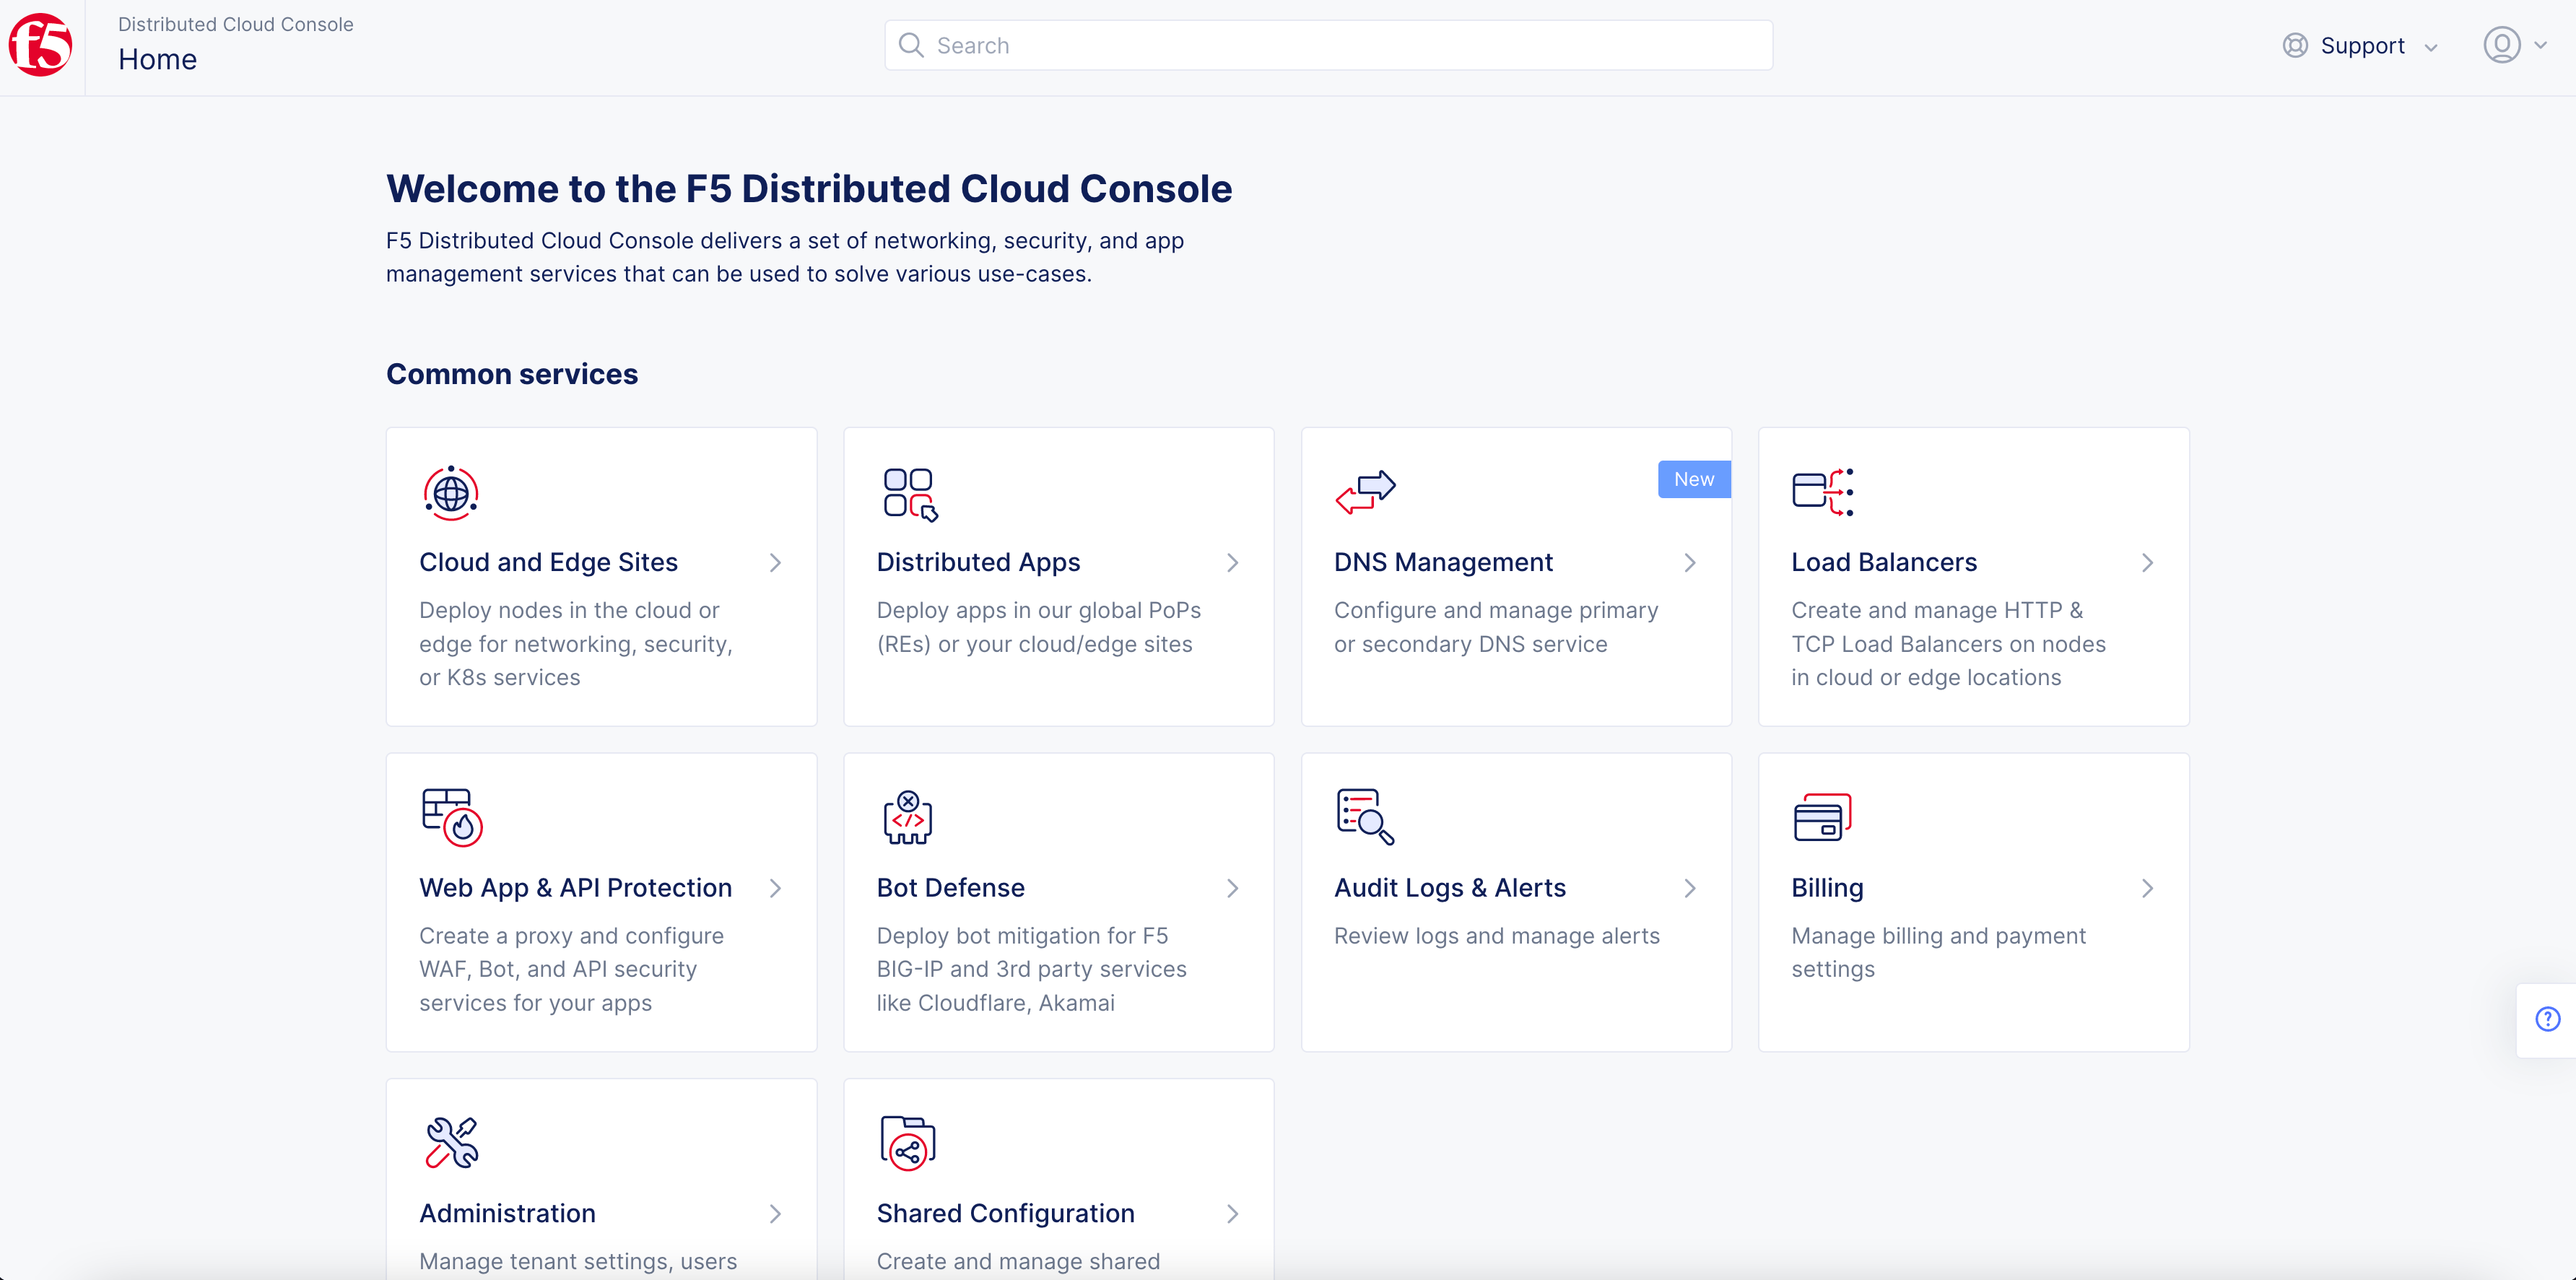
Figure: Console Homepage
- Click
Manage>Ticket Tracking System.

Figure: Ticked Tracking System
- Click
Add Ticket Tracking System.
Step 2: Configure metadata and ticket tracking system access.
-
In the
Namefield, enter a name for the ticket tracking system. -
Optionally, select a label and enter a description.
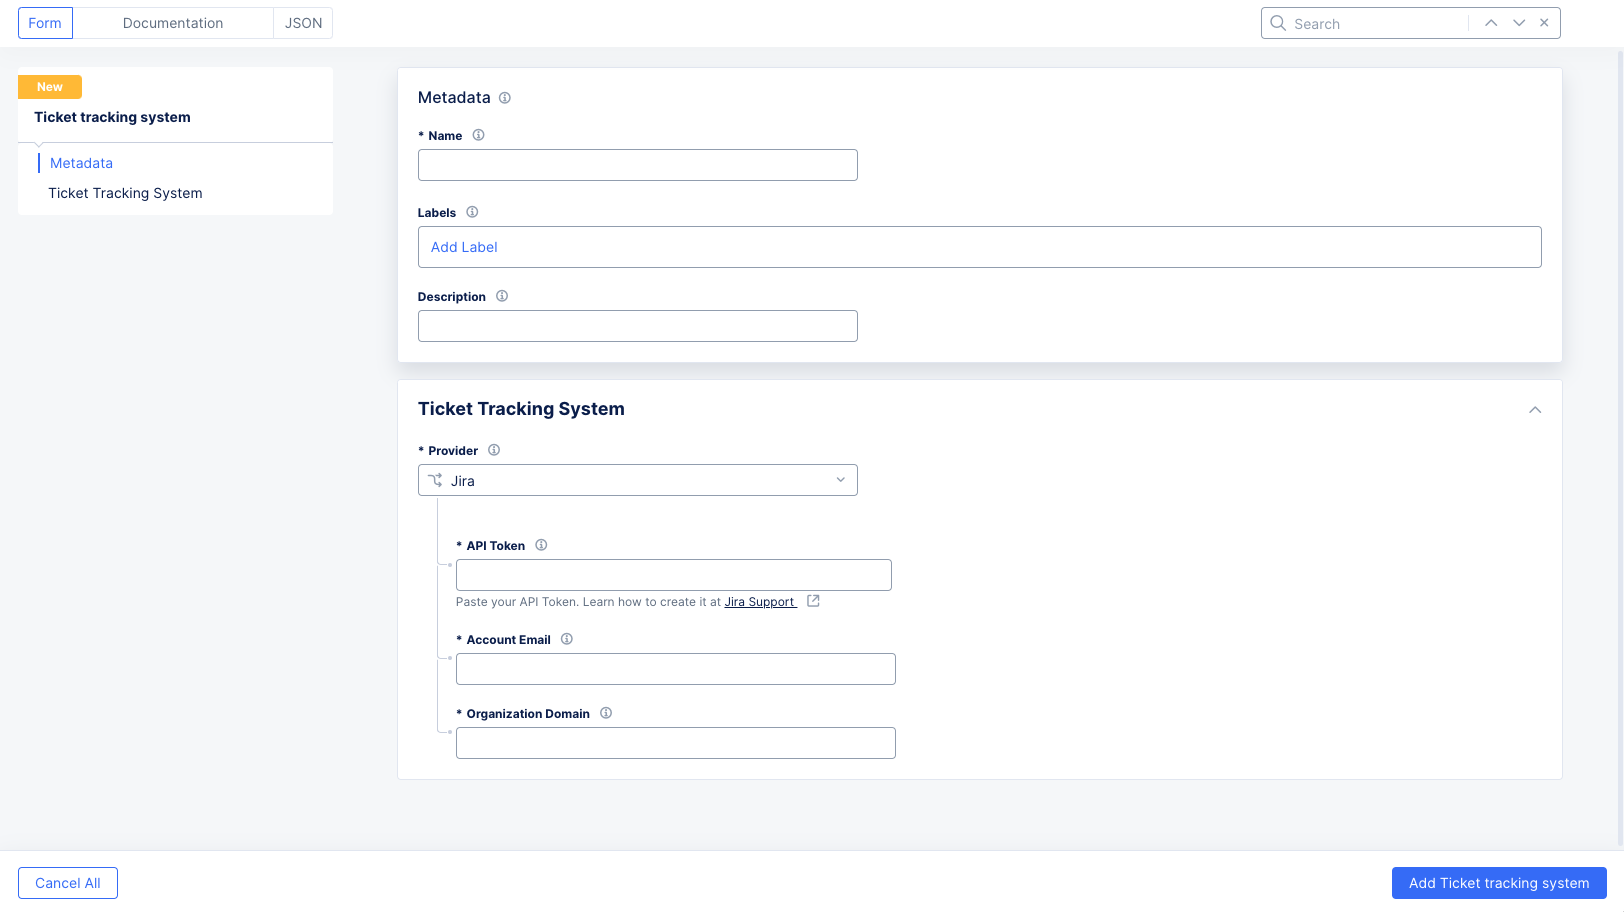
Figure: Ticket Tracking System Form
-
Select a ticket tracking system from the
Providerdrop-down menu. Currently,Jirais the only supported option. -
Enter your Jira API token in the
API Tokenfield. If you need help with creating a Jira API token, you can find instructions at Jira Support.
Note: The Jira API token and username you enter will be used for all tickets created in the Console. This means all tickets created will appear to have been created by the owner of the token. Therefore it would be better to use an API token from a 'neutral' account dedicated for this purpose, rather than a specific user account.
-
Enter your Jira username (email) for your Atlassian account in the
Account Emailfield. -
Enter a valid hostname for the Atlassian organization.
Step 3: Save your ticket tracking system.
Click Add Ticket Tracking System to save your configuration.
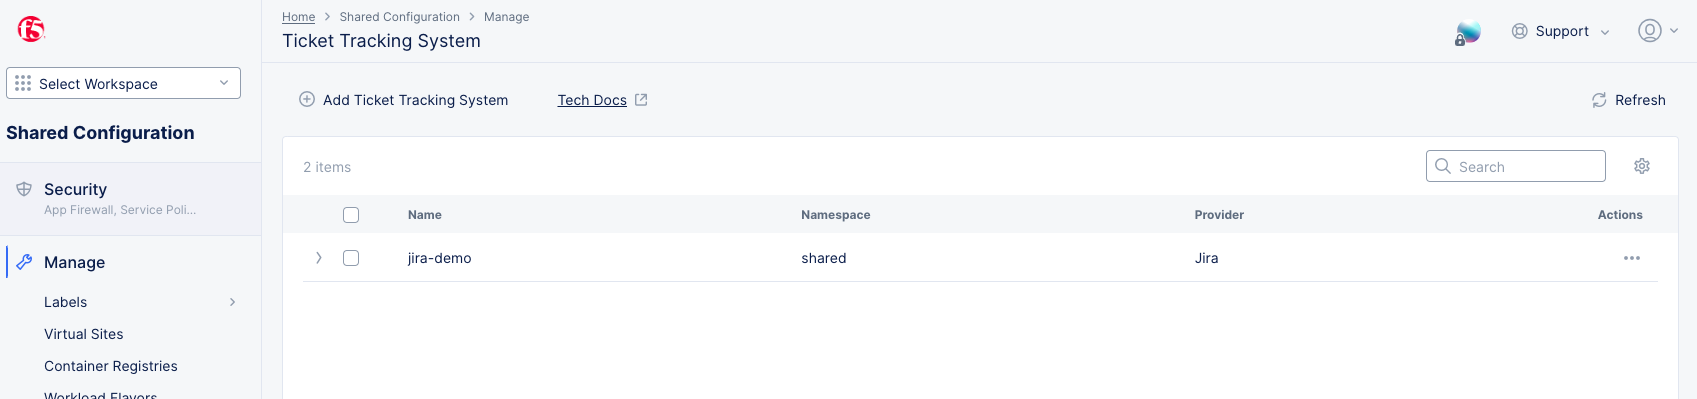
Figure: Ticked Tracking System Integrated with Console
Remove Your Ticket Tracking System
Deleting a Ticket Tracking System from Console will remove all links to that Ticket Tracking System's existing tickets from Console. This action will not delete tickets in the Ticket Tracking System.
Step 1: Log into Console and go to the ticket tracking system page.
-
Log into Console.
-
Click
Shared Configuration.
Figure: Console Homepage
- Click
Manage>Ticket Tracking System.
Figure: Ticked Tracking System Integrated with Console
Step 2: Remove a ticket tracking system from Console.

Figure: Remove Ticked Tracking System from Console
-
Click
...>Deletein theActionscolumn for the Ticket Tracking System you want to remove. -
Click
Deletein the confirmation dialog.
Create and Manage Tickets
Once you have a Ticket Tracking System set up, you can create tickets to track different issues reported in Console. (NOTE: currently only API vulnerabilities are supported).
Create a ticket for your issue.
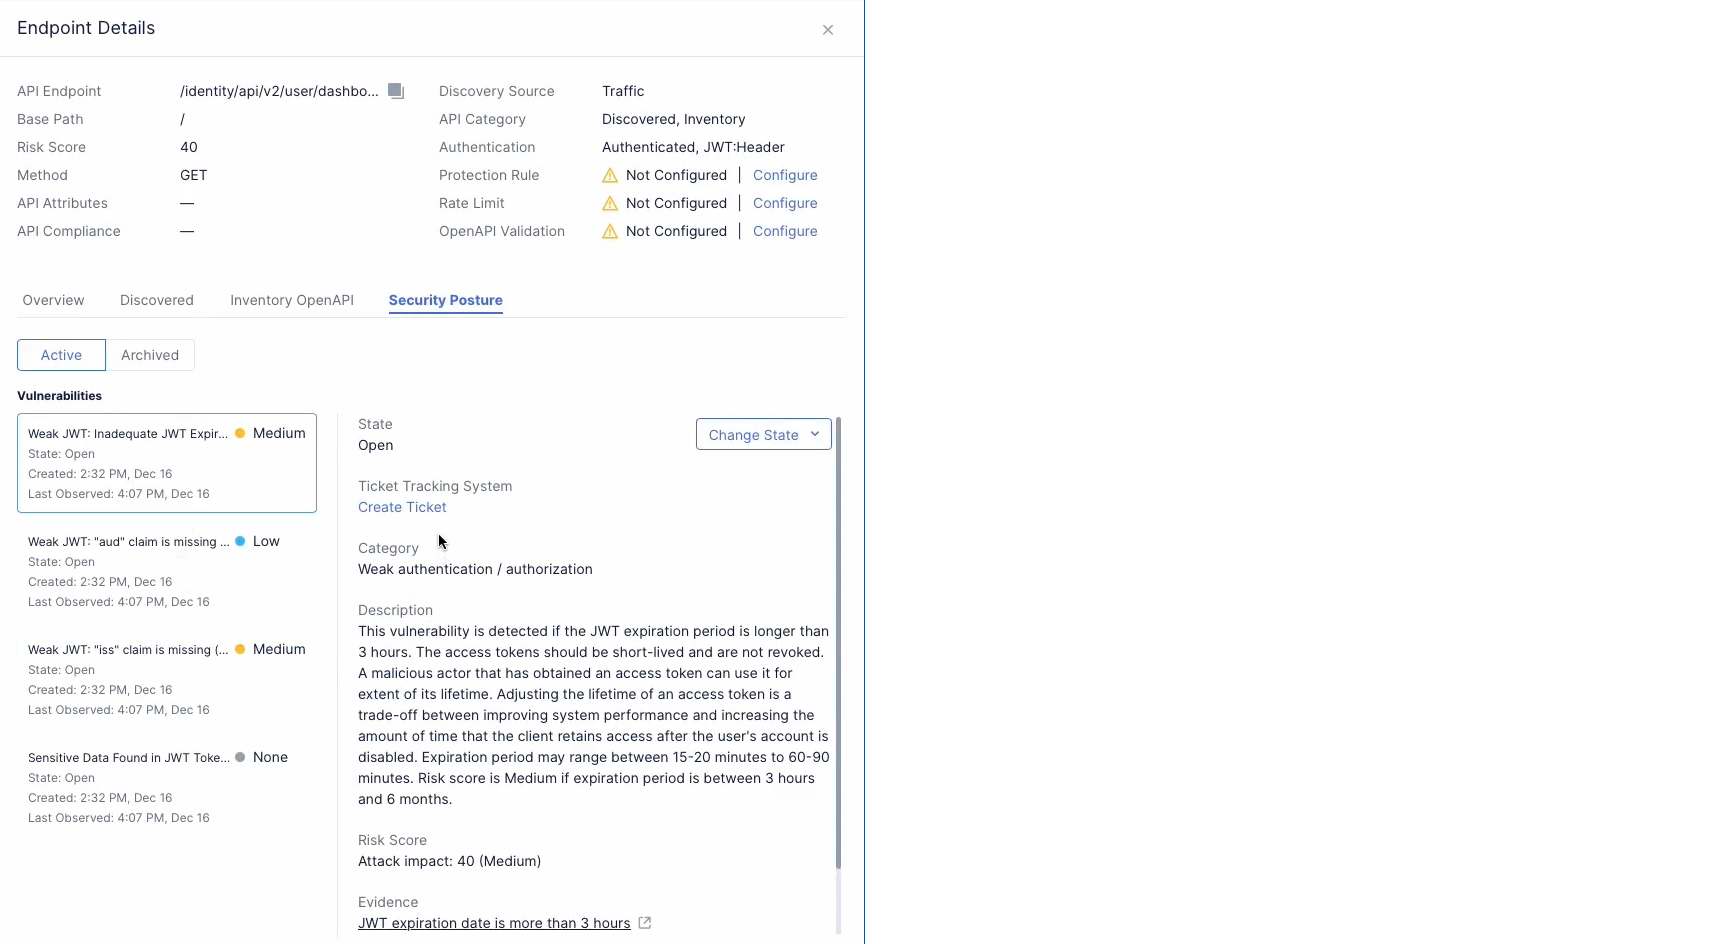
Figure: Create a Ticket
- Click
Create Ticket. This will display theCreate Ticketform in a right-sliding window.
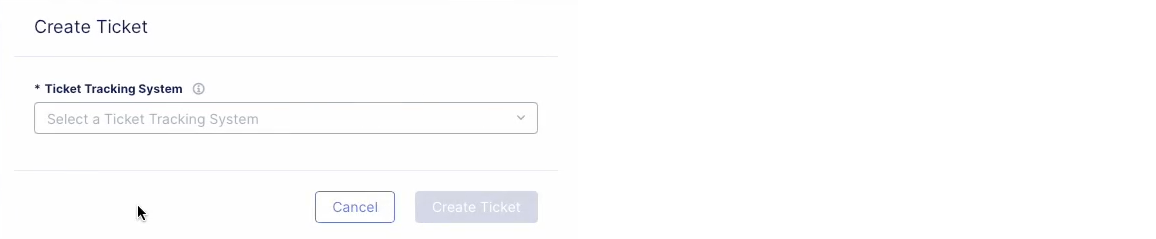
Figure: Select your Ticket Tracking System
- Select your Ticket Tracking System from the
Ticket Tracking Systemdrop-down menu.
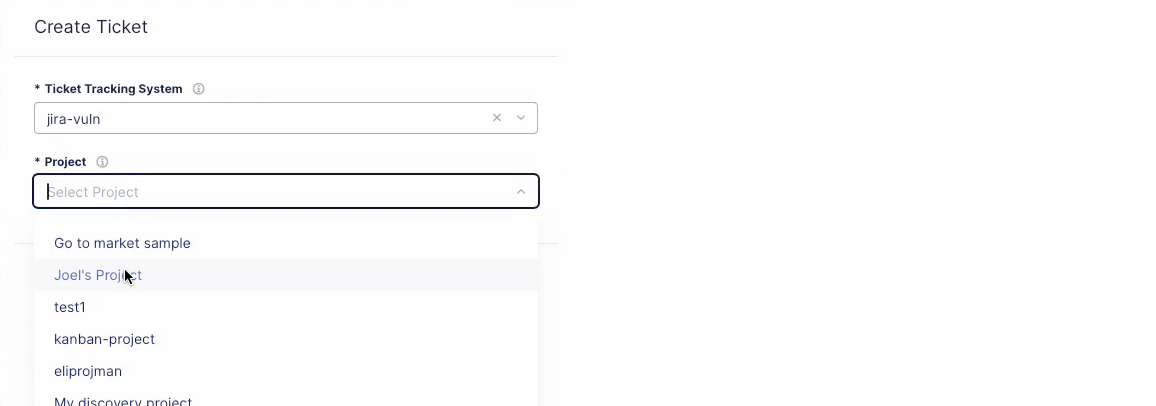
Figure: Select a Project from your TTS
- Select a project from your Ticket Tracking System using the
Projectdrop-down
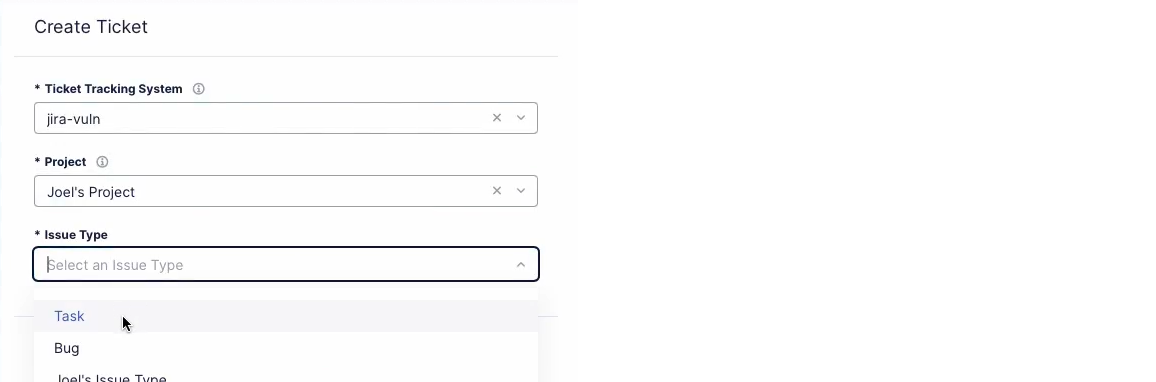
Figure: Select an Issue Type from your TTS
-
Select an issue type. Note that "subtask" issue types are not supported.
-
With this information, the Console will fill in details about the issue. You can leave the auto-generated content as it was created or modify the content to suit your needs.
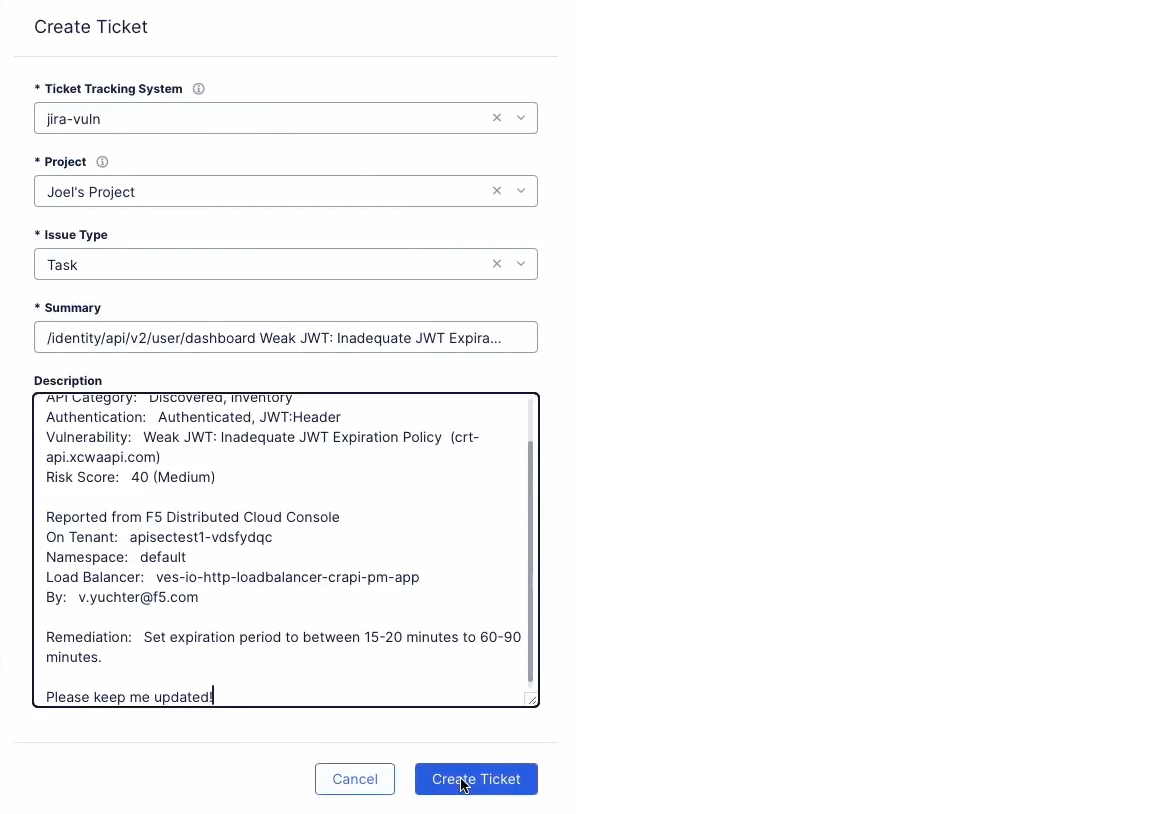
Figure: Enter Issue Details
-
When you are happy with the ticket contents, click
Create Ticketto complete the ticket creation process. -
Once your ticket is created, the
Create Ticketlink will be replaced with a link to the issue in your Ticket Tracking System.
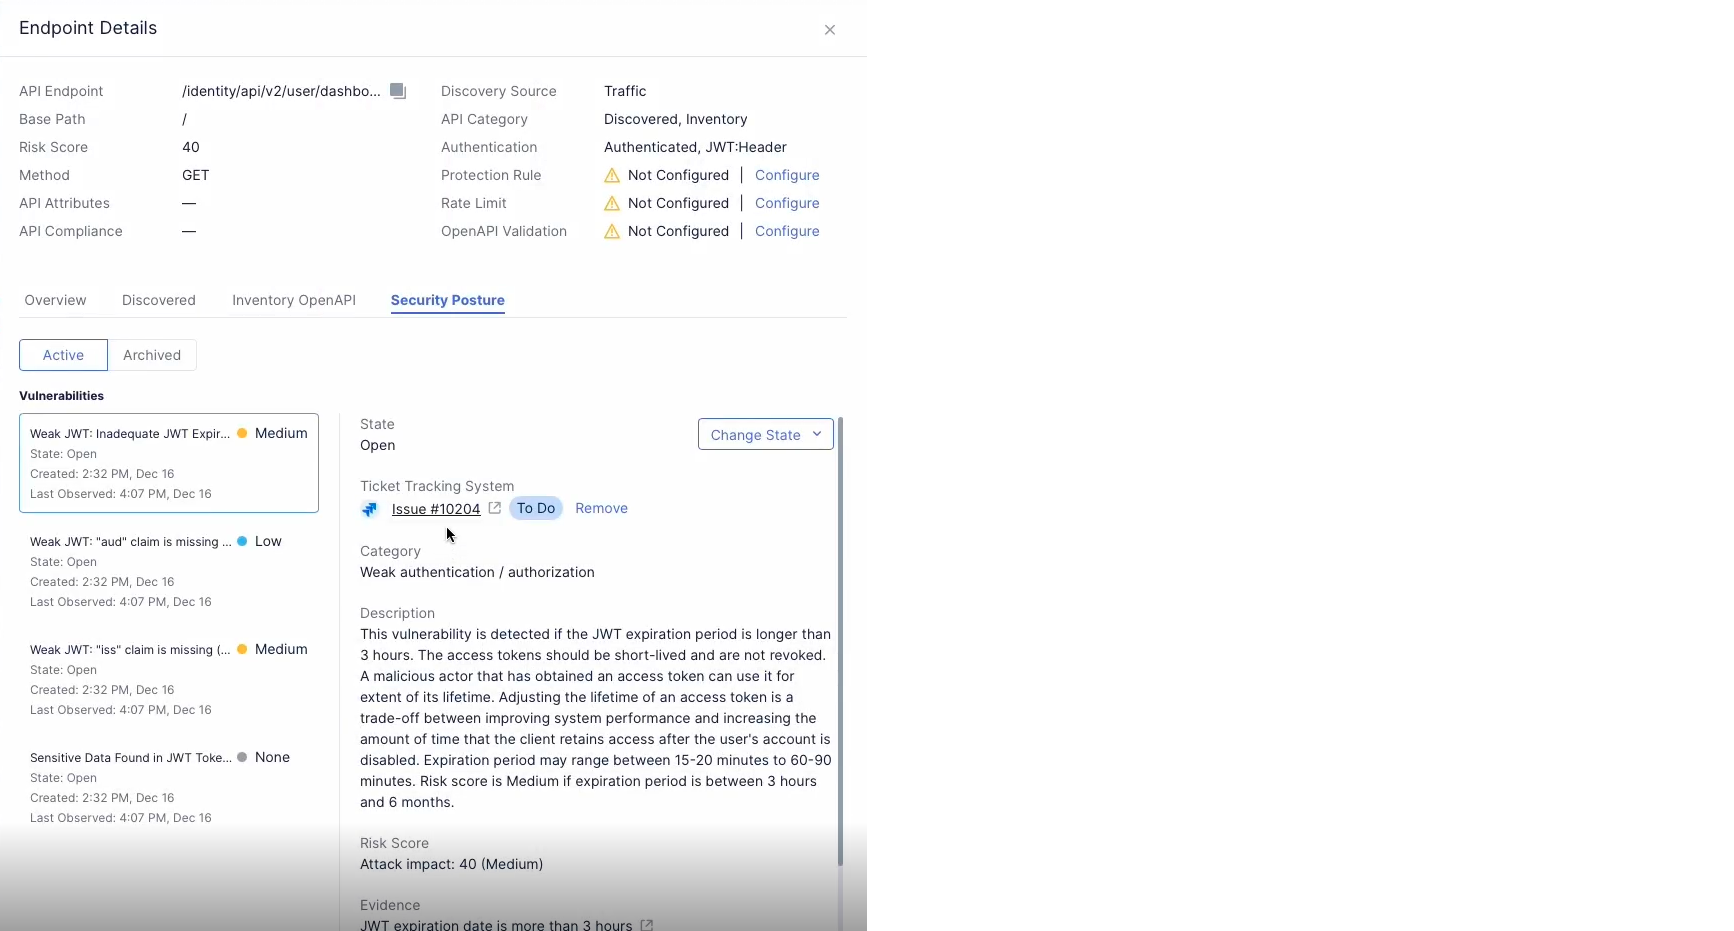
Figure: Issue Link with Details
Manage a ticket.
Once created, your ticket can be managed in your Ticket Tracking System. However, you can also return to the place in the Console where you created the ticket to see the current status.
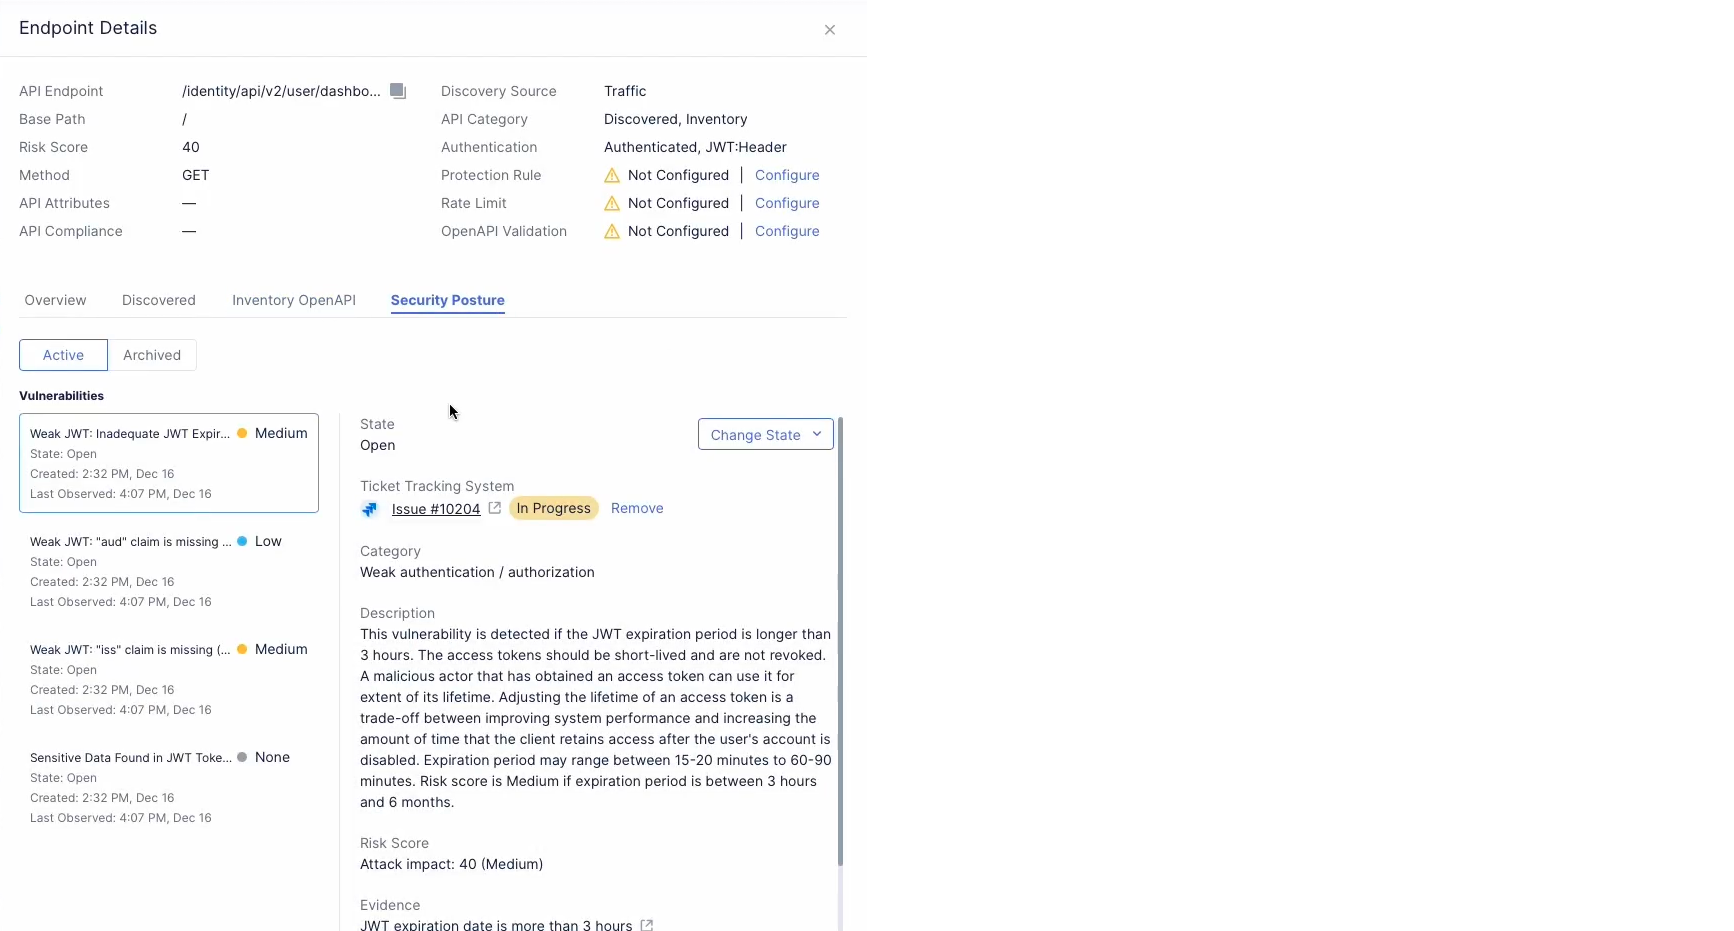
Figure: Issue Link with Details