Setting Up API Discovery
Objective
This document provides instructions on configuring API Discovery on the F5® Distributed Cloud Services platform. This core capability is essential for dynamically identifying and monitoring your application's API endpoints.
This guide is specific to the API Discovery feature. For instructions about API Protection configuration, see Setting Up API Protection.
Prerequisites
-
A valid F5 Distributed Cloud Console SaaS account. If you do not have an account, see Getting Started with Console.
-
An active HTTP Load Balancer configured for your application within the Distributed Cloud environment. See Setting up a load balancer on WAAP.
-
For code discovery: Source code management API key.
-
For API crawling: Standard user and password.
Set Up API Discovery
Step 1: Find your HTTP Load Balancer.
- Log into Console.
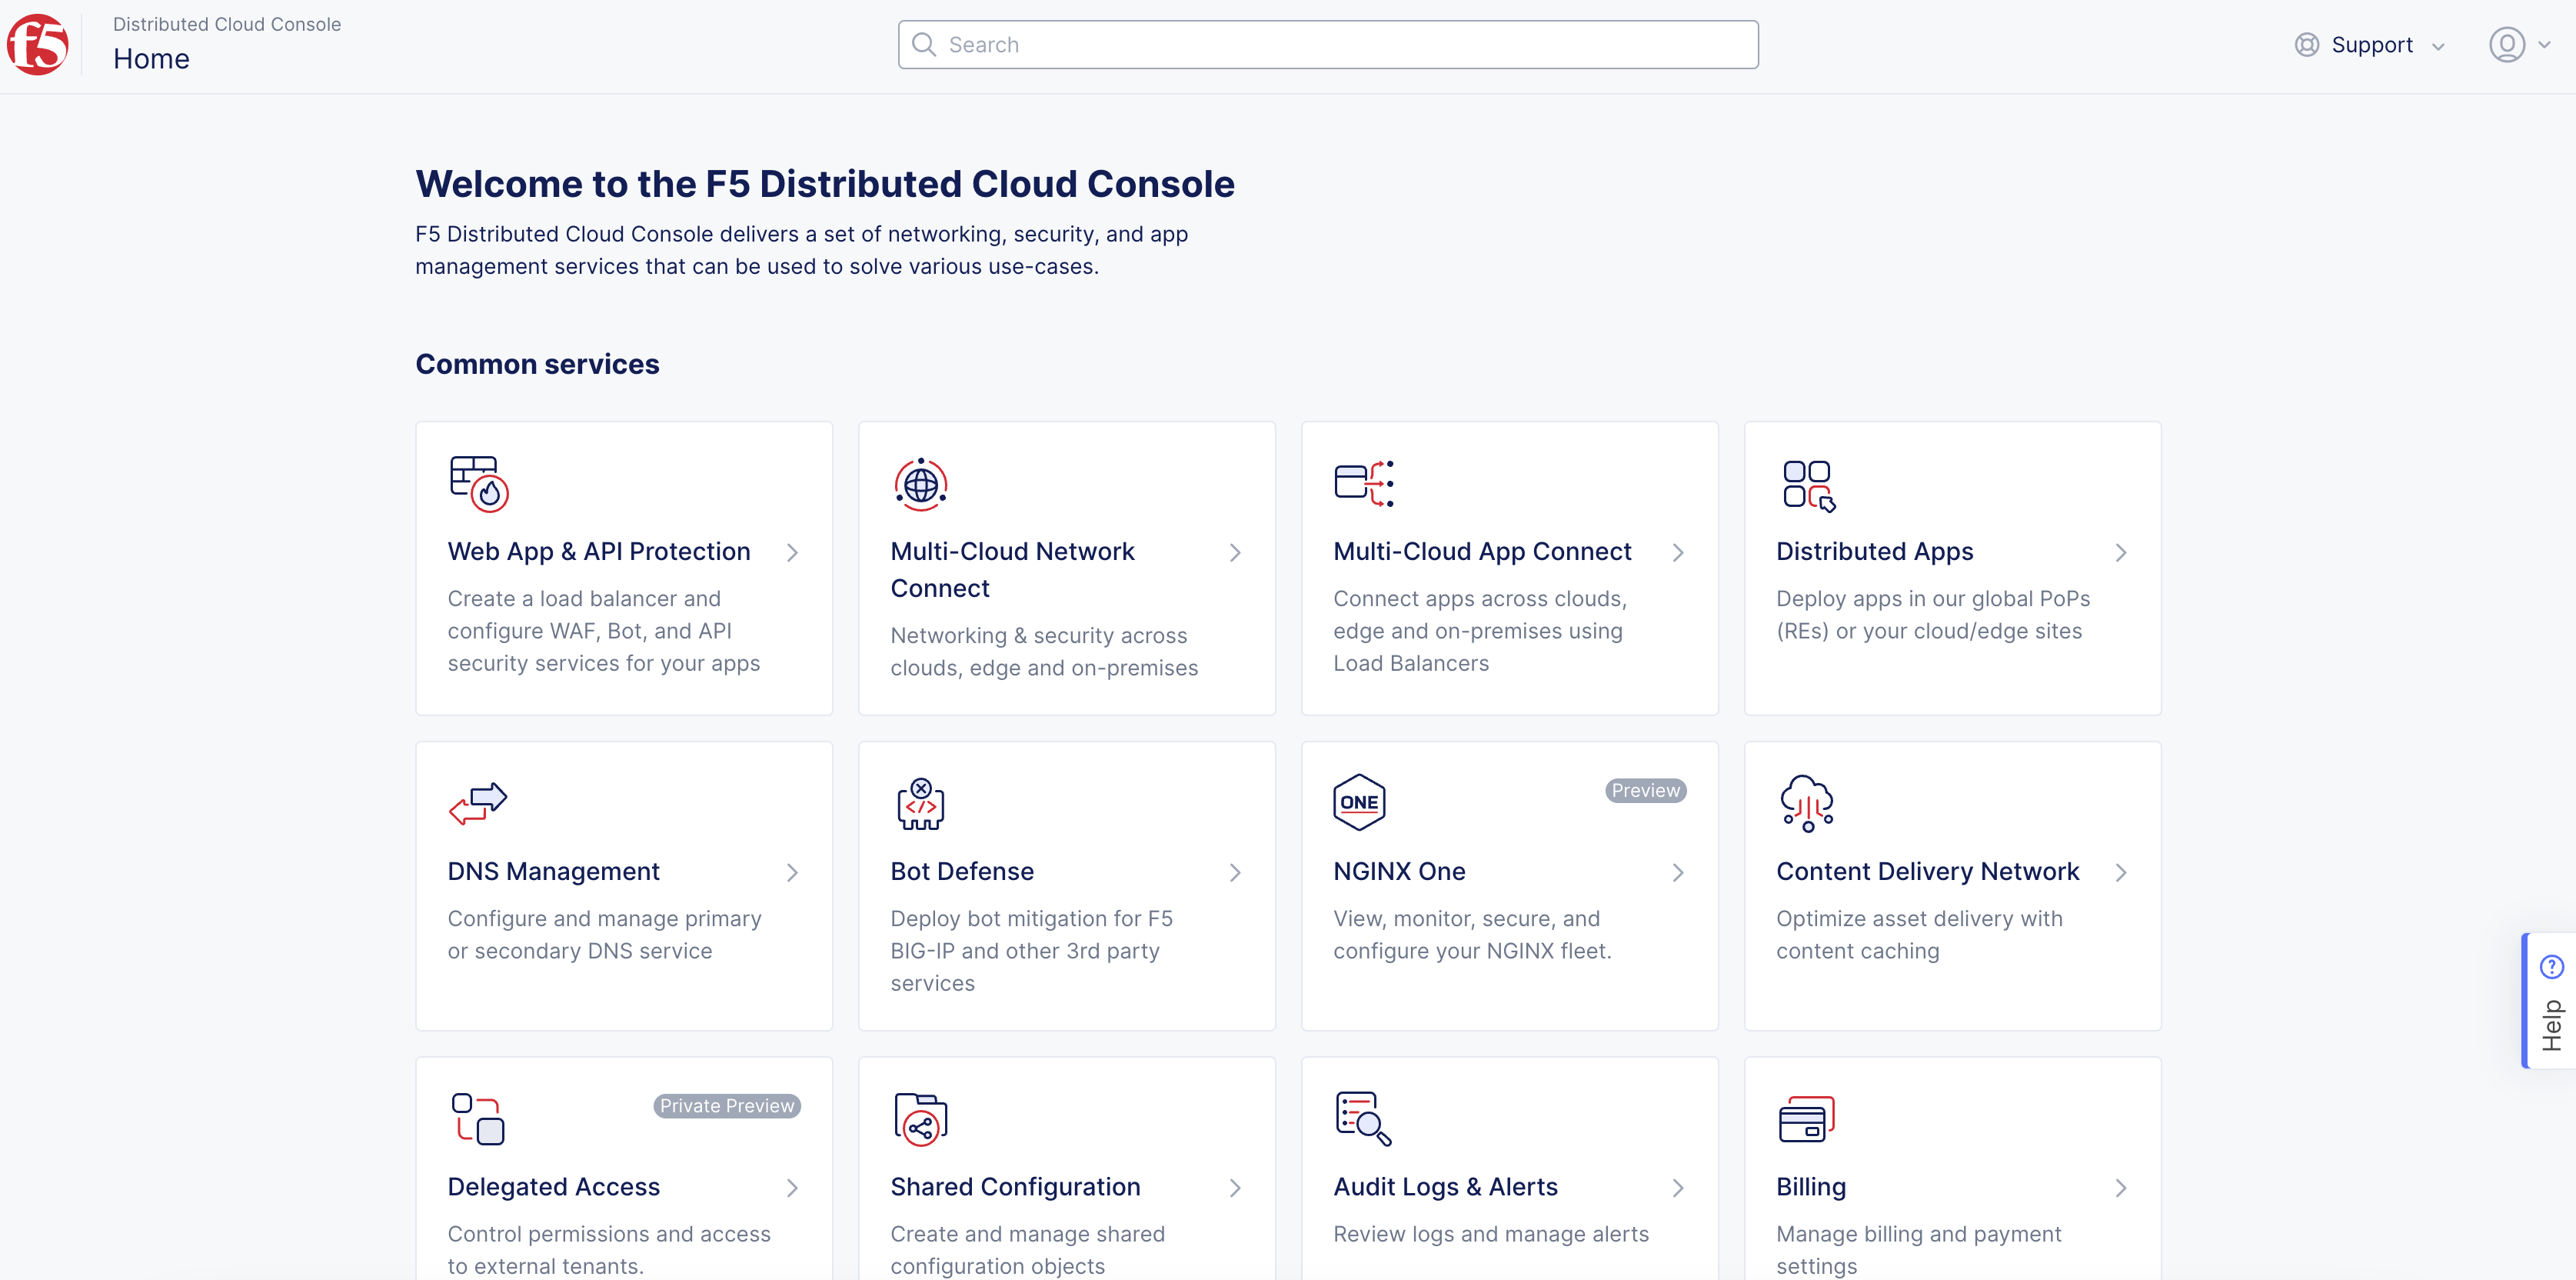
Figure: Console Homepage
-
Click
Web App & API Protection. -
Select your namespace.
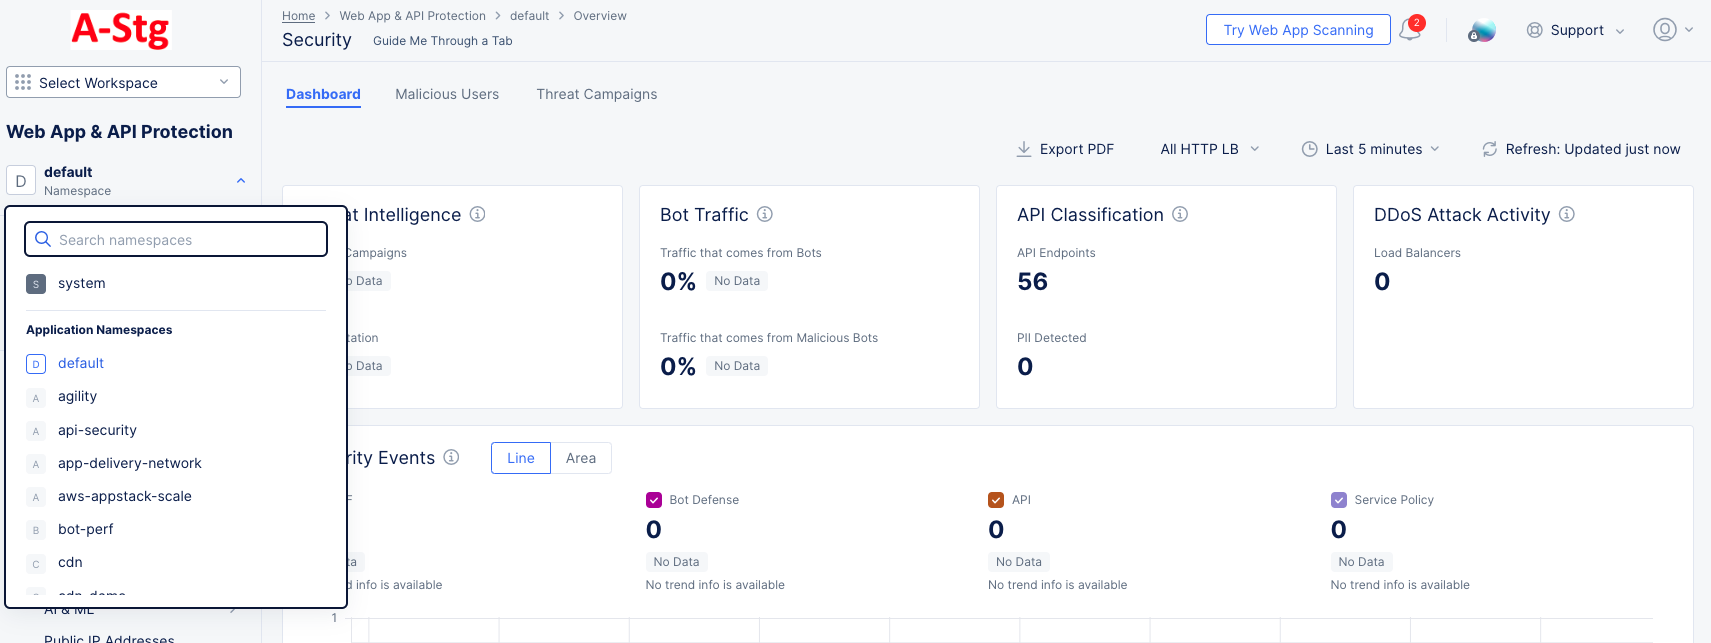
Figure: Select Namespace
- Click
Manage>Load Balancers>HTTP Load Balancersand locate your HTTP load balancer in the list.
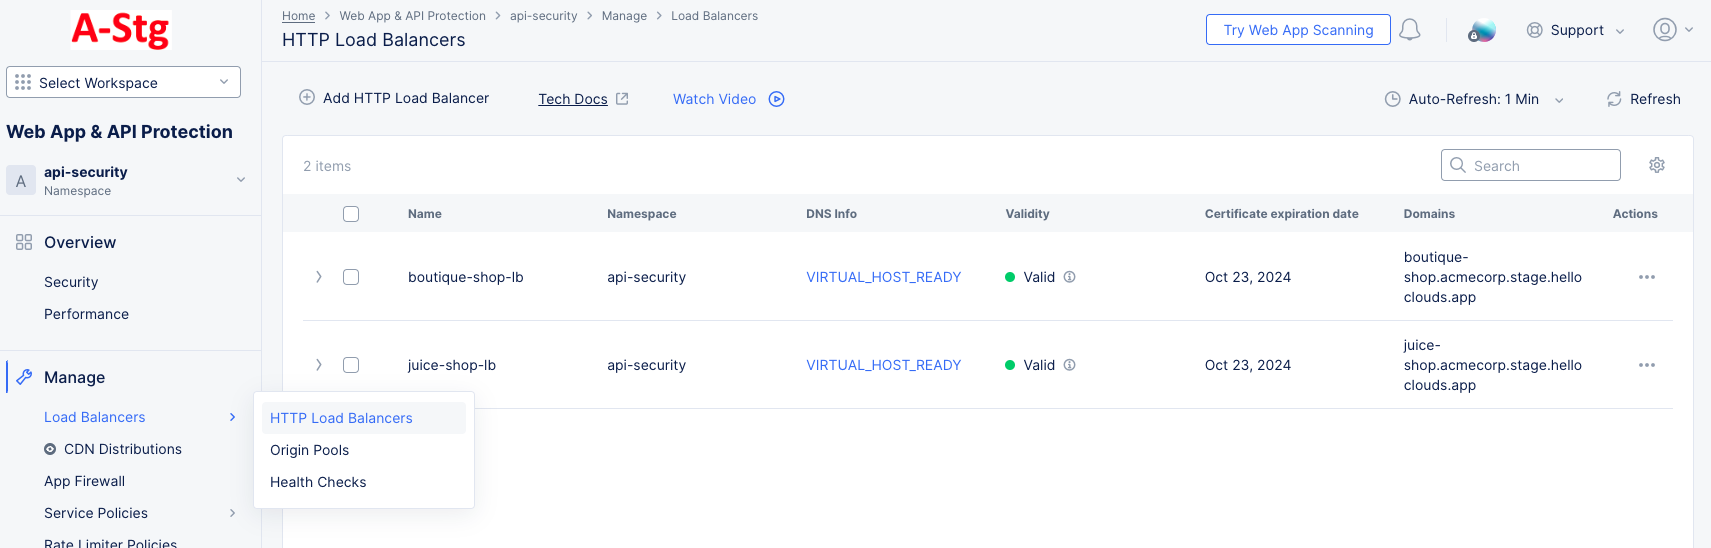
Figure: Load Balancers
Step 2: Enable API Discovery.
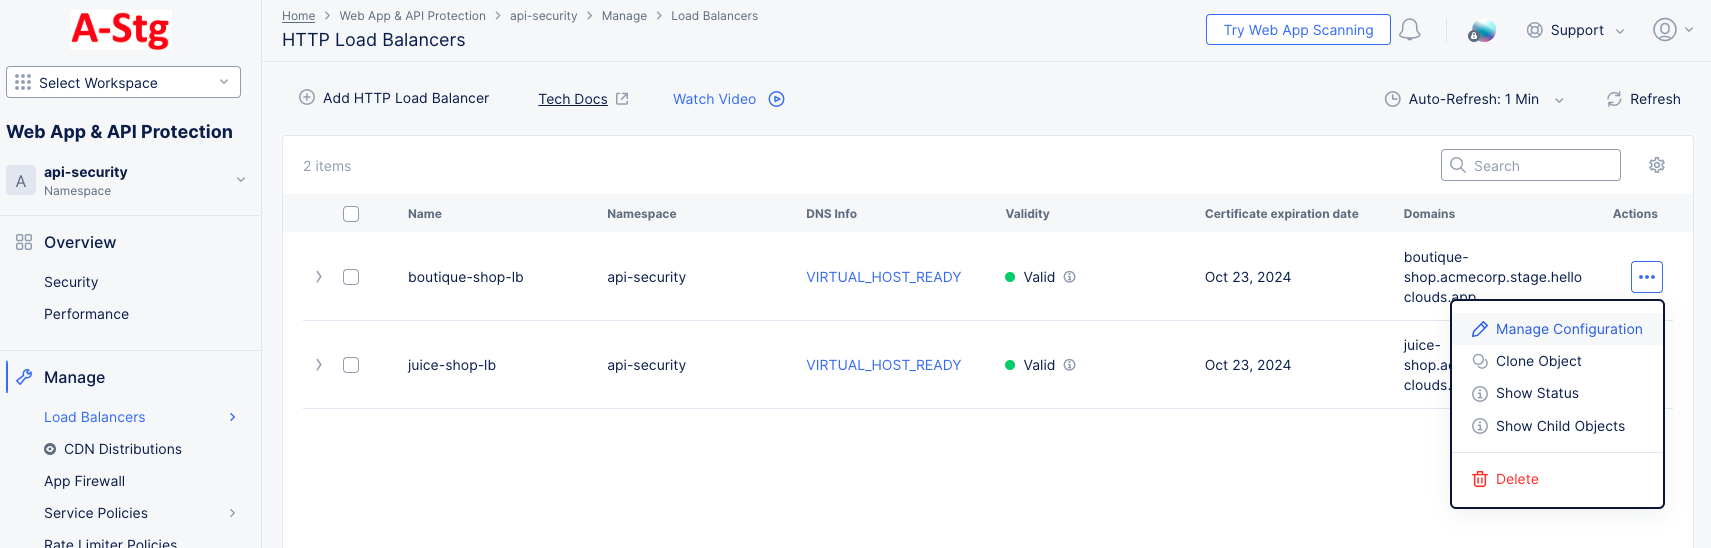
Figure: Manage Load Balancer Configuration
-
For the target load balancer, click
...>Manage Configurationin theActioncolumn. -
Click
Edit Configurationin the top-right section of the page. -
Scroll down to the
API Protectionsection. -
Select
Enablefrom theAPI Discoverydrop-down menu. This will also expose the API discovery settings.
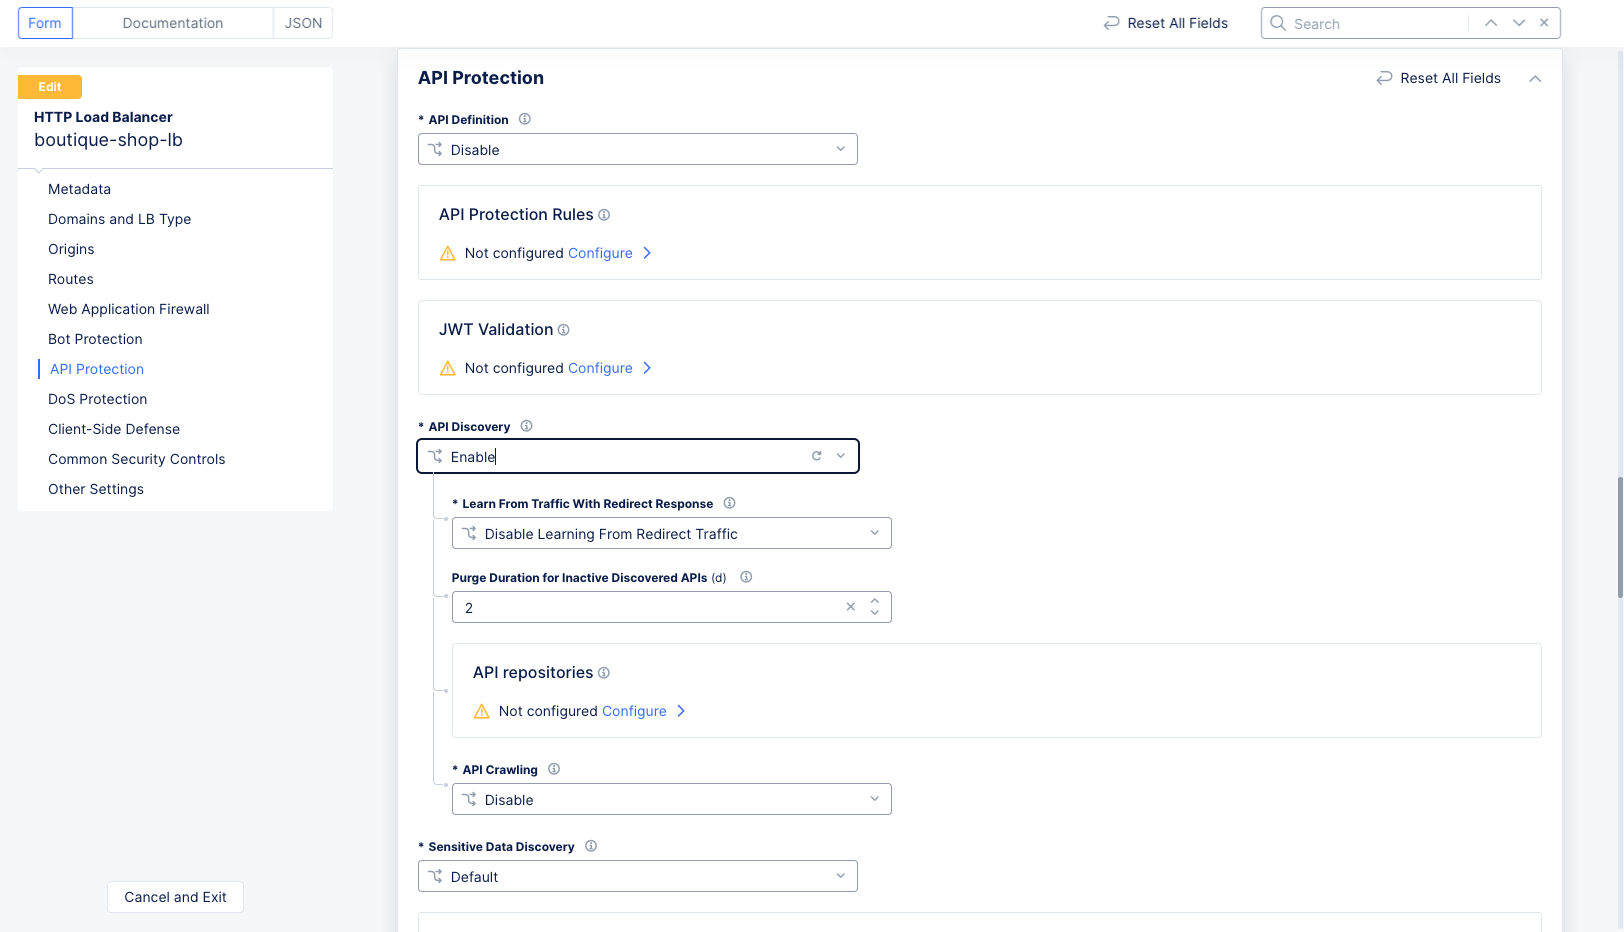
Figure: Enable API Discovery
-
Select your desired option from the
Learn From Traffic With Direct Responsedrop-down menu. By default, API Discovery learns only from traffic with 2xx (successful) responses. You can choose to selectEnable Learning From Redirect Trafficto also learn from traffic with 3xx (redirect) responses. -
Use the
Purge Duration for Inactive Discovered APIsfield to specify how often to delete inactive discovered APIs. The purging occurs after the number of days you specify expires. -
Scroll to the bottom of the page and click
Save and Exit.
Step 3: Add Code Scanning API Discovery.
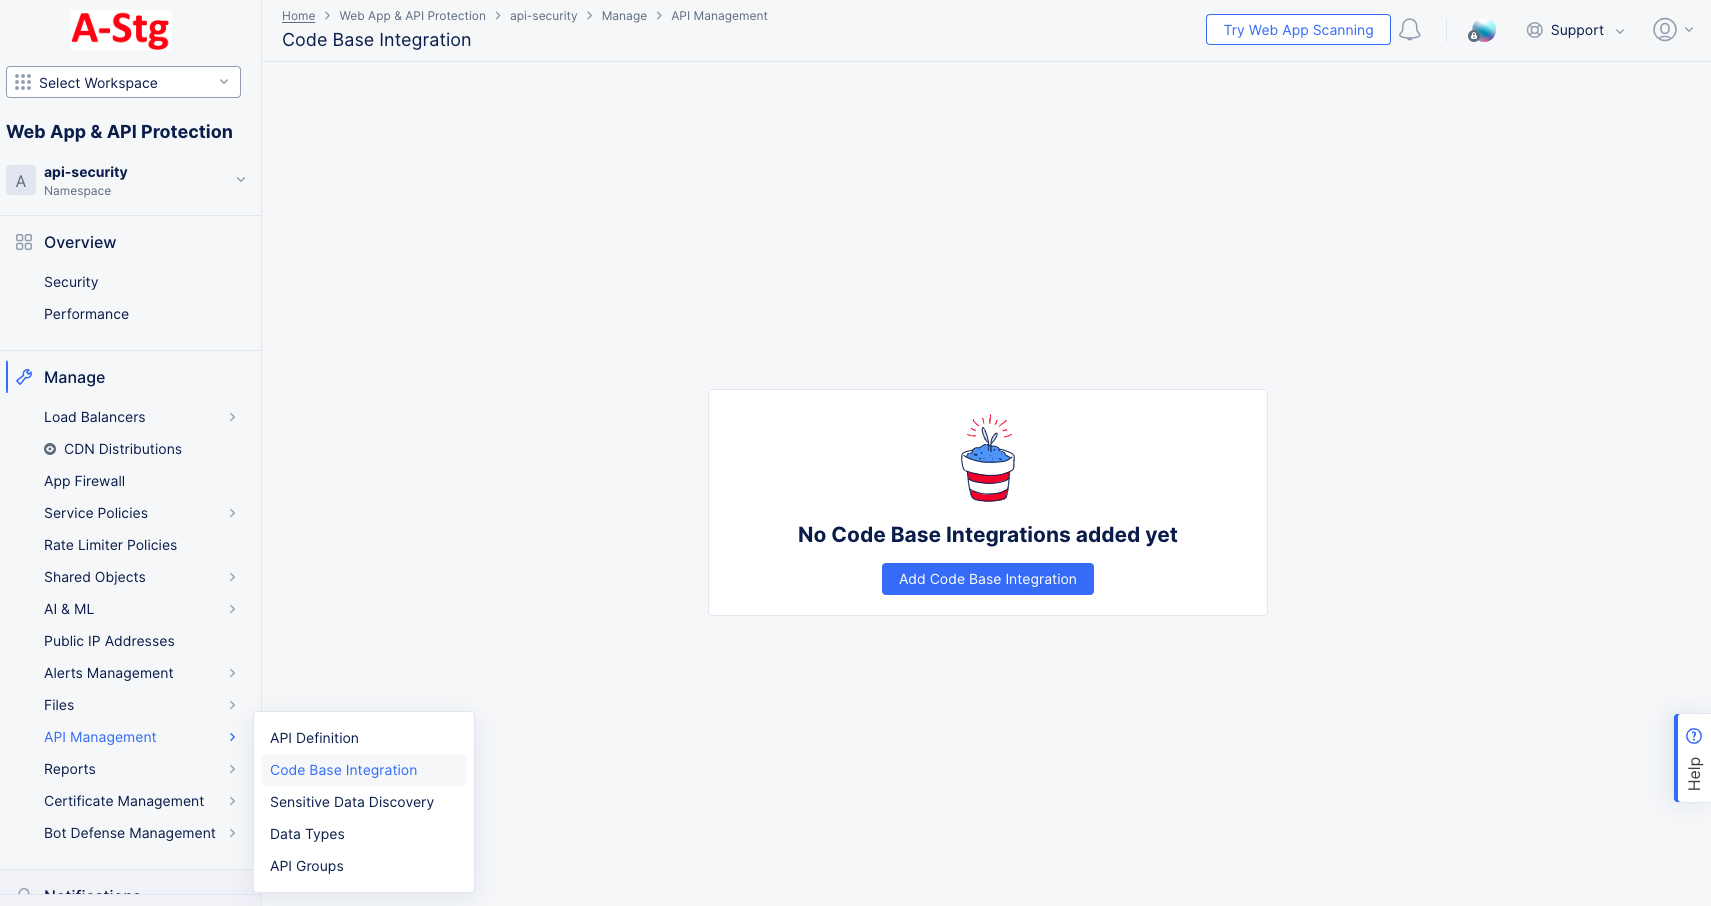
Figure: Add Code Base Integration
-
Navigate to
Manage>API Management>Code Base Integration. -
Click
Add Code Base Integration.
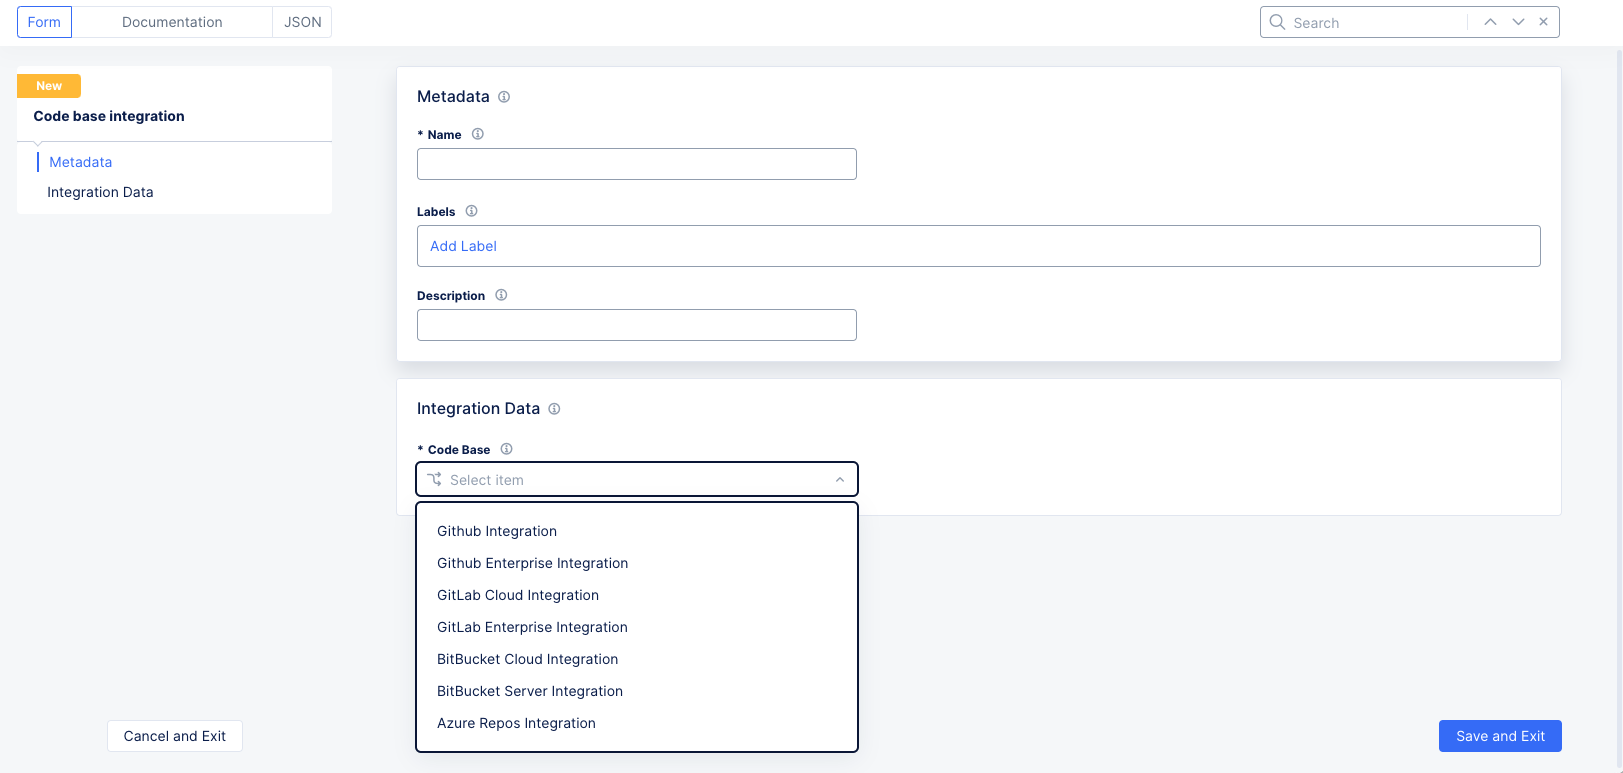
Figure: Add Code Base Integration Form
-
Enter a name for this integration and optionally enter labels and a description.
-
Select the code base you want to integrate (GitHub, GitLab, azure, and so on) from the
Code Basedrop-down menu. -
Based on your selected code base, you will need to add the required integration information (in other words, API key/username with password) to the Console. You can obtain integration information for your codebase as described in one of the options shown below.
Azure Repository Integration
In Azure DevOps:
-
Create a personal access token in Azure DevOps (under
User Settings>Personal Access tokens). -
Click
New Token. -
Set a label
F5 integration. -
Scopes: Ensure
Custom definedis selected and select the following options:-
Code:
Read -
User Profile:
Read
-
-
Click
Create. Then, copy your newly-created personal access token into the paste buffer.
GitHub or GitHub Enterprise Integration
In GitHub:
-
Generate a new token (classic or fine-grained) in GitHub (
Settings>Developer Settings>Personal Access tokens). -
Set a note
F5 integration. -
Set an expiration date.
-
Configure the scopes as follows:
-
Classic token
- Read_api
- User > read:user
- User > user:email
-
Fine-grained
- Repository permission > Contents:read-only
- Repository permissions > Metadata:read-only
-
-
Click
Generate Token. Then, copy your newly-created token into the paste buffer.
In Distributed Cloud Console, perform one of the following:
-
GitHub Integration: Enter your GitHub username into the
GitHub Usernamefield. -
GitHub Enterprise Integration: Fill in the
GitHub HostnameandGitHub Usernamefields.
GitLab Cloud or GitLab Enterprise Integration
In GitLab:
-
Create an access token (under
Preferences>Access Tokens). -
Set a label
F5 integration. -
Set expiration date.
-
Configure the scope as follows:
- Read_api
- Read_repository
- Read_user
Click Create Personal access token. Then, copy your newly-created token into the paste buffer.
In Distributed Cloud Console, if you selected GitLab Enterprise Integration, enter your GitLab URL in the GitLab URL field.
In Distributed Cloud Console:
-
Click
Configureto bring up theSecret Typeform. You can either Blindfold your token/password or you can store it in the clear. -
Paste your token/password into either the
Secret to BlindfoldorSecretfield. -
Click
Applyto save your token. -
Click
Save and Exit. -
Go back to your load balancer (from Step 1) and scroll down to the
API Protectionsection.
Figure: Enable API Discovery
-
Make sure API discovery is enabled and click
ConfigureunderAPI Repositories. This will bring up an empty list of code base integrations. ClickAdd Itemto start the list. -
Select the code base you created above.
-
Select the API repositories you wish to include from the code base.
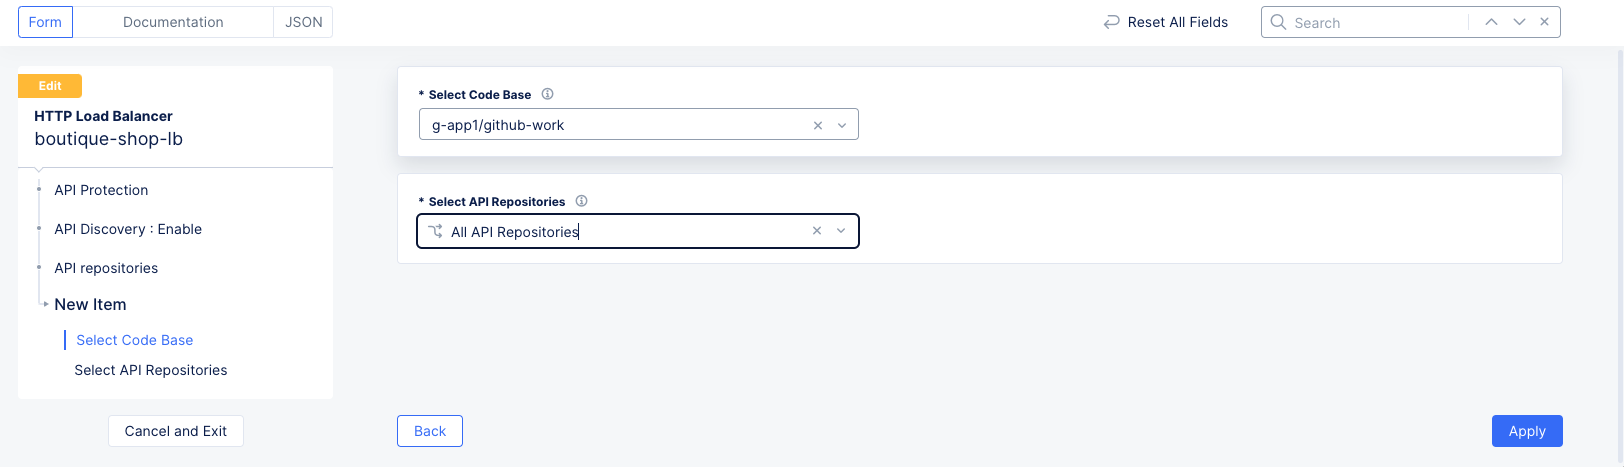
Figure: Select Code Base
-
Scroll to the bottom and click
Save and Exit. -
You can now see in the API inventory the source of detection of API endpoints. Note that it can take up to two hours for the discovery process to run and show results.
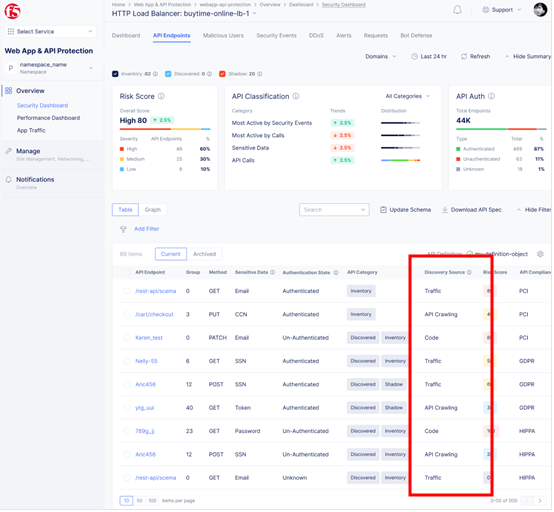
Figure: Monitor API Endpoints
Step 4: Set Up API Crawling.
- Click
Manage>Load Balancers>HTTP Load Balancersand locate your HTTP load balancer in the list.
Figure: Load Balancers
Figure: Manage Load Balancer Configuration
-
For the target load balancer, click
...>Manage Configurationin theActioncolumn. -
Click
Edit Configurationin the top-right section of the page. -
Scroll down to the
API Protectionsection. -
Select
Enablefrom theAPI Crawlingdrop-down menu (API Discoverymust be enabled to see theAPI Crawlingdrop-down menu). This will also expose theDomains to Crawllist.
Figure: Enable API Discovery
-
For each domain you want to crawl,
- Click
Add Itemin theDomains to Crawllist. - Enter the domain you want to crawl. Optionally, you can click in the
Domainfield and then clickSee Suggestions. - Enter the username in the
Userfield. - To enter the password, click
Configureto bring up theSecret Typeform. You can either Blindfold your password or you can store it in the clear.- Paste your token/password into either the
Secret to BlindfoldorSecretfield. - Click
Applyto save your secret (password).
- Paste your token/password into either the
- Click
Applyto save your domain to theDomains to Crawllist.
- Click
-
Scroll to the bottom of the page and click
Save and Exit. -
Scanning will begin shortly. You will soon (up to 4 hours) start seeing results in your
API Endpointspage for this load balancer under theDiscovery Sourcecolumn.
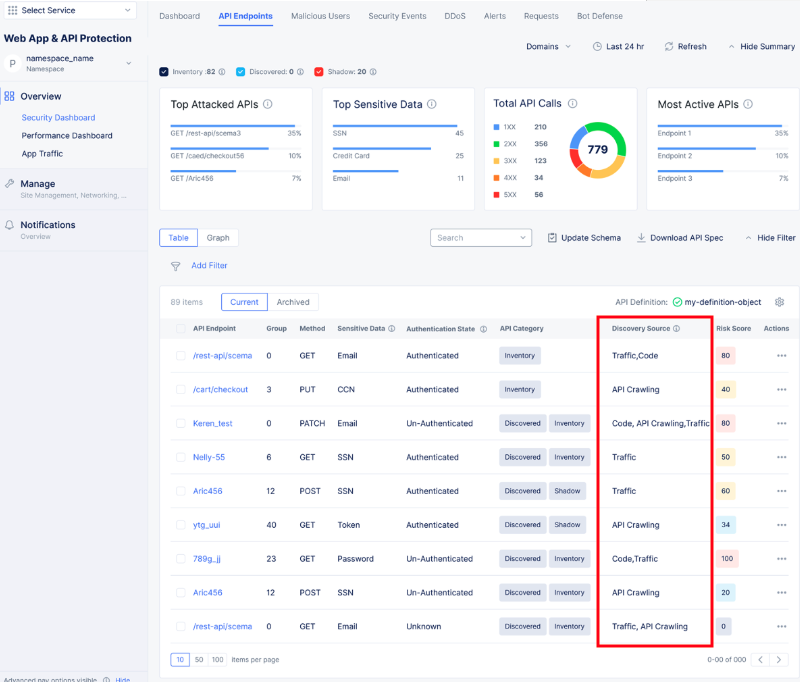
Figure: Monitor API Endpoint Sources
Discovery Service Reference Information
Code Discovery
- Supported languages and frameworks:
| Language | Frameworks |
|---|---|
| Java | EE, Spring |
| .Net | Versions 7.0, 6.0, 5.0, 3.1 |
| Python | Flask, Django (function-based views) |
| JavaScript | Express, Hapi |
| Go | Gin |
- Compatible SCM platforms:
- Azure Repositories
- GitHub (Standard and Enterprise)
- GitLab (Standard and Enterprise)
Important: The repository scans operate at the organization level, not from the user level.
API Crawling Key Information
-
No multi-factor authentication (MFA) support.
-
Credentials are mandatory.
-
API Crawling is performed on the application client-side (not the server-side).
Troubleshooting Information
- Scan time expectations:
| Discovery Method | Expected Time |
|---|---|
| API Crawling | Up to 4 hours |
| New repositories | Once daily |
| Existing repositories | Once Daily |
| Token validity | Every 5 minutes |
Common Issues
No Results After Expected Time
- Check credentials:
- Correct username and password
- No MFA requirements
- Not expired
- Proper permissions
- For API Crawling:
- Using root domain
- Website accessible via the browser
- No geo-restrictions
- No WAF or bot protections blocking
If the troubleshooting information above do not resolve the issue, open a support ticket for further assistance.