Create Public IP Address
Objective
This document provides instructions on how to set up a Public IP Address in your F5® Distributed Cloud Services.
Prerequisites
The following prerequisites apply:
-
A valid Account is required. If you do not have an account, see Create an Account.
-
Email
Configuration
Perform the following steps in F5 Distributed Cloud Console to set up a Public IP Address:
Public IP Address
Public IP can be viewed and managed in multiple services: Multi-Cloud Network Connect, Multi-Cloud App Connect, Web App & API Protection, Administration, and Shared Configuration.
This example shows Public IP setup in Multi-Cloud App Connect.
Step 1: Log into F5 Distributed Cloud Console to request your Public IP Address.
- Open
F5® Distributed Cloud Consolehomepage, selectMulti-Cloud App Connectbox.
Note: Homepage is role based, and your homepage may look different due to your role customization. Select
All Servicesdrop-down menu to discover all options. Customize Settings:Administration>Personal Management>My Account>Edit work domain & skillsbutton >Advancedbox > checkWork Domainboxes >Save changesbutton.

Figure: Homepage
Note: Confirm
Namespacefeature is in correct namespace, drop-down selector located in upper-left corner. Not available in all services.
- Select
Managein left column menu > selectPublic IP Addresses.
Note: If options are not showing available, select
Showlink inAdvanced nav options visiblein bottom left corner. If needed, selectHideto minimize options from Advanced nav options mode.
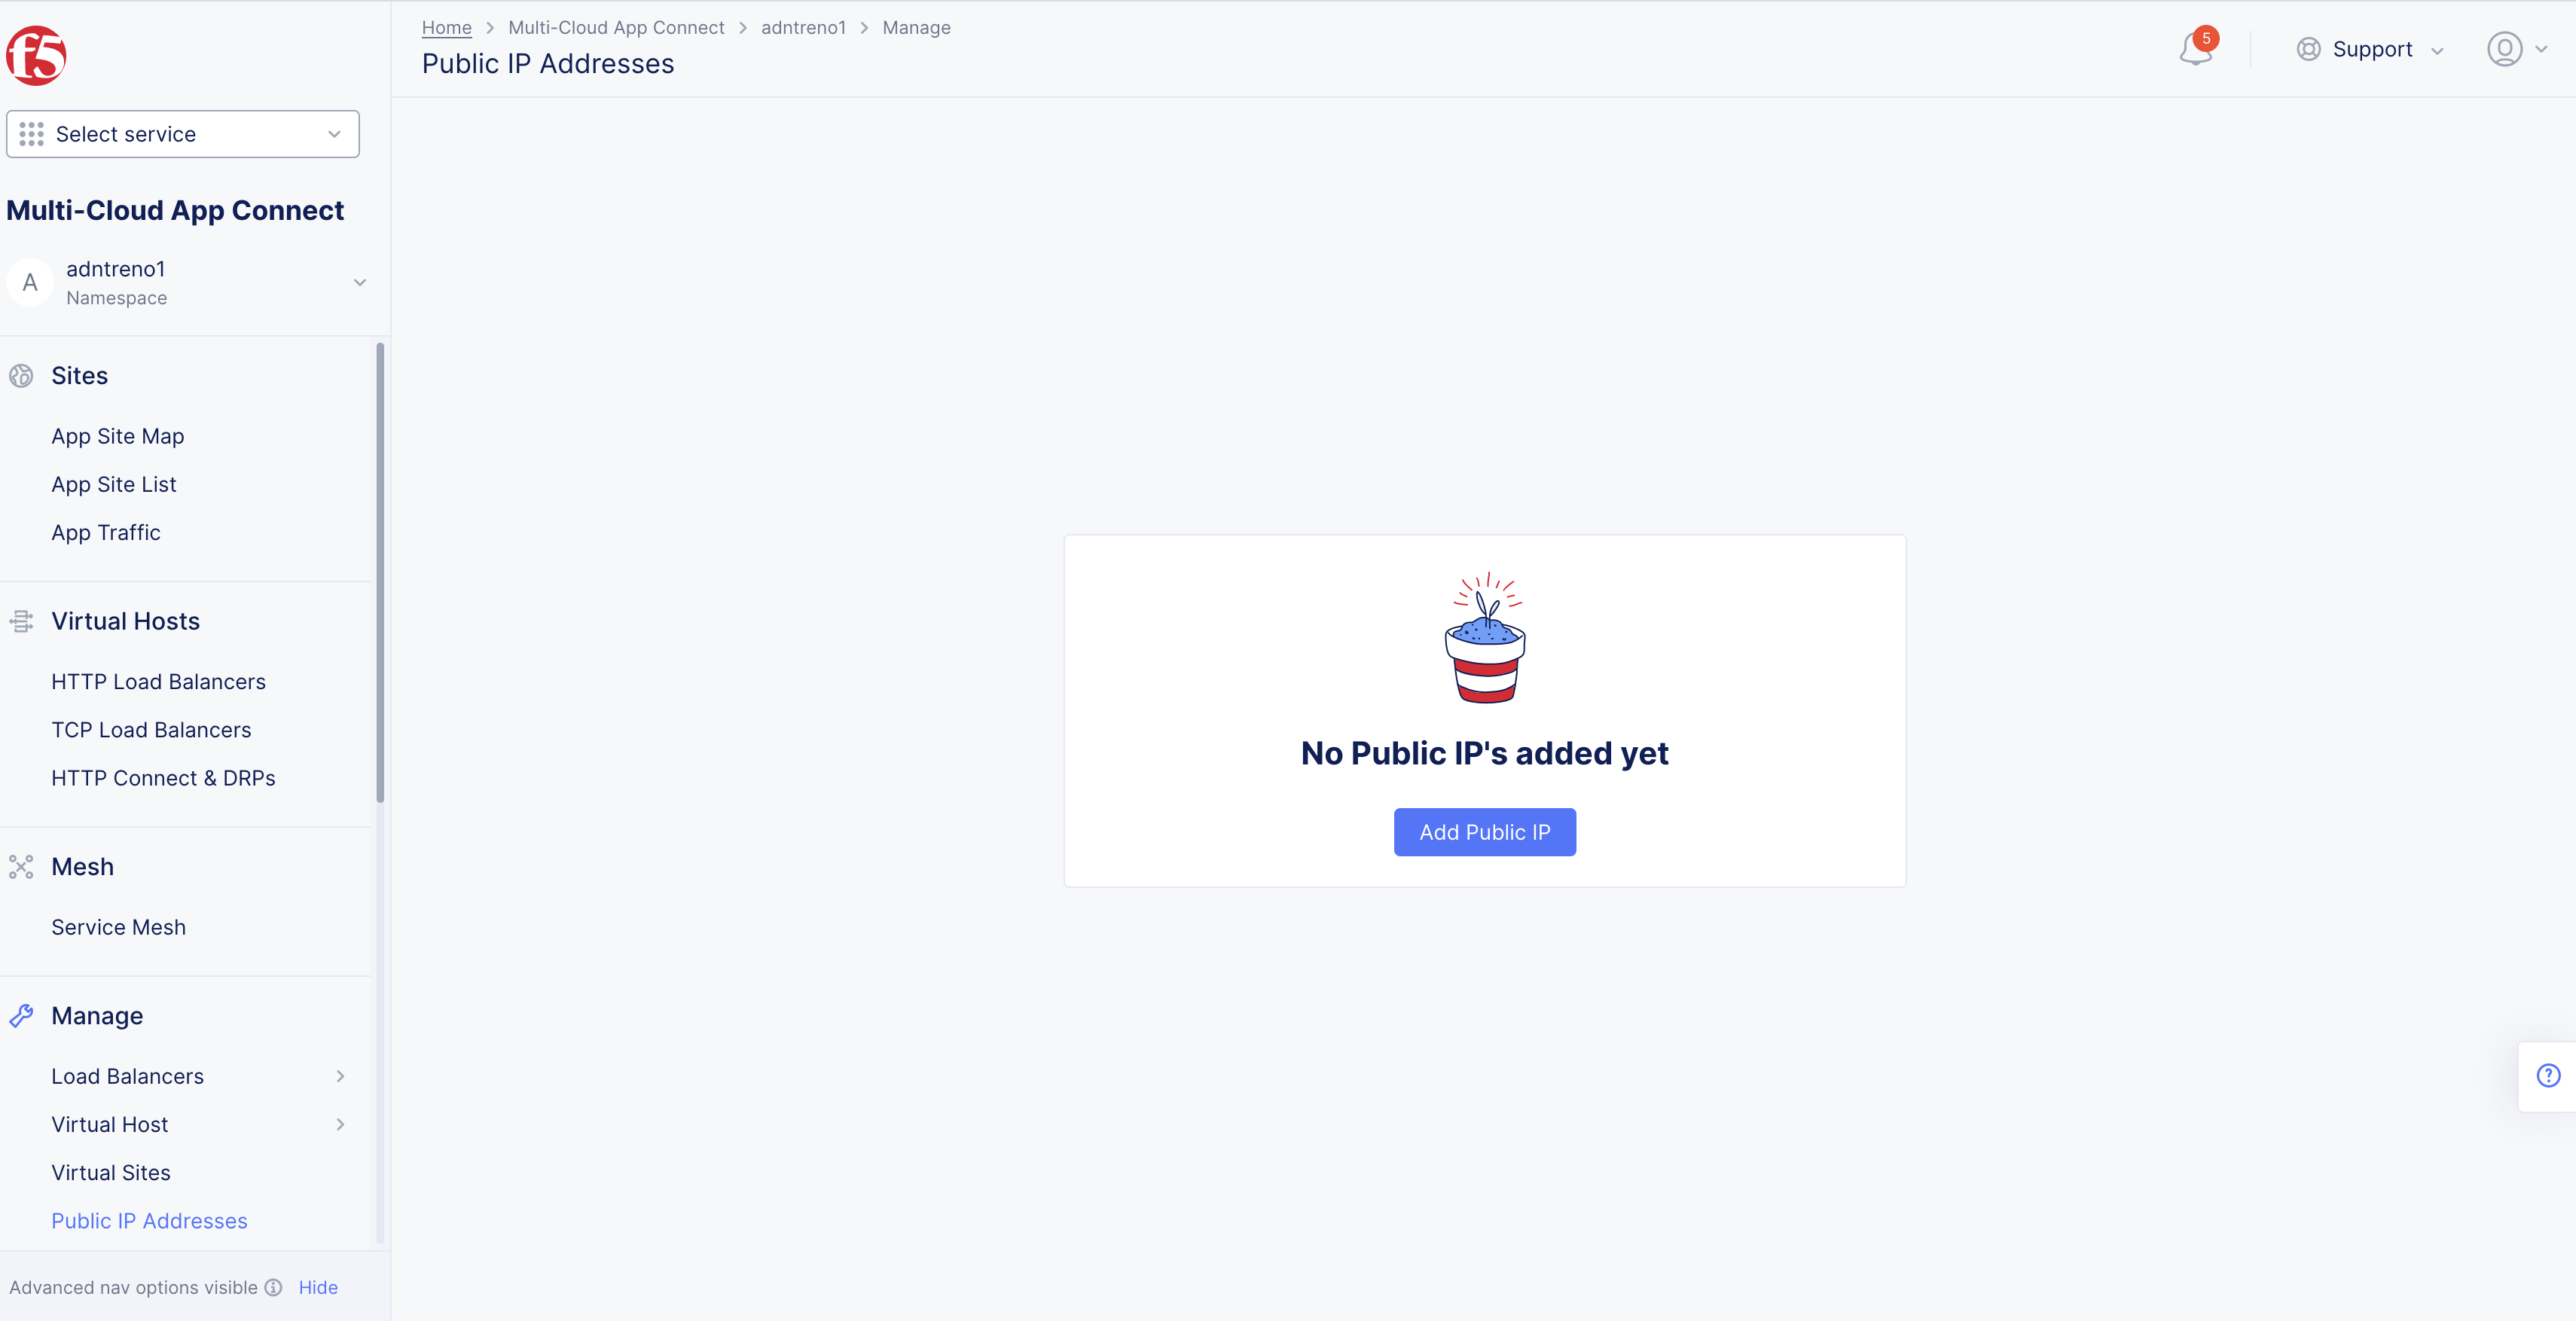
Figure: Open Public IP Address
- Select
Add Public IPbutton, orRequest Public IPbutton to create Public IP Address.
Note: If you have an existing IP address the
Add Public IPbutton will not be available. Select+ Request Public IP, located in the top-left underPublic IP Addressesand the contact support window will pop-up.
Step 2: Fill out Contact Support Form to submit Public IP Address request.
-
In
Contact Supportpop-up window, openTypedrop-down menu, selectRequest. -
Select
Servicedrop-down menu. -
Select
Typedrop-down menu. -
Open
Topicdrop-down menu, selectPublic IP. -
Open
Prioritydrop-down menu, selectHigh (issue affects my day-to-day work). -
Select
via Phoneicon to contact F5 support with questions.
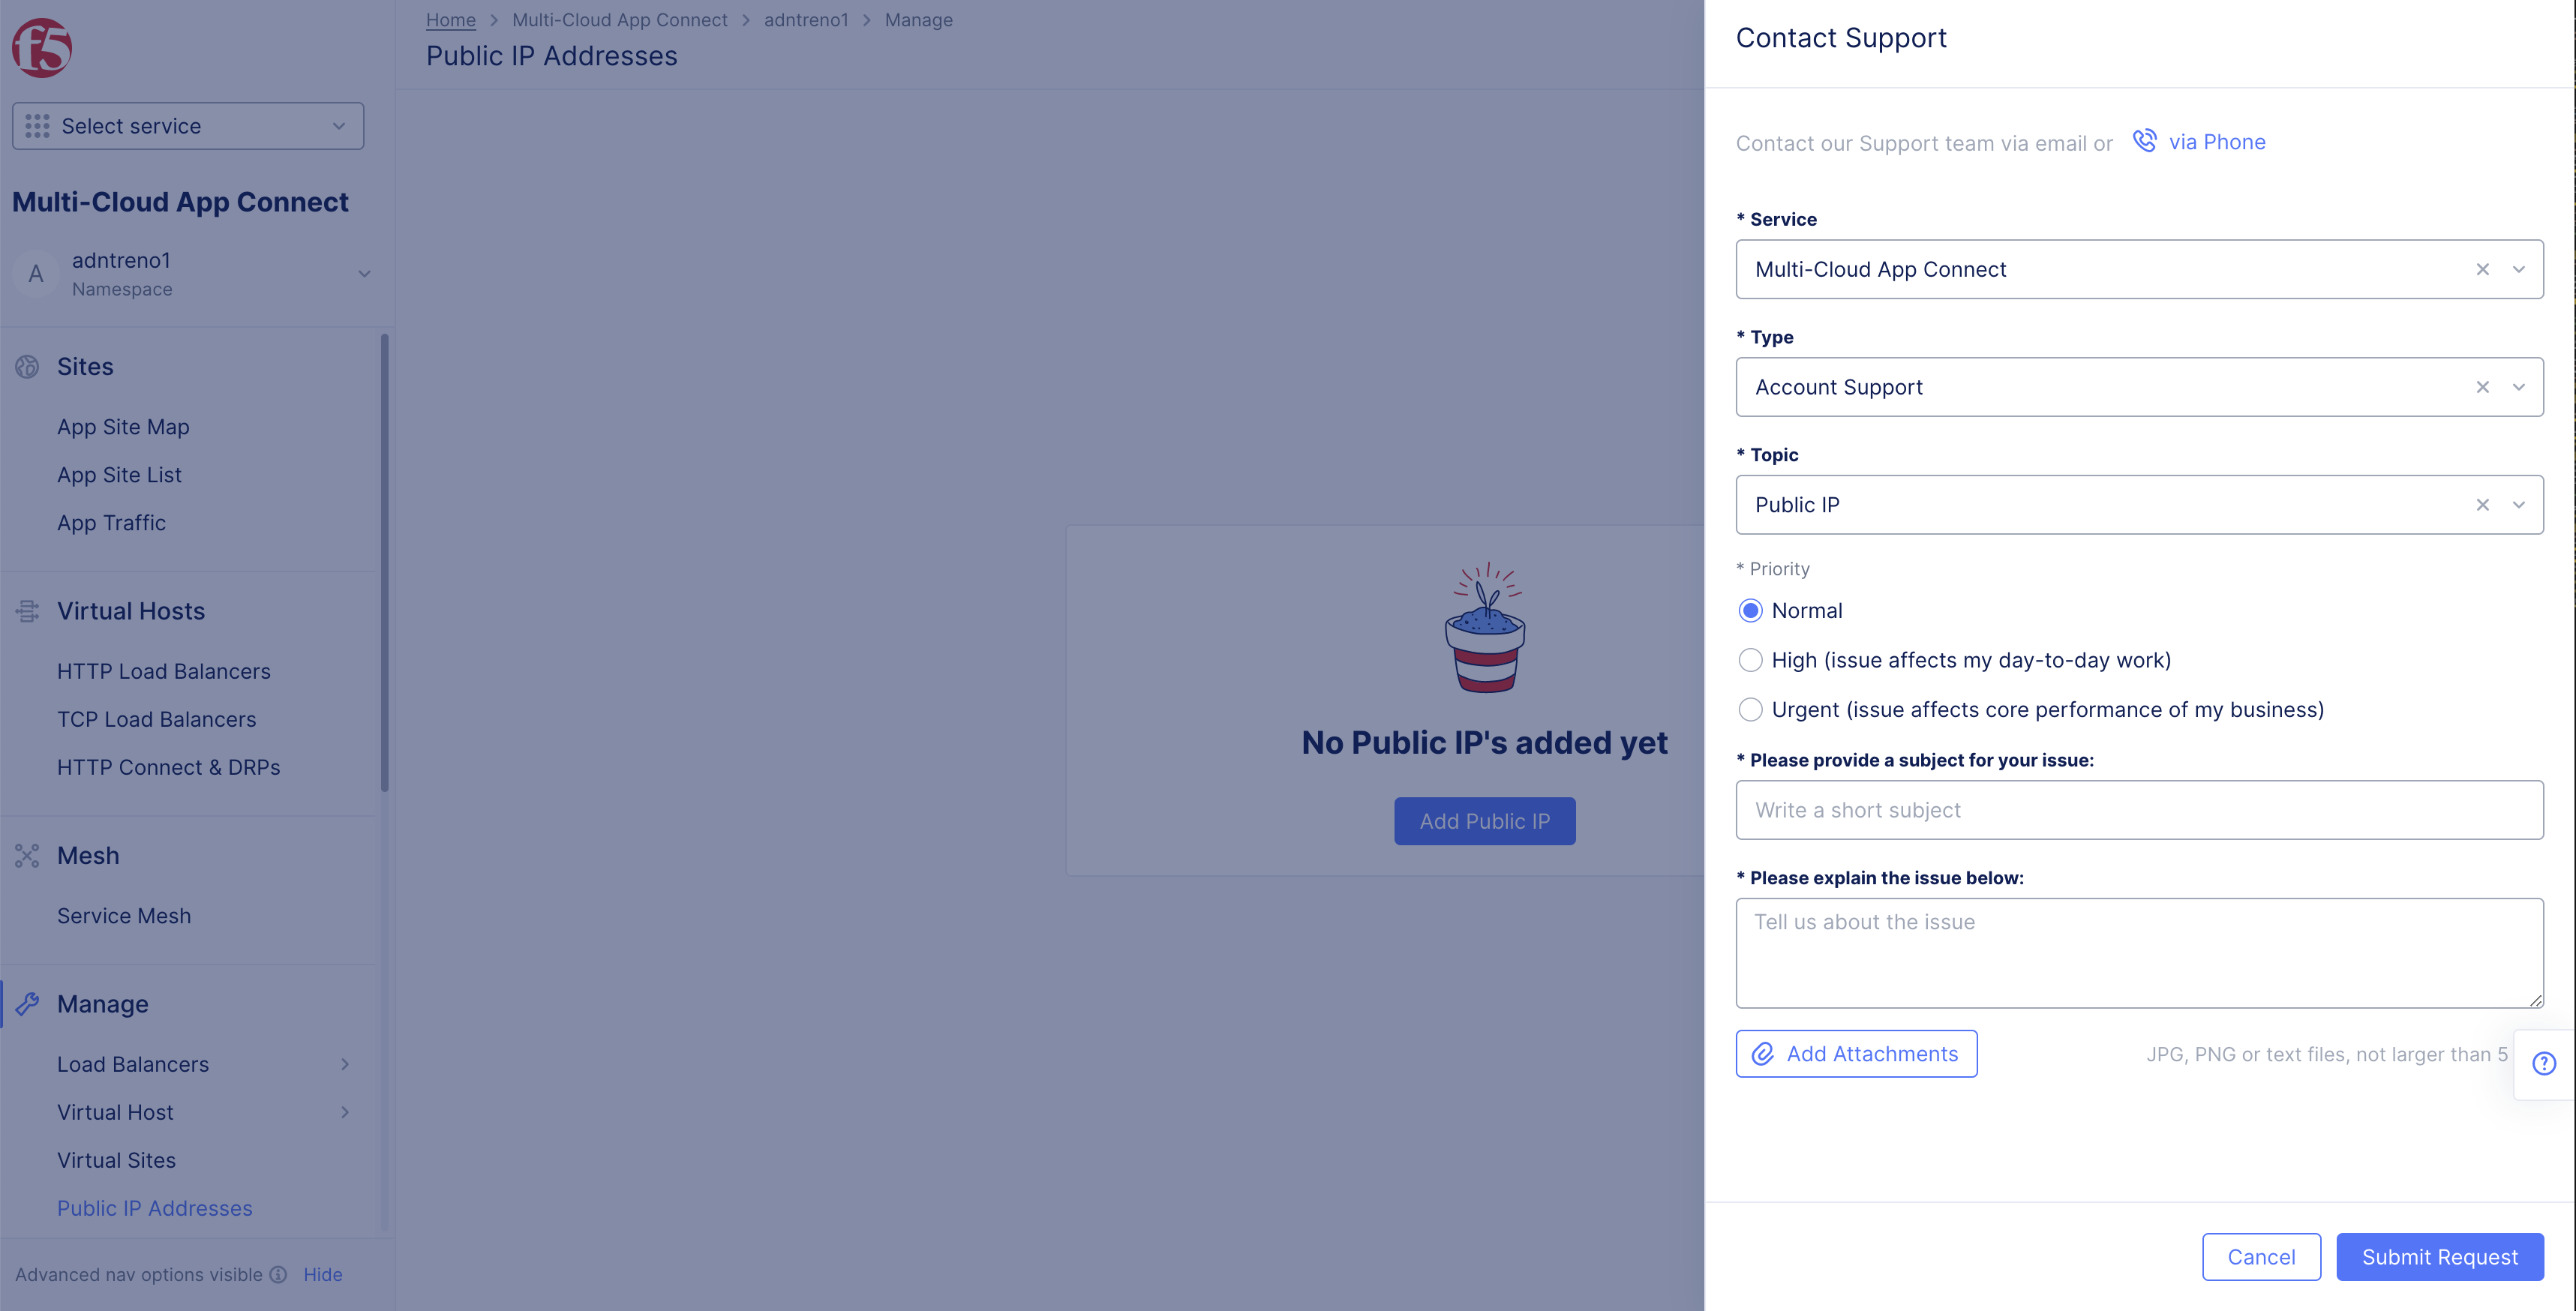
Figure: Request Public IP Address - Contact Support
- Type a Short subject in
Please provide a subject for your issue:box.
Note: For example, Public IP Address Request for Bob.
- Type request in
Please explain the issue below:box.
Note: Tell us your problem example
Requesting Public IP Address for....
- Use
Add attachmentslink if needed.
Note: JPG, PNG, or text files, no larger than 5 MB for attachments.
- Select
Submit Requestbutton, located in lower-right corner, to request Public IP Address.
Step 3: Verify Public IP request is created.
-
Select
Supporticon in upper-right corner. -
Select
Track Requestsoption, in pop-up window to openRequestspage.
- Confirm
Subject,Public IP Address Request, and dateCreatedmatch your request.
Note: A unique ID should be assigned to your request ex. 210967.
Step 4: Confirm request email received.
- Open email, verify F5 request email received.
Note: Support staff may have questions in request process.
- Wait to be assigned Public IP Address by F5 Support staff.
Note: Wait times vary. Allow 24 hours. Your request confirmation email will be from
support@cloud.f5.com, titledRequest Received: Public IP Address Request.
Step 5: Verify Public IP Address Added.
-
Open
Public IP AddressesinManageinMulti-Cloud App Connectpage. -
Verify IP address is granted, and showing under
NameandNamespace.
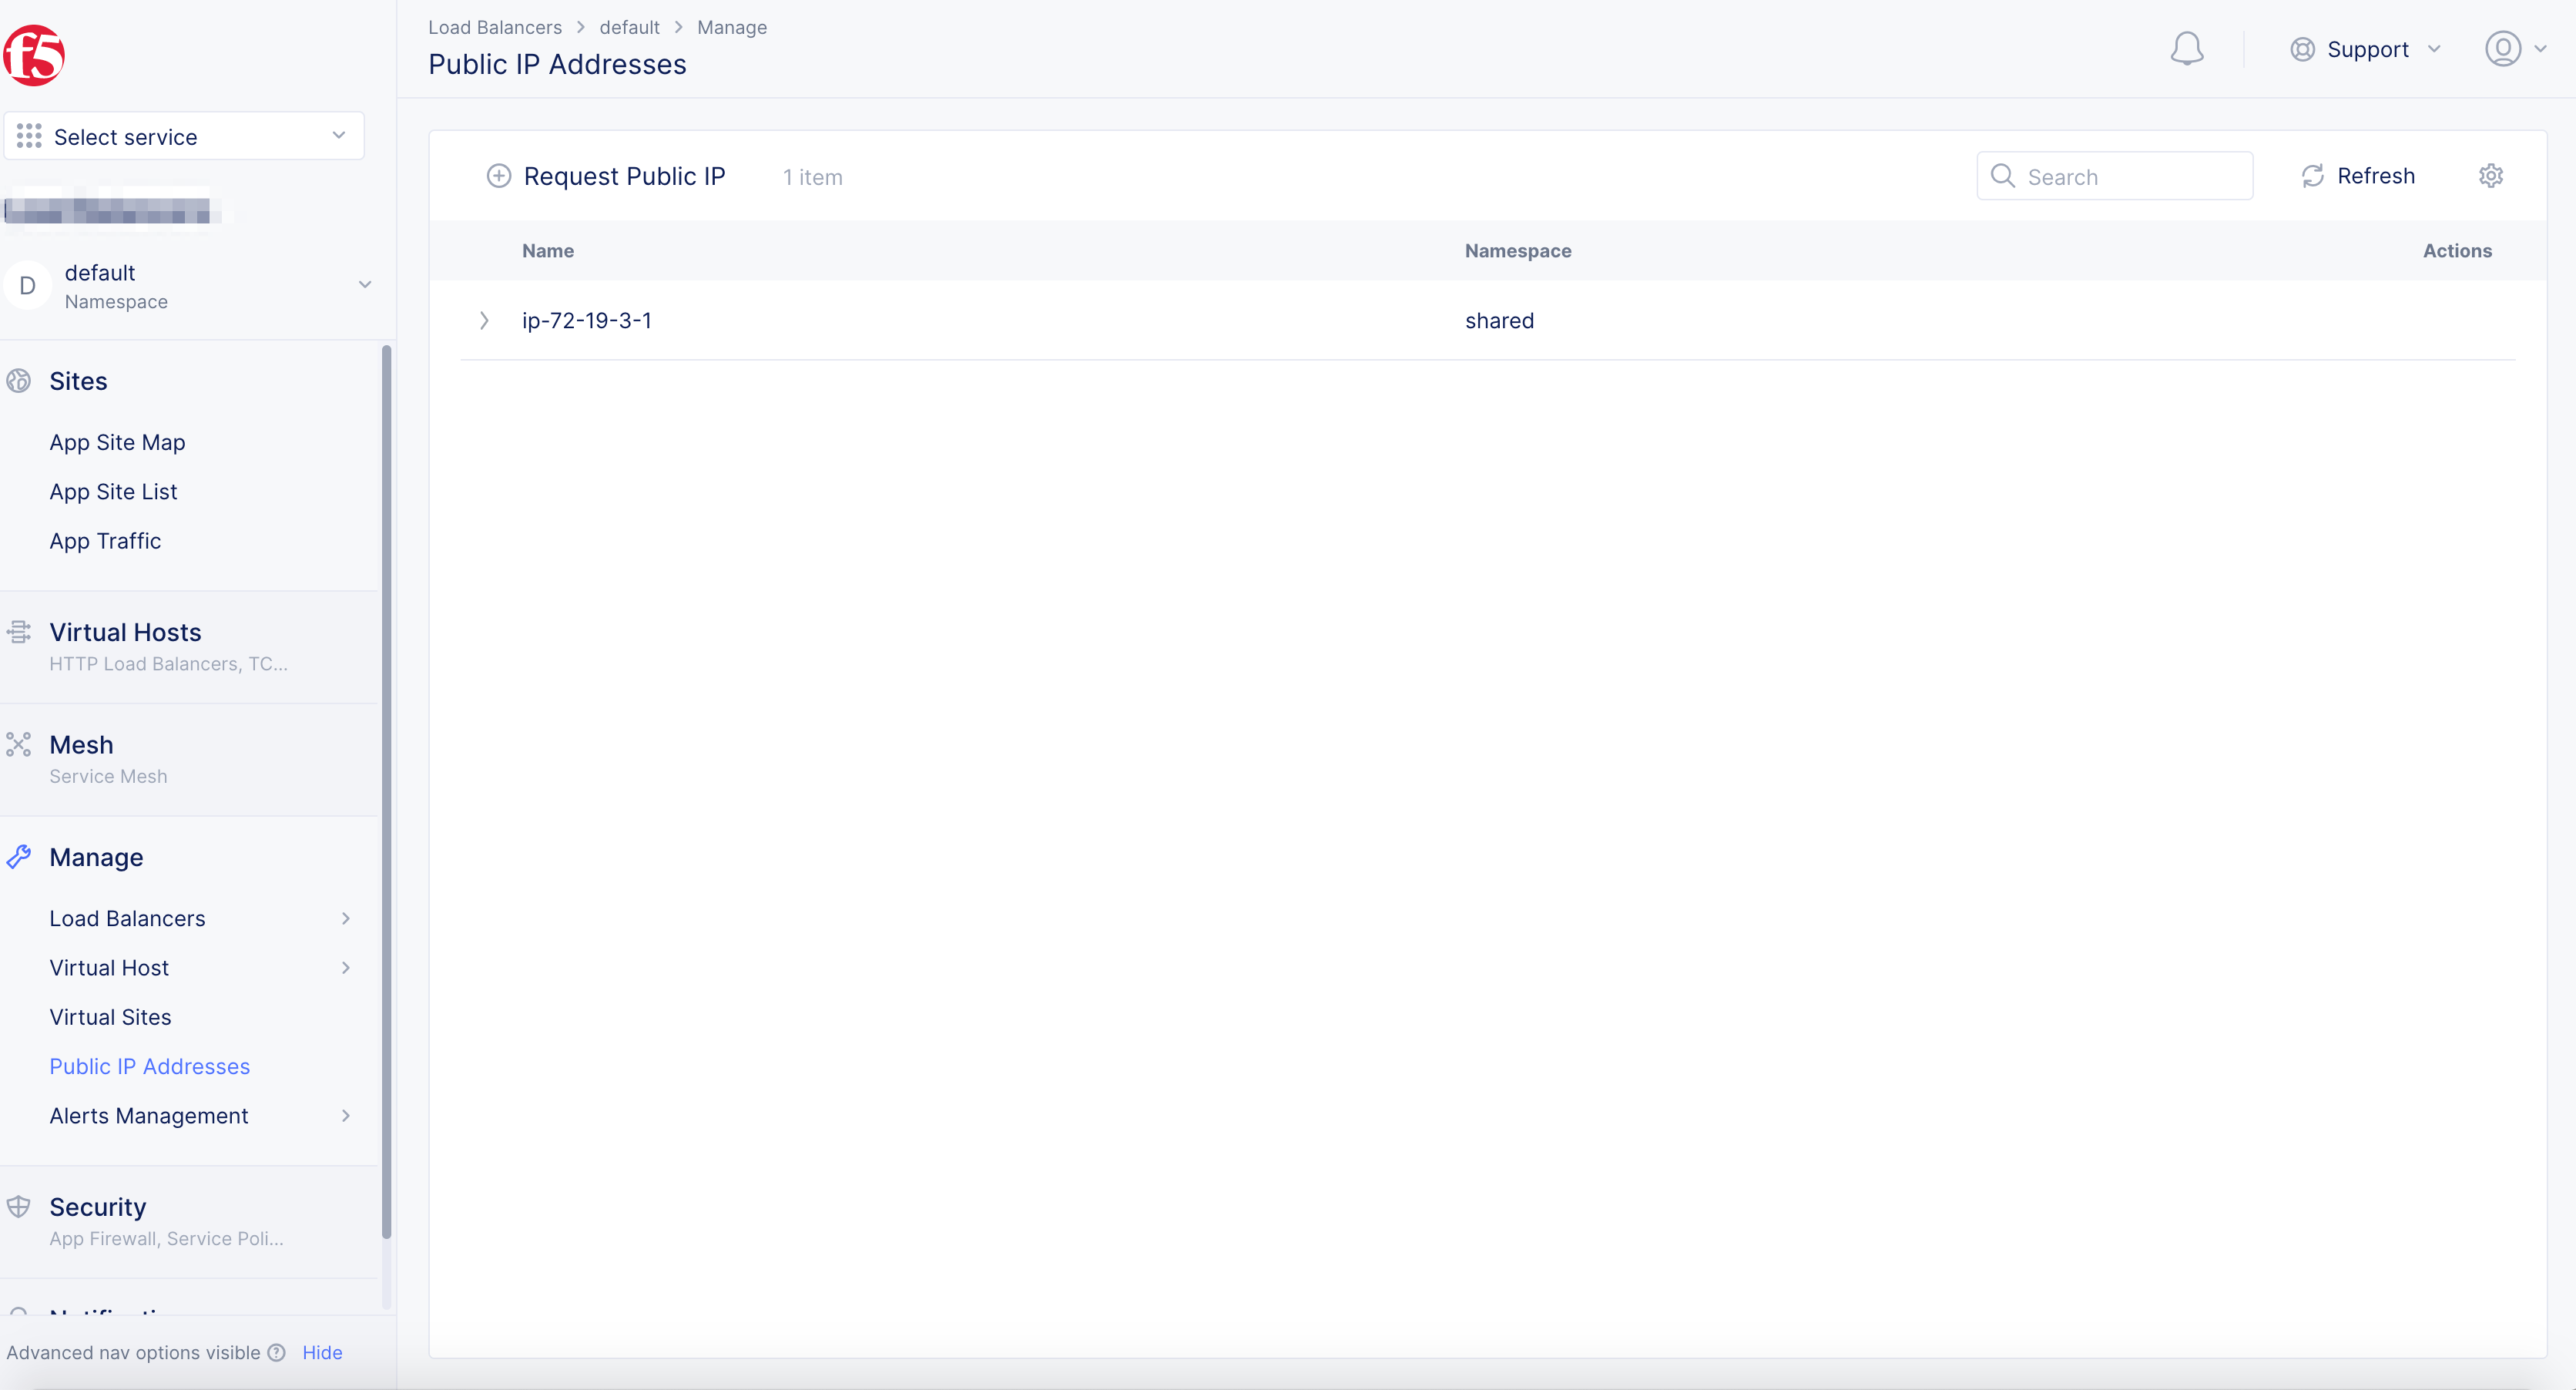
Figure: Public IP Address
- To open JSON script, select
>for Public IP Address entry to view details in JSON format.
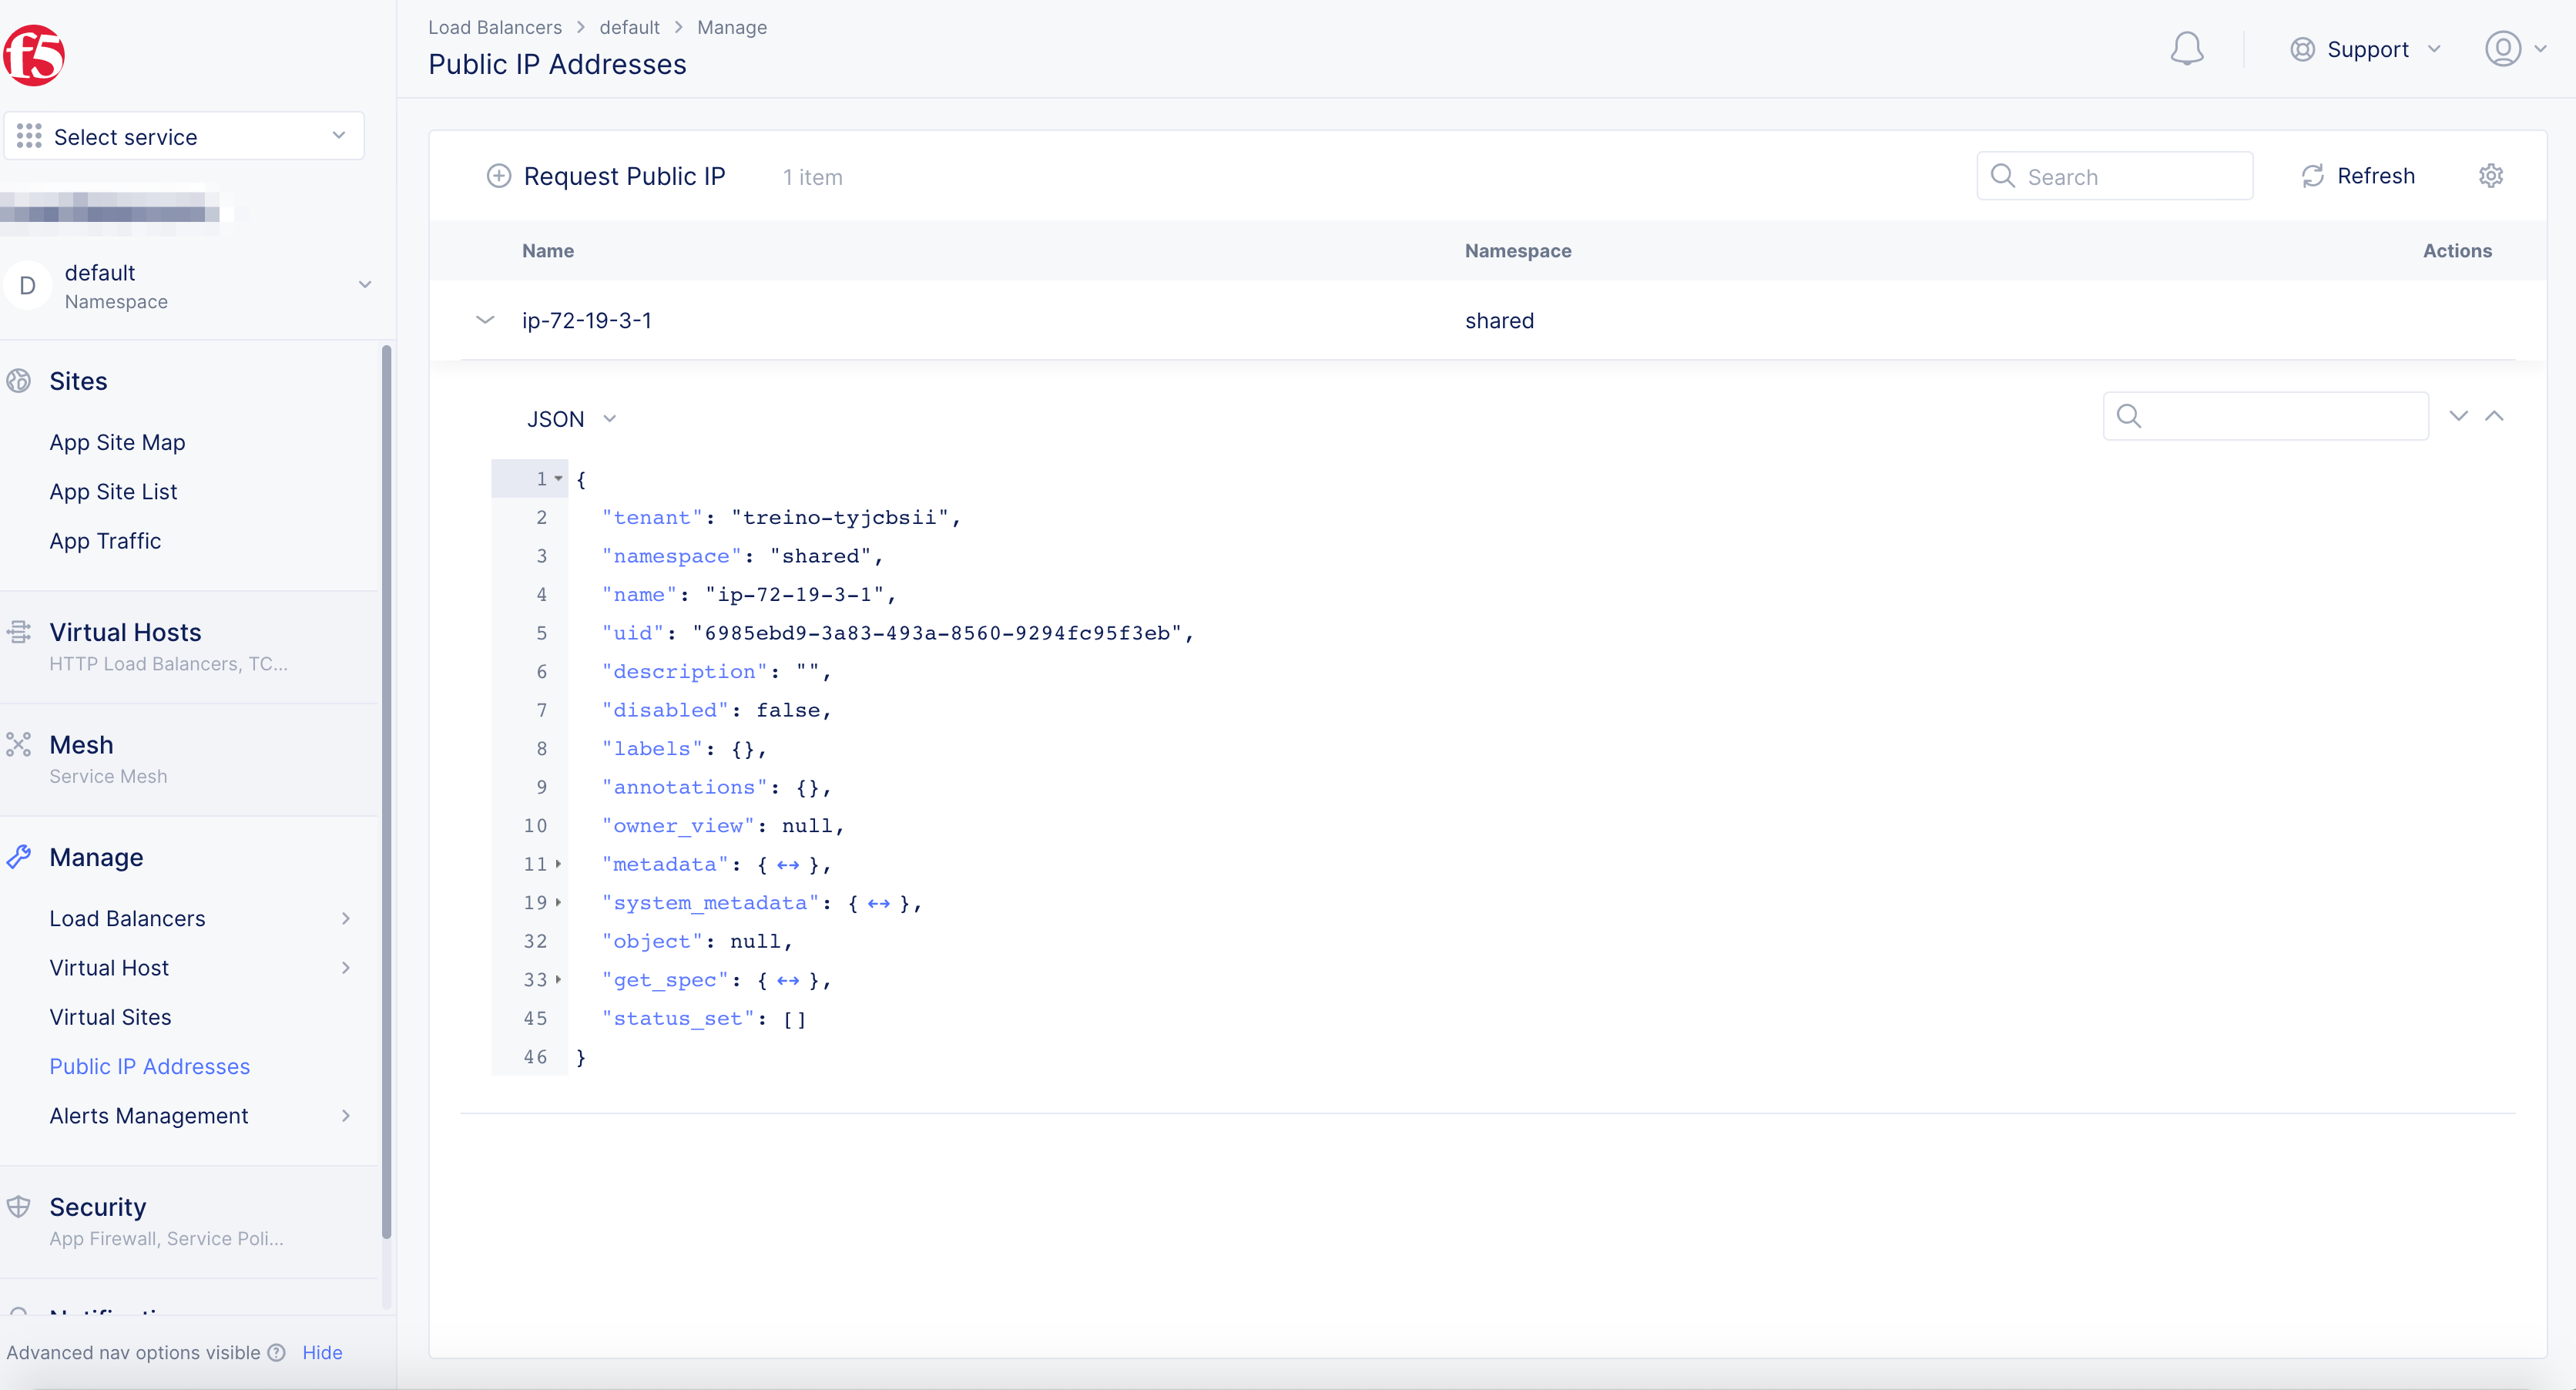
Figure: Public IP Address JSON
Note: Contact F5 Support via phone to resolve any issues.