Create Subnet
Objective
This guide provides instructions on how to create a subnetwork (or subnet) to subdivide your larger network into smaller and more manageable networks. Each subnet object you create can be configured to transfer or receive services and other data from your Site or group of Sites.
Prerequisites
The following prerequisites apply:
-
A Distributed Cloud Services Account. If you do not have an account, see Create an Account.
-
A Distributed Cloud Services Site. If you are deploying an App Stack Site, that site must use managed Kubernetes.
Create Subnet
Create a subnet object for each interface you plan to use.
Step 1: Navigate to subnets menu.
- Log into Console and then select
Multi-Cloud Network Connect.
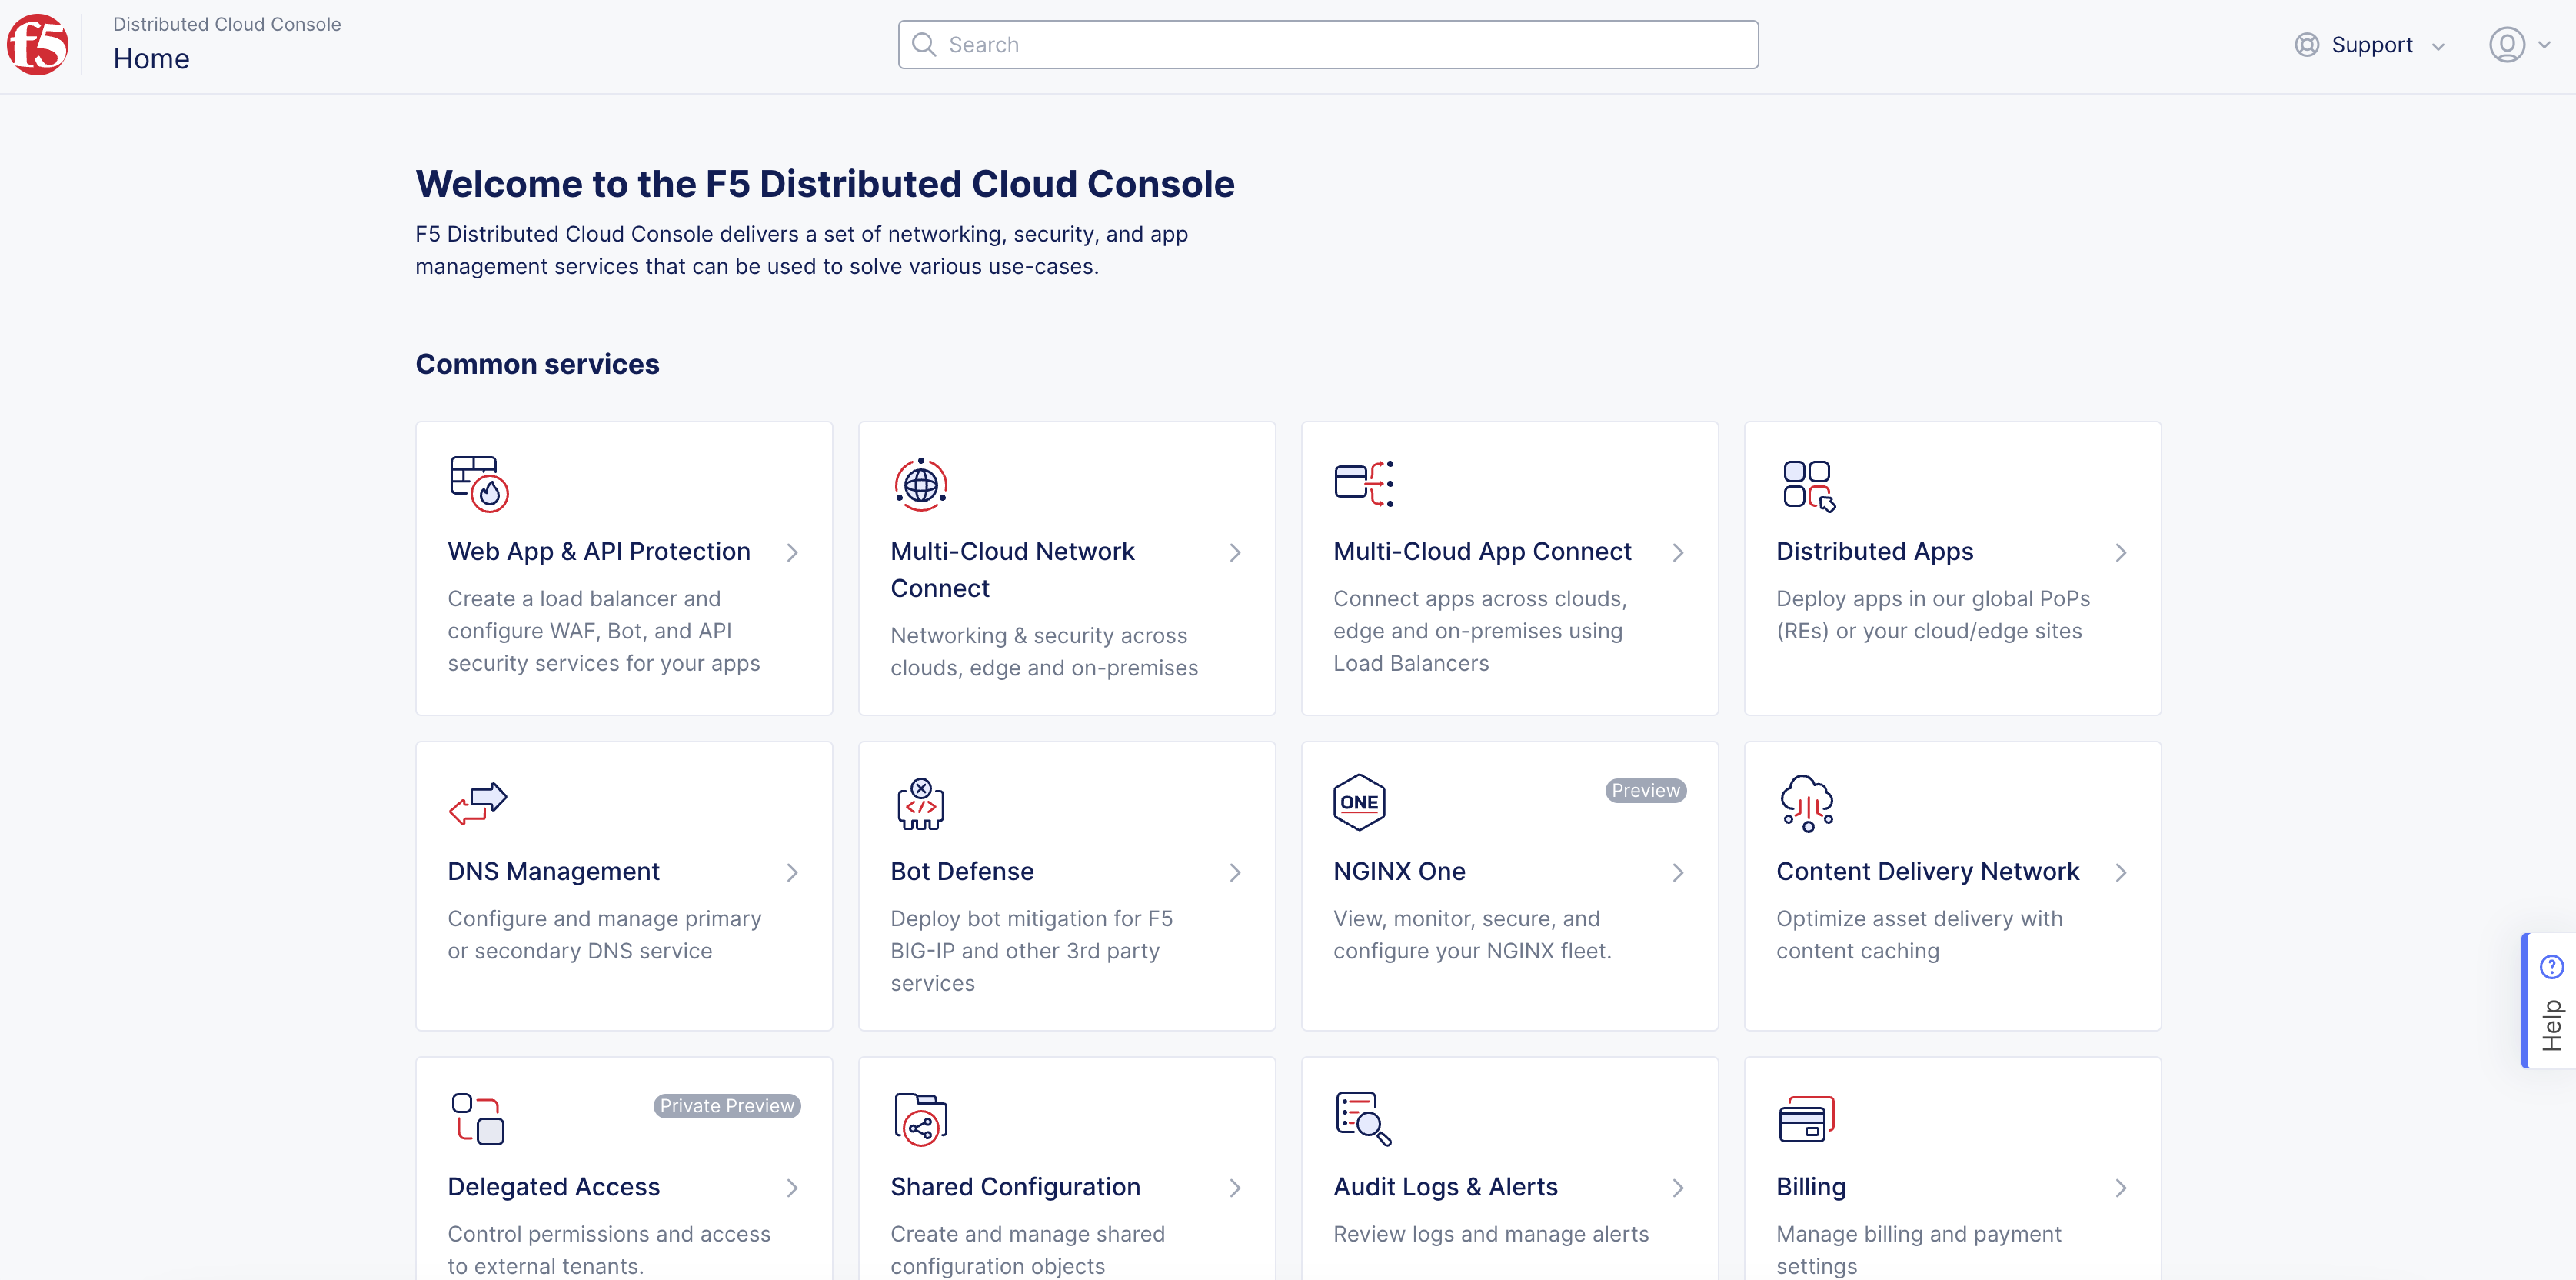
Figure: Console Homepage
-
Navigate to
Manage>Networking>Subnets. -
Select
Add Subnet.
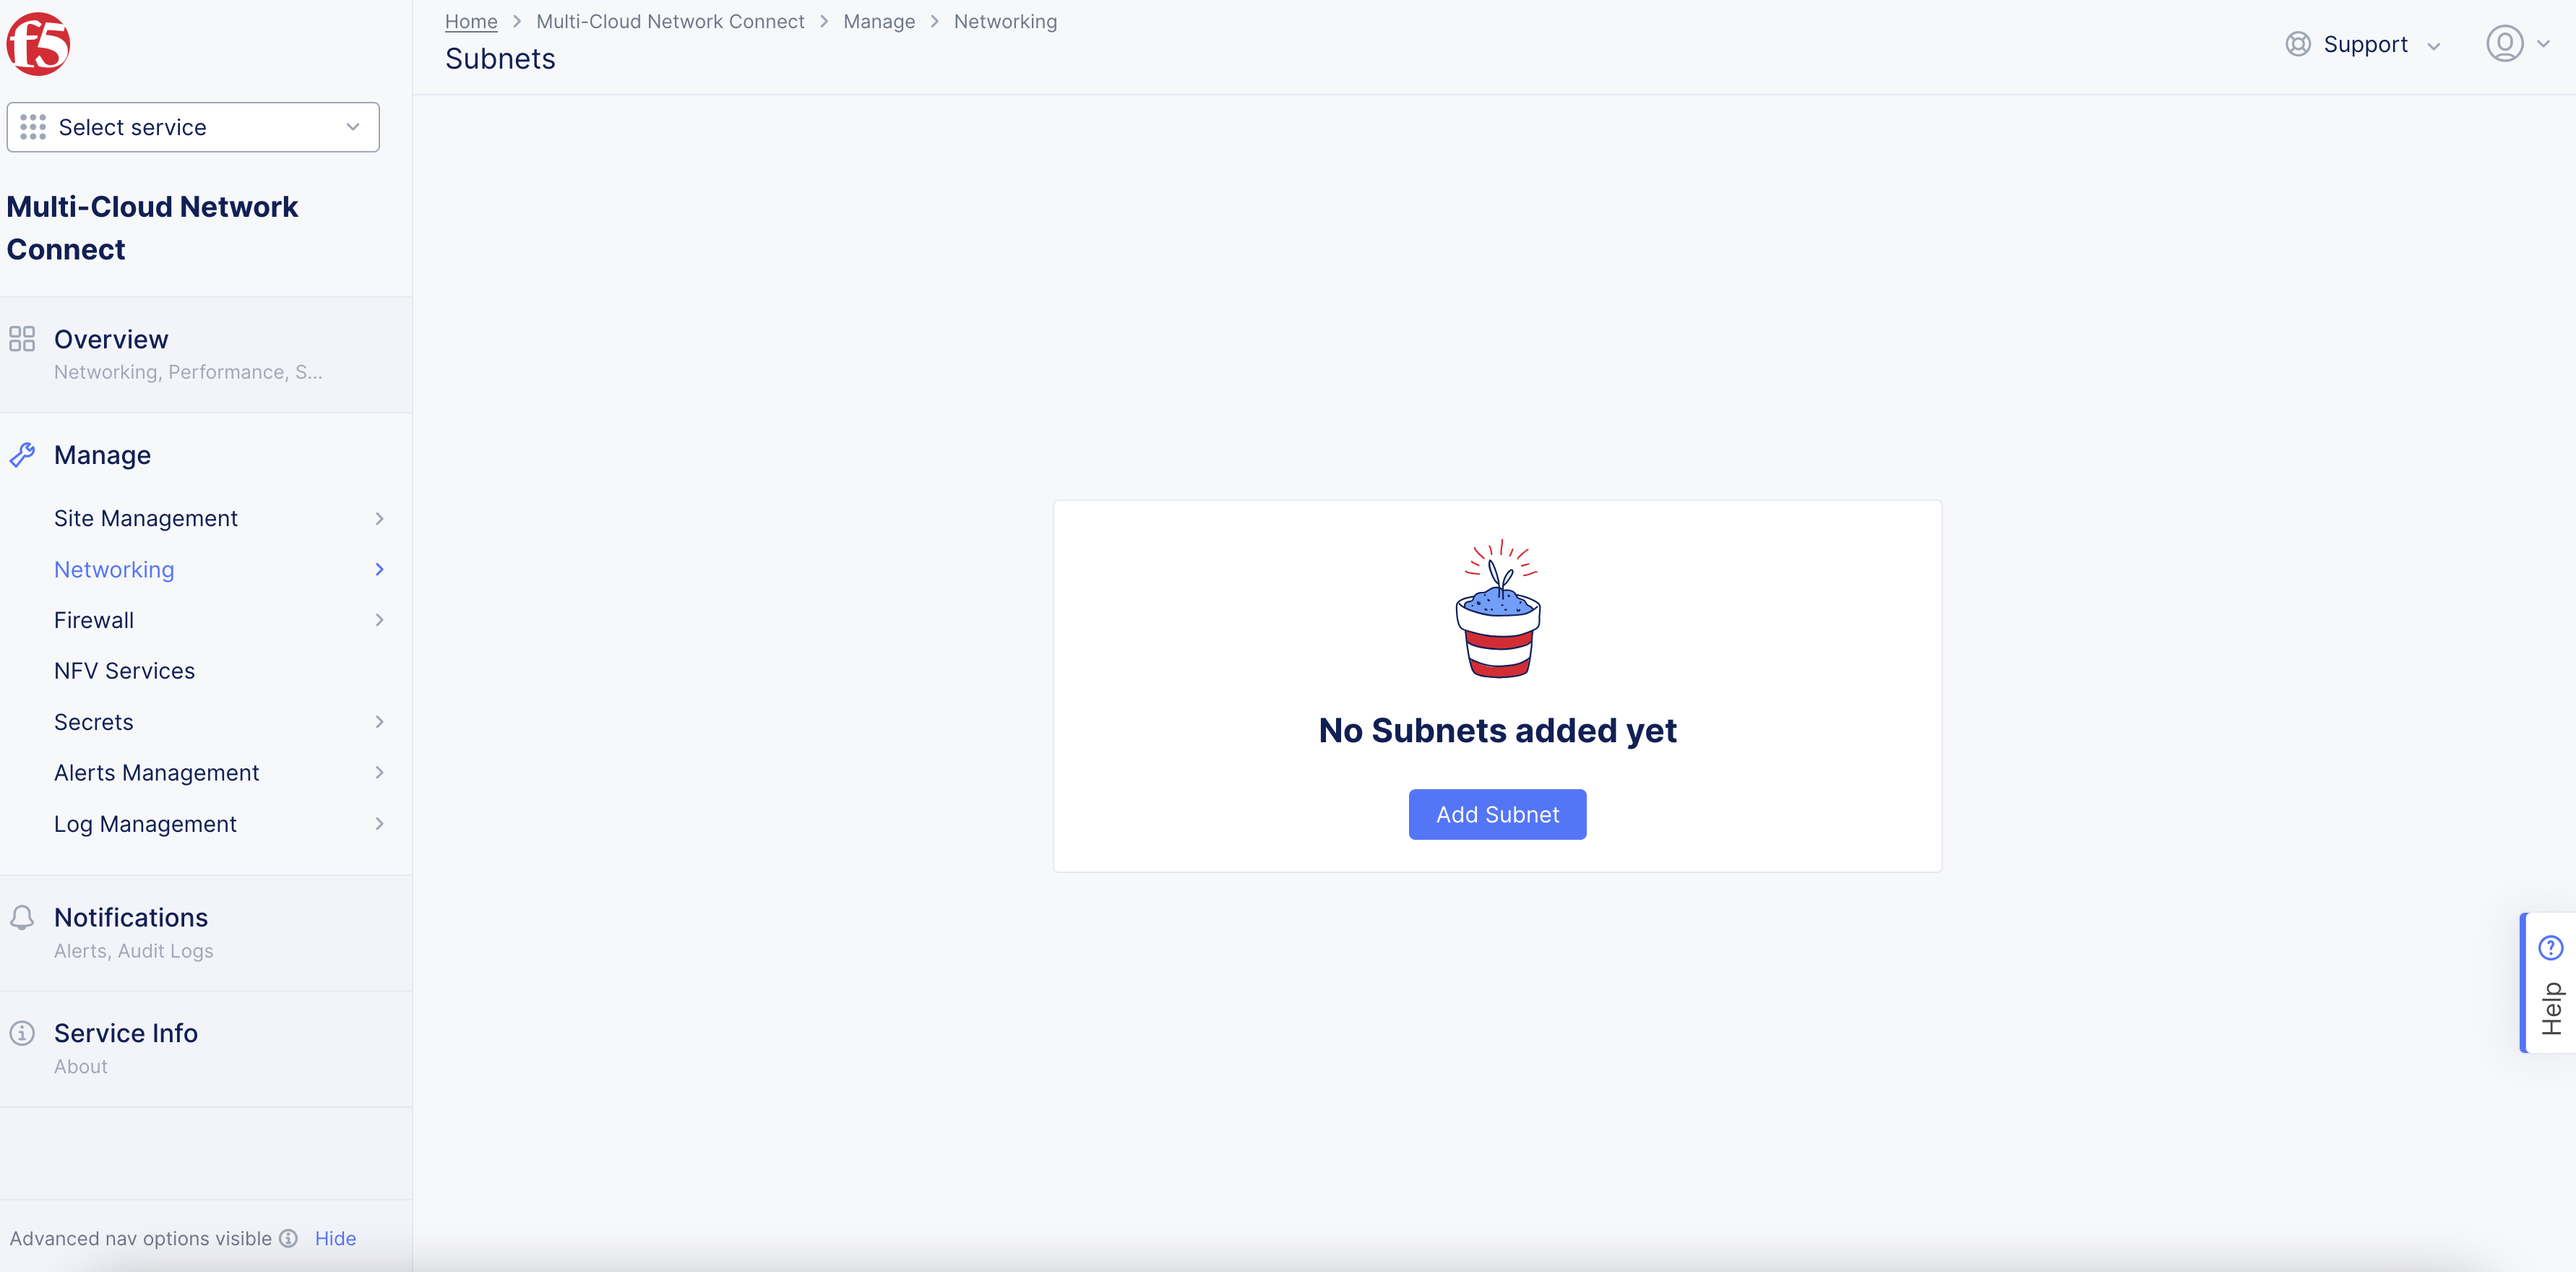
Figure: Add Subnet
Step 2: Configure subnet object.
- Enter
Namefor subnet object.
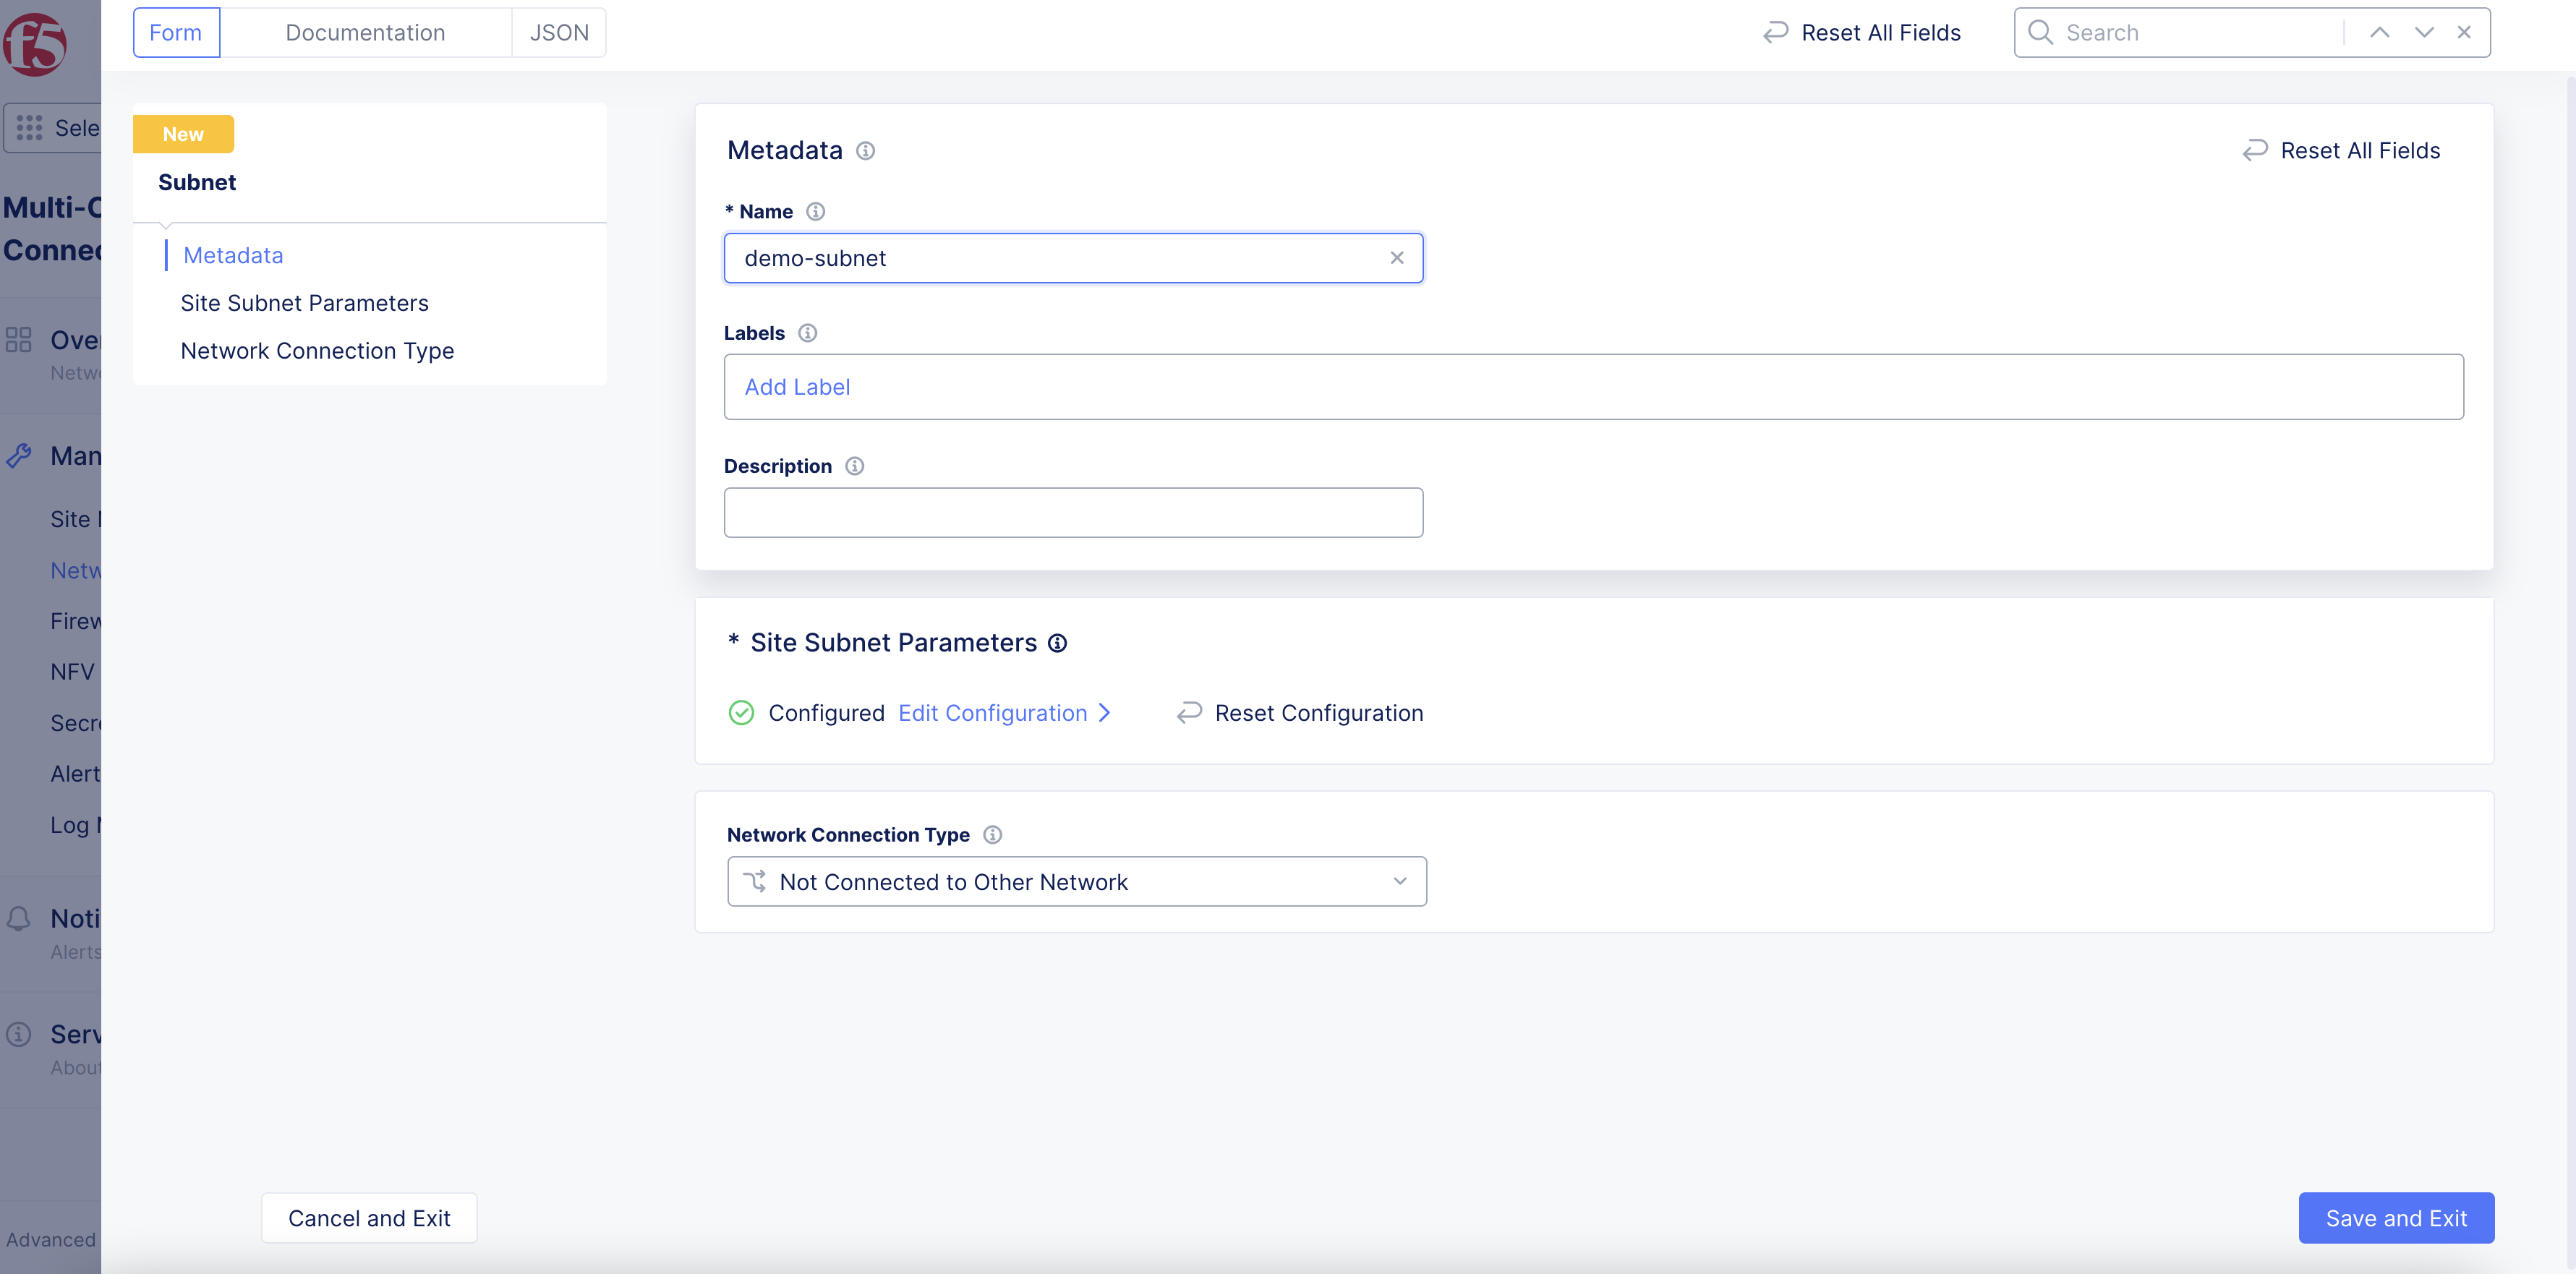
Figure: Subnet Name
-
Select
Edit Configurationin theSite Subnet Parameterssection. -
From the
Sitedrop-down menu, select your site. -
Select
ConfigureinSubnet DHCP Networkssection.
Note This configuration is only required for subnets with the
Network Connection Typeset toConnect to Site Local Outside NetworkandNot Connected to Other Network. Do not configure this option if you are creating VM or pod workloads with VLAN Layer 2 interfaces using theConnect to Layer2 Interfaceoption.
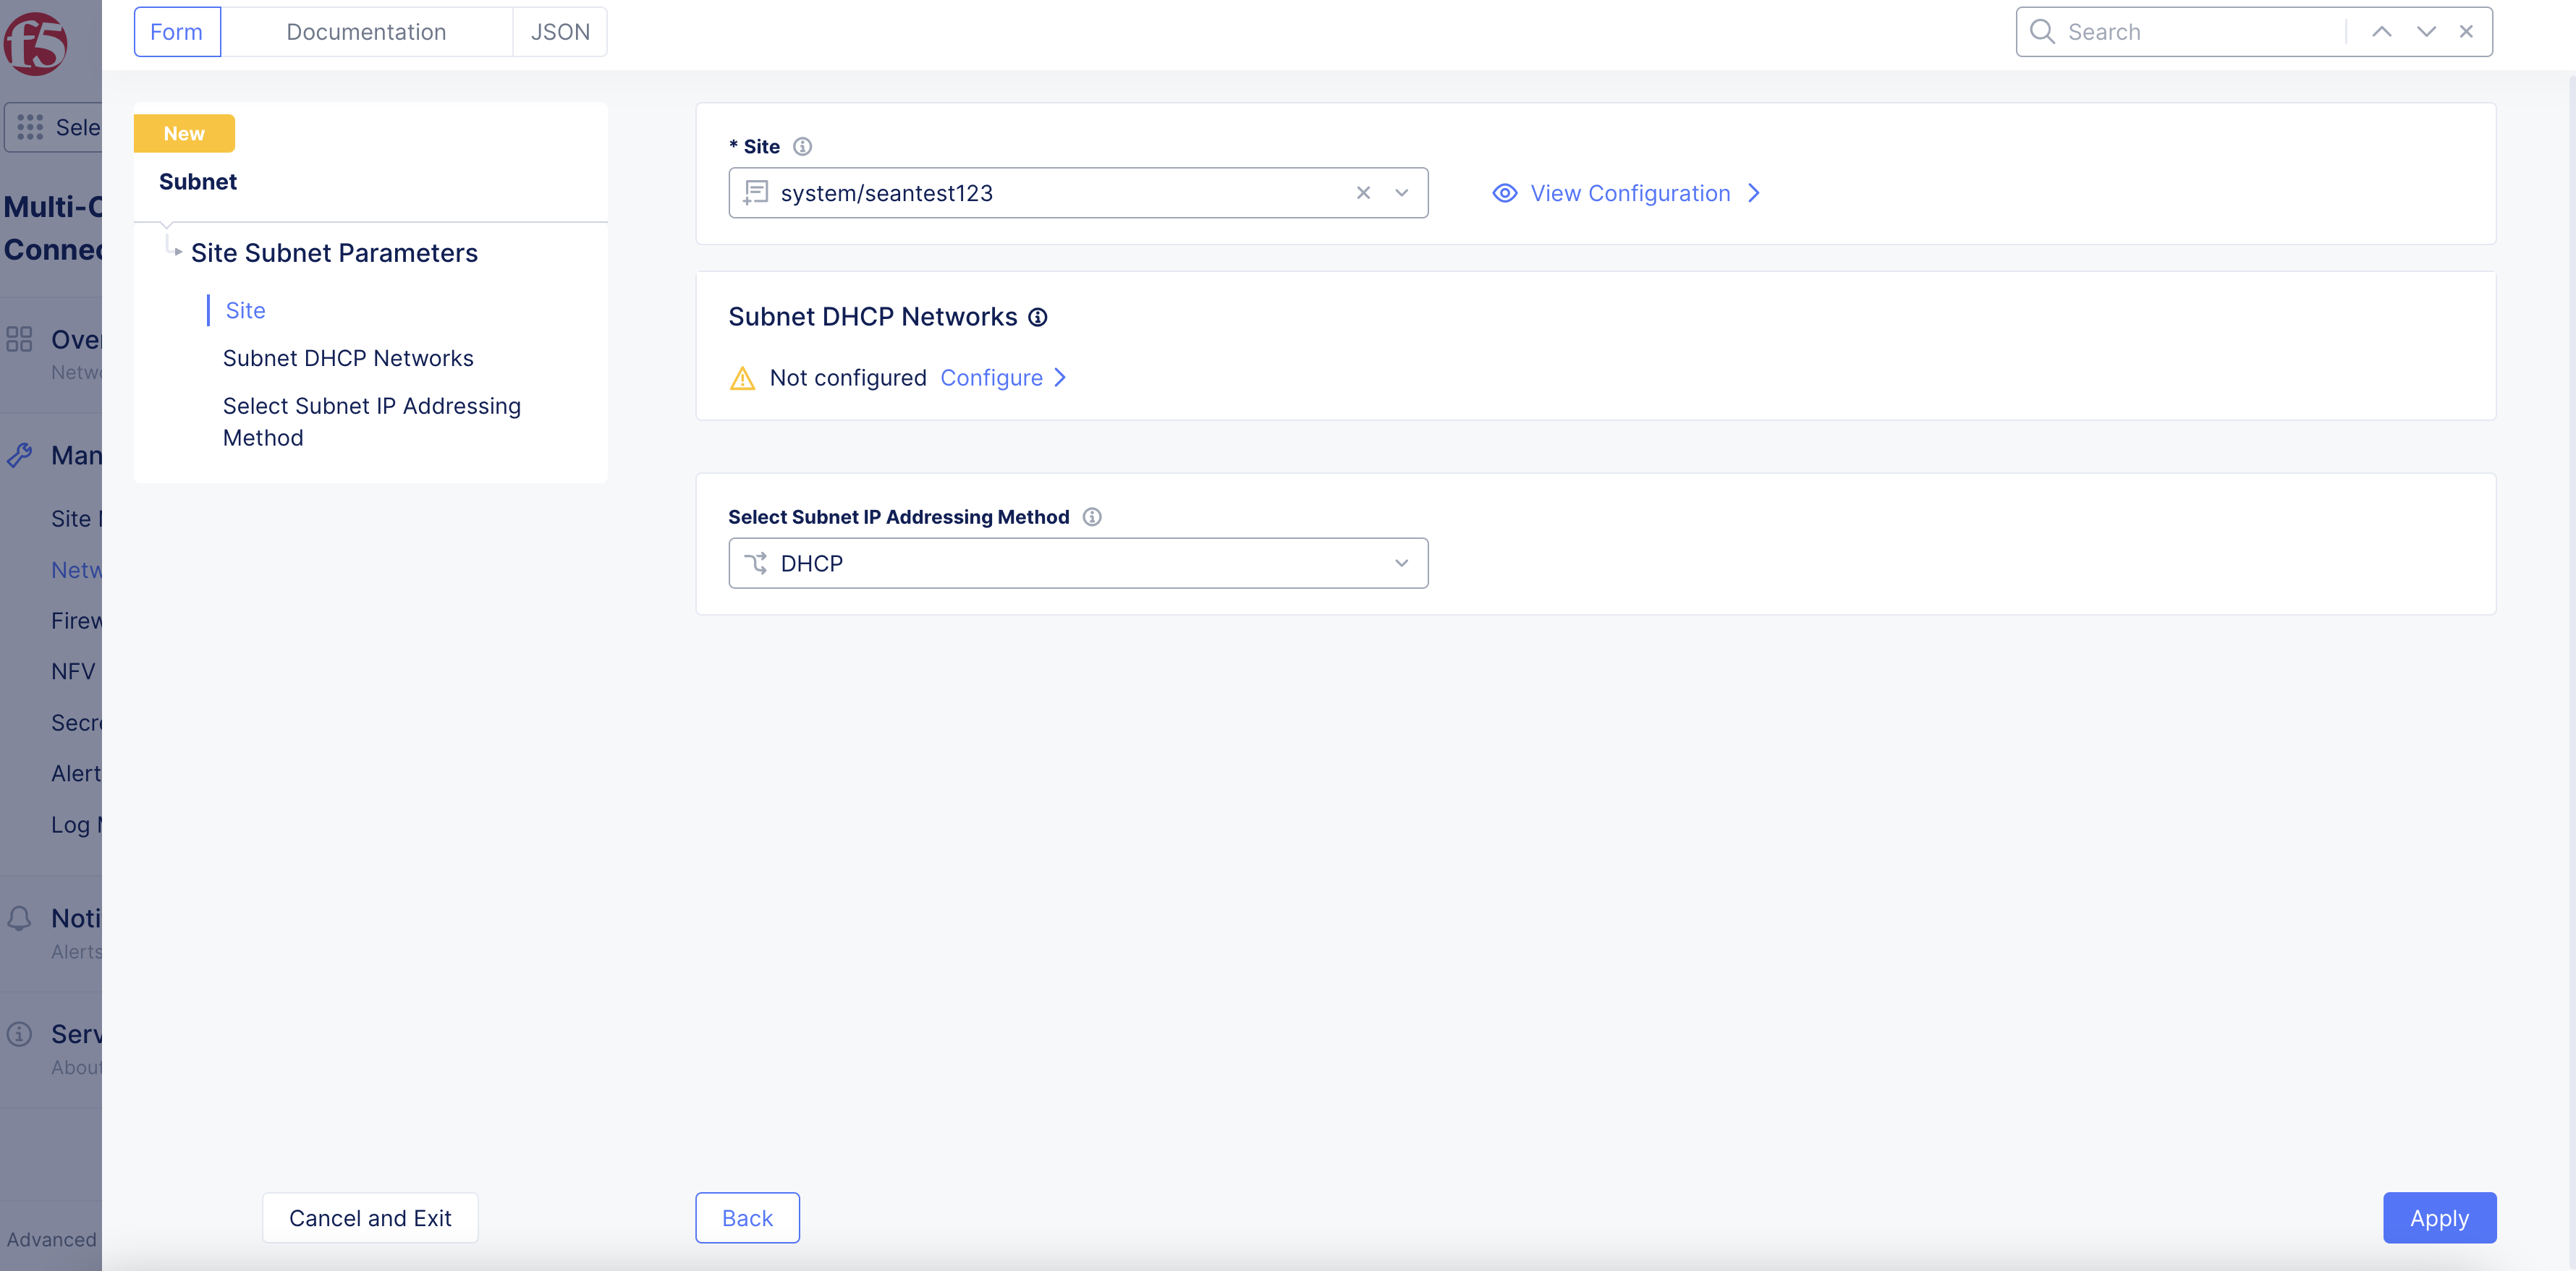
Figure: Subnet DHCP Configuration
- In the
Network Prefixbox, enter a value for your subnet.
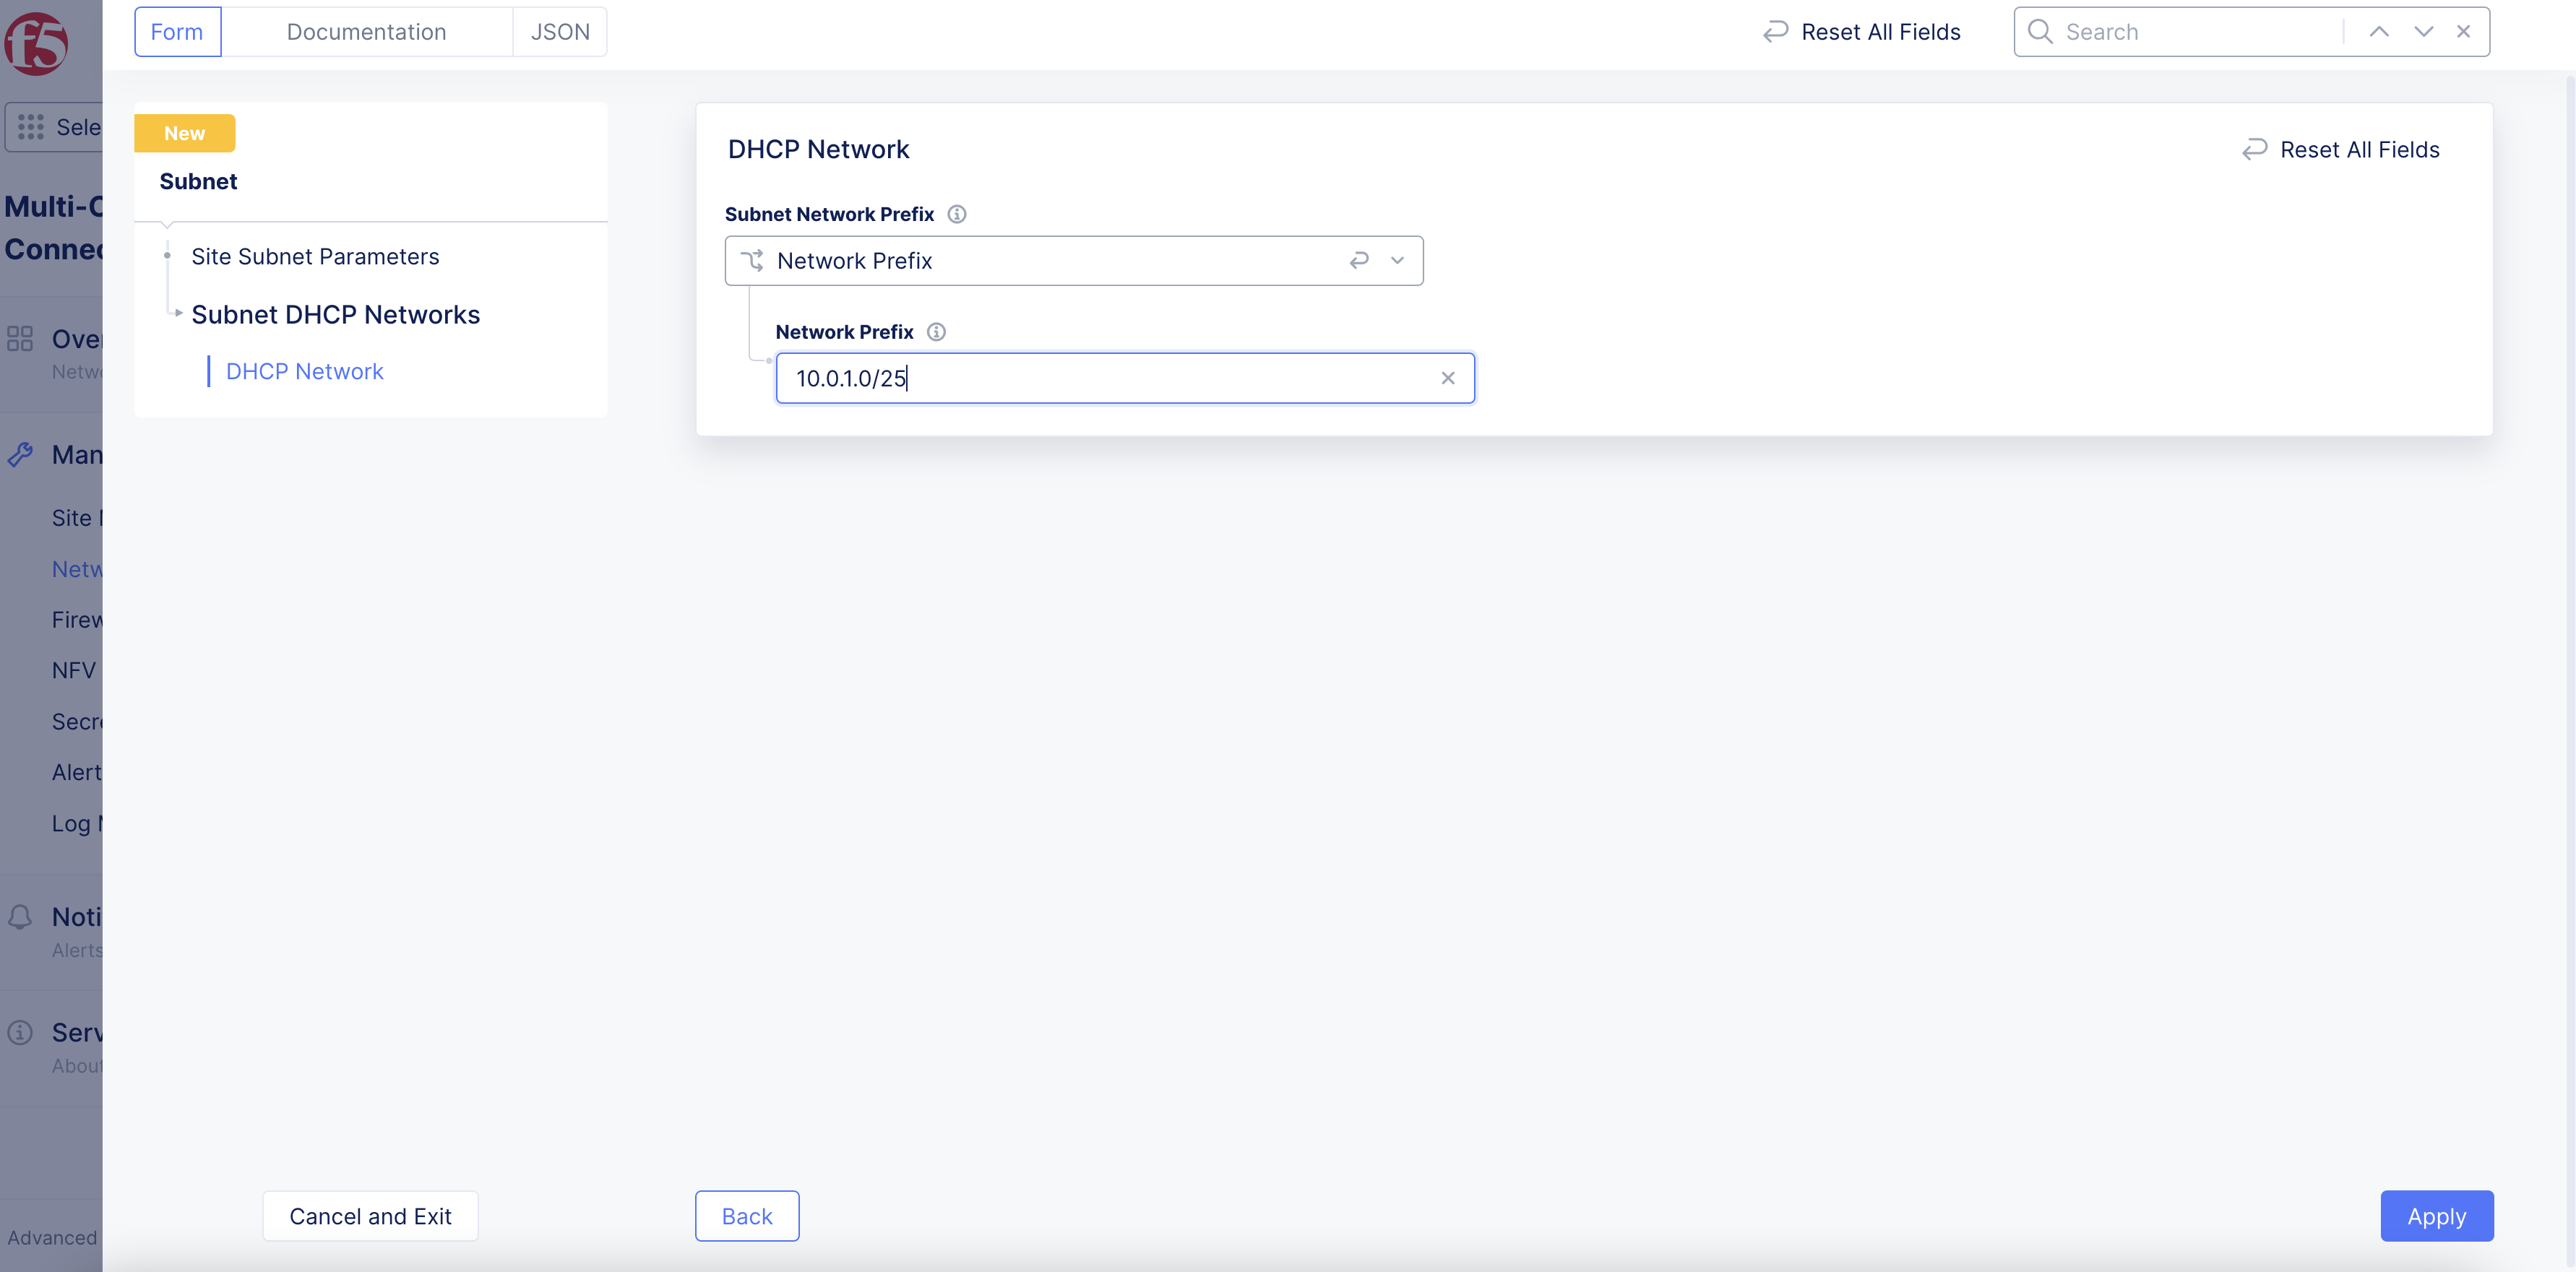
Figure: Subnet DHCP Prefix
-
Select
Applyto apply DHCP network. -
Select
Apply. -
In the
Network Connection Typemenu, select an option:-
Not Connected to Other Network: The site, VM, or container can only communicate with other sites, VMs, or containers on this subnet. -
Connect to Site Local Outside Network: A default route is injected into the site, VM, or container and allows external SNAT'ed communication via the Site Outside Local Network. -
Connect to Layer2 Interface: These Layer 2 interfaces act as subnets and have access to the underlay network and bypass the F5 Distributed Cloud Services node data plane. The Layer 2 IP addresses are allocated using an external Dynamic Host Configuration Protocol (DHCP) server or can be static within the pod itself. Static IP configuration is not supported for VMs. If you select this option, use theLayer2 Interfacemenu to select the network interface previously created.
-
Note: Static IP configuration using the manifest file will not be supported for virtual machines. It will only be supported for pods.
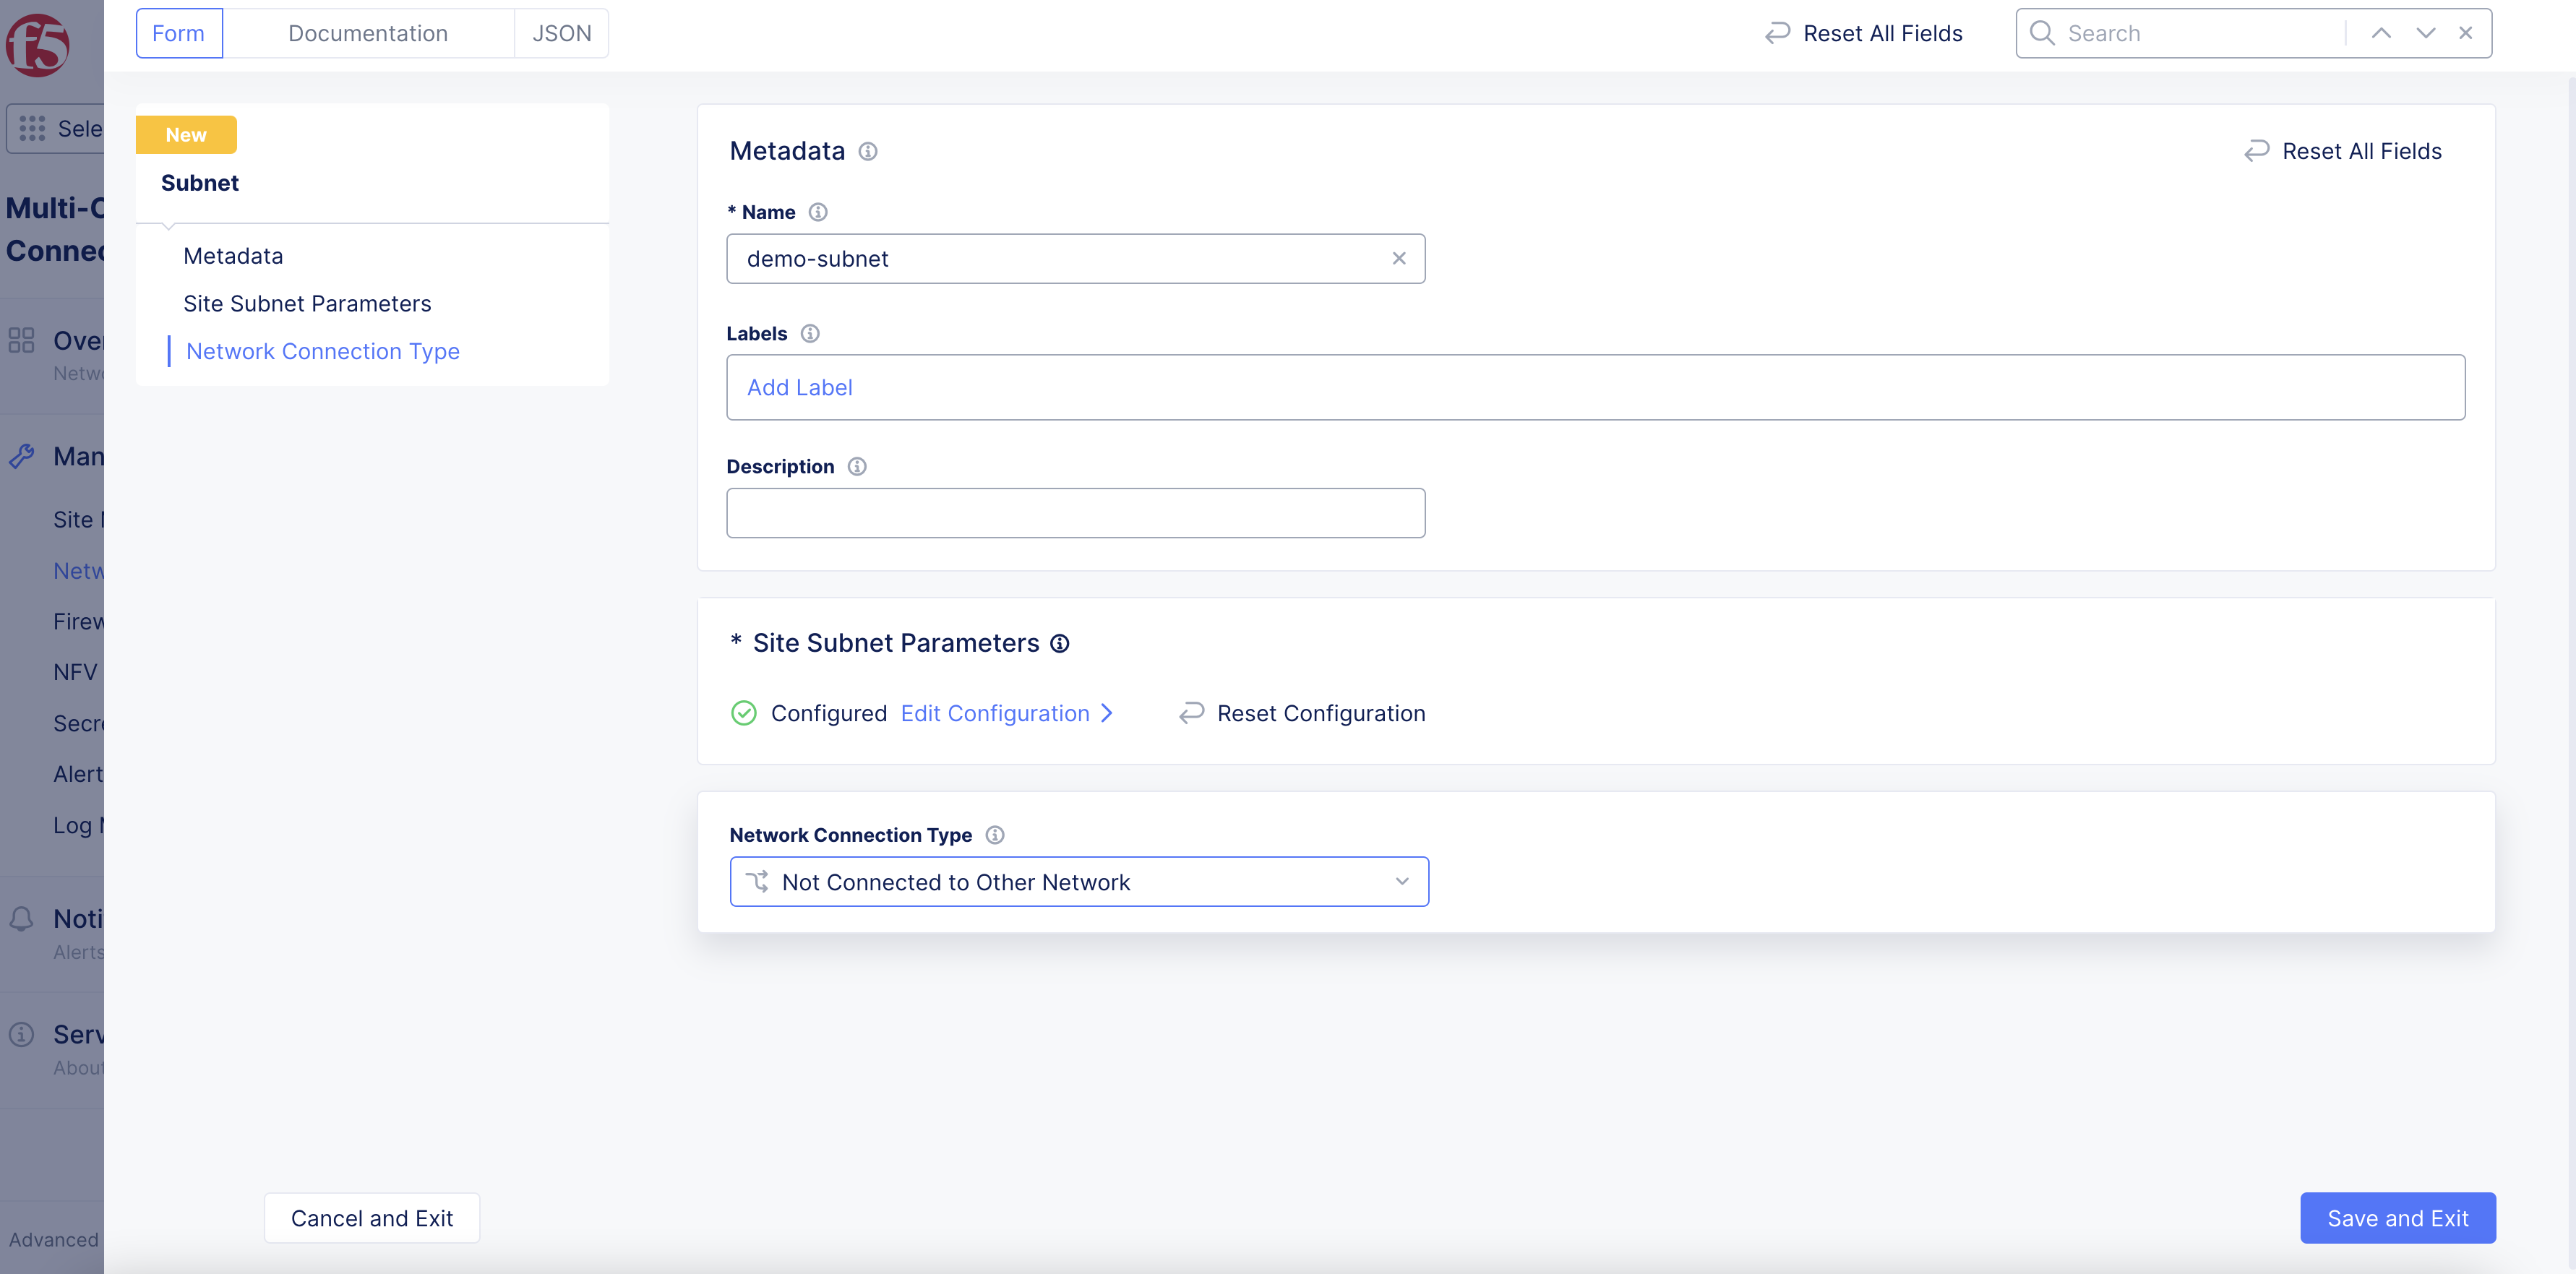
Figure: Complete Subnet Object Configuration
Step 3: Complete creating object.
Select Save and Exit.