Manage Saved Filters
Objective
This document provides instructions on how to work with the F5® Distributed Cloud Services saved filters. Filters are created on some of the overview page such as a dashboard where you can observe the operation of your configuration. These filters allow you to refine what you see on the page by restricting the dataset in some way or specifying a specific time frame. You can save your viewing configuration as a saved filter, allowing you to quick change how you view the data presented. The filters you save are specific to your current namespace.
Prerequisites
An F5 Distributed Cloud Account. If you do not have an account, see Getting Started with Console.
Configuration
View Saved Filters
In order to create a report on a service, you must specify the type of information you want to see in the report.
- From the Console homepage, select the
Web App & API ProtectionorShared Configurationservice.
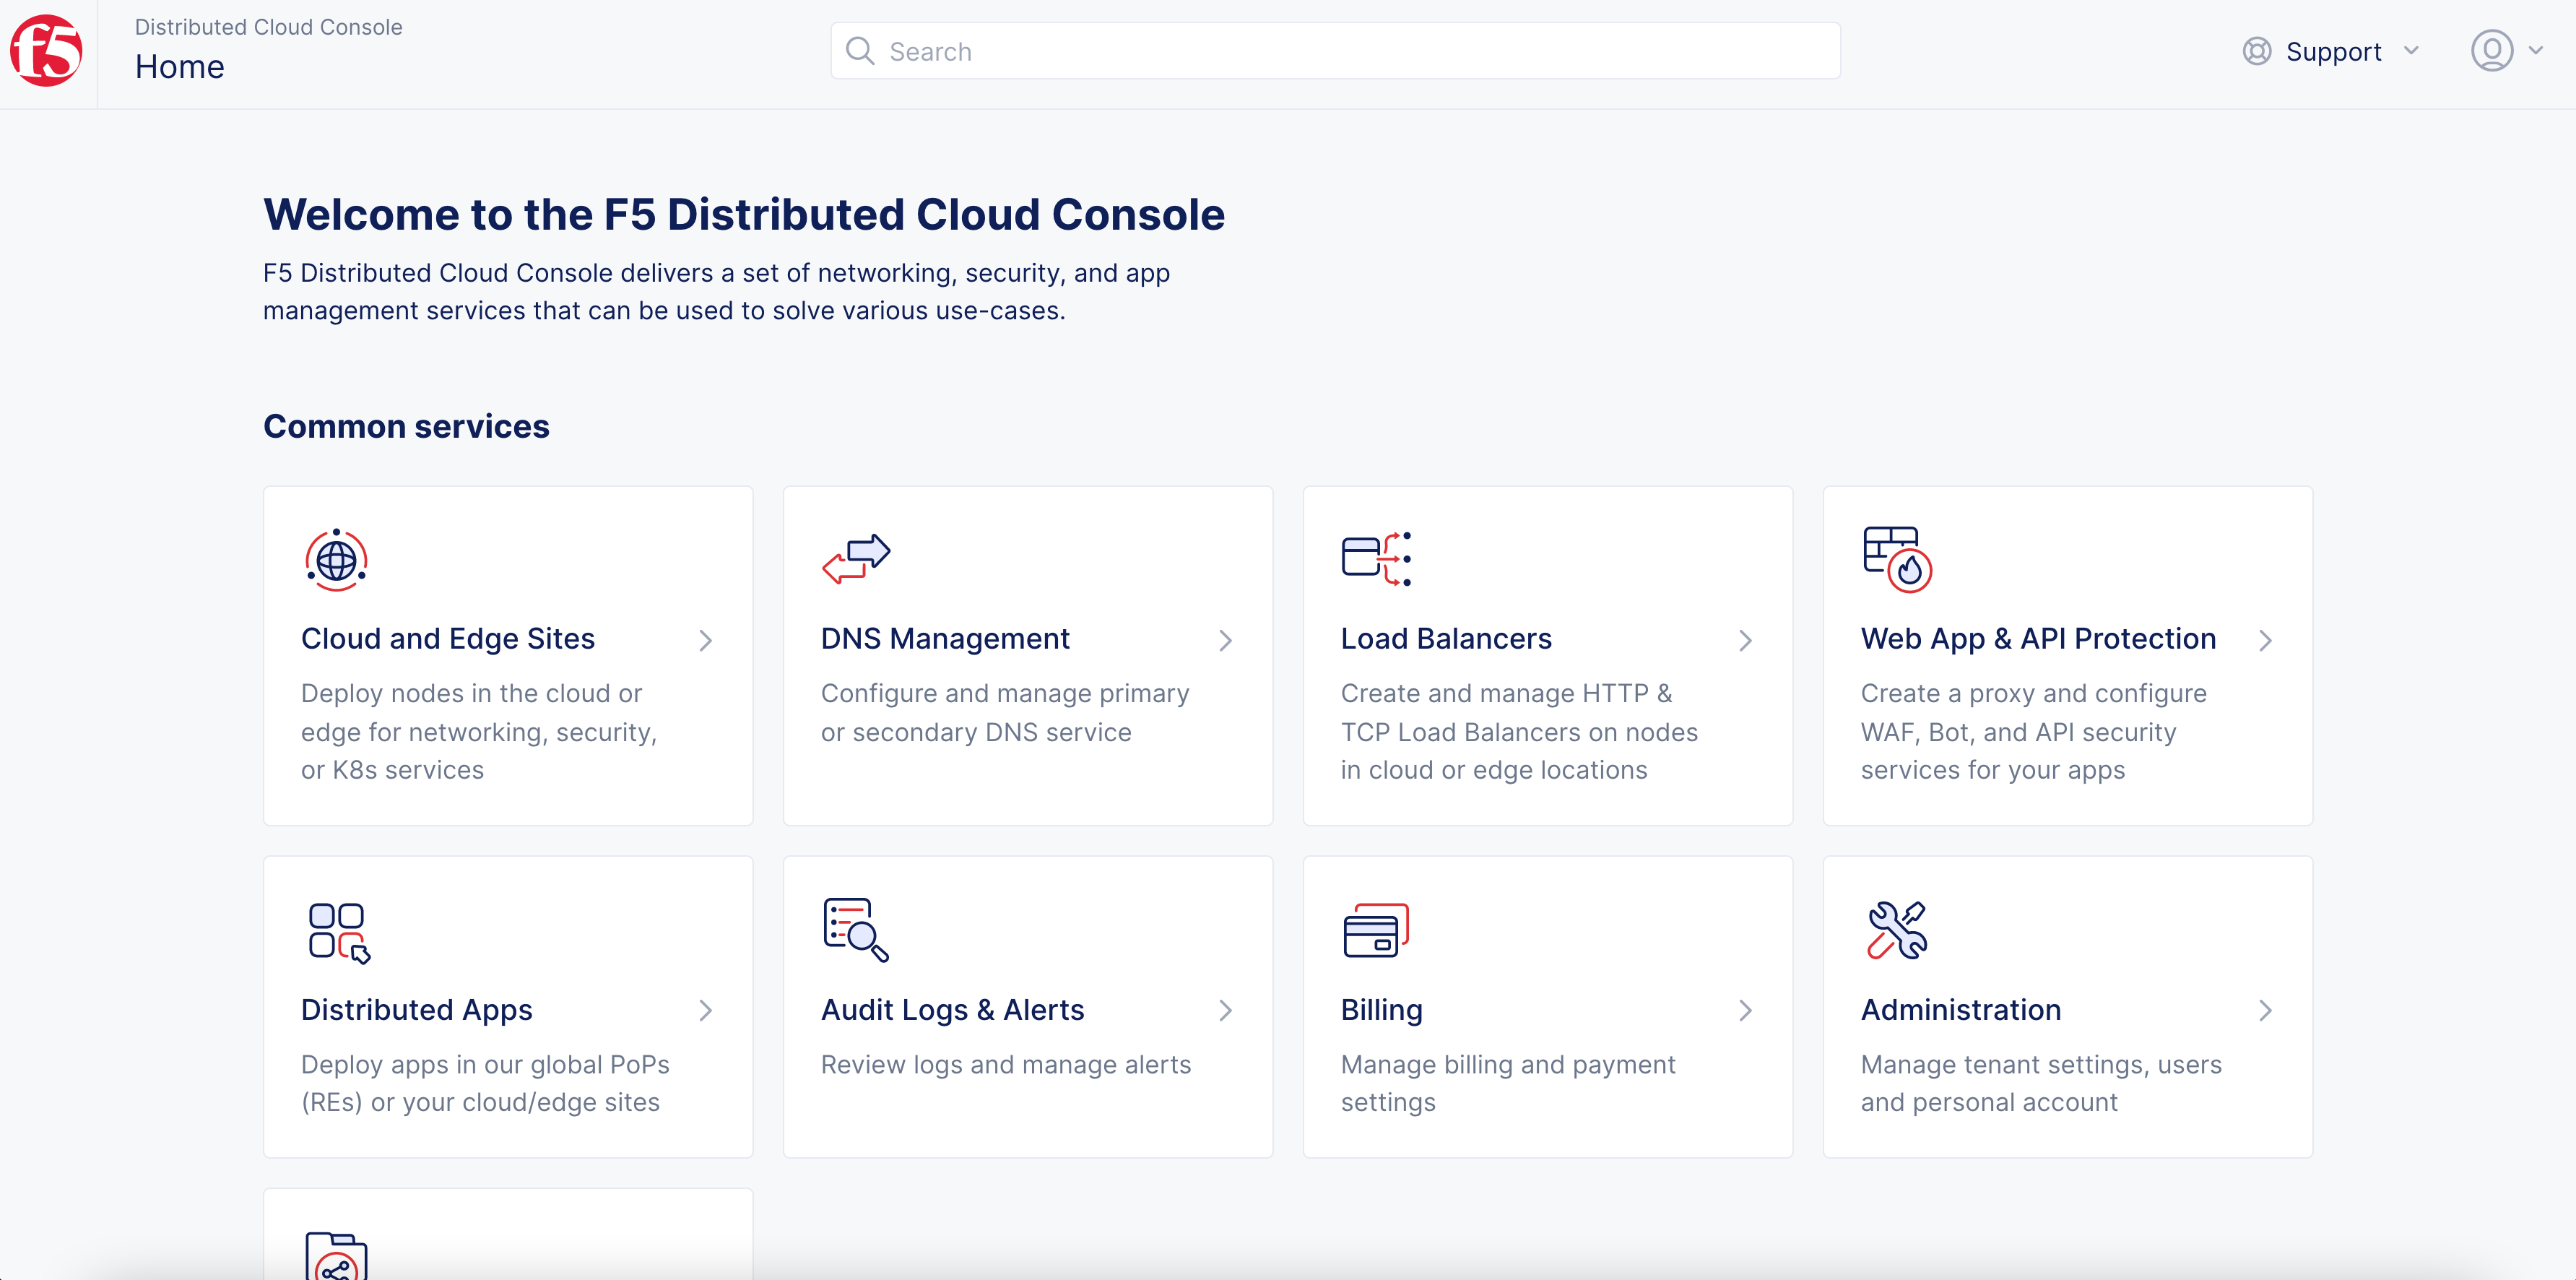
Figure: Console Homepage
- Navigate to
Manage>Saved Filters.
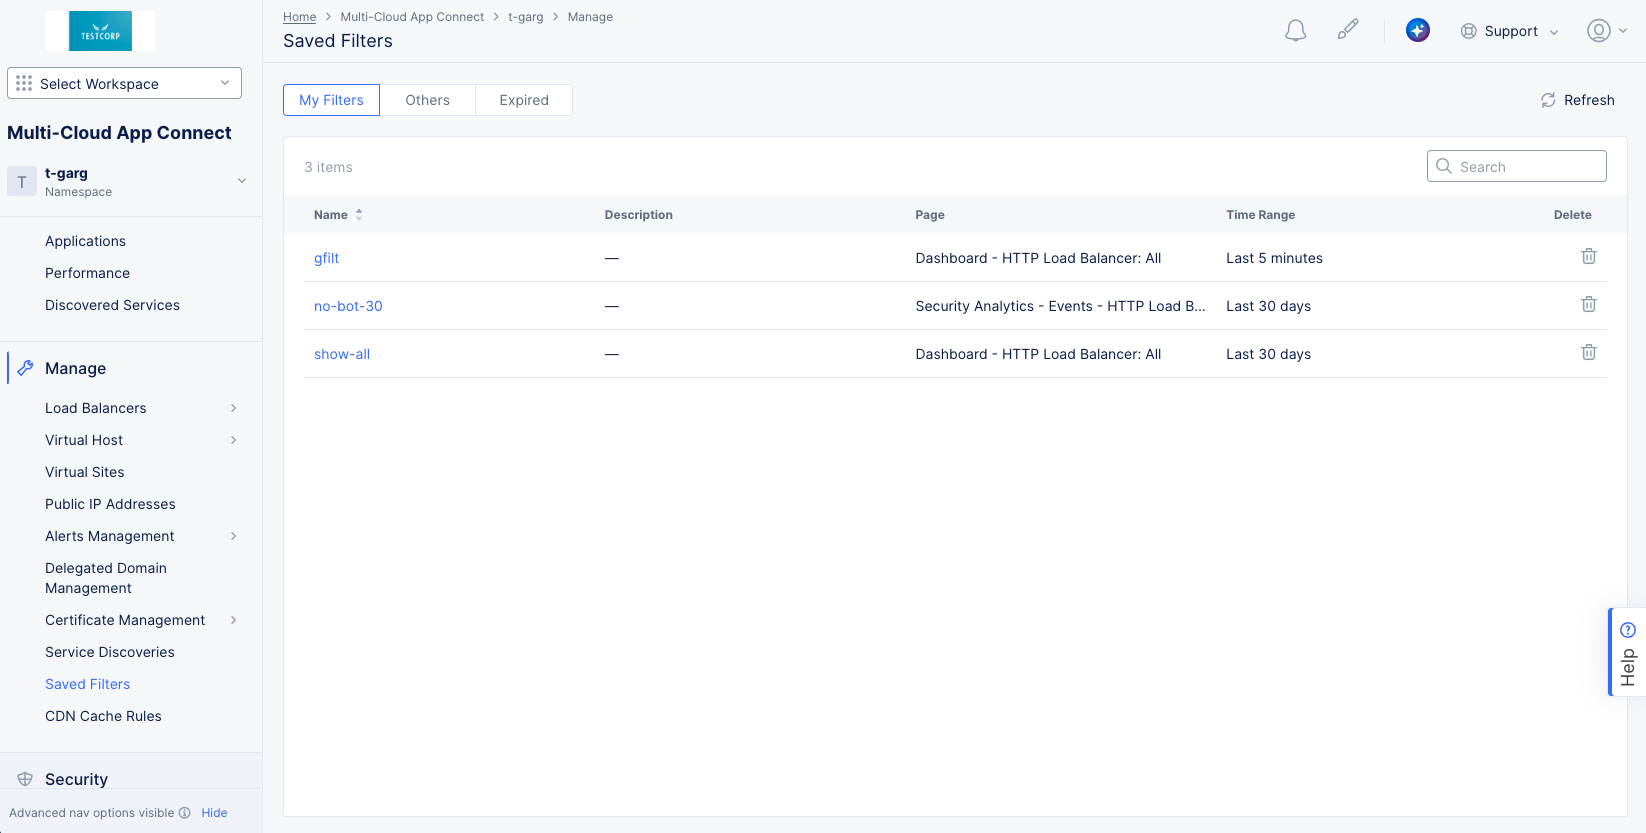
Figure: List of Saved Filters
Interact with Your Saved Filters
-
The
Saved Filterspage show a list of filters that were created in the current namespace, and the selector at the top organizes the filters.My Filters- These filters are specific to your user login, meaning you created them.Others- These are filters created by your teammates.Expired- These filters specify time frames that are beyond the limit for saved data. These are no longer usable and are saved merely so that you know why they are no longer in theMy FiltersorOtherslists.
-
Enter a string in the
Searchfield to only see saved filters with that string shown in the table. -
Click the name of a saved filter to see details for the filter in a slide panel showing additional information about the saved filter.
-
Click the trash can icon in the
Deletecolumn for a saved filter to delete that filter.