Create Origin Pools
Objective
This guide provides instructions on how to create origin pools in F5® Distributed Cloud Console (Console) using guided configuration. The origin pools are a mechanism to configure a set of endpoints grouped together into a resource pool used in the load balancer configuration. To learn more about endpoints and load balancers, see Load Balancing and Service Mesh.
The origin pools mechanism offers the following:
-
Configures endpoints for discovery
-
Defines load balancing between discovered endpoints
-
Creates health checks for discovered endpoints
-
Specifies TLS capabilities of and to the endpoints discovered
Using the instructions provided in this guide, you can create an origin pool of resources. The origin pool can then be attached to a load balancer configuration. You can also create and attach an origin pool while creating a load balancer. For more information, see HTTP Load Balancer. The instructions provided in this guide cover creating origin pools separately.
Note: You can also create each endpoint individually and use it in a virtual host. For more information, see Configure Endpoint.
Prerequisites
The following prerequisites apply:
-
An F5® Distributed Cloud Services Account. If you do not have an account, see Getting Started with Console.
-
A valid DNS domain delegated to Distributed Cloud Services. For instructions on how to delegate your domain, see Domain Delegation.
-
A Distributed Cloud Services CE site for deploying your applications on the CE site. If you do not have a site, create a site using the instructions included in the Site Management guides. See the vK8s Deployment guide to deploy your applications on the Distributed Cloud Services network cloud or edge cloud.
Configuration
The configuration option to create the origin pool guides you through the steps for required configuration. This document covers each guided step and explains the required actions performed for each step.
Note: The origin pool and the load balancer for minikube, vK8s, or managed K8s service must be created in the same namespace as the services, so that the services can be discovered and advertised. If you are using the K8s service name as the server configuration, then the service name should be in the
<k8s-service.k8s-namespace>format. The vK8s network needs to be set to where the services are deployed.
Step 1: Navigate to origin pool configuration.
-
Log into Console.
-
Click
Multi-Cloud App Connect.
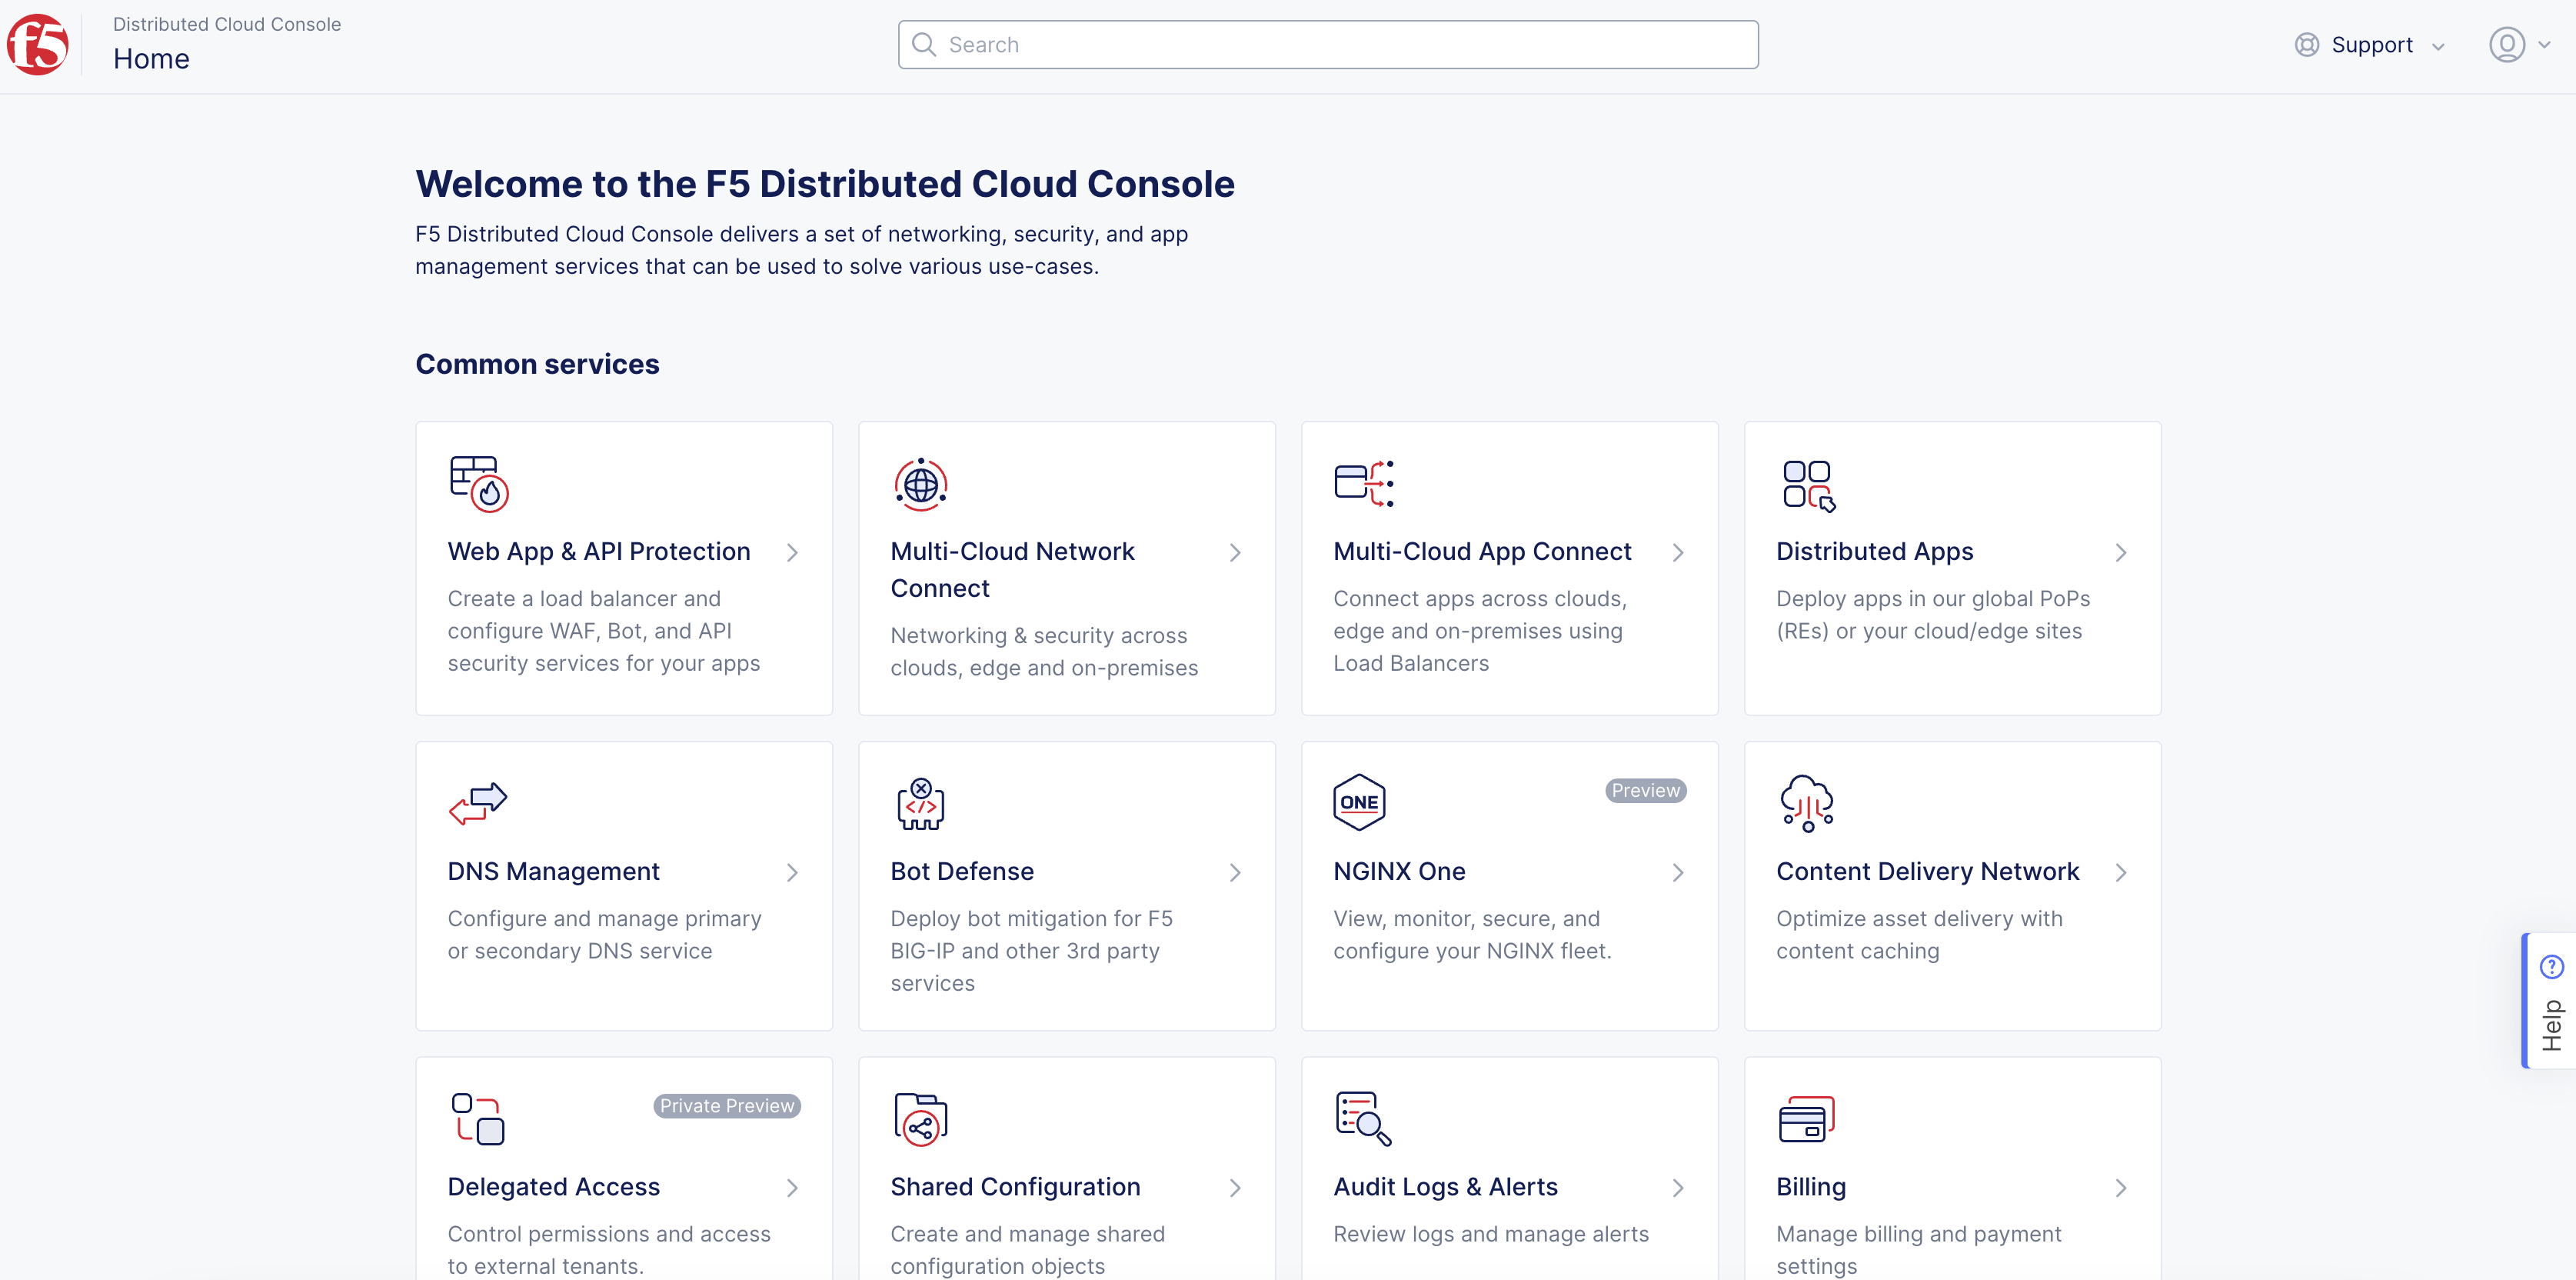
Figure: Console Homepage
-
Change to your application namespace.
-
Click
Manage>Load Balancers>Origin Pools. -
Click
Add Origin Poolto open the creation form.
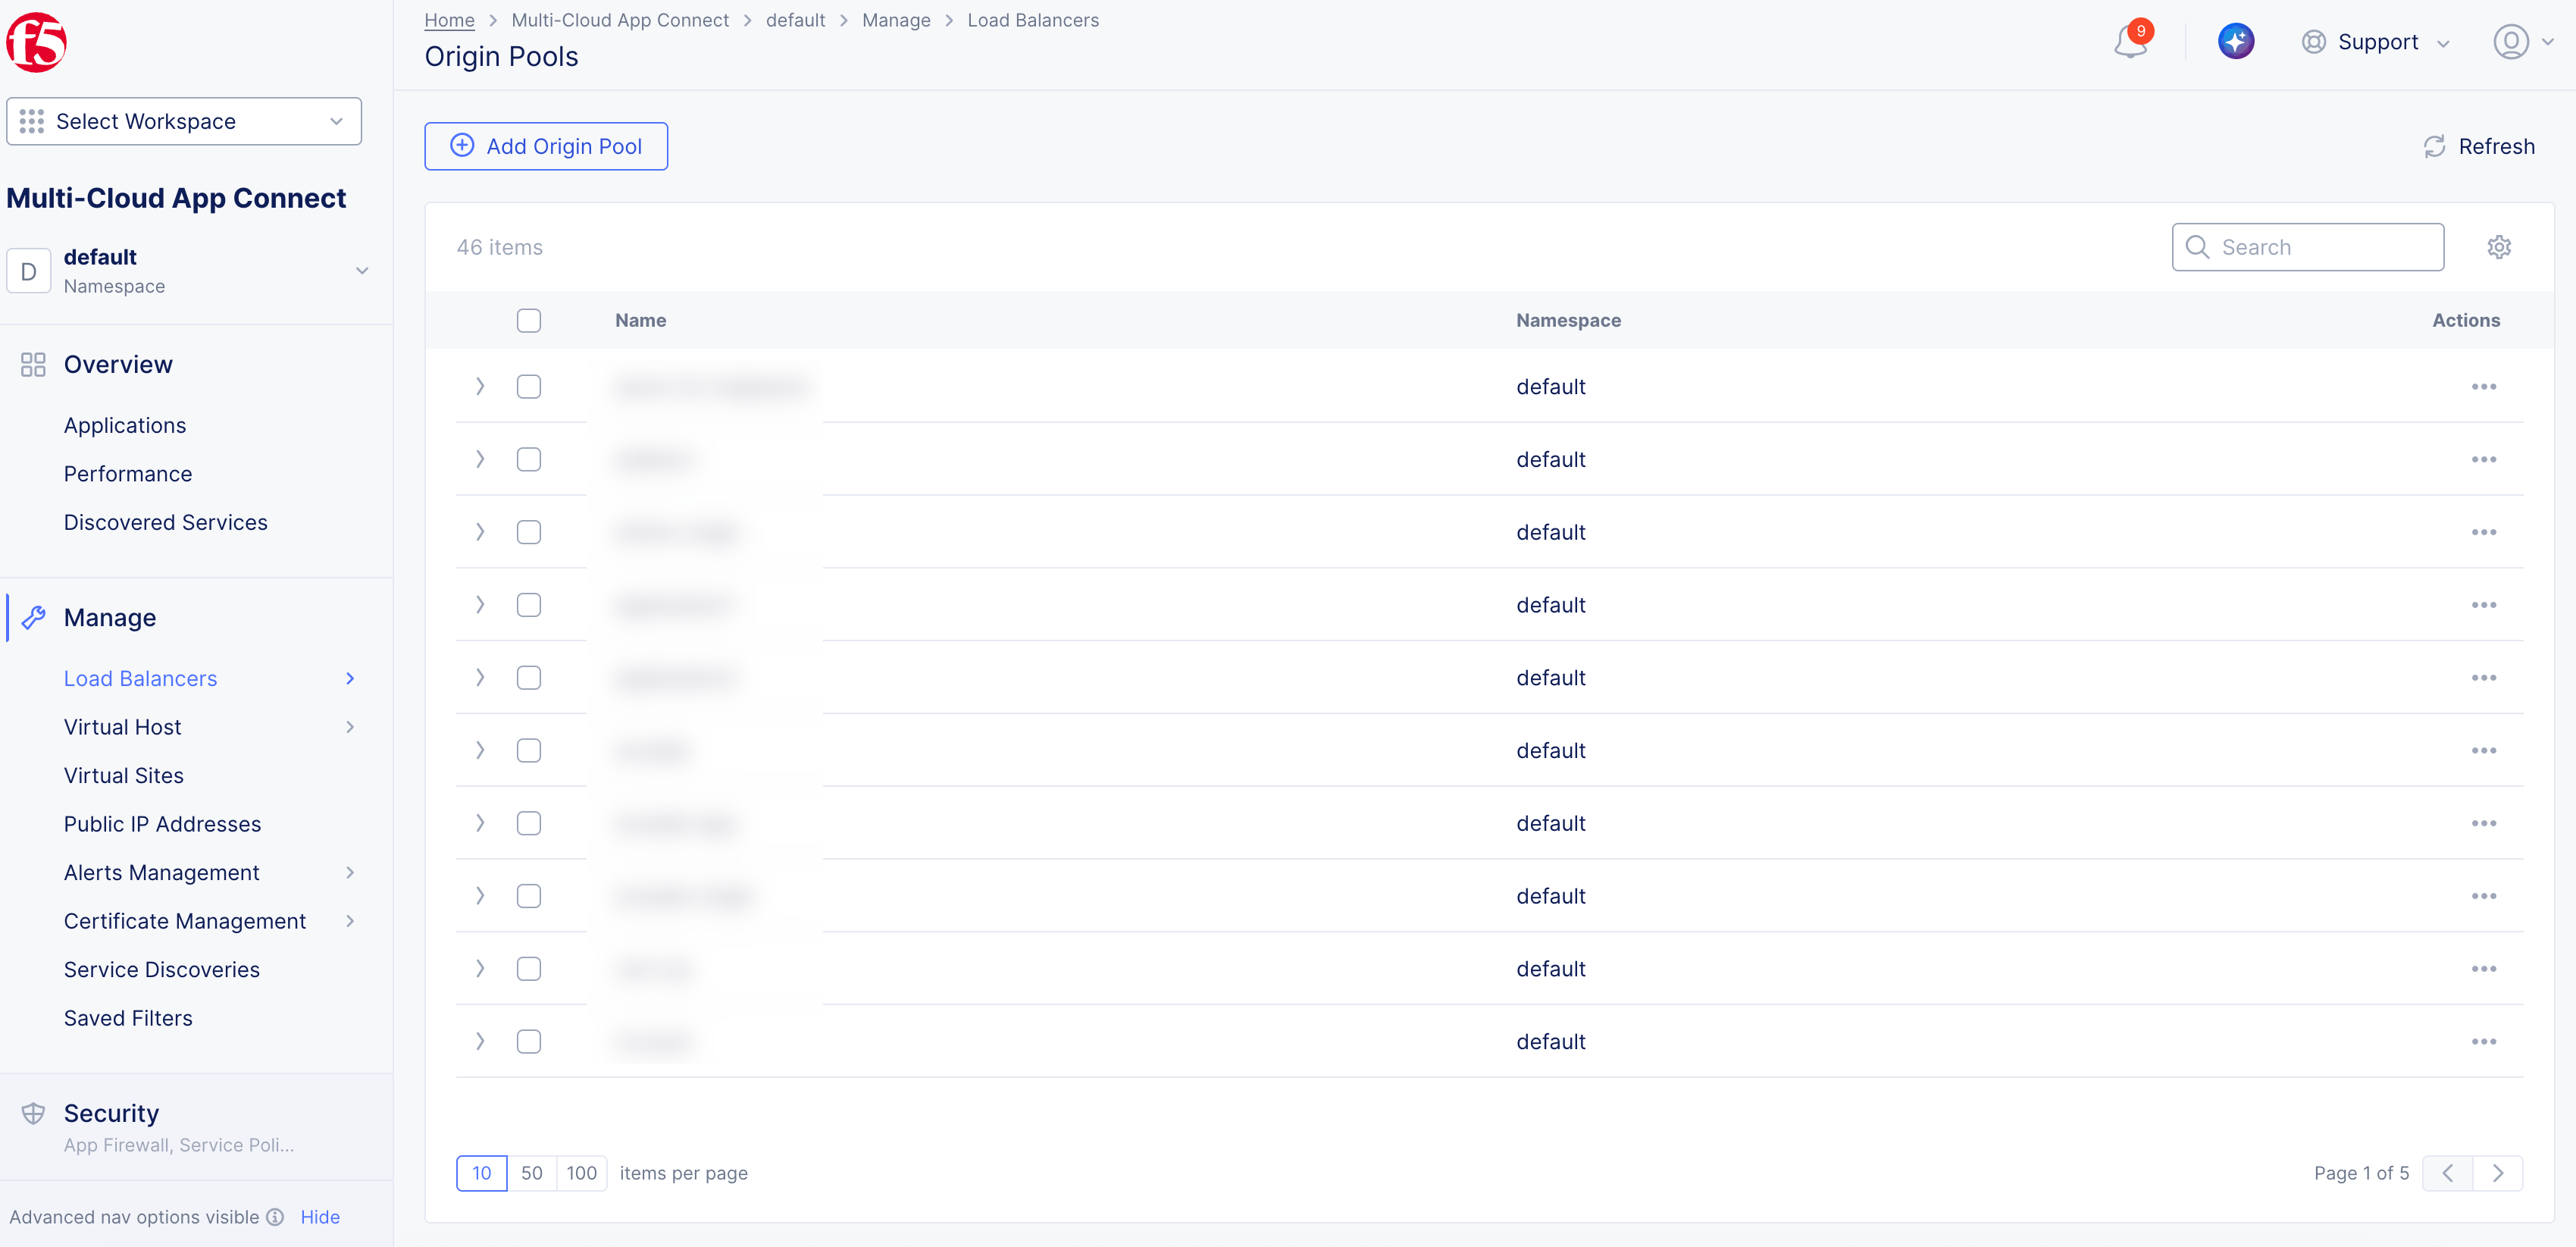
Figure: Navigation to Origin Pools
Step 2: Start the origin pool creation process.
-
In the
Namefield, enter a name. -
Optionally, add labels and enter a description for your origin pool.
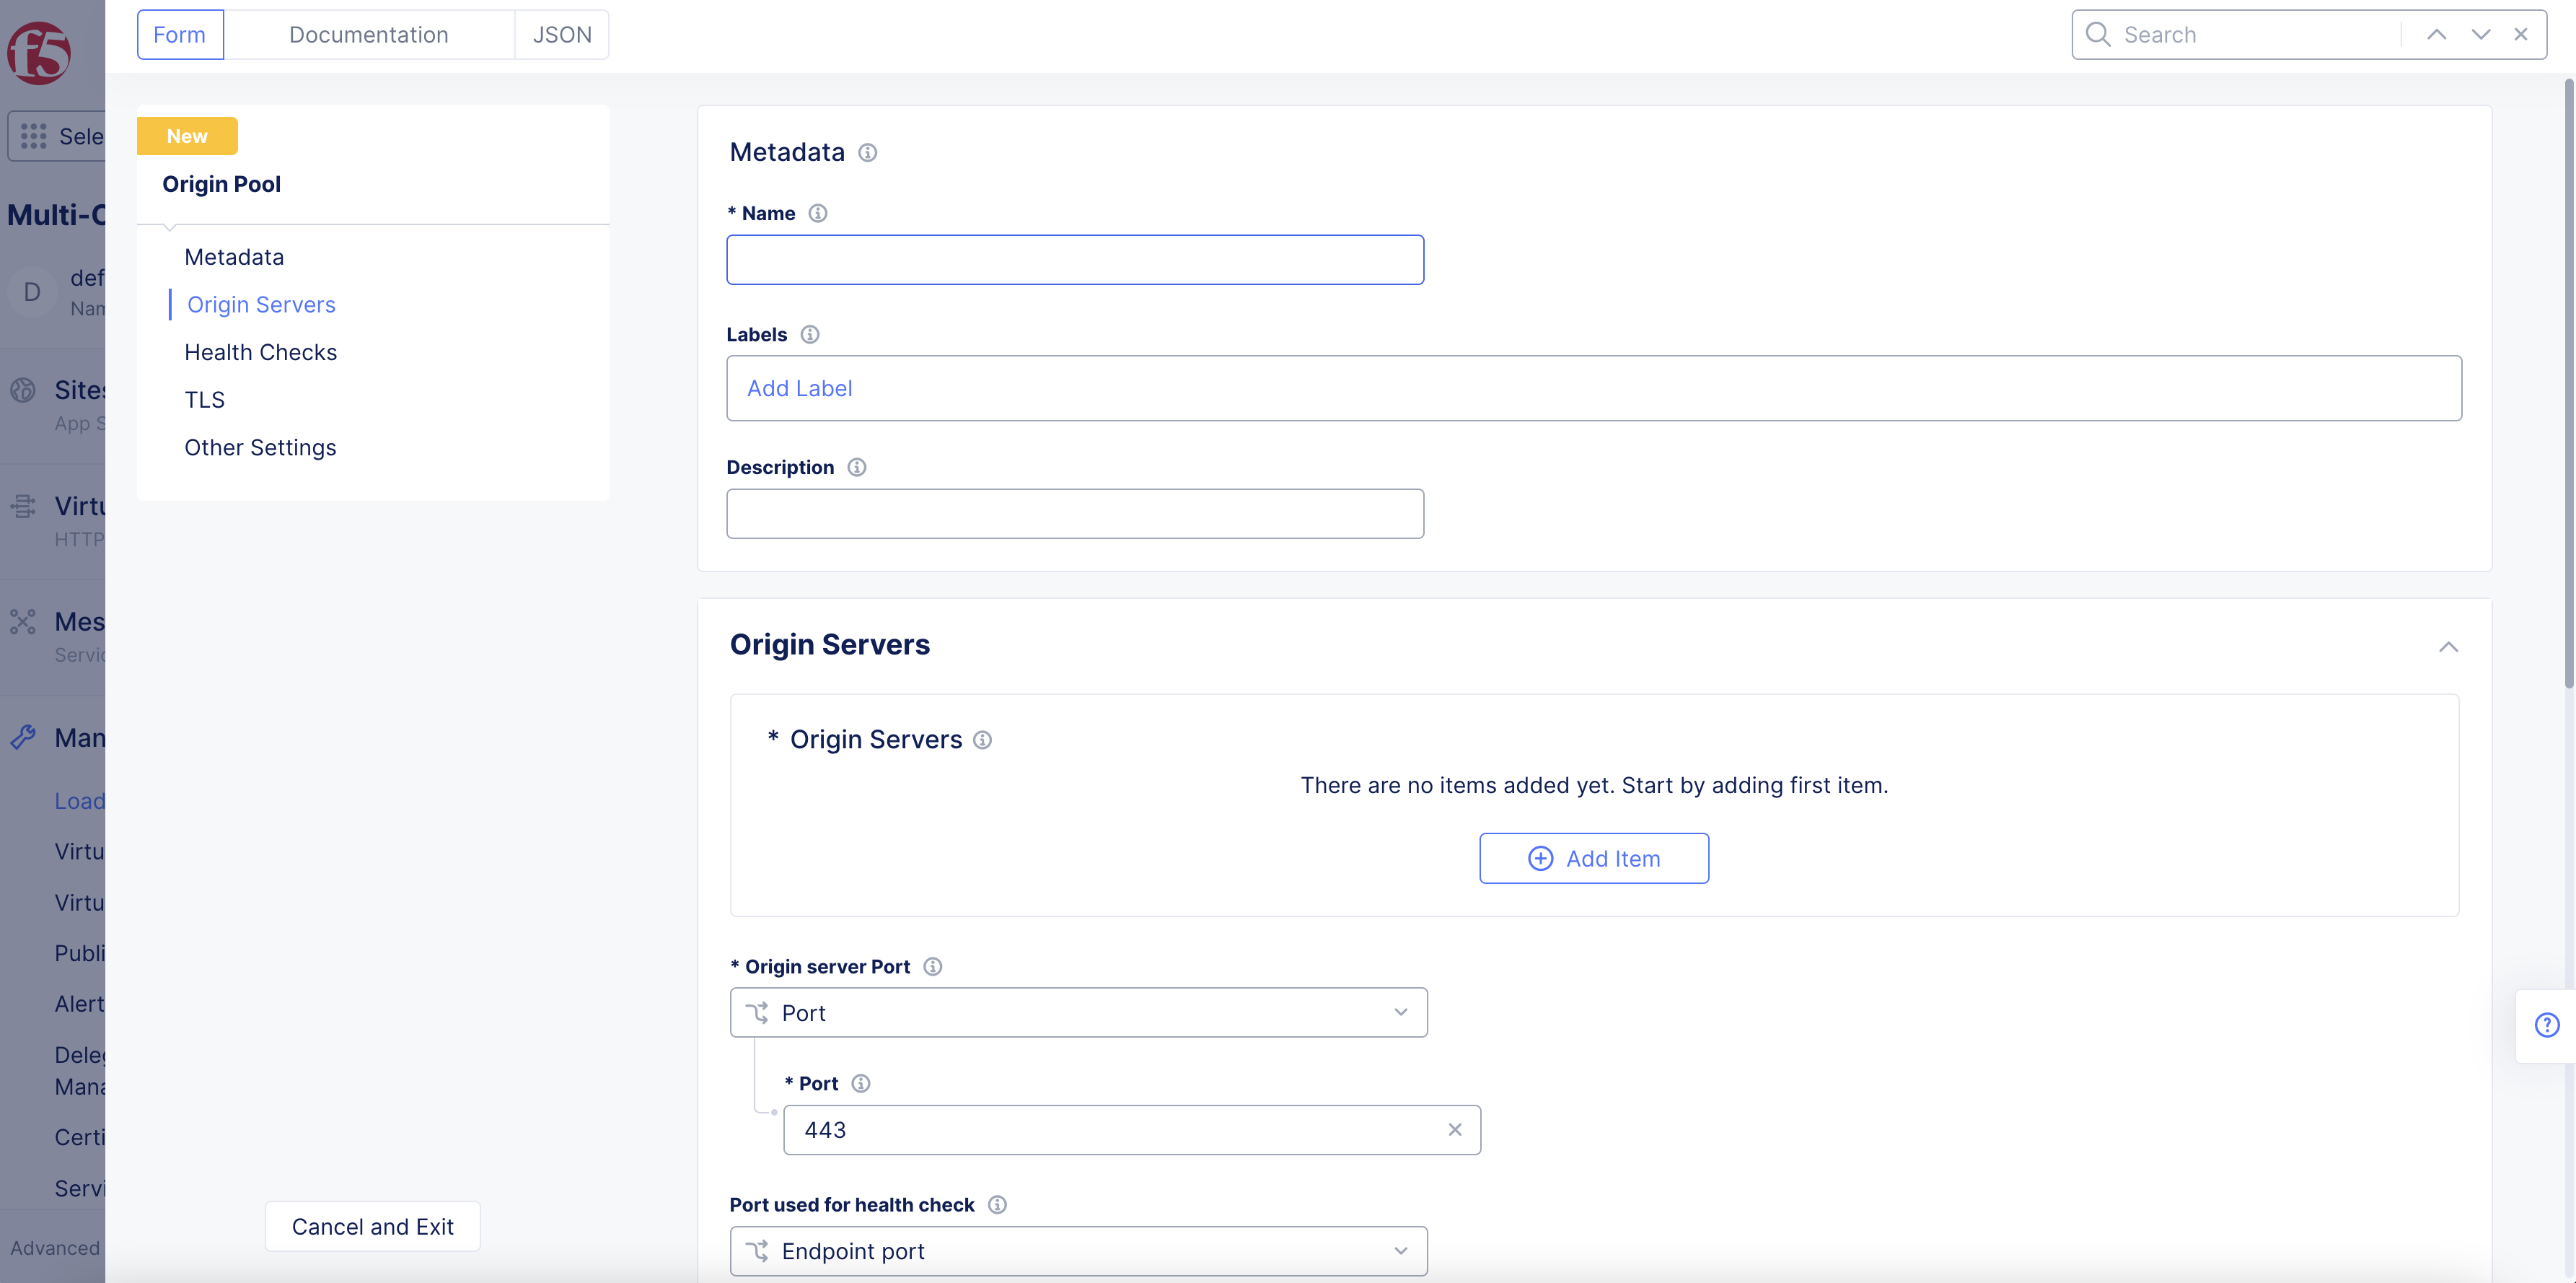
Figure: Origin Pool Name
Step 3: Configure the origin servers.
-
Select from the left menu or scroll to the
Origin Serverssection and perform the following:-
Click
Add Item. -
From the
Select Type of Origin Servermenu, select a type of origin server per the following guidelines:-
Select
Public IP of Origin Serverto specify the origin server with its public IP address. Enter the IP address in thePublic IPfield. -
Select
IP address of Origin Server on given Sitesto specify the origin server with its private or public IP address. Enter the IP address in theIPfield. SelectSiteorVirtual Siteoption in theSite or Virtual Sitemenu. Select a site or virtual site according to the displayedSiteorVirtual Sitemenus. Select theInside Network,Outside Network, orSegmentoption for theSelect Network on the sitemenu. ForSegment, select the segment from the drop-down menu. -
Select
Public DNS Name of Origin Serverto specify the origin server with its public DNS name. Enter the DNS name in theDNS Namefield. -
Select
DNS Name of Origin Server on given Sitesto specify the origin server with its private or public DNS name. Enter the DNS name in theDNS Namefield. SelectSiteorVirtual Siteoption in theSite or Virtual Sitemenu. Select a site or virtual site according to the displayedSiteorVirtual Sitemenus. Select theInside Network,Outside Network, orSegmentoption for theSelect Network on the sitemenu. ForSegment, select the segment from the drop-down menu. -
Select
K8s Service Name of Origin Server on given Sitesto specify the origin server with its K8s service name. Enter the service name in theService Namefield. SelectSiteorVirtual Siteoption in theSite or Virtual Sitemenu. Select a site or virtual site according to the displayedSiteorVirtual Sitemenu. Select inside or outside network option for theSelect Network on the sitemenu. -
Select
Consul Service Name of Origin Server on given Sitesto specify the origin server with its consul service name. Enter the service name in theService Namefield in the<servicename.k8snamespace>format. SelectSiteorVirtual Siteoption in theSite or Virtual Sitemenu. Select a site or virtual site according to the displayedSiteorVirtual Sitemenu. Select inside or outside network option for theSelect Network on the sitemenu. -
Select
IP address on Virtual Networkto specify the origin server with its virtual network IP address. Enter the IP address in theIPfield. Select the virtual network from theVirtual Networkmenu. -
Select
Name on Virtual Networkto specify the origin server with its virtual network name. Enter a DNS name for the virtual server in theDNS Namefield. Select the virtual network from theVirtual Networkmenu. -
Select
Custom Endpoint Object for Origin Serverto specify the origin server on an endpoint object. Select the reference to the endpoint from theEndpointmenu. An existing endpoint object is required for this.
-
-
Click
Apply.
-
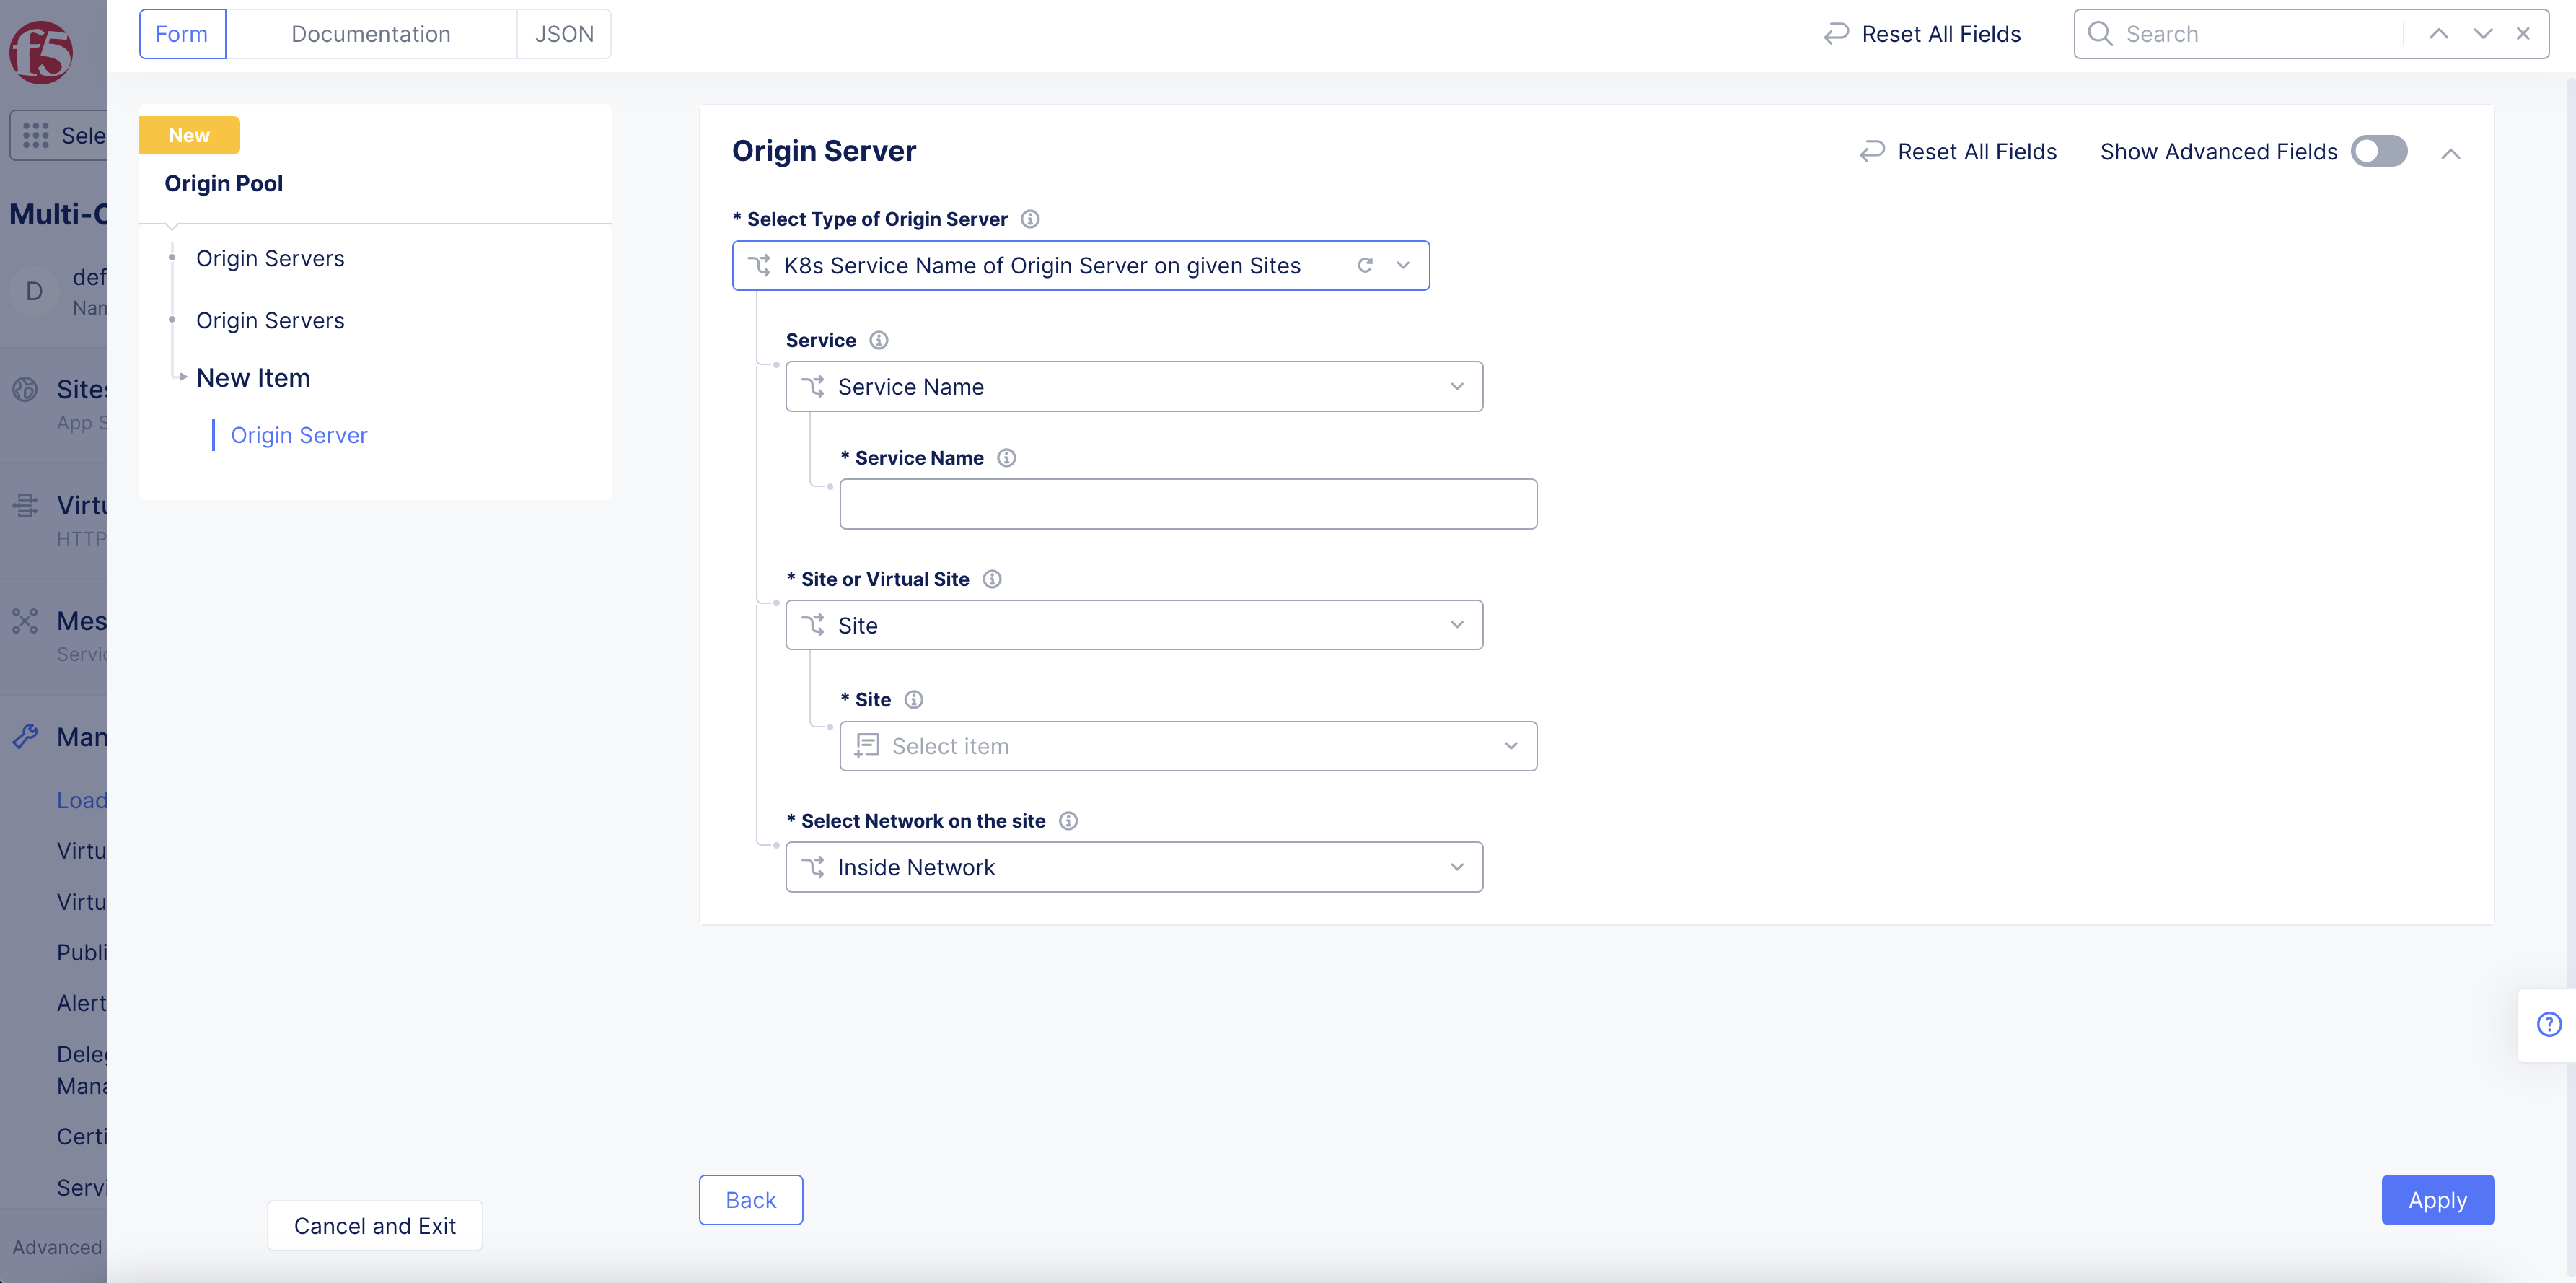
Figure: Configure Origin Server
Note: You can use the
Add Itemoption to add more than one origin server.
Note: If you have created an internet VIP in order to use the AWS Internet Network Load Balancer (NLB) VIP, the origin server type must be set to either
Public DNS Name of Origin ServerorDNS Name of Origin Server on given Sites. For more information, see Create AWS Site.
-
Use the
Origin server Portdrop-down menu to select a port type:Port: Enter a port number in thePortfield.Automatic Port: For Consul service discovery, the port will be automatically discovered as part of service discovery. For other origin server types, the port will be automatically set to 443 if TLS is enabled or 80 if TLS is disabled.Loadbalancer port: The endpoint is selected based on the load balancer port.
-
From the
Select upstream connection pool reuse statemenu, optionally choose to disable the upstream connection pool reuse state for every downstream connection. Connection pool reuse is enabled by default. When connection pool reuse is enabled, Distributed Cloud can reuse existing upstream connections to proxy the requests from multiple downstream connections. This eliminates the time needed to open a new server-side connection for every client connection and reduces the overall latency. When connection pool reuse is disabled, Distributed Cloud opens a new upstream connection for every downstream connection. This feature is only available for HTTPS load balancers. -
From the
Port used for health checkmenu, select an option. -
Select an option from the
LoadBalancer AlgorithmandEndpoint Selectionmenus.
Note: See Discovery - HashiCorp Consul for information on how to discover Consul services.
Step 4: Optionally, configure health checks.
-
Select from the left menu or scroll down to the
Health Checkssection. -
Click
Add item. -
From the
Health Check objectmenu, select an existing healthcheck object or clickAdd Itemto create a new object.
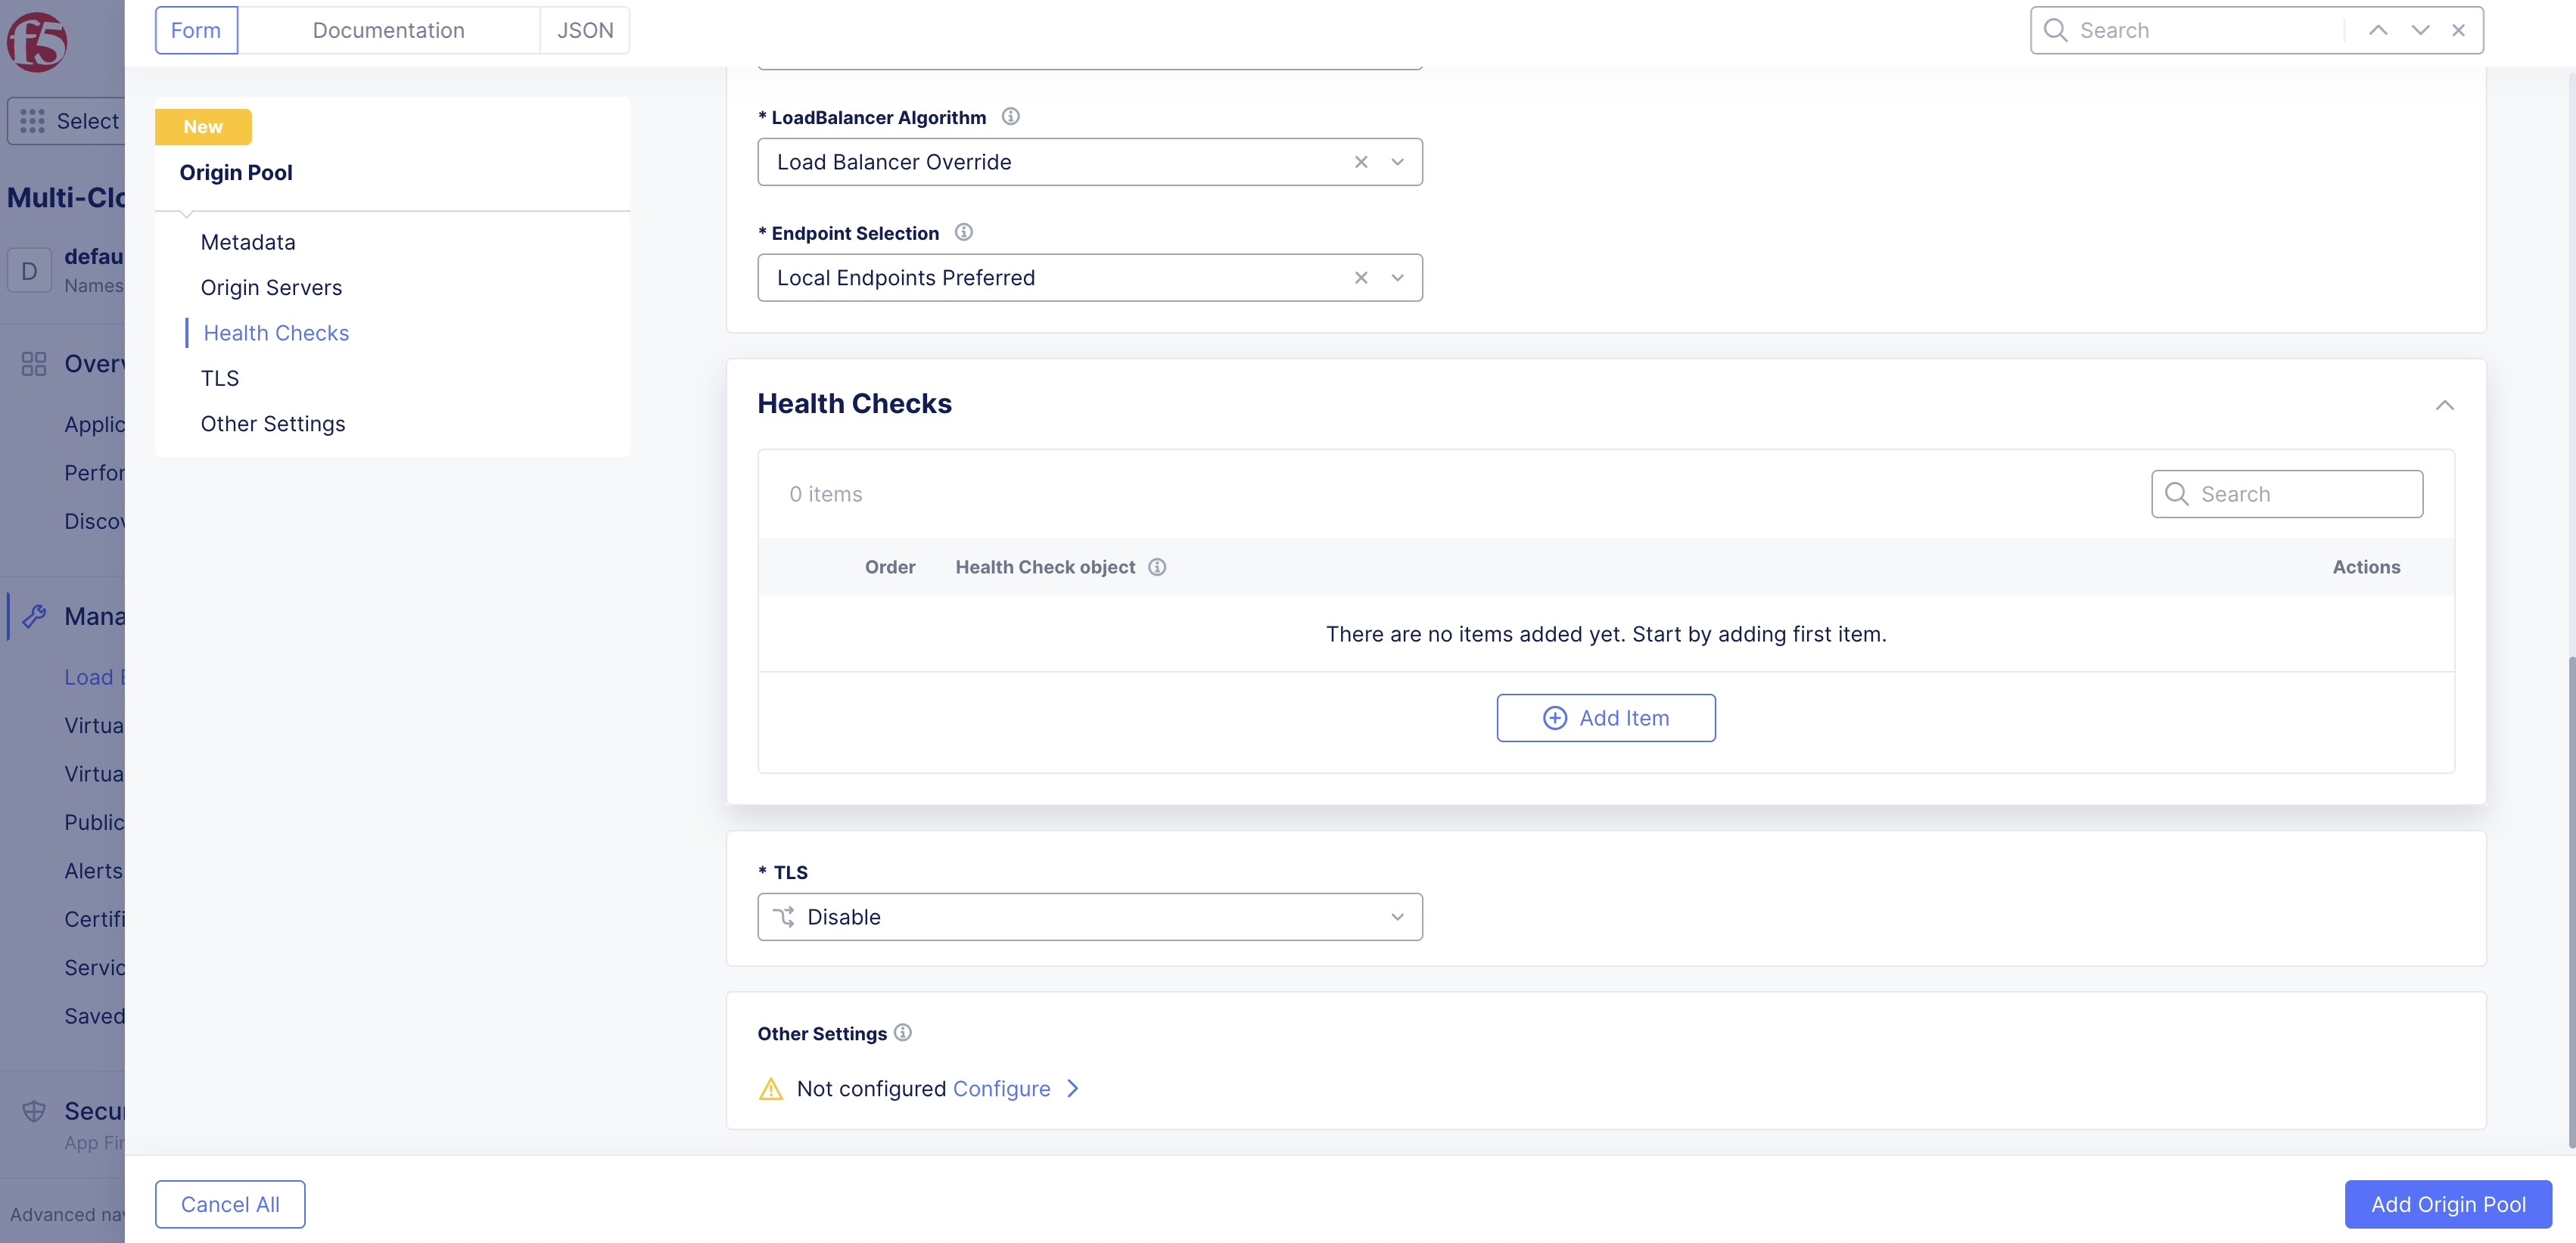
Figure: Configure Health Check
-
To create a new healthcheck, perform the following:
-
Enter a name. Optionally, set labels and add a description in the
Metadatasection. -
From the
Health Checkmenu, select an option. Then clickView Configurationto complete the setup. -
Enter values in seconds for the
TimeoutandIntervalfields, respectively. -
Enter numbers for the unhealthy and healthy threshold attempts for the
Unhealthy ThresholdandHealthy Thresholdfields, respectively. -
Click
Continue.
-
Step 5: Optionally, set TLS configuration.
-
From the left menu, select
TLS. -
From the
TLSmenu, selectEnable. The default option is set toDisable.
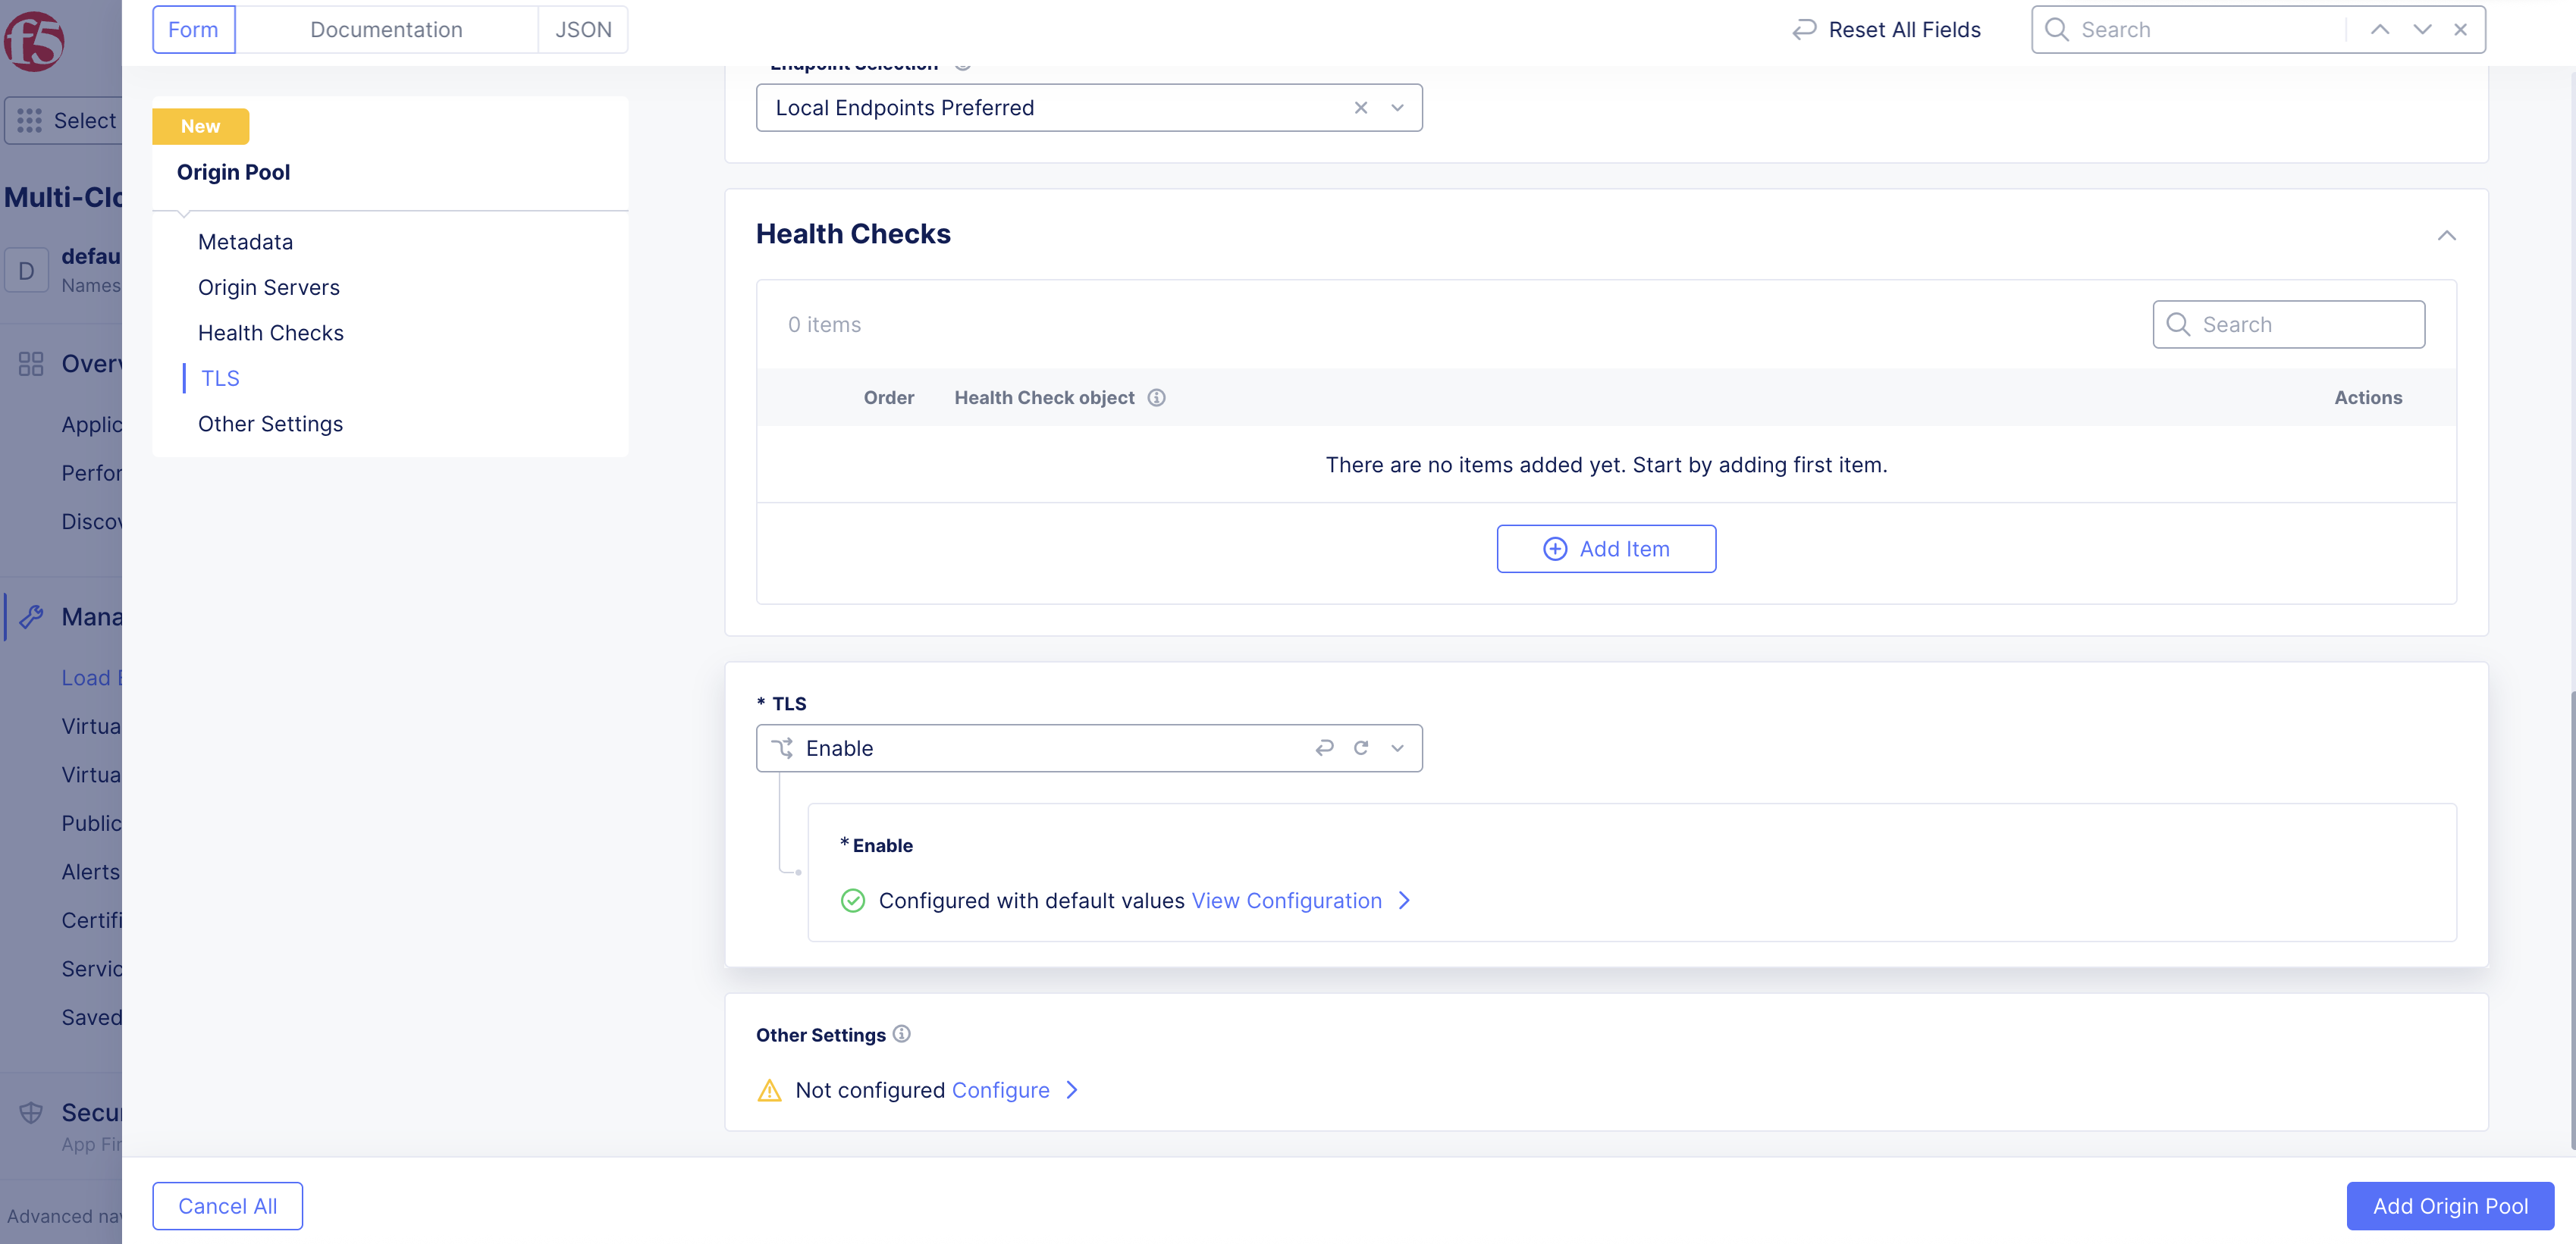
Figure: Configure TLS
-
From the
SNI Selectionmenu, select an option. If you selectSNI Value, then you must enter a corresponding value. You can disable SNI selection by selectingNo SNI. -
From the
TLS Security Levelmenu, select a security level.Highsecurity is selected by default. If you selectCustom, complete the parameters. -
From the
Origin Server Verificationmenu, select an option for the trusted CA URL. If you selectUse Custom CA List, you can enter it in certain formats by choosing from the options available. You can also skip origin server verification by selectingSkip Verification. -
From the
mTLS with Origin Serversmenu, choose an option from the following:-
Disable: Default option. Client authentication is not required. -
Select/add a TLS Certificate object for client authentication: This option enables you to create a new TLS certificate or select an existing TLS certificate from Certificates Management. -
Upload a client authentication certificate specifically for this Origin Pool: This option enables you to upload a TLS certificate for this origin pool specifically. To upload, clickConfigure.
-
Step 6: Optionally, set the advanced options.
-
Select from the left menu or scroll down to the
Other Settingssection. -
Click
Configure. -
Configure the options marked with an asterisk (
*). -
In the
Origin Server Subsetssection, choose an option to enable or disable subset load balancing. -
In the
Miscellaneous Optionssection, choose to enable the HTTP 2 protocol for upstream connections.
Note: Protocol extensions such as “X-Forwarded-For” header for HTTP require knowledge of the underlying protocol (such as HTTP). For layer 4 applications, F5 Distributed Cloud Load Balancers now support versions 1 (human-readable format) and version 2 (binary format) of the PROXY protocol (PROXY protocol spec), which conveys the original connection parameters, such as the client IP address, to the back-end servers. Use the
Proxy Protocol Configurationdrop-down menu to select the appropriate version.
- Click
Apply.
Step 7: Complete origin pool creation.
Click Save and Exit to complete creating the origin pool.