Create Container Registry
Objective
This document provides instructions on how to create a container registry with F5® Distributed Cloud Services and use it with virtual K8s (vK8s). Distributed Cloud Services provide a mechanism to easily deploy applications using vK8s. To learn more about how Distributed Cloud Services distribute application deployment, see Distributed Application Management.
A container registry object is used to configure a private docker/container image registry from which the application container images are fetched.
Note: To deploy applications on your sites, first create a vK8s object per the instructions in the Create Virtual K8s Object document.
Using the instructions provided in this guide, you can create a container registry object in F5® Distributed Cloud Console (Console) for your application images and then use the object in vK8s deployments.
Prerequisites
-
An F5 Distributed Cloud Account. If you do not have an account, see Getting Started with Console.
-
An application image hosted on a registry server. It is required that you have access to the registry server.
Restrictions
None.
Configuration
Configuration Sequence
Deploying applications with Distributed Cloud Services requires you to perform the following sequence of steps:
| Phase | Description |
|---|---|
| Create Container Registry | Create container registry object in Console. |
| Deploy to vK8s Using Container Registry | Deploy the applications to vK8s using the container registry object. |
Create Container Registry
You can create a container in Distributed Apps and Shared Configuration workspaces. This example shows creating it in the Distributed Apps.
Step 1: Start creating container registry object.
- Log into Console and click
Distributed Apps.
Figure: Console Homepage
-
Click
Applications>Container Registries. -
Click
Add Container Registryto open the container registry creation form.
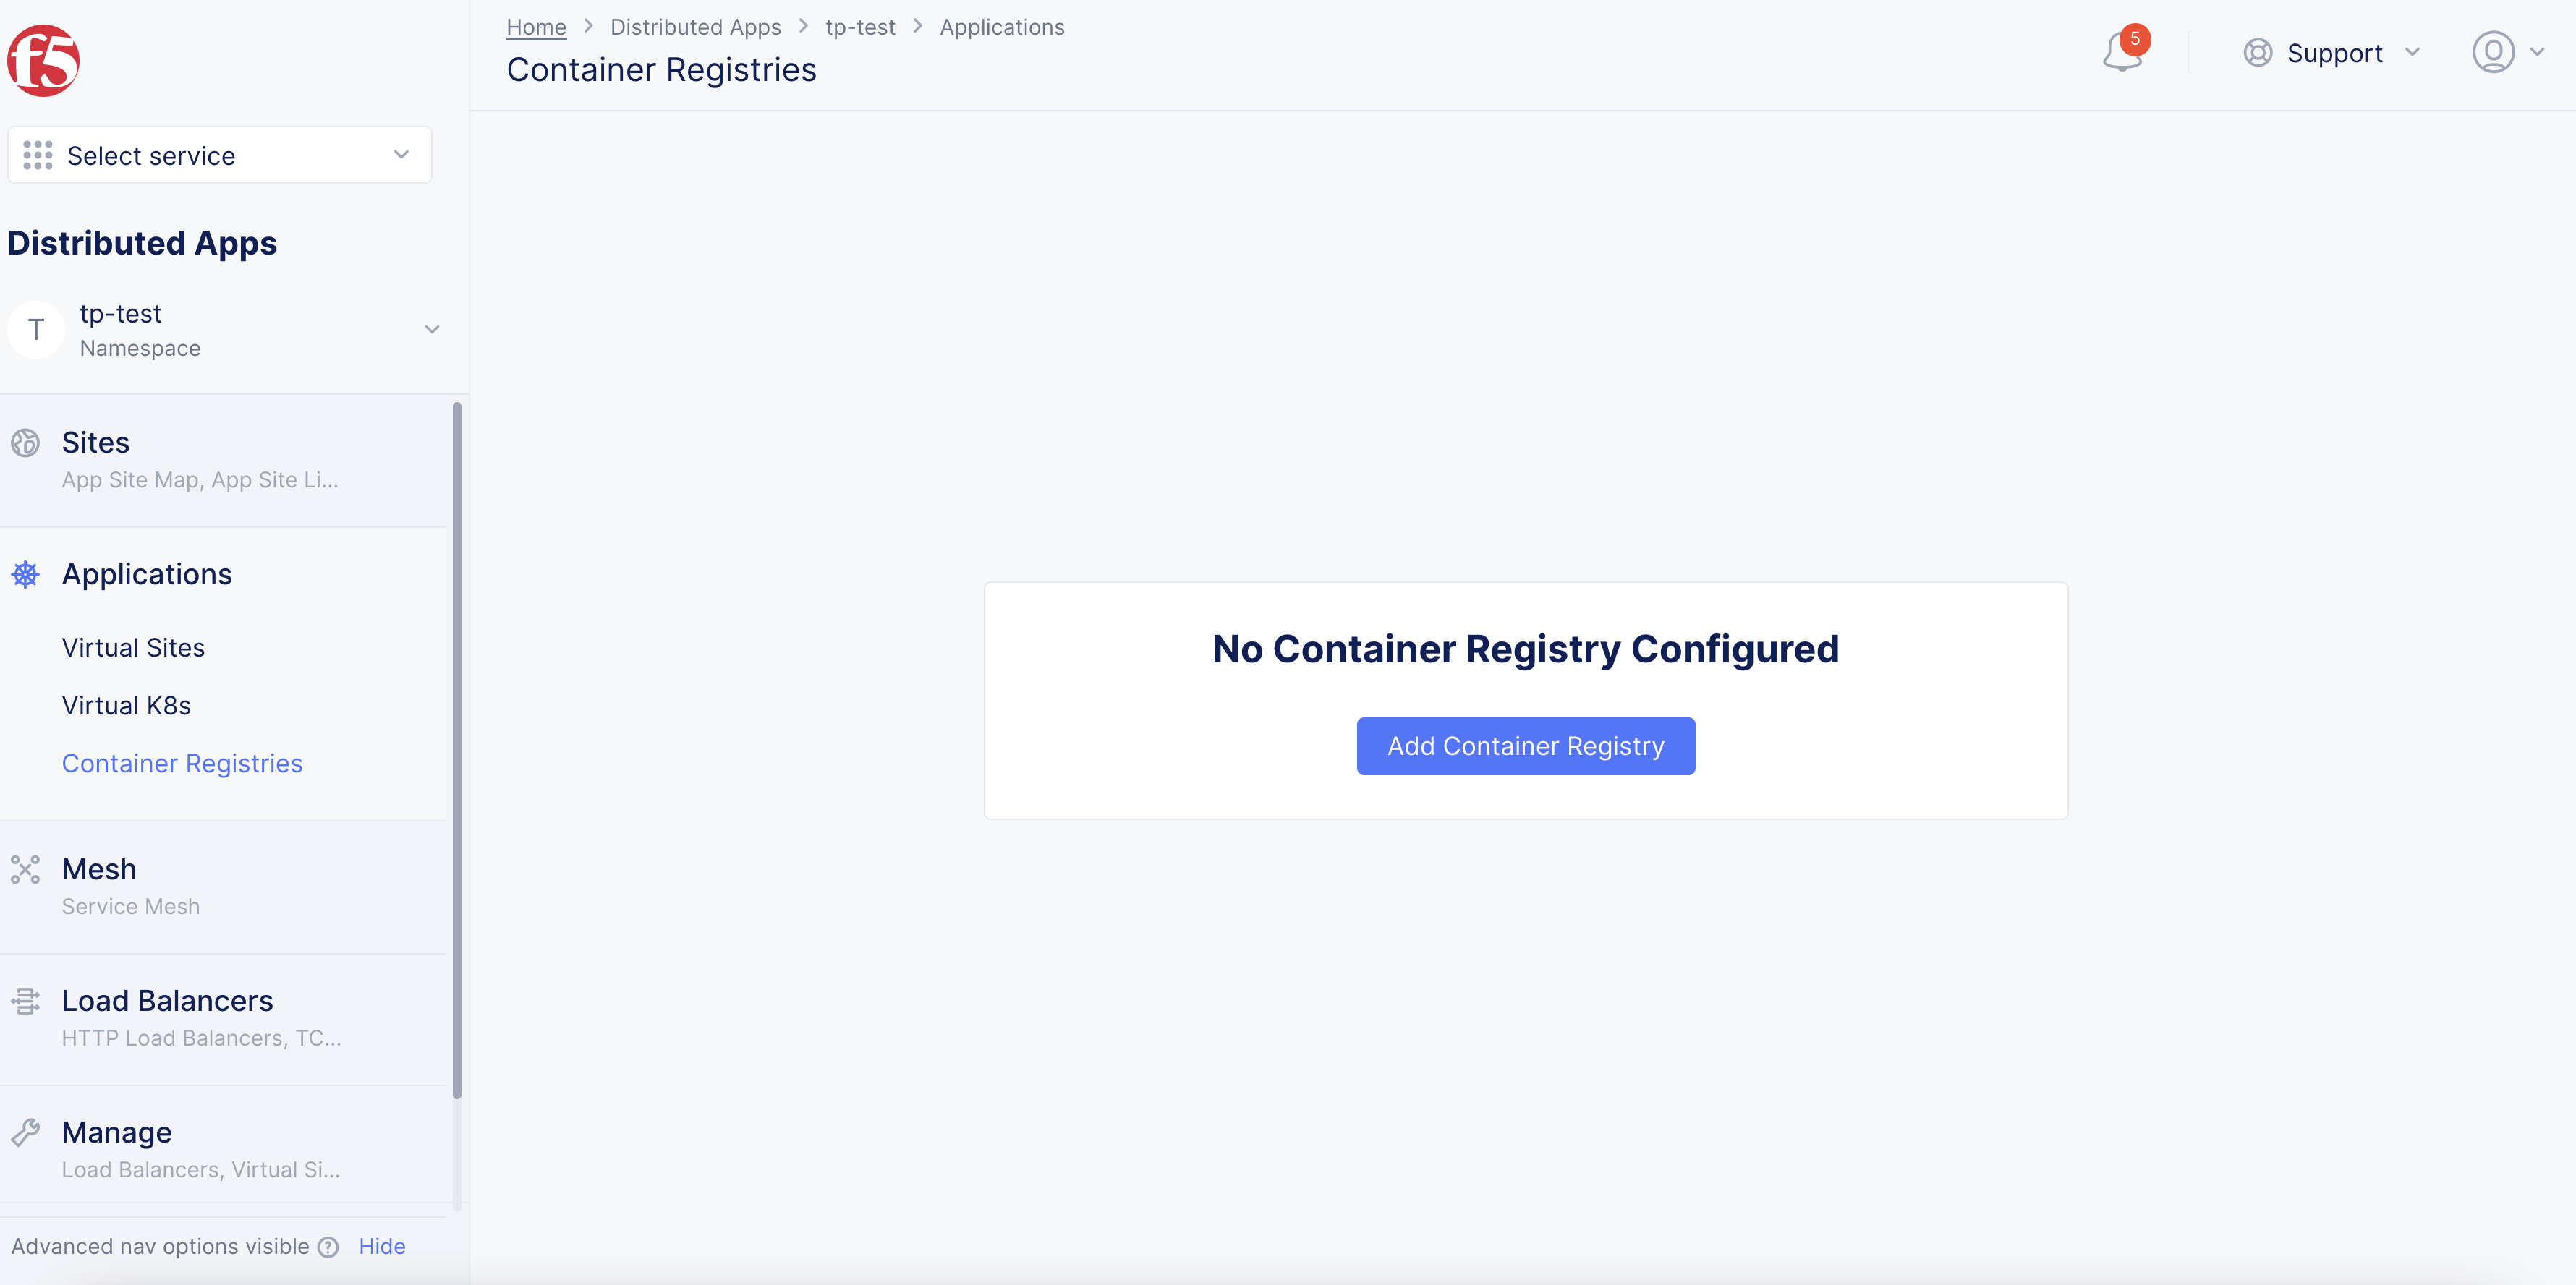
Figure: Navigate to Container Registry
Step 2: Configure metadata and the registry server.
-
In the
Namefield, enter a name. -
Optionally, set labels and description for your container registry object.
-
In the
Server FQDNfield, enter the fully qualified domain name (FQDN) for your registry server.
Note: In case you are using Docker Hub as your registry server, use
docker.ioas the FQDN.
- In the
User Namefield, enter a username for the registry login.
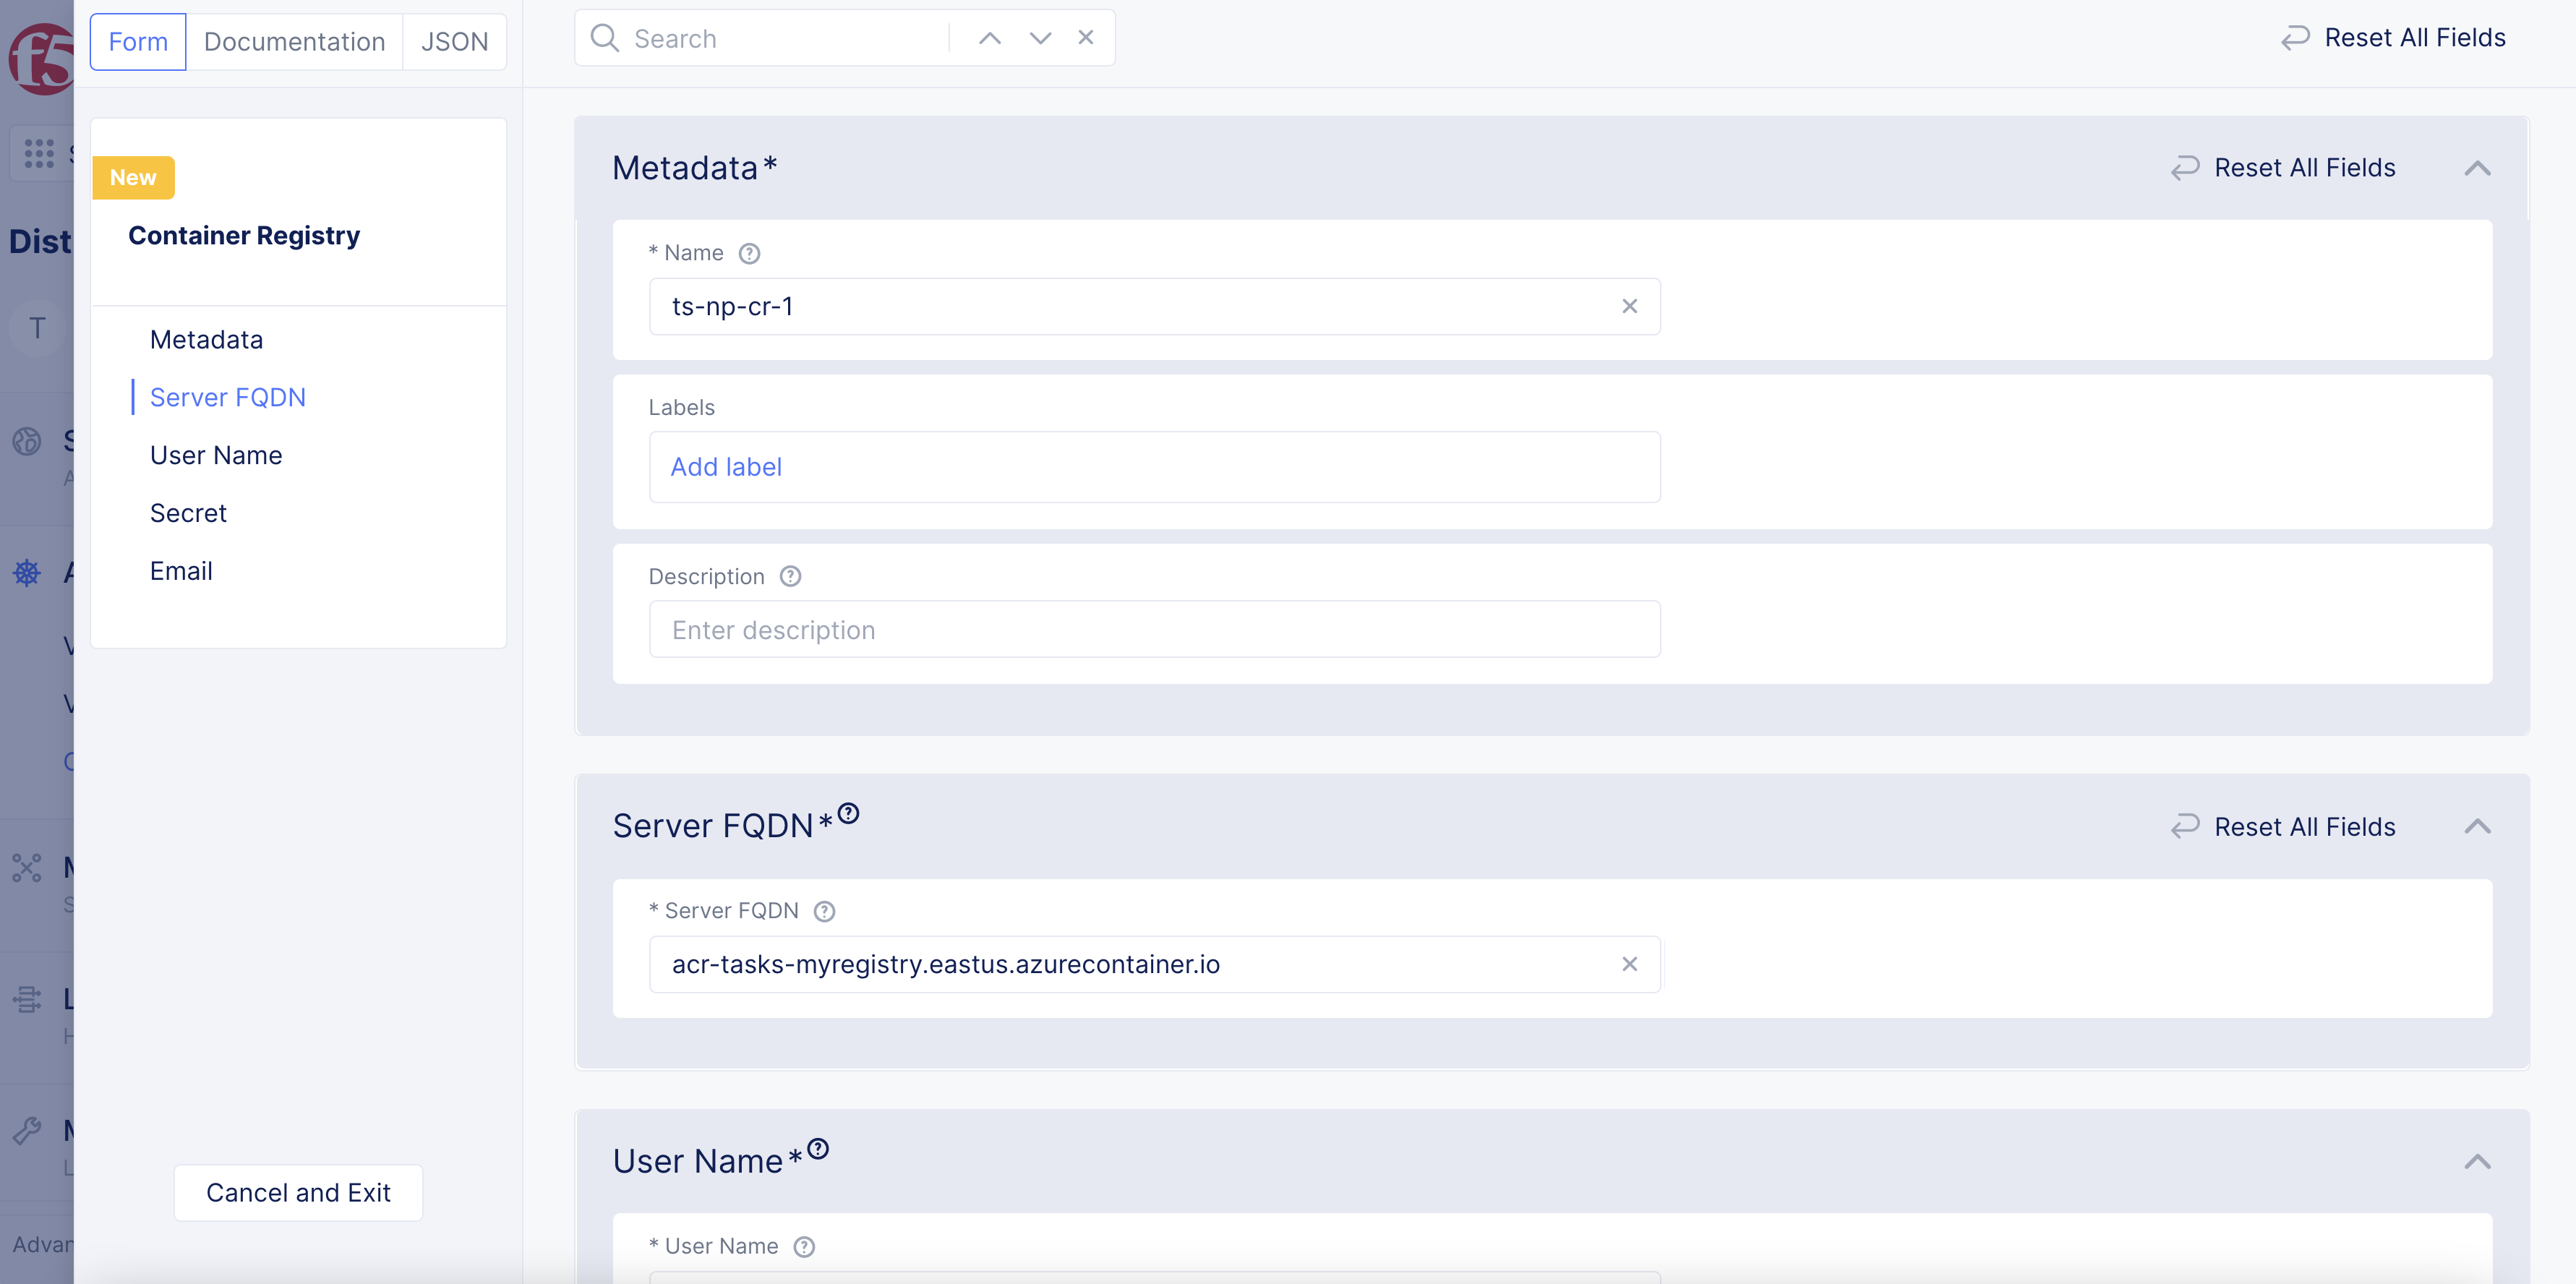
Figure: FQDN and Username
Step 3: Configure secret for the password.
-
In the
Passwordfield, clickConfigureto open the secret configuration page. -
From the
Secret Infomenu, select an option:-
Blindfold Secret: This option is used for secrets managed by Distributed Cloud Services. -
Clear Secret: This option is used for secrets that are not encrypted.
-
-
Ensure that the
Textoption is selected. -
Enter your password in the secret page and then click
Blindfold.
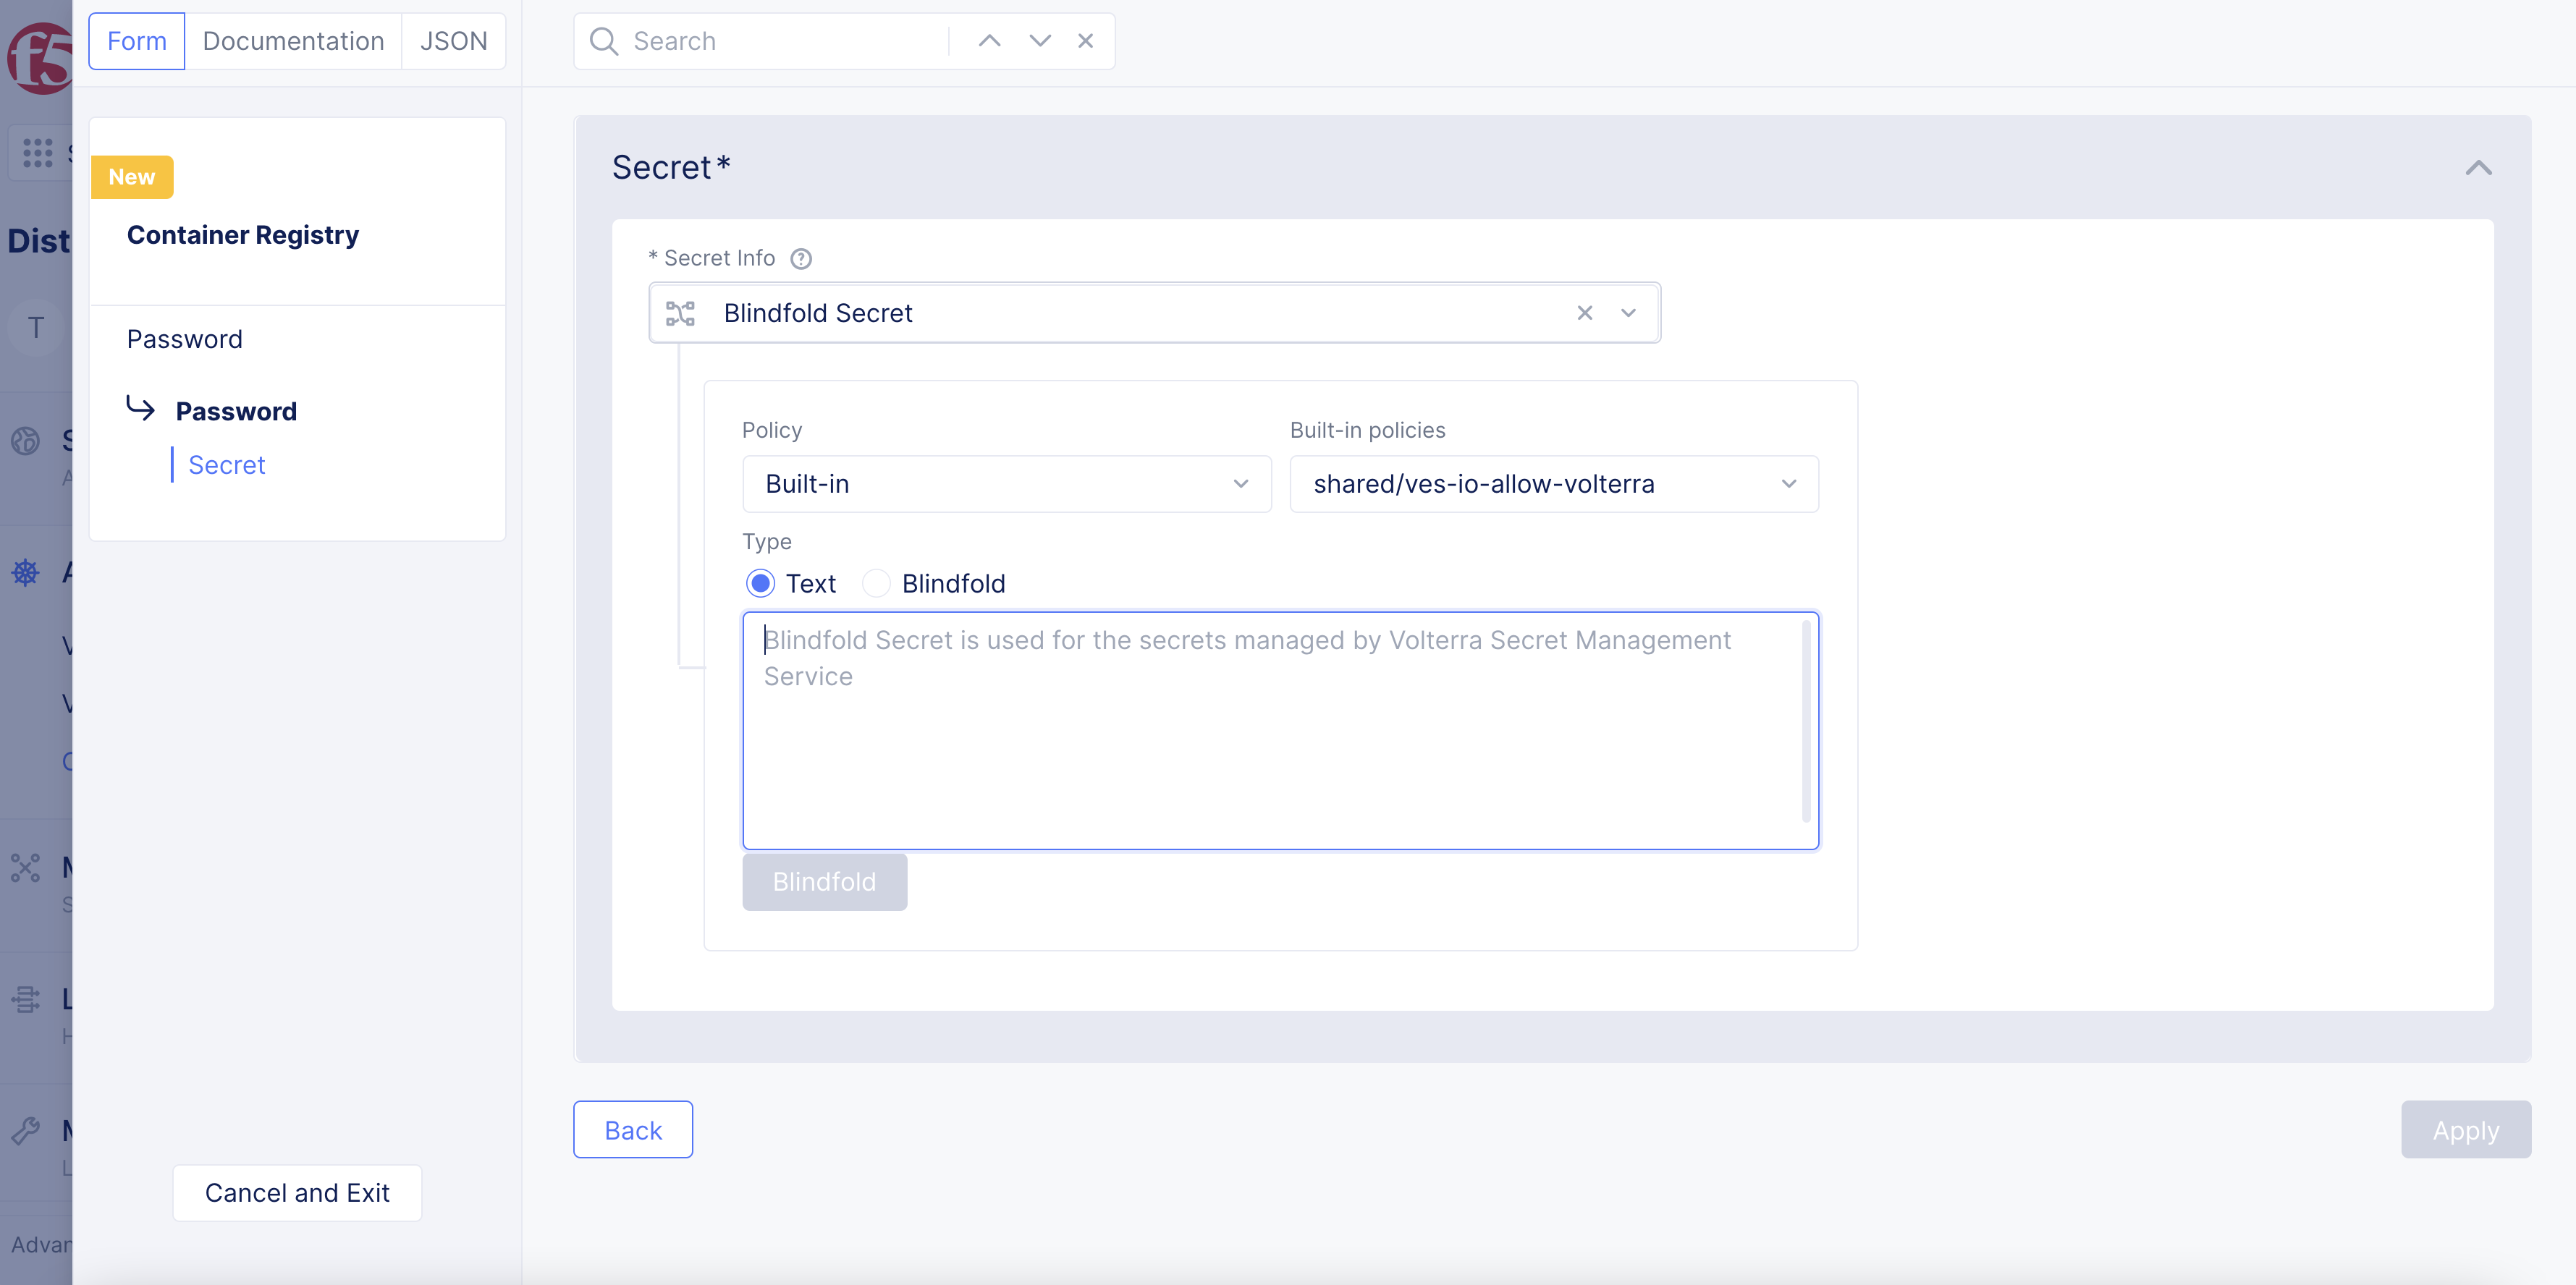
Figure: Secret Options for Encryption
- Wait for the encryption to complete and then click
Apply.
Step 4: Optionally, enter an email address for the secret.
-
In the
Emailfield, clickShow Advanced Fields. -
Enter an email address that will be used for the registry.
Step 5: Complete creating the container registry.
Click Save and Exit to complete creating the container registry object.
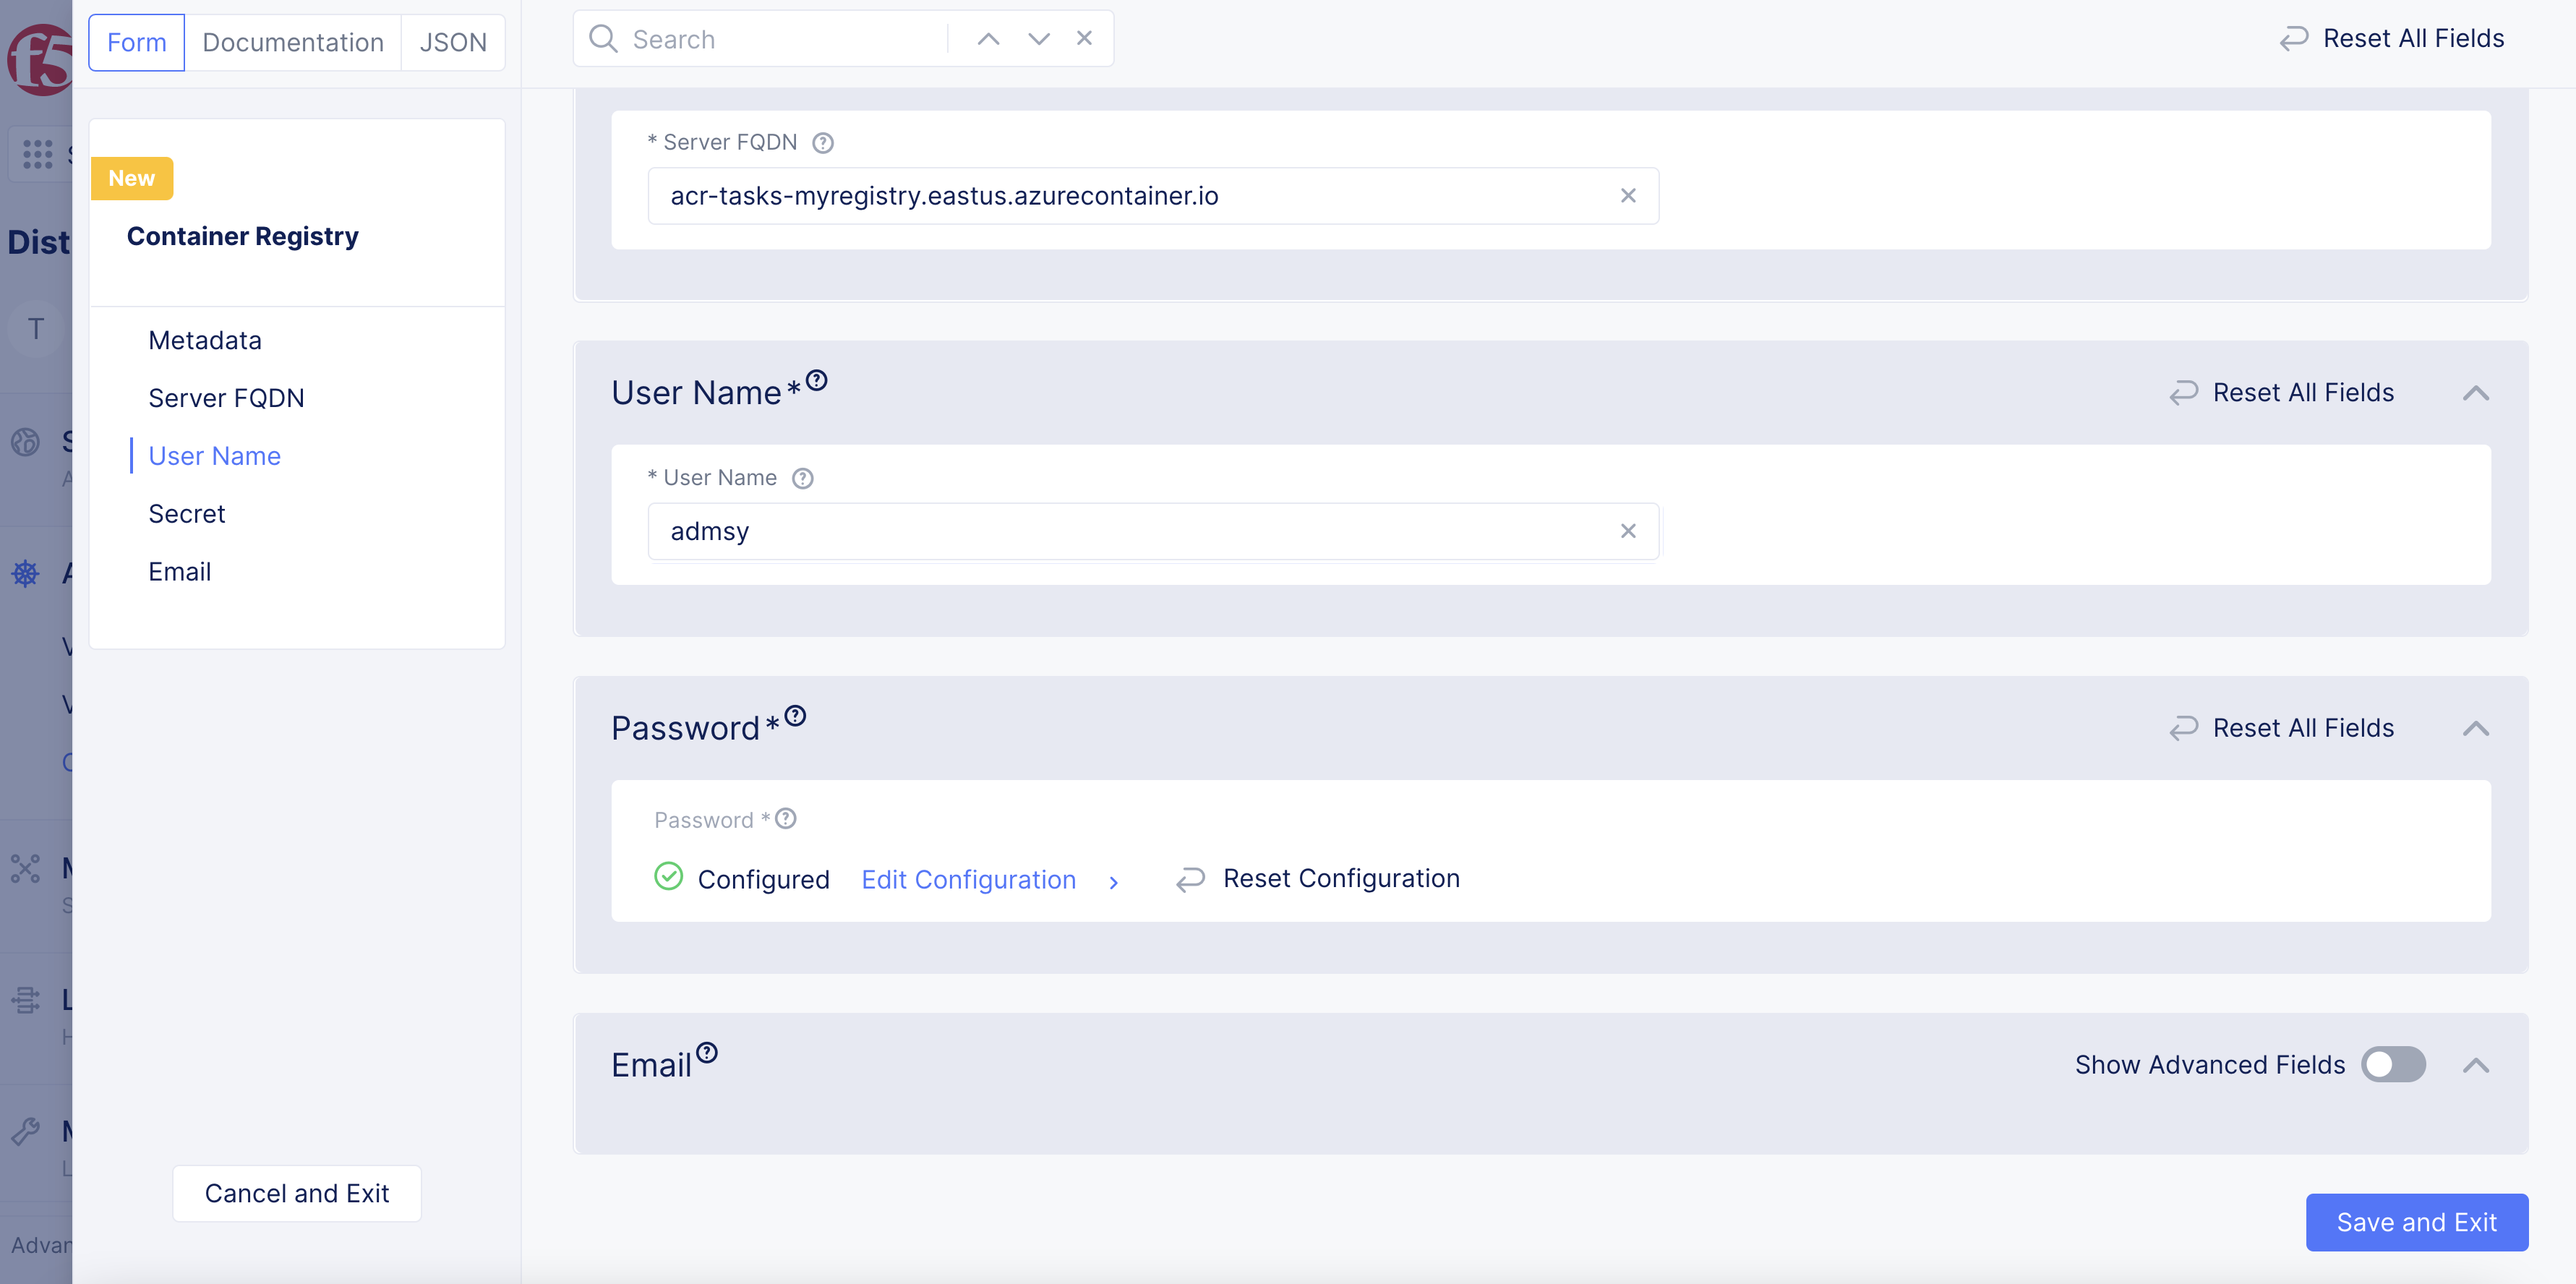
Figure: Container Registry Created
Deploy to vK8s Using Container Registry
Deploy Kubernetes objects to vK8s using the container registry object created.
Note: This step shows sample for a simple service workload. For detailed instructions on configuring workloads, see vK8s Workload.
Perform the following steps in Console:
Step 1: Navigate to your vK8s object.
- Click
Applications>Virtual K8s.
Step 2: Deploy the web application.
-
For your vK8s object, click the
Workloadstab. -
Click
Add vK8s workload. -
Enter a name for workload and select an option from the
Select Type of Workloadmenu, and then clickConfigure. -
Click
Configure. -
Enter the container name and image name in the
NameandImage Namefields, respectively.
Note: In case your registry is Docker Hub, then the value of
Image Namefield should be specified in thedocker.io/<path>:<imagetag>format.
-
From the
Select Container Registrymenu, selectPrivate Registry. -
Click in the
Private Registryfield and select the container registry you created in the previous chapter from the displayed list.
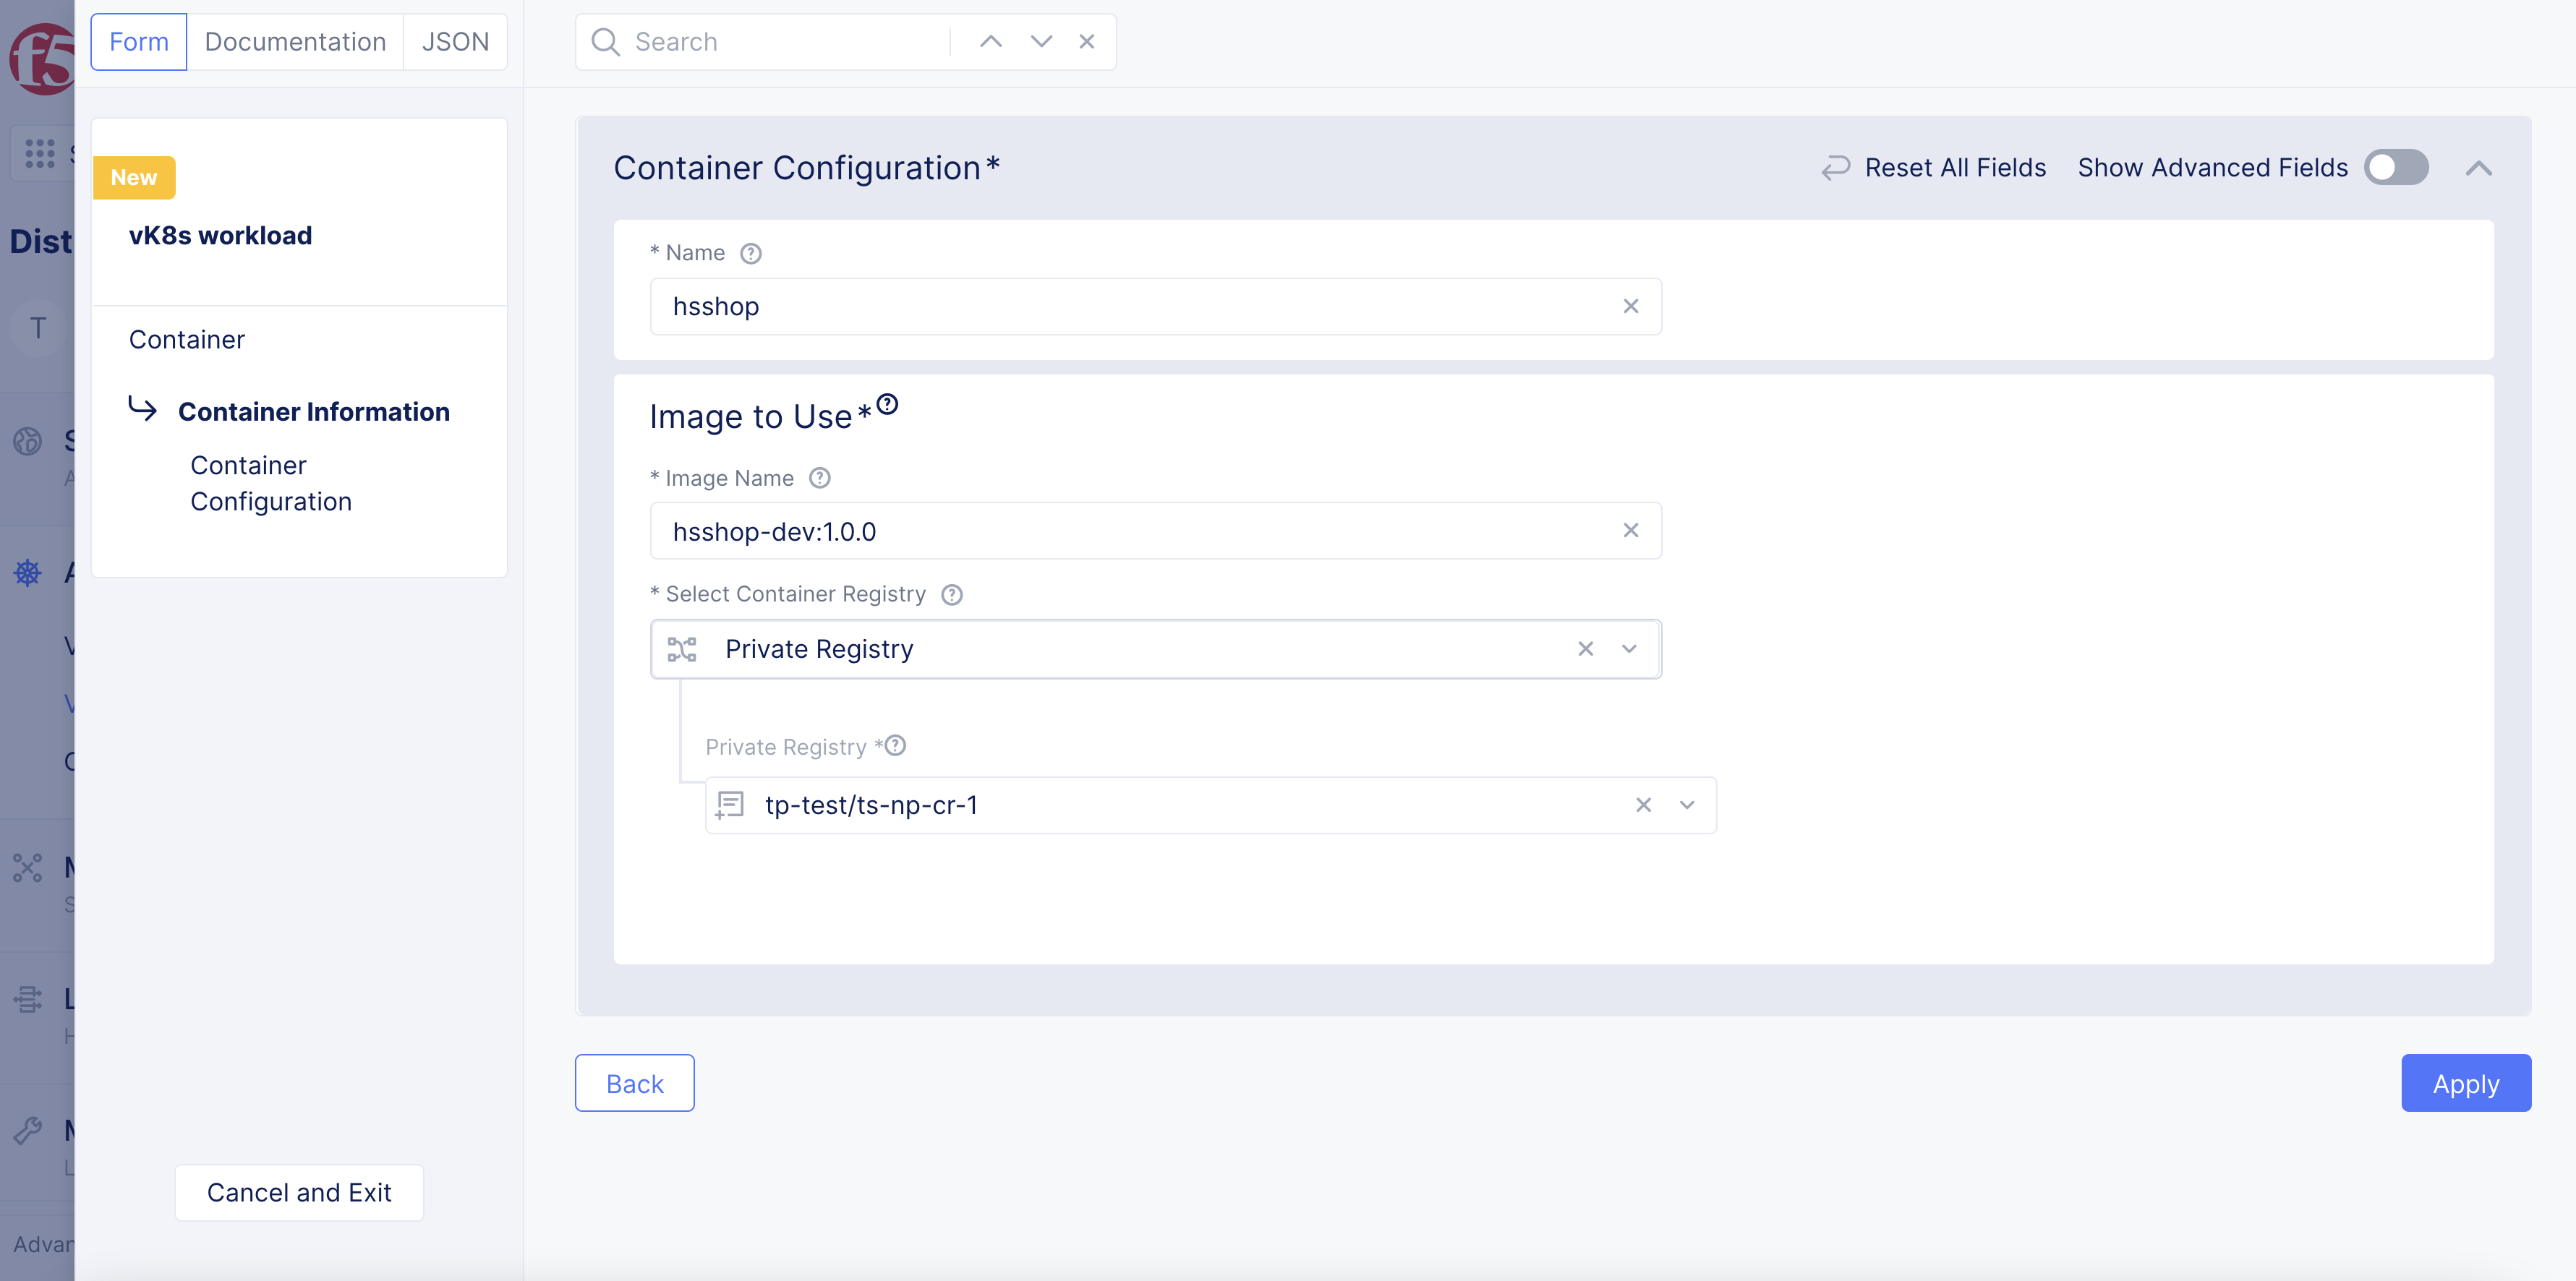
Figure: Container Registry for Workload
-
In the
Advertise Optionssection, enter domains in theList of Domainfield. -
In the
Service Portfield, enter a service port to advertise on the internet. -
Click
Apply. -
Click
Save and Exitto create the workload. This will deploy your applications to vK8s.