Quickstart
Objective
This document provides details for quick setup of the F5 Volterra Industrial Gateway (IGW) 5000 series devices. For more information on IGW, see Specifications and User Manual.
Using the instructions provided in this guide, you can quickly set up your IGW device and perform site registration for the device.
IGW Equipment Reference
The following table lists out the components shipped along with your IGW device:
| Component | Image | Quantity | Description |
|---|---|---|---|
| DIN Brackets |  | 2 | Brackets for mounting IGW device. |
| Wi-Fi Antennas | 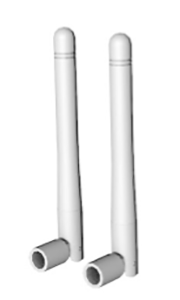 | 2 | Antennas for Wi-Fi connection. |
| LTE Antennas | 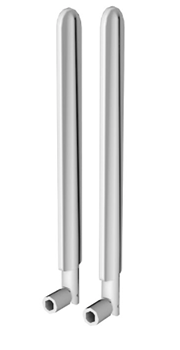 | 2 | Antennas for wireless LTE connection. |
| GNSS Antenna | 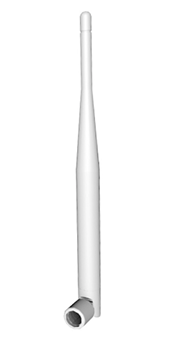 | 1 | Antenna for satellite connection. |
| Power Terminal Block Module | 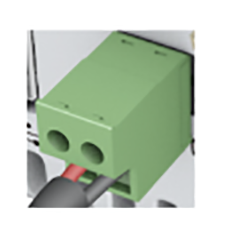 | 1 | Power module to connect input power supply. |
| Power Cable Clamp |  | 1 | Clamp to hold the power cable. |
LCD and LEDs
Your IGW consists of a power LED and a system LED. It also has an LCD screen and associated 4 quick-action buttons.
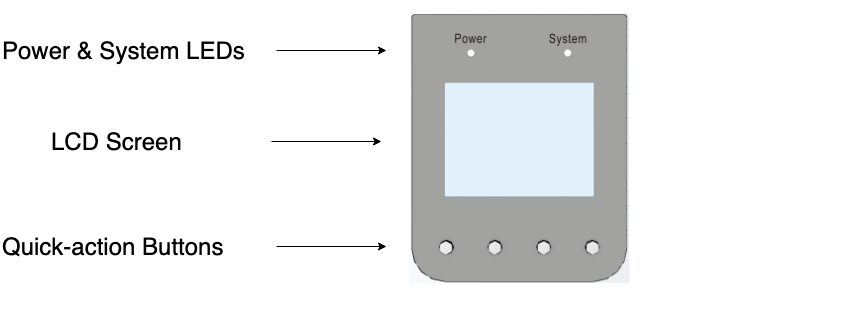
The following are the functions of the quick-action buttons (in the order of left to right):
- First button is for navigating
UP. - Second button is for navigating
Down - Third button is for context-dependent functions.
- Fourth button is for selection or for the return to
Backfunction.
Setup IGW
The IGW quick setup includes connecting the WAN or LAN ports, performing local configuration, and completing site registration.
Connect IGW
Perform the following steps after unboxing your IGW:
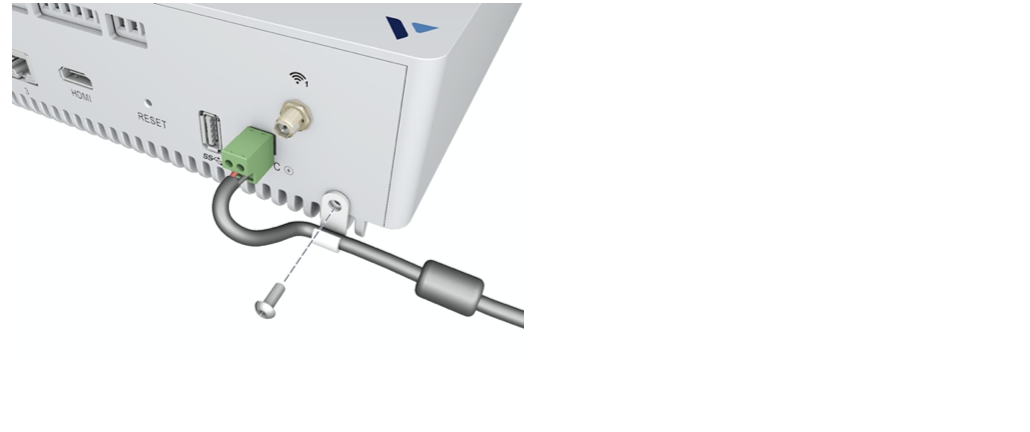
Step 1: Connect power cable.
-
Securely attach the power clamp to your IGW.
-
Connect the power cable.
Step 2: Connect Wi-Fi, LTE,and GNSS antennas.
- Attach the antennas at the positions shown in the following image:
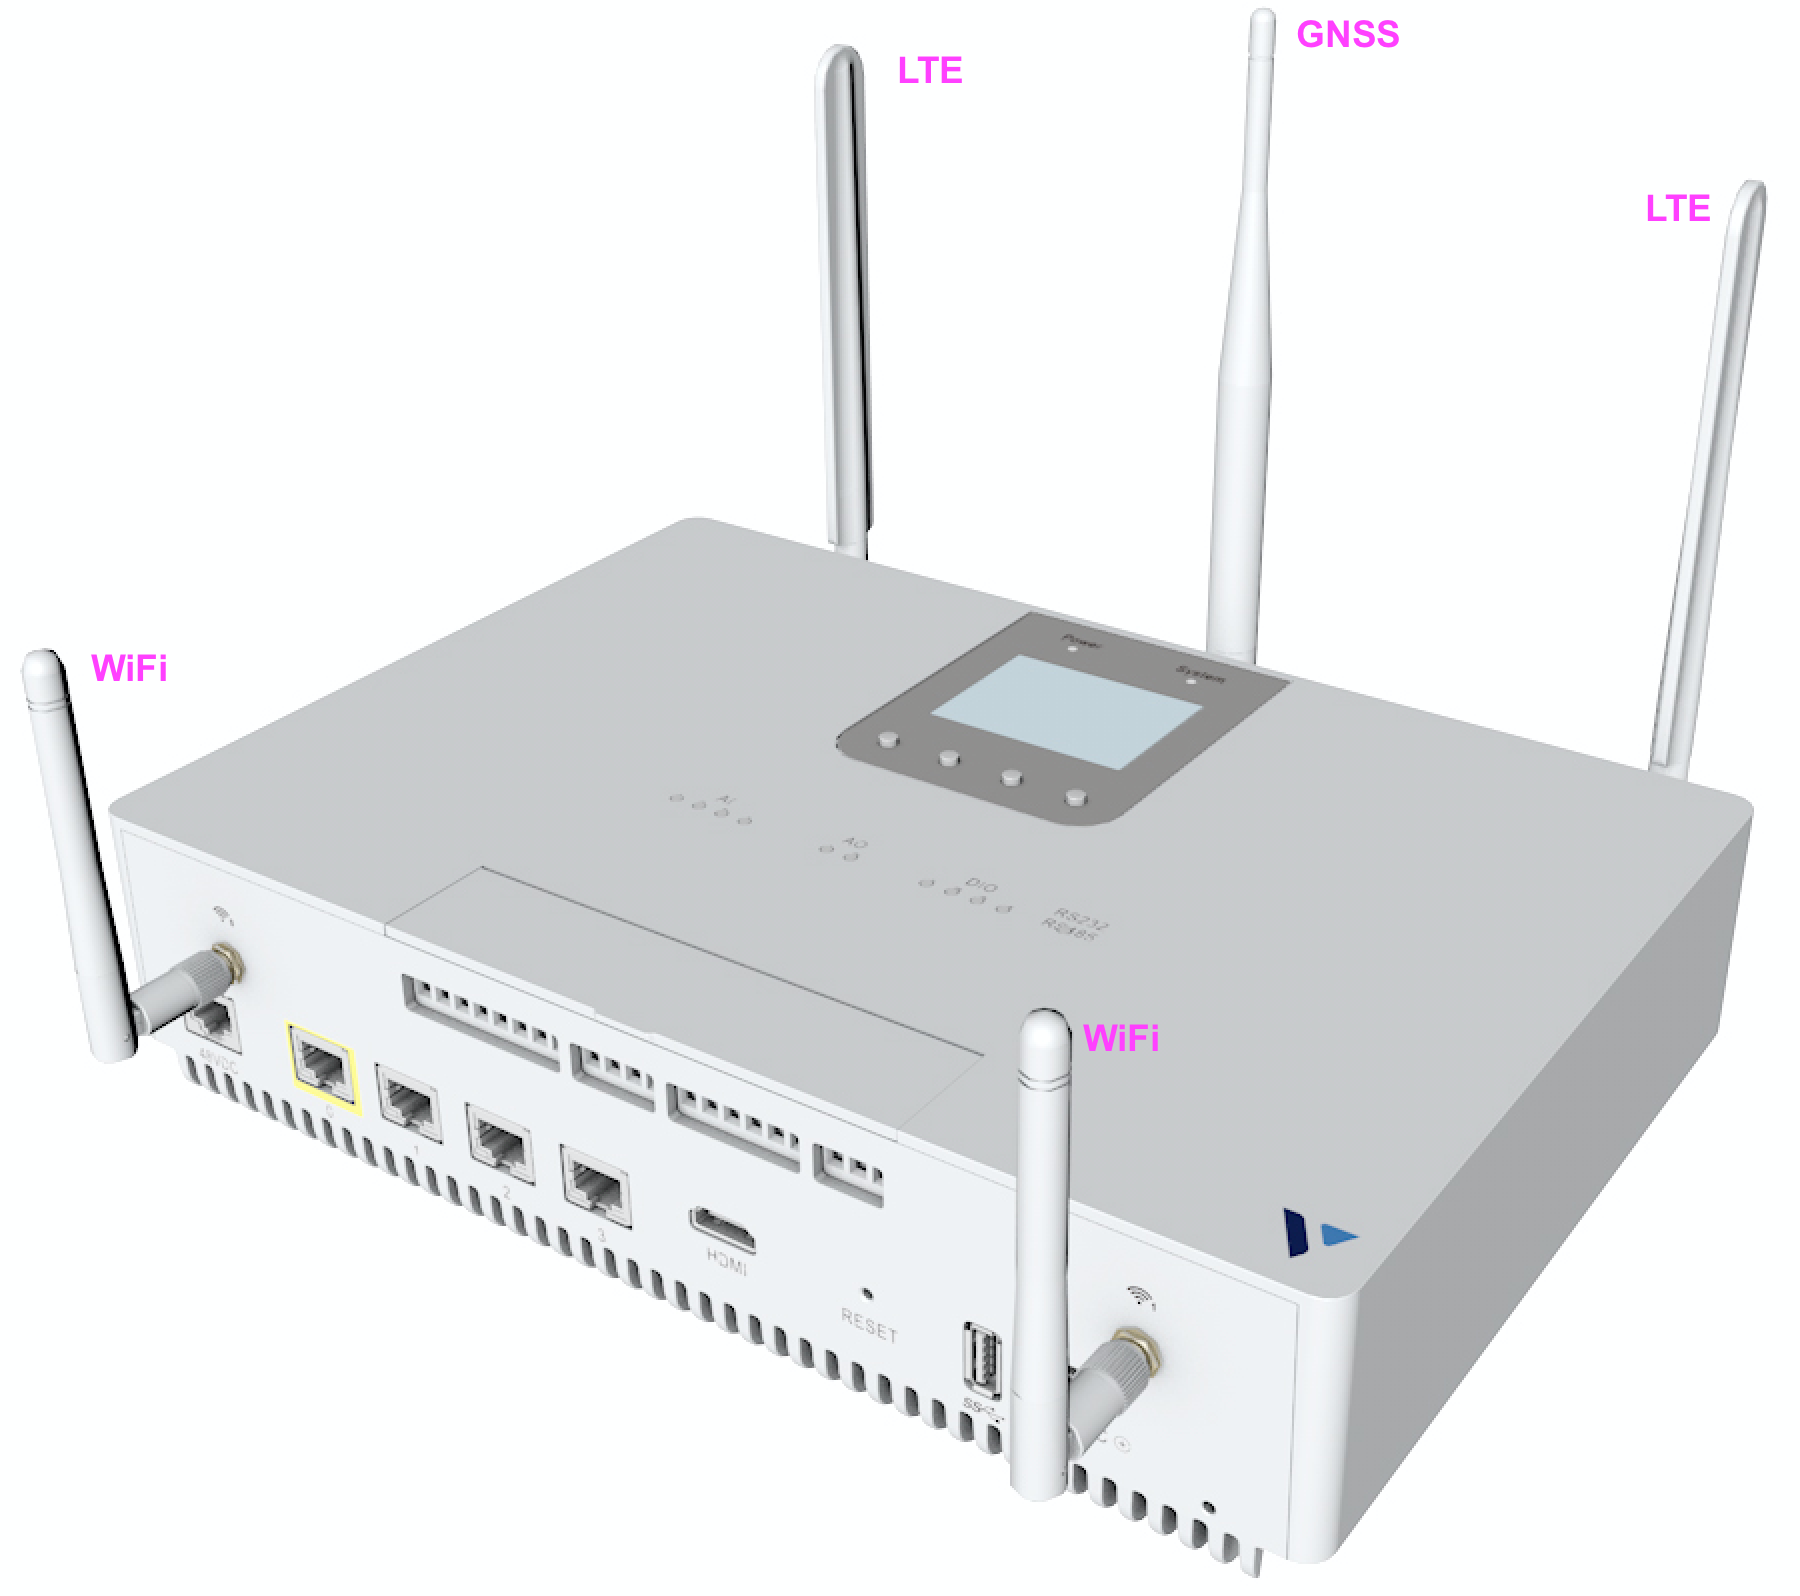
Note: Attach the antennas by inserting them as shown and rotating in clock-wise direction.
- Insert the LTE SIM card in the slot as shown in the following image:

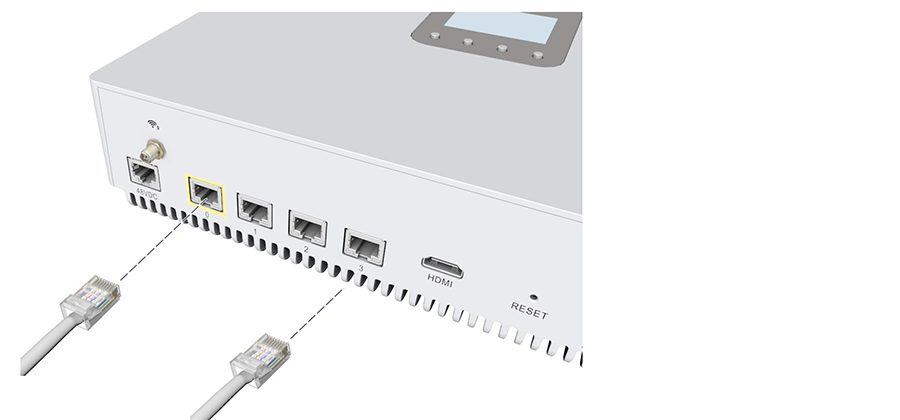
Step 3: Connect to WAN.
- Connect your WAN interface to Port 0.
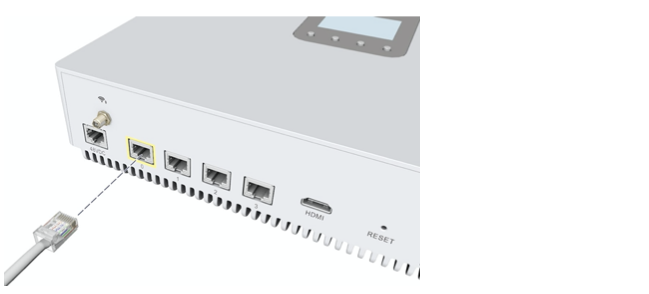
- Note down the IP displayed on the LCD screen of the IGW.
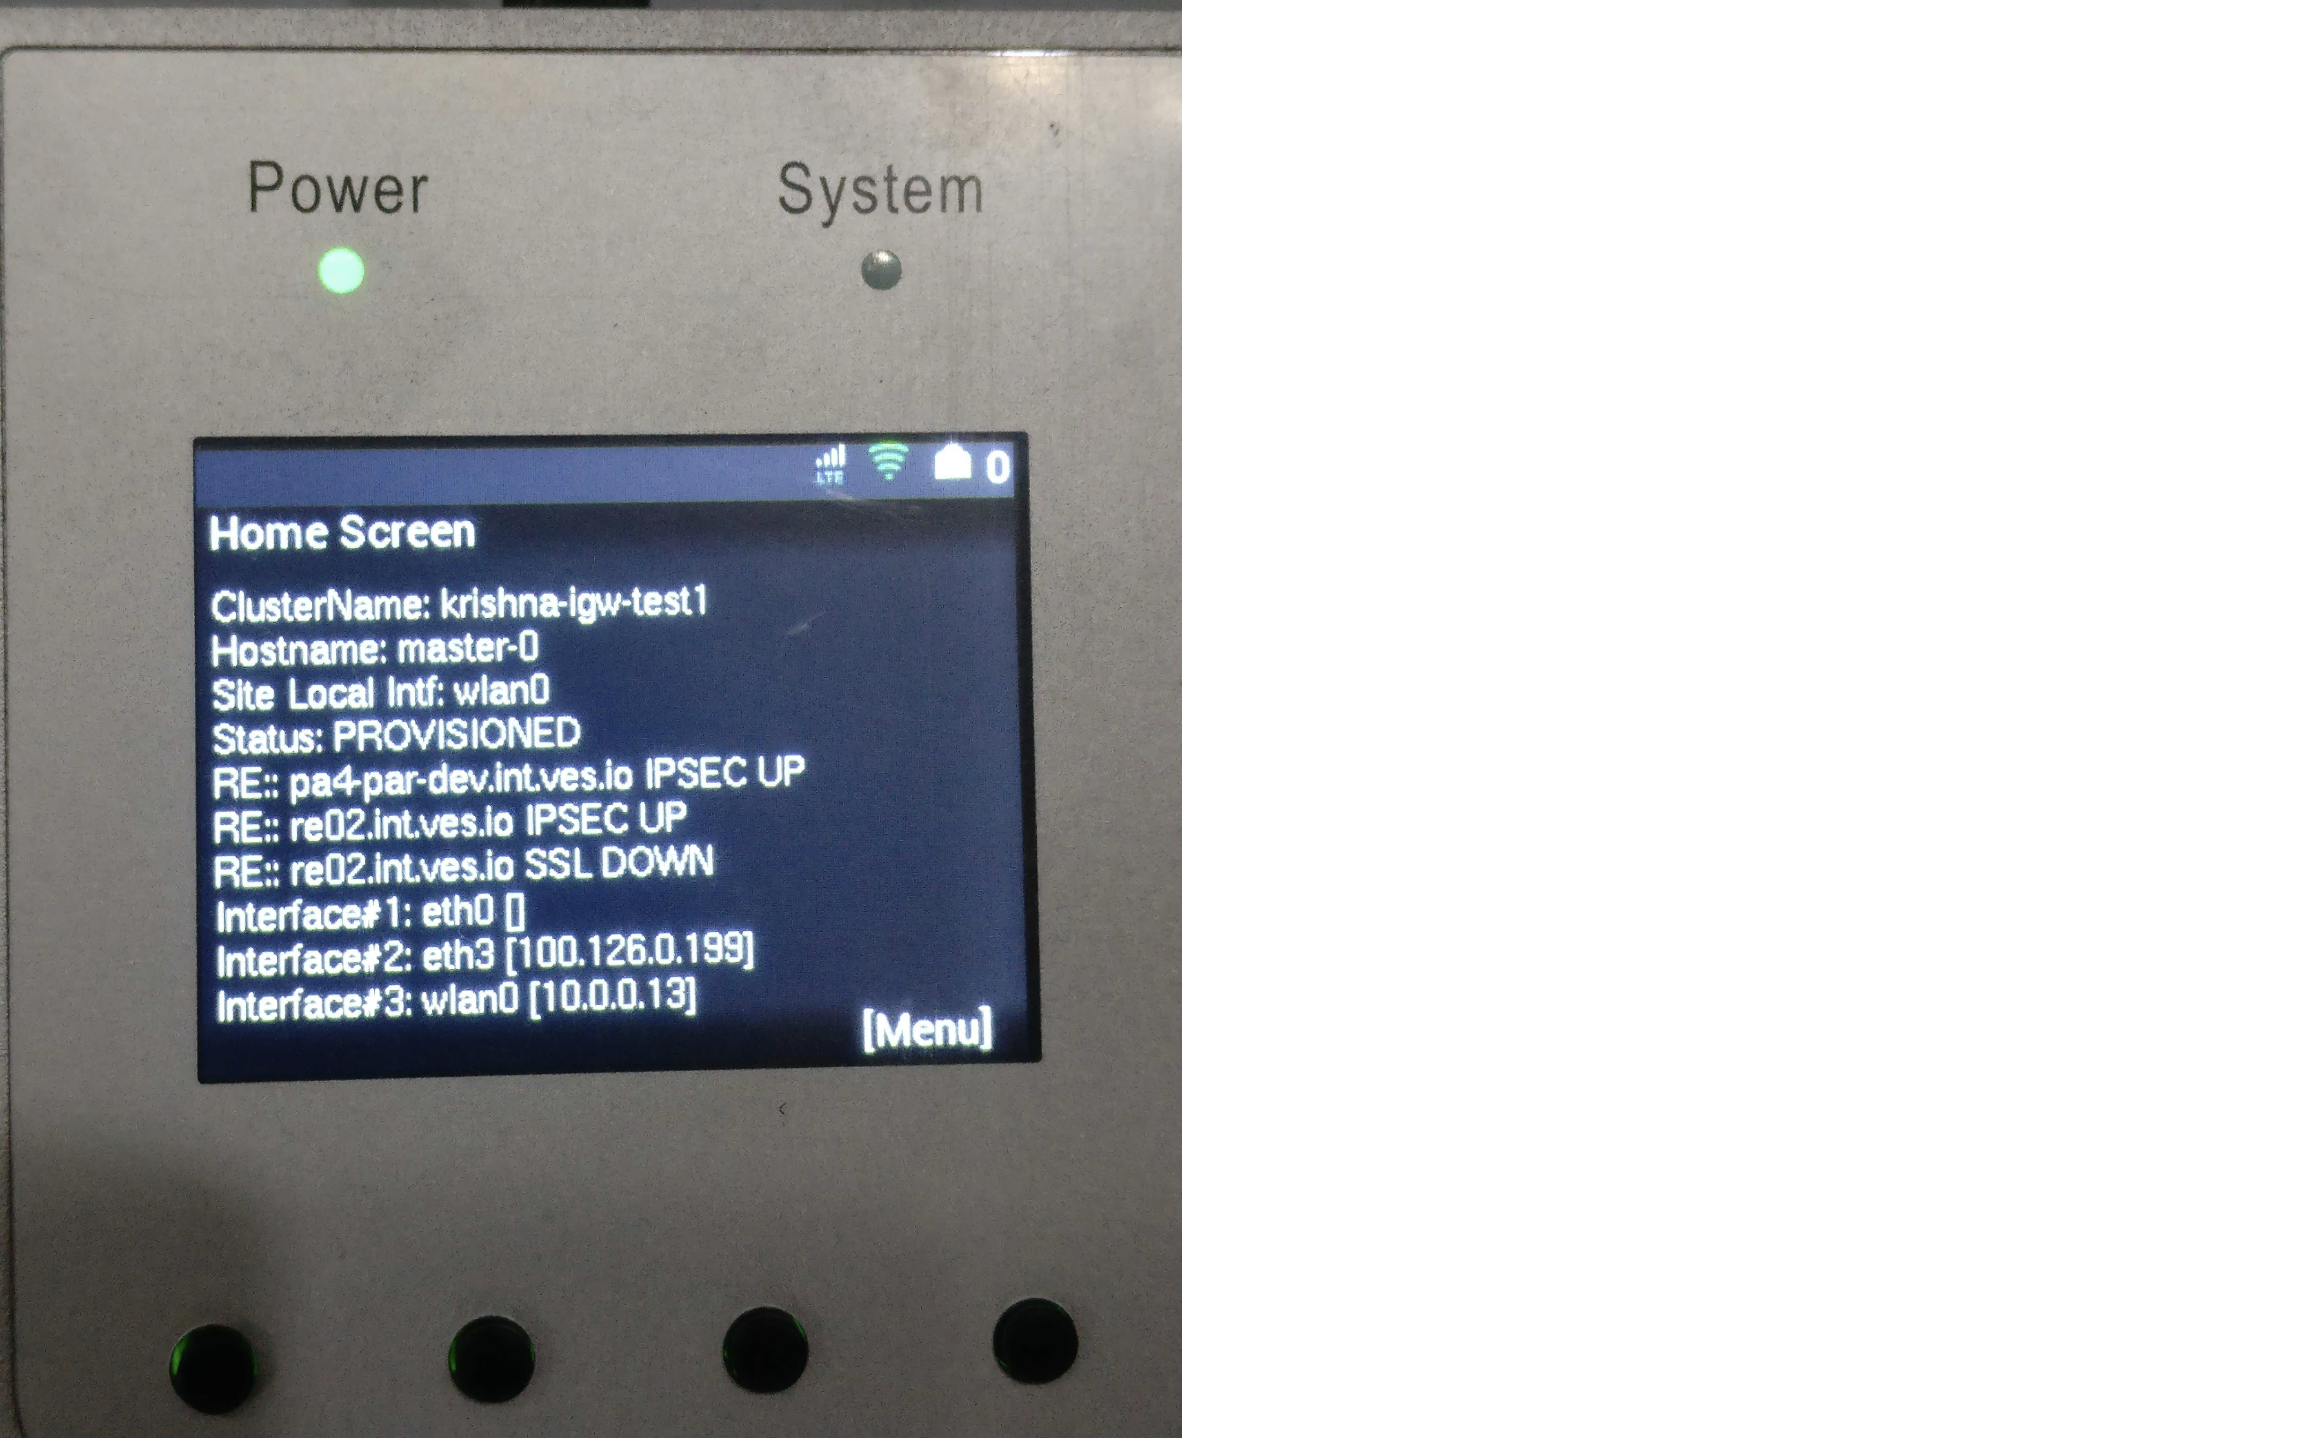
Note: Alternatively, you can use the WLAN to connect to WAN. The above example image shows the IP address for WLAN interface. In case of wired connection, note down the IP address displayed against the
eth0interface. However, connecting to same network using wired and wireless method is not supported.
Step 4: Connect using Laptop or terminal.
Connect your Laptop or terminal to Port 3 of the IGW to perform further configuration.
Note: See IGW User Manual for detailed instructions on mounting the IGW and connecting POE PSU. See Site Local UI for configuring wireless or LTE networks.
Configure IGW
Perform the following:
Step 1: Create a site token in F5® Distributed Cloud Console
-
From the Home screen, click
Multi-Cloud Network ConnectunderAll Services. -
Navigate to
Manage>Site Management>Site Tokens. -
Click
Add site token. Enter a name for your site token and optionally, add a description. -
Click
Add site tokento complete creating site token. -
Note down your token string from the displayed list of tokens. The
UIDcolumn displays the token strings.
Step 2: Log into the site local UI of your IGW.
- Open your IGW's site local UI using its IP address noted in Step 2 of the Connect IGW chapter. Enter a browser window with the following URL:
https://<wan-ip>:65500- Login with default login credentials. The user ID is
adminand password isVolterra123. Change the default login password when prompted. Refresh the browser to login using the new password. The local UI dashboard gets displayed.
Step 3: Set site token and cluster name for IGW
Click Configure now in the local UI dashboard and set the following fields:
-
Token - This is your site token and mandatory for provisioning.
-
Cluster name - Enter a cluster name and this is mandatory for provisioning. However, you can also set this during registration.
-
Click
Save Configurationand refresh the browser. The status showsApproval.
Note: See Site Local UI Usage for detailed information on configuration.
Register IGW
Step 1: Log into Console and navigate to registration.
- From the Home screen, click
Multi-Cloud Network ConnectunderAll Services. - Navigate to
Manage>Site Management>Registrations. ThePending Registrationstab loads by default.
Step 2: Approve the registration for your IGW.
-
Check that a registration request is displayed for your IGW. Click ✅ to approve the registration.
-
Enter the required fields in the registration acceptance form as applicable. The required fields are indicated with
*mark. -
Click
Accept.
Note: It takes few minutes for your site status to become
ONLINE.
Note: See Site Local UI Usage for advanced configuration instructions such as configuring Wi-Fi and LTE.
Factory Reset IGW
Step 1: Locate the RESET button.
- The front panel contains a
RESETbutton that will return the IGW to factory settings and restart the device.
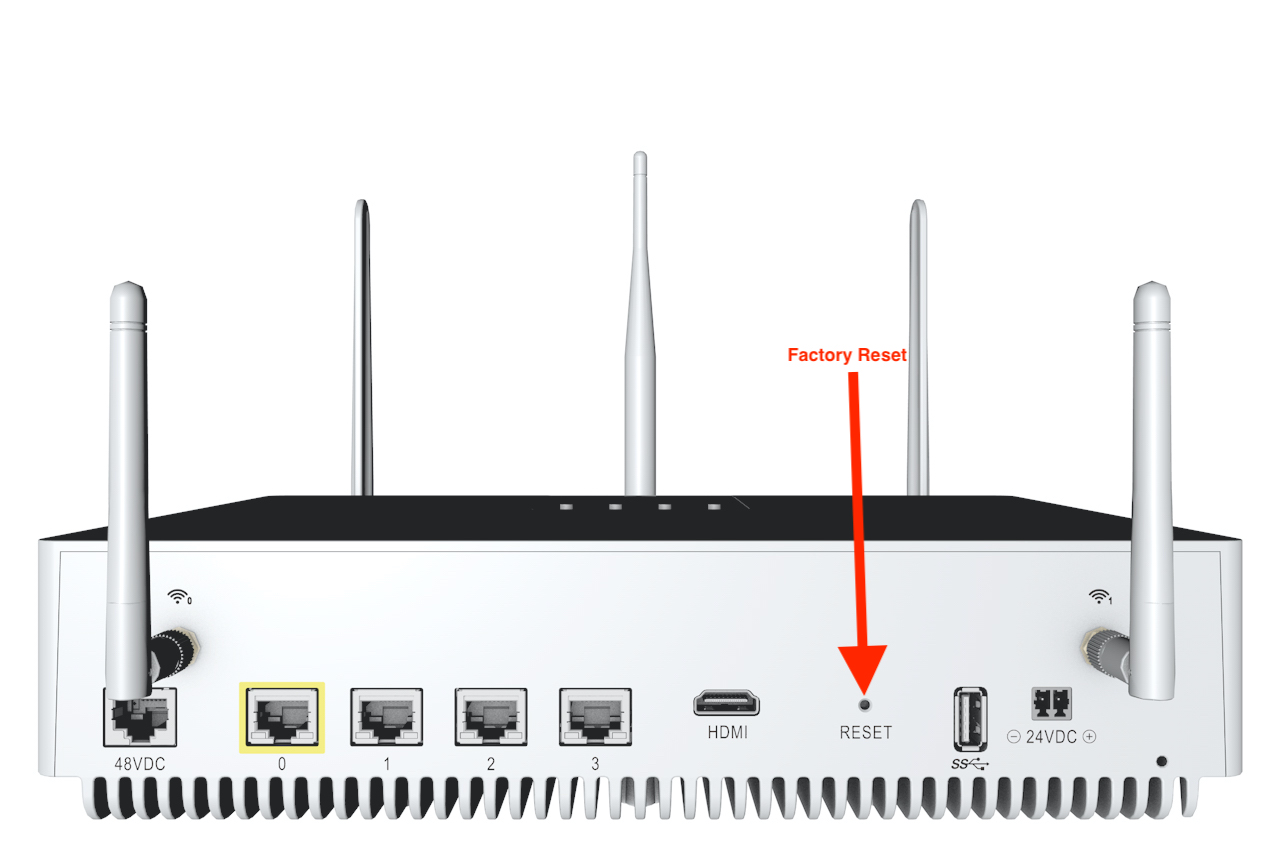
Figure: Hardware Reset Button
Step 2: Press and hold the RESET button for five seconds.
- To activate the reset function, insert a thin, blunt object (like the end of a paperclip) through the hole above the reset label and gently push and hold the button inside the hole for five seconds.
Note: You can also replace/update the image (operating system) on the device. For more information, see How to choose an image for your site deployment?.