F5 Distributed Cloud Services Support Process
Objective
This guide describes the support process for the F5® Distributed Cloud Services SaaS service, and also provides information on how to raise support requests through various channels available to the customers.
Note: In order to raise a support request, you must have an Account. If you do not have an account, see Getting Started with Console.
Support Channels
The F5 support is available all year round 24 hours a day and 7 days a week. You can contact the support through the following ways:
-
Customer portal: Available at F5® Distributed Cloud Console
-
Phone: There are options available per region and country
-
Email:
support@cloud.f5.comorJapan-support@f5.comfor Japanese customers
It is recommended to create a ticket using the customer portal. For any issues that impact the core performance of your business, you can call us at the support numbers listed in the phone section. If you are unable to access the portal, you can contact support at support@cloud.f5.com to open a ticket.
Raise Support Request Using Customer Portal
Before contacting the support team, it is recommended to review and prepare using the following guidelines:
-
Have you searched our Knowledge Hub for your issue or question? Distributed Cloud Support writes new articles continuously, based on real questions and issues from our customers. You can use the search bar at the top for this.
-
Have you reviewed what to include in the ticket? See section below. Including this information helps our Distributed Cloud support engineers to address your issue at the earliest.
- Which F5 Distributed Cloud Service is impacted? (for example, HTTP Load Balancer, k8s, and more)
- What is the namespace?
- Precise description of problem and symptoms (e.g. screenshot of the error message, HAR file)
- Logs, packet captures
- What is the site's name, load balancer name?
- When did the problem start? Accurate and exact date, time and specify the time zone
- Steps to reproduce the issue?
- Expected behavior (tell us what should happen)
- Is this a new implementation or was it working before? If so, what has been modified?
- What troubleshooting or testing has been done?
- What browser are you using?
- Impact of the incident from the customer point of view.
Note: You can reference our Best practices when opening a support ticket for F5 Distributed Cloud Services? Article for additional guidance.
Perform the following to raise a ticket using the customer portal:
Step 1: Log into F5® Distributed Cloud Console, open Support.
- Open
F5® Distributed Cloud Console> selectAdministrationbox.
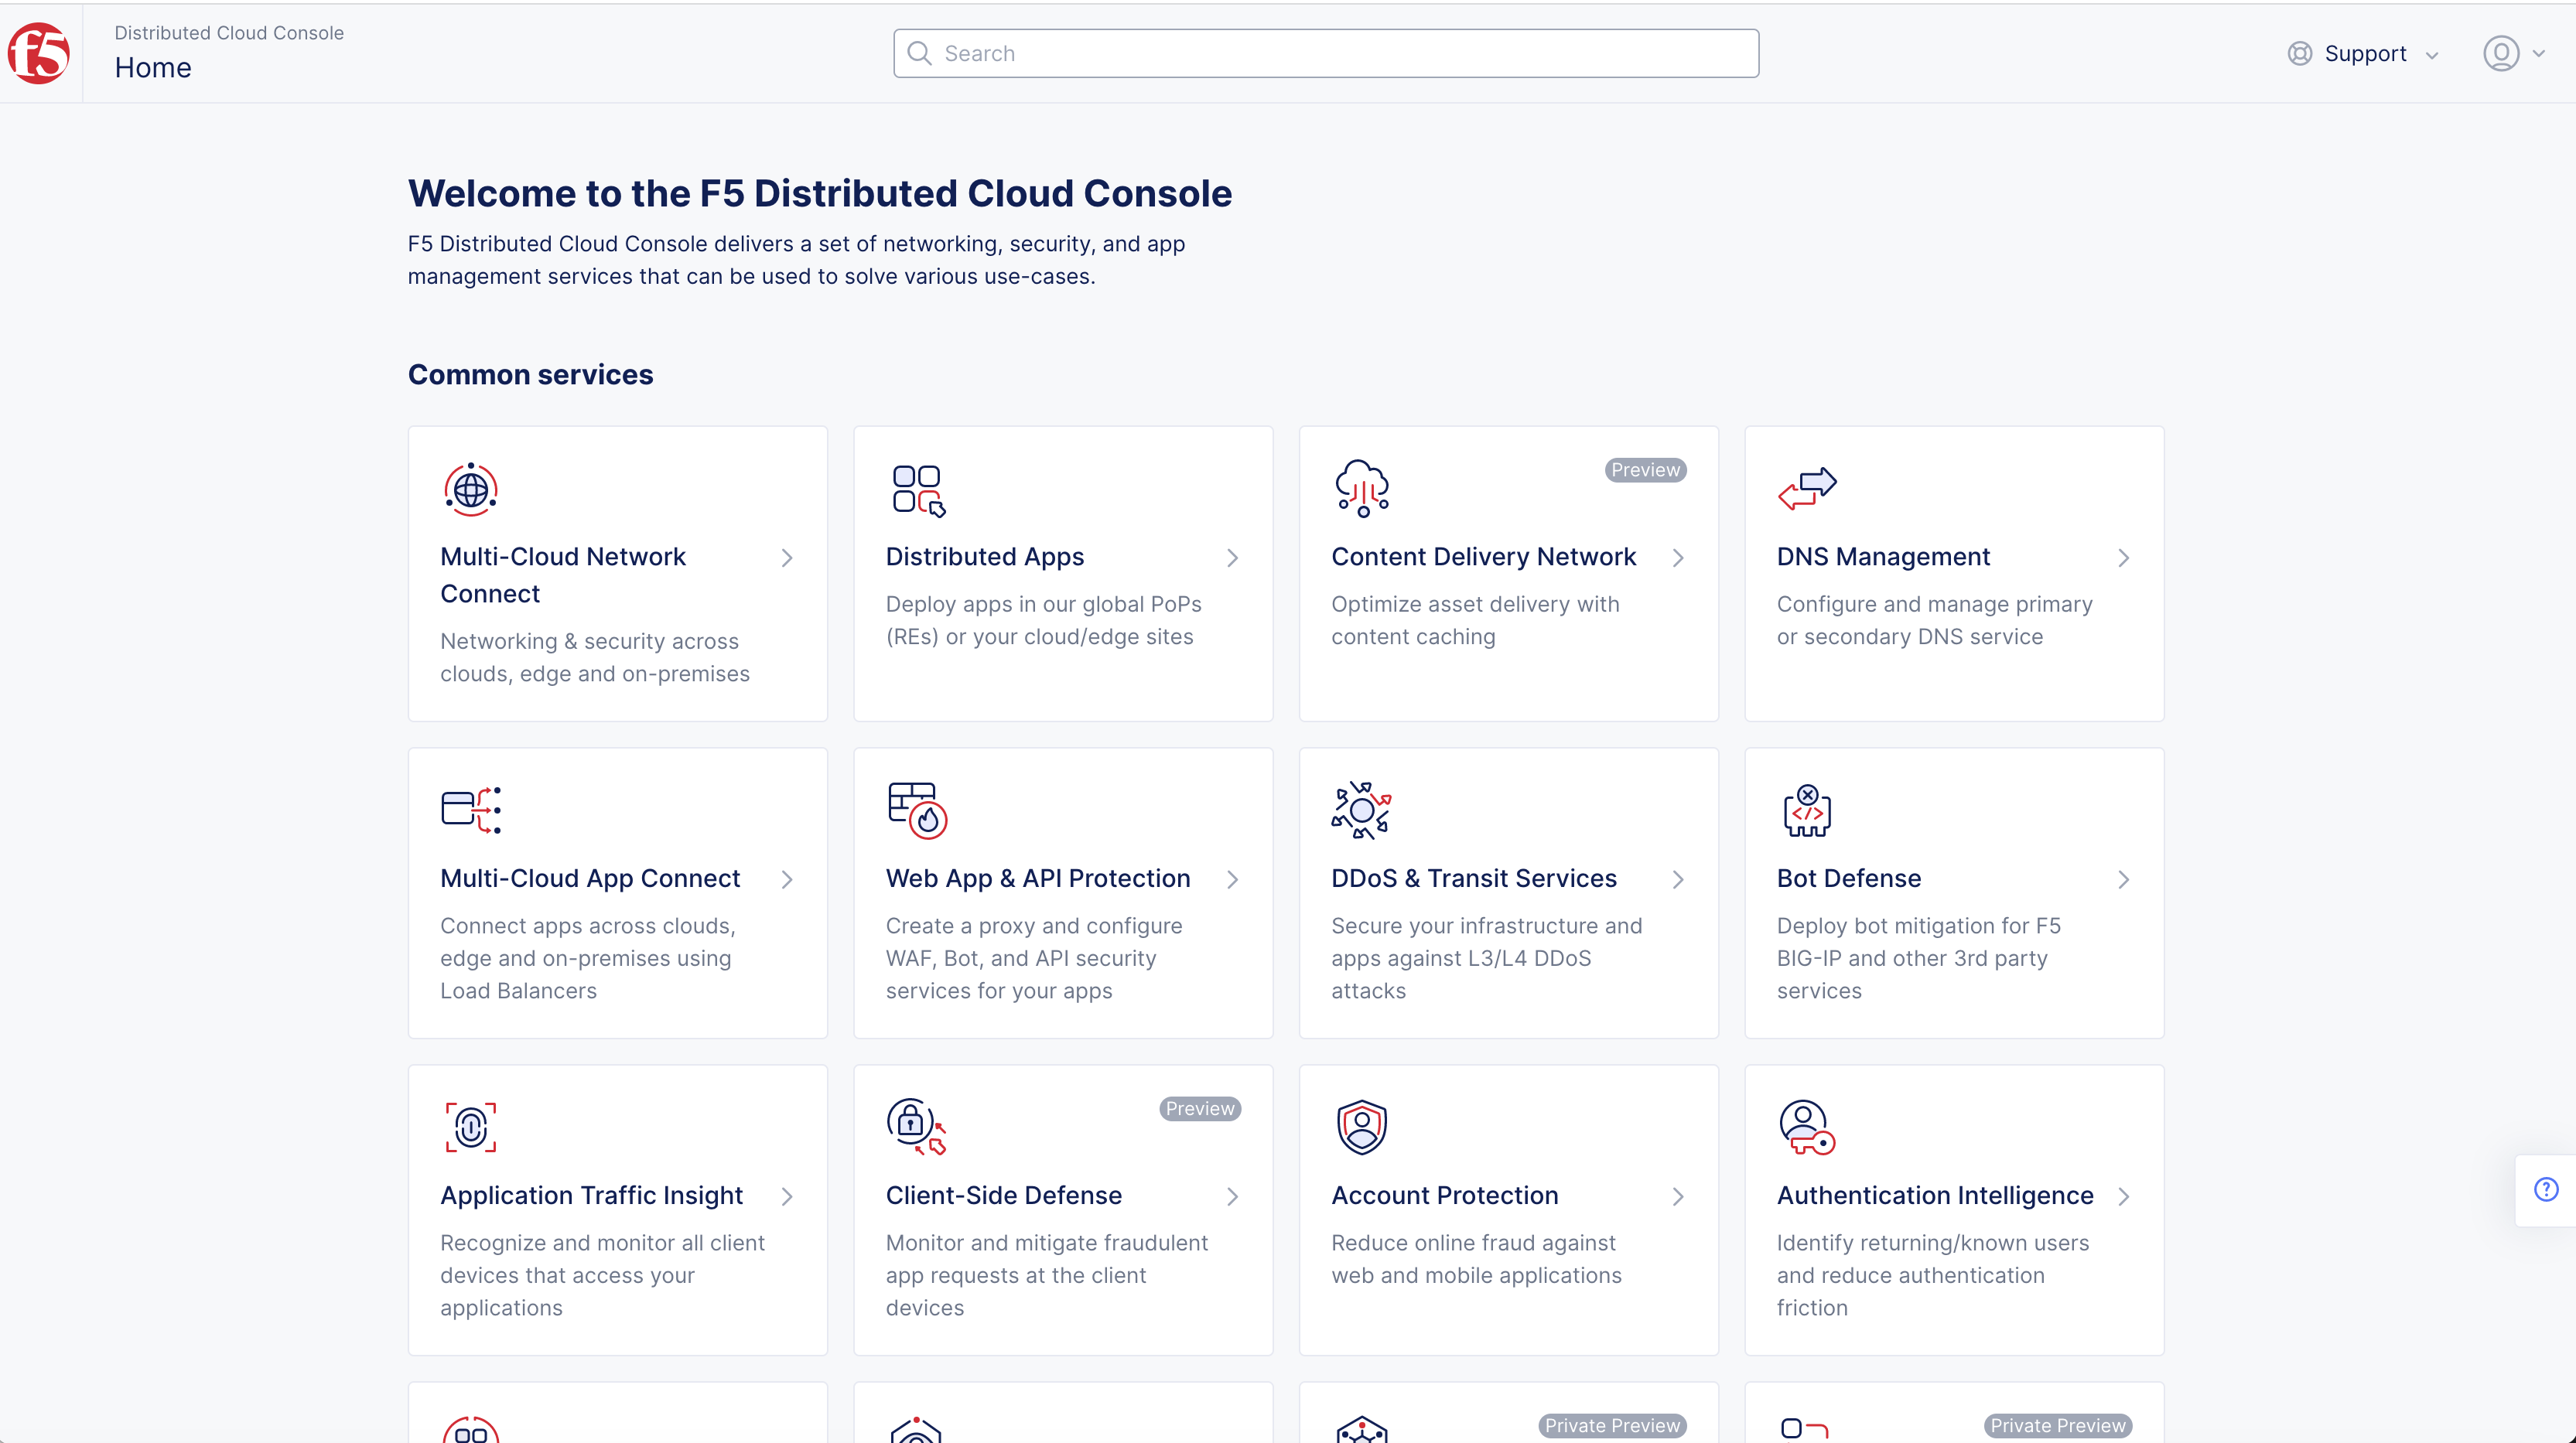
Figure: Homepage
-
Select
Supportin left-menu > selectGet Help. -
Select
+ Create New Support RequestinNew Support Requestbox. -
The
Contact Supportform will pop up to your right.
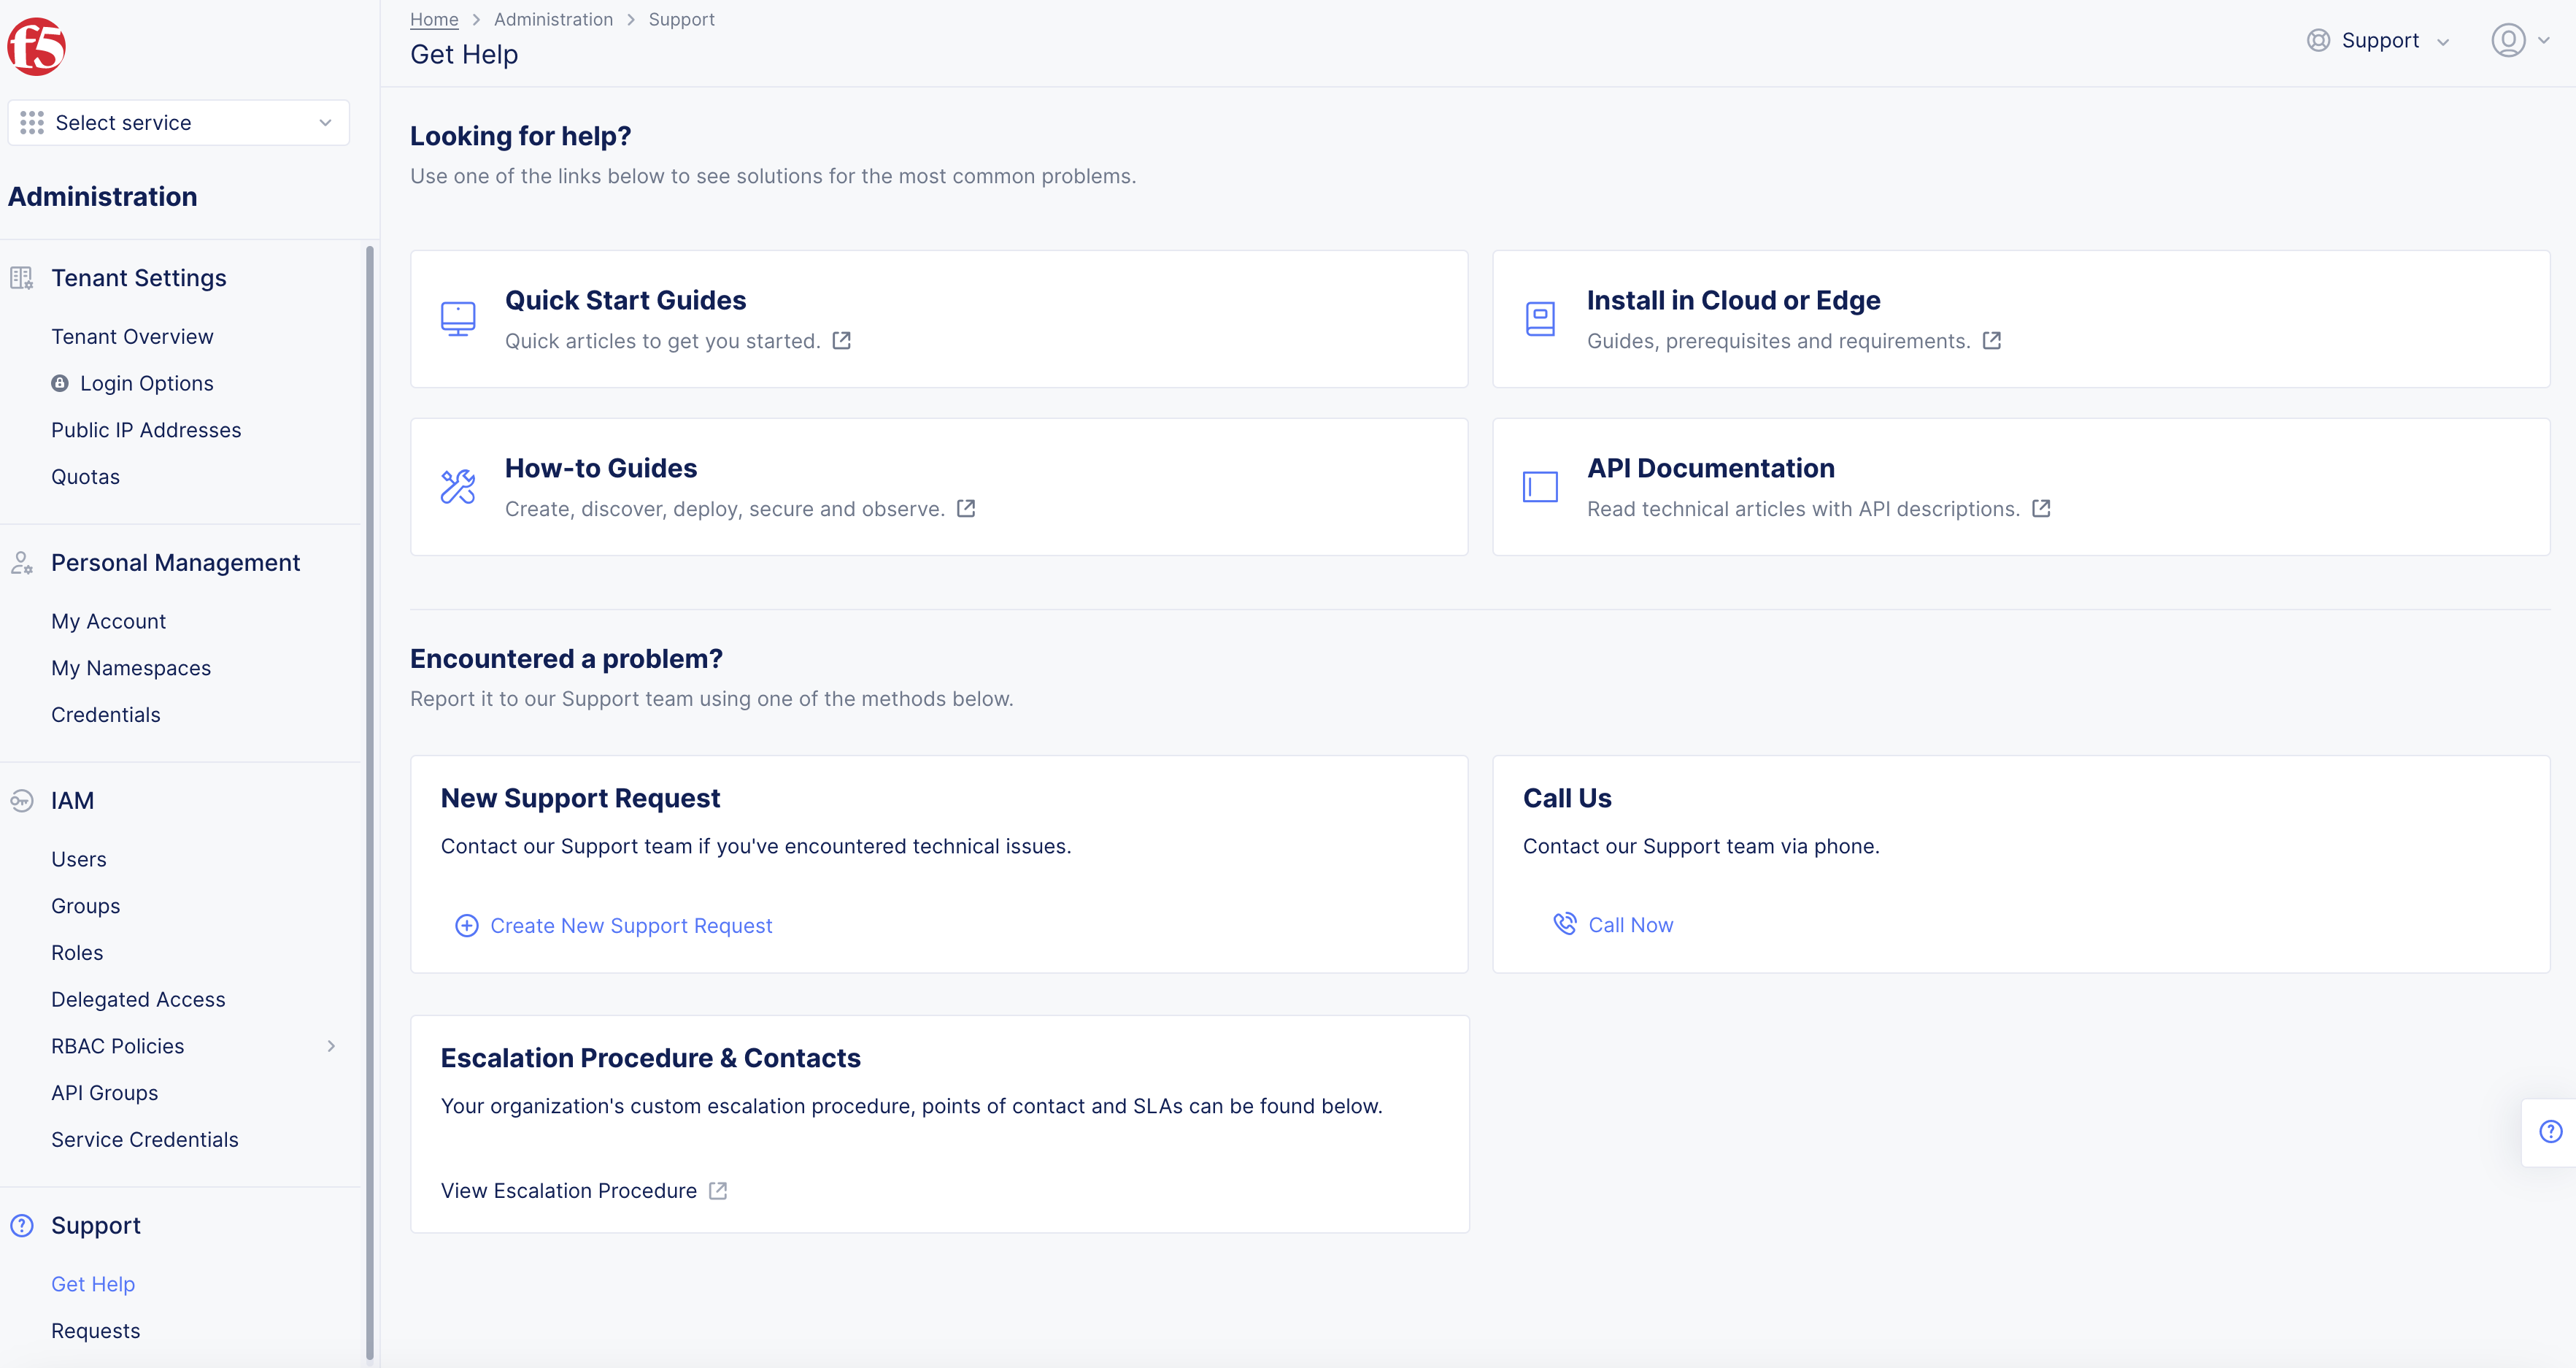
Figure: Support, Add Requests
Step 2: Fill out Contact Support pop-up form.
-
Select
Servicein drop-down menu. -
Select
Typein drop-down menu.-
Account Support -
Technical Support -
Incident Support
-
-
Select
Topicin drop-down menu, options based on type selected.
Note: In case submitting documentation issues, select
Technical SupportforType, and selectOtherforTopic.
-
Select
Priorityin drop-down menu.-
Normal -
High (issue affects my day-to-day work) -
Urgent (issue affects core performance of my business)
-
Note: Choose the priority as per the guidelines specified in the Ticket Priorities chapter.
-
Enter
Short Subjectfor your problem in thePlease provide a subject for your issuebox. -
Describe your problem in the
Please explain the issue belowbox. -
Select
Add attachmentslink if needed for screenshots, documents, etc.
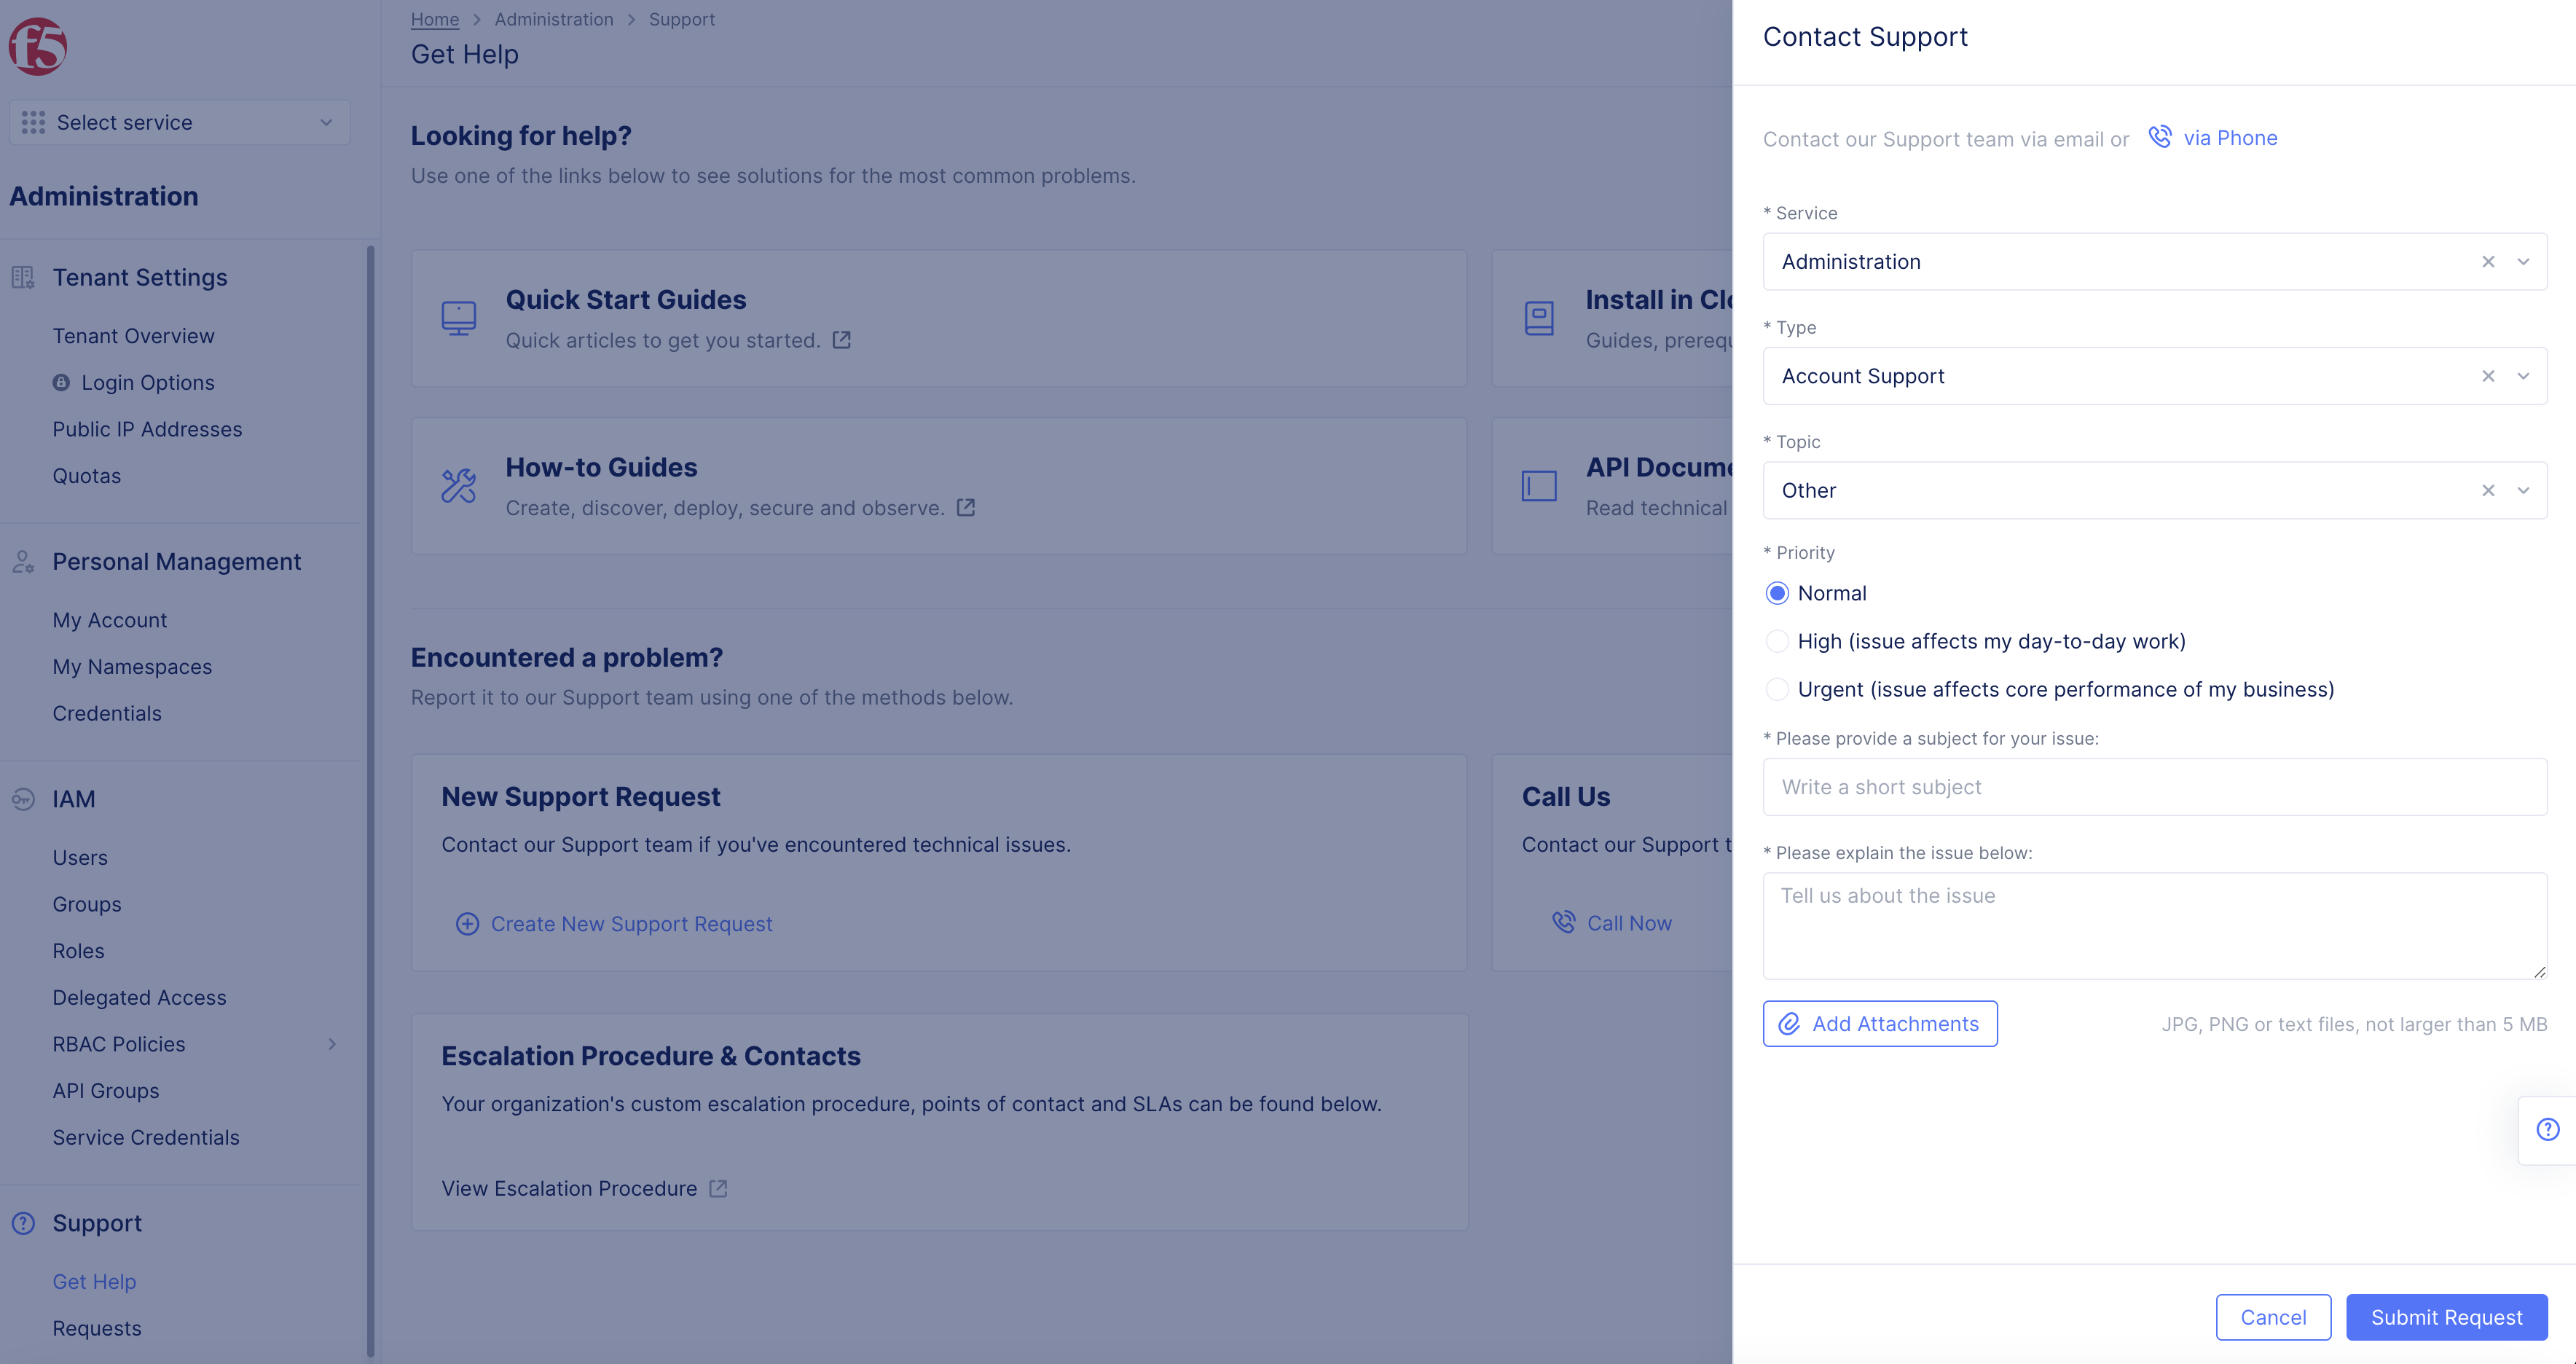
Figure: Support Request Fields
Step 3: Select Submit Request to complete creating the support request.
Select Submit Request button to submit.
Figure: Submit Request Form
Contact Support via Phone
When calling, select Option 4 for Distributed Cloud and then select Option 1 for Support/Escalations or any urgent request requiring the Security Operation Center (SOC) Management team/Duty Manager.
| Region | Number Type | Contact Number |
|---|---|---|
| North America | Toll | +1-206-272-6500 |
| North America | Toll-Free | +1-888-882-7535 |
| North America | Toll-Free | +1-855-834-0367 |
| North America | Toll-Free | +1-866-622-7535 |
For a complete list of our toll-free options and numbers per regions and countries, click here.
Note: Phone support is available all year round 24 hours a day and 7 days a week and is provided in English.
Ticket Priorities
Every support request is handled based on the related priority. When you open a support request, you can select the priority. The following table lists and explains the various priorities:
| Priority | Description |
|---|---|
| P1 (Phone Only) | Renders the Service down with no workaround. Customers need to open a P1 request or upgrade a P2 request to P1 request by Phone only. |
| P2 | Partially or moderately impacts Service and materially degrades Clients use thereof. |
| P3 | Causes only a minor to no impact on the operation of the Service. Maintenance Requests, Configuration change request, Informational queries, Data Requests. |
How to Escalate a Case
If you need additional assistance or to escalate a request to our Distributed Cloud Services Security Operation Center (SOC) Management team/Duty Manager, follow the guidelines in this article.
How to Review the Status of Services and Customer Portal
The status of the services, Points of Presence (PoPs), customer support, docs and website can be viewed here.
To be notified on any planned maintenance, you can follow the instructions in this guide.