F5 Distributed Cloud Services Public VIPs
Objective
This document explains the various types of Virtual IP (VIP) addresses that are available in the system. The VIPs are public/internet IP addresses that are used while configuring HTTP/TCP load balancers/proxies to expose your public websites, APIs, or other publicly accessible services.
There are three types of VIPs available from F5® Distributed Cloud Services:
Default dedicated public VIP: Comes with all subscriptions. This IP address is automatically assigned to tenant. The IP address is assigned for an indefinite duration. F5 reserves the right to change this IP address. It is assigned to the system namespace within your tenant.
Additional dedicated public VIP: An additional IP address dedicated to the tenant for an indefinite duration. F5 guarantees that these IP addresses will remain fixed. Additional IP addresses can be requested in the Distributed Cloud Console. Additional IP addresses are assigned to the shared namespace within your tenant. This type of VIP is typically used for DNS stability requirements, or when external dependencies on a fixed IP address are involved.
Shared VIP: This VIP is allocated from a shared resource known as a Shared VIP. Currently, Shared VIPs are restricted to the ports specified in the Ports for Shared VIPs section below. You cannot manage or modify Shared VIP assignments, as they are fully managed by F5 Distributed Cloud Services.
You can find your assigned IP addresses within the Shared Configuration workspace. Navigate to Manage > Public IP Addresses.

Figure: Public IP Addresses Listed
You can also find your default dedicated public VIP within the Administration workspace. Navigate to Tenant Settings.
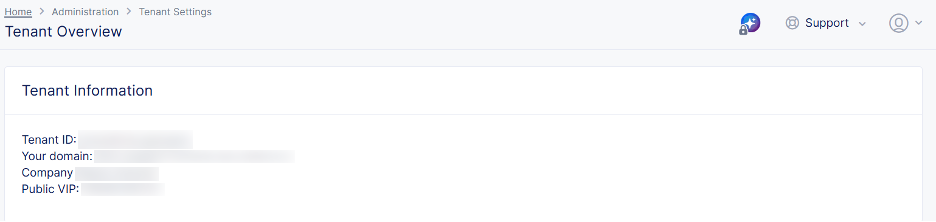
Figure: Default VIP Listed
Obtain Additional Dedicated Public VIP
Perform the following steps to obtain an additional dedicated public VIP.
- From the F5 Distributed Cloud Console homepage, select Administration.
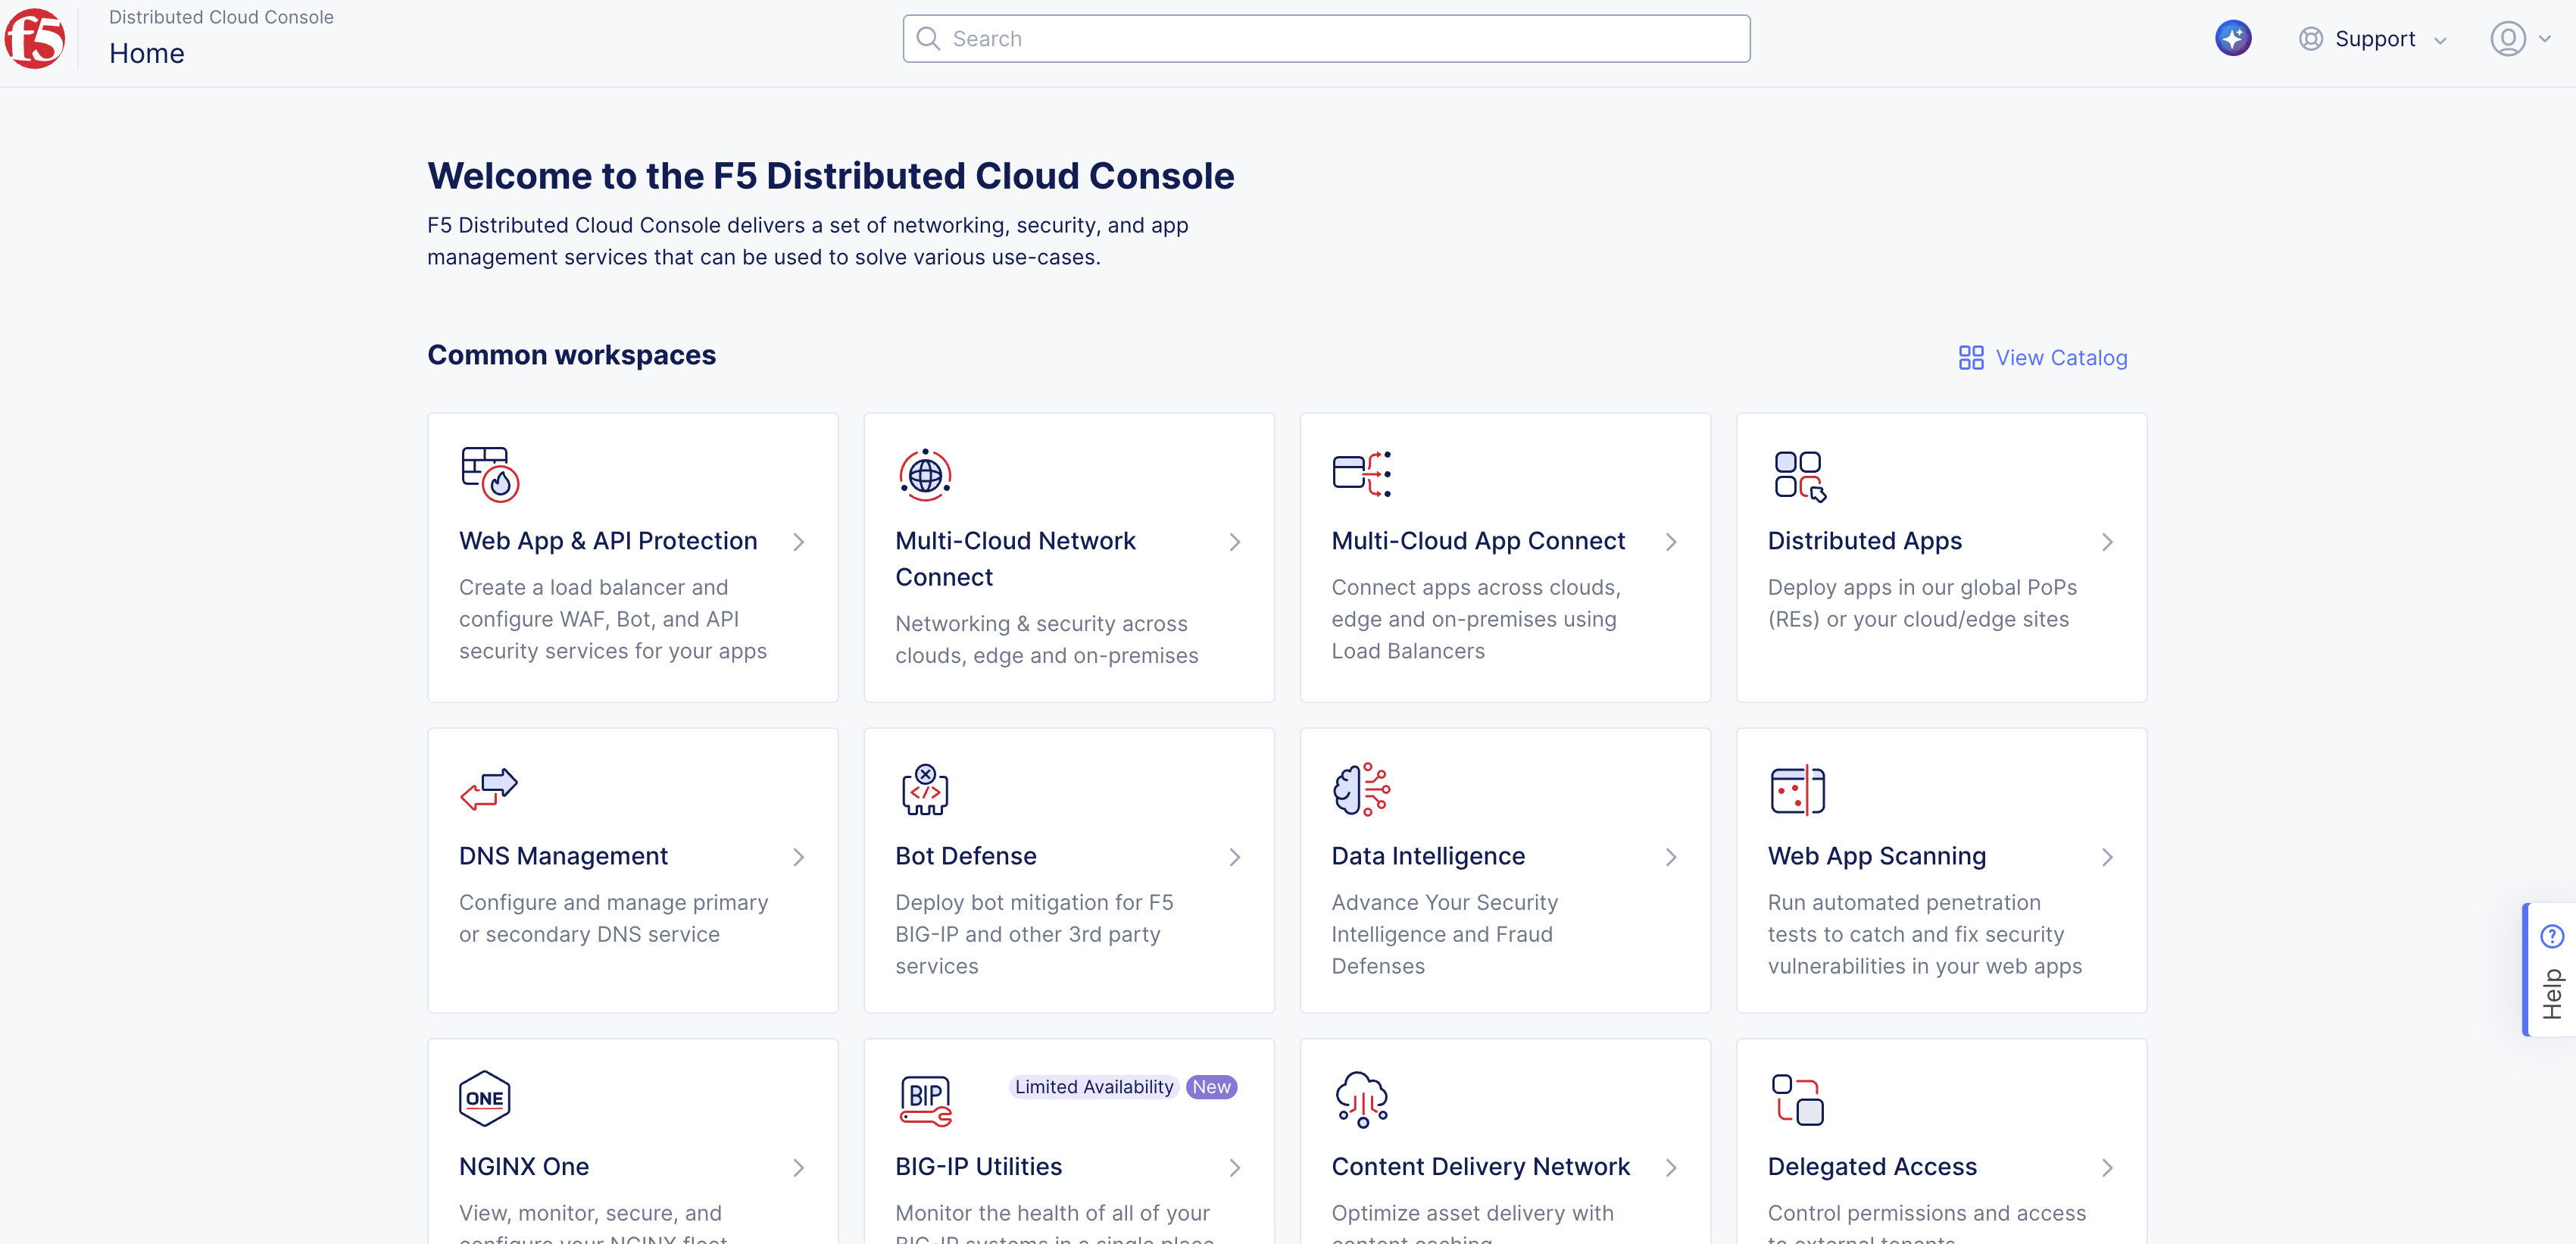
Figure: Homepage
-
From the left panel, select Tenant Settings and then select Public IP Addresses.
-
Select Request Public IP to raise support request to obtain public IP address.
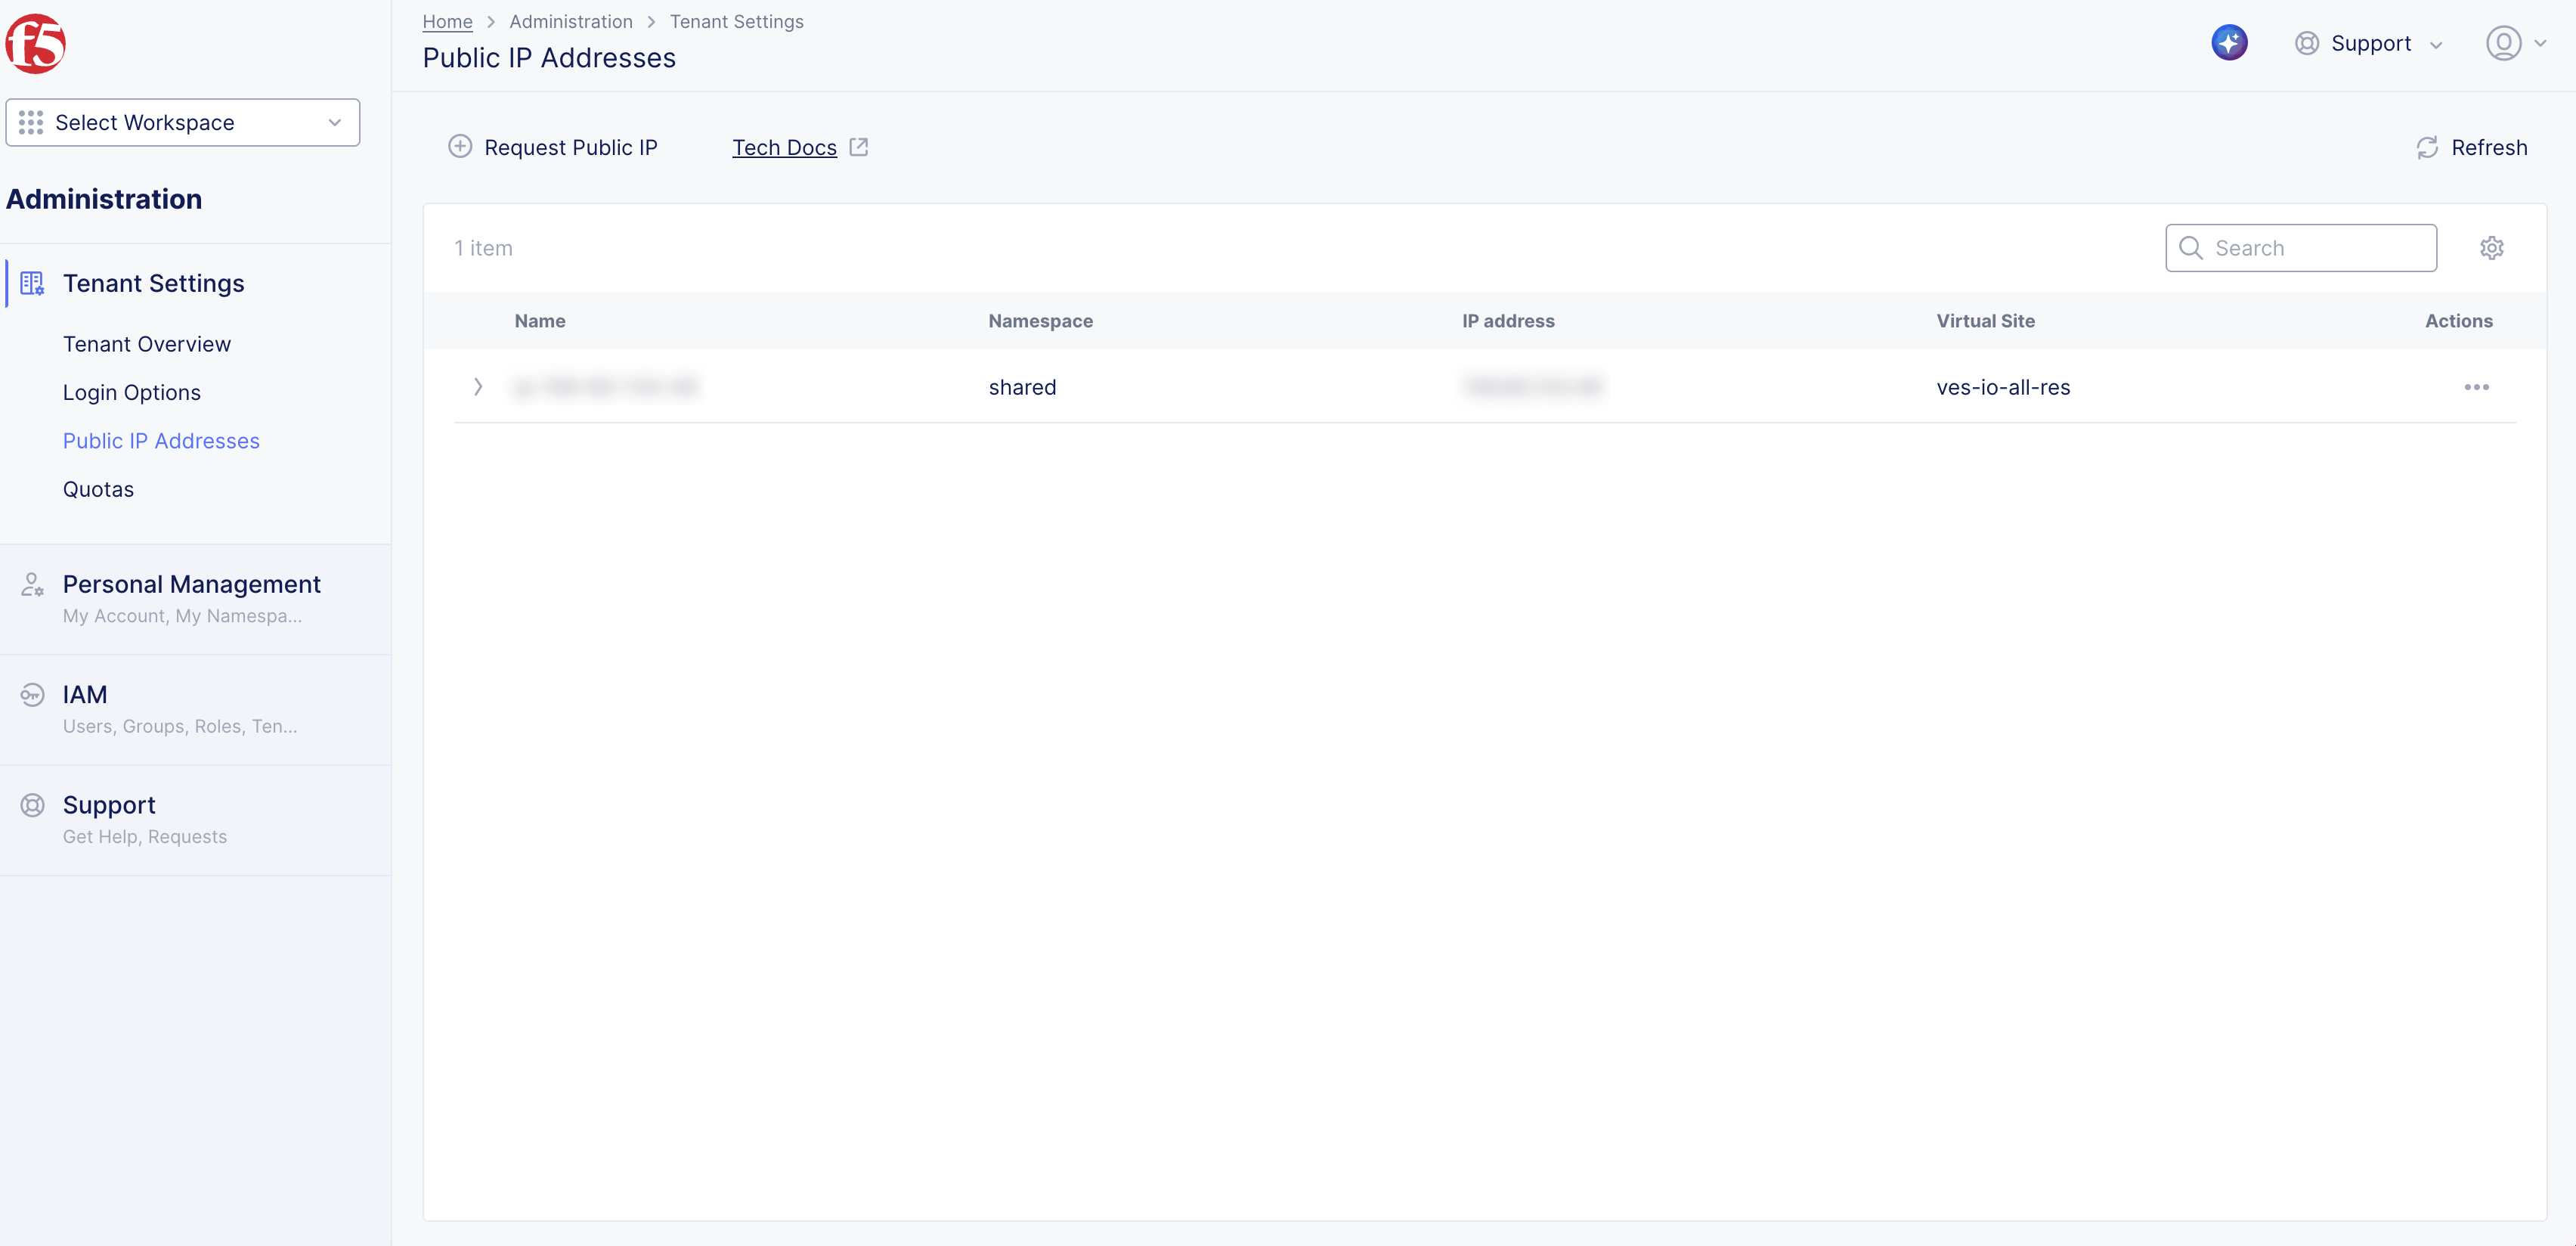
Figure: Request Public IP Address
-
In the pop-up form that appears, perform the following:
-
From the Workspace drop-down menu, select an option.
-
From the Type drop-down menu, select the option that matches your request type.
-
From the Topic drop-down menu, ensure that Public IP is selected.
-
From the Priority drop-down menu, set your priority level from Normal, High, or Urgent.
-
In the Subject field, enter text to explain the purpose of your request.
-
In the Product Data field, enter text to explain the services and load balancers to be used with the public IP address.
-
Optionally, enter text for Timeline of Issue and Additional Details.
-
Optionally, add attachments.
-
Select Submit Request. The Request Successfully Created pop-up message confirms your request was submitted. You will receive an email with Request Received: (Your Request Title) information.
-
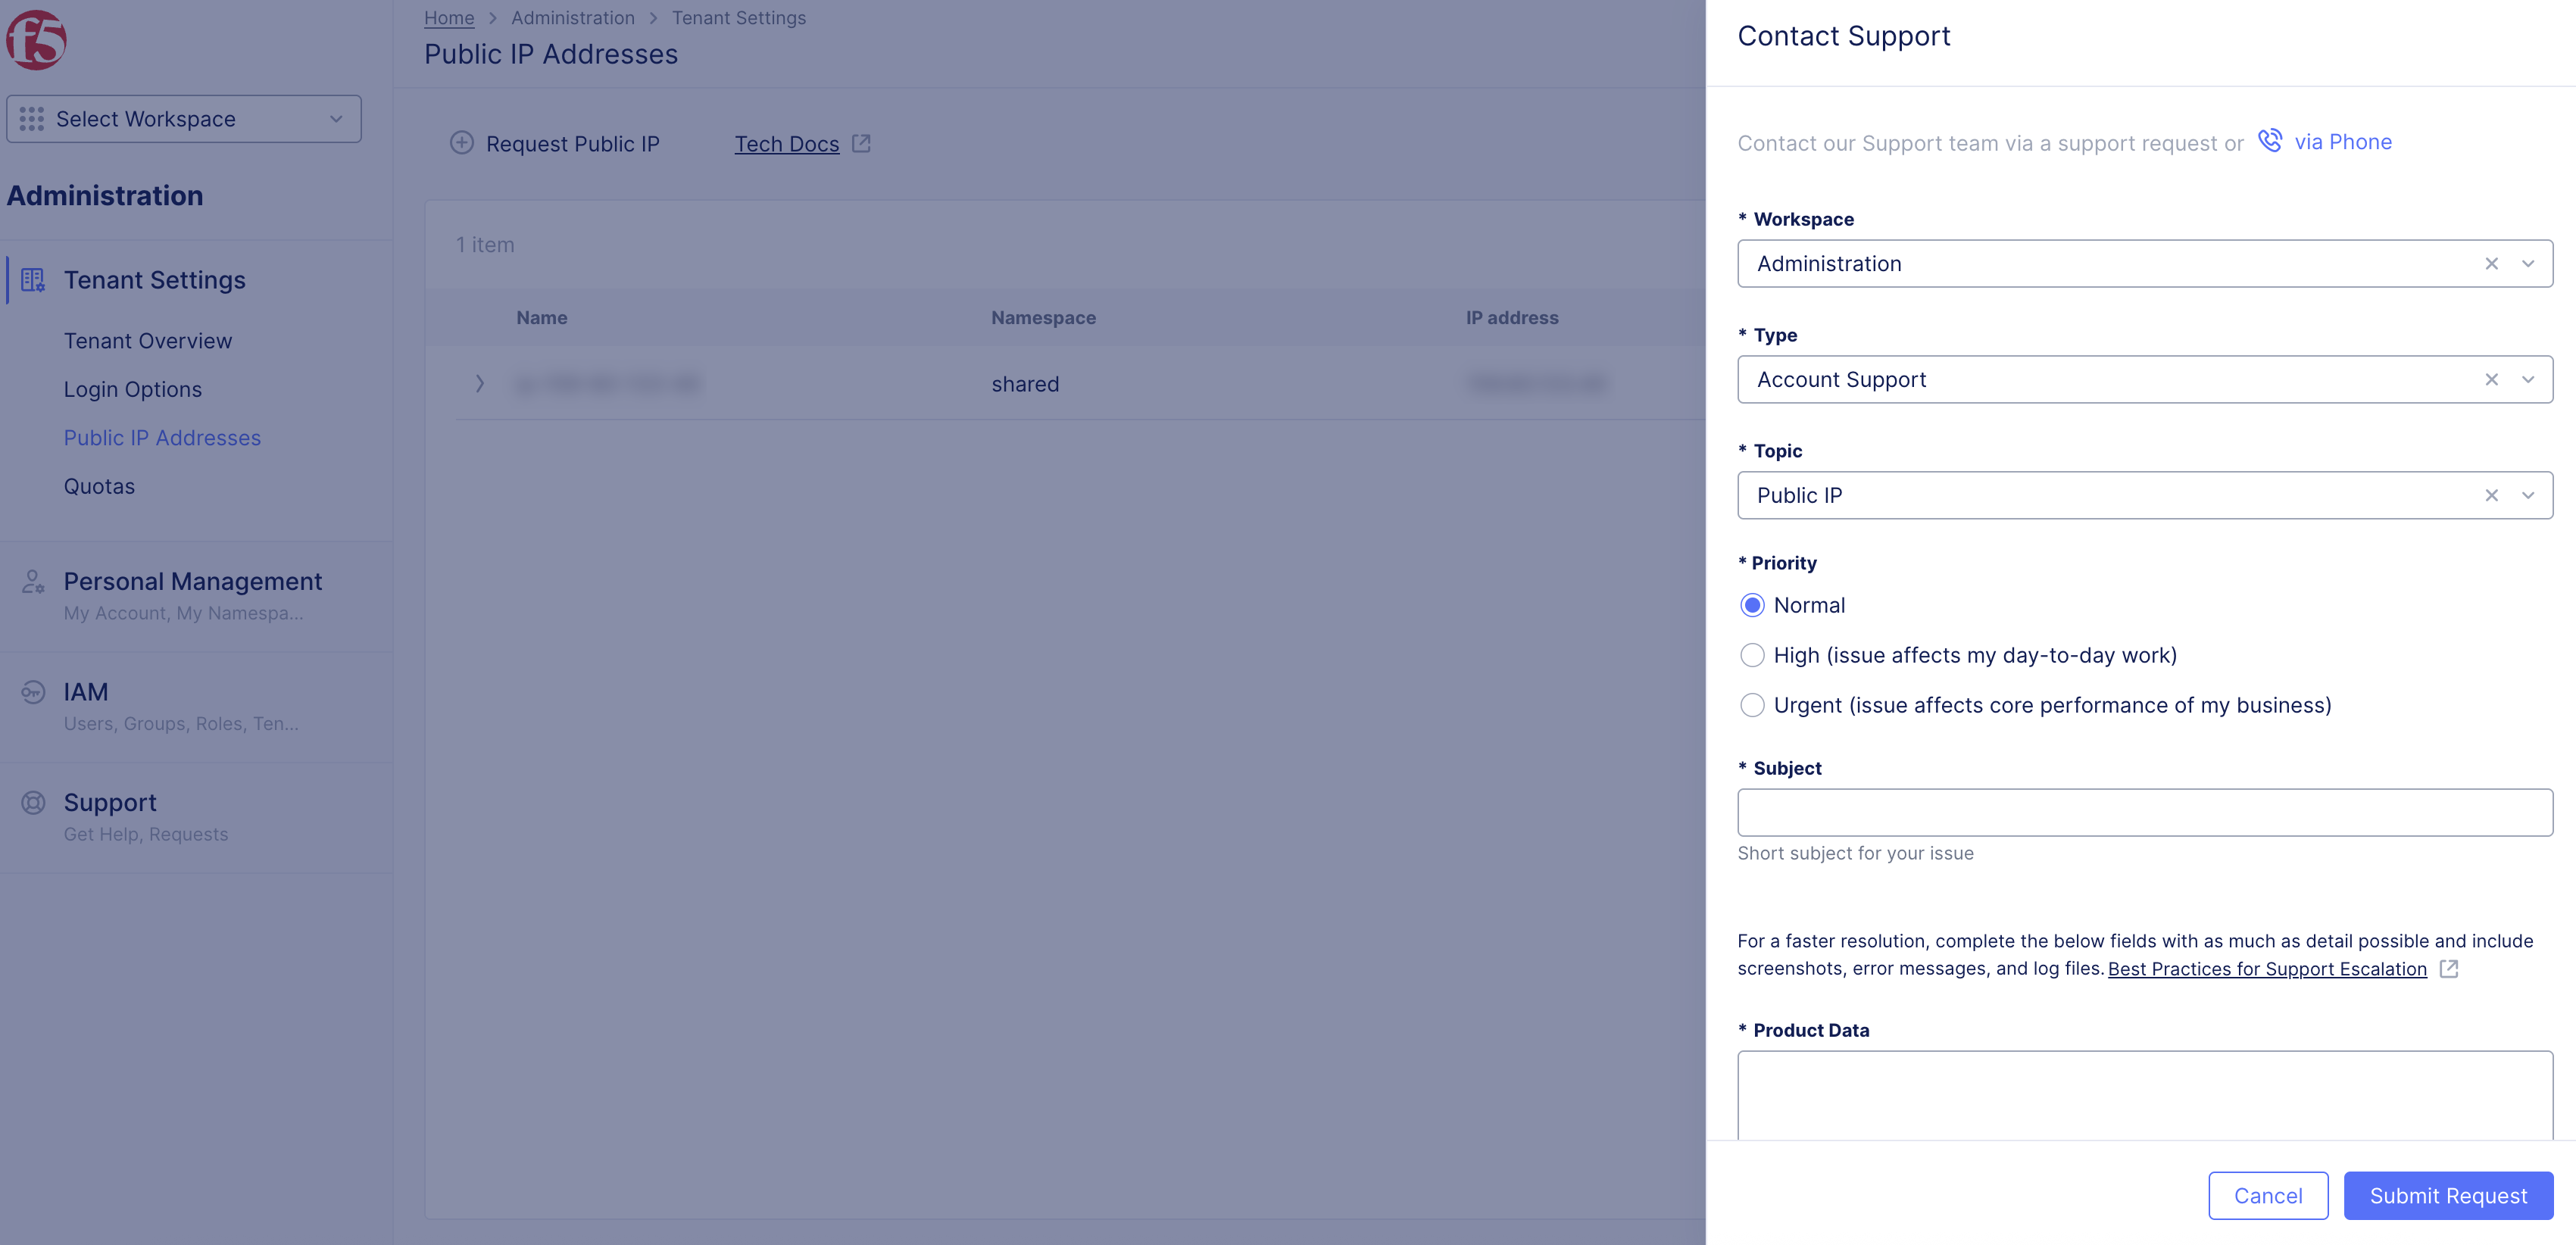
Figure: Public IP Request Form
Track Request
- Select Support > Requests to see your request ID number, Status, and information for reference. Status moves to Solved or Closed with updates. New status is newly created requests that are not addressed yet.
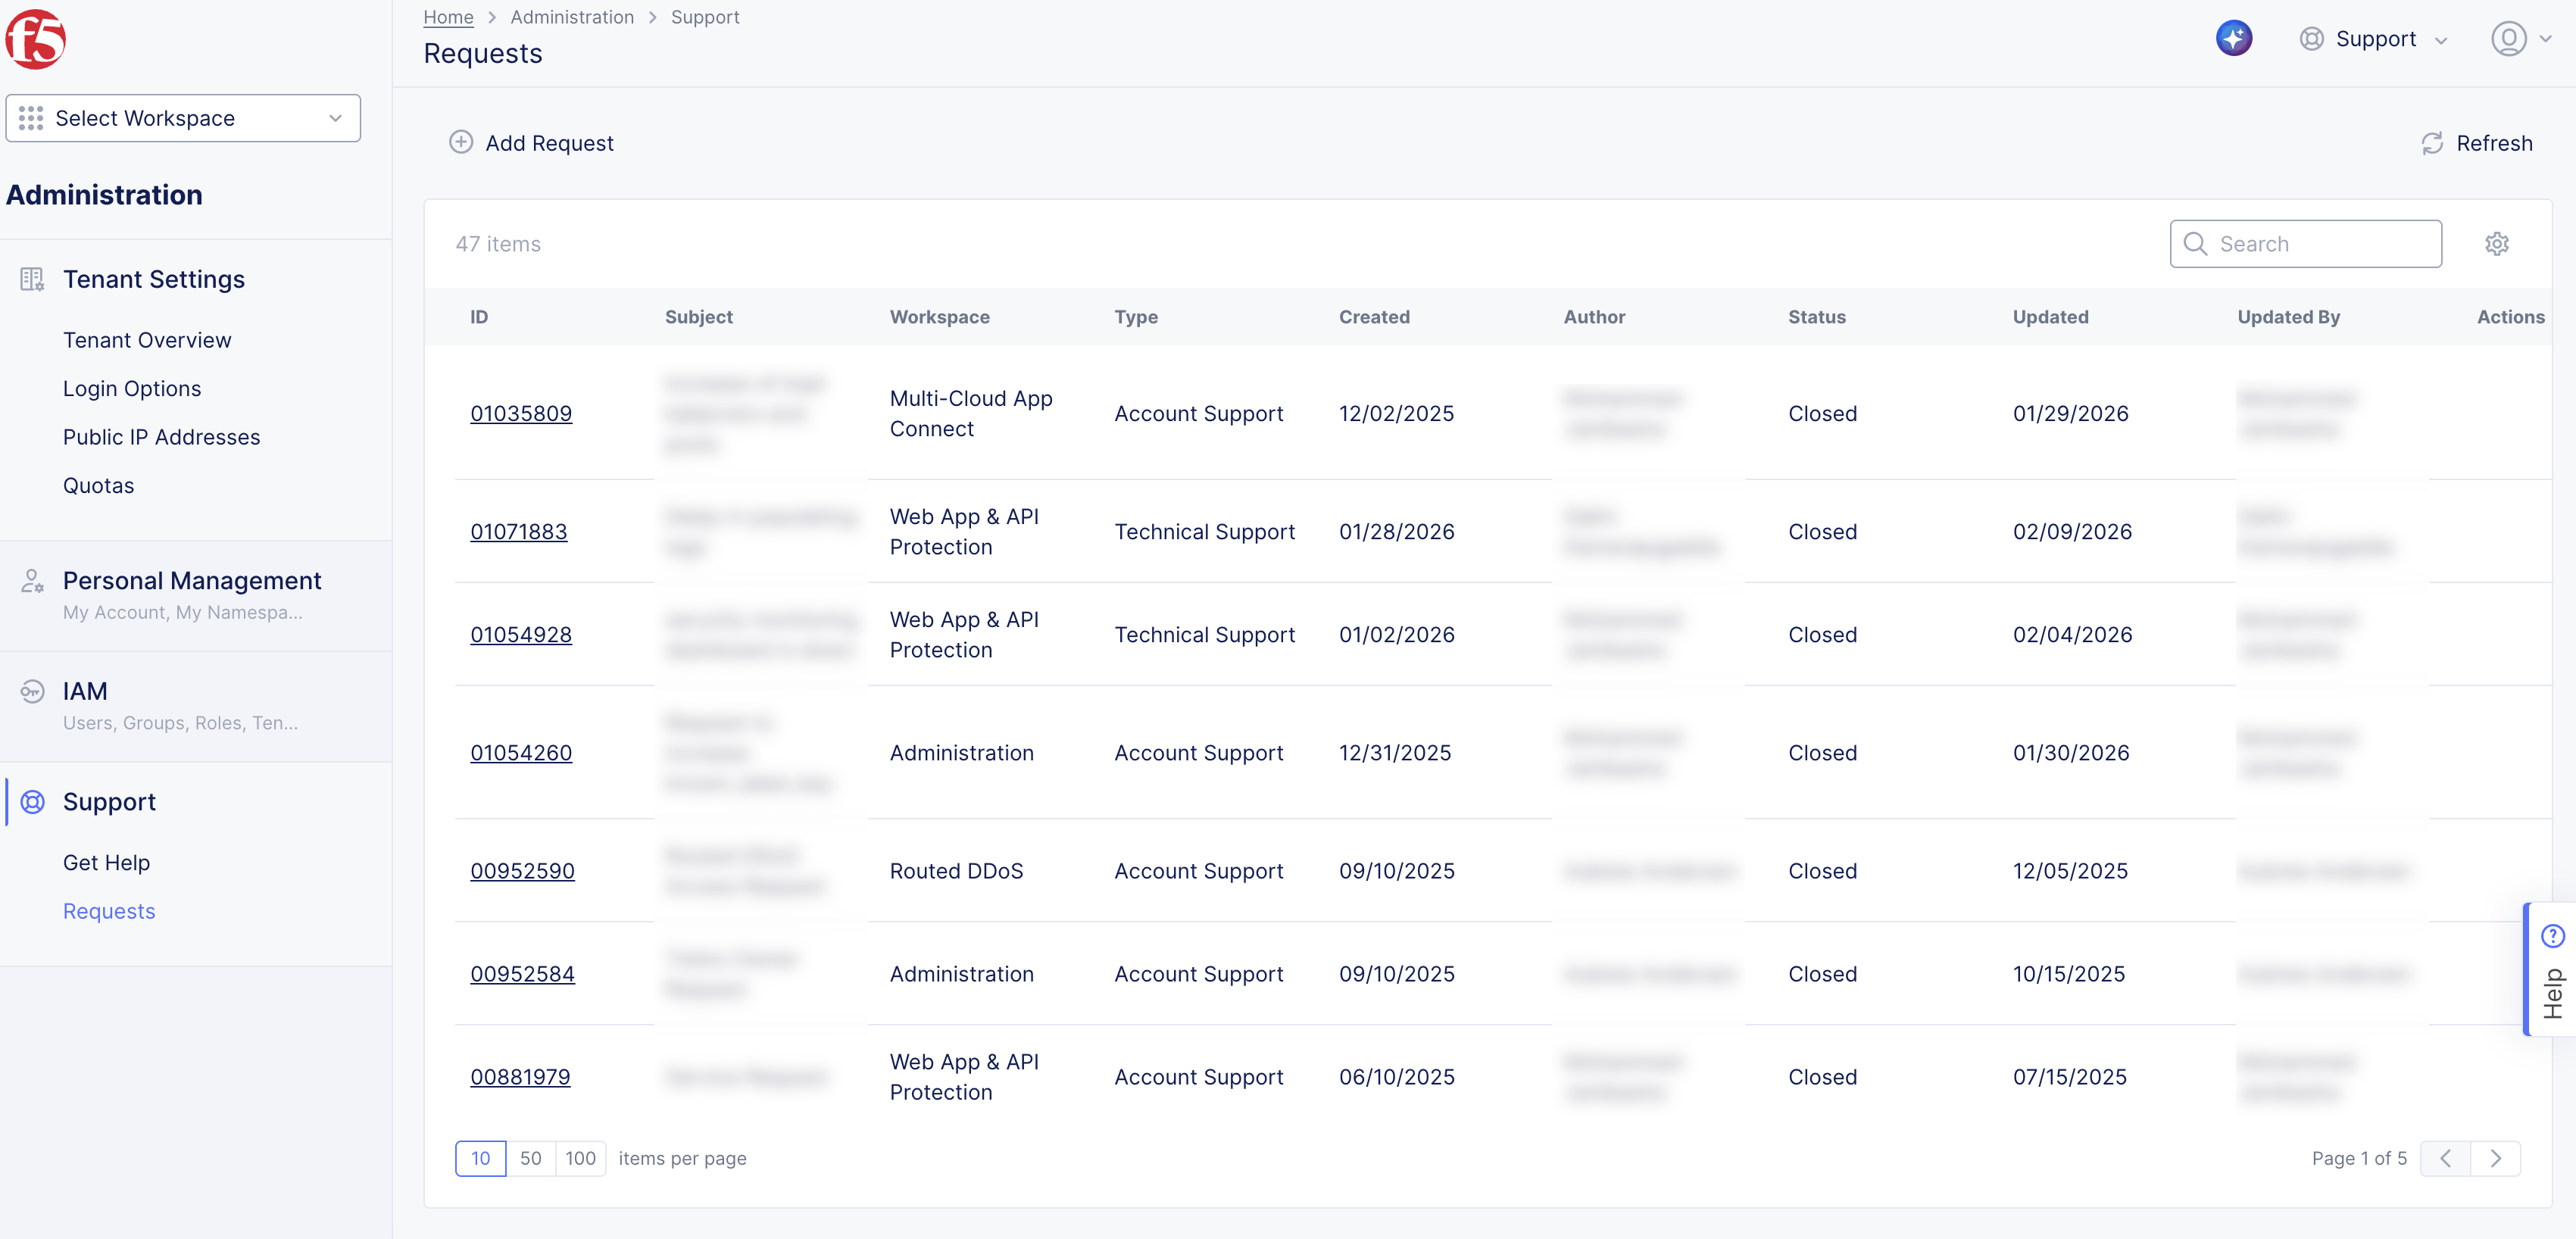
Figure: Track Requests
-
To escalate status, select the Escalate link in Status, and then select Escalate Request in pop-up. Perform the following:
-
Select ID number link to open request and add information as needed.
-
Select Send to update Request form.
-
Confirm and Advertise on Additional Dedicated VIP
-
Confirm your public IP address was successfully created.
-
Select the Multi-Cloud App Connect workspace.
-
Select Manage > Load Balancers > HTTP Load Balancers.
-
For your load balancer, select ... > Manage Configuration.
-
Select Edit Configuration in upper right corner.
-
Go to the Other Settings section.
-
From the VIP Advertisement drop-down menu, select Internet (Specified VIP).
-
From the Public IP drop-down menu, select the public IP address you requested (and was approved).
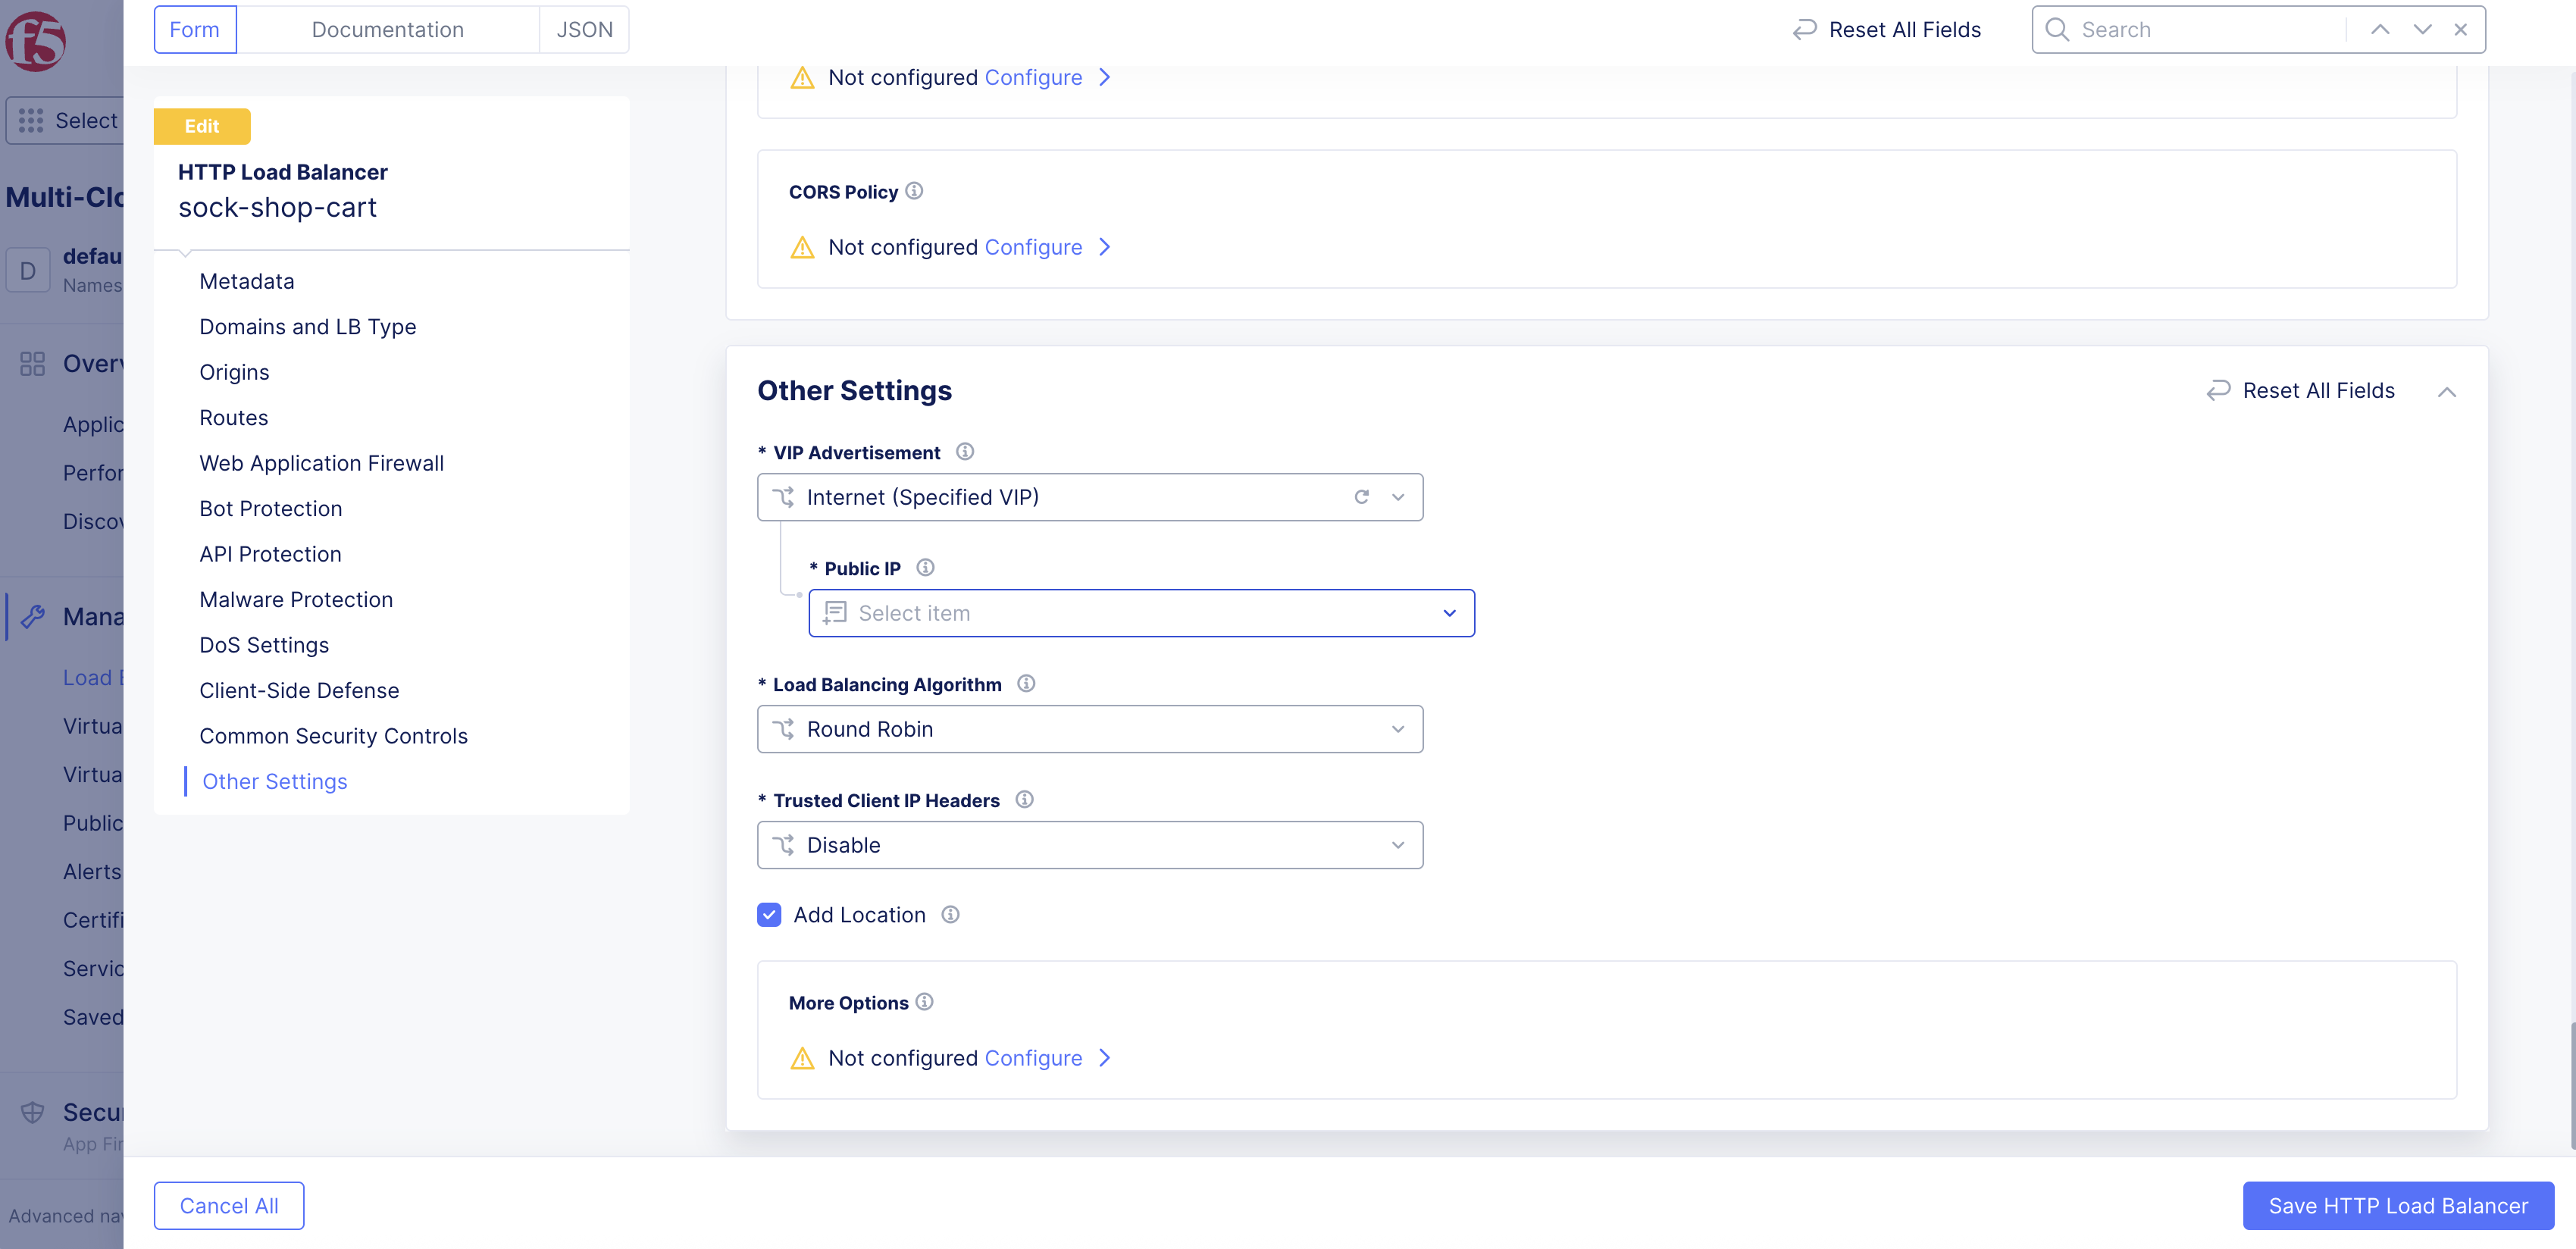
Figure: Public IP Address Settings
- Select Save HTTP Load Balancer.
Ports for Shared VIPs
This section provides the list of allowed ports for HTTP and HTTPs connections to Shared VIPs.
HTTP Ports
The following list of ports are supported for establishing HTTP connection to Shared VIPs:
- 80
- 8080
- 8880
- 2052
- 2082
- 2086
- 2095
- 25565
HTTPs Ports
The following list of ports are supported for establishing HTTPs connection to Shared VIPs:
- 443
- 2053
- 2083
- 2087
- 2096
- 8443
- 25565