Deploy a Customer Site
Install the Volterra Node or Cluster
Quickstart
Using Volterra’s Quickstart you can install Volterra Node on AWS or Azure. For more information on the tool please go to the Volterra Quickstart tool.
Install the Volterra Node on AWS
Create
Step 1: Create a terraform vars file
{
    "access_key": "<aws access key>",
    "secret_key": "<aws secret key>",

    "cluster_token": "<volterra token>",

    "machine_public_key": "<ssh-public-key>",
    "machine_image": "<AMI-ID>",

    "deployment": "<ce_cluster_name>",
    "region": "<aws region>"
}
Step 2: Run below commands to deploy
docker run --rm -v $(pwd):/opt/bin:rw docker.io/volterraio/volt-terraform:latest cp /deploy-terraform.sh /opt/bin
./deploy-terraform.sh apply -p aws -i <absolute_path_to_vars_file> -tn ce-single-aws --force
Example command to bring up a single Volterra Node CE
./deploy-terraform.sh apply -p aws -i /var/tmp/aws.tfvars -tn ce-single-aws --force
Delete
Step 1: Run below command to delete your deployment
./deploy-terraform.sh destroy -p aws -i <absolute_path_to_vars_file> -tn ce-single-aws --force
Example command to delete a single Volterra Node CE
./deploy-terraform.sh destroy -p aws -i /var/tmp/aws.tfvars -tn ce-single-aws --force
Install the Volterra Cluster on AWS
Create
Step 1: Create a terraform vars file
To install a cluster with three master nodes, enter the following:
{
"access_key": "<aws access key>",
"secret_key": "<aws secret key>",

"cluster_token": "<volterra token>",

"machine_public_key": "<ssh-public-key>",
"machine_image": "<AMI-ID>",

"deployment": "<ce_cluster_name>",
"region": "<aws region>"

}
To install a cluster with three master nodes and worker nodes, enter the following:
{
"access_key": "<aws access key>",
"secret_key": "<aws secret key>",

"cluster_token": "<volterra token>",

"machine_public_key": "<ssh-public-key>",
"machine_image": "<AMI-ID>",

"deployment": "<ce_cluster_name>",
"region": "<aws region>",
"machine_count": "<number of worker nodes>"
}
Step 2: Download the terraform deploy script.
docker run --rm -v $(pwd):/opt/bin:rw docker.io/volterraio/volt-terraform:latest cp /deploy-terraform.sh /opt/bin
Step 3: Run the deployment script:
./deploy-terraform.sh apply -p aws -i <absolute_path_to_vars_file> -tn ce-multi-aws --force
Example command to bring up a single Volterra Node CE
./deploy-terraform.sh apply -p aws -i /var/tmp/aws.tfvars -tn ce-multi-aws --force
Delete
Step 1: Run below command to delete your deployment
./deploy-terraform.sh destroy -p aws -i <absolute_path_to_vars_file> --force
Example command to delete a single node CE
./deploy-terraform.sh destroy -p aws -i /var/tmp/azure.tfvars -tn ce-single-aws --force
Install the Volterra Node on Azure
Create
Step 1: Create a terraform vars file
{
"subscription_id": "<az subscription id>",
"tenant_id": "<az sp tenant id>",
"cluster_token": "<volterra token>",
"client_secret": "<az sp secret>",
"client_id": "az sp client id",
"deployment": "<ce_cluster_name>",
"machine_public_key": "<ssh-public-key>"
}
Step 2: Run below commands to deploy
docker run --rm -v $(pwd):/opt/bin:rw docker.io/volterraio/volt-terraform:latest cp /deploy-terraform.sh /opt/bin
./deploy-terraform.sh apply -p azure -i <absolute_path_to_vars_file> -tn ce-single-azure --force
Example command to bring up a single Volterra Node CE
./deploy-terraform.sh apply -p azure -i /var/tmp/azure.tfvars -tn ce-single-azure --force
Delete
Step 1: Run below command to delete your deployment
./deploy-terraform.sh destroy -p azure -i <absolute_path_to_vars_file> --force
Example command to delete a single node CE
./deploy-terraform.sh destroy -p azure -i /var/tmp/azure.tfvars -tn ce-single-azure --force
Install the Volterra Cluster on Azure
Create
Step 1: Create a terraform vars file To install a cluster with three master nodes, enter the following:
{
"subscription_id": "<az subscription id>",
"tenant_id": "<az sp tenant id>",
"cluster_token": "<volterra token>",
"client_secret": "<az sp secret>",
"client_id": "az sp client id",
"deployment": "<ce_cluster_name>",
"machine_public_key": "<ssh-public-key>"
}
To install a cluster with three master nodes and worker nodes, enter the following:
{
"subscription_id": "<az subscription id>",
"tenant_id": "<az sp tenant id>",
"cluster_token": "<volterra token>",
"client_secret": "<az sp secret>",
"client_id": "az sp client id",
"deployment": "<ce_cluster_name>",
"machine_public_key": "<ssh-public-key>",
"machine_count": "<number of worker nodes>"
}
Step 2: Download the terraform deploy script.
docker run --rm -v $(pwd):/opt/bin:rw docker.io/volterraio/volt-terraform:latest cp /deploy-terraform.sh /opt/bin
Step 3: Run the deployment script:
./deploy-terraform.sh apply -p azure -i <absolute_path_to_vars_file> -tn ce-multi-azure --force
Example command to bring up a single Volterra Node CE
./deploy-terraform.sh apply -p azure -i /var/tmp/azure.tfvars -tn ce-multi-azure --force
Delete
Step 1: Run below command to delete your deployment
./deploy-terraform.sh destroy -p azure -i <absolute_path_to_vars_file> -tn ce-multi-azure --force
Example command to delete a single node CE
./deploy-terraform.sh destroy -p azure -i /var/tmp/azure.tfvars -tn ce-multi-azure --force
Additional Install Options
For additional Volterra Node deployment options please go to our Install section.
Accept the Node Registration
You can accept node registration via
- VoltConsole Dashboard
- vesctl
VoltConsole
Manually accept the registration via VoltConsole. Login to the VoltConsole and navigate Volterra -> System -> Site Management -> Registration.
Step 1: Look for site registration
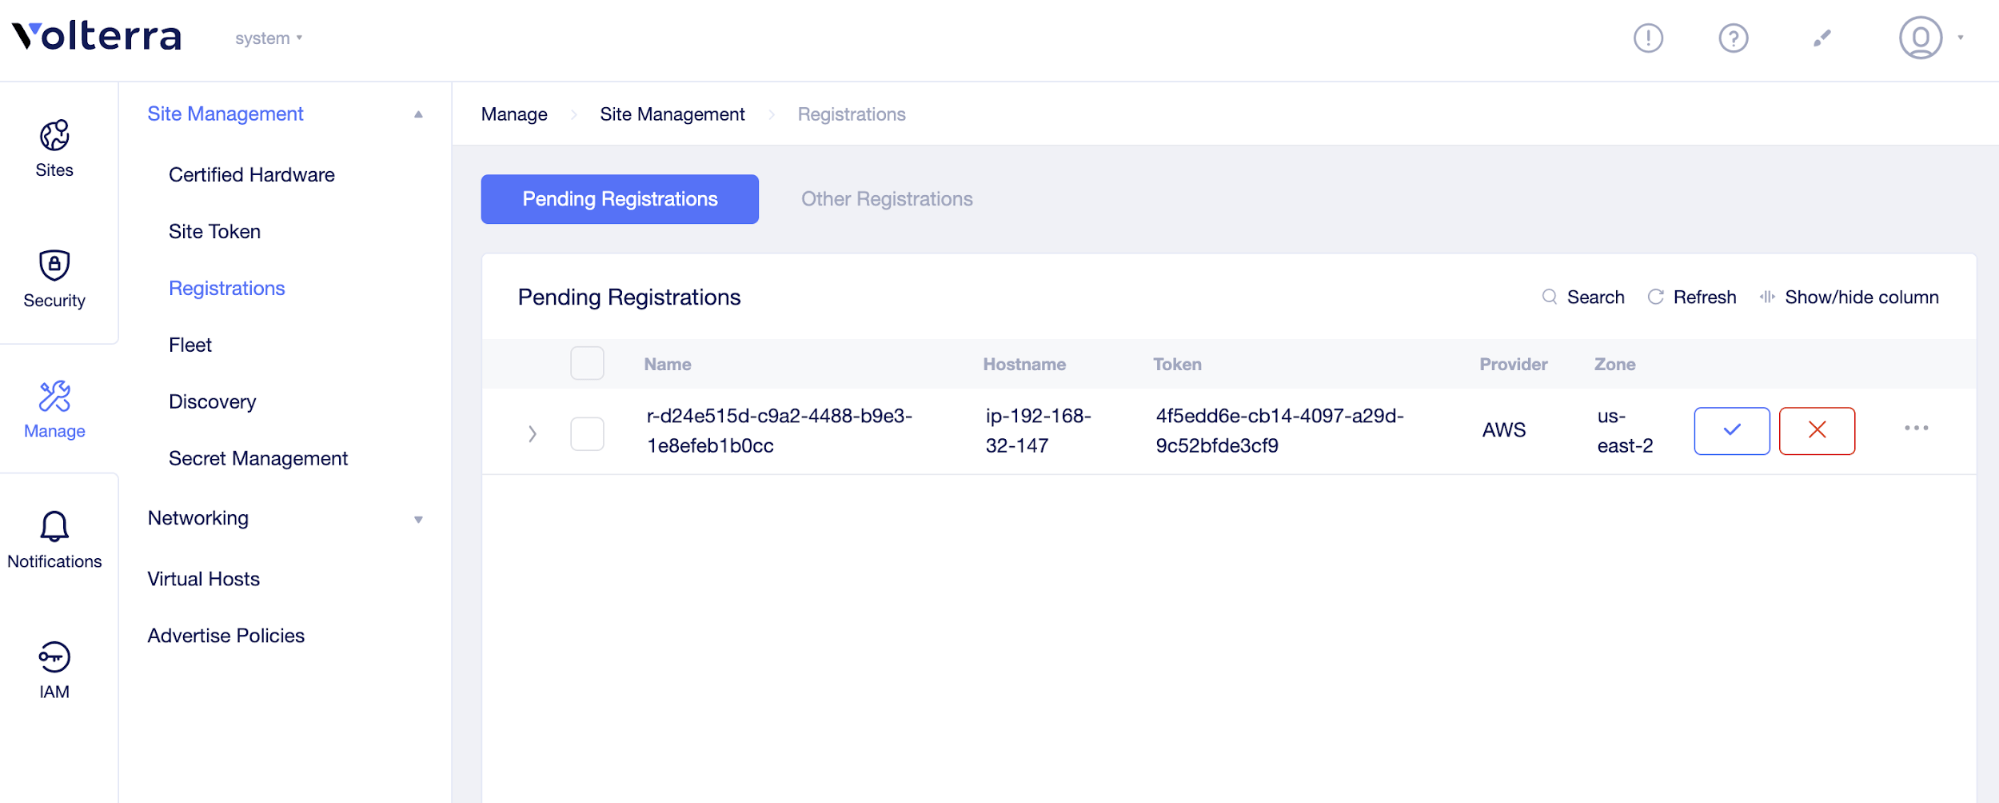
FIgure: Site registration
Step 2: Accept registration (adjust fields as needed)
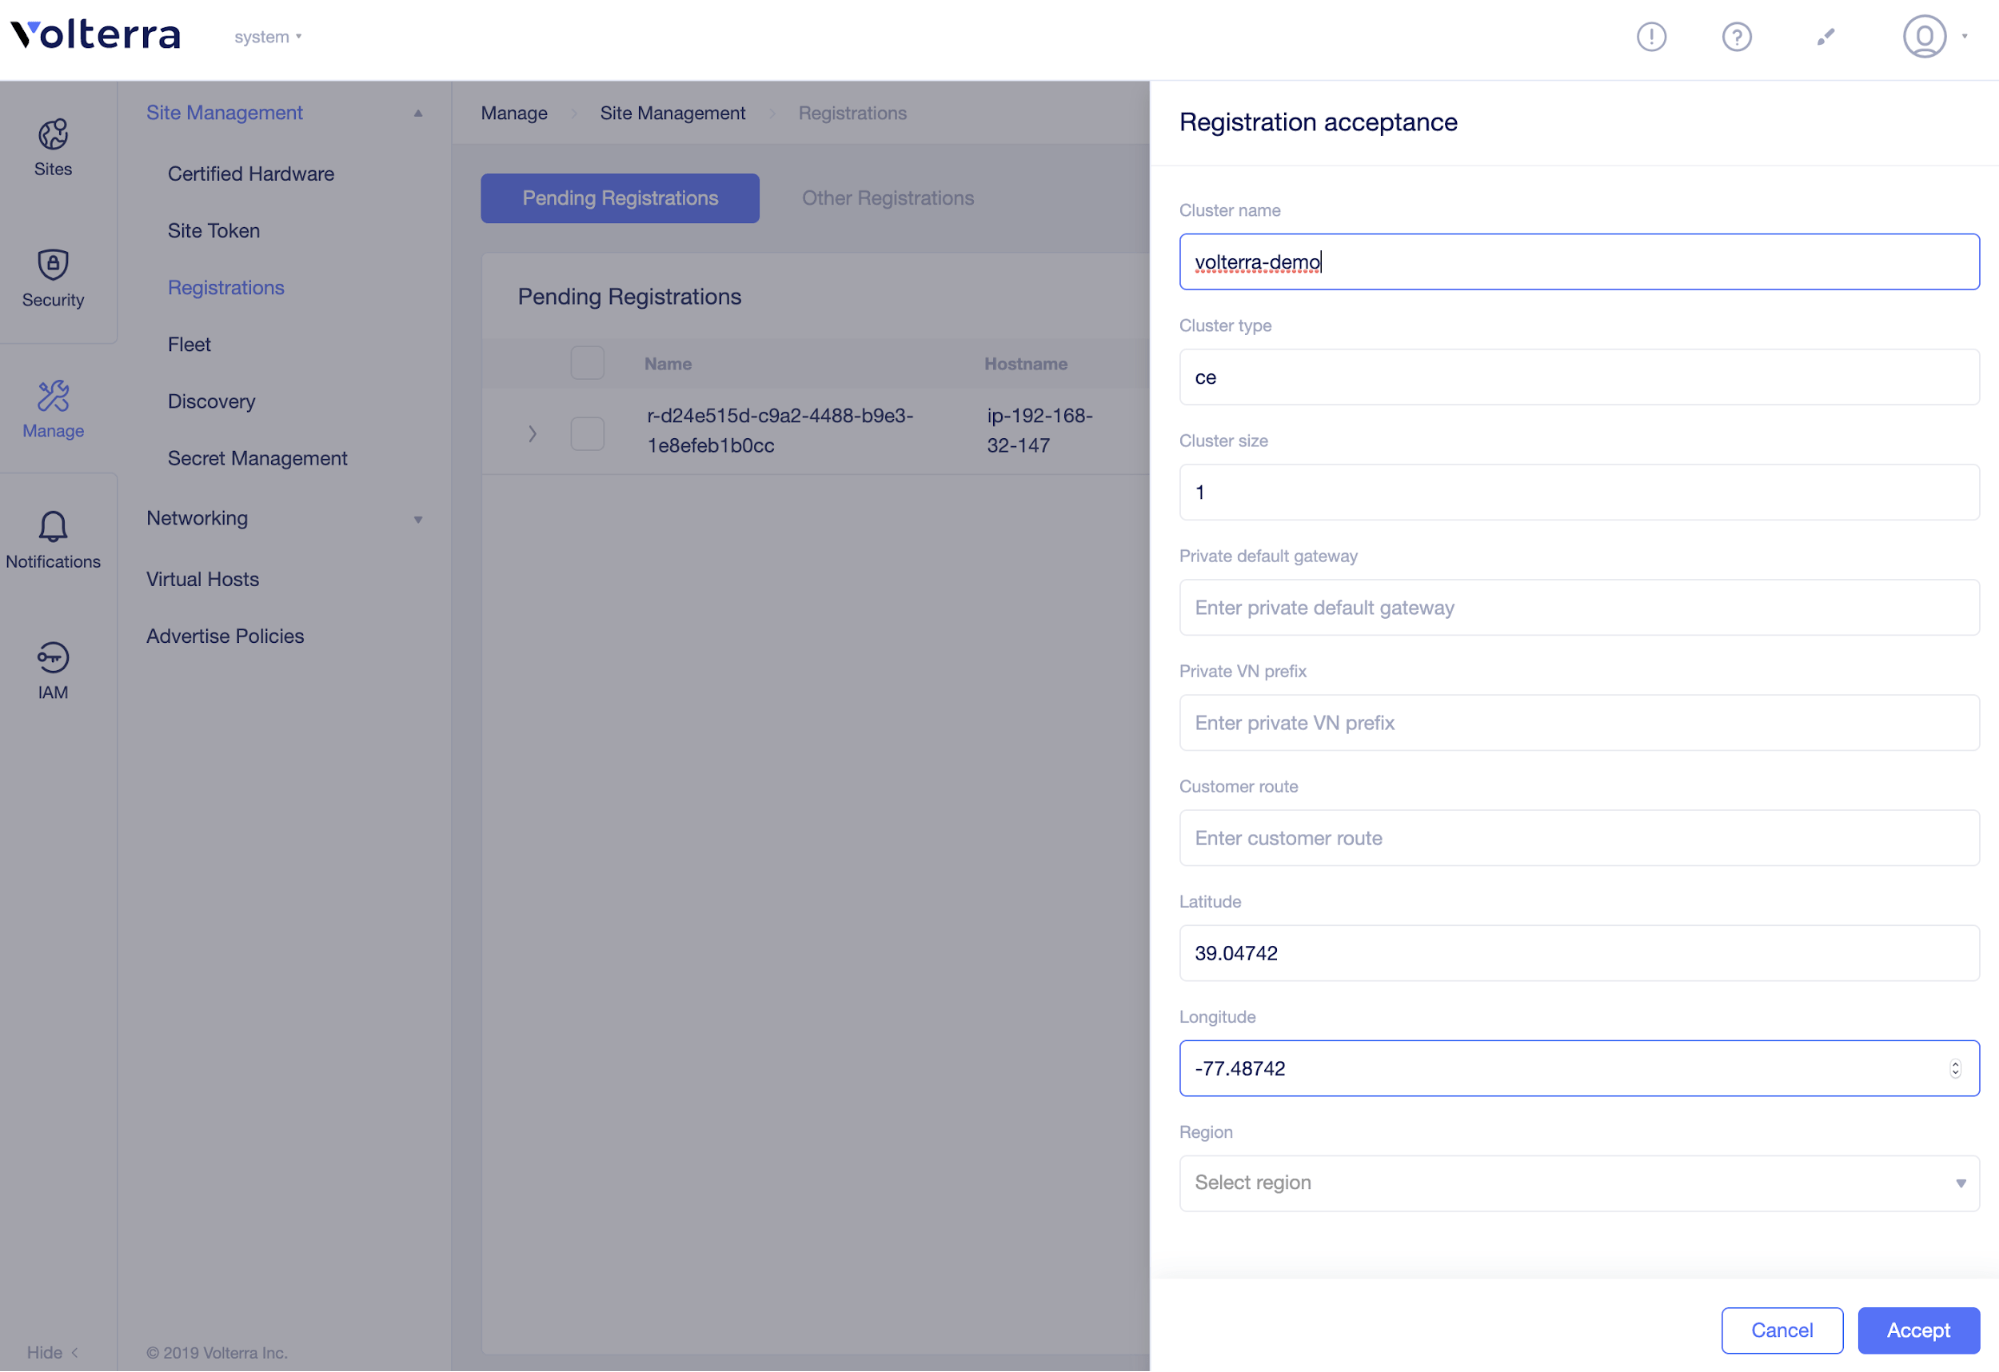
FIgure: Accept Registration
vesctl
vesctl option (if available)
Verify Node Registration
You can verify node registration via
- vesctl
- Volterra terraform
- VoltConsole Dashboard
VoltConsole
Login to the VoltConsole and navigate Volterra > System.
Step 1: Confirm the site is up in either System Map or Site List
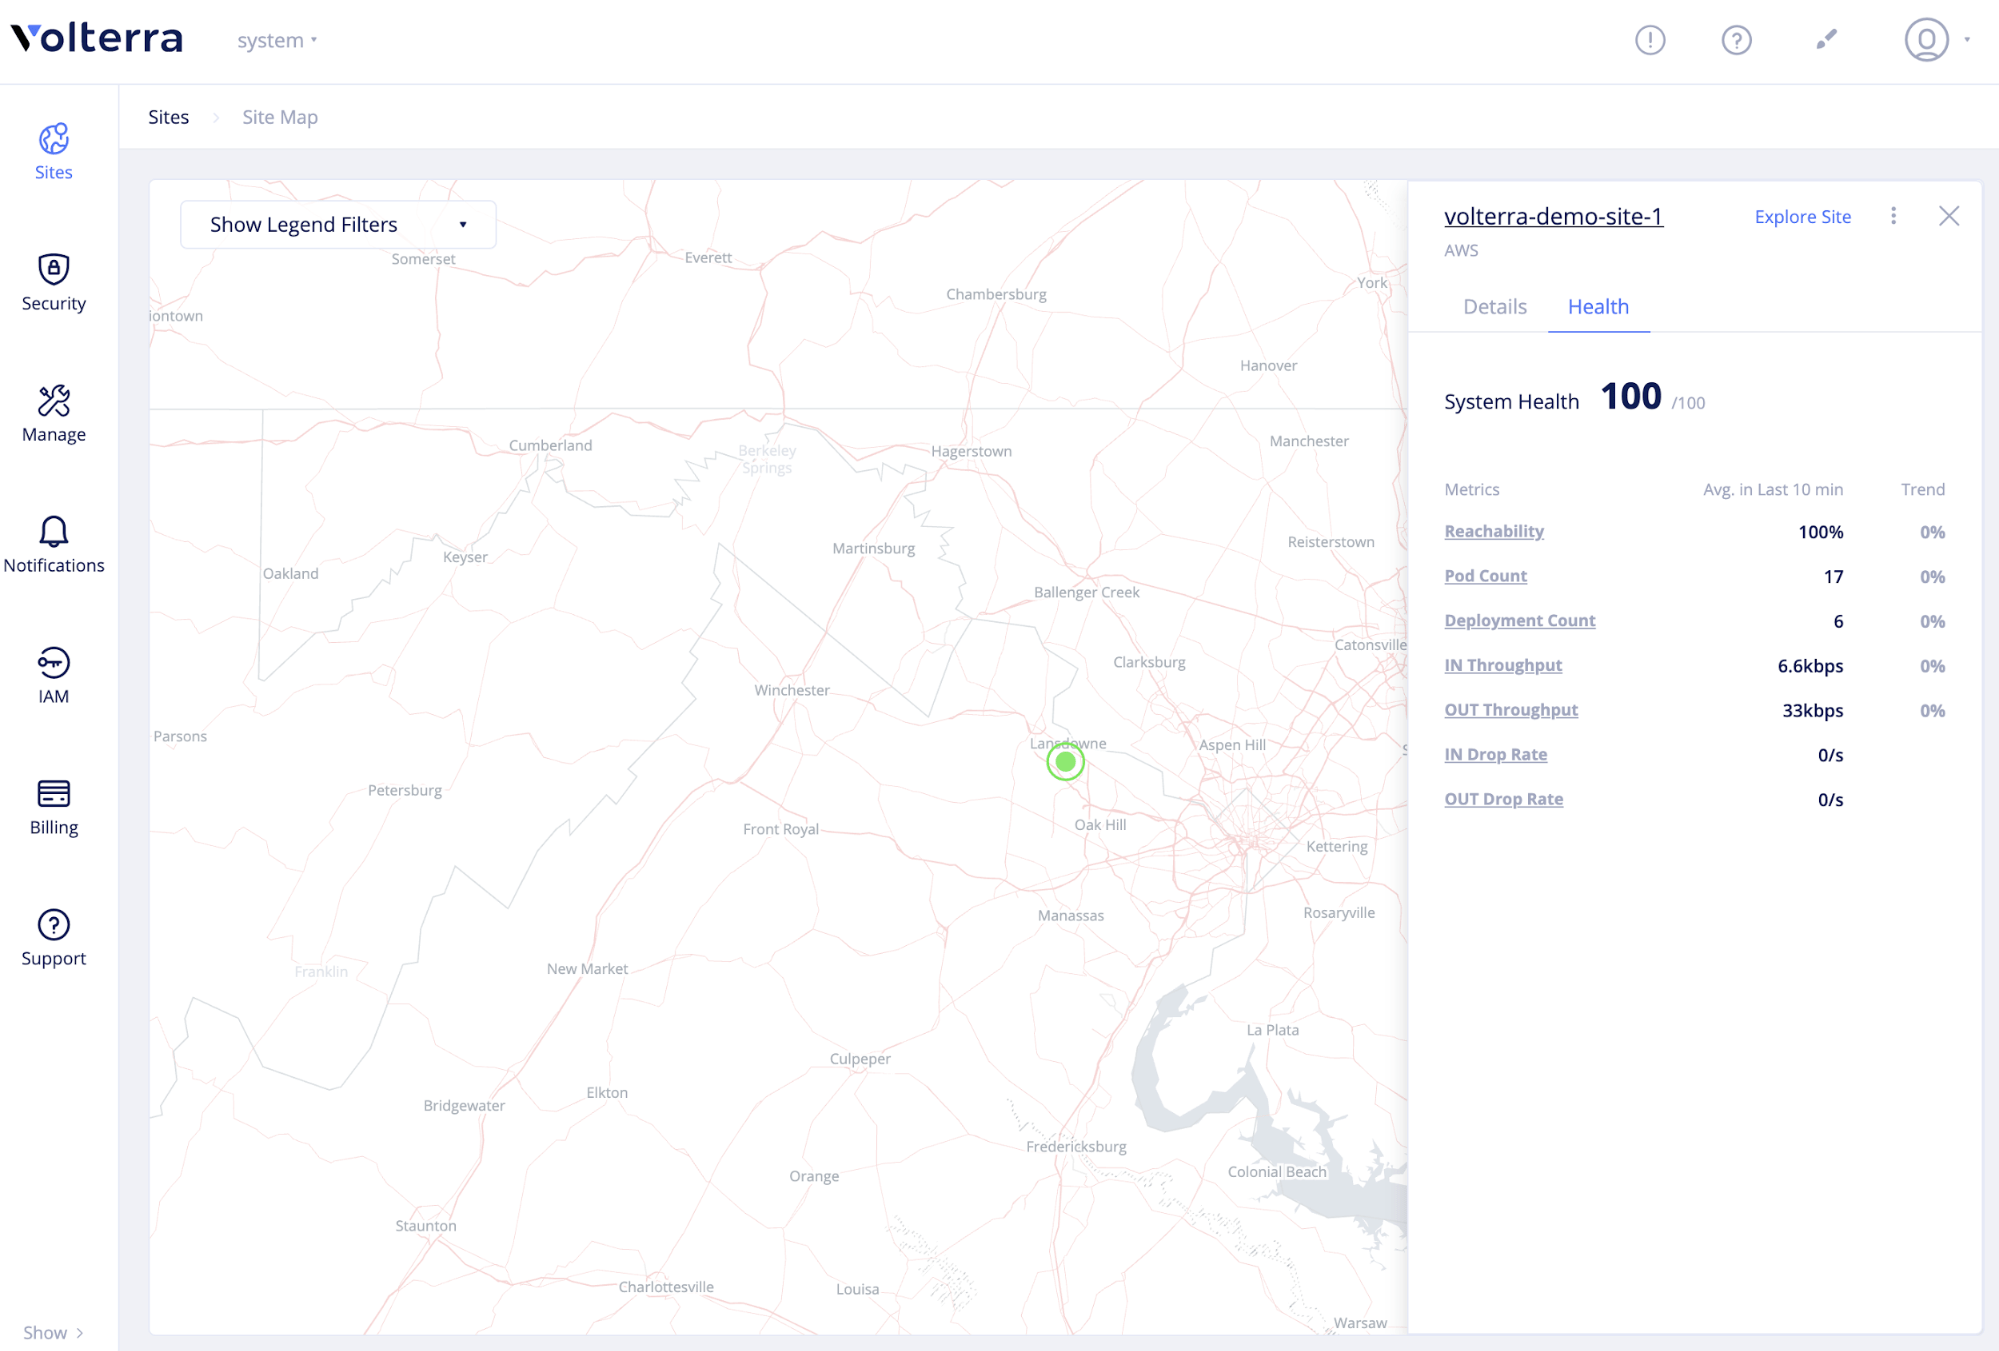
FIgure: Sites -> System Map
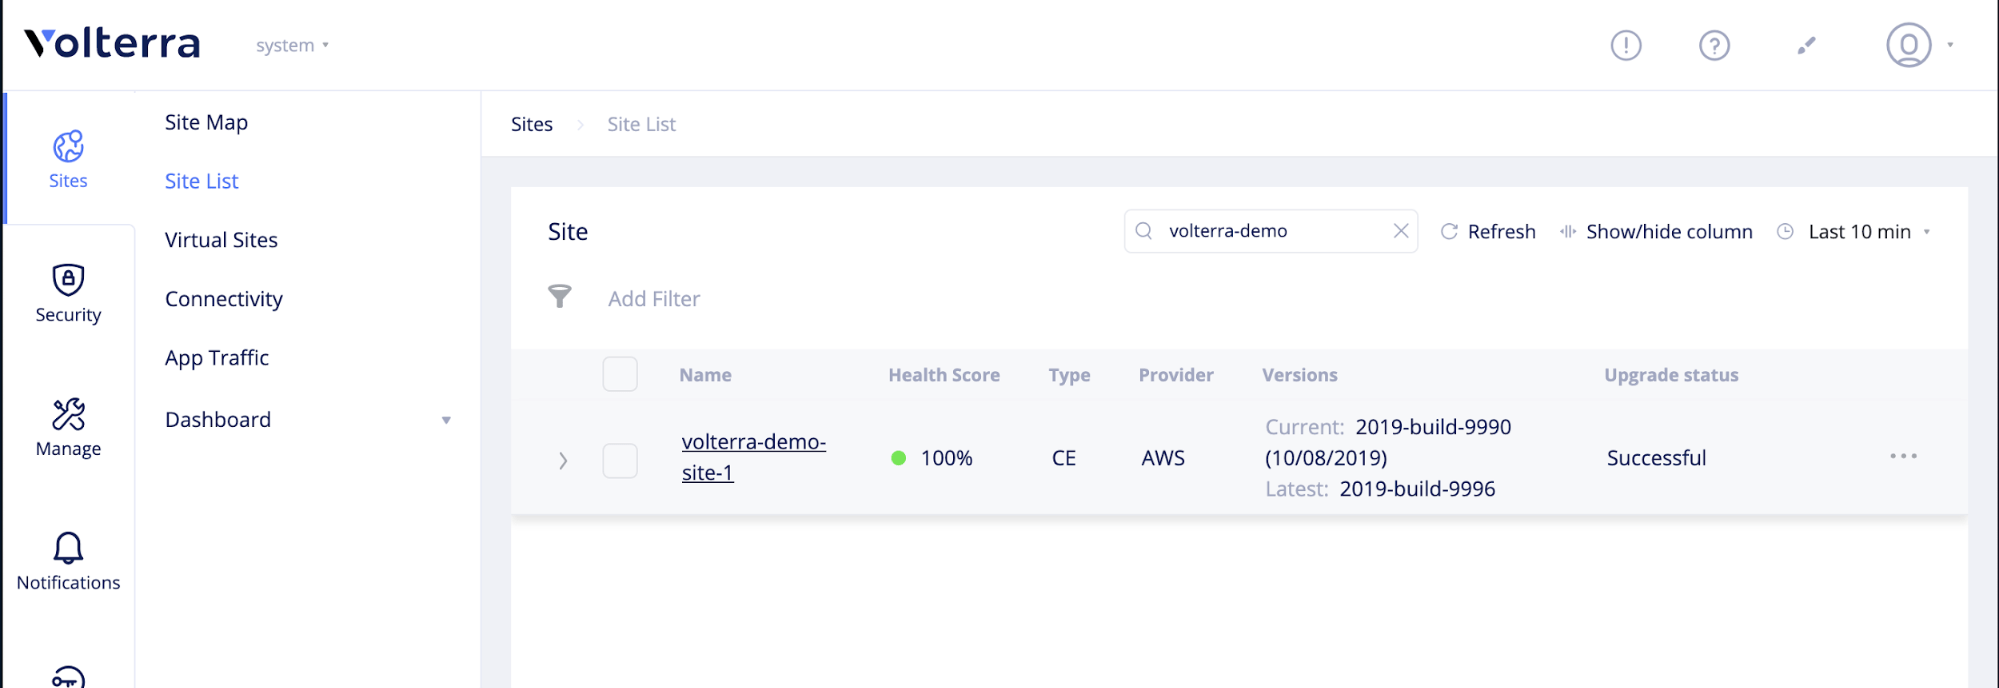
FIgure: Sites -> Site List
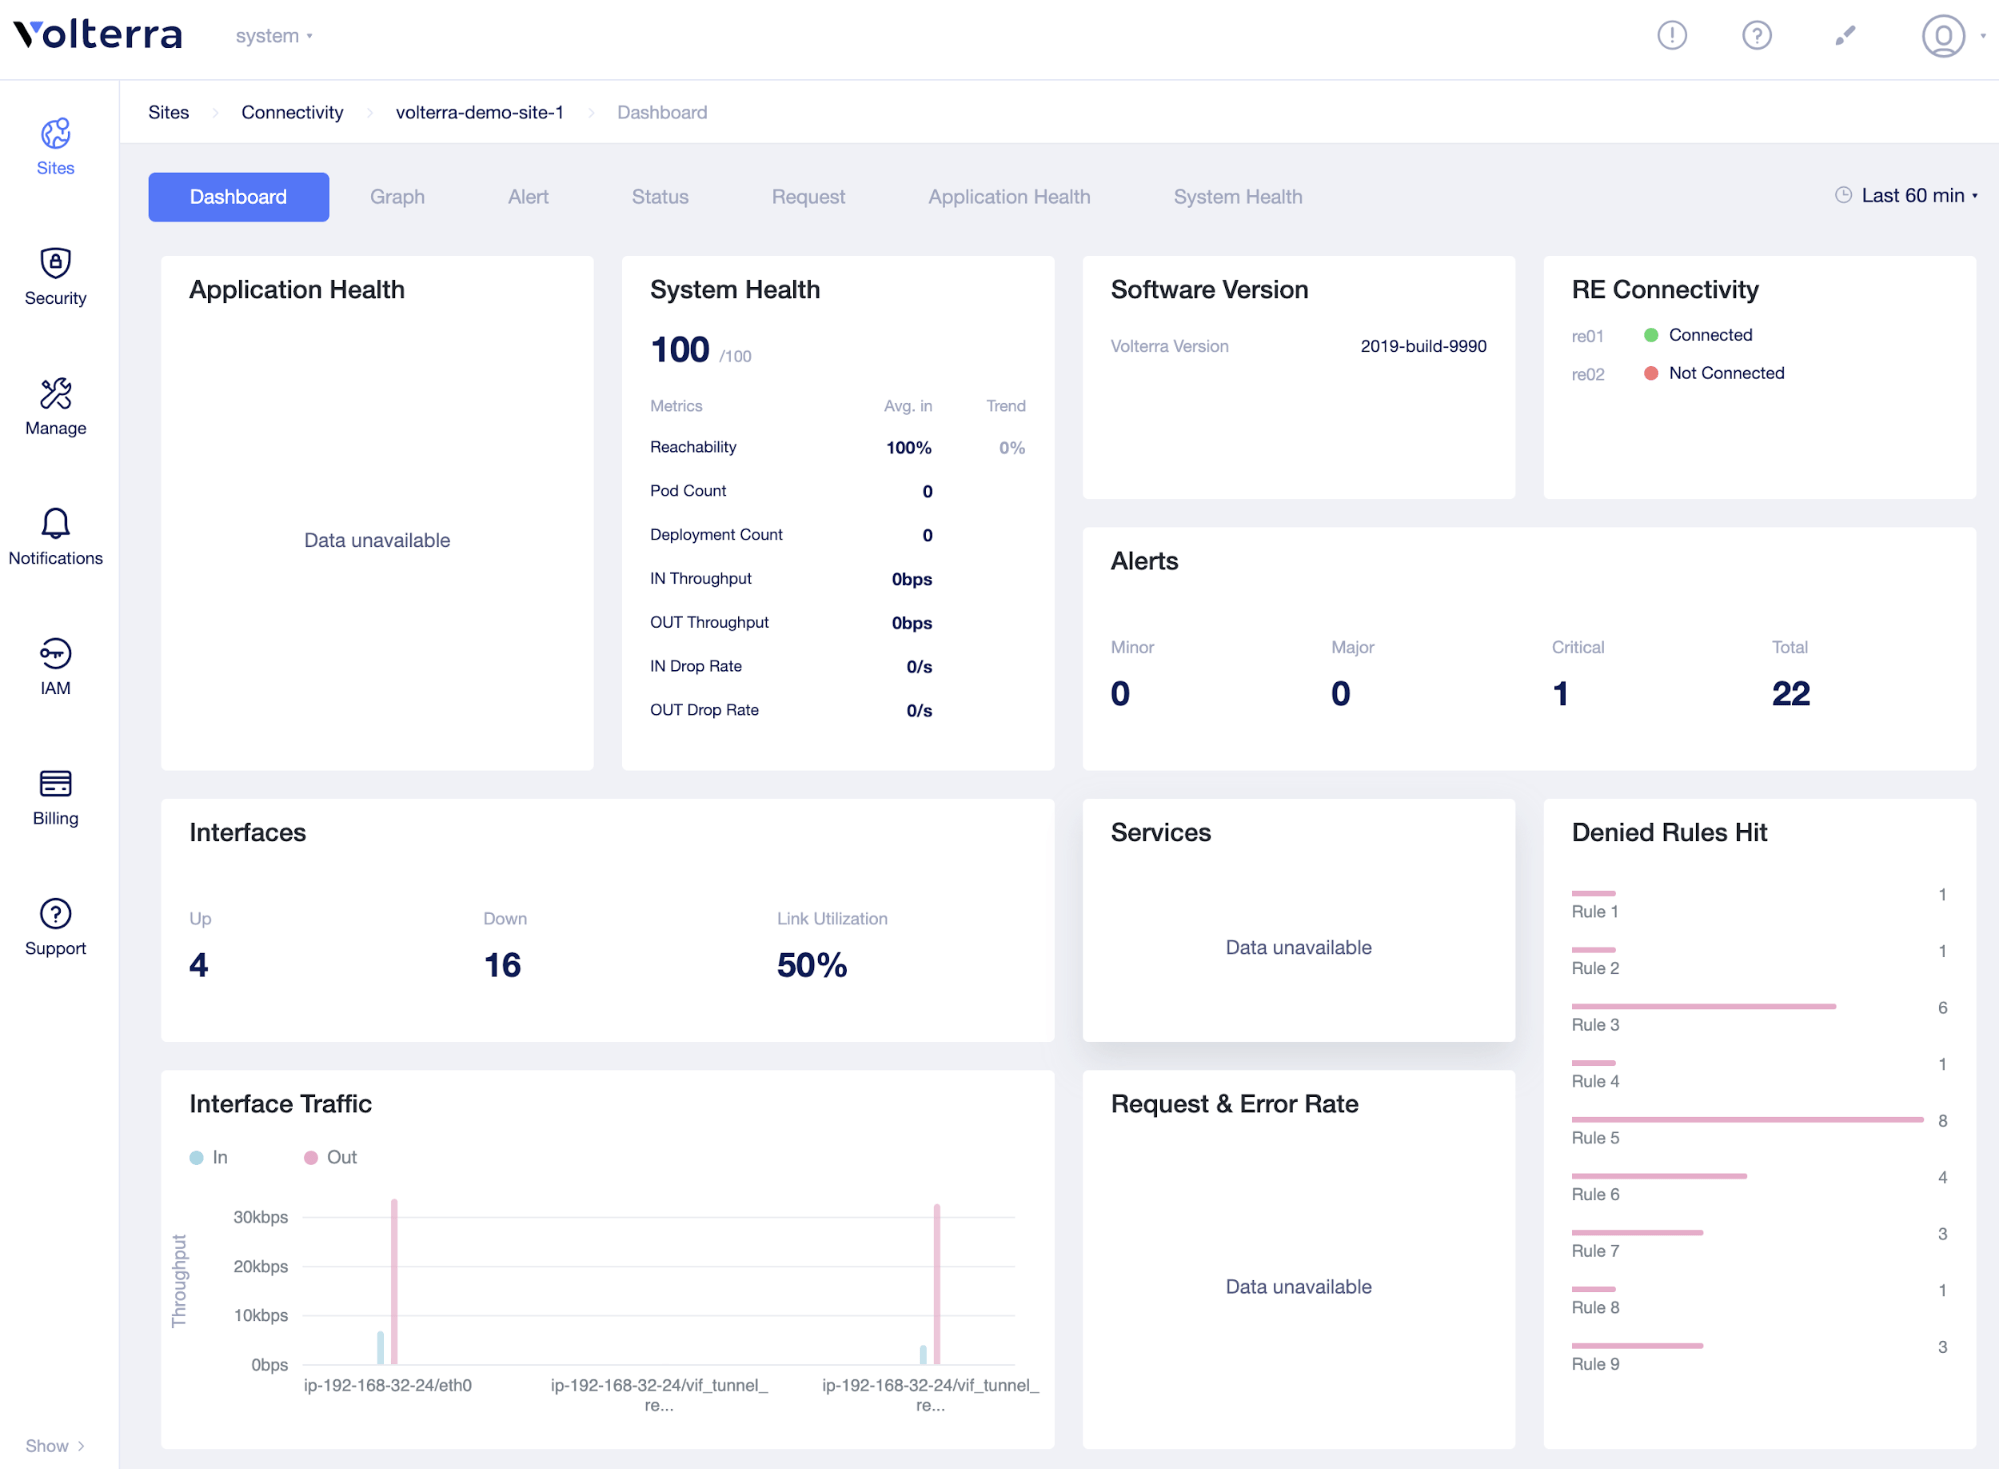
FIgure: Sites ->Connectivity -> Status
Next Steps
Now that you have a Volterra Site up and running, use the VoltConsole or Public APIs via terraform or vesctl to start configuring VoltMesh or VoltStack services.
-
With a Volterra Site up and running try some of our Quickstarts
-
Introduction to Volterra concepts and services
On this page:
- Install the Volterra Node or Cluster
- Quickstart
- Install the Volterra Node on AWS
- Create
- Delete
- Install the Volterra Cluster on AWS
- Create
- Delete
- Install the Volterra Node on Azure
- Create
- Delete
- Install the Volterra Cluster on Azure
- Create
- Delete
- Additional Install Options
- Accept the Node Registration
- VoltConsole
- Verify Node Registration
- VoltConsole
- Next Steps