F5 Application Traffic Insight
Objective
This guide presents the end-to-end process for enabling and using F5 Application Traffic Insight (ATI), for those utilizing the JS Tag deployment method. For instructions on ATI deployment using either the BIG-IP iApp or NGINX methods, see Deploy ATI on Your Web Application.
Using the instructions provided in this guide, you can enable ATI functionality, generate a JavaScript tag, add it to your application, and monitor data in F5® Distributed Cloud Console.
Prerequisites
You must have a valid F5® Distributed Cloud Console Account. If you do not have an account, see Getting Started with Console.
Enable and Use ATI
Perform the following steps to enable and use ATI:
Step 1: Enable ATI and inject the ATI JS on your application's web pages.
- In the Distributed Cloud Console home page, click
Application Traffic Insight.
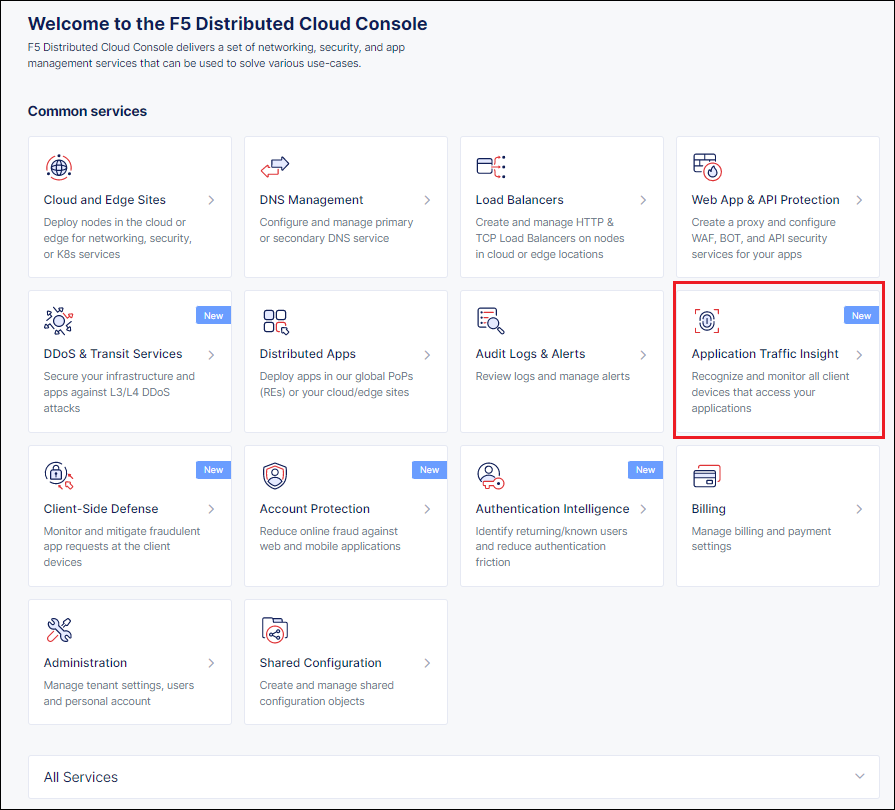
Figure: Select Application Traffic Insight
- In the ATI enablement page that appears, click
Enable Application Traffic Insight.
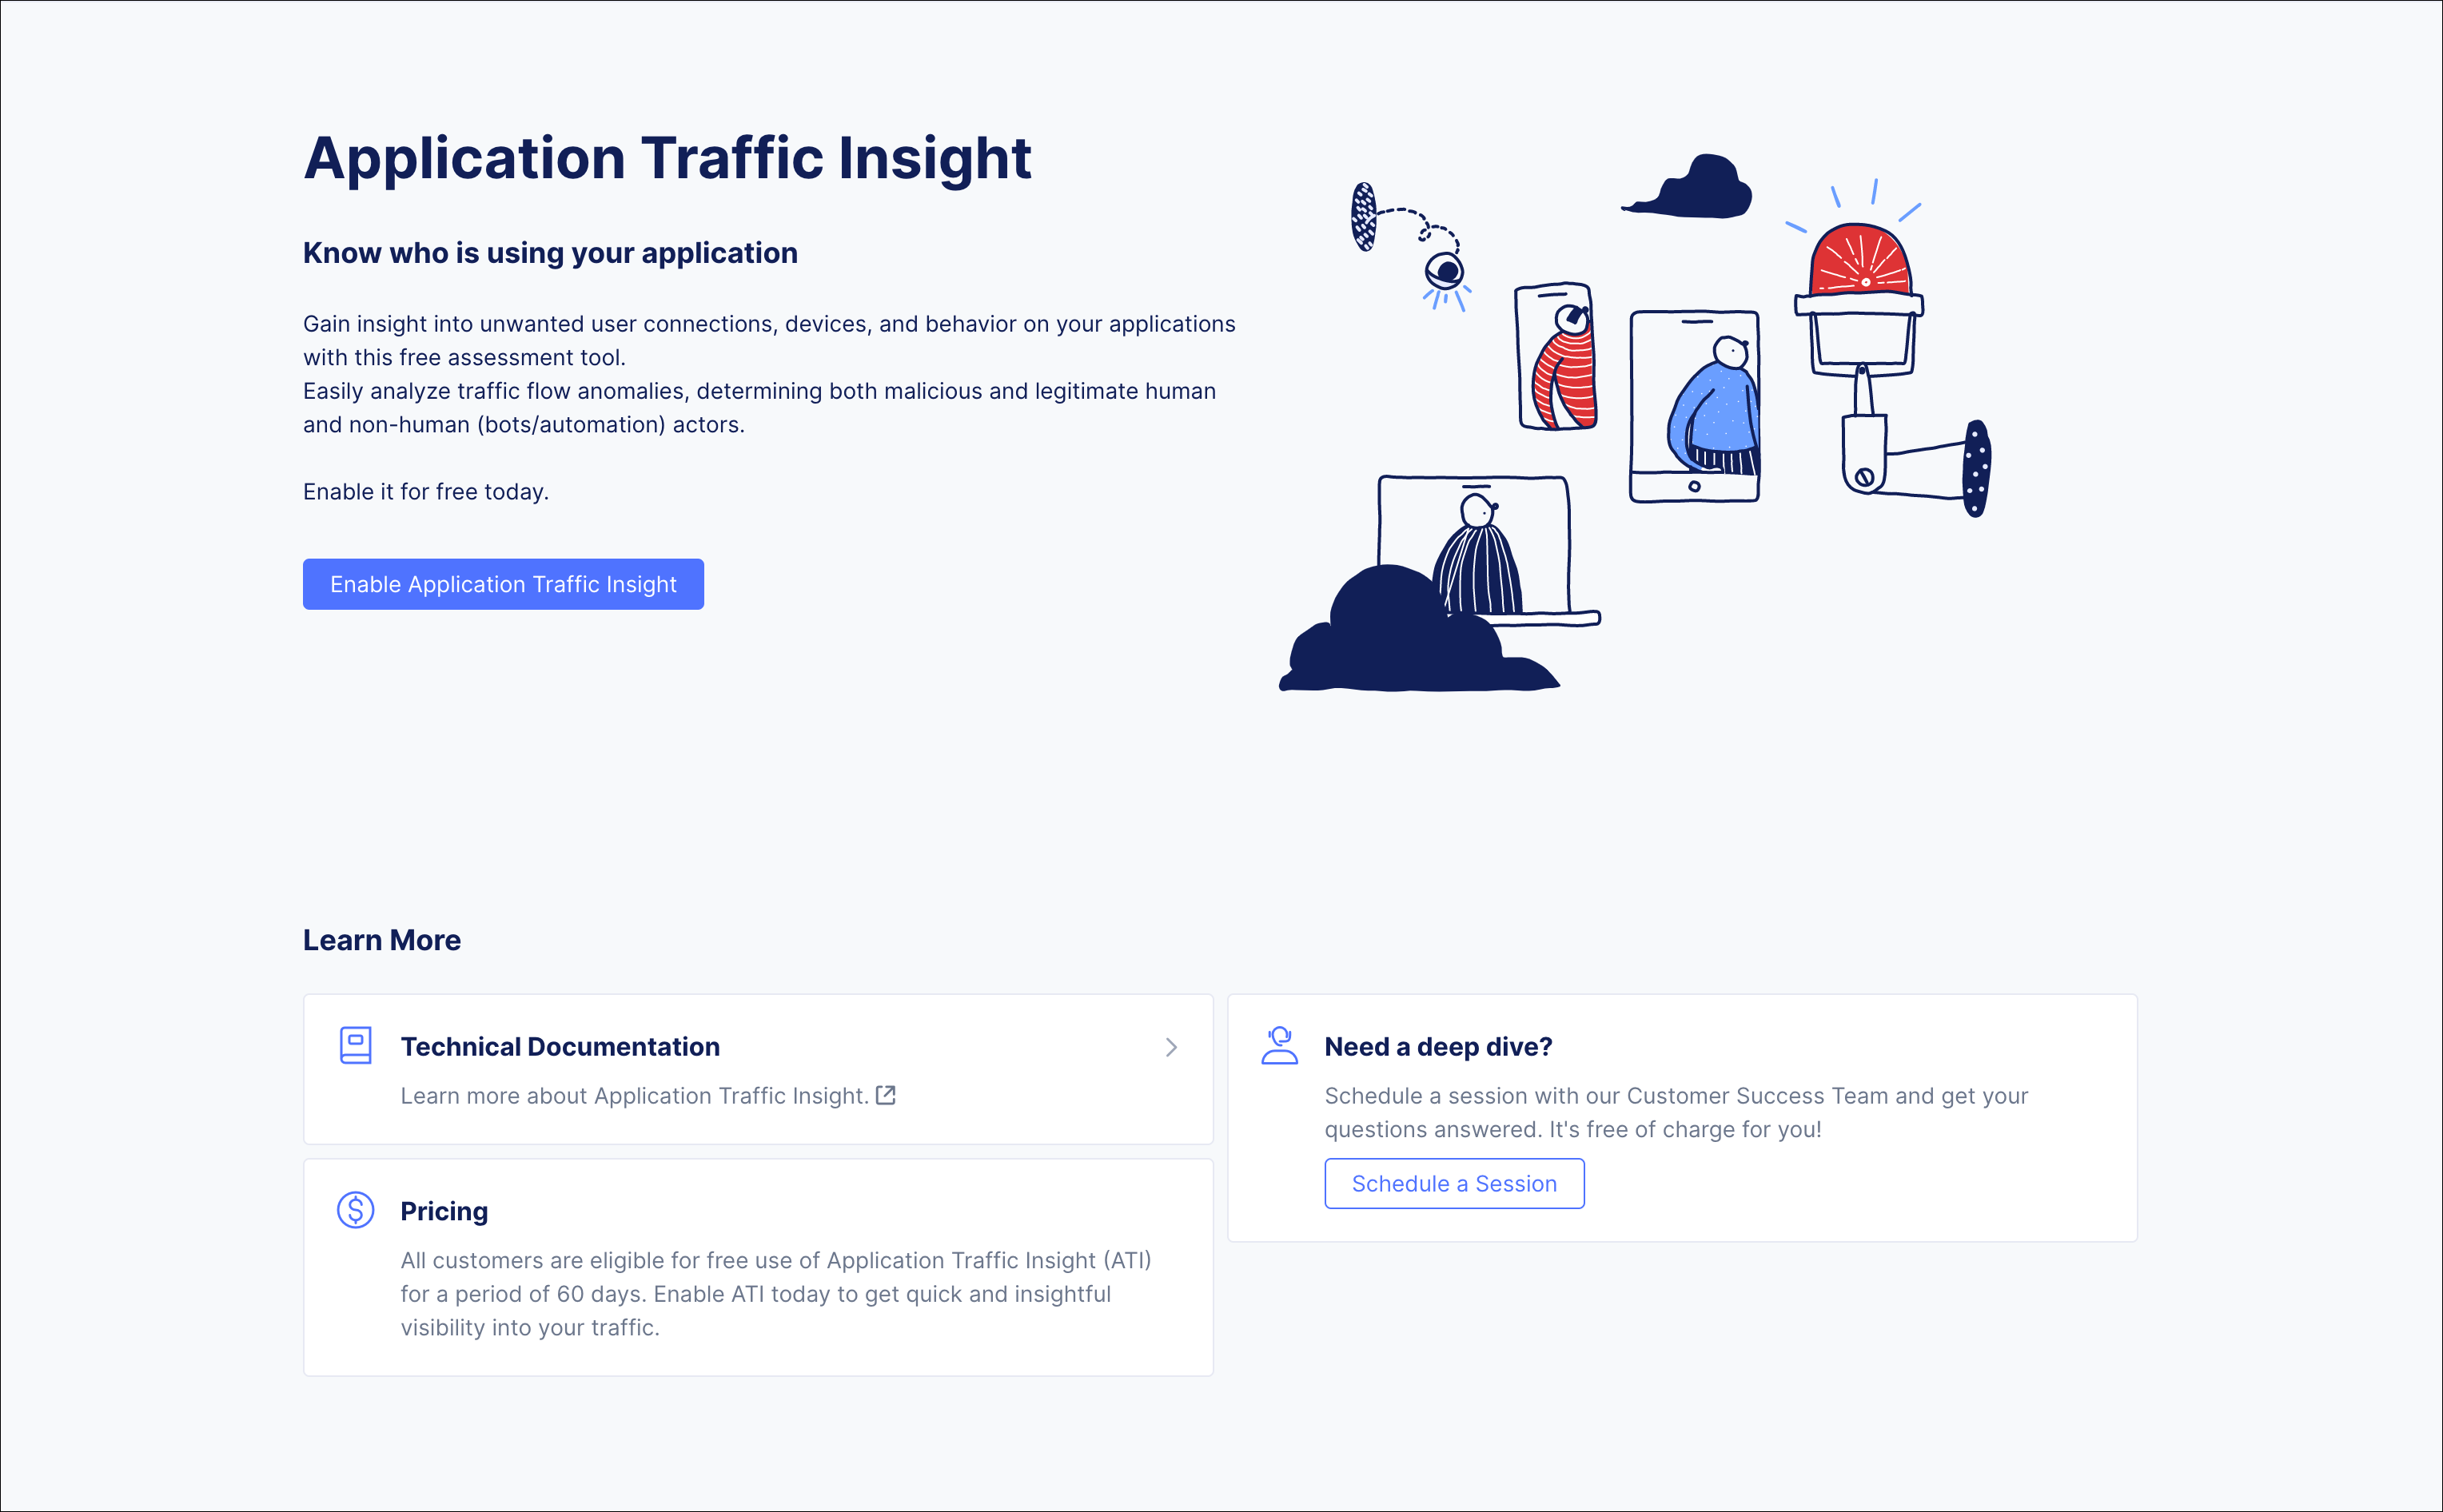
Figure: Enable ATI
- In the Select Region screen that appears, select the region that best matches your customer-base and then click
Next. The region you select here will determine where data is stored and processed.
Note: The region you select here cannot be changed later and will be valid for all applications that you configure on ATI.
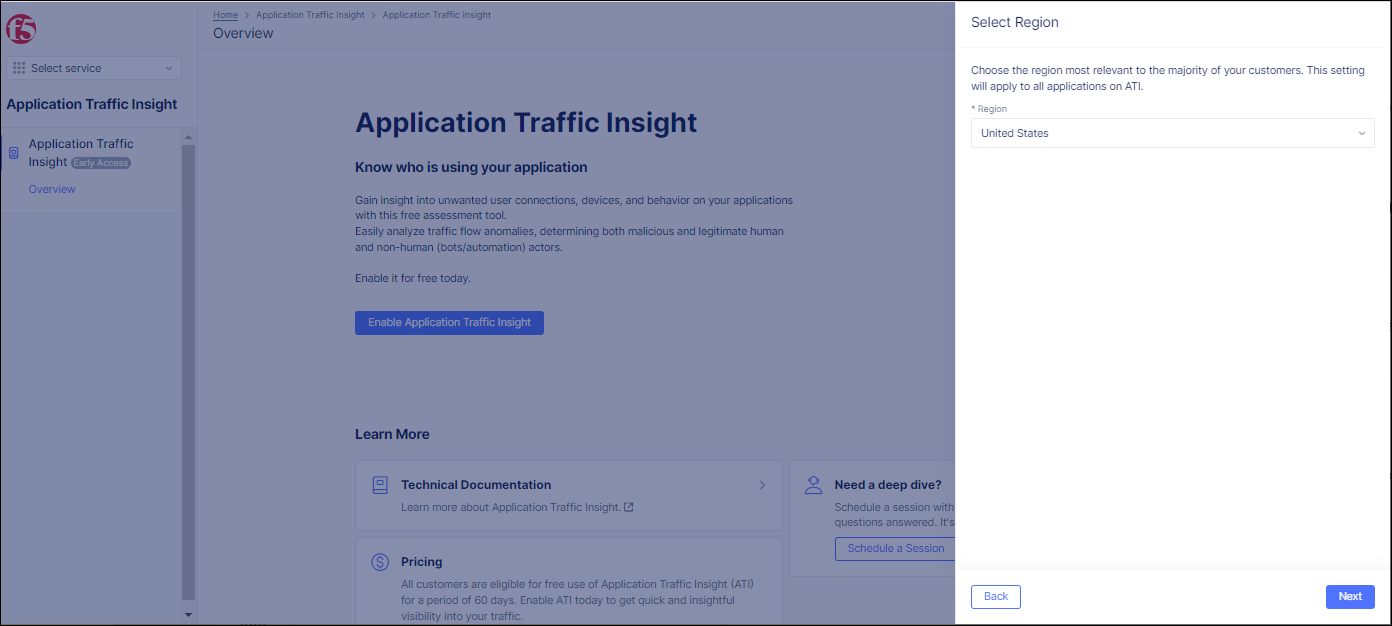
Figure: Select Region
- In the
Add Applicationpane, selectJS Tagfor the ATI deployment method.
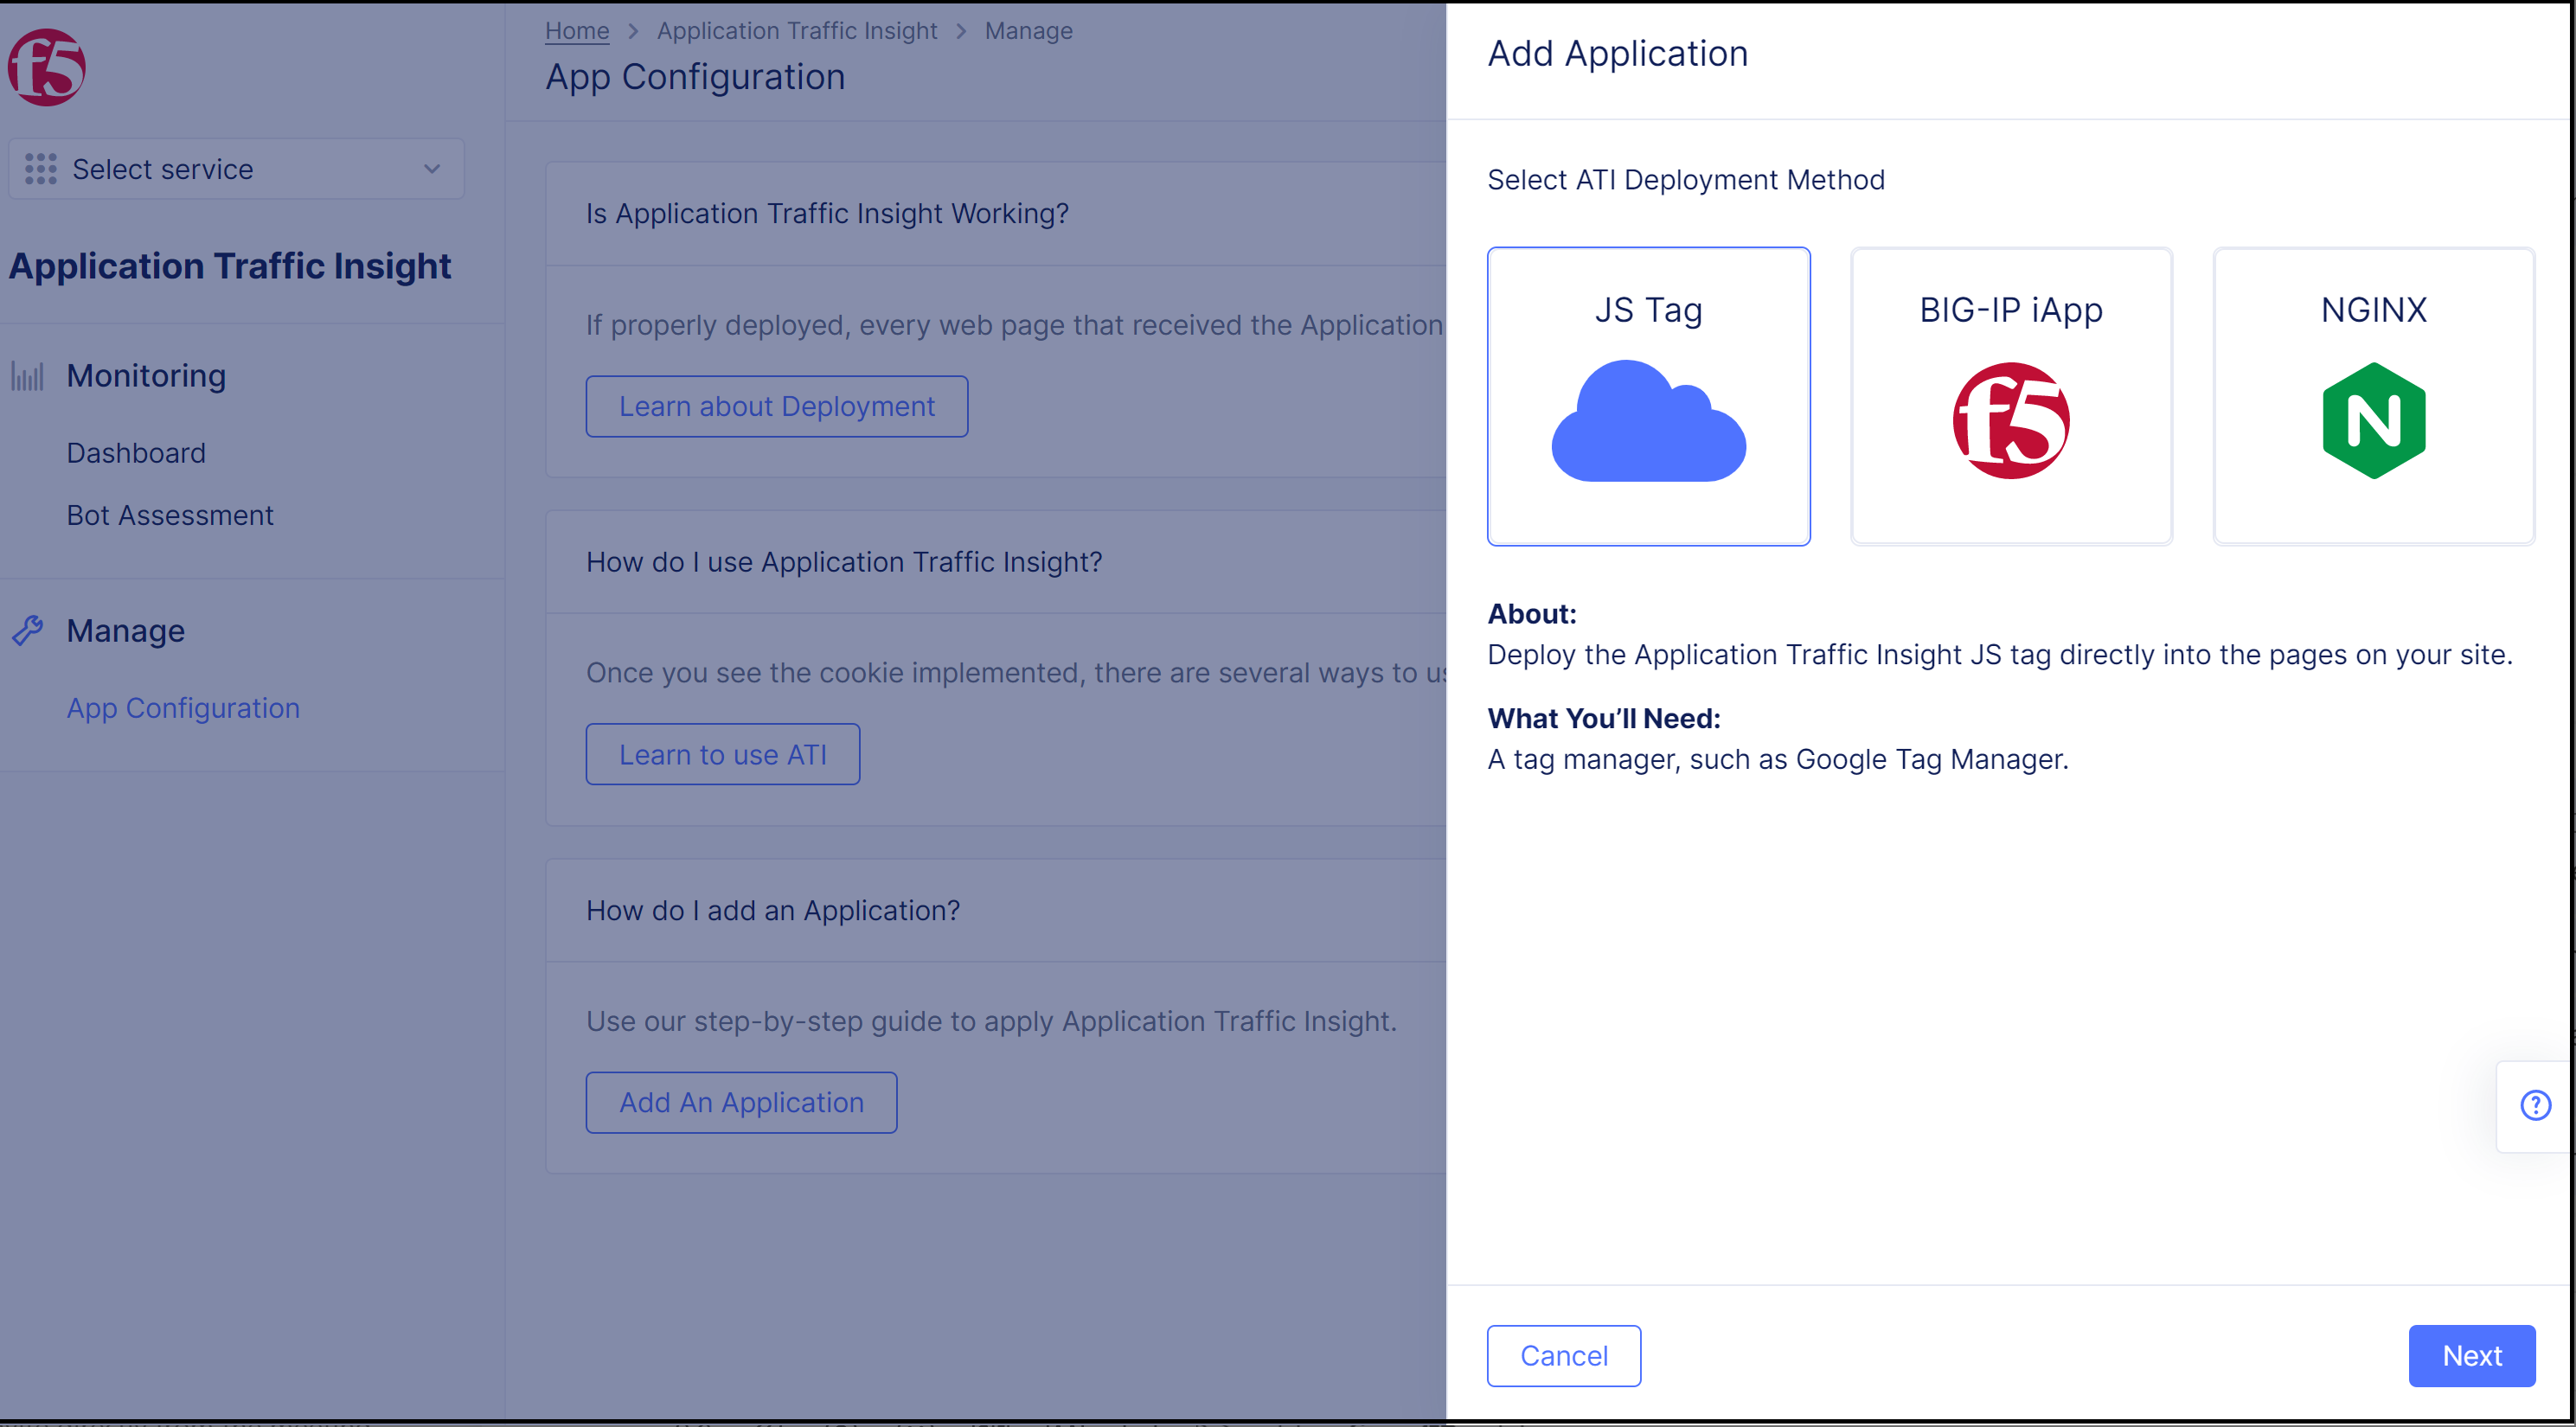
Figure: Select JS Tag Injection Method
- Click
Next. Instructions for enabling ATI with the JS tag appear in the pane.
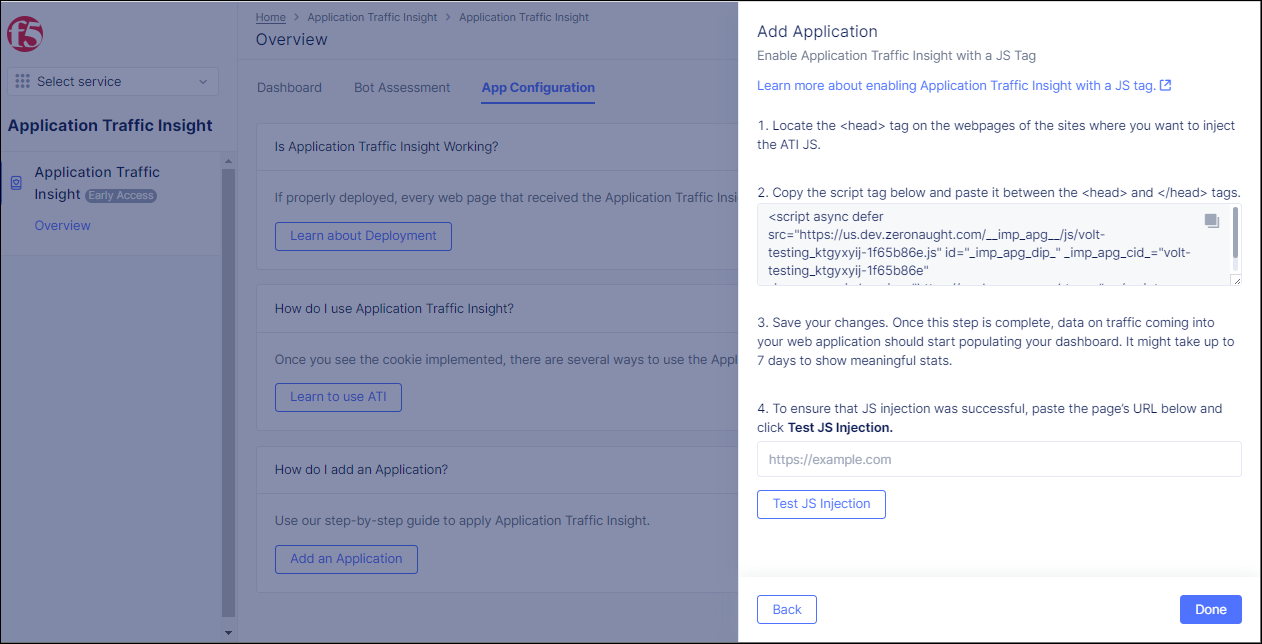
Figure: Instructions for Injecting JS
-
Follow the instructions for enabling ATI with the JS tag, and click
Donewhen finished.Note: F5 recommends injecting the ATI JS tag in all the web pages of your application. If for some reason a customer prefers not to inject on all web pages, F5 recommends at least injecting the JS on all login pages.
Step 2: Test the JS injection.
There are two ways to test if the JS tag injection was successful:
-
Add the URL of the application in the text field (Step 4 in the image shown in previous step) and click
Test JS Injection. If the injection was successful, then a green success checkmark will appear. -
Go to the application and right-click Inspect. In the
<head>section, locate the script tag. If the injection was successful, then the script tag should be present.
Click Done after verifying the JS injection.
Step 3: Monitor the ATI dashboard to view the device data.
- In the navigation menu on the left, go to
Monitoring->Dashboard.
Note: The dashboard requires a few hours before showing any meaningful data. For best results, wait for a few days.
- In the Dashboard, you can select to view data based on date ranges like 24 hours, 7 days, and 30 days. For details on Dashboard components, see View Data in the ATI Dashboard.