Enable SSO - Google
Objective
This document provides instructions on how to configure Google SSO integration to F5® Distributed Cloud Services for your enterprise account. For an overview of F5® Distributed Cloud Console, see About.
Note: SSO setup requires you to be of the
tenant ownertype user. Navigate toGeneral>IAM>Users. Select on theShow/hide column, select theTypefield, and selectApplyto display theTypecolumn. For the tenant owner, theTypecolumn displaysTenant Ownerand others, it displaysUser.
Prerequisites
The following prerequisites apply:
- A valid Enterprise account.
- Note: If you do not have an account, see Getting Started with Console.
- Google Cloud Account with Admin Access
- Note: This can be an existing G-Suite account.
Configuration Steps
Step 1: Create project in Google Developer Console.
-
Log into Google Developer Console with your administrator access.
-
Select
Create Project.
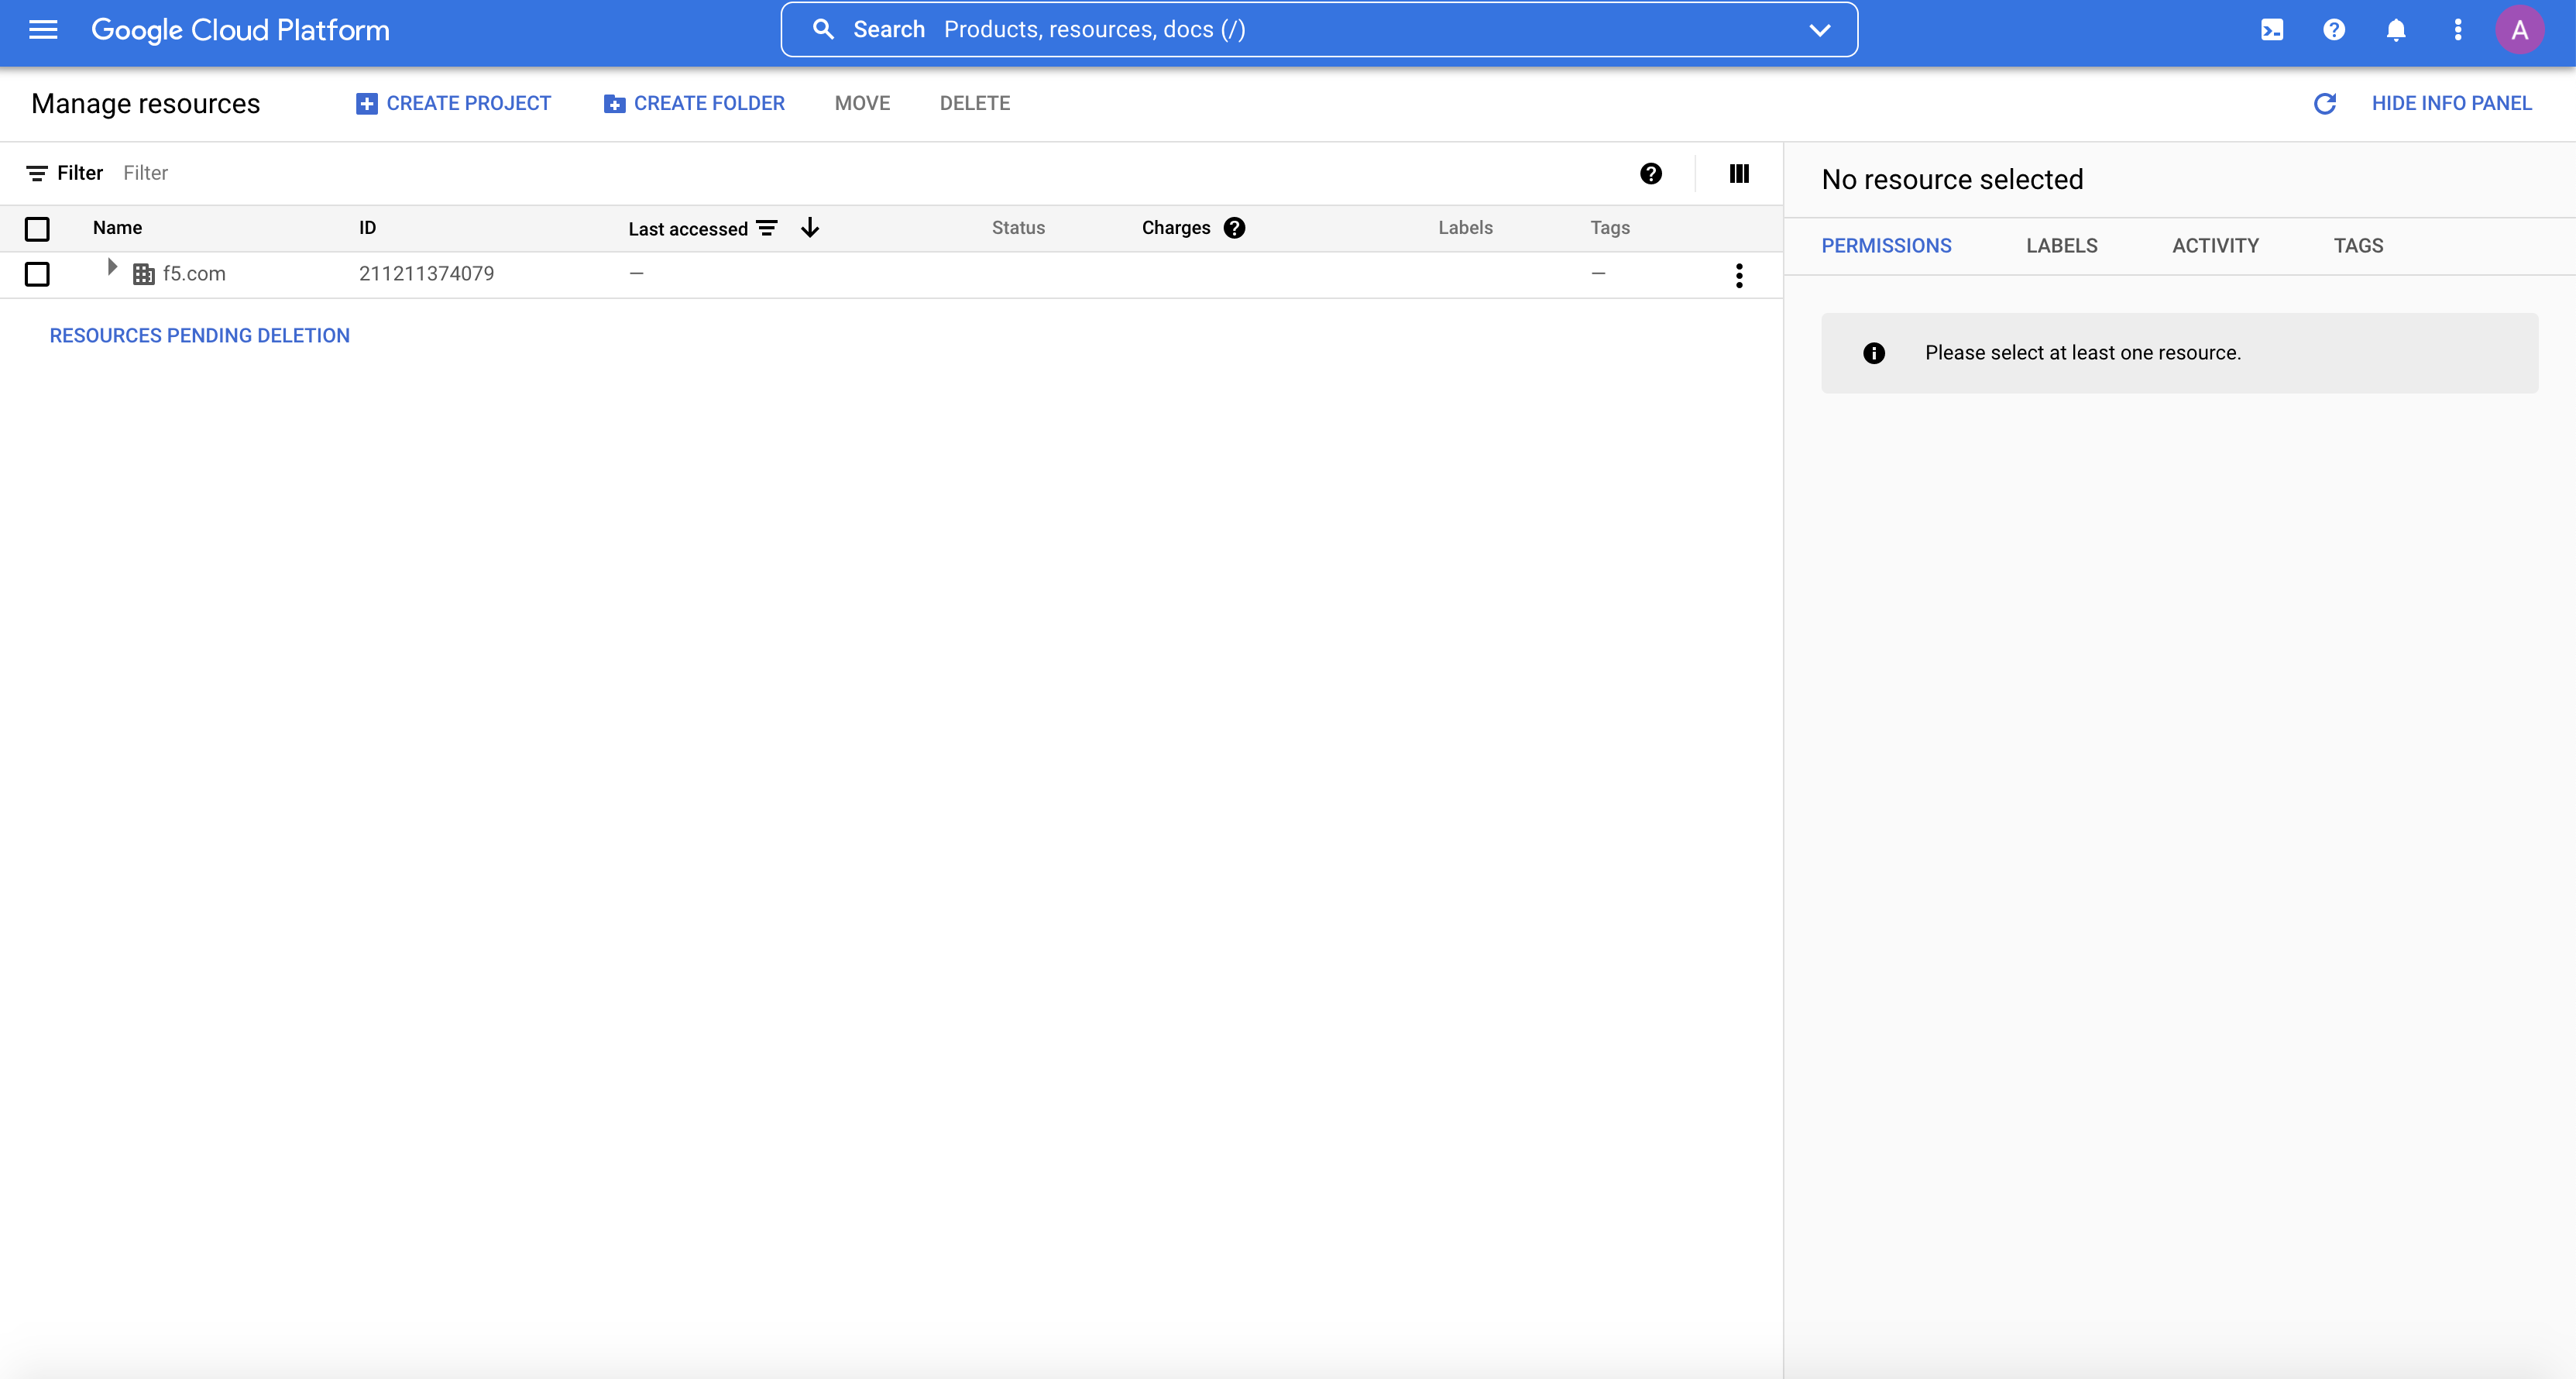
Figure: GCP IAM and Admin View
-
Enter a project
name. -
Set a
project IDusing theEDITbutton as per your preference. -
Select
Create.
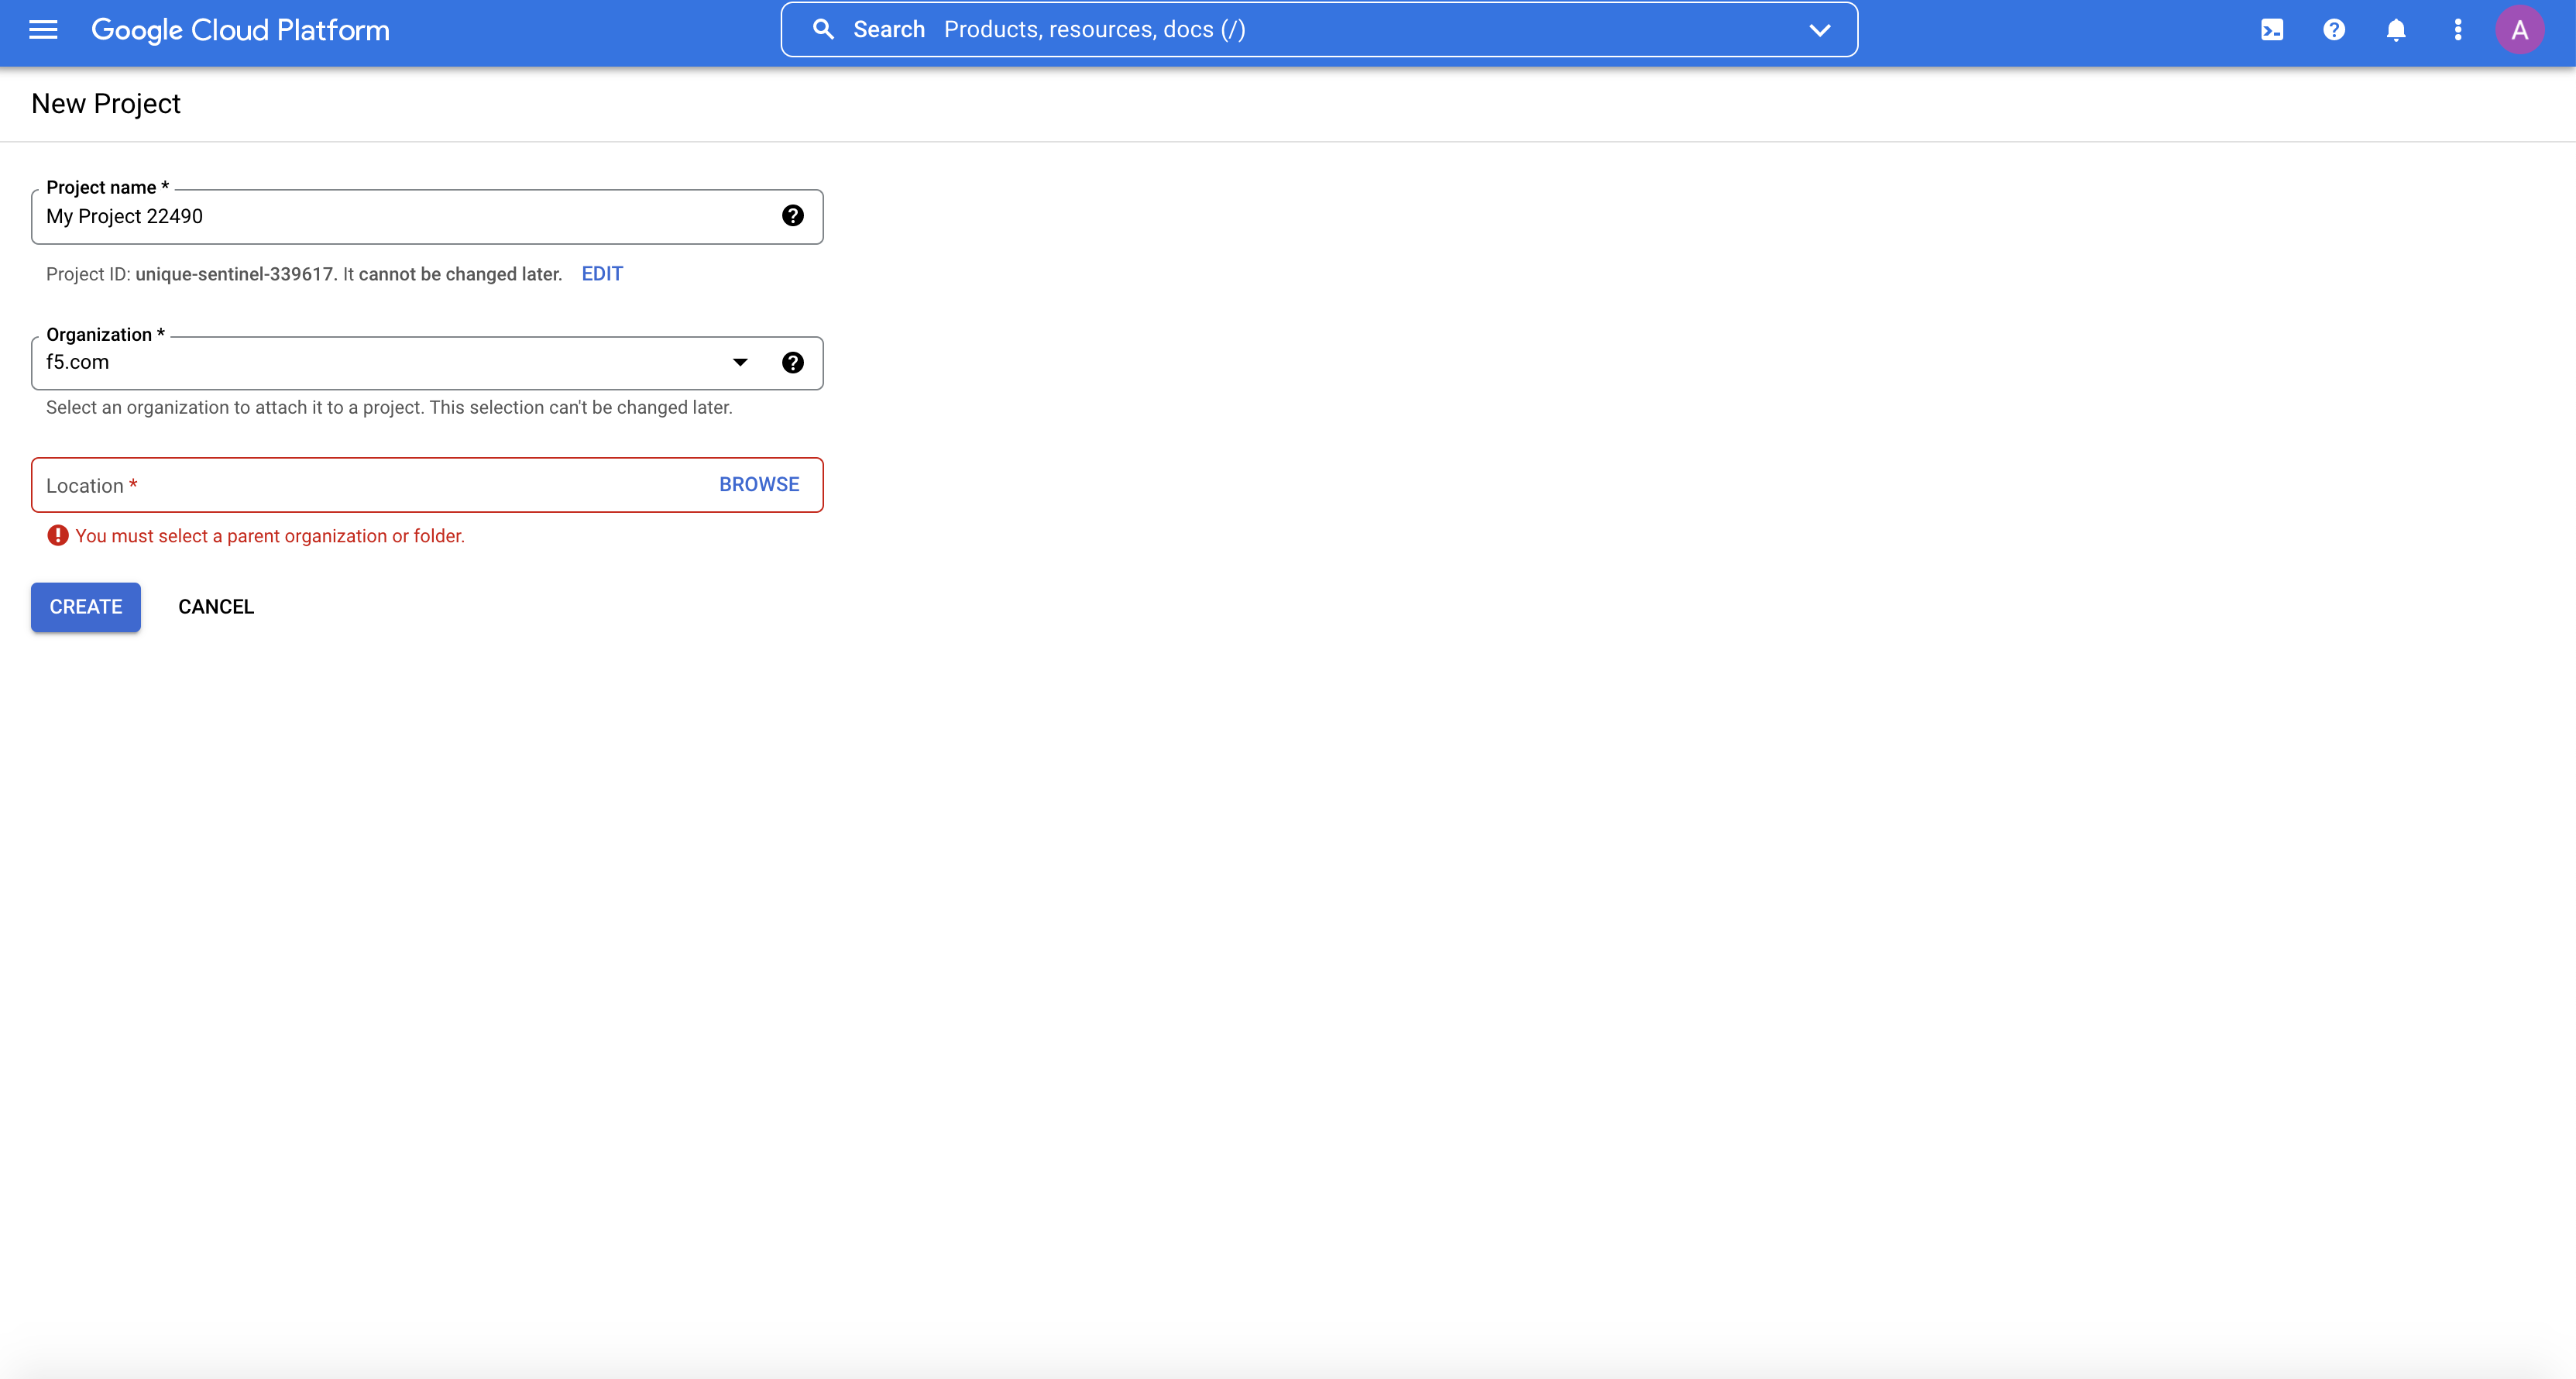
Figure: Create a new project
Step 2: Start OAuth consent settings.
-
Select
-menu icon to right ofGoogle Cloud Platformin upper-left corner. -
Select
APIs & Servicesin pop-out menu. -
Select
OAuth consent screen. -
Select
Internal. -
Select
Createbutton.
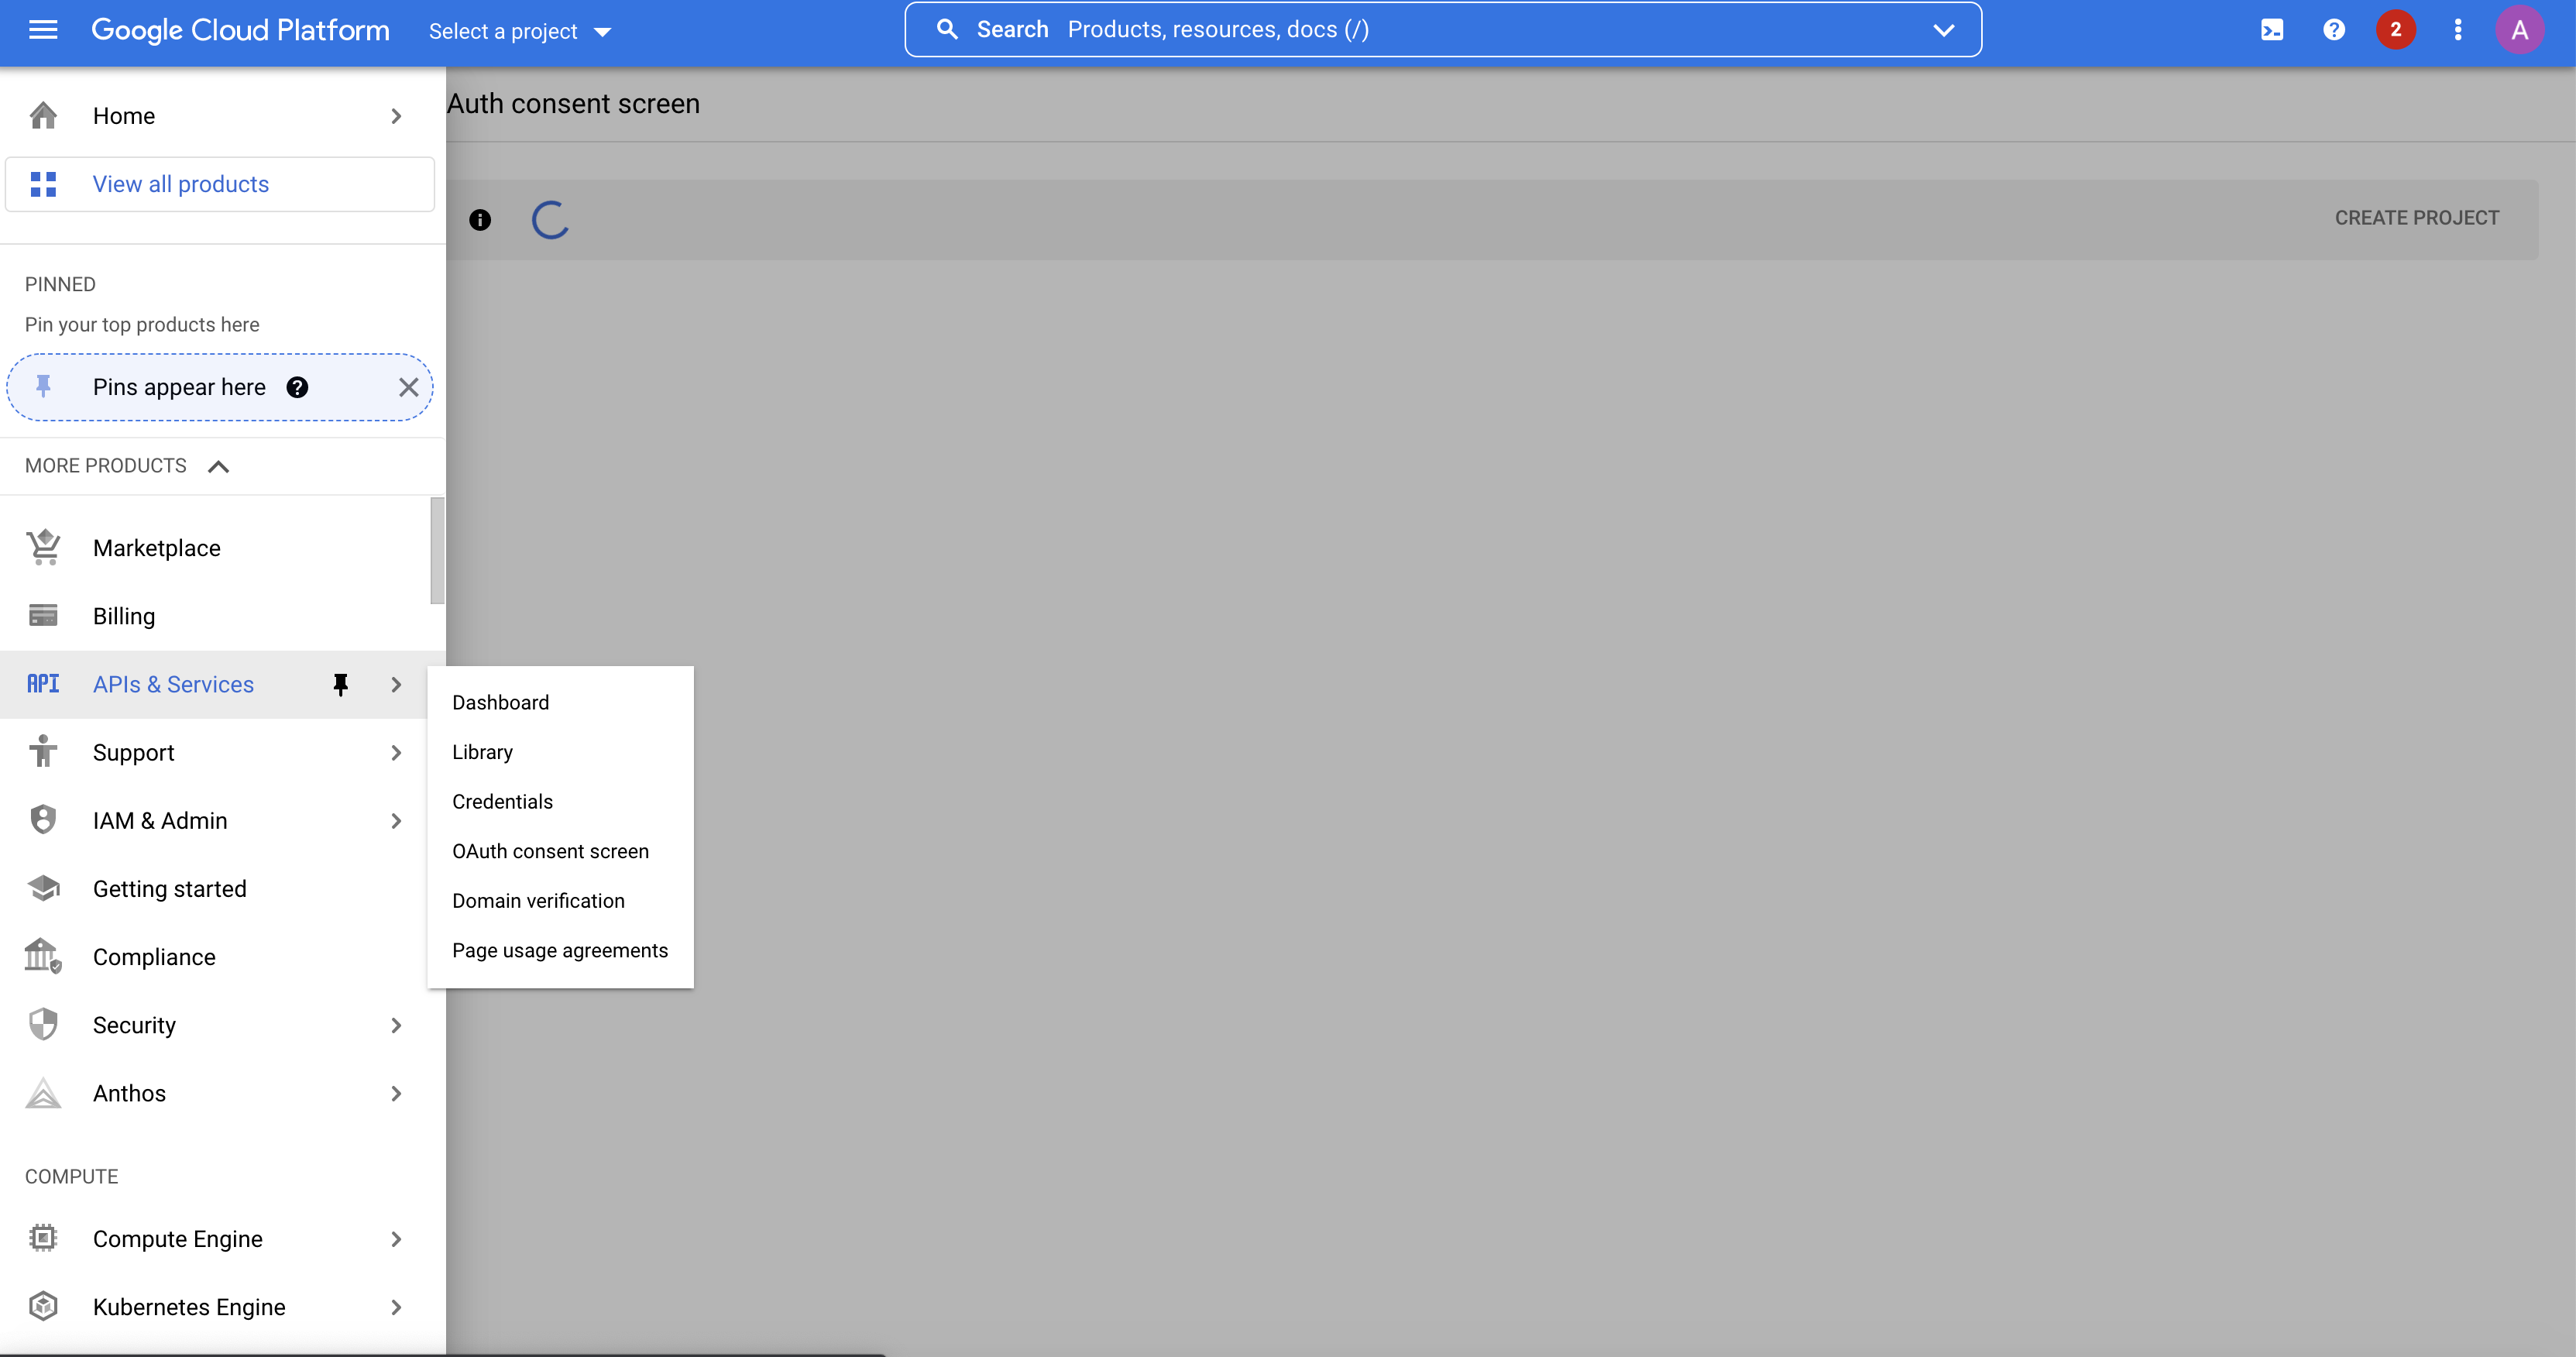
Figure: API Credentials
Step 3: Fill in OAuth consent screen details.
Step 4: Create OAuth credentials.
-
Open
Credentialstab. -
Select
OAuth client IDunderCreate credentialsbutton. -
Create
OAuth client IDandclient secret.
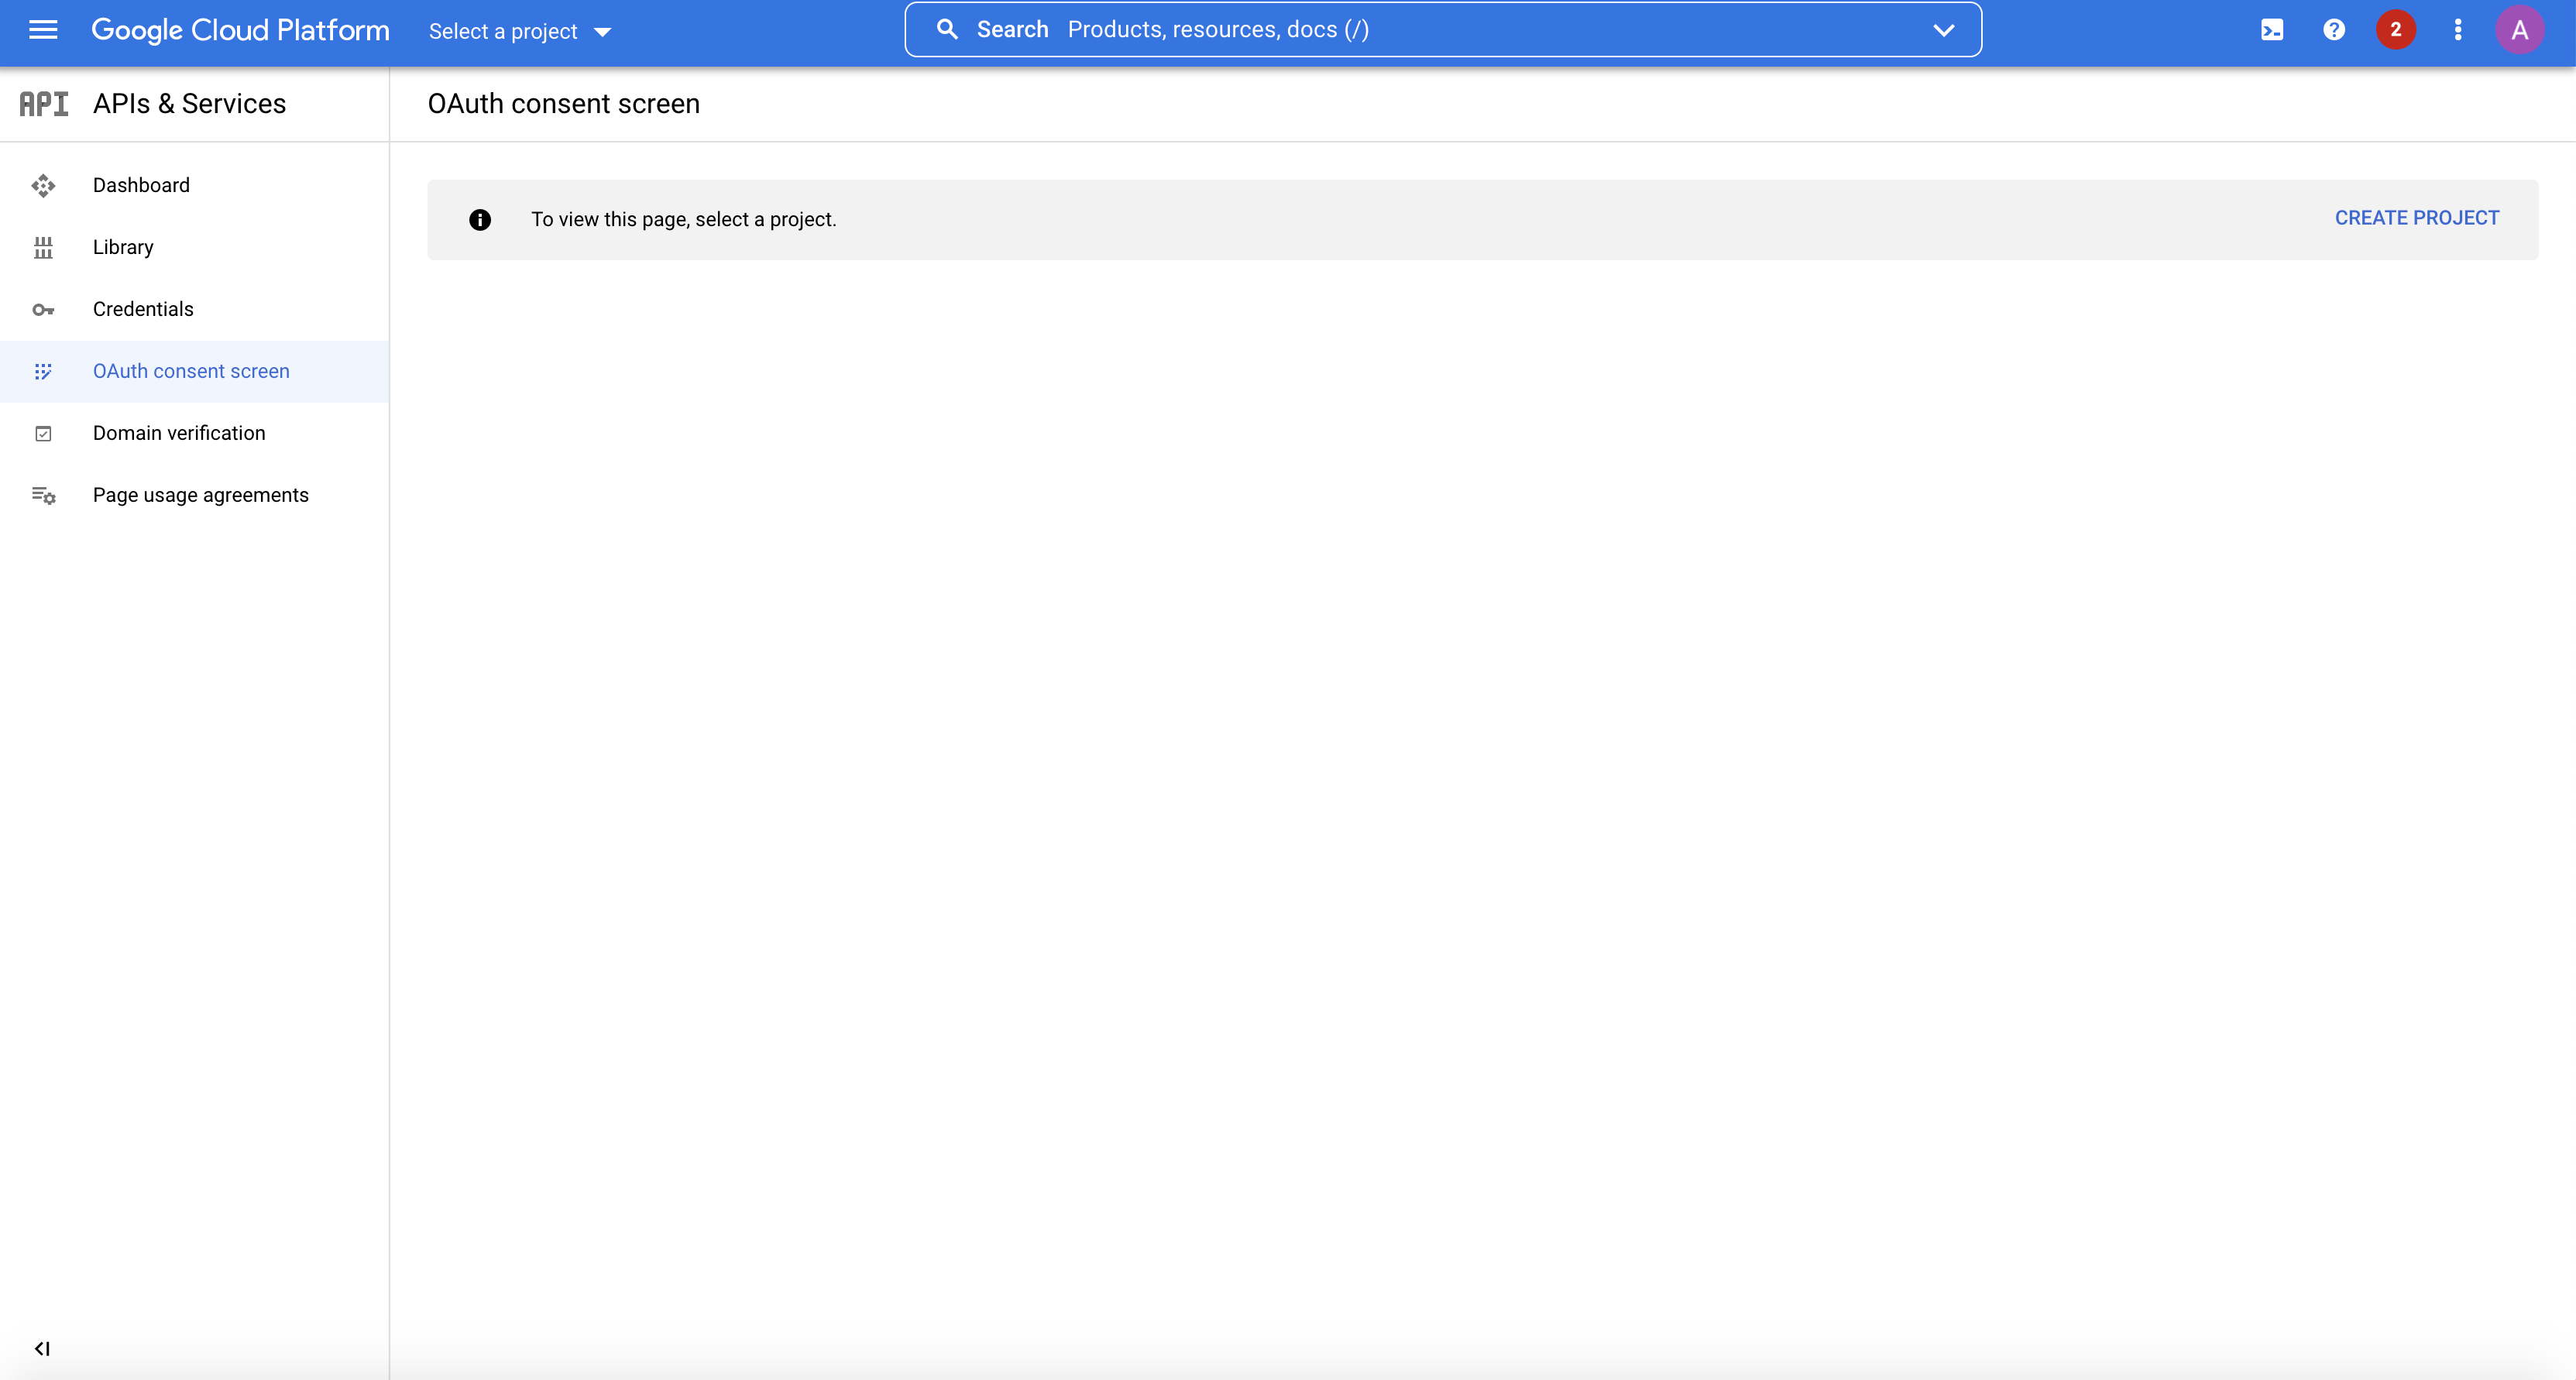
Figure: Credentials Tab
Note: Leave
Authorized redirect URIsfield as blank, this can be provided once the URI is obtained from F5 Distributed Cloud Console SSO Portal.
Step 5: Copy the generated credentials.
Once credentials are created a Client ID and Client Secret are generated which are required to set SSO. Copy the same to be provided in F5® Distributed Cloud Console.
Step 6: Start SSO setup in the F5 Distributed Cloud Console.
Features can be viewed, and managed in multiple services.
This example shows SSO setup in Administration.
- Open
F5 Distributed Cloud Consolehomepage, selectAdministrationbox.
Note: Homepage is role based, and your homepage may look different due to your role customization. Select
All workspacesdrop-down menu to discover all options. Customize Settings:Administration>Personal Management>My Account>Edit work domain & skillsbutton >Advancedbox > checkWork Domainboxes >Save changesbutton.
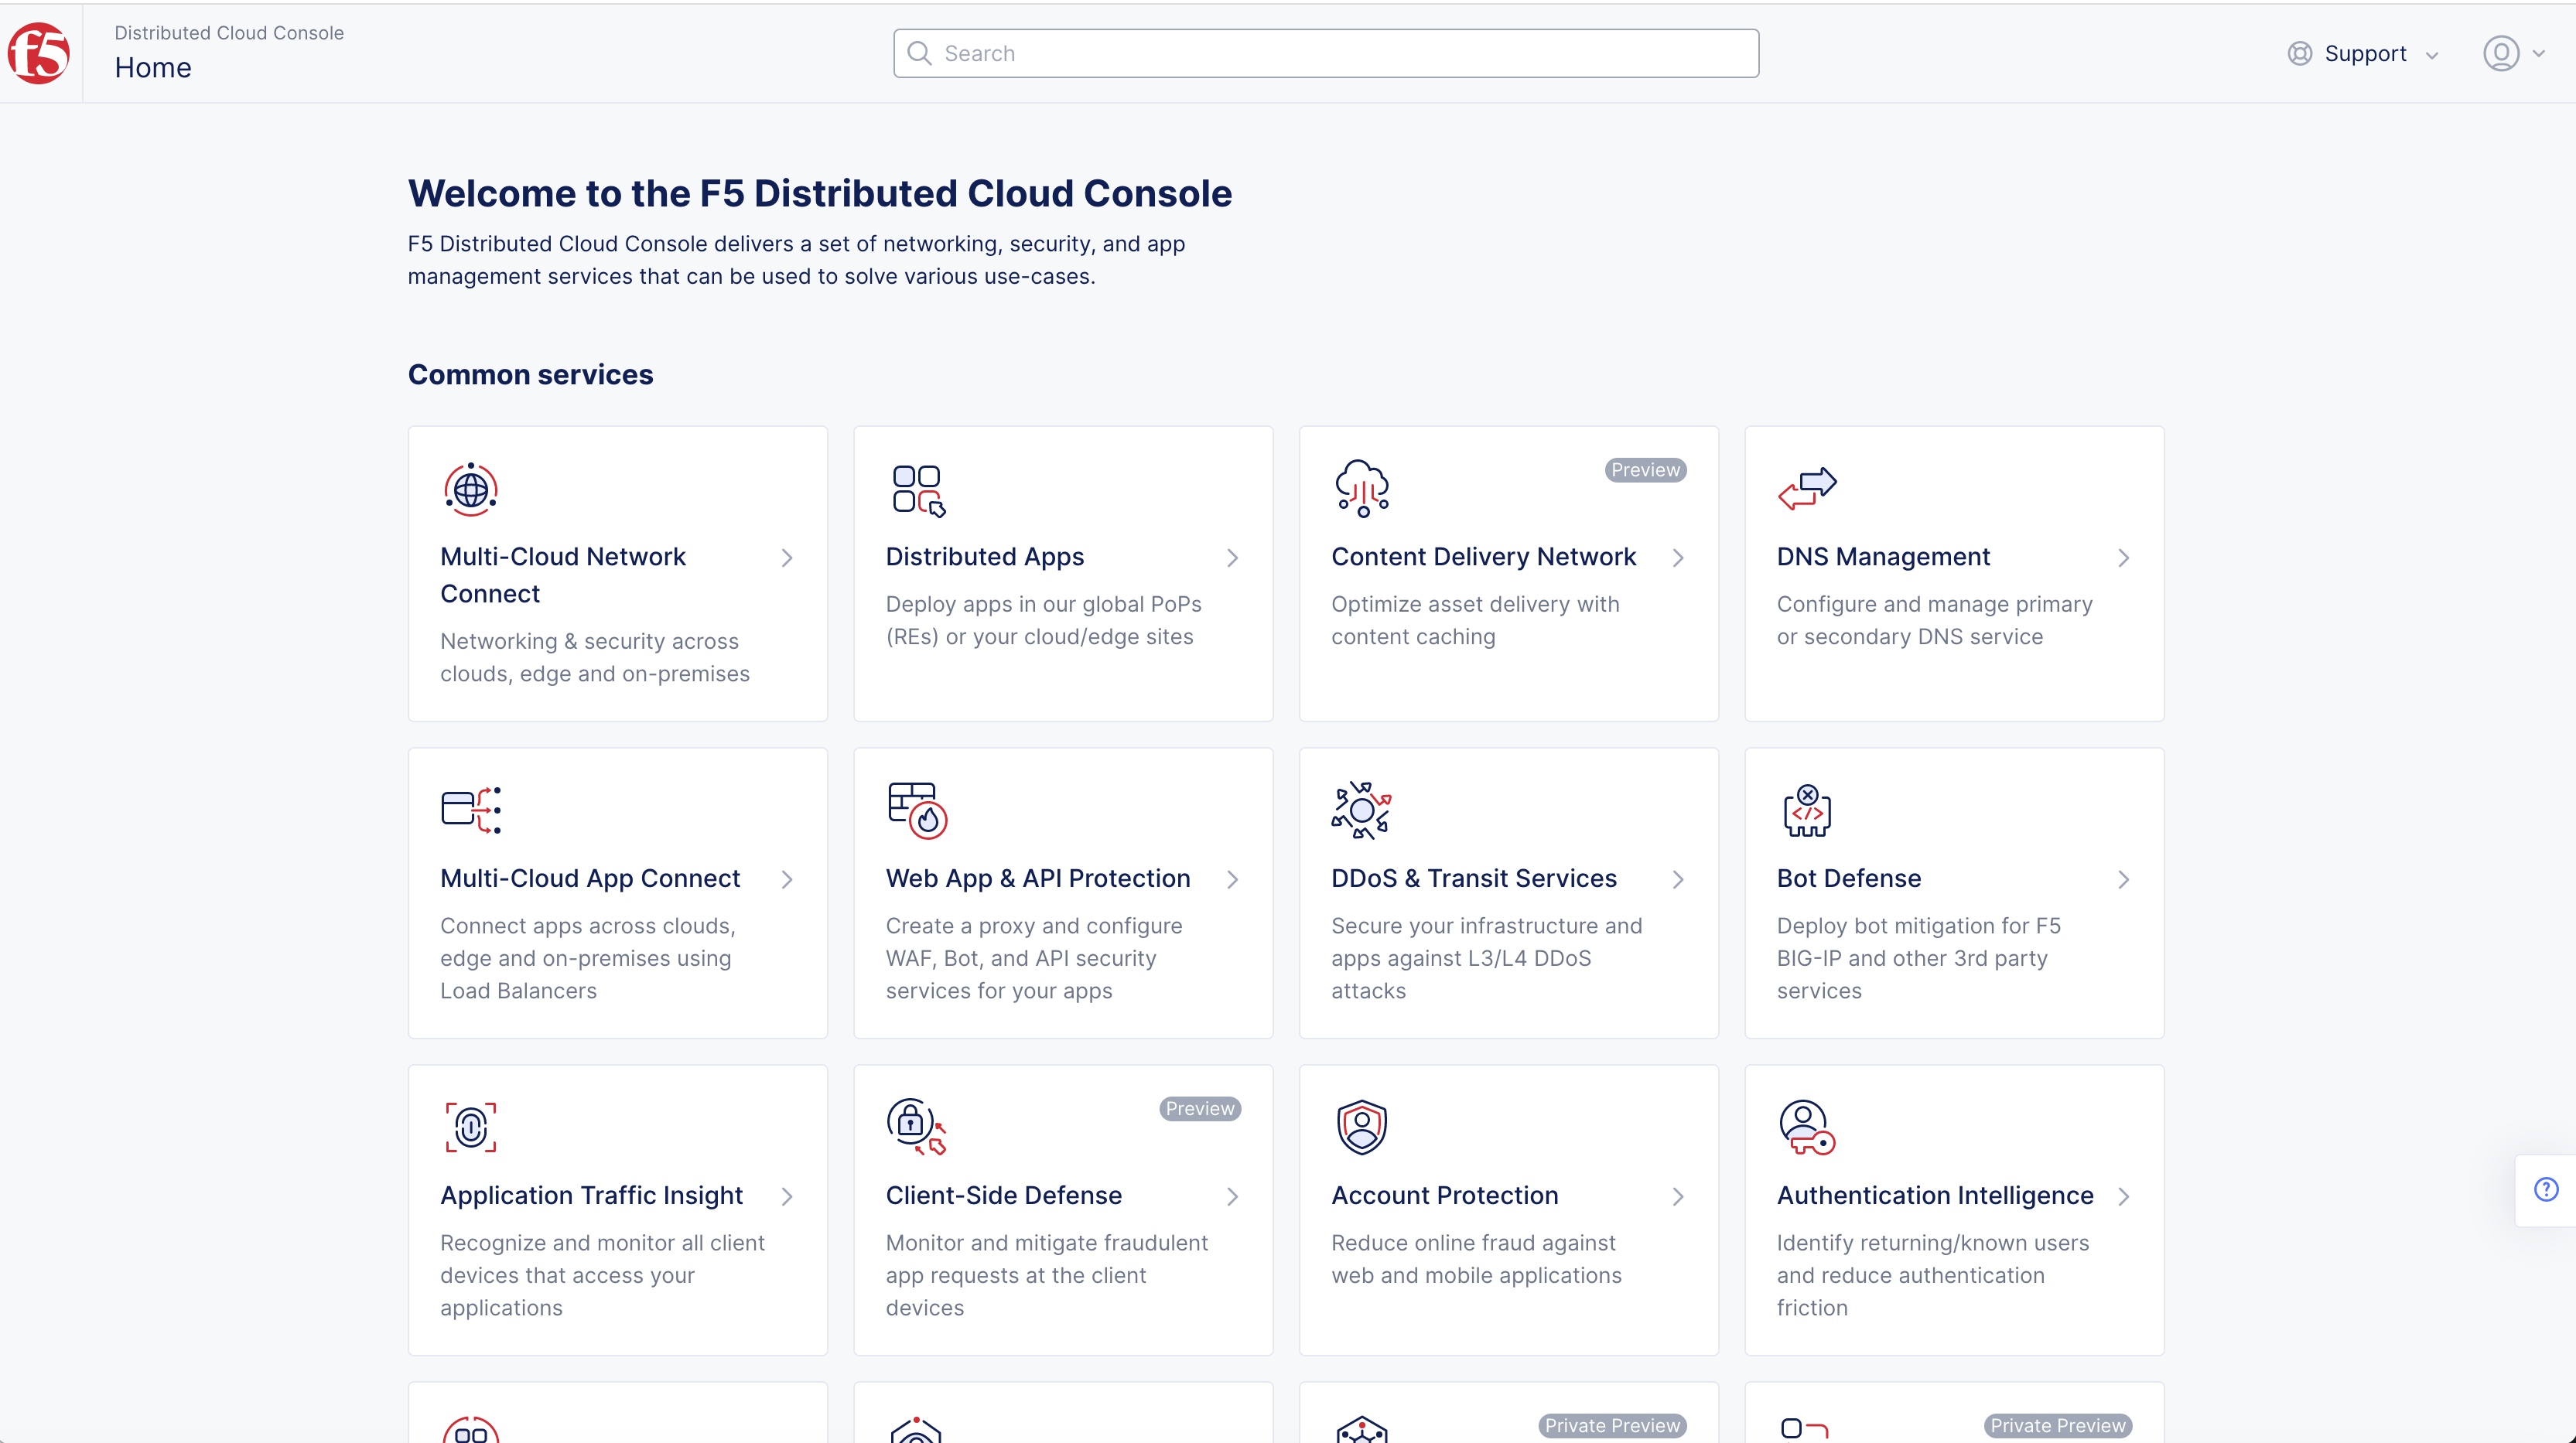
Figure: Homepage
Note: Confirm
Namespacefeature is in correct namespace, drop-down selector located in upper-left corner. Not available in all services.
- Select
Tenant Settingsin left column menu > selectTenant Options.
Note: If options are not showing available select
Advanced nav options visibleShowlink in bottom left corner. SelectHideto minimize options from Advanced nav options mode if needed.
- Select
Set up SSObutton.
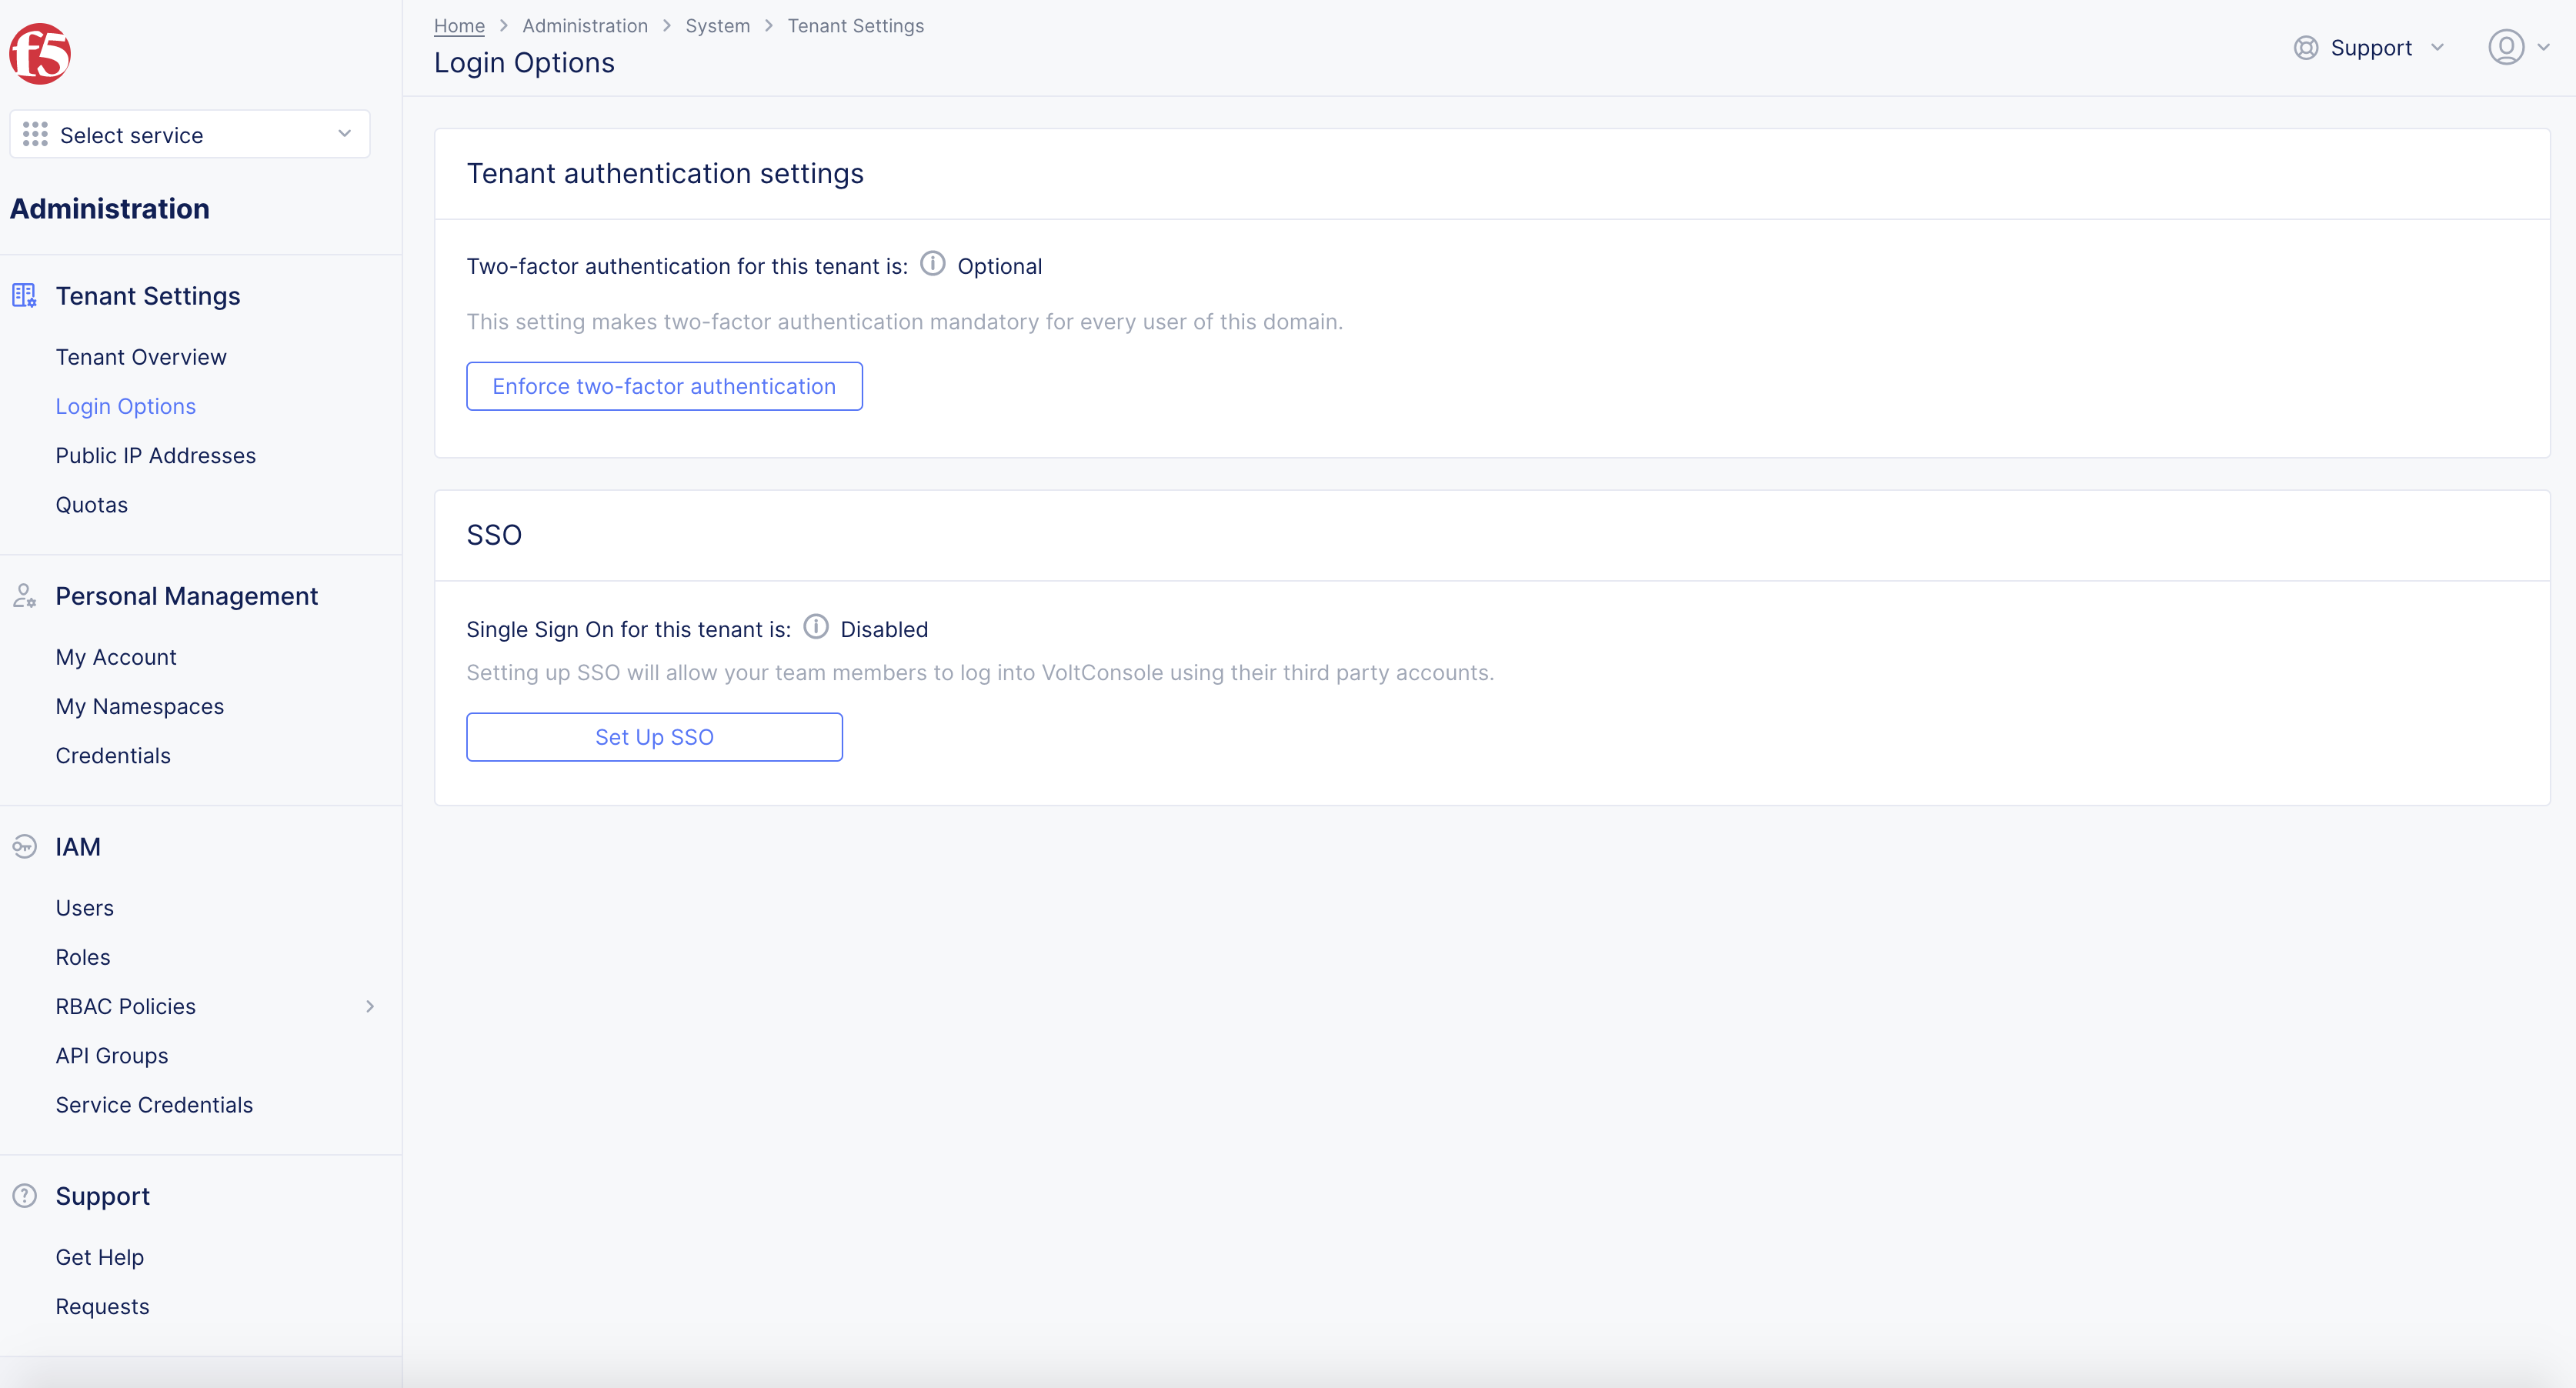
Figure: SSO
-
Select
GoogleinPlease choose a service Providerin pop-up window. -
Select
Continuebutton.
Step 7: Set OAuth Credentials and Hosted Domain.
Default Scopes: OpenID Connect (OIDC) introduces the concept of "scopes" from OAuth 2.0. A scope is a way to limit the amount of information and access given to an application. When a client application wants to access resources on behalf of a user, it requests specific scopes. These scopes inform the user of the type of access the application is requesting during the authorization process.
F5 Distributed Cloud recommends default scopes of openid profile email NOT openidprofileemail.
Note: Multiple scope values are used by creating a space delimited, because it is the OIDC standard specification by IETF although we do handle automatic validation/modification.
- Provide
Client IDandClient Secretobtained from previous steps.
Note: Recommended
default scopes: openid profile email.Multiple scopevalues are used by creating aSpace Delimitedduring SSO setup in F5 console.
- Enter
Default Scopes.
Note: Any entered value will be combined with preset value: openid profile email NOT openidprofileemail. Input spaces between words to include multiple scope values. To avoid additional steps with form
Update Account Information, confirmClient IDcontainsFirst Name(family_name),Last Name(given_name),
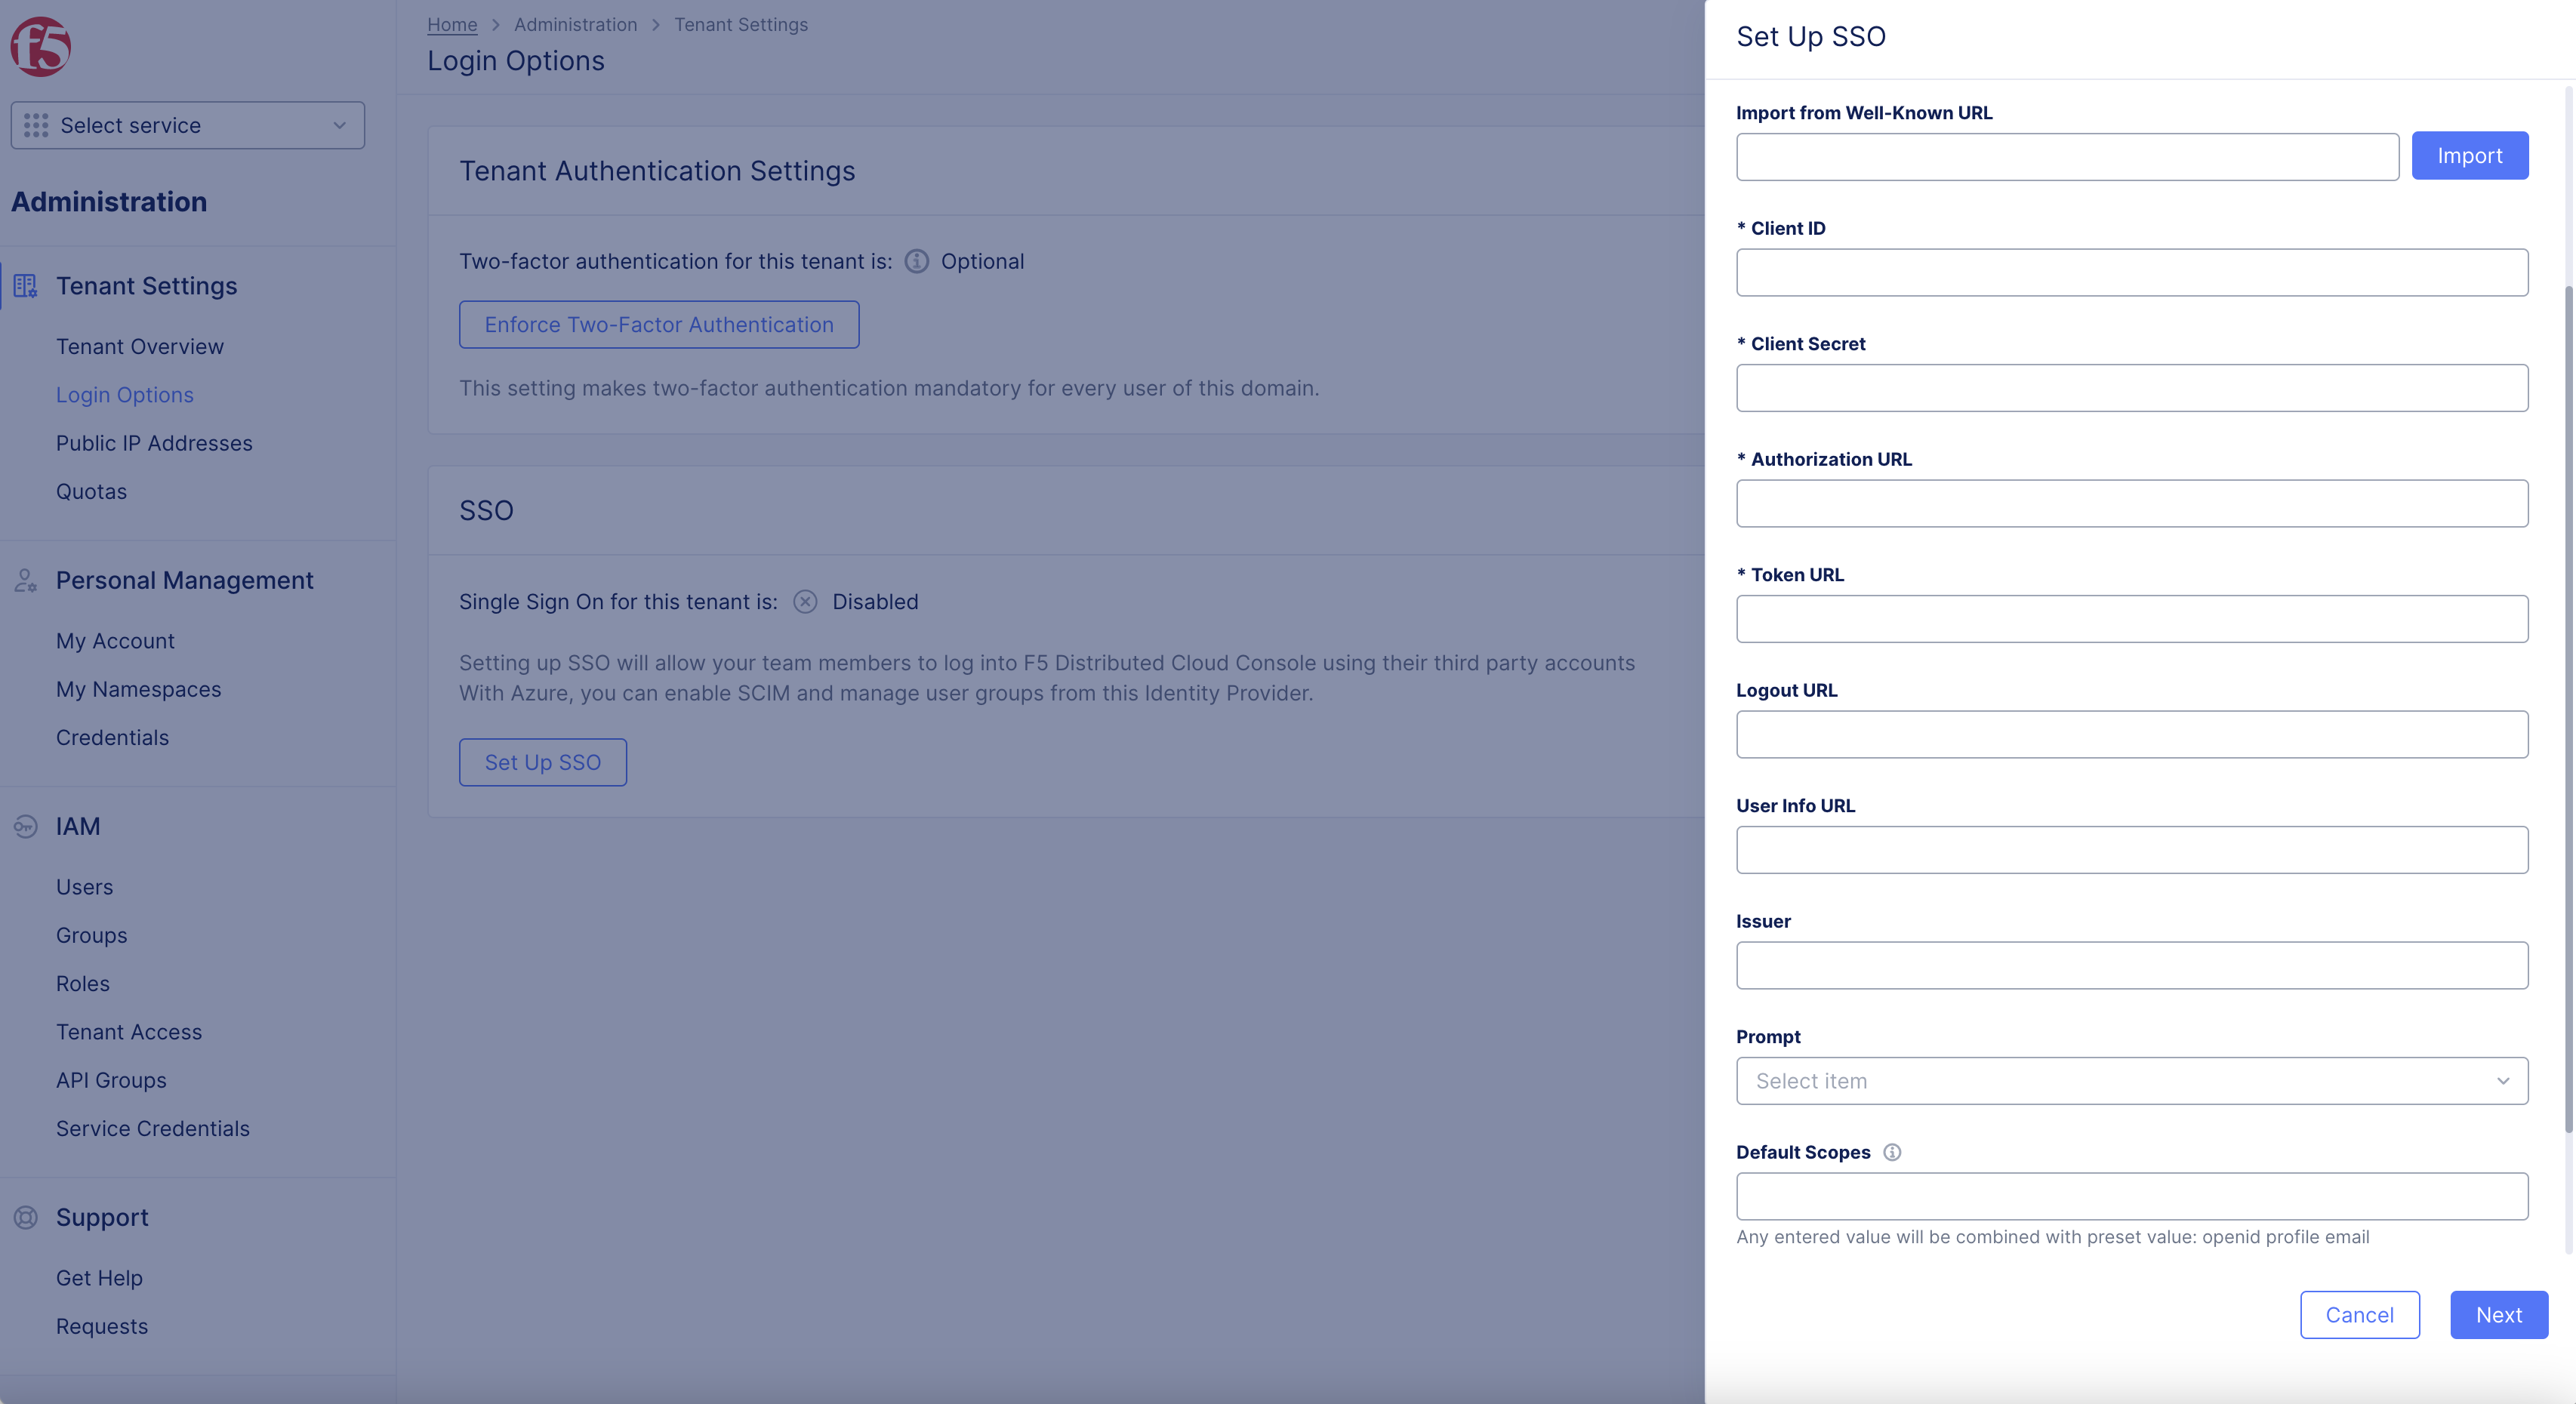
Figure: Default Scopes
-
Enter
domaininHosted Domainbox. -
Select
Continue.
Note: This example uses
ves.ioas the domain.
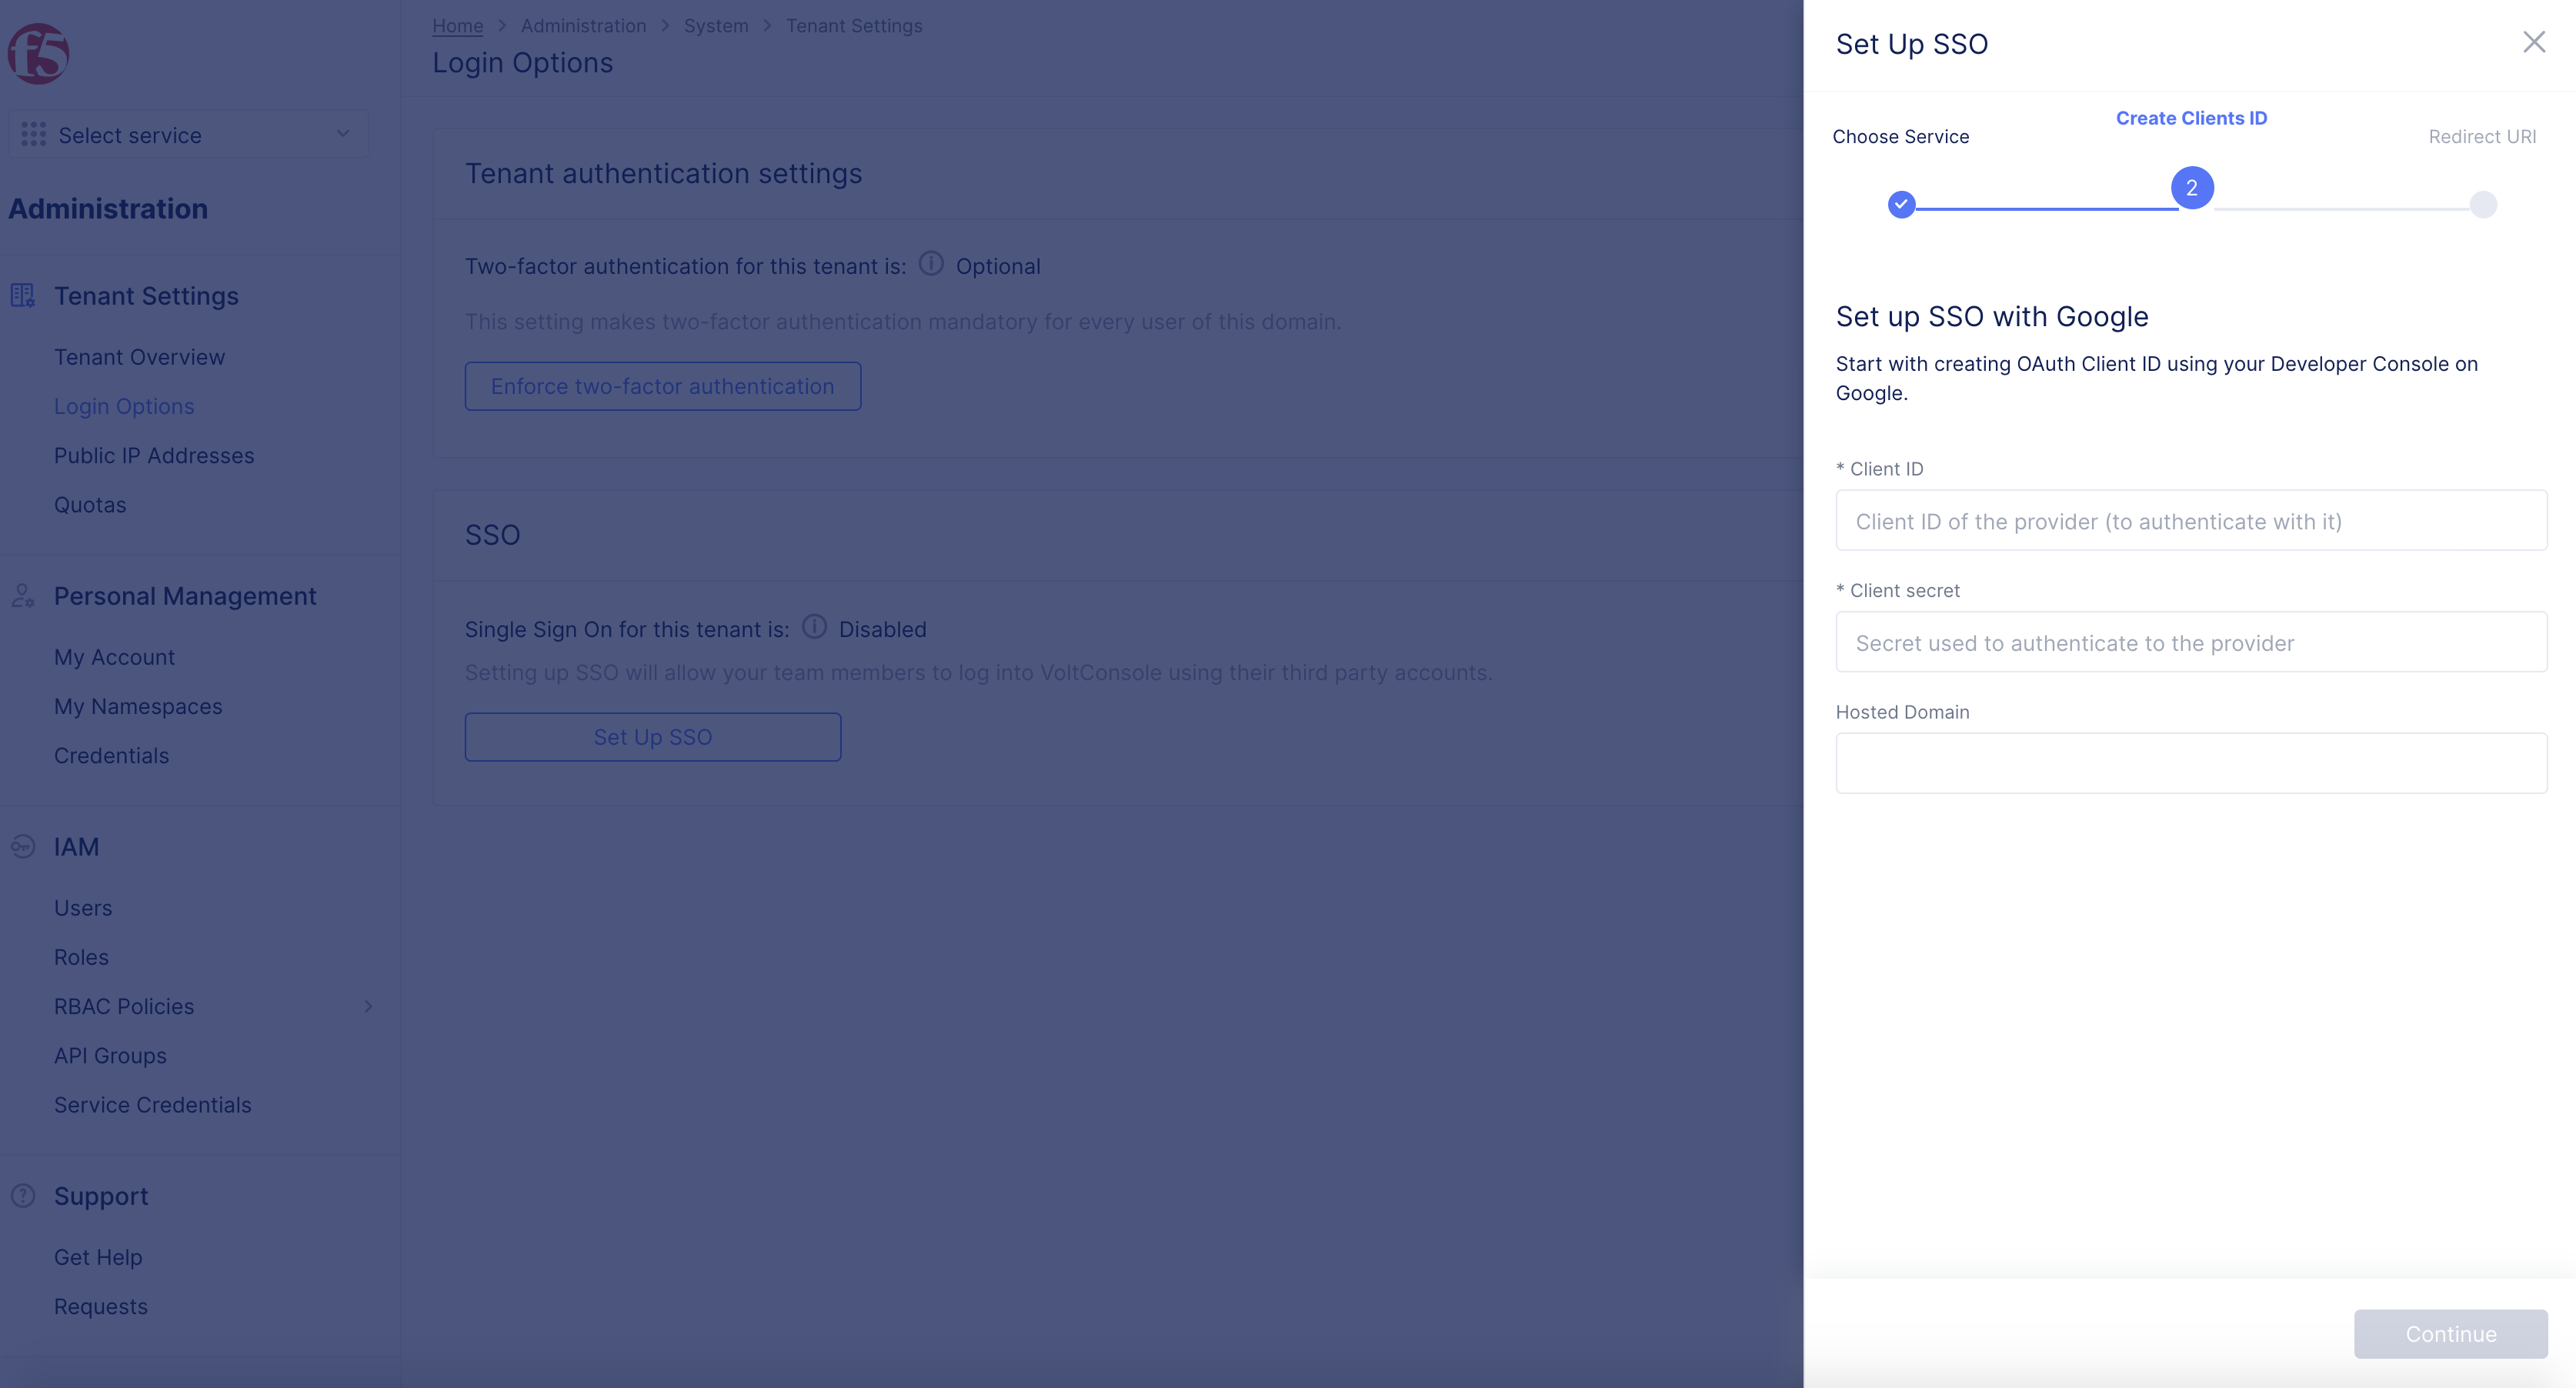
Figure: Client ID and Client Secret
Note: The
Hosted Domainis the domain where your accounts are hosted and only accounts of that domain are listed. You can also enter*for this field to use any hosted account.
Step 8: Copy Redirect URL.
- Copy the displayed
Redirect URL.
Note: This is used in OAuth client configuration in later steps.
- Select
Done.
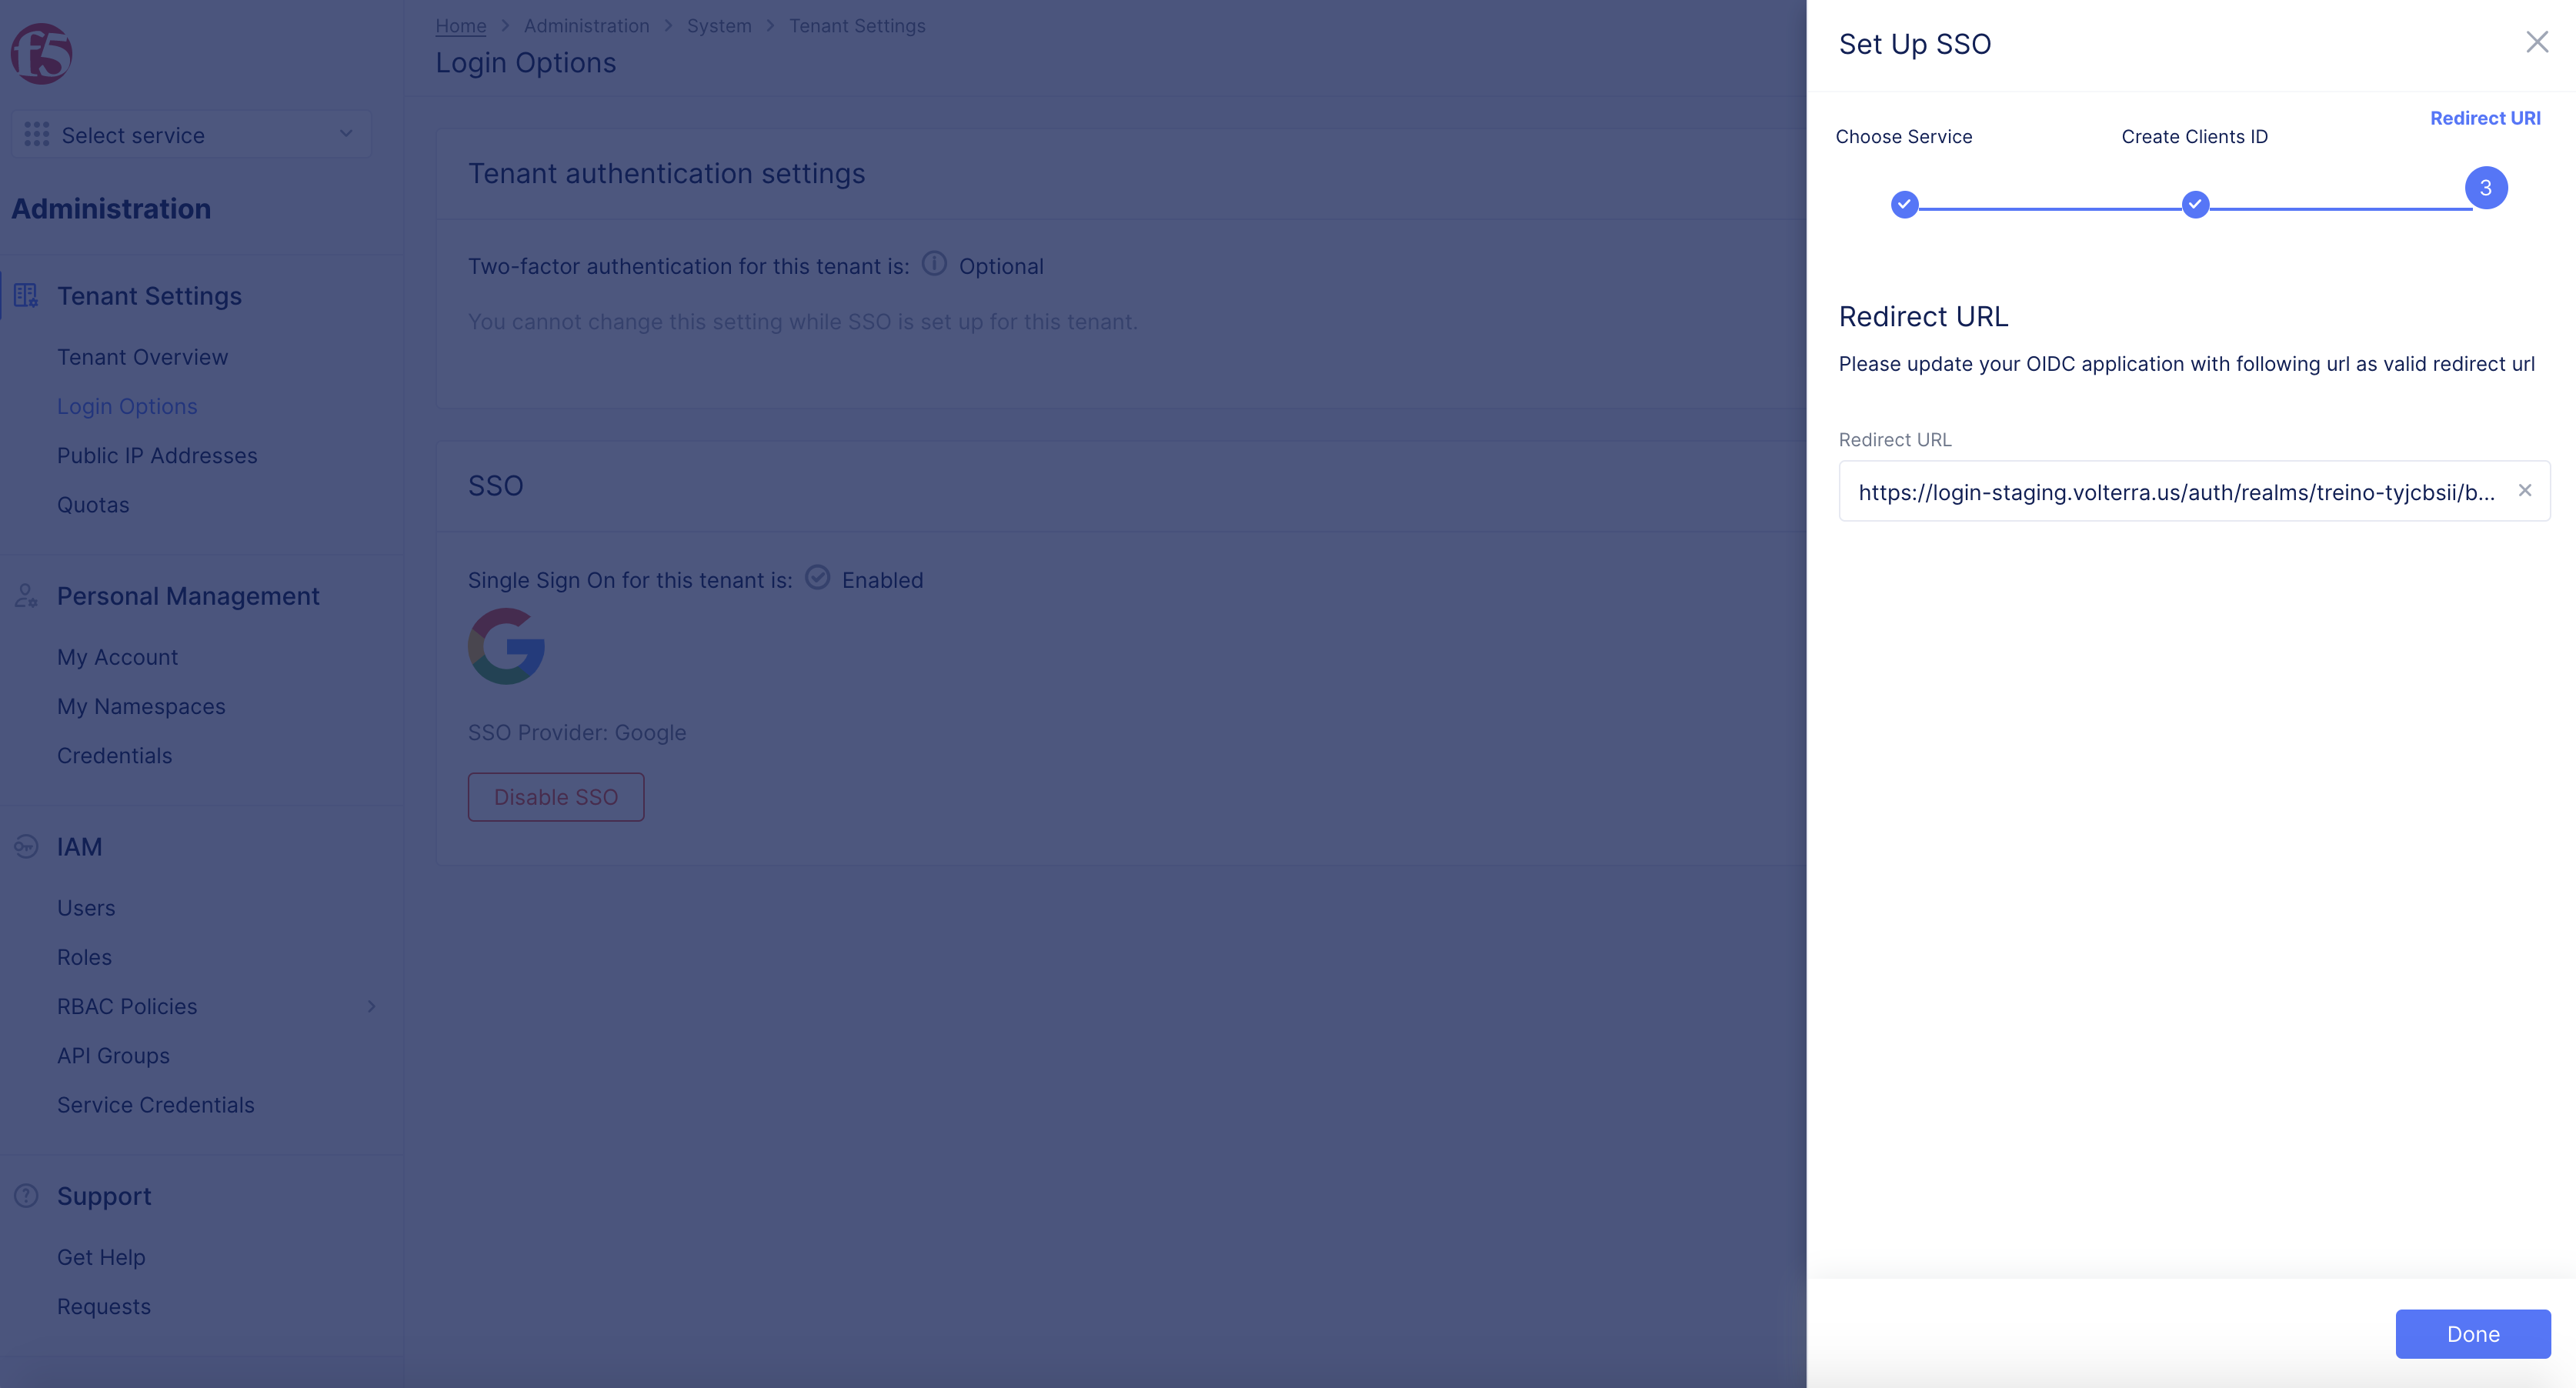
Figure: Well Known URL
Step 9: Add authorized domain in Google Developer Console for your OAuth settings.
-
Log back into the Google Developer Console.
-
Select
API & Servicessection. -
select on
OAuth consentscreen. -
Select
EDIT APP. -
Under
Authorized domains> addf5.comas the domain.
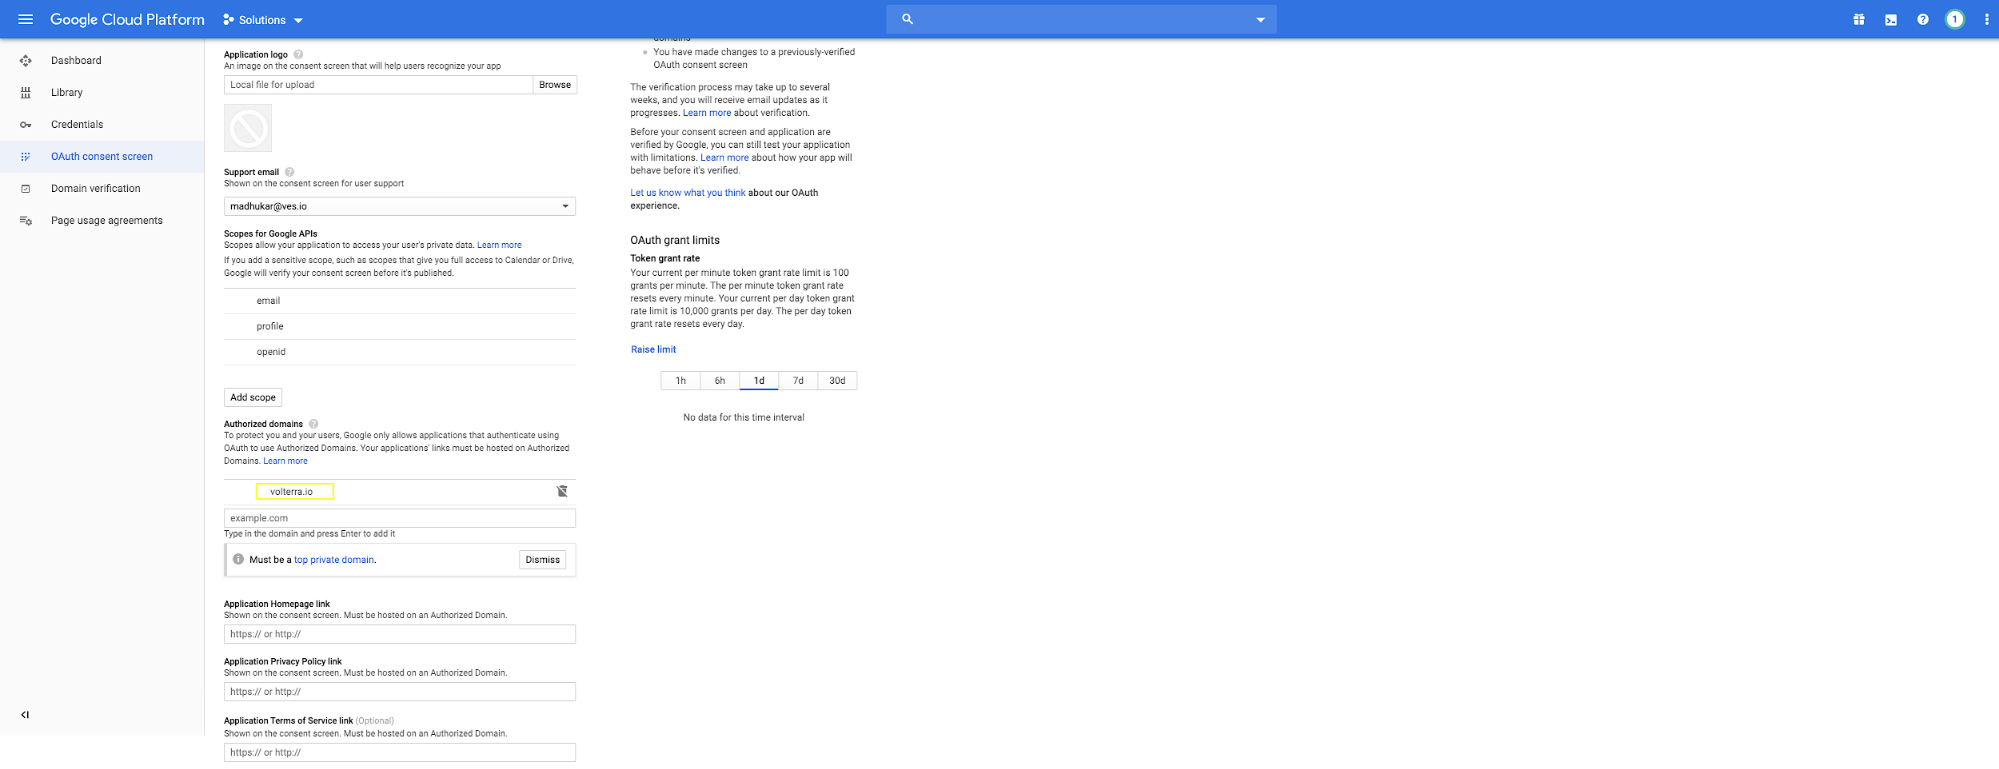
Figure: Add Authorized Domain
Step 10: Add Redirect URL in credentials page.
-
Select
Credentials. -
Edit the OAuth 2.0 Client ID to add authorized redirect URI (obtained in Step 8).
-
Select
Savebutton.

Figure: Configure Redirect URI
Step 11: Log out of F5 Distributed Cloud Console. Subsequent logins get serviced through Google.
Log out of the F5 Distributed Cloud Console.
Note: The subsequent logins get serviced through Google.