Enable SSO - Custom
Objective
This document provides instructions on how to configure Custom Sign-on (SSO) integration to F5® Distributed Cloud Services for your enterprise account. For an overview of F5® Distributed Cloud Console, see About.
Prerequisites
The following prerequisites apply:
- Note: If you do not have an account, see Getting Started with Console.
- A configured identity provider such as Google.
Configuration Steps
Configuring SSO using Custom includes performing the following actions:
- Enable SSO using custom in Console.
Note: Custom setup requires you to be
tenant owneruser type. Navigate toAdministration>IAM>Users. Select on theShow/hide column, select theTypefield, and selectApplyto display theTypecolumn. For the tenant owner, theTypecolumn displaysTenant Ownerand others, it displaysUser.
Enable SSO Using Custom in F5 Distributed Cloud Console
Step 1: Start SSO setup.
- Open
F5 Consolehomepage, selectAdministrationbox.
Note: Homepage is role based, and your homepage may look different due to your role customization. Select
All workspacesdrop-down menu to discover all options. Customize Settings:Administration>Personal Management>My Account>Edit work domain & skillsbutton >Advancedbox > checkWork Domainboxes >Save changesbutton.
Figure: Homepage
- Select
Tenant Settingsin left column menu > selectLogin Options.
Note: If options are not showing available, select
Showlink inAdvanced nav options visiblein bottom left corner. If needed, selectHideto minimize options from Advanced nav options mode.
- Select
Setup up SSOinSSOsection.
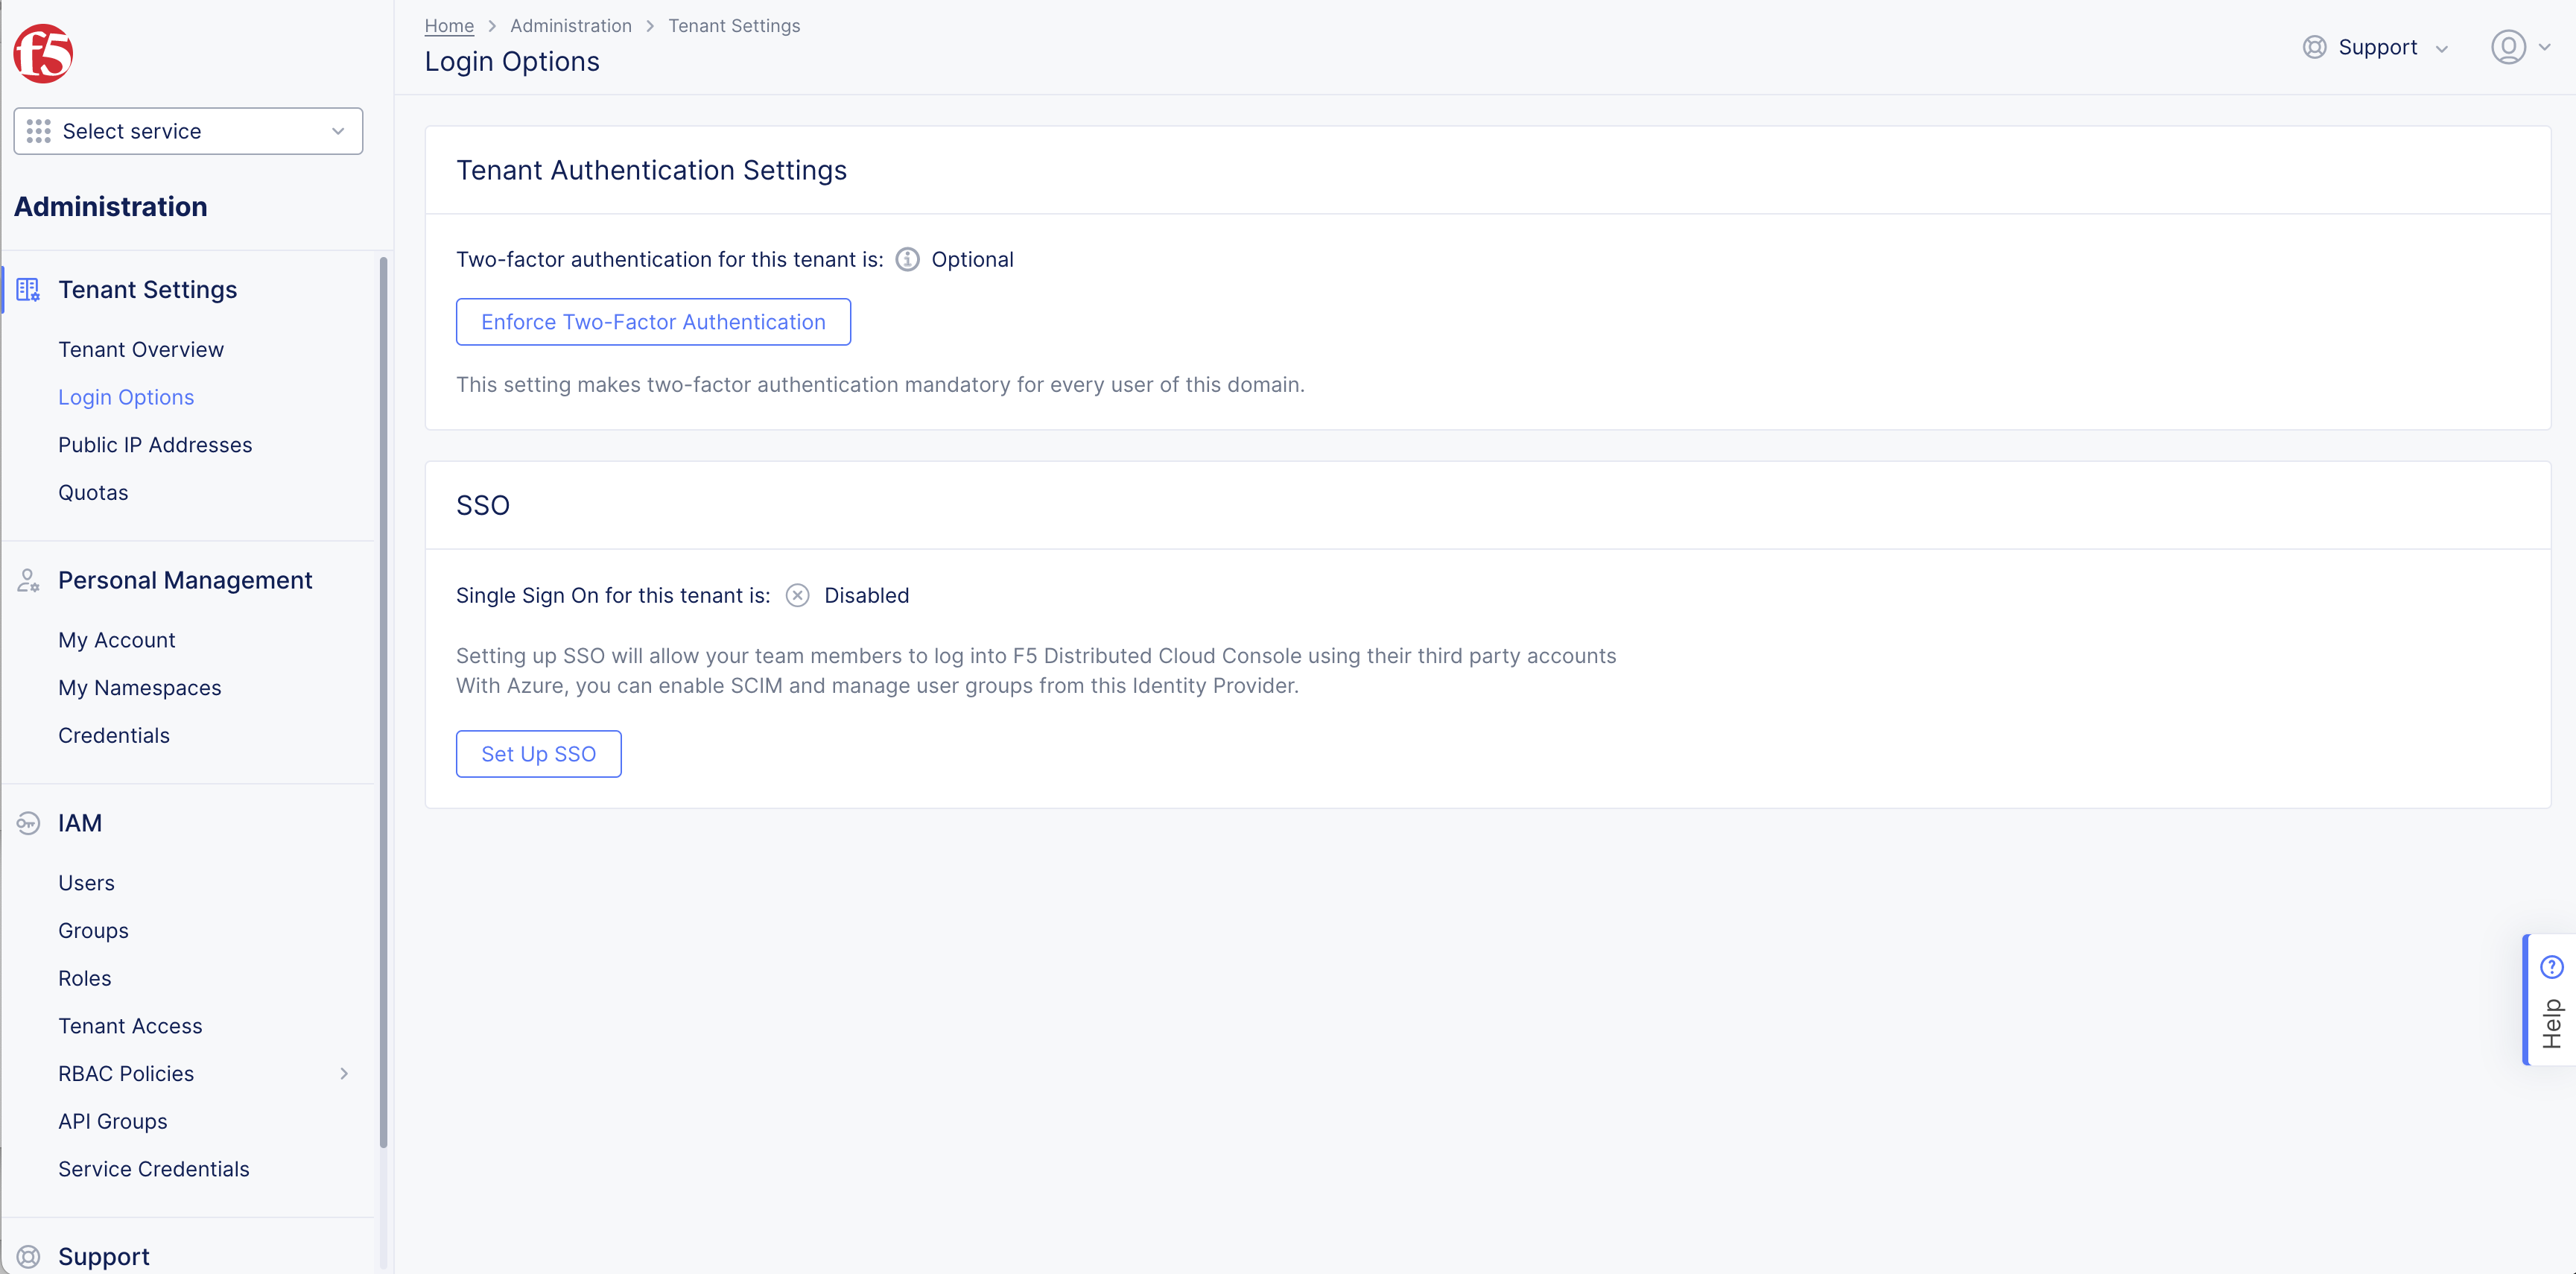
Figure: SSO
Step 2: Set Up SSO.
Note: Copy items from your custom OIDC providers to set up SSO in Console.
-
Select
Customoption in pop-up form. -
Select
Nextbutton.

Figure: SSO Create Clients
-
Enter
Display nameinSet up SSOpop-up form. -
Enter
Client ID. -
Enter
Client secret. -
Enter
Authorization URL. -
Enter
Token URL.

Figure: SSO Create Clients
- Select
Nextbutton.
Step 3: Copy Redirect URL.
- Copy the displayed values of the
Redirect URLfield in theRedirect URIscreen.
Note: This is used in next step.
- Select
Done.

Figure: Redirect URL
Step 4: Add Redirect URL in Custom Application Settings.
-
Log into custom, open
Generaltab of your application settings. -
Select
Edit.
Step 5: Sync Redirect URL in OIDC.
-
Copy
URL redirectlink. -
Enter
URLinOIDC.
Step 6: Complete SSO Setup.
Log out of Console.