Credentials-old
Objective
This guide provides instructions on how to obtain credential information related to Volterra services from the VoltConsole.
The following types of files can be generated and downloaded from VoltConsole:
- API Tokens - The tokens are used in site deployment and also for the authorization in the API requests.
- X.509 Certificates - These certificates are used in API requests.
- Kubeconfig - These are the kubeconfigs for deploying your applications using Volterra vK8s.
Note: You can use either API certificate or API token for authenticating. However, it is recommended to use API certificates as they offer more robust security via Mutual TLS (mTLS) authentication. The API tokens are used with one-way TLS authentication.
Using the instructions provided in this guide, you can create various types of credentials and download them.
Prerequisites
The following prerequisites apply:
- Note: If you do not have an account, see Create a Volterra Account.
- A single-node or multi-node Volterra site in case of application deployment
- Note: If you do not have a site, see Site Management.
Generate API Certificate
Step 1: Start credential creation in VoltConsole.
Log into the VoltConsole using your tenant credentials and click on the General option in the namespace selector. Click My Credentials in the options under Personal Management and click Create credentials.
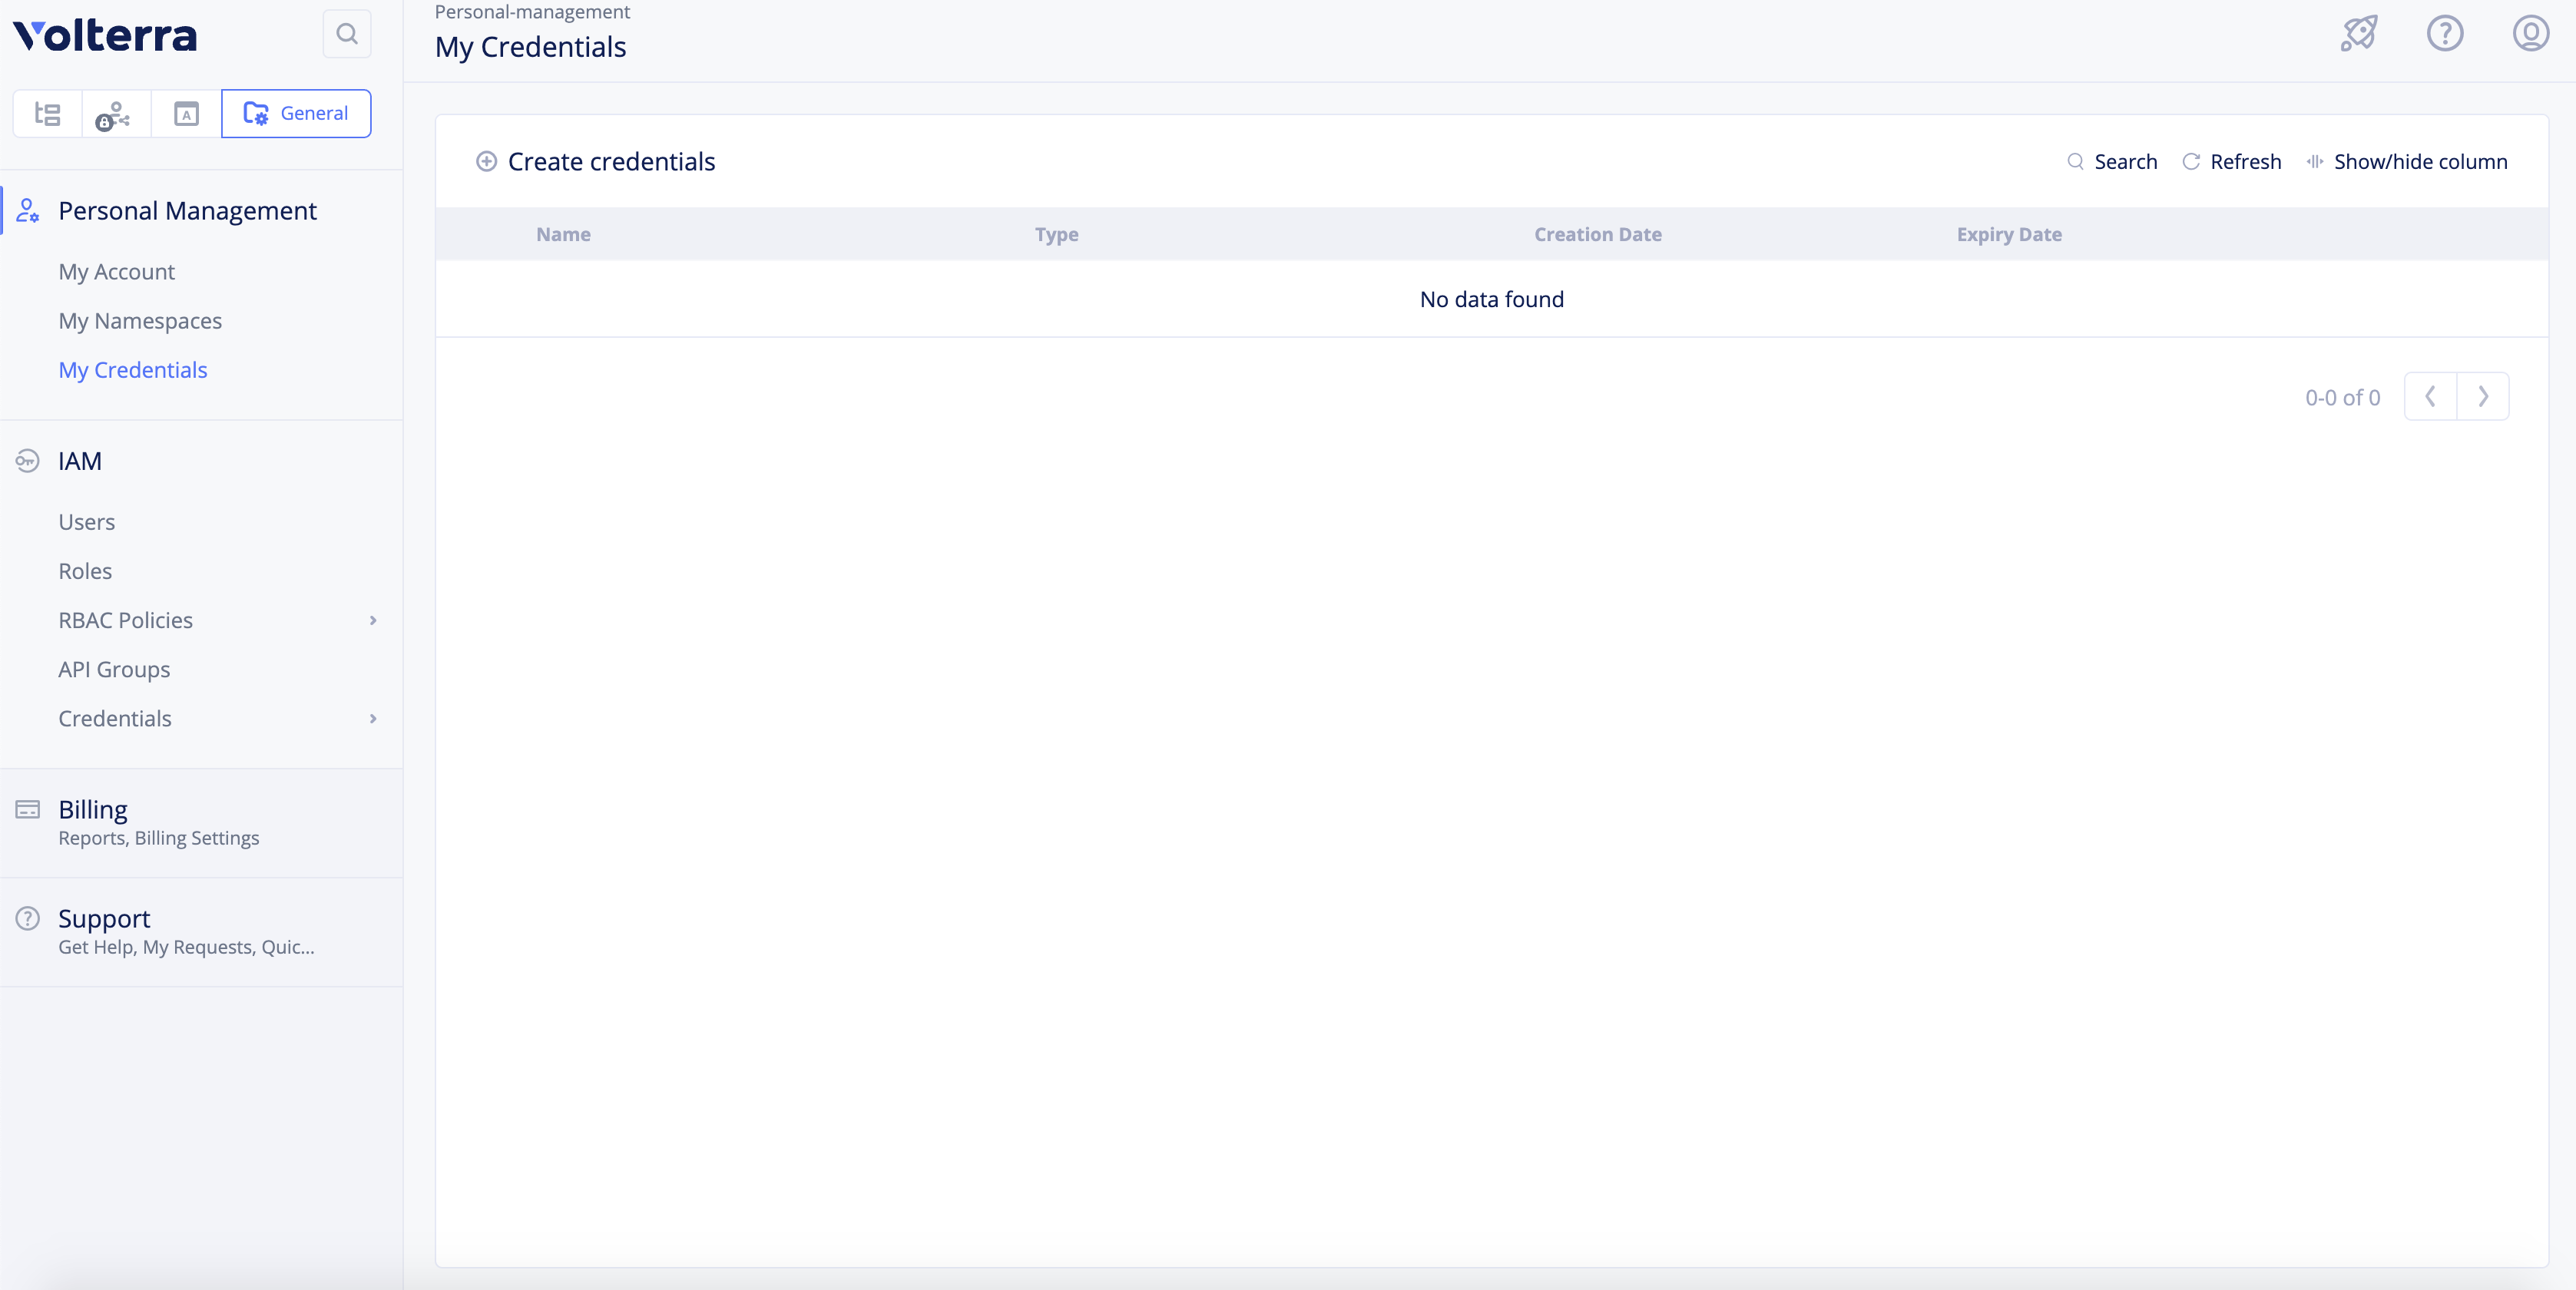
Figure: Create Credentials
Step 2:Configure name and select credential type.
Enter a name for your certificate and select API Certificate for the Credential type field.
Step 3:Enter a password and repeat for confirmation.
Step 4: Generate the certificate and download it.
Optionally, select an expiry time as per the calendar option displayed in the Expiry Date field. Click Download to download the certificate in the .p12 file format.

Figure: Create API Certificate
Note: The maximum allowed expiry date for users is set by the tenant administrator. The system allows the administrator to set a maximum expiry of 365 days. The default expiry is 90 days.
After generating, you can use it in API request. The following is a sample API request to delete a namespace.
curl -k -X POST --cert-type P12 --cert ~/Downloads/<api-creds>.p12:<password> https://tenant>.console.ves.volterra.io/api/web/namespaces/<namespace>/cascade_delete -v
Note: It is recommended to specify the full path to certificate.
Generate Kubeconfig
Step 1: Start creating credentials in VoltConsole.
Log into the VoltConsole using your tenant credentials and click on the General option in the namespace selector. Click My Credentials in the options under Personal Management and click Create credentials.
Figure: Create Credentials
Step 2:Set a name and select the type of credentials.
Enter a name for your Kubeconfig file and select Kubeconfig for the Credential type field.
Step 3: Select namespace and vK8s cluster name.
Select namespace and vK8s cluster for the Namespace and VK8s cluster name fields respectively.
Step 4:Create the kubeconfig and download.
Optionally, select an expiry time as per the calendar option displayed in the Expiry Date field. Click Download to download the file.
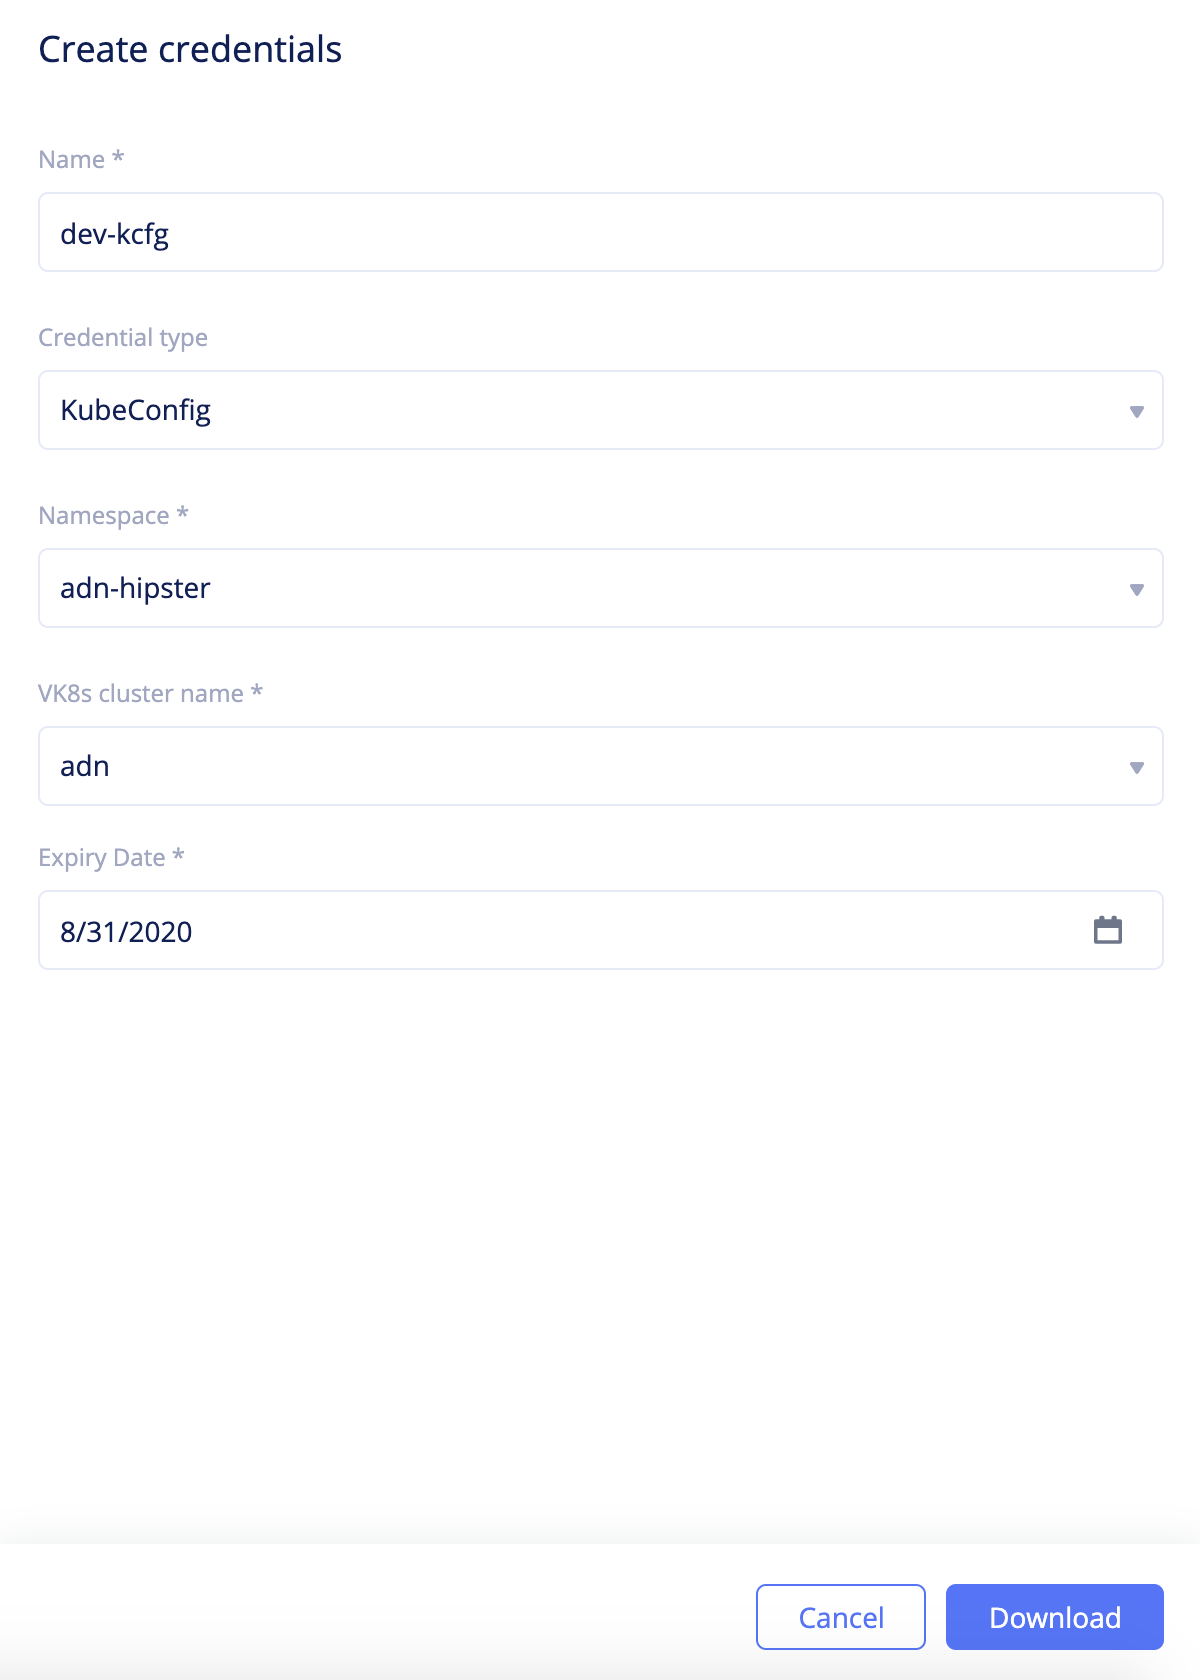
Figure: Create Kubeconfig
Note: The maximum allowed expiry date for users is set by the tenant administrator. The system allows the administrator to set a maximum expiry of 365 days. The default expiry is 90 days.
After generating, you can use it in deployments. The following is a sample kubectl request to view the configuration:
kubectl config --kubeconfig=<kubeconfig-file> view
Generate API Tokens
Step 1: Start creating credentials in VoltConsole.
Log into the VoltConsole using your tenant credentials and click on the General option in the namespace selector. Click My Credentials in the options under Personal Management and click Create credentials.
Figure: Create Credentials
Step 2: Set a name and select type of credentials.
Enter a name for your token and select API Token for the Credential type field.
Step 3:Complete token creation.
Optionally, select an expiry time as per the calendar option displayed in the Expiry Date field. Click Generate.
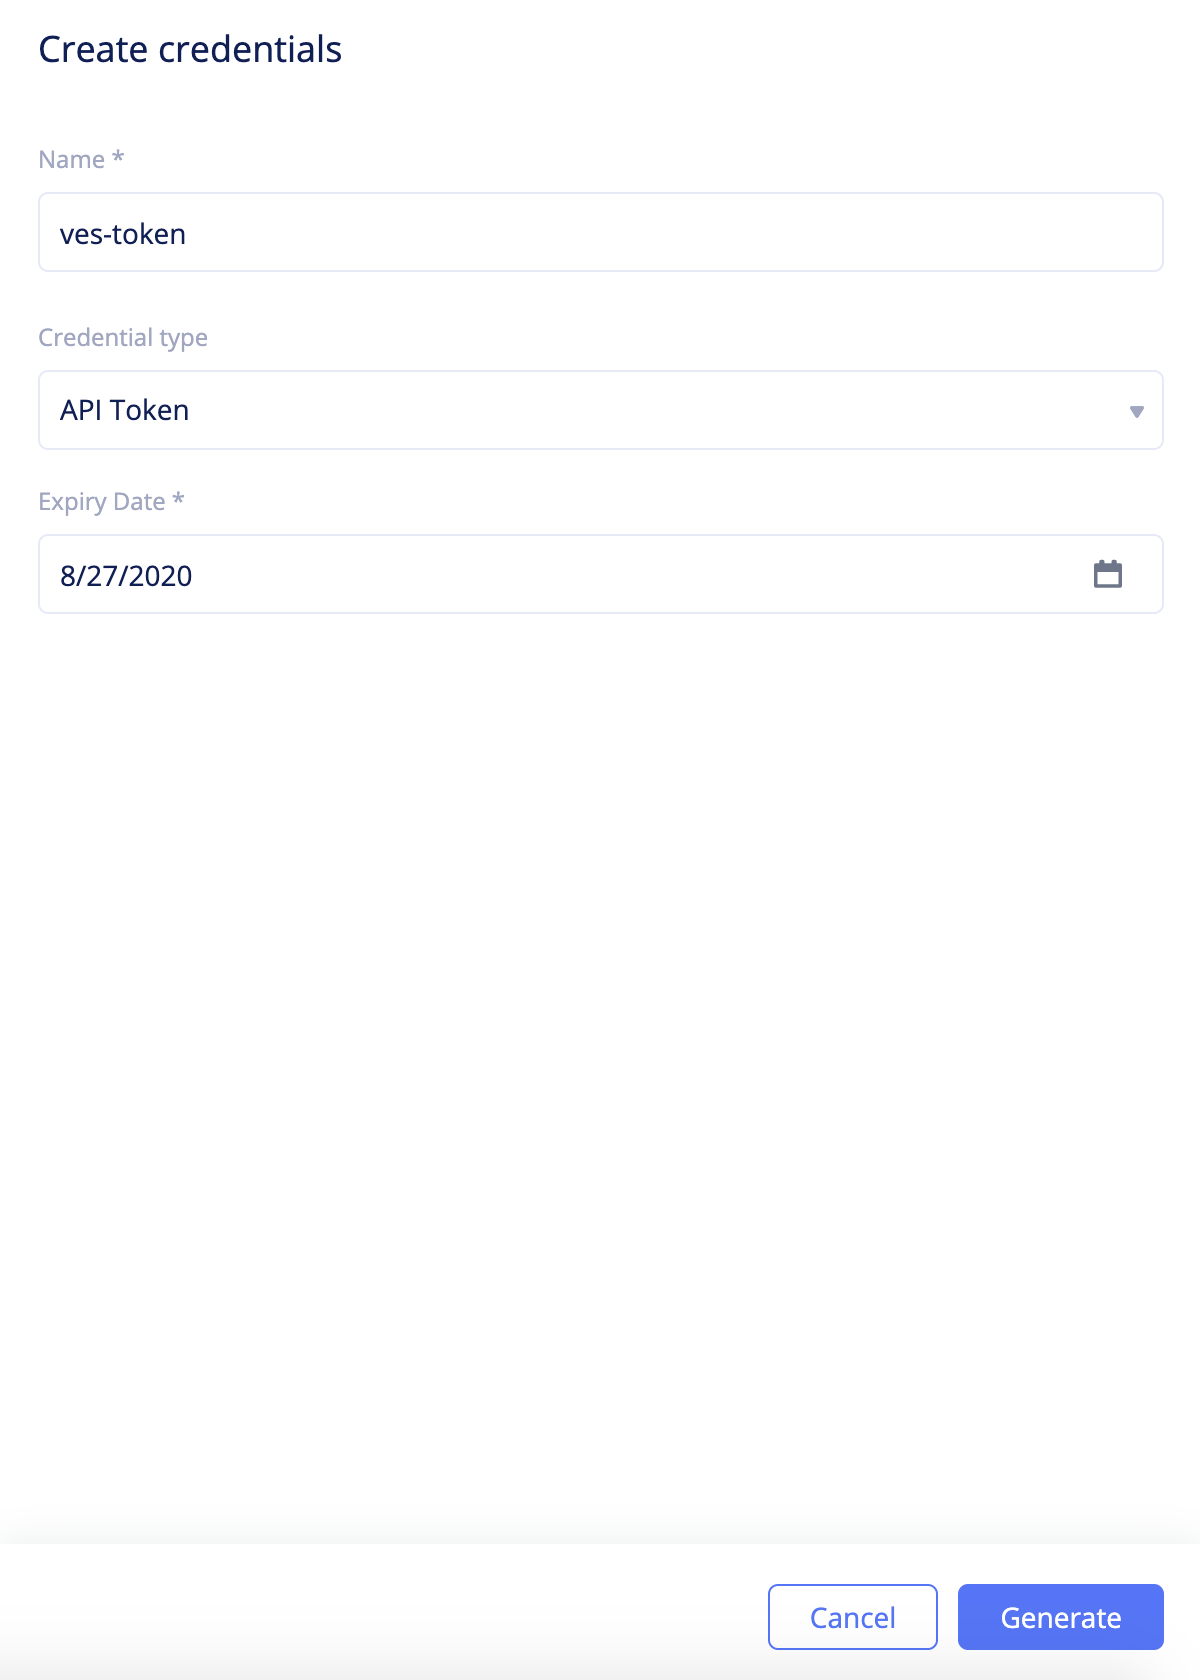
Figure: Create Credentials
Note: The maximum allowed expiry date for users is set by the tenant administrator. The system allows the administrator to set a maximum expiry of 365 days. The default expiry is 90 days.
Step 4:Obtain the token.
Copy the API token using the Copy option and click Done.

Figure: Generated API Token
After generating, you can use it in API request with the authorization header. The following is a sample API request:
curl -k -X GET https://<tenant>.console.ves.volterra.io/api/web/namespaces -H 'Authorization: APIToken <token value>'
Note: All API access with the token will have the same RBAC assigned to the user who created the token.
Revoke API Credentials
You can force an API credentials object to be expired before its configured or default expiry time. Perform the following to revoke the API credentials:
Step 1: Navigate to your credentials and VoltConsole.
Log into the VoltConsole using your tenant credentials and click on the General option in the namespace selector. Click My Credentials in the options under Personal Management.
Step 2: Perform revoke operation for an existing credential object.
Select the API credential for which you want to force expiry and click ...-> Force Expiry.
The following is an example for revoking API token:
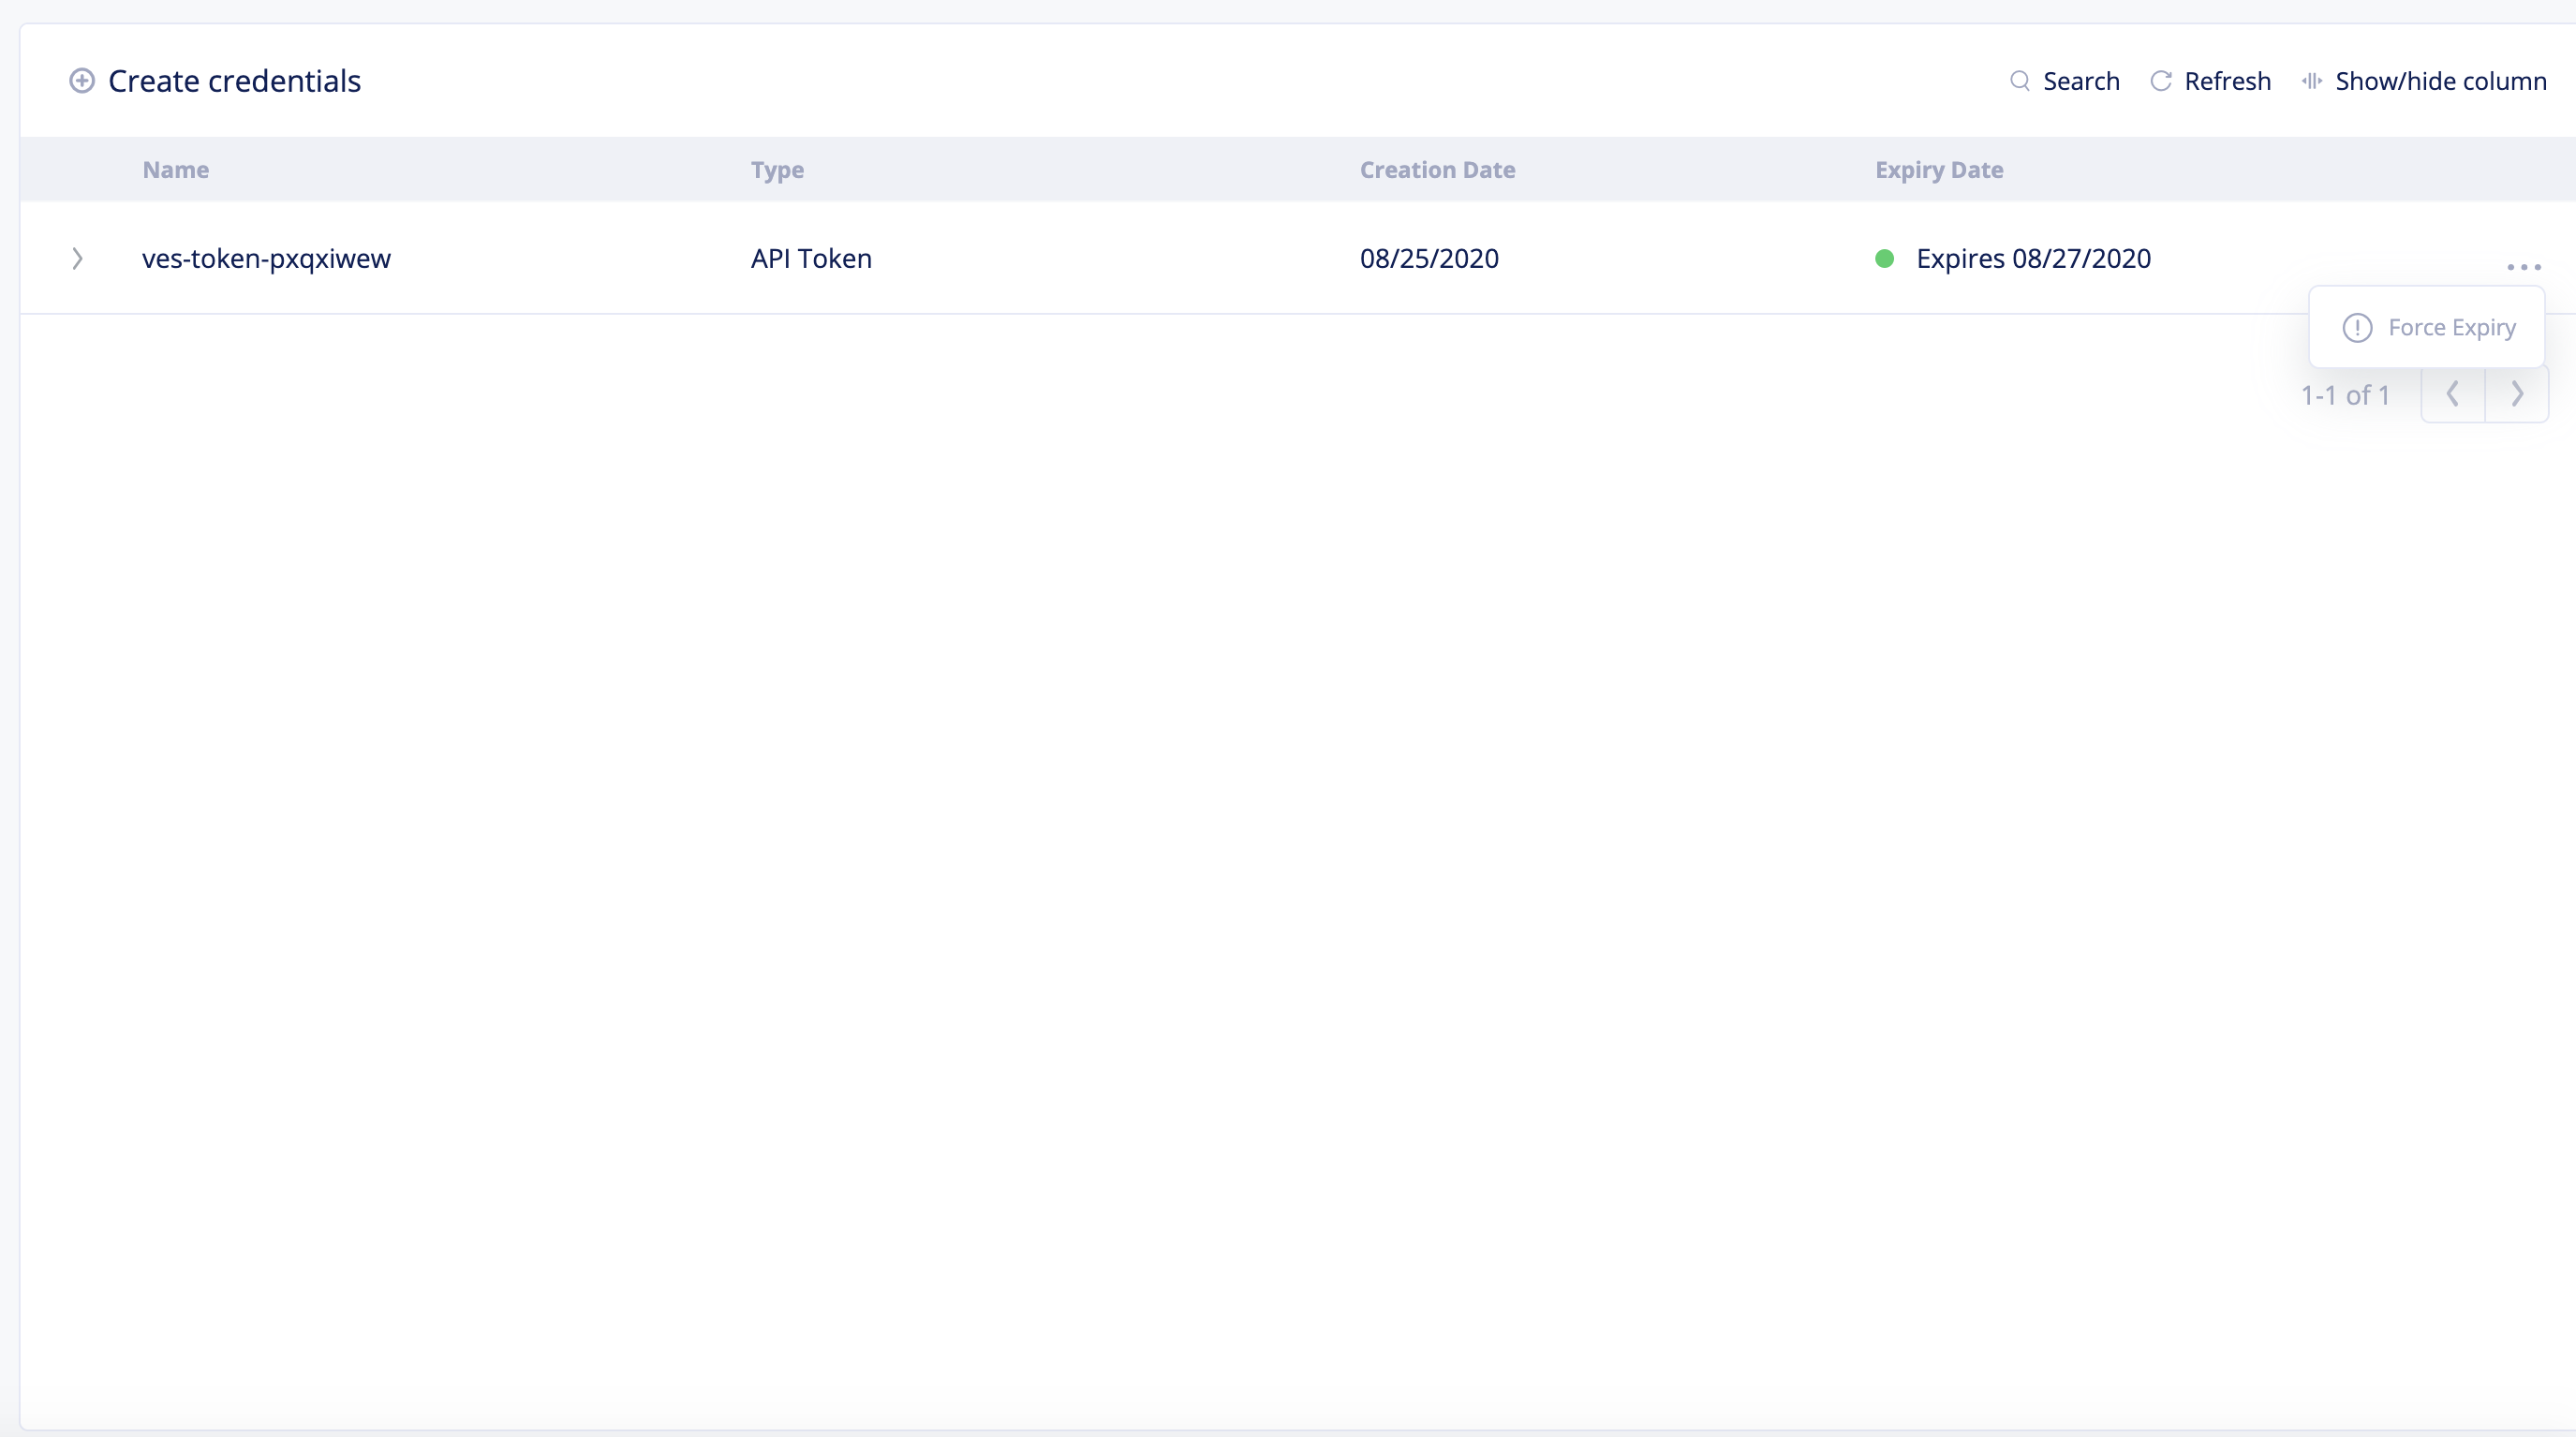
Figure: API Token Force Expiry Option
Step 3: Complete revoke operation.
Click Force Expire in the confirmation window to cause API credential object expiry.
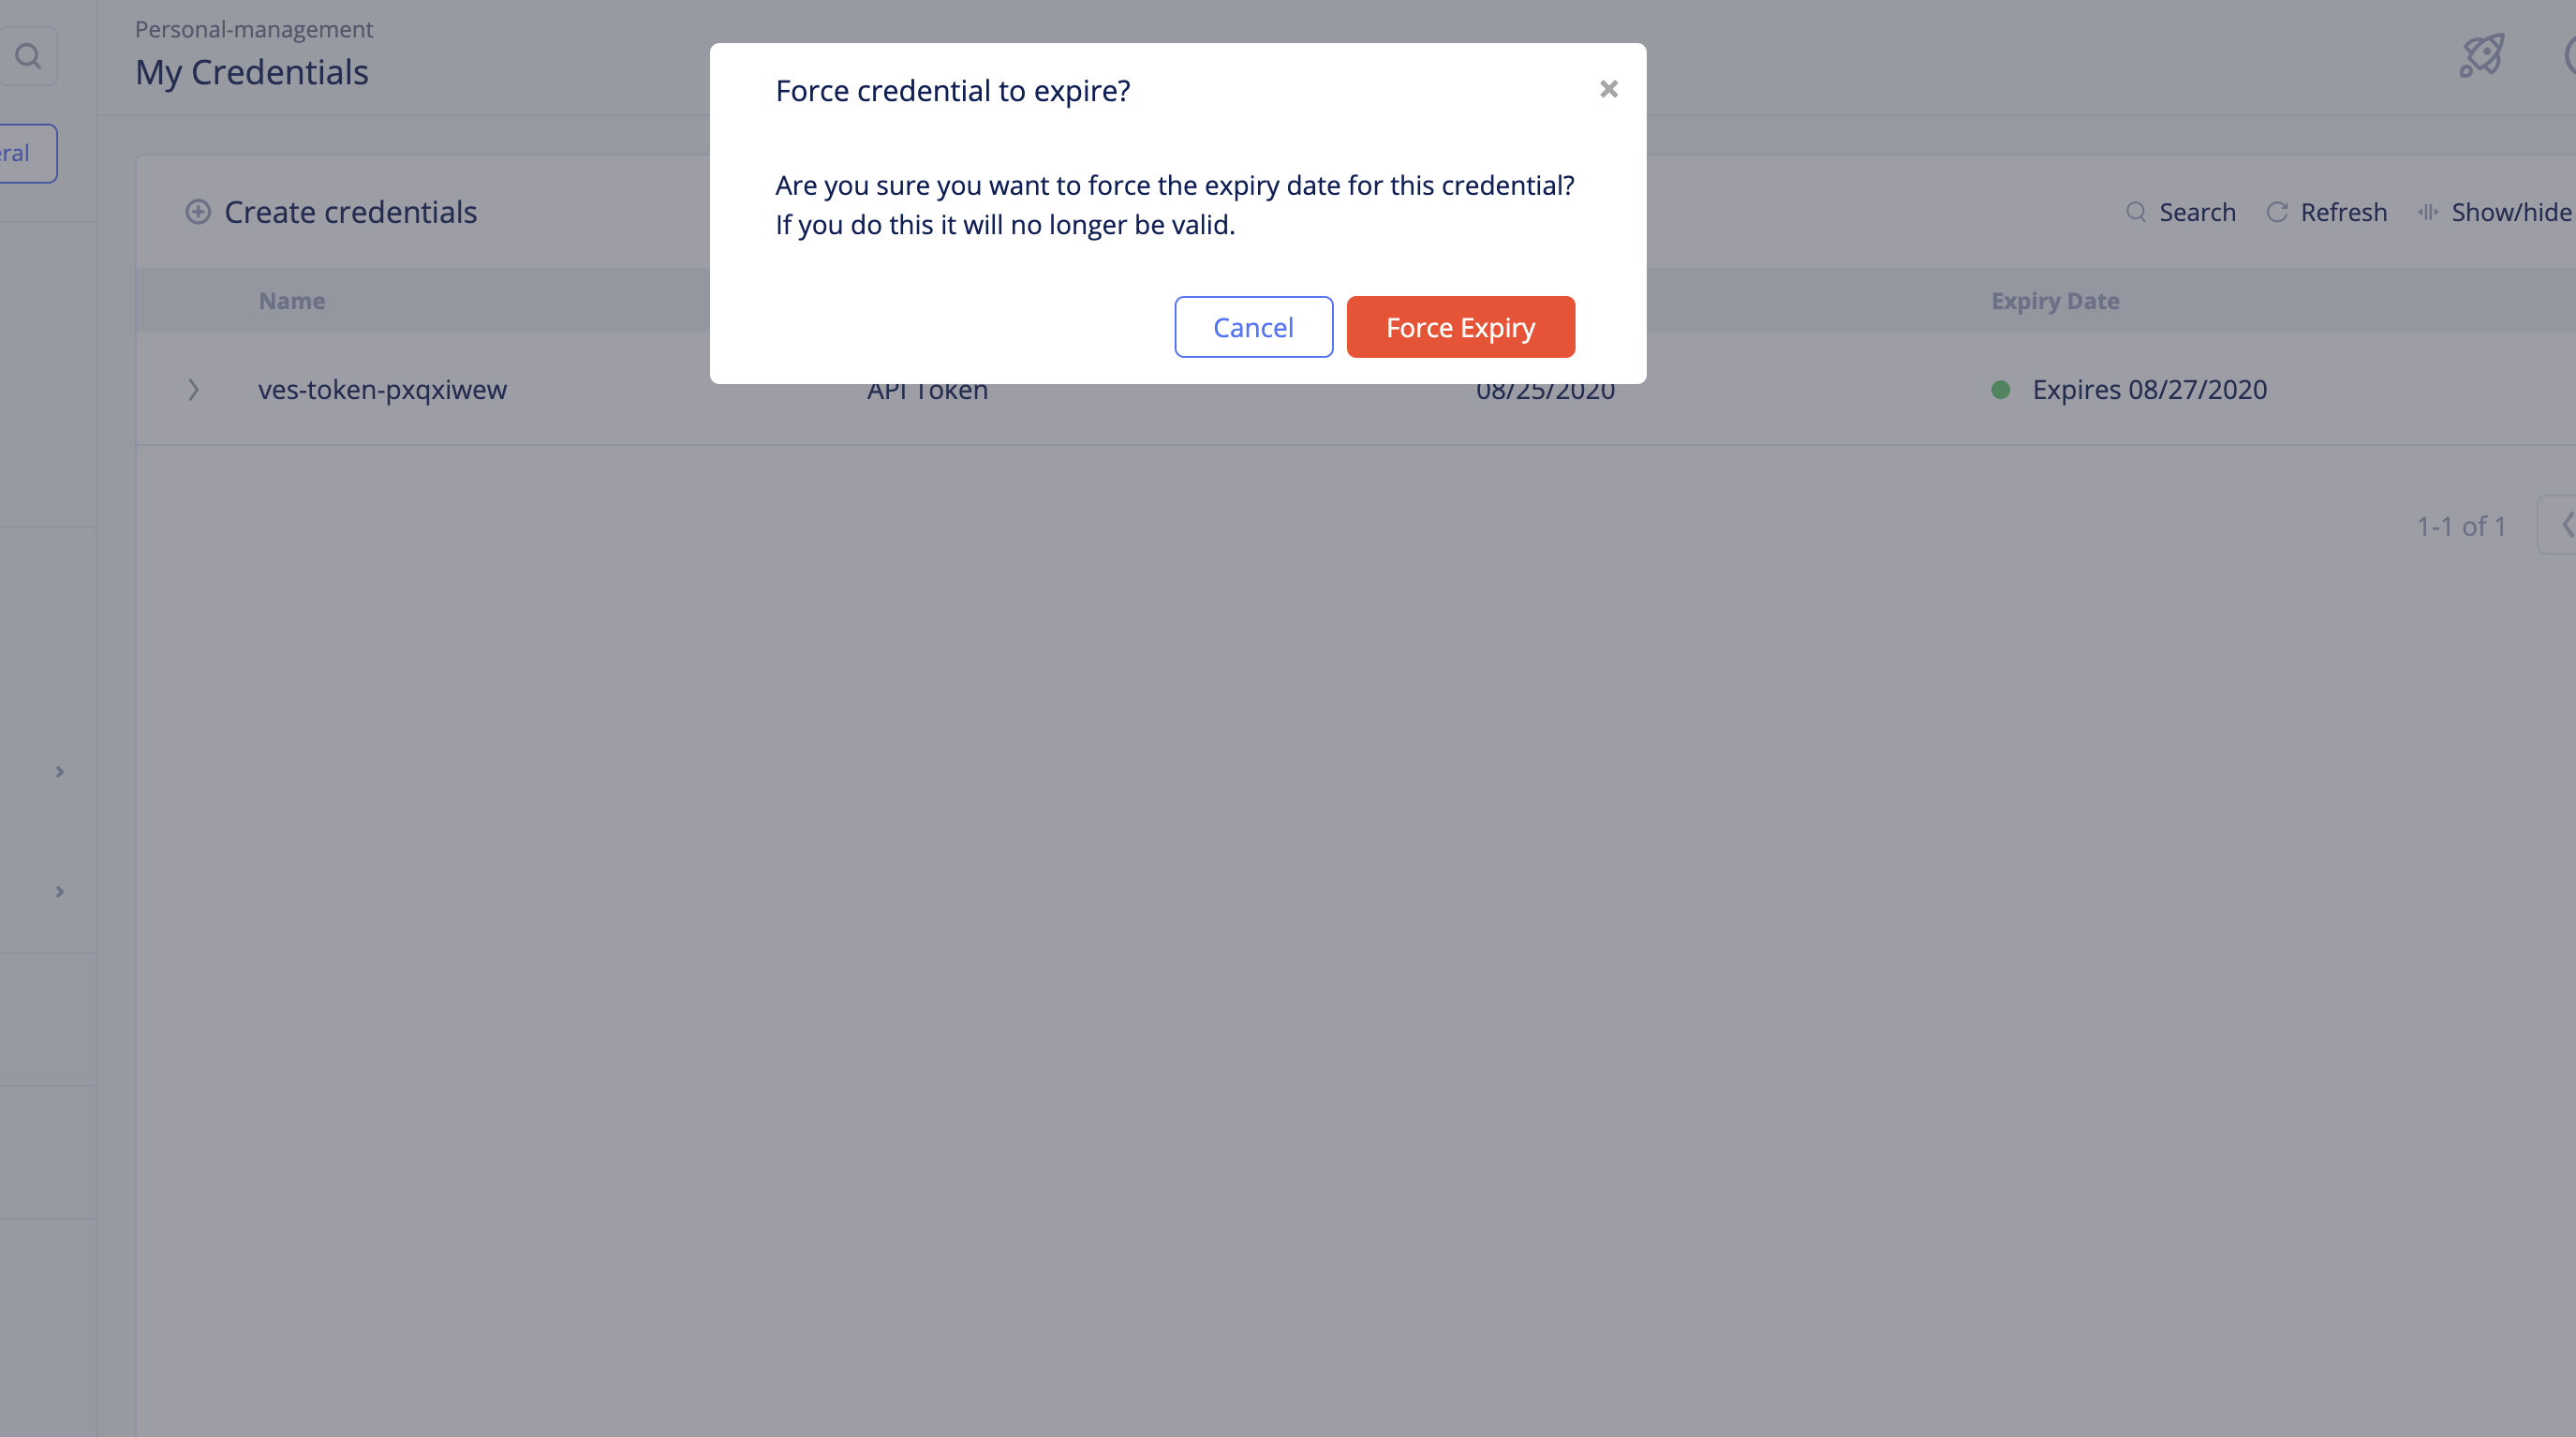
Figure: API Token Force Expiry Confirmation
Note: You can renew or delete an expired credential. Click
...->Renewagainst expired credential from the list of credentials to renew it. Set an expiry date and clickRenew Credentialin the confirmation box. Click...->Deleteagainst expired credential from the list of credentials to delete it. ClickDeletein the confirmation box.