Create Secrets Policy
Objective
This document provides instructions on how to create a secret policy in F5® Distributed Cloud Services. The secret policy is used to encrypt your application secrets using the F5® Distributed Cloud Console Blindfold and to decrypt it from your vK8s application. To know more about Blindfold and secrets management, see Blindfold.
Using the instructions provided in this guide, you can create a secret policy with policy rules to define permissions for your application to decrypt the secret.
Prerequisites
The following prerequisites apply:
-
An F5 Distributed Cloud Account. If you do not have an account, see Getting Started with Console.
-
An application running on vK8s. If you do not have an application running on vK8s, see Deploy Application.
-
The vesctl tool. Download vesctl on your local machine as it is used to apply Blindfold to the TLS certificate.
-
A minimum of
monitorrole in theSharednamespace is required.
Secret Policy
Creating a secret policy optionally includes associating a secret policy rule with it. You can create and attach a policy rule as part of secret policy creation itself or you can attach an existing rule. This example shows creating a rule as part of the secret policy creation. The secret policy allows Wingman running as sidecar in your application access to the secret.
Secrets can be viewed and managed in multiple services: Multi-Cloud Network Connect, Distributed Apps, Multi-Cloud App Connect, and Shared Configuration.
This example shows Secret setup in Multi-Cloud Network Connect.
Step 1: Open F5 Distributed Cloud Console, open secret policy.
- Open
F5® Distributed Cloud Console> selectMulti-Cloud Network Connectbox.
Note: Homepage is role based, and your homepage may look different due to your role customization. Select
All Servicesdrop-down menu to discover all options. Customize Settings:Administration>Personal Management>My Account>Edit work domain & skills>Advancedbox > checkWork Domainboxes >Save changes.
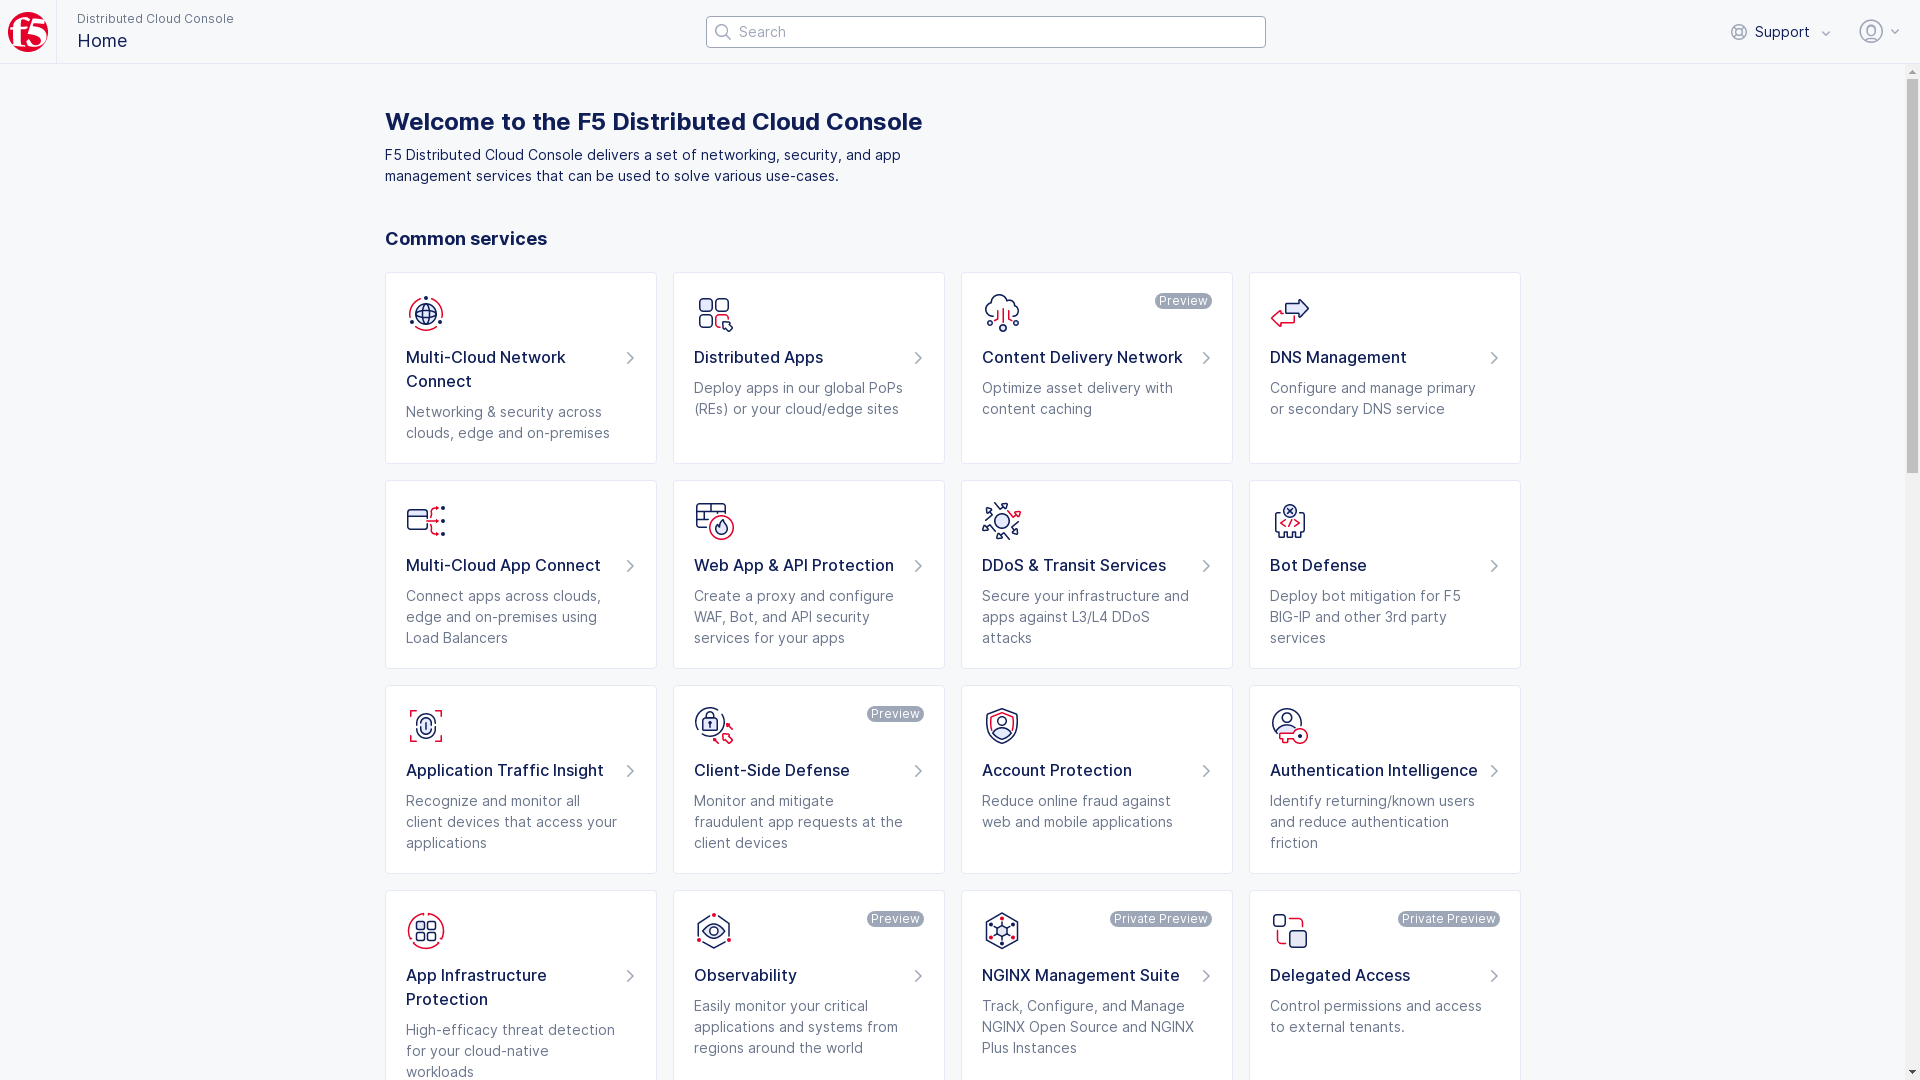
Figure: Console Homepage
Note: Confirm
Namespacefeature is in correct namespace, drop-down selector located in upper-left corner. Not available in all services.
- Select
Managein left-menu > selectSecrets>Secret Policies.
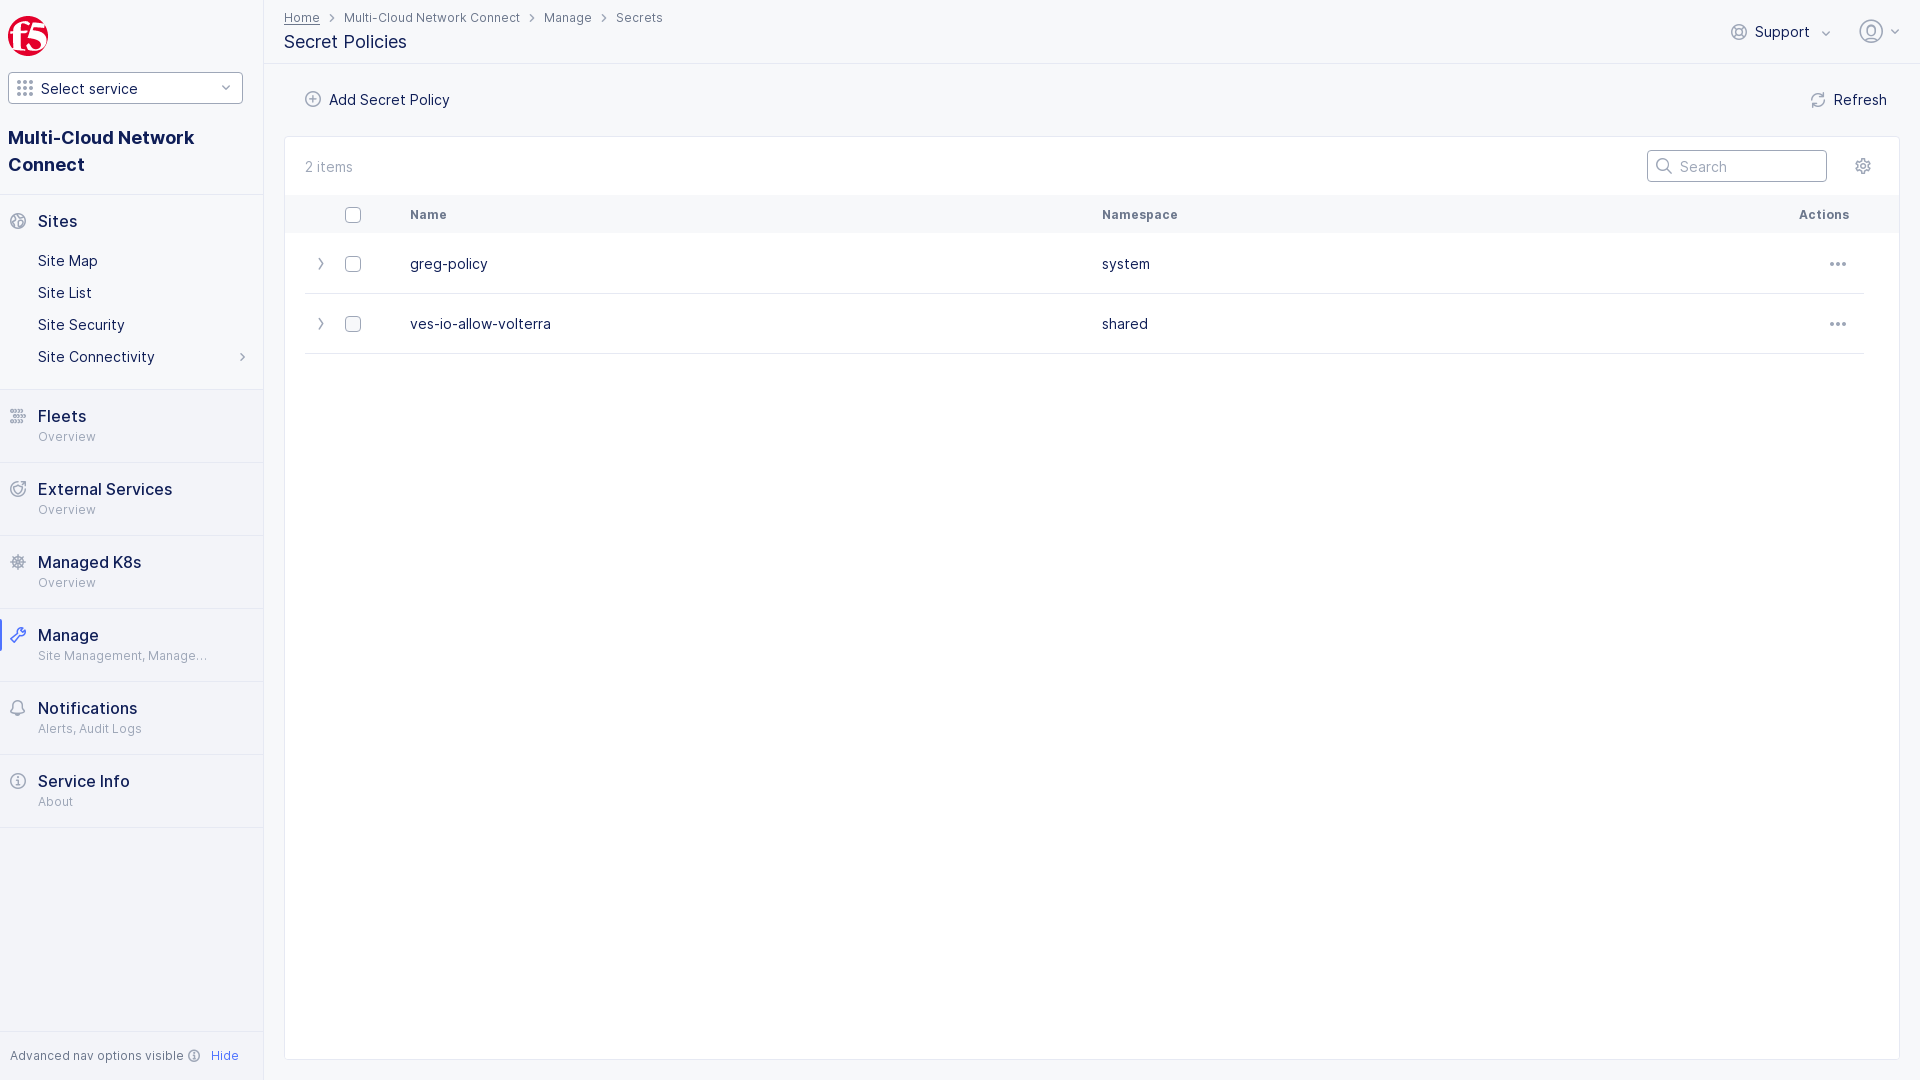
Figure: Secrets Policy
Note: If options are not showing available, select
Showlink inAdvanced nav options visiblein bottom left corner. If needed, selectHideto minimize options from Advanced nav options mode.
- Select
Add Secret Policy.
Note: The policy creation form gets loaded.
Step 2: Setup secret policy.
Perform the following steps:
Step 2.1: Name and setup secret policy.
-
Enter
Namefor your secret policy. -
Enter
LabelsandDescriptionas needed. -
Select
ConfigureinRulesbox. -
Select
+ Add IteminRulespage, to attach a secret policy rule. -
Follow step 2.2 instructions to add
Secret Policy Rule.
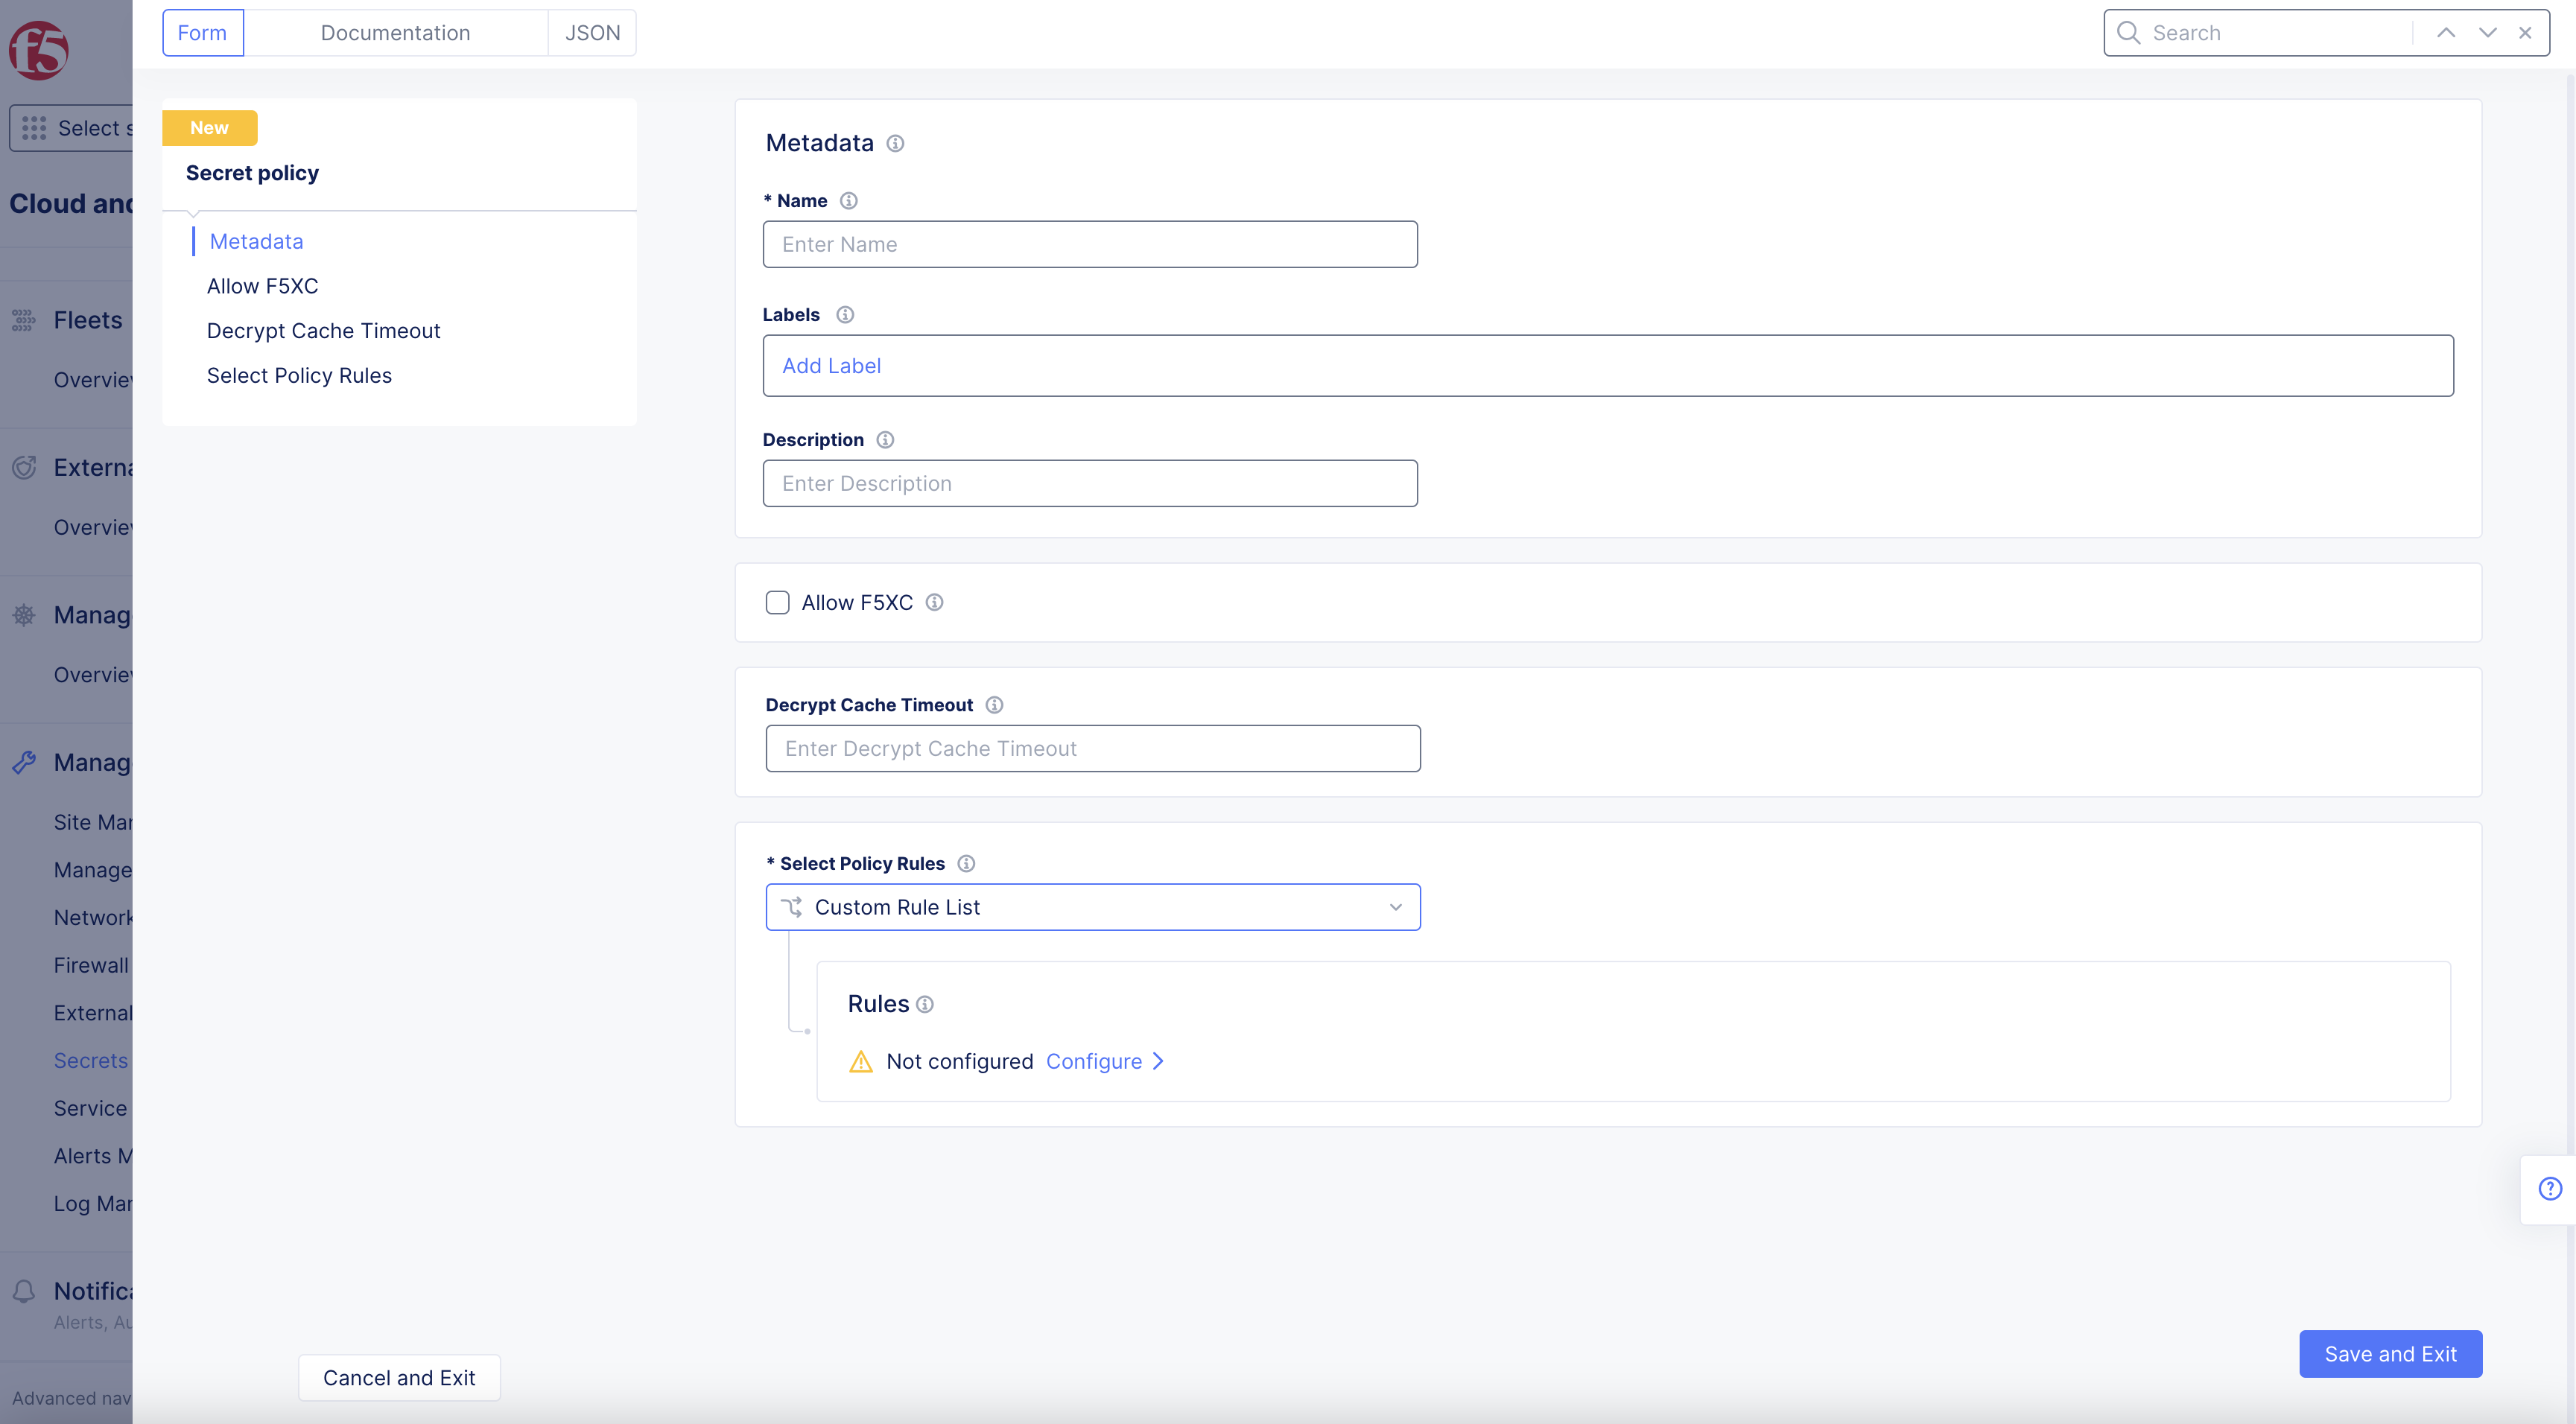
Figure: Create Secret Policy
- Select
Save and Exit.
Step 2.2: Optionally, attach a secret policy rule.
You can select a created rule or create a new rule. This example shows creating a new policy. Select Add secret policy rule in the Secret Policy Rules section. Perform the configuration as per the following guidelines:
-
Enter
Namefor service policy rule. -
Set action in
Actiondrop-down menu:-
Deny -
Allow
-
-
Optionally, enter name of the client accessing the server in the
Client Selectionbox. -
Set a label for the
Group of Clients by Label Selectorbox using the label selector expression for the client. Any label applied to the application can be used to write the expression.
Note: For example, set
ves.io/interface-type=ves-io-insideas the label expression.
-
Optionally, set
Client Name Matcherbox as per the following guidelines:-
Exact Values: Exact DNS names of the clients to match. Select+ Add itemand add the exact value. You can specify more than one entry. -
Regex Values: Regex patterns for DNS names to match. Select+ Add itemand add the regular expression to match DNS names. You can specify more than one entry.
-
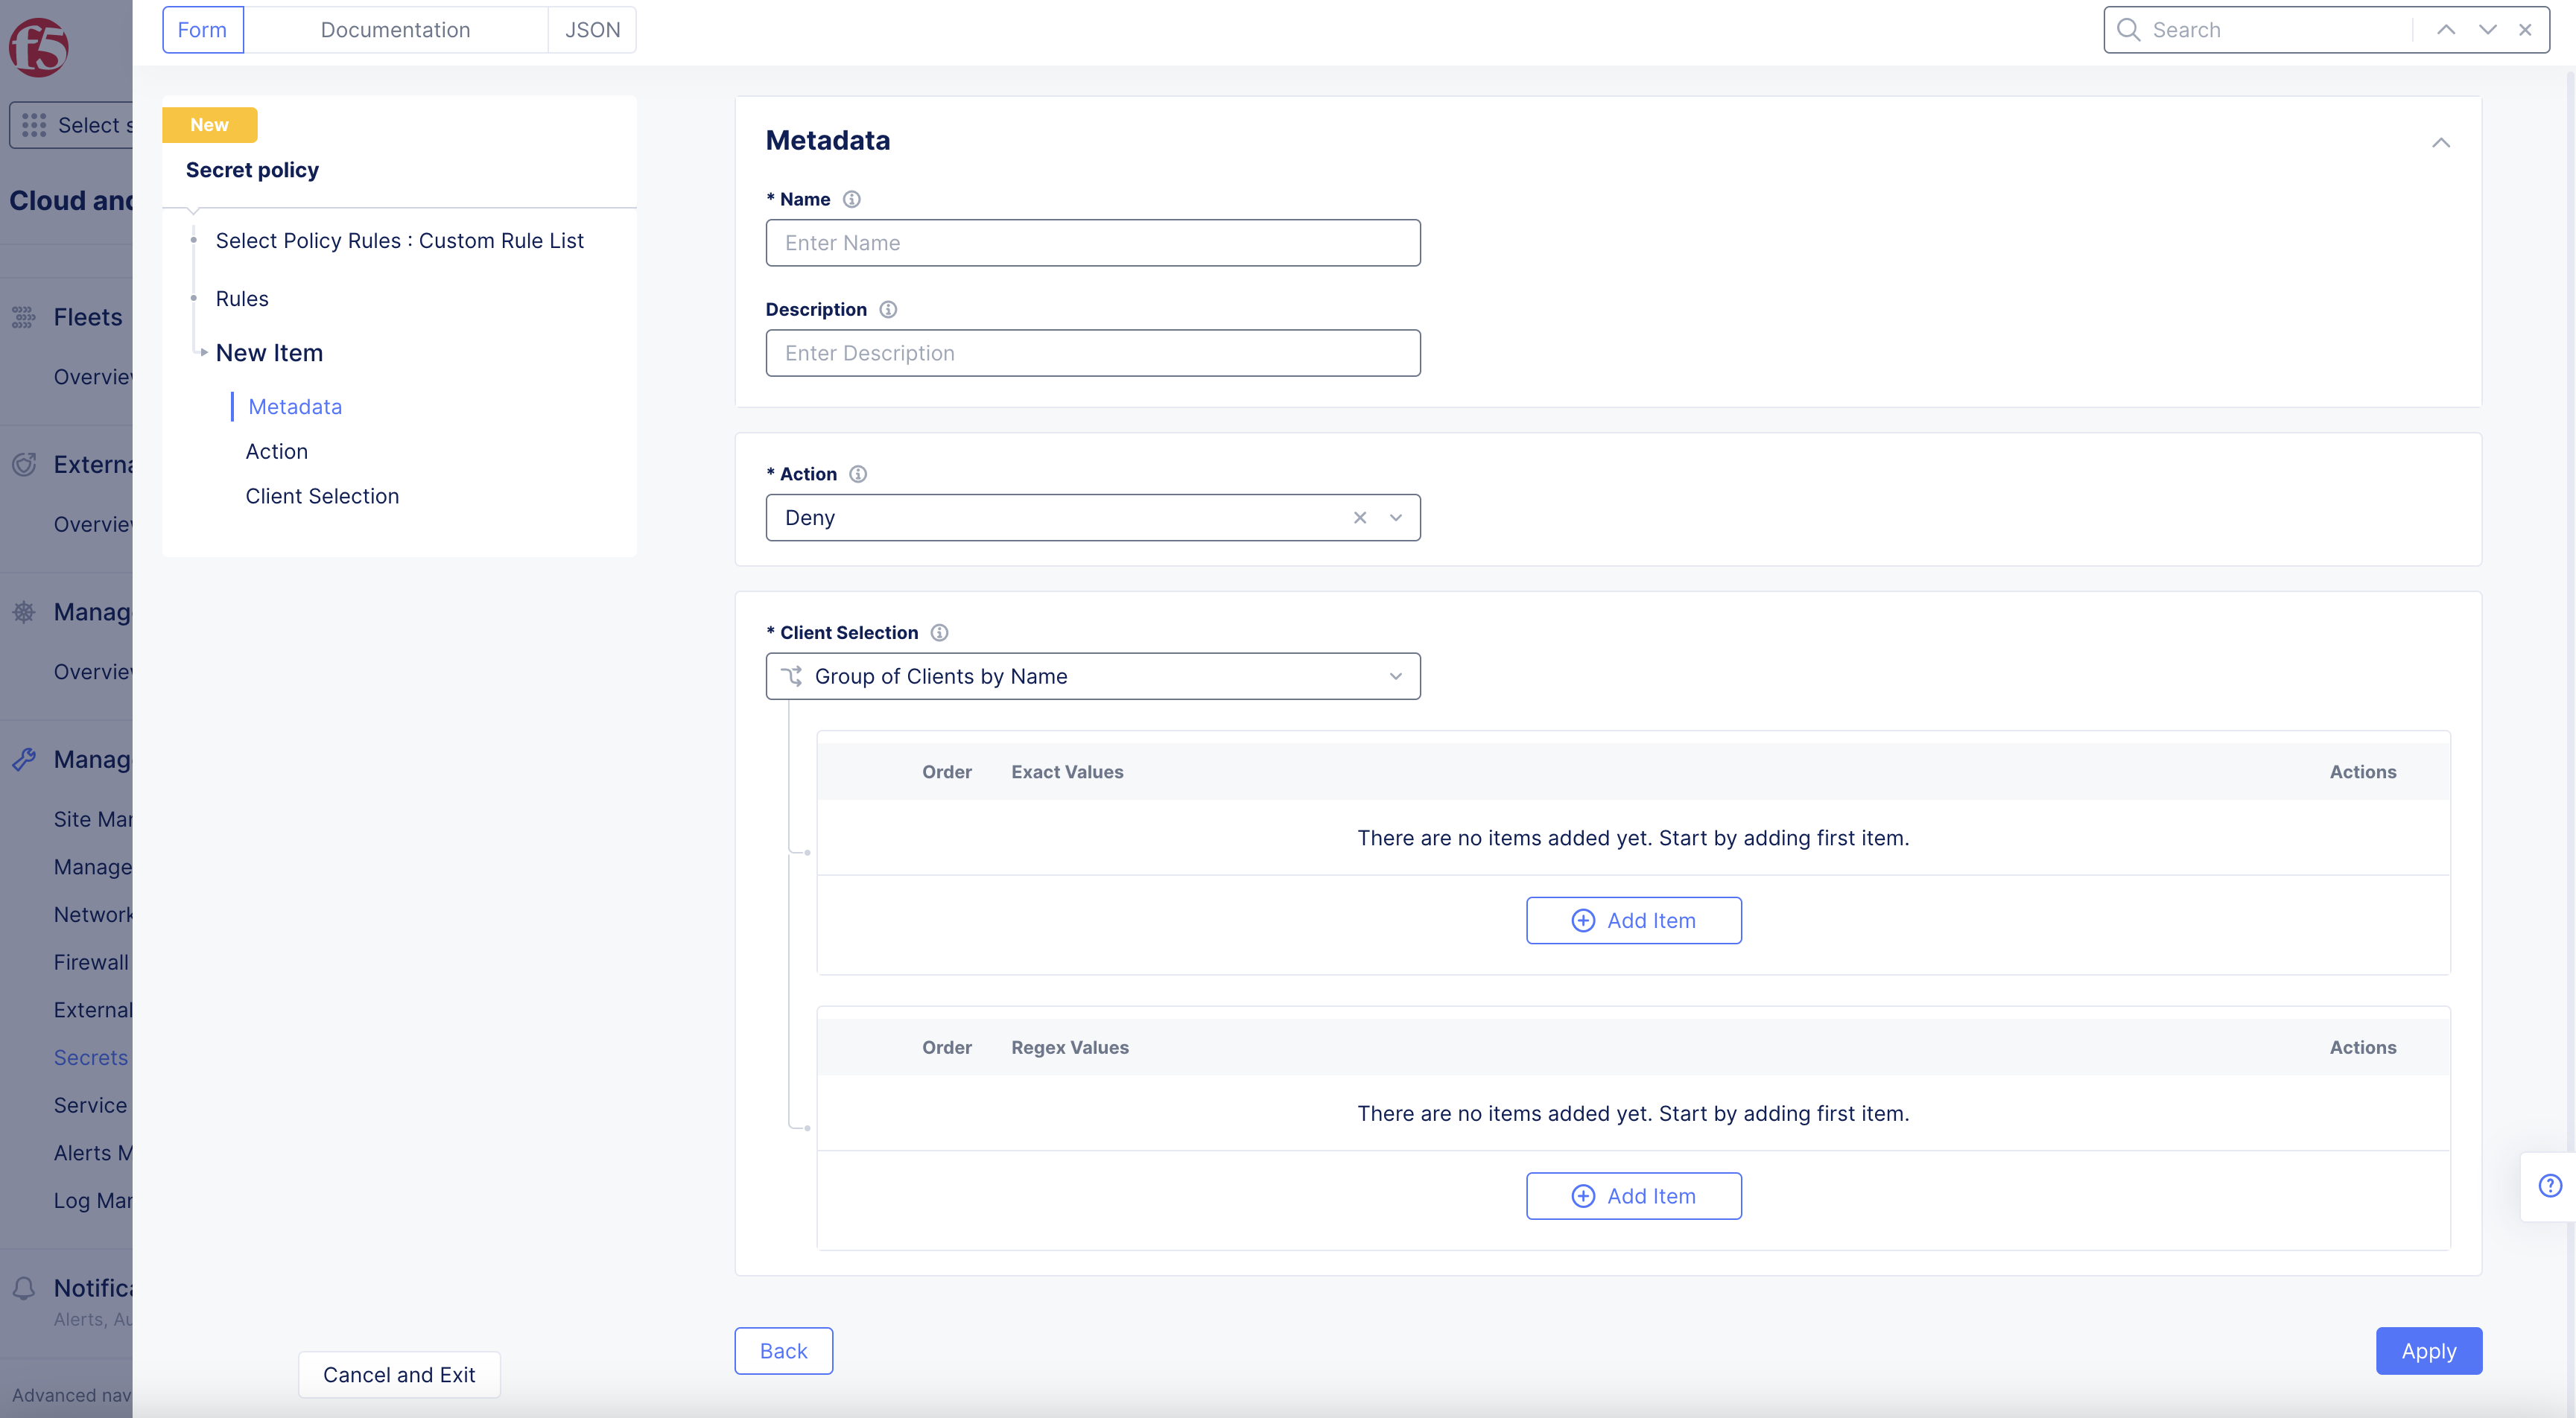
Figure: Create Secret Policy
- Select
Save and Exitto create the rule and attach it to the secret policy.
Step 2.3: Complete creating the secret policy.
-
Check
Allow F5XCbox to allow F5 services to decrypt this policy in theAllow F5XCsection. -
Enter
Decrypt Cache Timeoutin box.
Figure: Create Secret Policy
- Select
Save and Exitto complete creating the secret policy.
Step 3: Delete and recover deleted secret policy.
Secret Policy Accidental Deletion Handling is a feature that allows you to mark a secret-policy for deletion, rather than deleting it from system.
-
Select box of policy.
-
Delete selectedbox will appear in upper-right corner.
Note: Policy is cleared form system after 30 days, automatically.

Figure: Delete Secret Policy
-
Confirm in
Deleting 1 Secret Policypop-up, selectDelete. -
...drop-downDeleteoption available. -
Toggle
Show Deletedoption in upper-right corner to show policies pending deleting if not already showing. -
Pending deletewill appear next to policy showing that is marked to be deleted. -
Select
...underActionsto Restore object from menu. -
Object is Restoredpop-up will appear in lower-right corner confirming object has been restored from being deleted.
Note:
Pending Deletelabel will no longer show once object has been restored and reversed from being deleted.