Create Network Connector
Objective
This guide provides instructions on how to create a Network Connector using the guided wizard in F5® Distributed Cloud Console (Console). For more information on a site, see Site.
A Network Connector is used to create a connection between two virtual networks on a given site.
There are three types of network connectors:
-
SNAT, Site Local Inside to Site Local Outside: A default route is added in the inside network with a Customer Edge (CE) server as a gateway. As the outside network does not have any visibility of the inside network, packets are pushed through Source Network Address Translation (SNAT) to the outside virtual network IP address, moving from inside to outside. -
Direct, Site Local Inside to a Global Network: Using a dynamic routing protocol, routes from the inside network are injected into the global network to allow that inside network to be routed to the global network, like importing and exporting networks into L3 virtual routing and forwarding (VRF). -
Direct, Site Local Outside to a Global Network: Using a dynamic routing protocol, routes from the outside network are injected into the global network to allow that outside network to be routed to the global network, like importing and exporting networks into L3 VRF.
You can also enable a forward proxy on the network connector, where the traffic is pulled from the data plane and inserted into the proxy, allowing you to create controls such as forward proxy policies.
Using the instructions provided in this guide, you will be able to create a Network Connector.
Prerequisites
The following prerequisite applies:
An F5® Distributed Cloud Services Account. If you do not have an account, see Getting Started with Console.
Configuration
The following video shows the Network Connector object configuration:
Create a Network Connector
Perform the following steps:
Step 1: Start Network Connector object creation.
-
Log into Console.
-
Click
Multi-Cloud Network Connect.
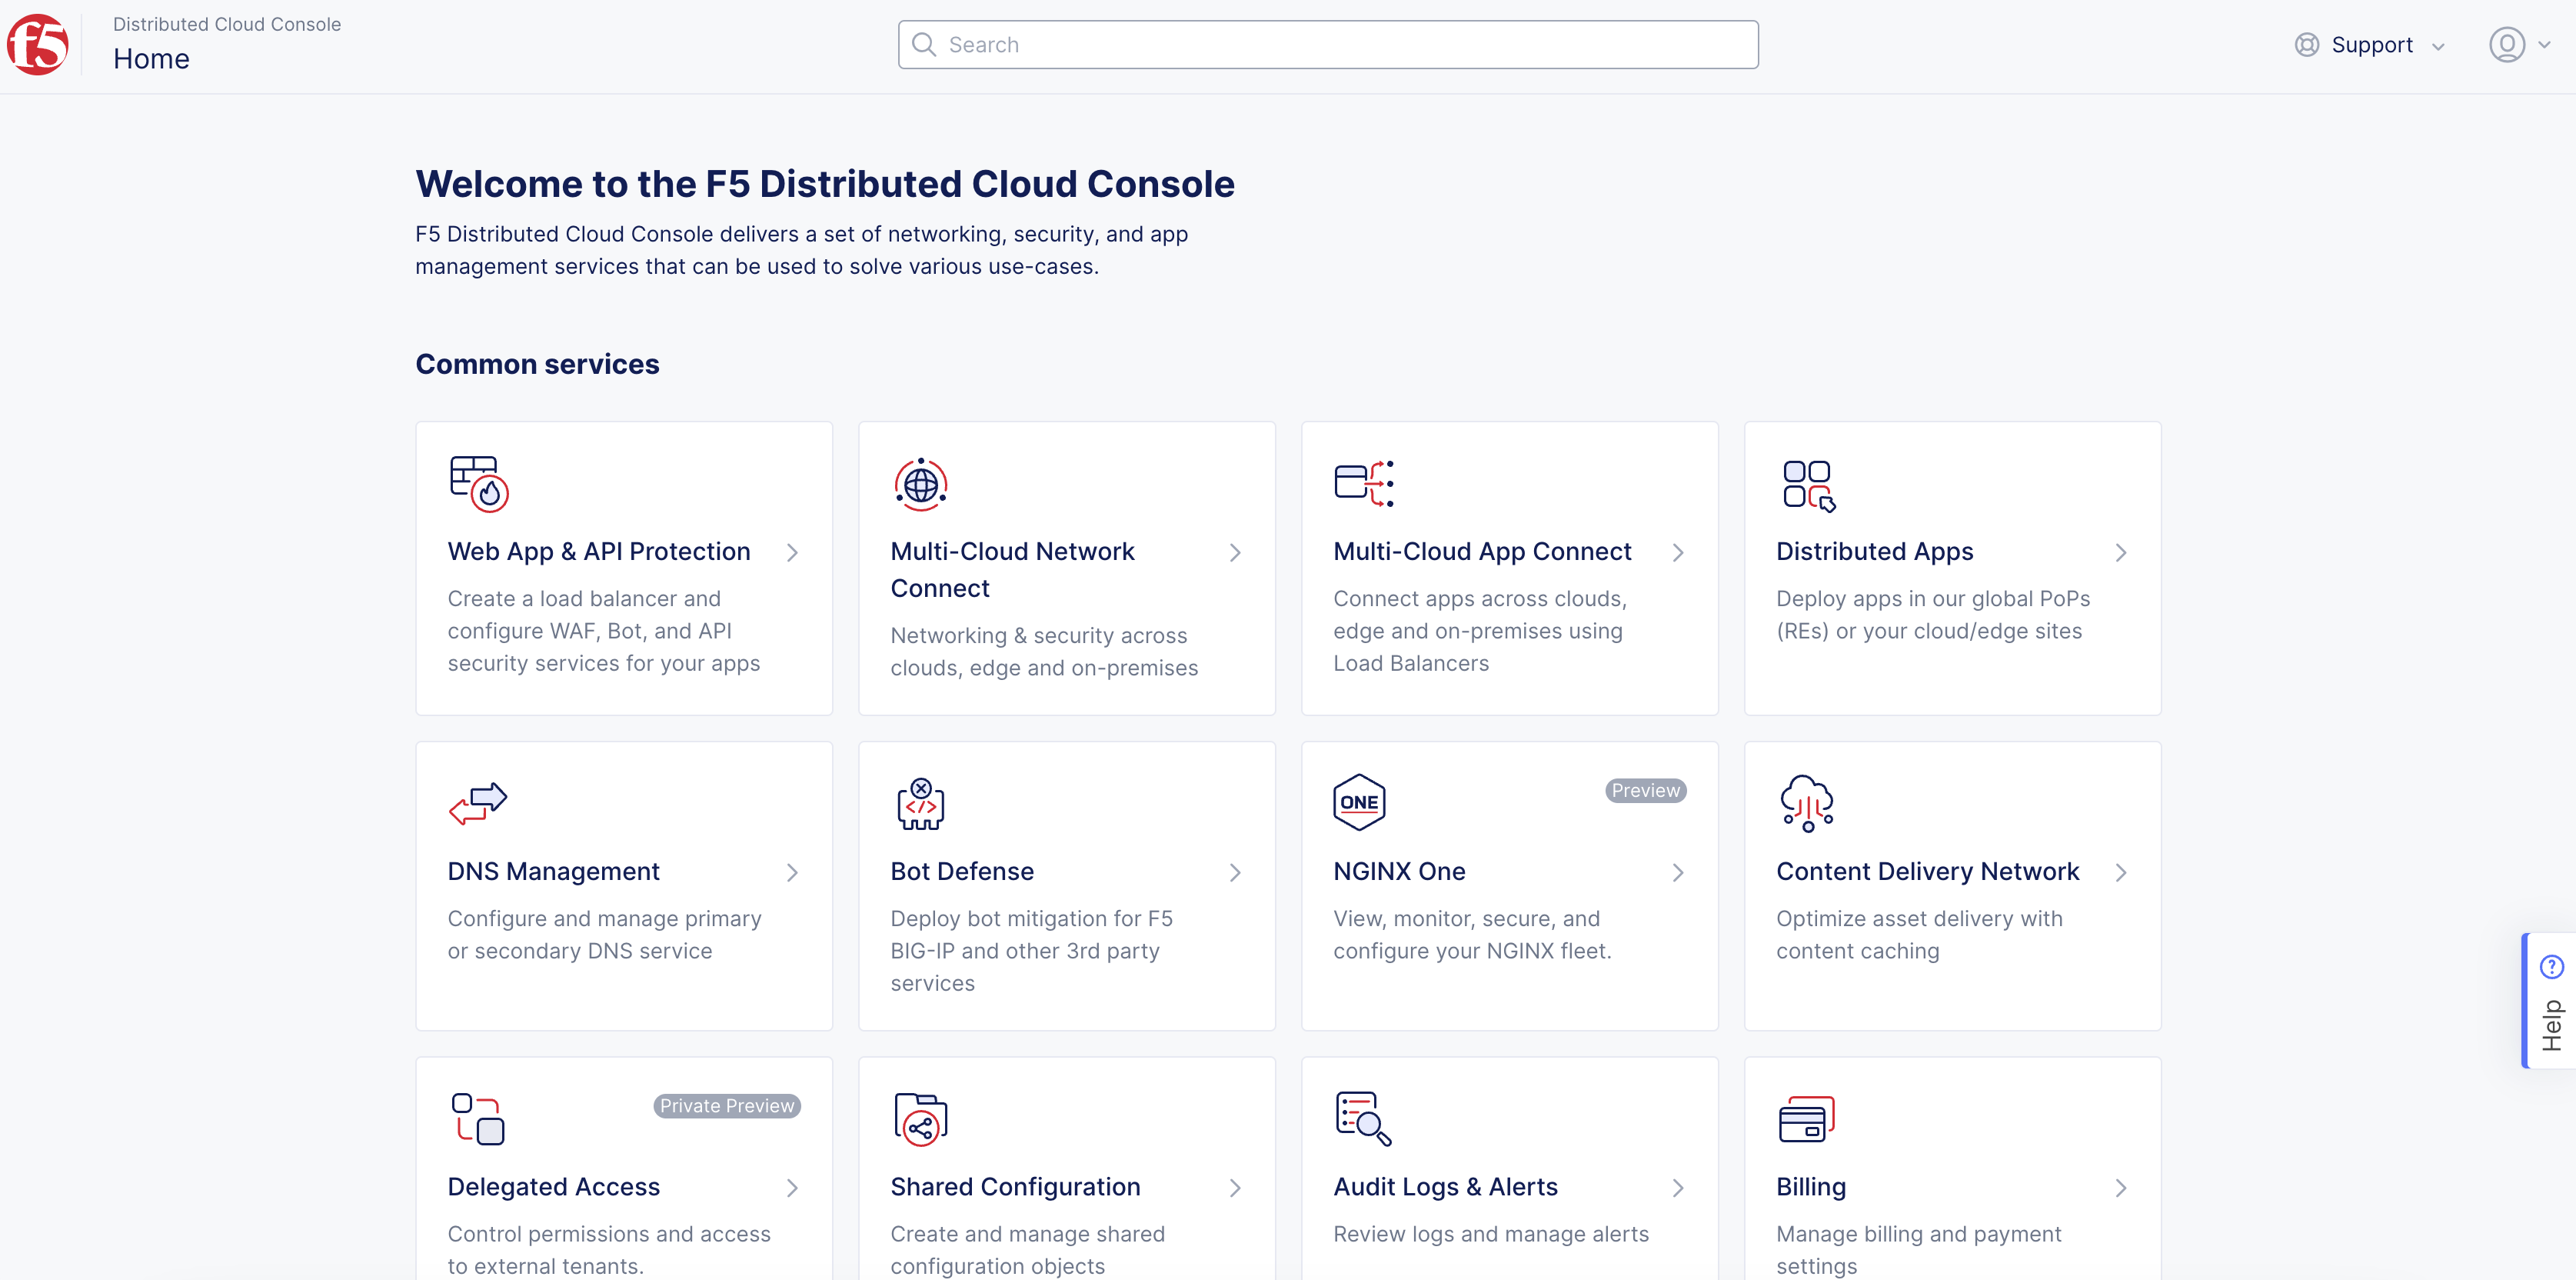
Figure: Console Homepage
- Select
Manage>Networking>Network Connectors.
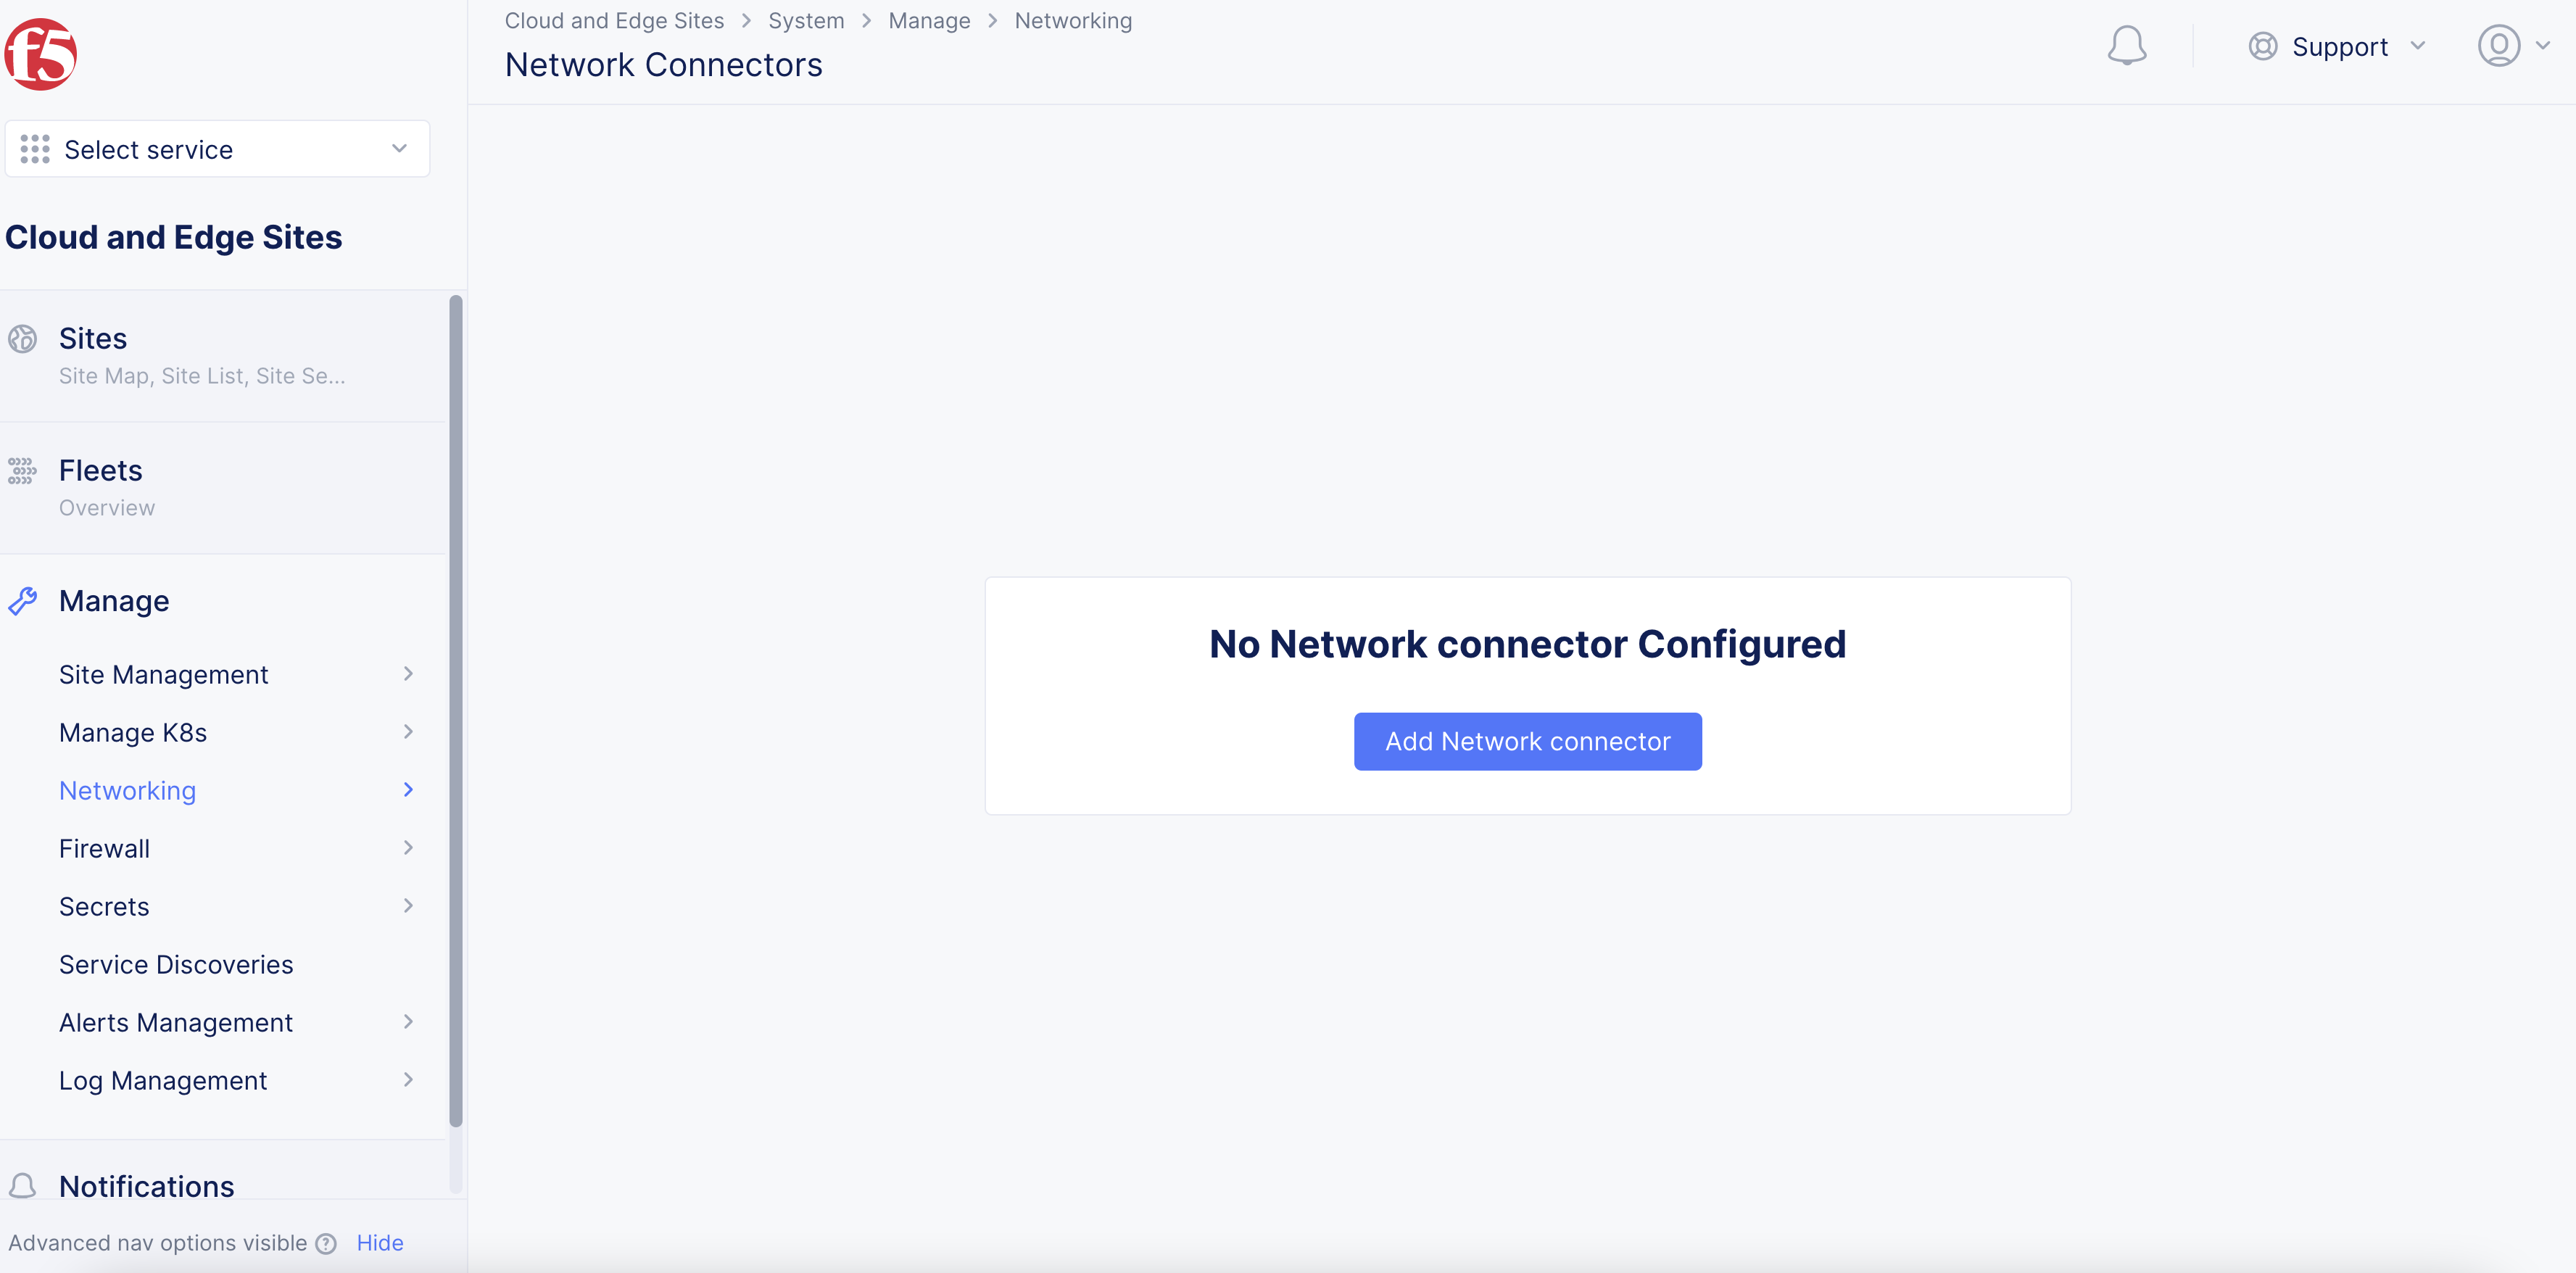
Figure: Network Connectors
- Click
Add Network connector.
Step 2: Configure Network Connector.
- In the
Namefield, enter a name for the Network Connector object.
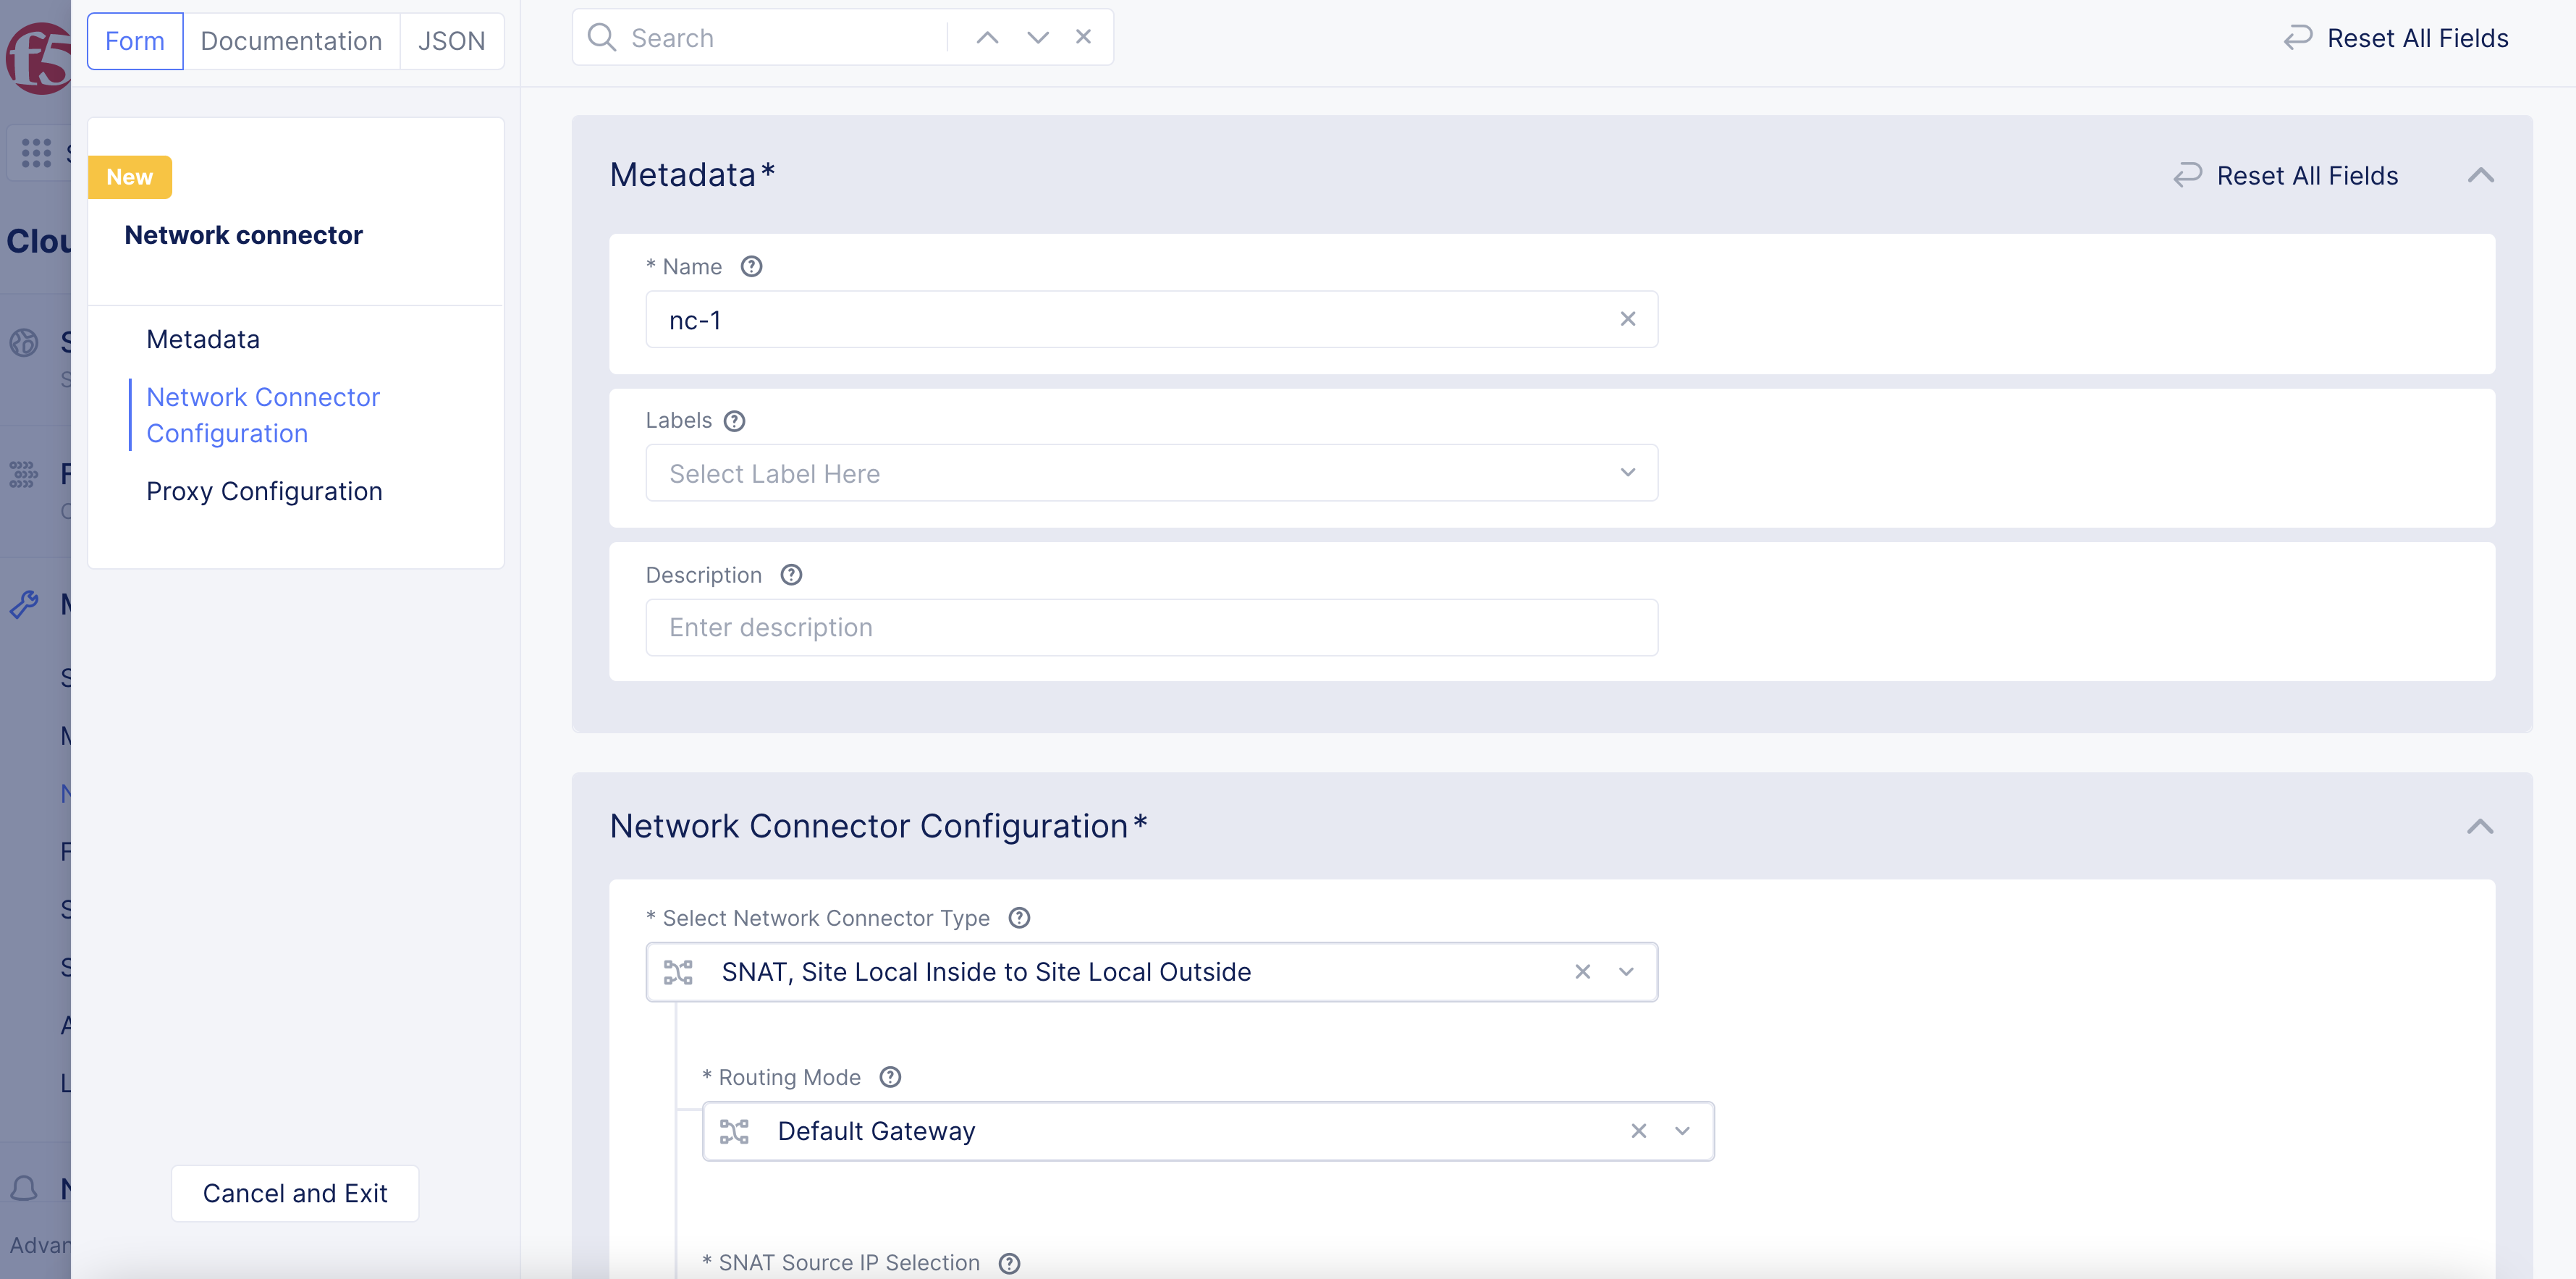
Figure: Network Connector Configuration
-
Optionally, select a key-value pair from the
Labelsfield and add an optional description. -
From the
Select Network Connector Typedrop-down menu, select the network type. There are three options:-
If you select
SNAT, Site Local Inside to Site Local Outside, theRouting Modeis set toDefault Gatewayas a default value. TheSNAT Source IP Selectionis set toInterface IPas a default value. -
If you select
Direct, Site Local Inside to a Global Network, set theGlobal Virtual Networktype from the options available. -
If you select
Direct, Site Local Outside to a Global Network, set theGlobal Virtual Networktype from the options available.
-
-
If you select
Direct, Site Local Inside to a Global NetworkorDirect, Site Local Outside to a Global Network, select a virtual network from theGlobal Virtual Networkdrop-down menu. Or clickCreate new virtual network. -
From the
Select Forward Proxydrop-down menu, select whether to apply a forward proxy:-
If you select
Enable Forward Proxy, clickShow Advanced Fieldsto display more options. -
To configure
Skip Protocol parsing, clickAdd itemto set an IP prefix to prevent protocol parsing, and clickAdd itemto set a TCP port number to prevent protocol parsing on. -
To configure
Failure handling for upstream connection, set the number of attempts to connect after a failure occurs on an upstream server. Set theConnection Timeoutin milliseconds. For example, 2000 milliseconds are equal to 2 seconds.
-
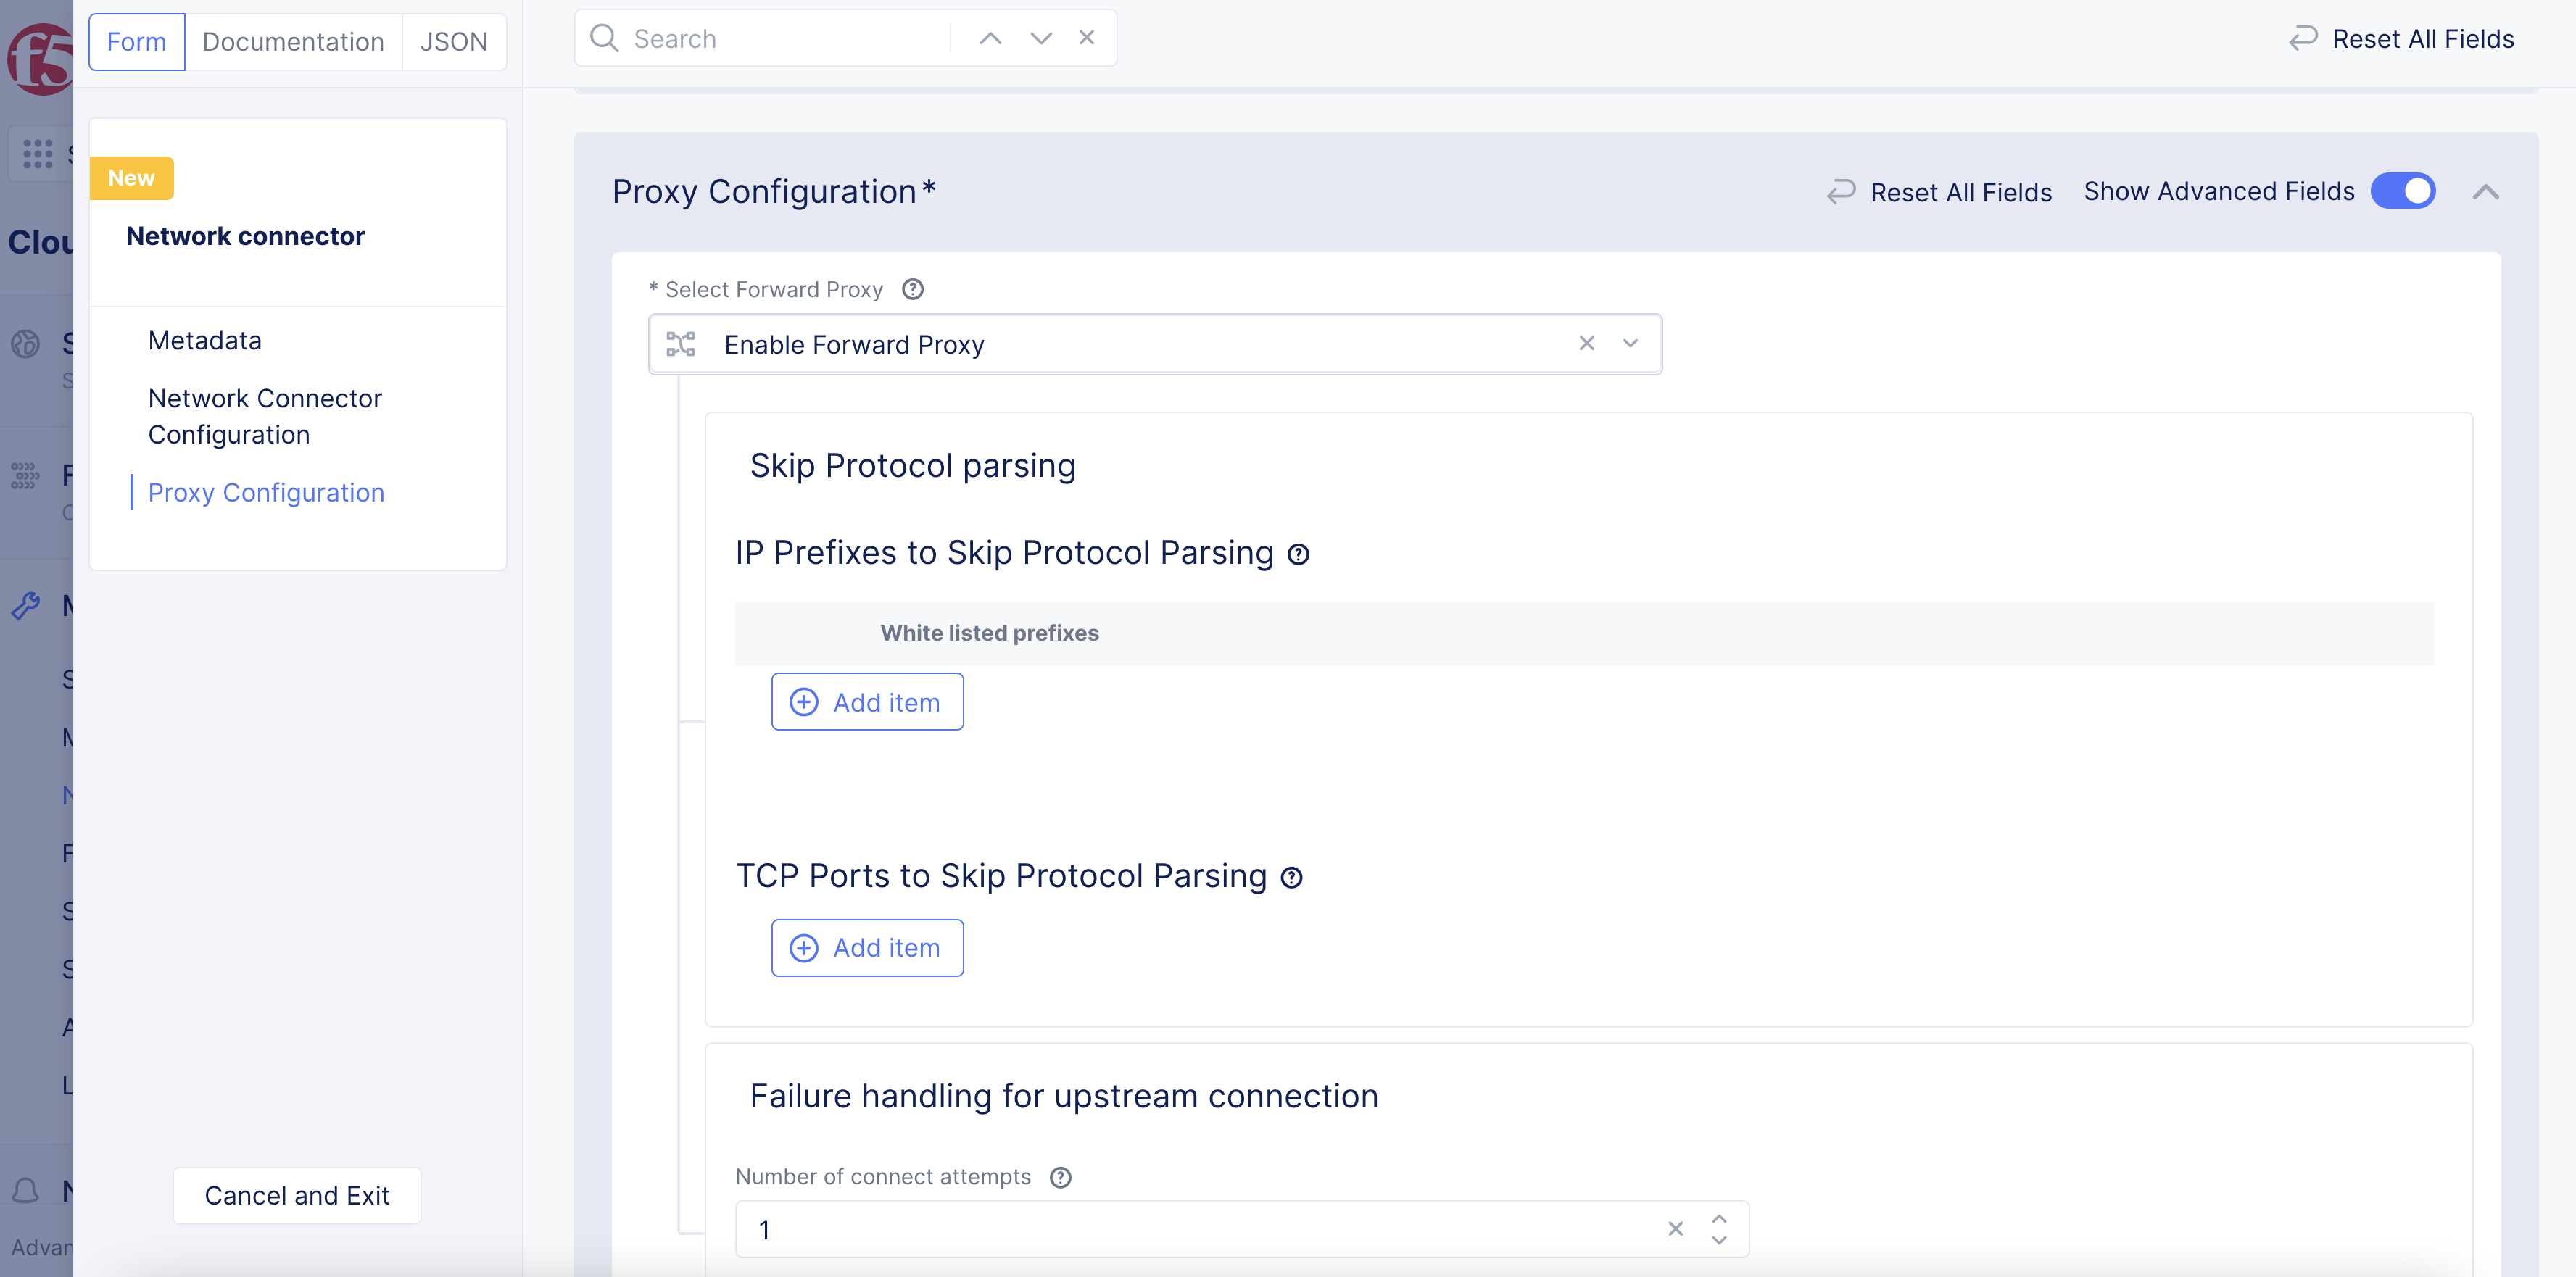
Figure: Proxy Configuration
Note: For more information, hover your mouse cursor over the
?tooltip.
- After you finish, click
Save and Exit.
Step 3: View the Network Connector object information.
Click > to view the Network Connector object's JSON data.
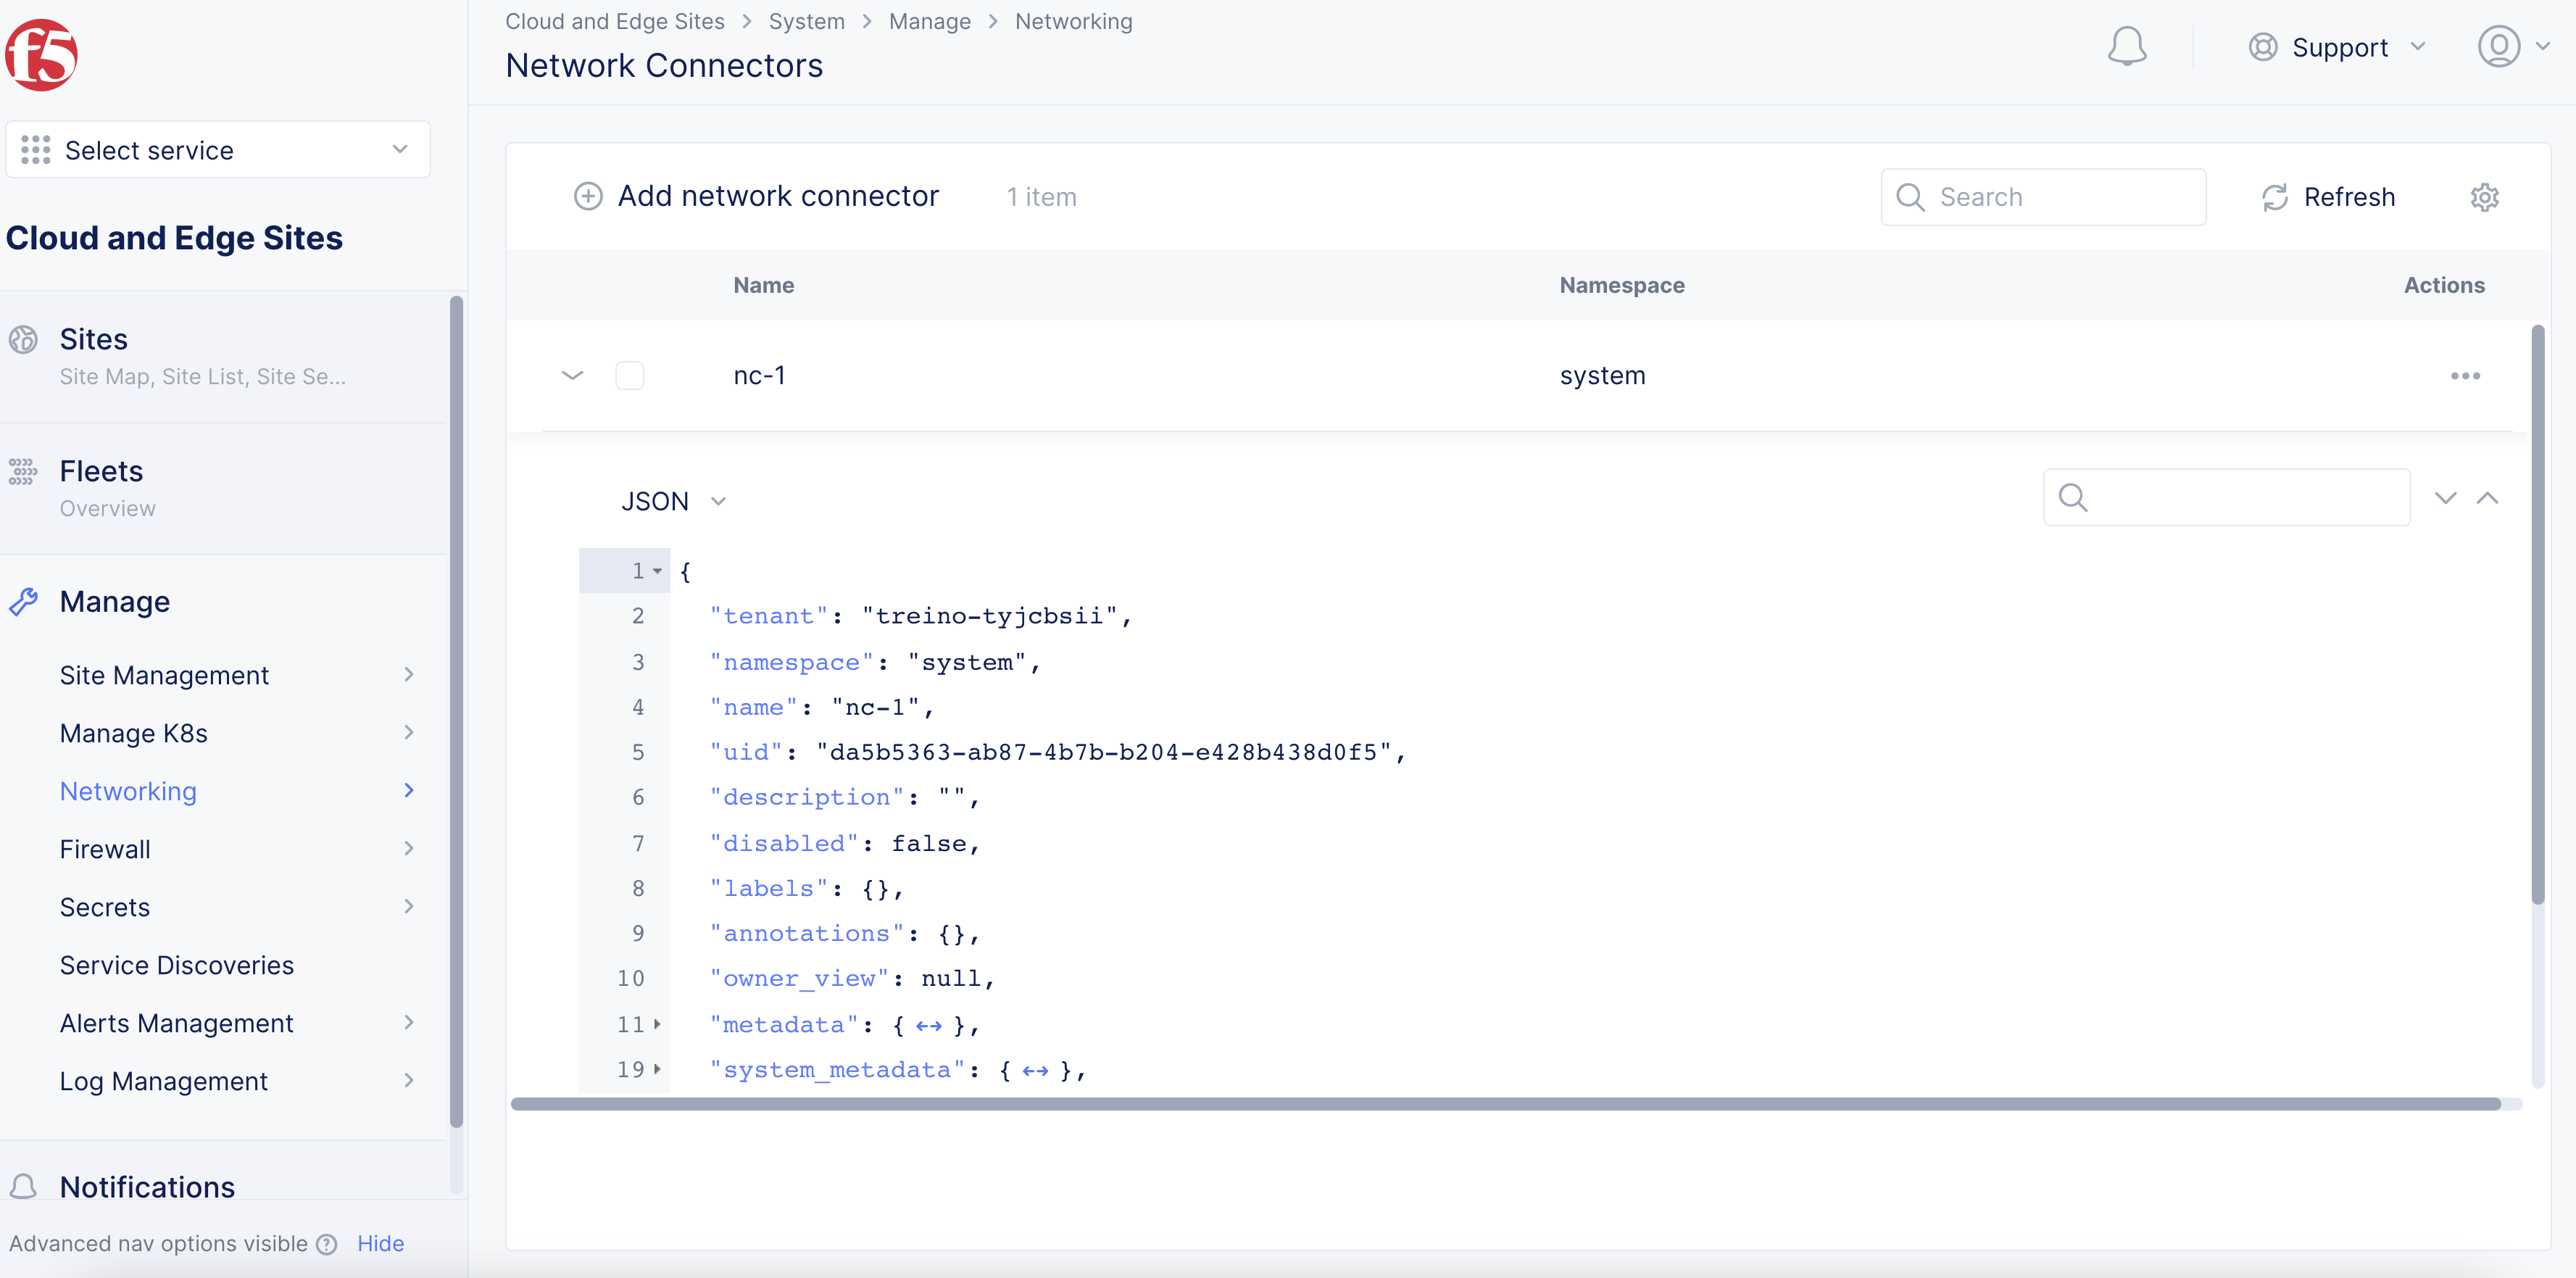
Figure: View Network Connector Object Information