Manage USB Devices Using Fleet
Objective
This guide provides instructions on how to manage USB devices for your sites using fleet configuration in the F5® Distributed Cloud Console (Console). See Fleet for conceptual details of the fleet.
You can enable or disable access to USB devices for your sites via the fleet configuration. By default, all USB devices are denied in the fleet, and you can allow all or attach USB device policies to manage specific devices. You can also create a USB device policy from within the fleet configuration.
Using the instructions in this guide, you can update fleet configuration to enable or disable access to all or specific USB devices for your sites that are part of the fleet.
Prerequisites
-
An F5® Distributed Cloud Services Account is required. If you do not have an account, see Getting Started with Console.
-
One or more sites. See Site Management for more information.
-
A fleet with the sites added to this fleet. See Create a Fleet for more information.
Configuration
The following video shows creating a fleet with the required network configuration and applying to your gateways:
Apply USB Device Policy Using Fleet
Log into Console and perform the following:
Step 1: Navigate to fleets and start editing fleet configuration.
- In Console, click
Multi-Cloud Network Connect.
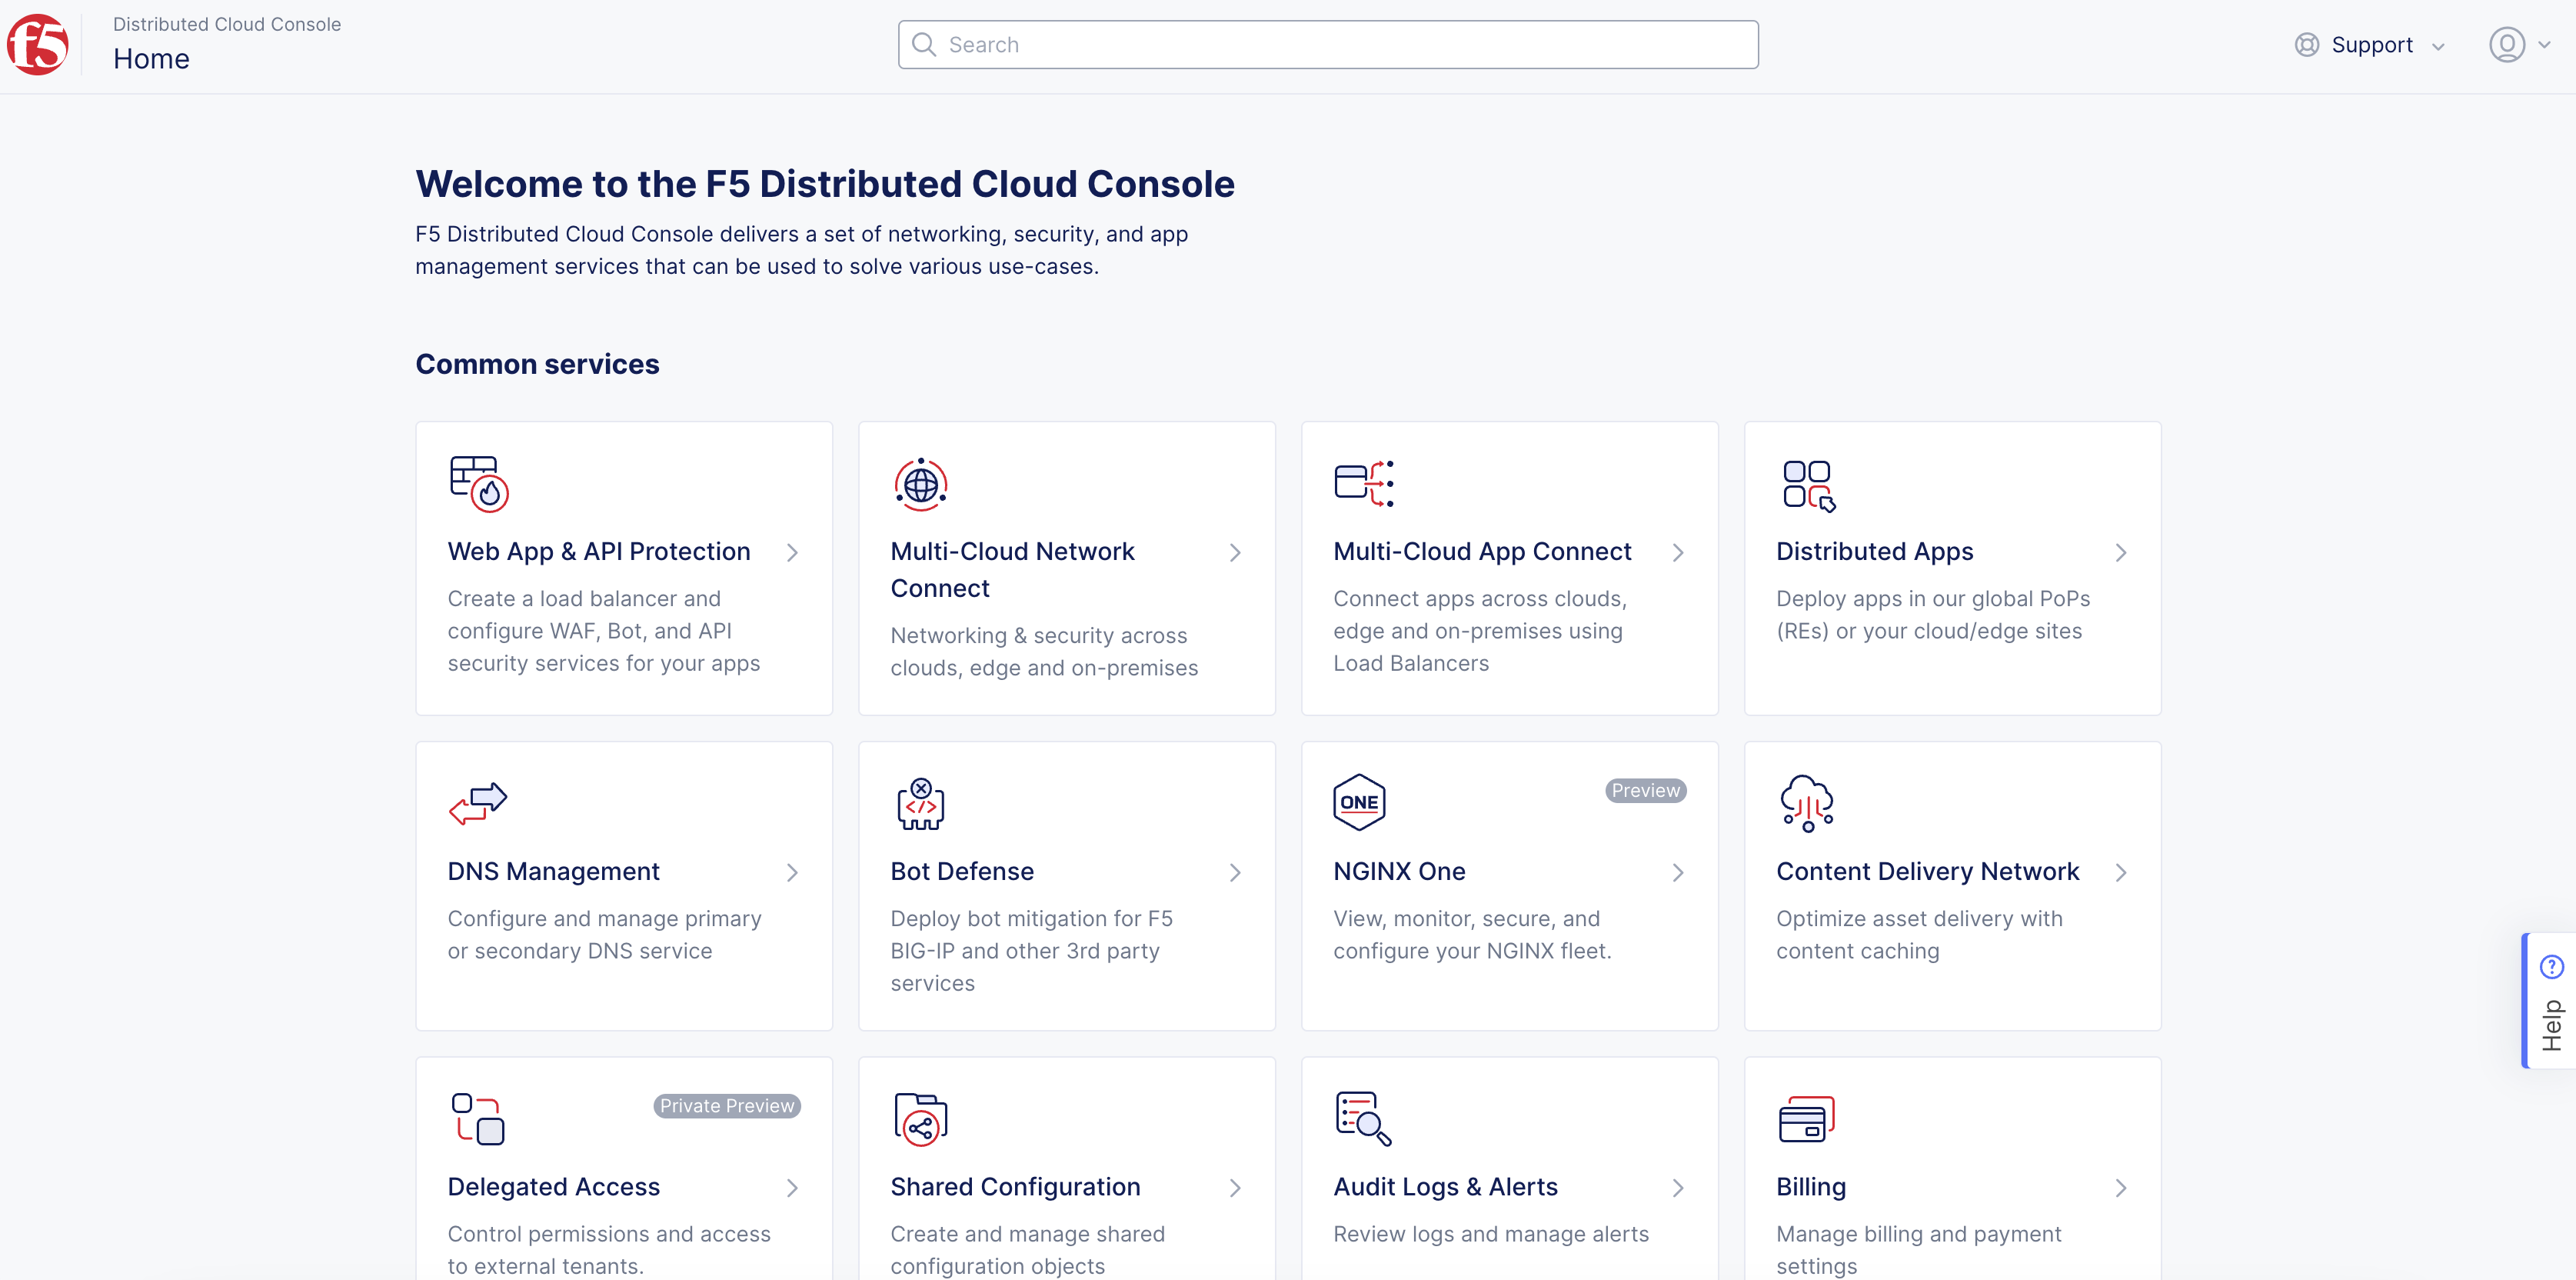
Figure: Console Homepage
- Click
Manage>Site Management>Fleets.
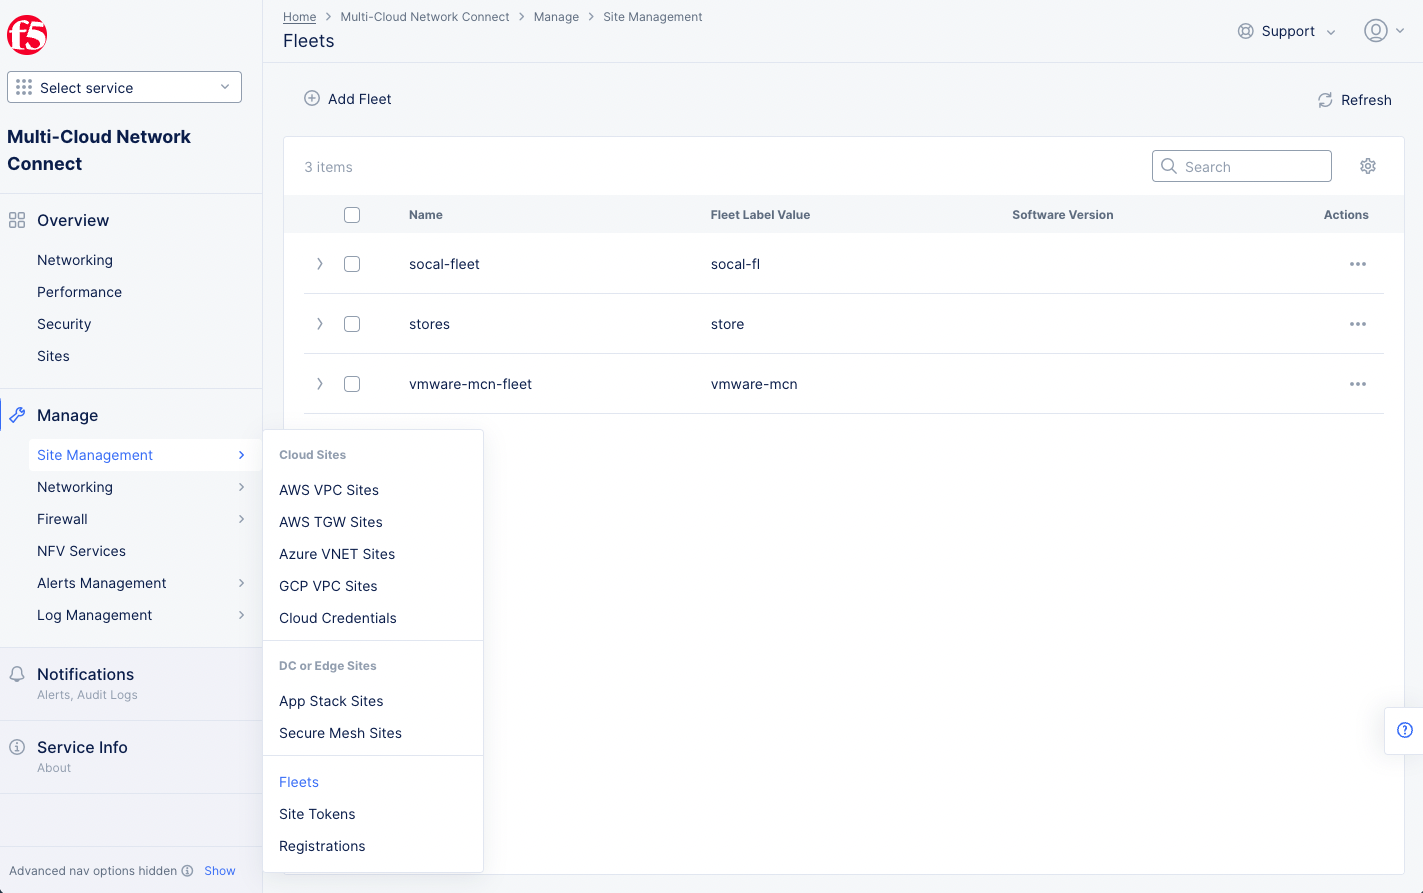
Figure: Fleets
-
Click
...>Manage Configurationfor the fleet you want to manage the USB devices. -
Click
Edit Configuration.
Step 2: Start configuring the USB device policy.
- In the
Advanced Configurationsection, enable theShow Advanced Fieldsoption.
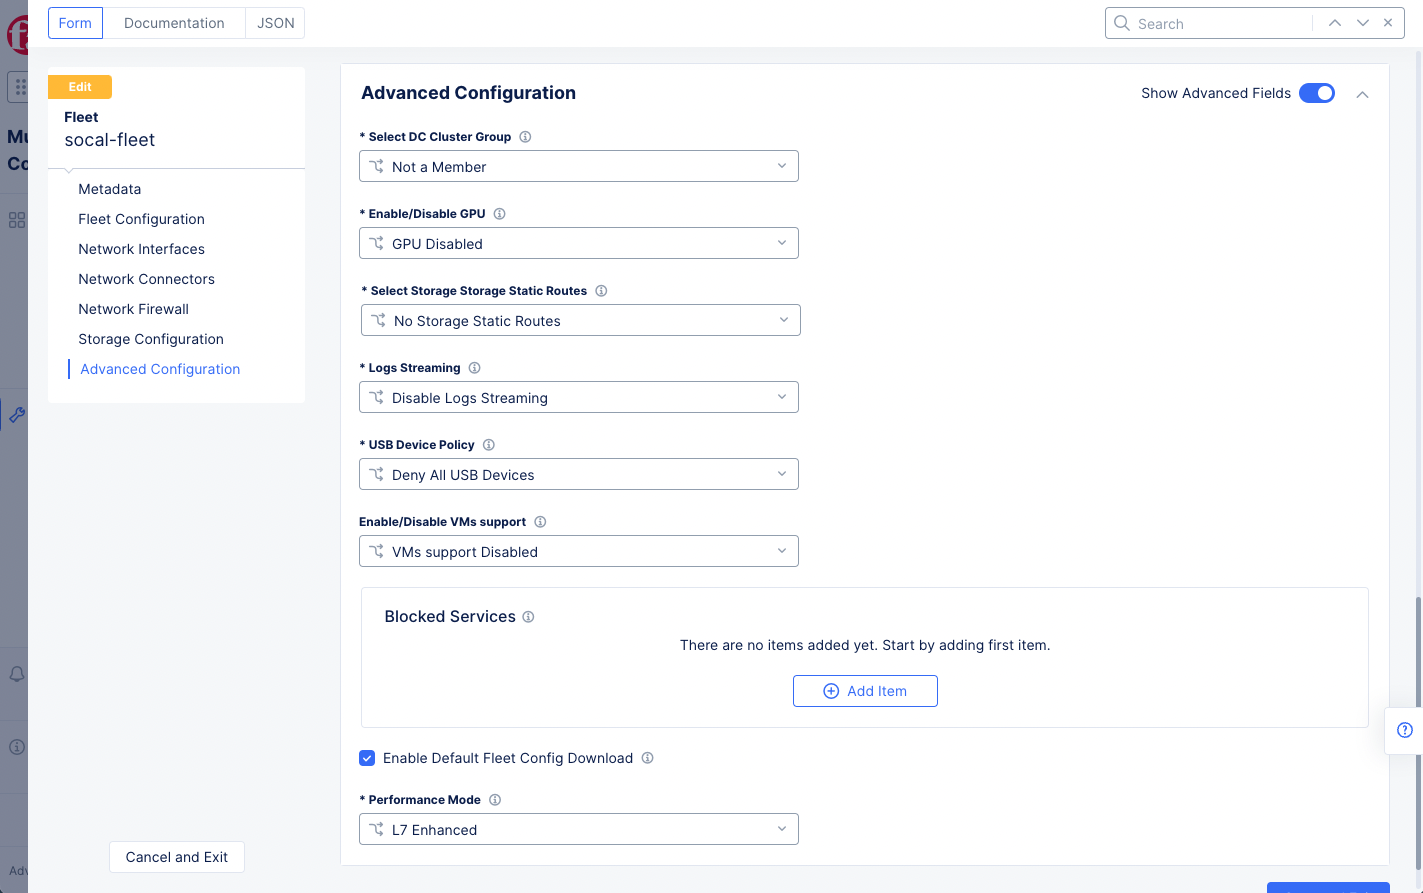
Figure: Enable Show Advanced Fields
-
Select an option from the
USB Device Policymenu and perform configuration per the following guidelines:-
Select
Deny All USB Devicesto deny all USB devices for your sites. This option is selected by default. -
Select
Allow All USB Devicesto allow all USB devices for your sites. -
Select
USB Device Policyto apply an existing USB device policy or create a new one.
-
This example creates a new USB device policy from within fleet configuration and applies it to a fleet.
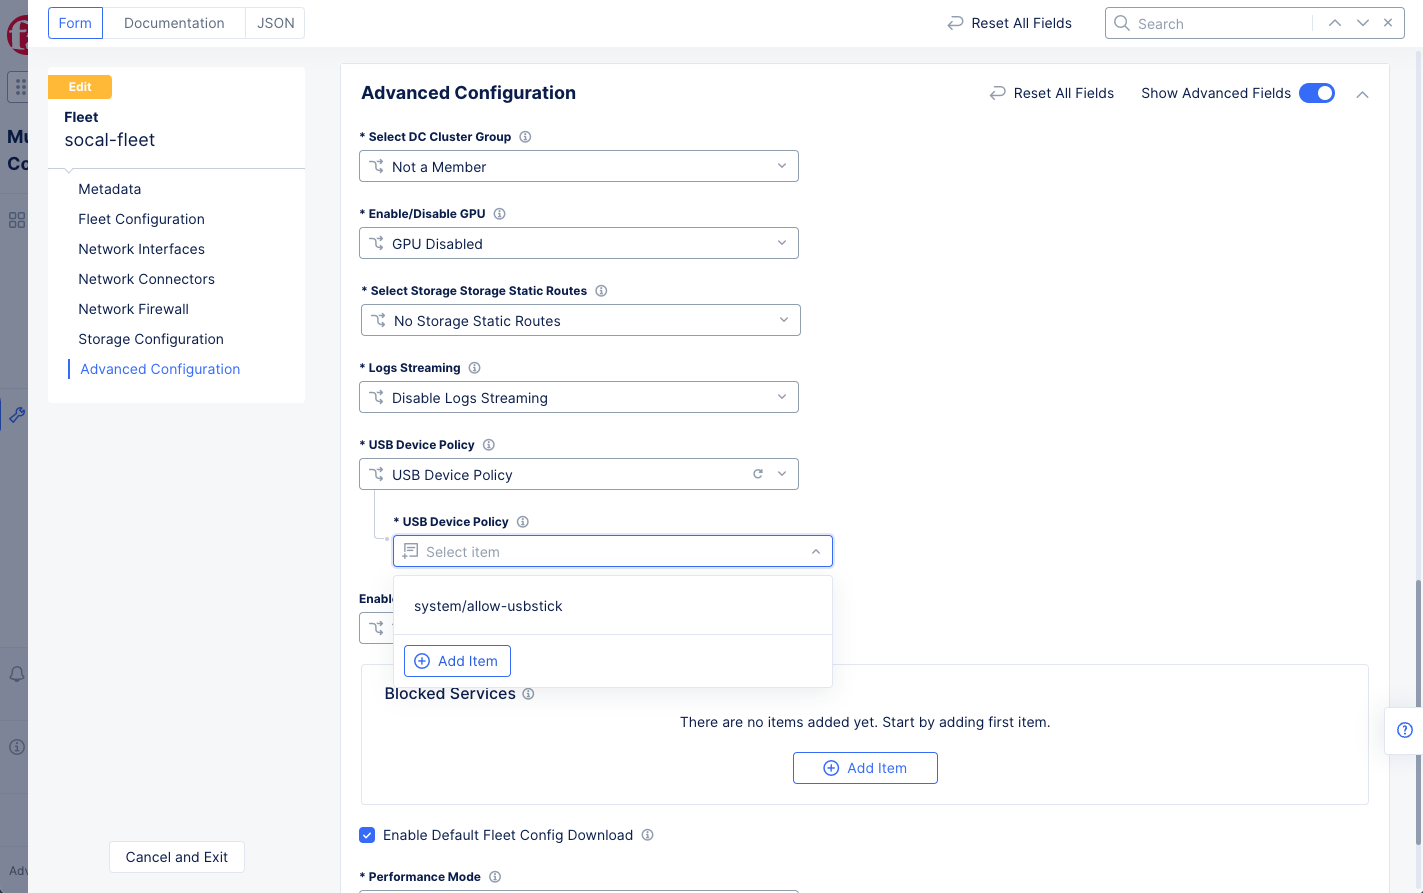
Figure: Fleet USB Policy
-
Select
USB Device Policyfrom the drop-down list. -
From the
USB Device Policymenu, selectAdd Item. This opens the USB device policy creation form.
Step 3: Create a USB device policy.
-
In the
Metadatasection, enter a name for the USB device policy. -
Optionally, add a description and labels.
-
In the
Allowed USB devicessection, clickConfigure. -
Click
Add Item. -
Configure the fields per the following guidelines:
-
In the
iSerialNumberfield, enter an index for the serial number for your device. -
In the
Vendor IDfield, enter the device vendor identifier. -
In the
Product IDfield, enter the device product identifier assigned by the manufacturer. -
In the
Classfield, enter the device class. -
In the
Subclassfield, enter the device subclass. -
In the
Protocolfield, enter the protocol for this device. -
After you finish, click
Add Item.
-
-
Click
Apply. You can add more than one device using theAdd Itemoption. -
Click
Continue. -
Click
Save and Exit. -
To obtain the USB device properties using the site dashboard:
-
Navigate to
Overview>Sites. -
Click on your site to open its dashboard.
-
Click on the
Toolstab. -
Select
Show USB devicesoption from theSelect toolfield. -
Select a node from the list under the
Node namefield.
-
Step 4: Complete updating the fleet configuration.
-
In the
Enable Default Fleet Config Downloadsection, enable theShow Advanced Fieldsoption. -
Click on the
Enable Default Fleet Config Downloadcheckbox. -
Click
Save and Exitto apply the USB device policy to the sites that are part of the fleet.