Configure Network Policy for vK8s Deployment
Objective
This document provides instructions on how to configure and apply a network policy for traffic to/from virtual K8s (vK8s) Pods using policy rules.
Using the instructions provided in this document, you can create network policies with policy rules controlling the traffic to secure the applications in your namespace.
Prerequisites
-
An F5® Distributed Cloud Services Account. If you do not have an account, see Getting Started with Console.
-
One or more cloud or edge locations with a Distributed Cloud Services Site. Install the node or cluster image in your CE Site.
Configuration
Configuring network policy in F5® Distributed Cloud Console (Console) includes creating a network policy in Console using the guided wizard. You can create and then activate the network policies. Alternatively, you can create individual policy rules and apply them to policies which in turn can be applied. The steps presented in this guide show creating the policy using the guided wizard.
Create Network Policy
Step 1: Start creating vK8s network policy.
-
Log into Console.
-
Select
Distributed Apps.
Note: Also available in
Shared Configuration.
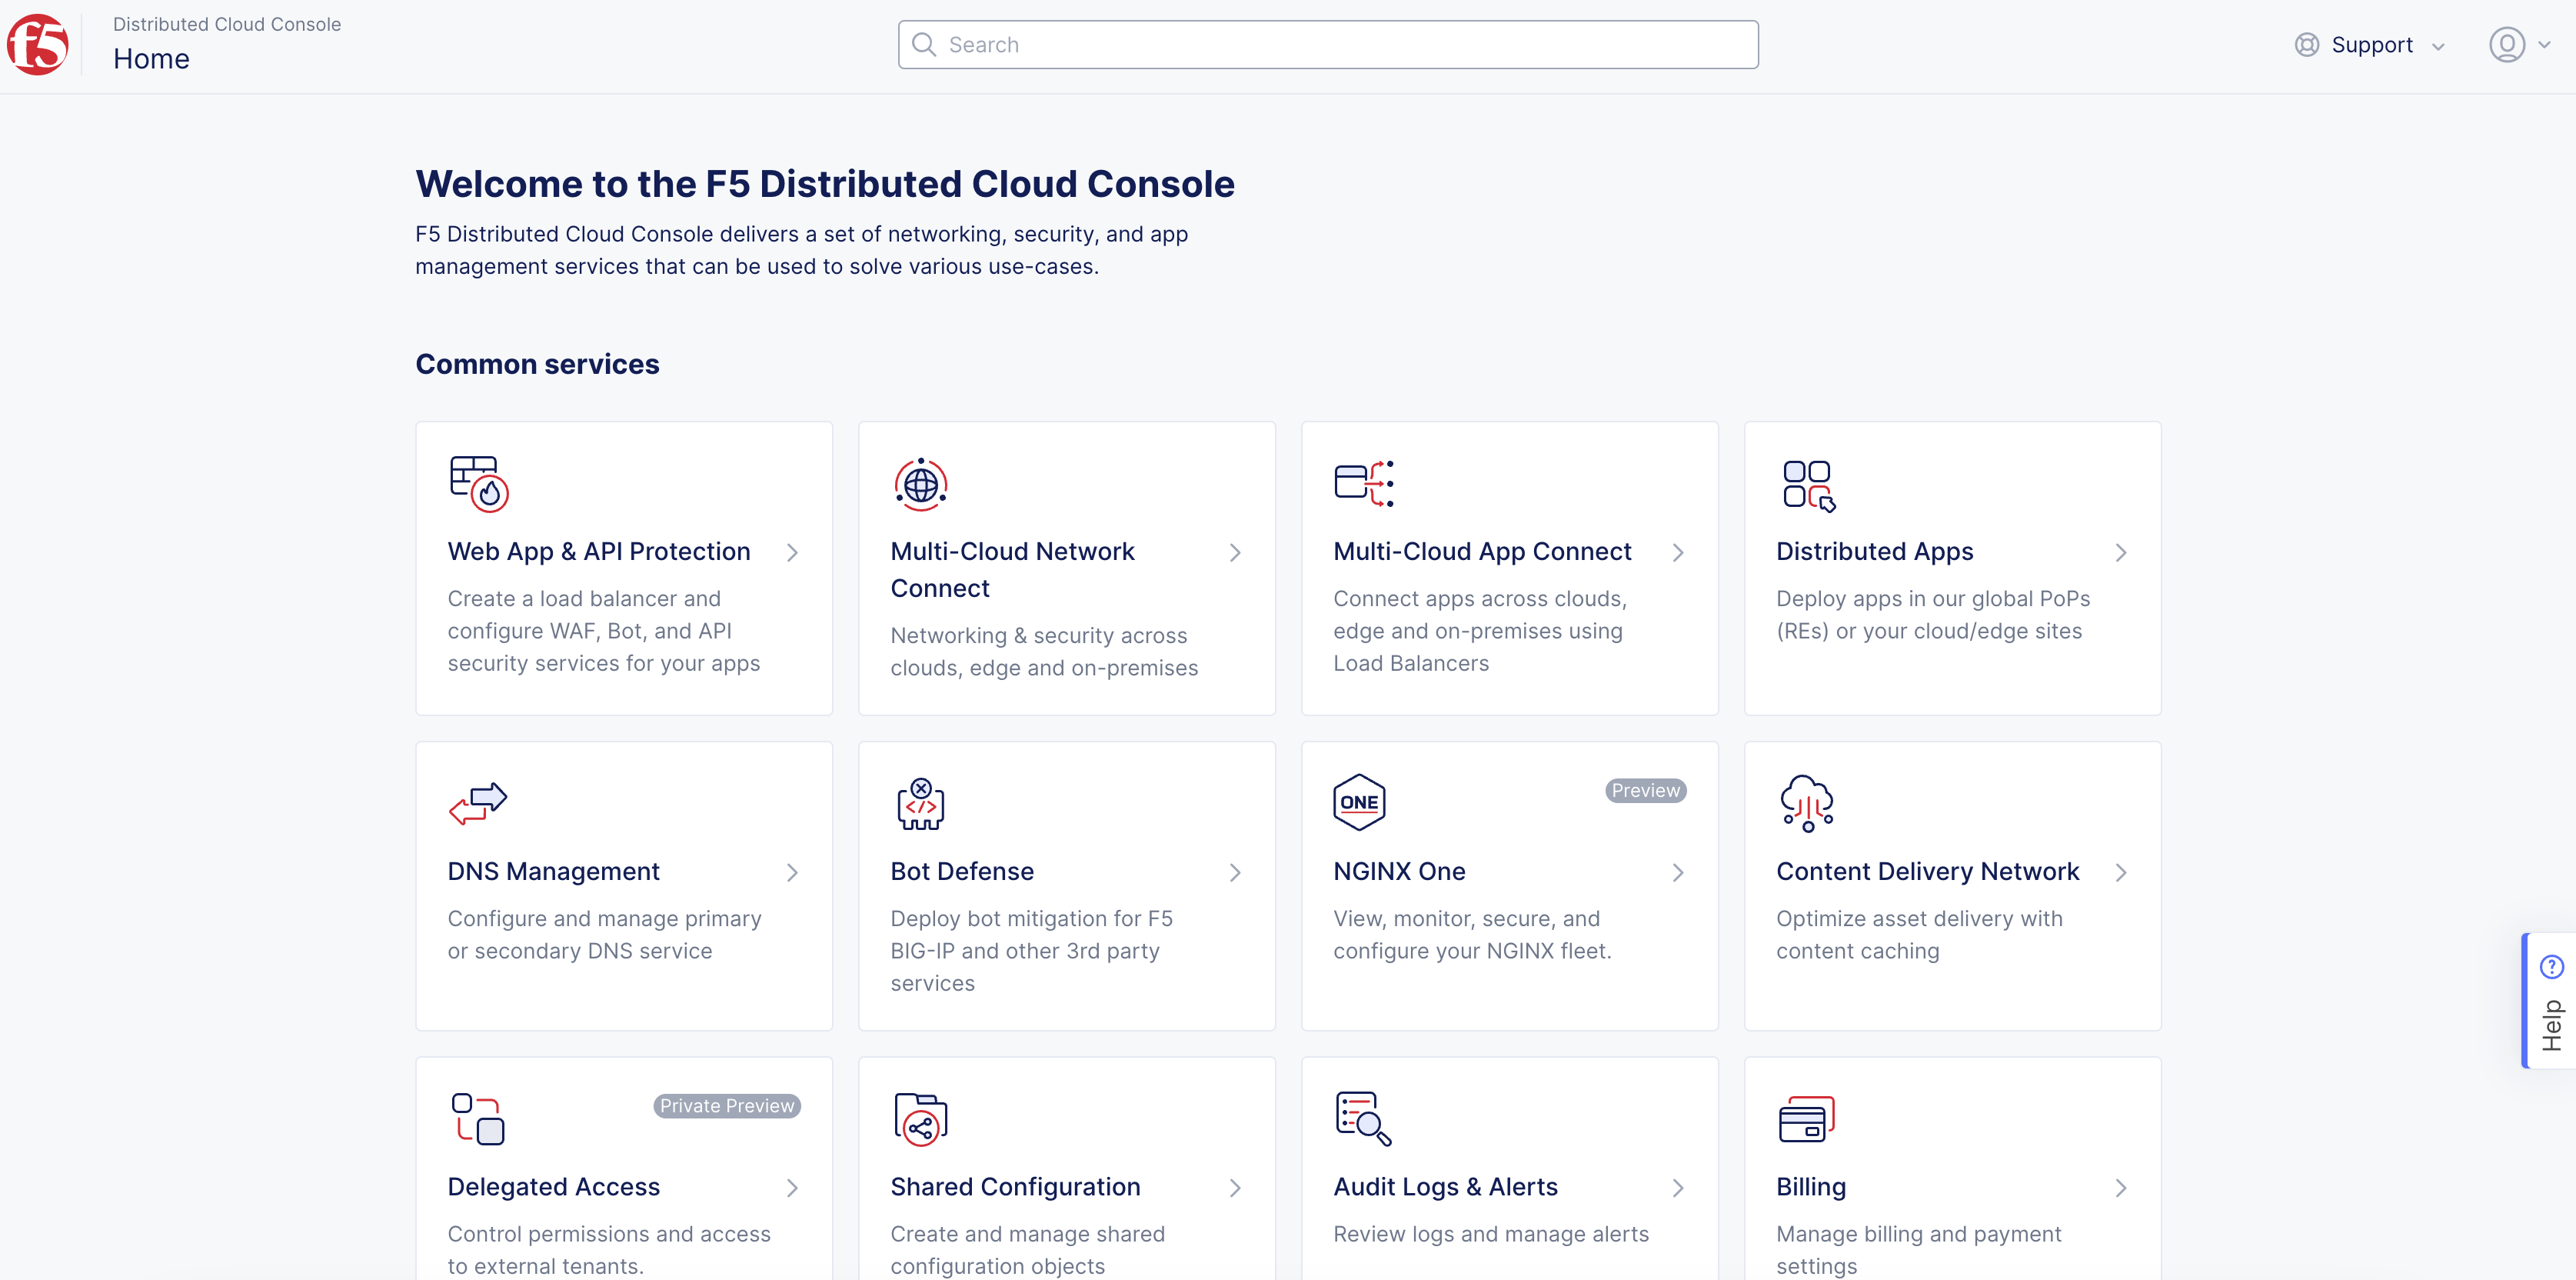
Figure: Console Homepage
-
Select your application namespace from the namespace drop-down menu. Or create a new namespace.
-
Select
Manage>vK8s Network Policies>Network Policies. -
Select
Add Network Policyto open the network policy configuration page.
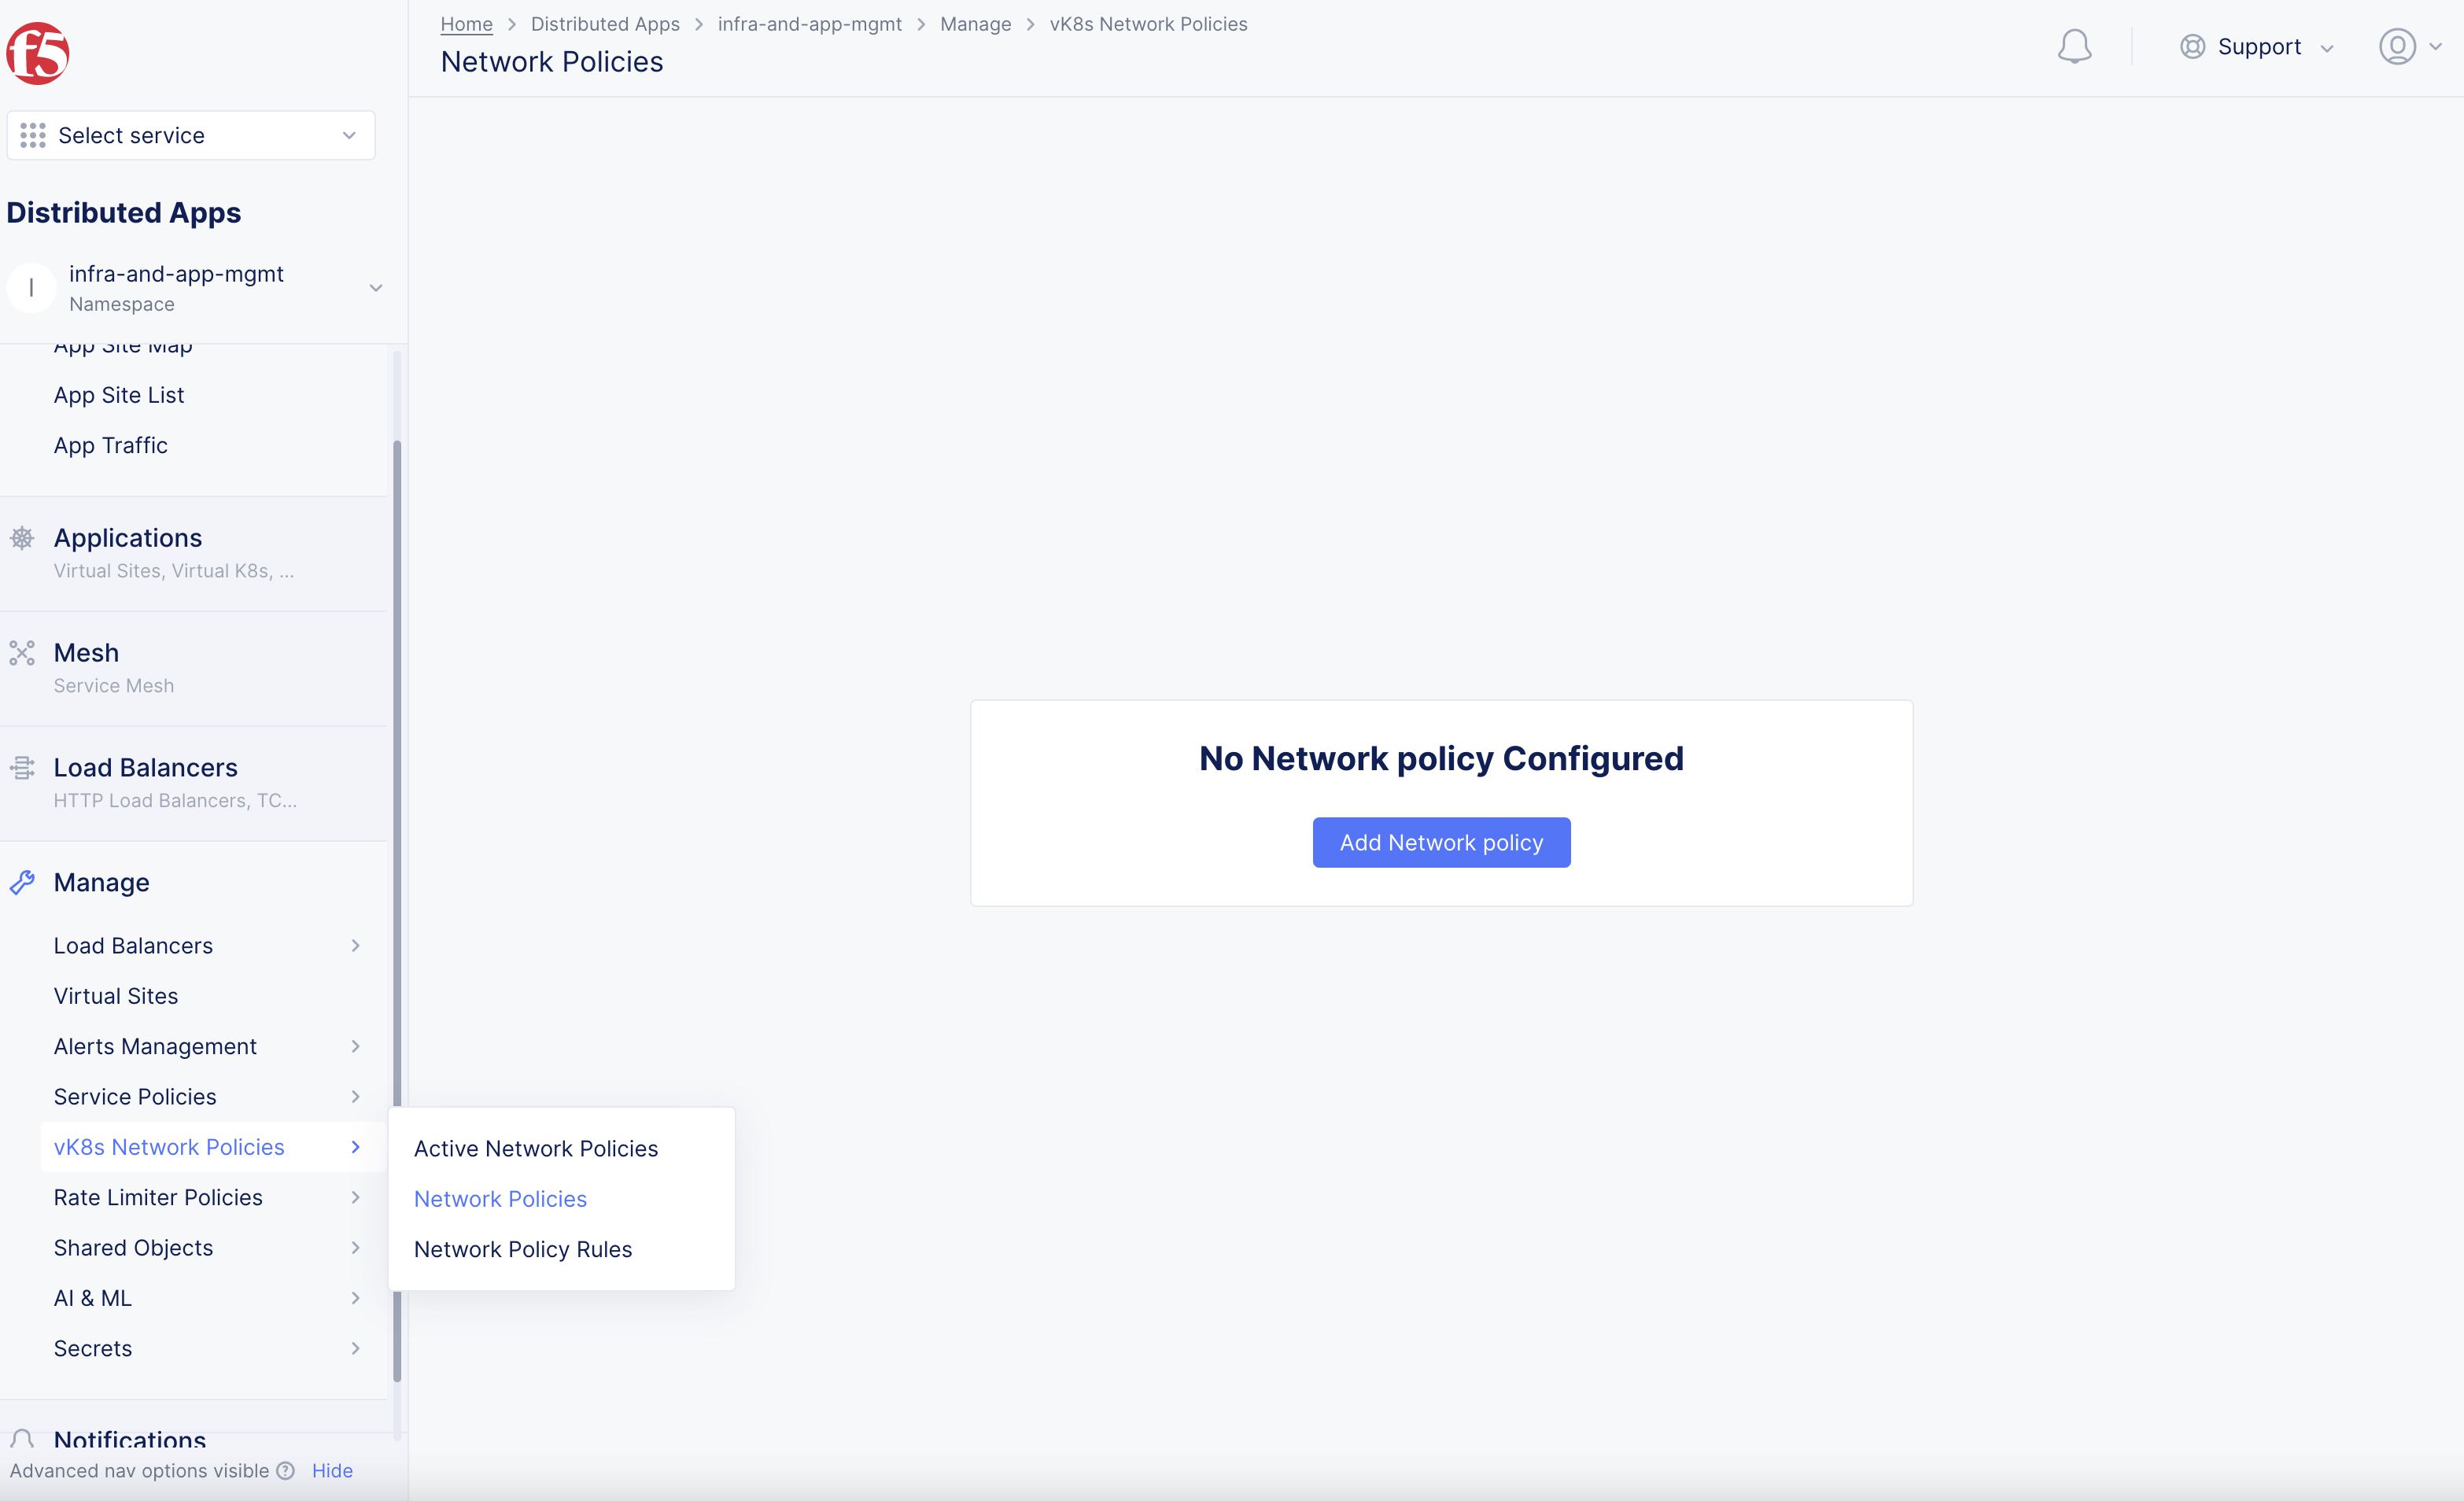
Figure: Network Policy Creation
Step 2: Start creating network policy.
-
Enter
Name. -
In
Policy For Endpointssection, performing the following:-
From the
Endpoint(s)menu, select an option from the following:-
IPv4 Prefix List: Prefix is the IP prefix written in the<ip address>/<prefix length>format. You must enter a prefix for this option. -
Any Endpoint: Any endpoint that matches 0/0 IP prefix. -
Label Selector: Label selector is a selector expression. If the labels of an IP address match the selector expression, that IP is considered a local endpoint. You must enter a selector expression for this option.
-
-
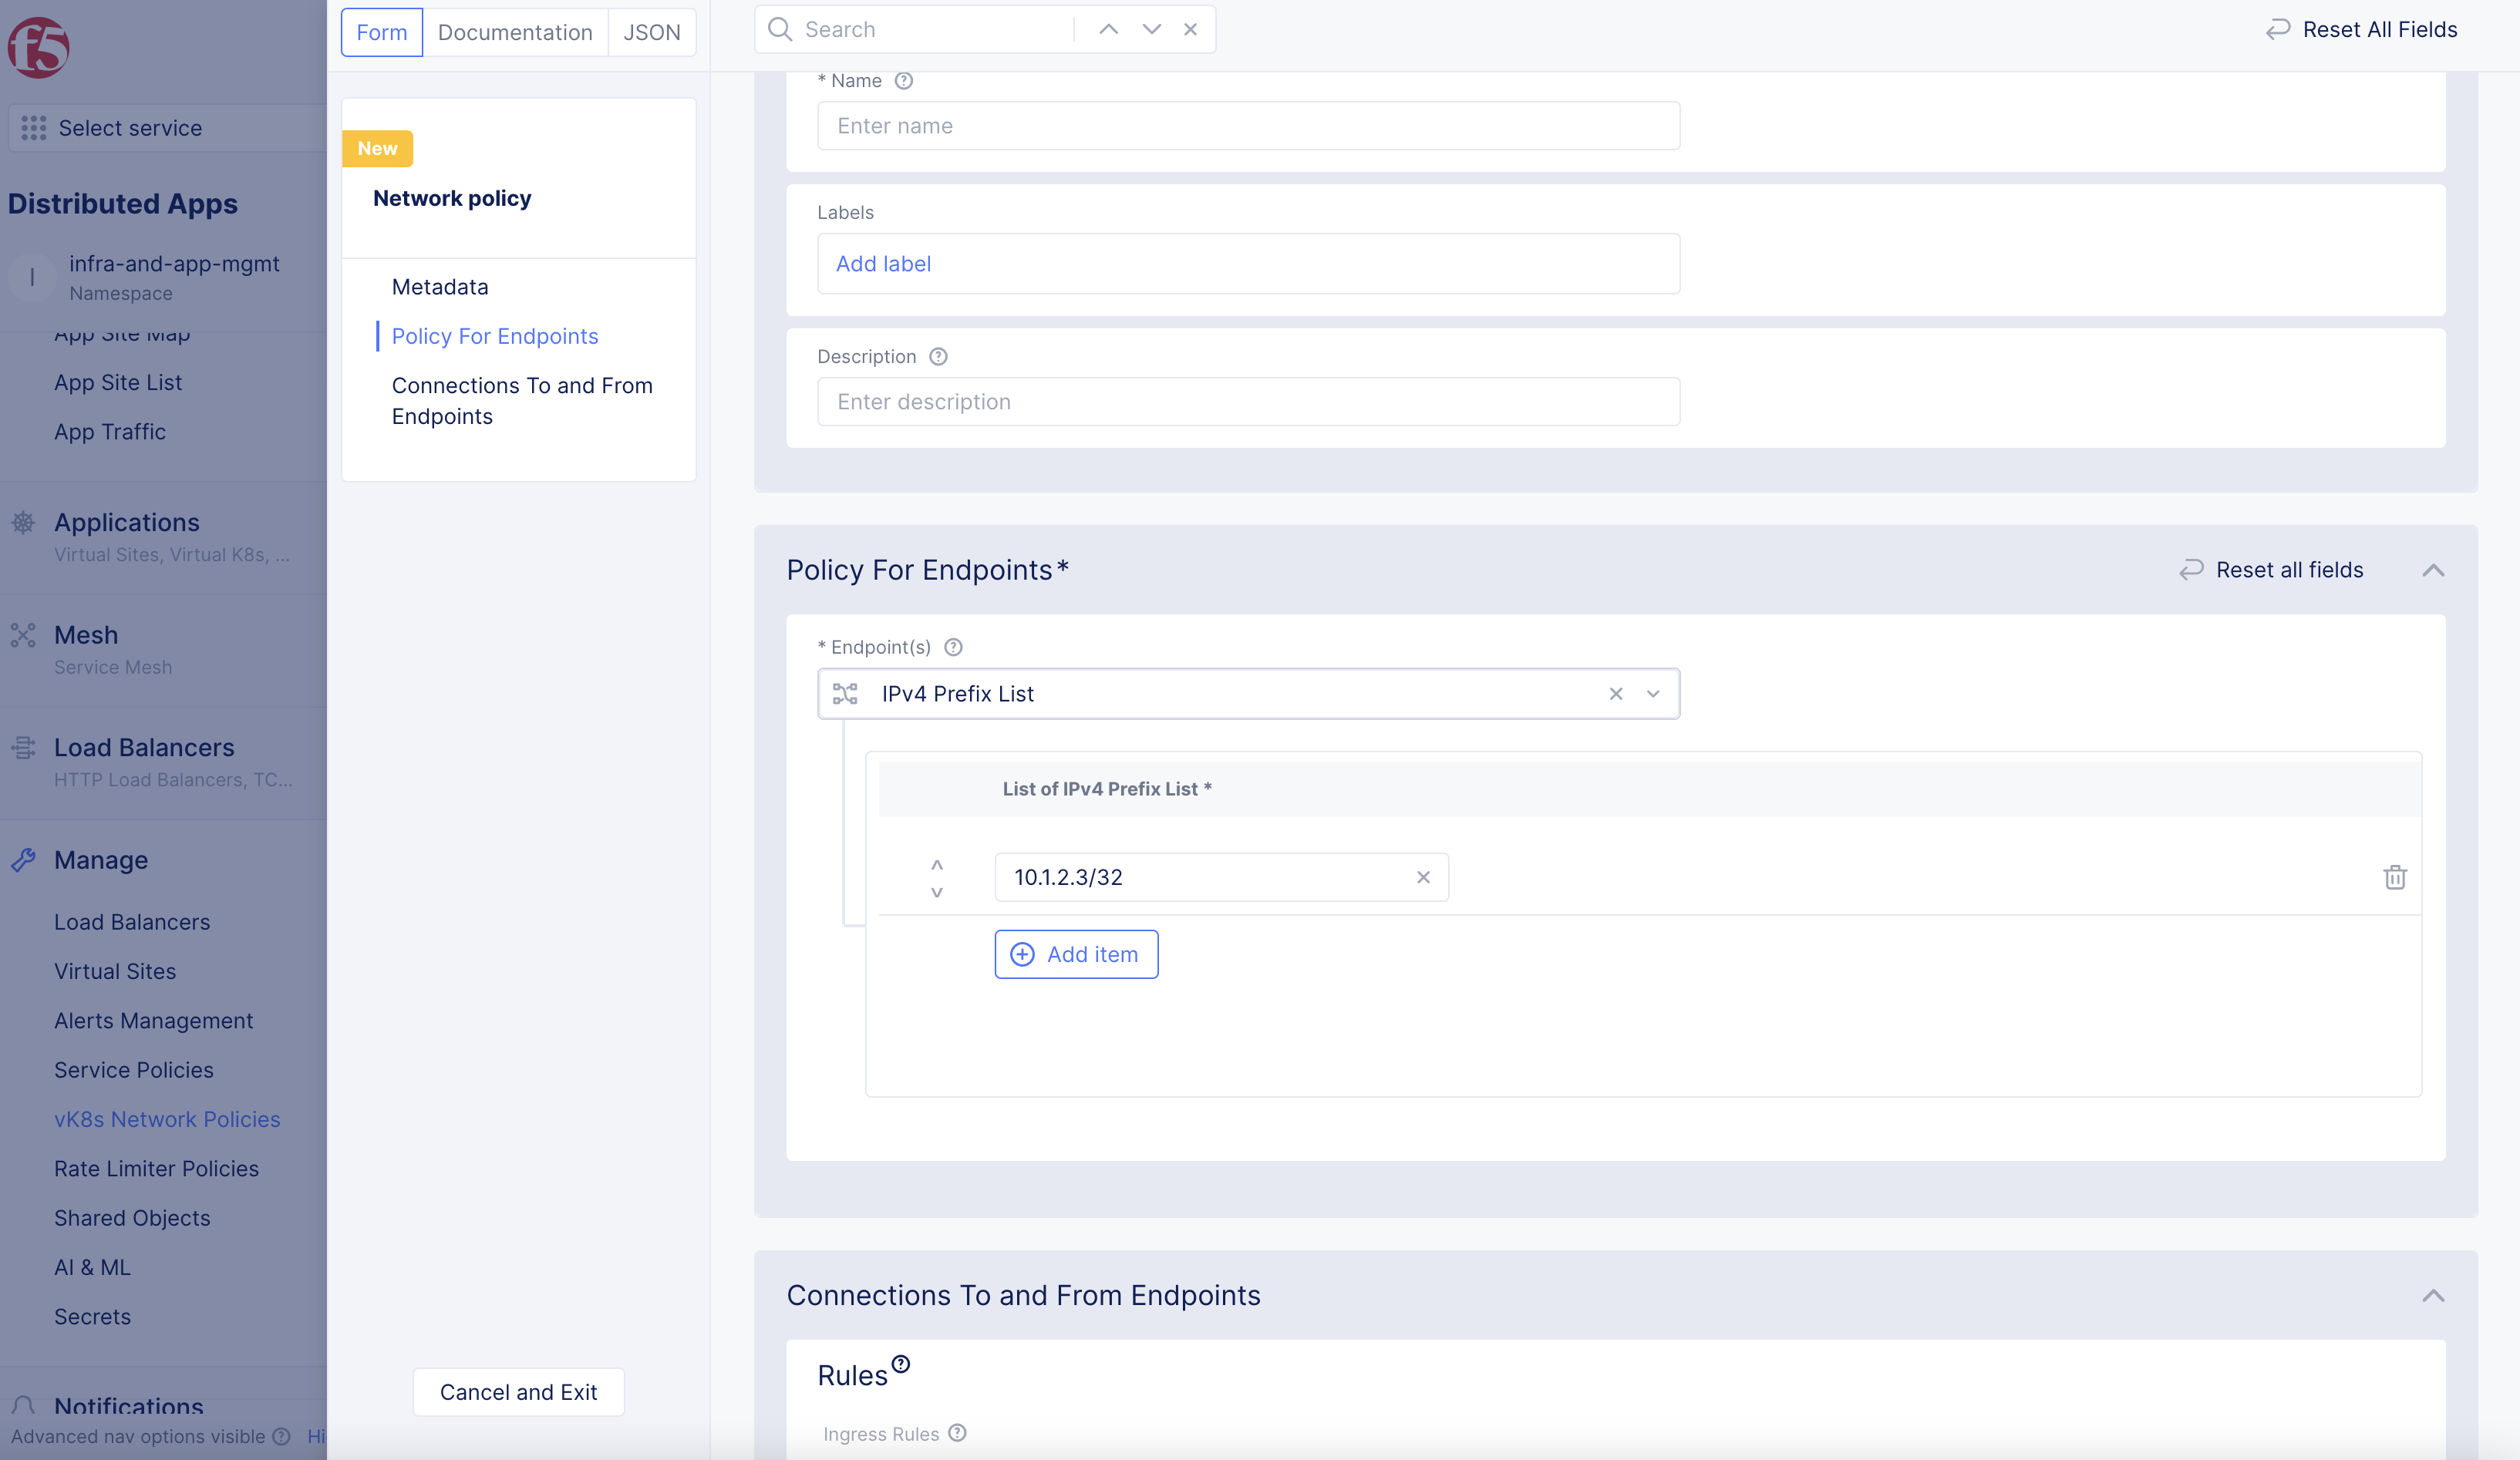
Figure: Local Endpoint Configuration
Step 3: Create rules for ingress traffic.
-
Select
ConfigureunderIngress RulesinConnections To and From Endpointsbox. -
Select
+ Add Item. -
Enter
Name. -
Select option from
Actionmenu. The default action is to deny all traffic. -
In
Select Other Endpointmenu, configure the remote endpoint per the following guidelines:-
Any Endpoint: Any endpoint that matches 0/0 IP prefix. -
IPv4 Prefix List: Prefix is the IP prefix in the<ip address>/<prefix length>format. Enter the IP prefix in thePrefixesfield. You can add more than one entry using theAdd itemoption. -
Label Selector: Label selector is a selector expression. If the labels of an IP address match the selector expression, that IP is considered. Enter the expression in theSelector Expressionfield. You can add more than one entry using theAdd itemoption. -
List IP Prefix Set: A set of IP prefixes. You can also create a new IP prefix set from here. Click in theReferencefield to add the IP prefix set to the rule.
-
-
In
Select Type of Traffic to Matchmenu, select an option from the following:-
Match All Traffic -
Match All TCP Traffic -
Match All UDP Traffic -
Match Application Traffic: For this option, you must select an option from theApplication Protocolsmenu. -
Match Protocol and Port Ranges: For this option, you must select an option from theProtocolsmenu. SelectAdd itemin thePort rangesfield, and add a range of ports in the<startport-endport>format.
-
-
In the
Label Matchersecond, select+ Add itemto select label keys. These keys will be matched in the prefix selector of endpoint configuration. You can add multiple keys. -
Toggle
Show Advanced Fieldsto showLogging Actiondrop-down menu options. -
Select
Applybutton in form. -
Select
Applybutton inIngress Rulespage.
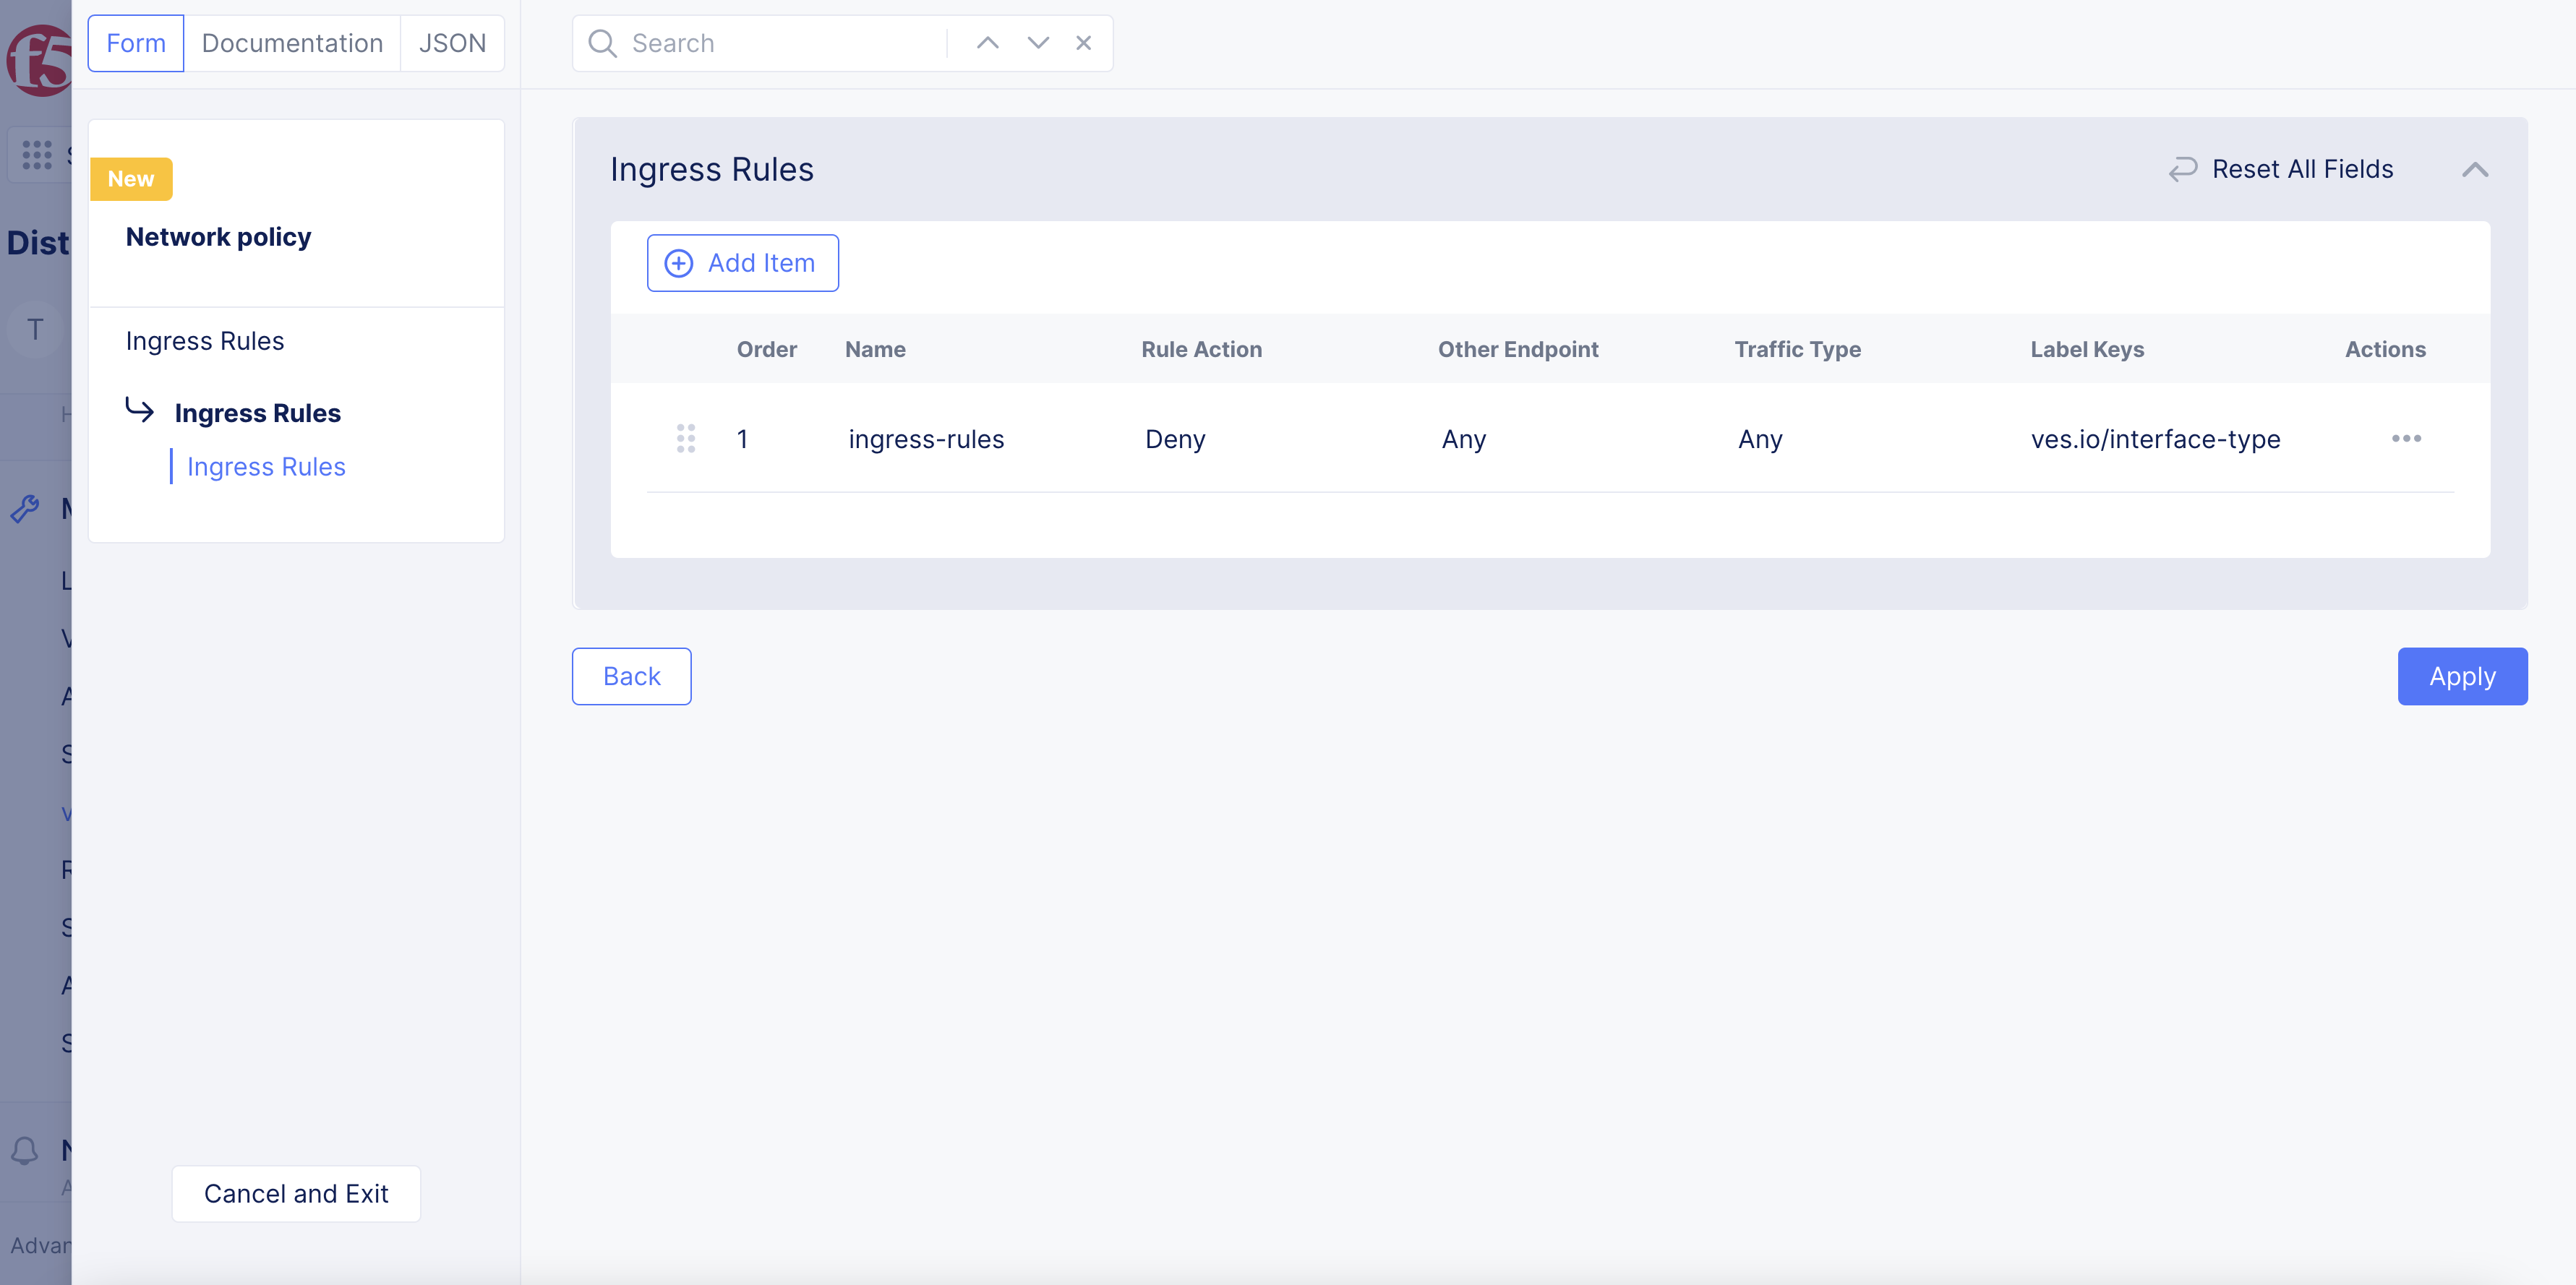
Figure: Ingress Rule Configuration
Step 4: Create rules for egress traffic.
-
Select
ConfigureunderEgress RulesinConnections To and From Endpointsbox. -
Select
+ Add Item. -
Enter
Name. -
Select an option from the
Actionmenu. The default action is to deny all traffic. -
From the
Select Other Endpointmenu, configure the remote endpoint per the following guidelines:-
Any Endpoint: Any endpoint that matches 0/0 IP prefix. -
IPv4 Prefix List: Prefix is the IP prefix in the<ip address>/<prefix length>format. Enter the IP prefix in thePrefixesfield. You can add more than one entry using theAdd itemoption. -
Label Selector: Label selector is a selector expression. If the labels of an IP address match the selector expression, that IP is considered. Enter the expression in theSelector Expressionfield. You can add more than one entry using theAdd itemoption. -
List IP Prefix Set: A set of IP prefixes. You can also create a new IP prefix set from here. Click in theReferencefield to add the IP prefix set to the rule.
-
-
From the
Select Type of Traffic to Matchmenu, select an option from the following:-
Match All Traffic -
Match All TCP Traffic -
Match All UDP Traffic -
Match Application Traffic: For this option, you must select an option from theApplication Protocolsmenu. -
Match Protocol and Port Ranges: For this option, you must select an option from theProtocolsmenu. SelectAdd itemin thePort rangesfield and add a range of ports in the<startport-endport>format.
-
-
In the
Label Matchersecond, select+ Add itemto select label keys. These keys will be matched in the prefix selector of endpoint configuration. You can add multiple keys. -
Toggle
Show Advanced Fieldsto showLogging Actiondrop-down menu options. -
Select
Applybutton in form. -
Select
Applybutton inIngress Rulespage.
Step 5: Activate the network policy.
- Select
Manage>vK8s Network Policy>Active Network Policies.

Figure: Network Policy Selection
-
Select
Select Active Network Policies. -
Select
Select Network Policy.
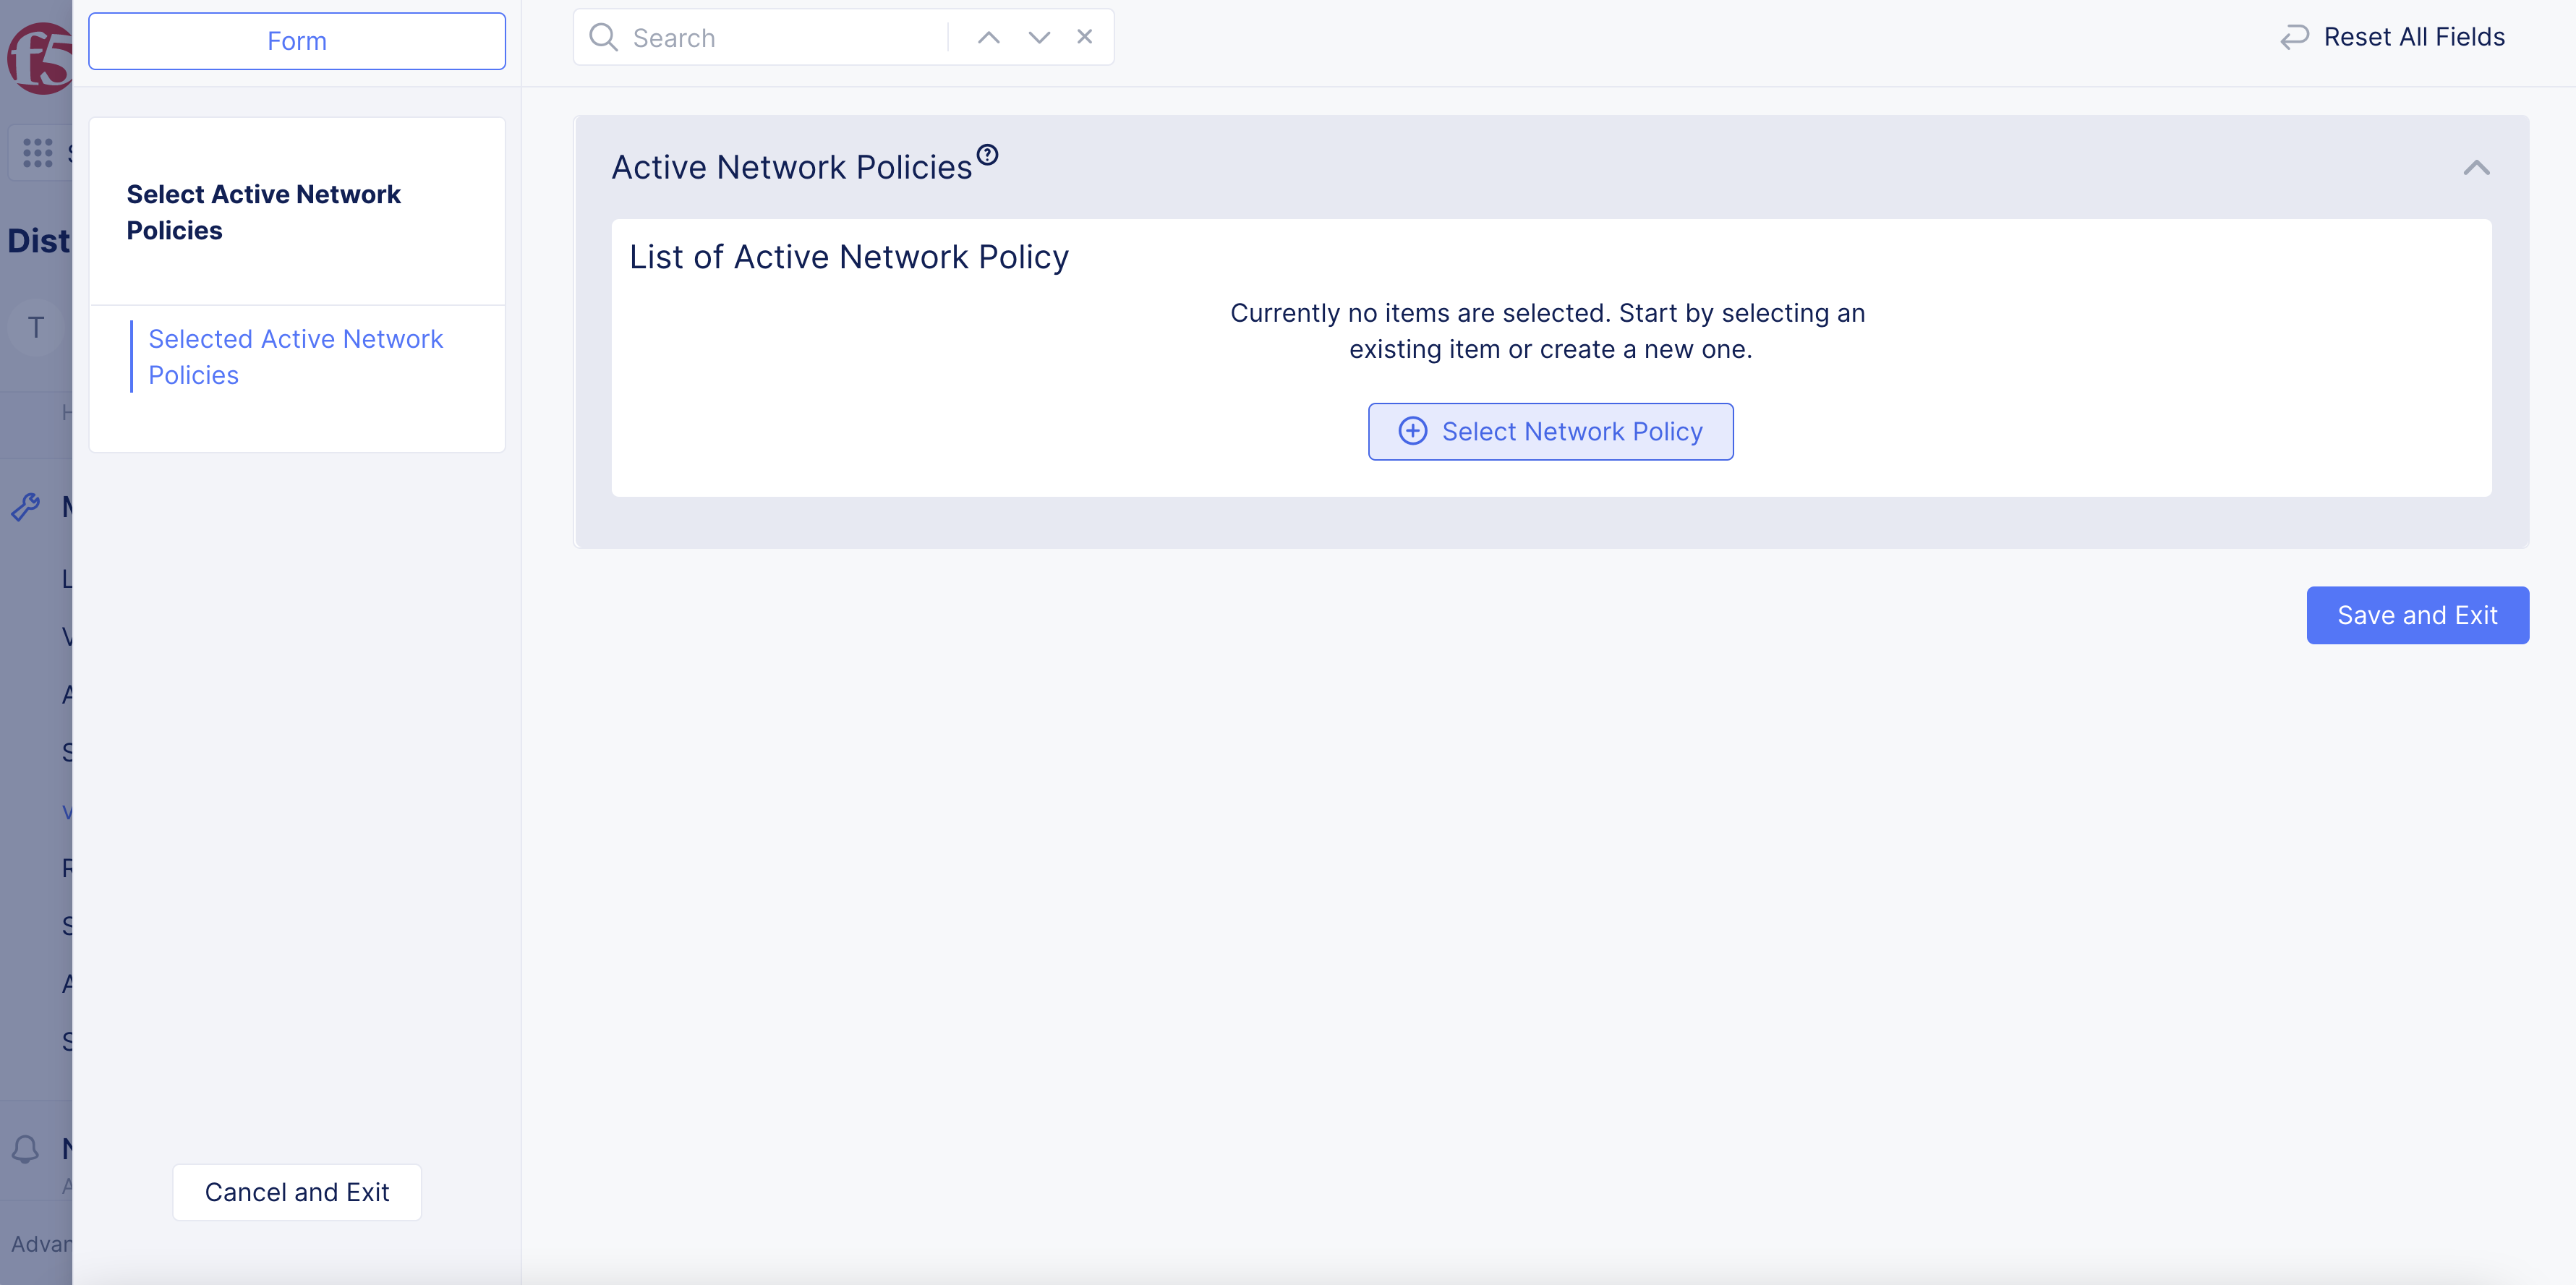
Figure: Click on Network Policy
- Select network policy previously created, select
Select Network Policy.
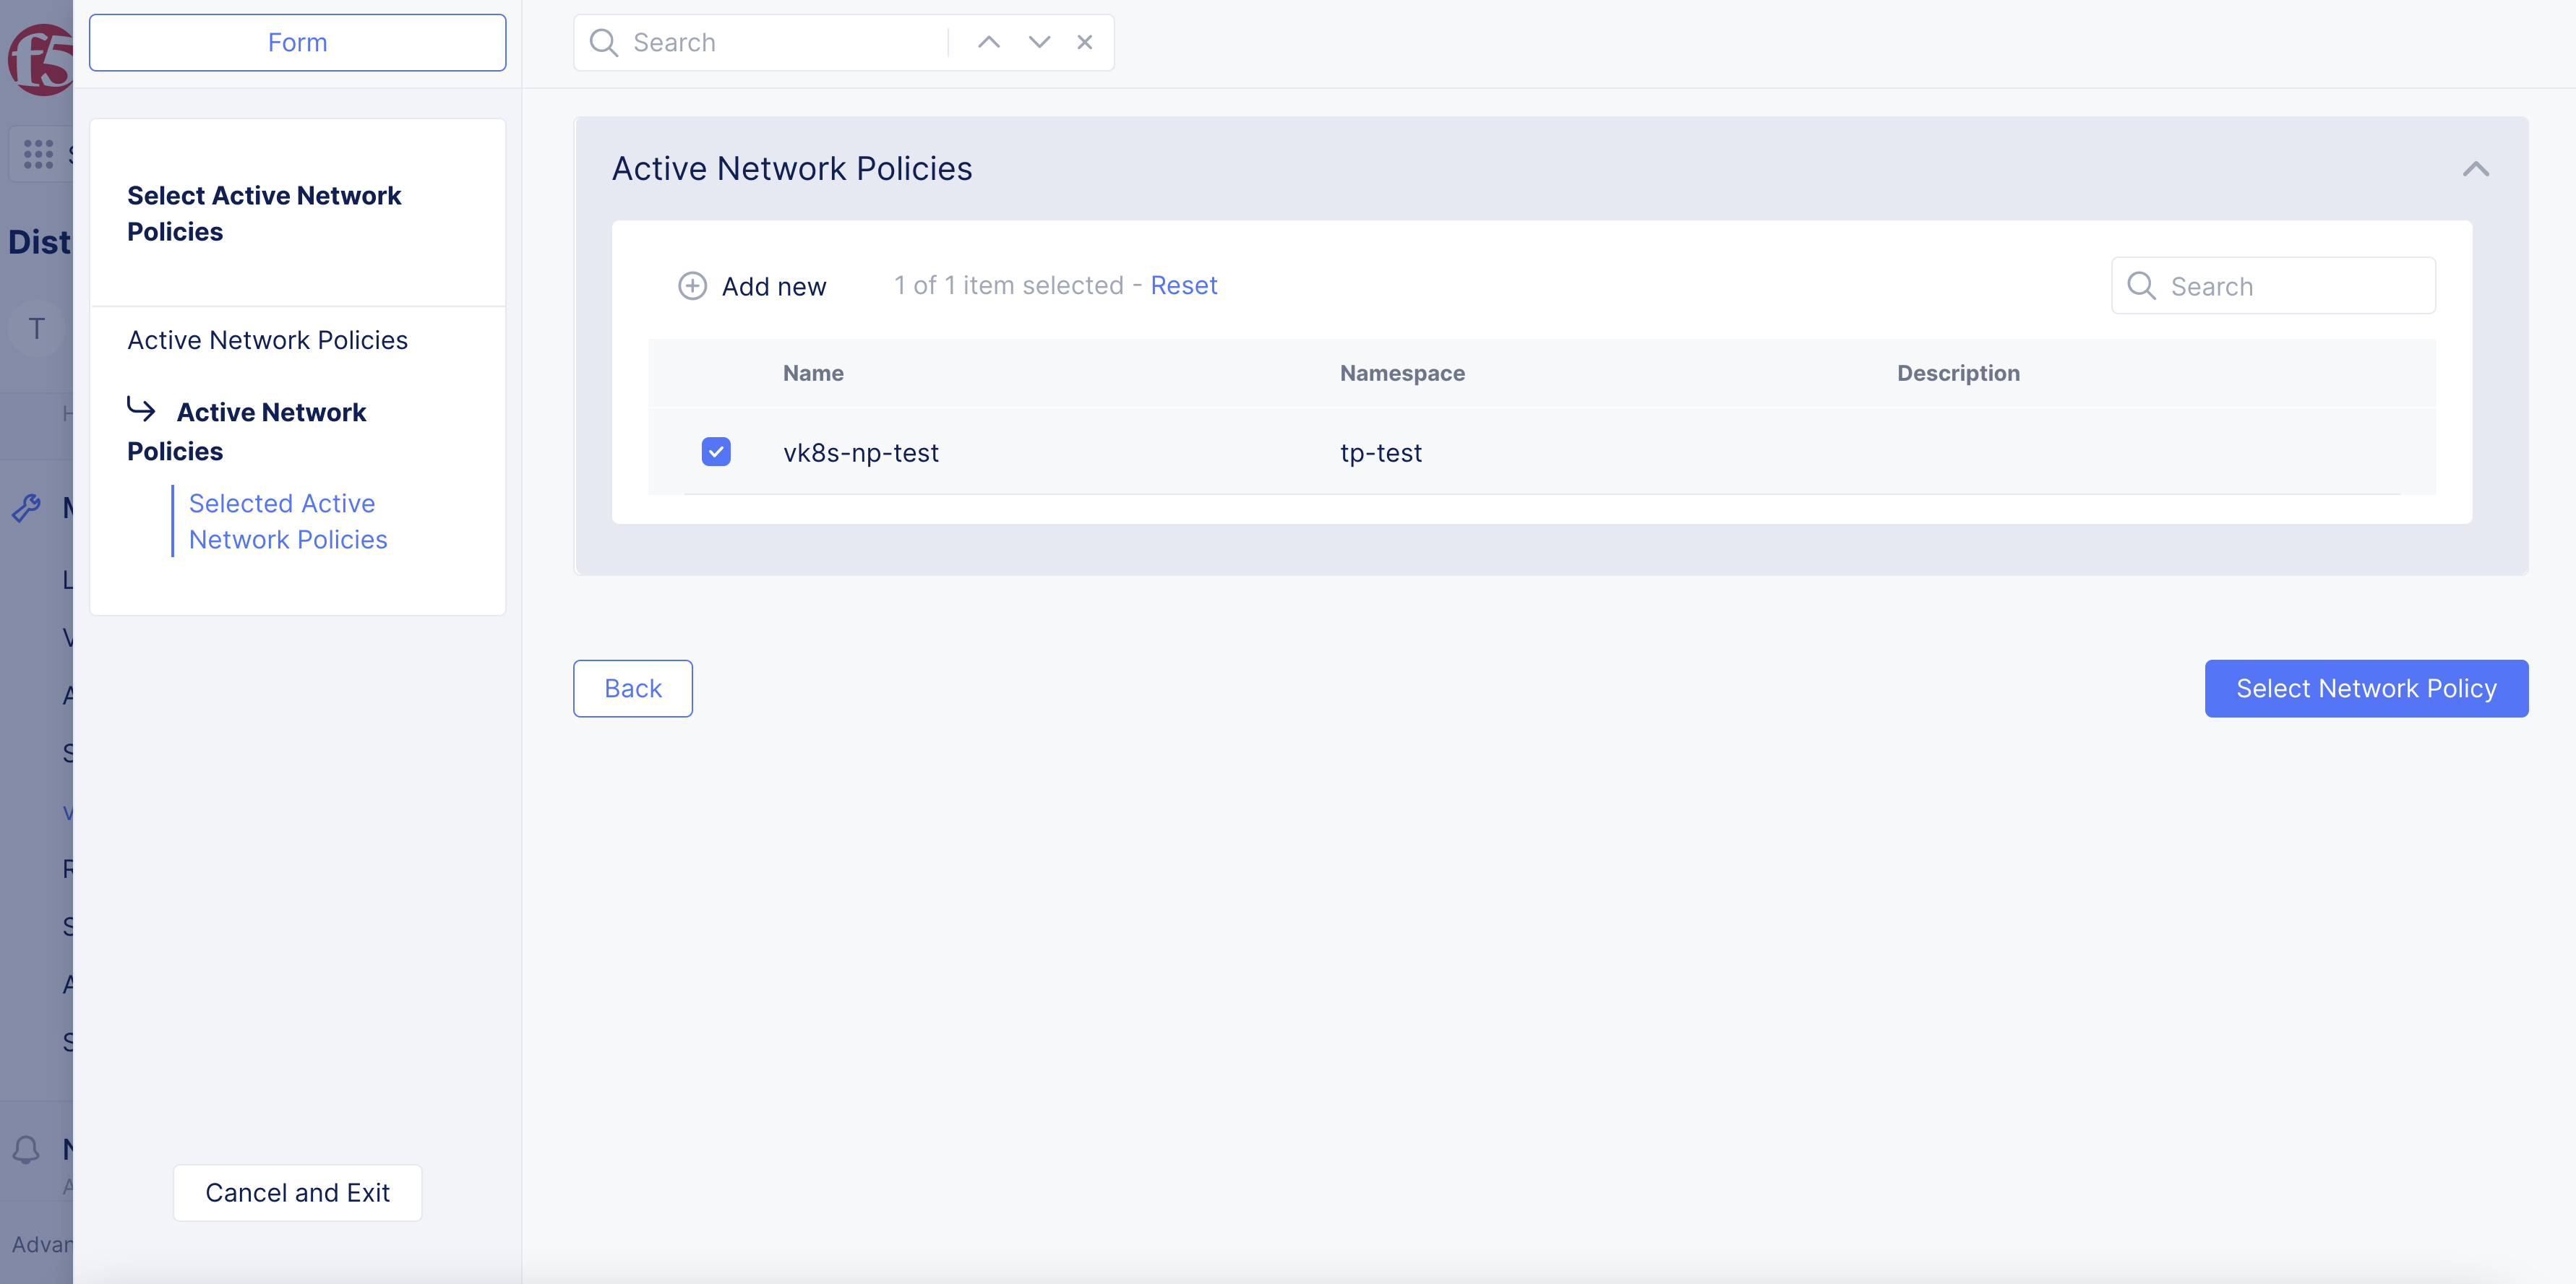
Figure: Selection
- Select
Save and Exitbutton.
Step 6: Verify the policy operation.
You can verify the network policy by sending traffic to your egress traffic from your local endpoint or sending traffic from a remote endpoint (as specified in the ingress rule) to your local endpoint. You can also use Console.
- Open a terminal window and use the
pingcommand to verify if the traffic is allowed or rejected based on the rule configuration.
Note: The implicit action for any rule is to deny the traffic.
- In Console, navigate to
Manage>vK8s Network Policy>Network Policiesin your application namespace. Check theHitscolumn for your policy to view how many times the policy is applied. Select on the value in theHitscolumn to view the rule hits.