Create vK8s Workload
Objective
This guide provides instructions on how to create, deploy, and advertise a virtual Kubernetes (vK8s) workload with F5® Distributed Cloud Services vK8s in F5® Distributed Cloud Console (Console). Distributed Cloud Services provide mechanisms to easily deploy applications across a global network and make them available closer to users in major metro markets. To learn more about how Distributed Cloud Services distribute application deployment, see Distributed Application Management.
To learn more about vK8s workloads, see vK8s Workload.
Using guided creation for vK8s Workload, you can create the following types of workloads:
-
Simple Service
-
Service
-
Stateful Service
-
Job
Using the instructions provided in this guide, you can perform the following:
-
Create a simple service that is deployed on all Regional Edge (RE) sites and advertised on the Internet using an HTTP load balancer.
-
Create a stateful service that is deployed on a Customer Edge (CE) site and advertised locally on the site.
Prerequisites
The following prerequisites apply:
-
An F5 Distributed Cloud Account. If you do not have an account, see Getting Started with Console.
-
To deploy applications on your sites, first create a vK8s object per the instructions in the Create Virtual K8s Object document.
-
A CE site for deploying the stateful service application on CE sites. If you do not have a site, create a site using the instructions included in the Site Management guides.
Configuration
The configuration option to create the vK8s Workload guides you through the steps for the required configuration. This document covers each guided step and explains the required actions performed for each step.
The following video tutorial shows how to configure a simple service using vK8s workload:
Configuration Sequence
Deploying applications on the Distributed Cloud Services requires you to perform the following sequence of steps:
| Phase | Description |
|---|---|
| Deploy Workload to vK8s | Add vK8s Workload to the created vK8s object. |
| Verify the Workload Status | Check the workload status. |
Simple Service
Deploy Workload (Simple Service) to vK8s
Step 1: Navigate to the vK8s Workload configuration.
-
Log into Console.
-
Select
Distributed Apps.
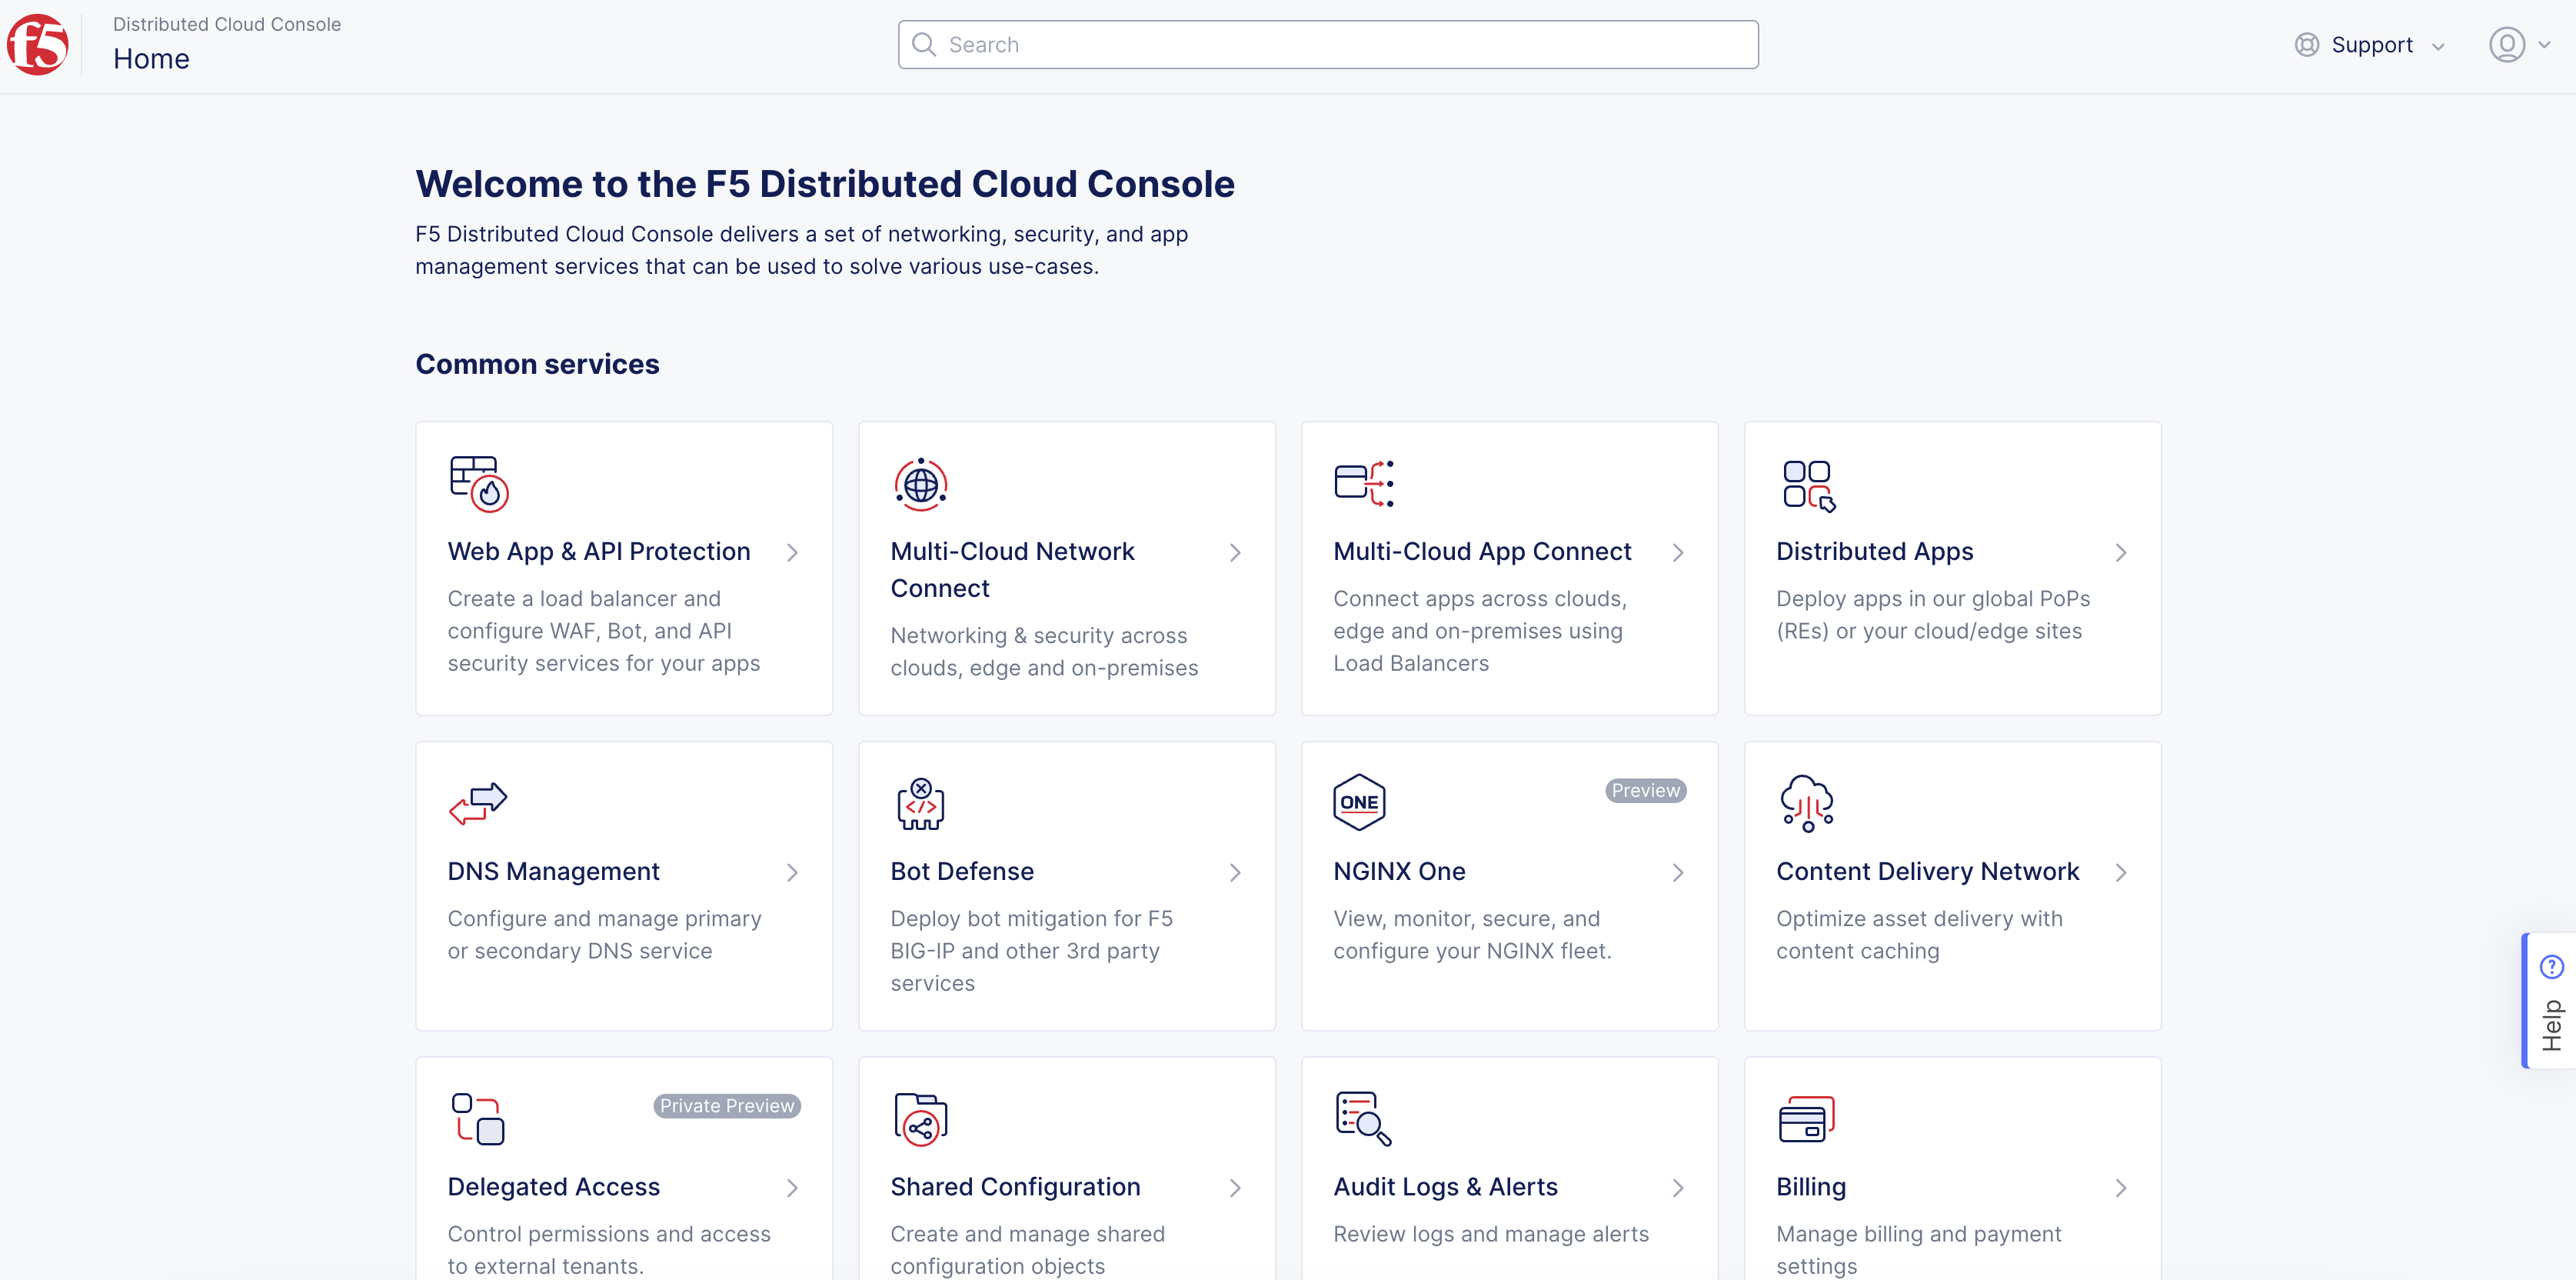
Figure: Console Homepage
-
Select your application namespace or create one where your application needs to be deployed.
-
Select
Applications>Virtual K8s. -
Select the vK8s object to open its dashboard.
Note: If you did not previously create the vK8s object, then the
Add Virtual K8soption will be available to create vK8s.
- Select the
Workloadstab.
Step 2: Start the workload creation process.
- Select
Add VK8s Workloadto open the workload creation form.
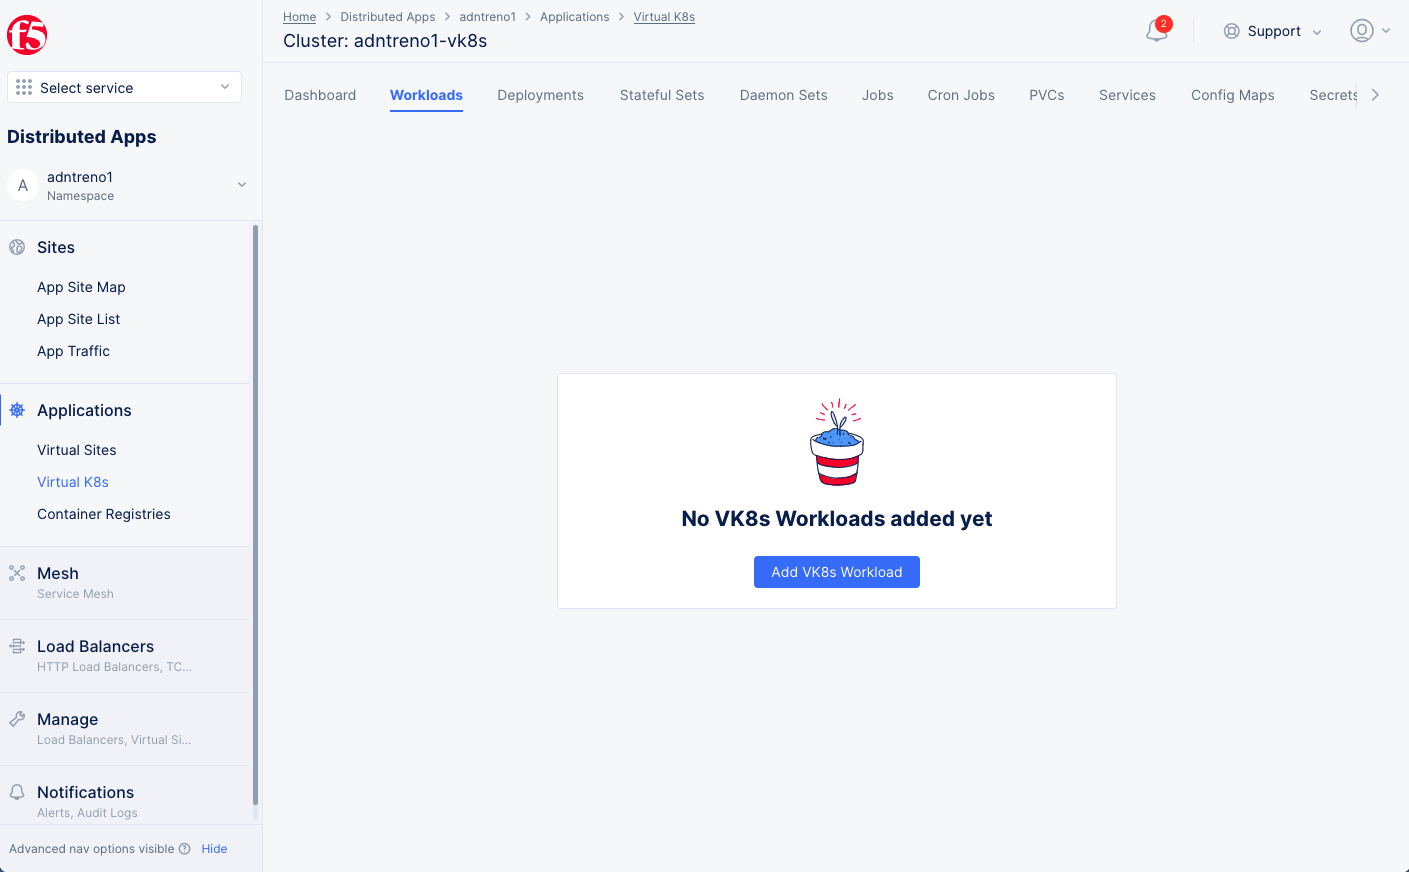
Figure: Start Workload Creation
-
In the
Metadatasection, enter a name for this workload. -
In the
Select Type of Workloadsection, select an option from theSelect Type of Workloadmenu. The following options are supported:-
Select
Simple service on all REsto create a simple service. -
Select
Serviceto create a service. -
Select
Stateful Serviceto create a stateful service. -
Select
Jobto create a job.
-
This example configures a simple service.

Figure: Workload Service Options
- Select
Simple service on all REsand then selectConfigure.
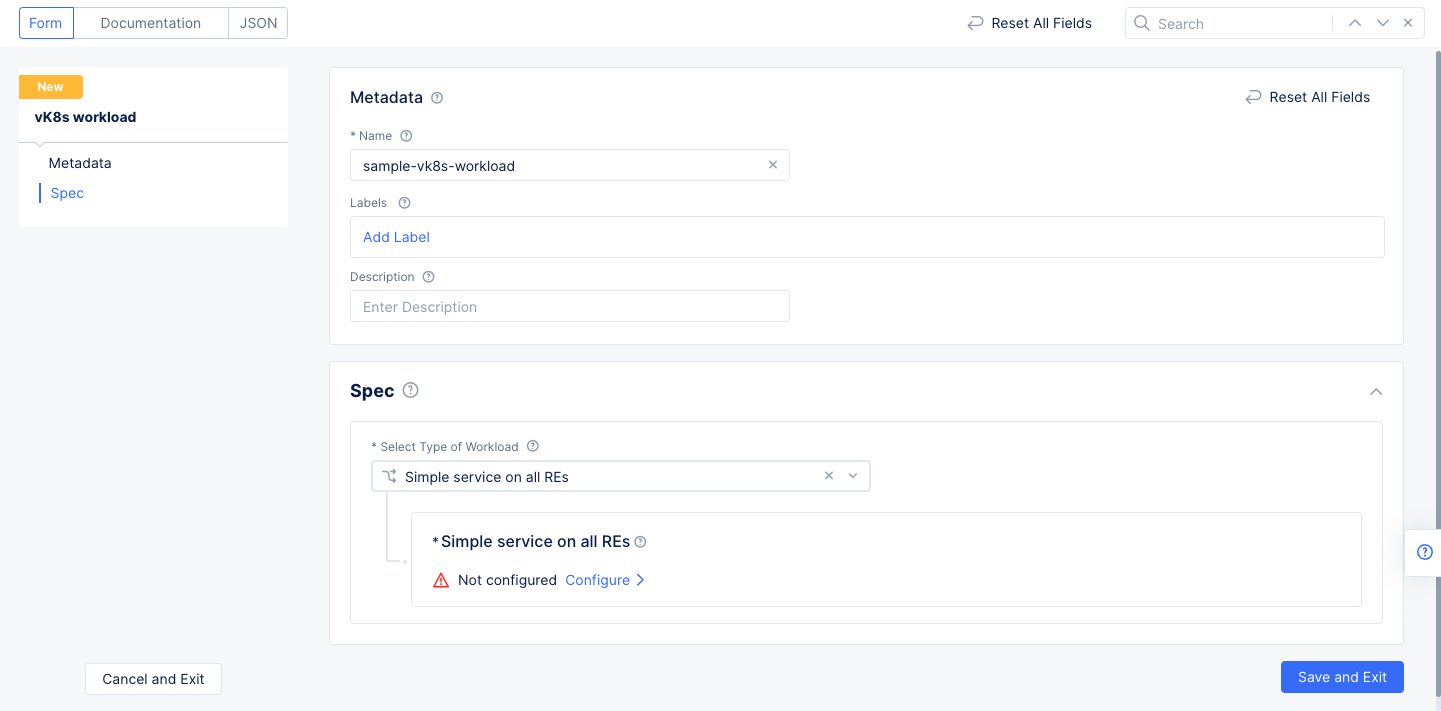
Figure: Simple Service
Step 3: Configure Simple Service.
Perform the following:
Step 3.1 Configure container.
-
Select
Configure. -
In the
Namefield, enter a name for the container. -
In the
Image Namefield, enter a name. TheImage Nameis the name of the Docker image to use and specified in the<path>:<imagetag>format.
Note: If your registry is a Docker Hub, then the value of the
Image Namefield should be specified in thedocker.io/<path>:<imagetag>format.
- From the
Select Container Registrymenu, select the type of registry used:Public RegistryorPrivate Registry.
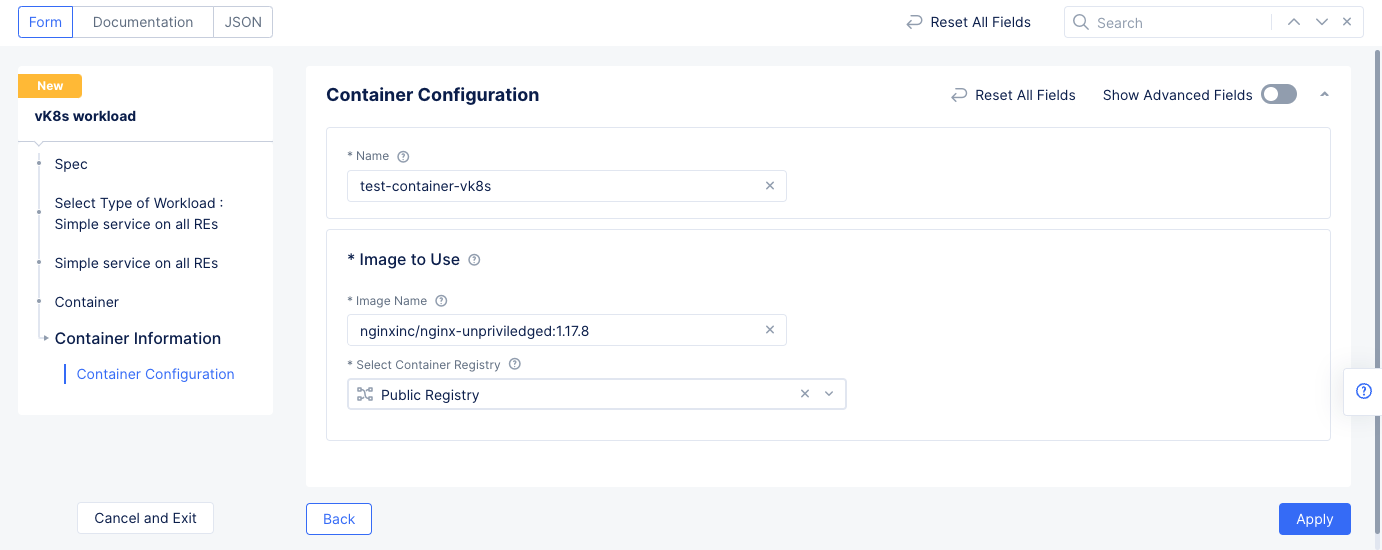
Figure: Container
-
To configure more options, select
Show Advanced Fields. -
Select
Apply.
Step 3.2 Optionally, add configuration parameters.
-
Select from the left menu or scroll to the
Configuration Parameterssection. -
Select
Add Item.
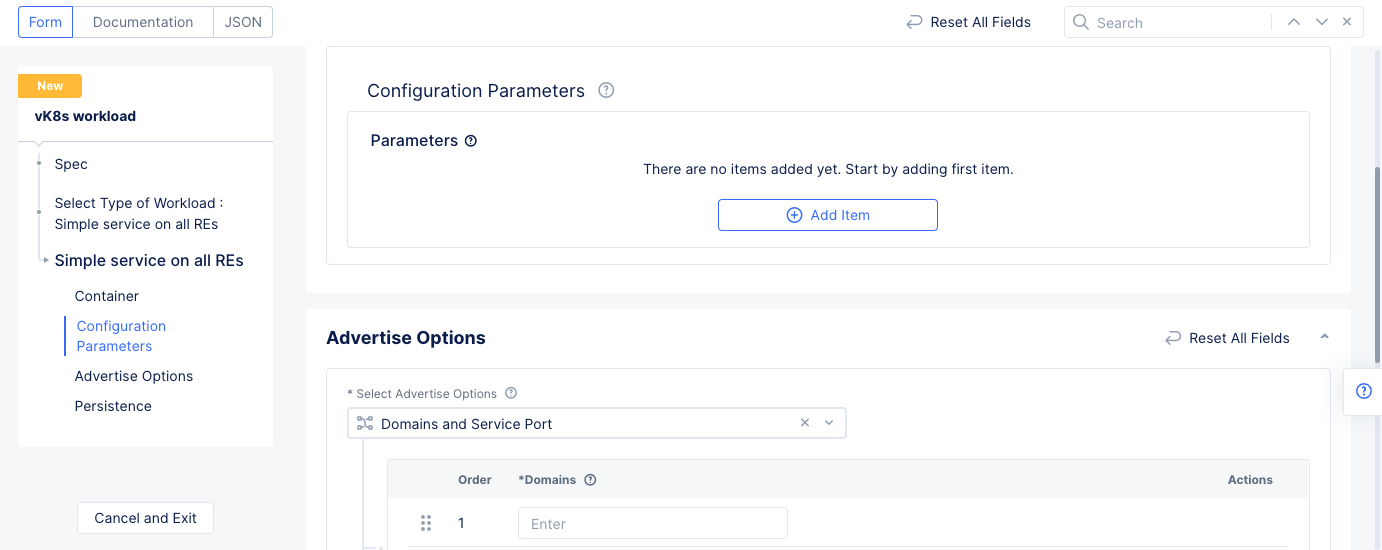
Figure: Configuration
- From the
Select Configuration Parameter Typemenu, selectEnvironment Variable.
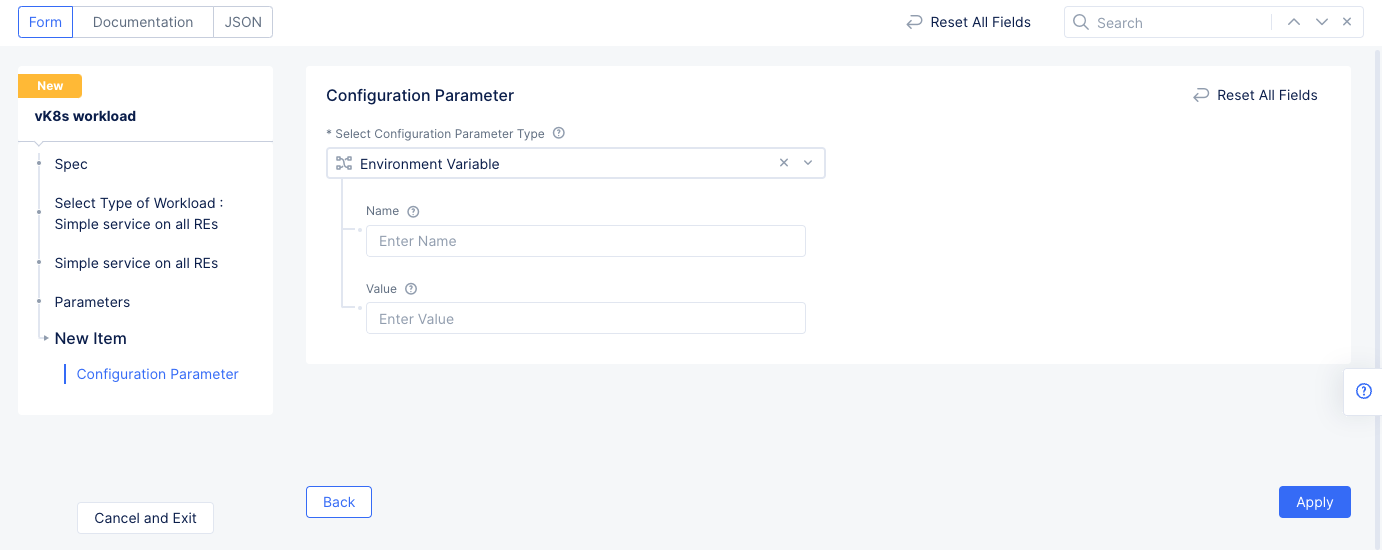
Figure: Select Environment Variable
-
Enter the
NameandValuefor the environment variable. -
Select
Apply.
Step 3.3 Configure the advertise options.
-
Select from the left menu or scroll to the
Advertise Optionssection. -
From the
Select Advertise Optionsmenu, selectDomains and Service Portfrom the options. -
In the
Service Portfield, enter the port number on which the container will listen. -
In the
List of Domainfield, enter a domain.
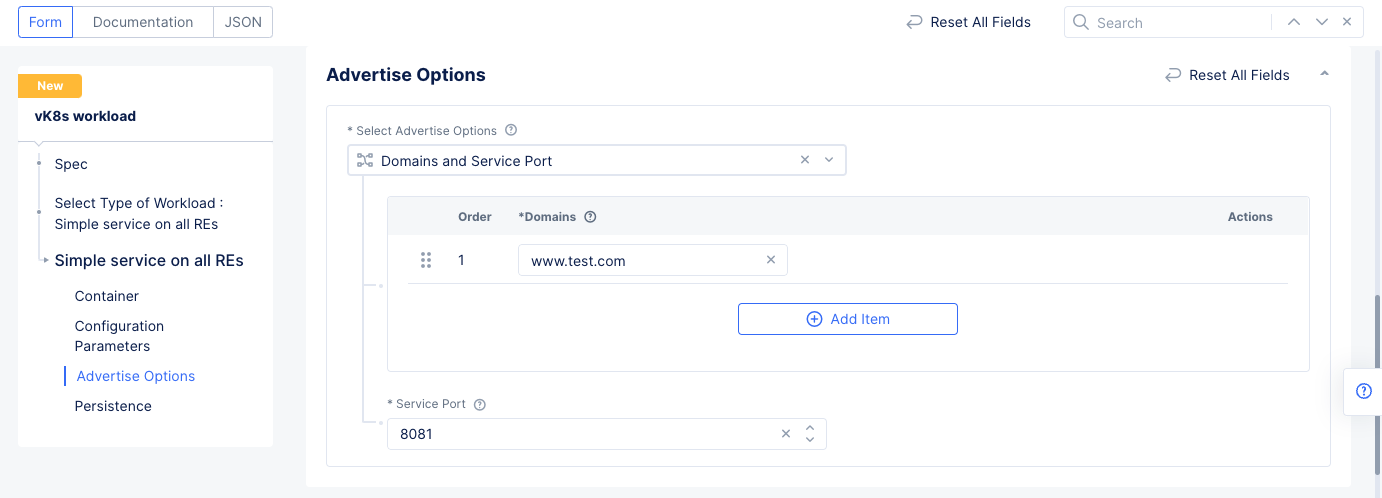
Figure: Advertise Options
Step 4 Configure persistent storage.
By default, this option is set to Disabled.
-
In the
Persistencesection, selectEnabledfrom thePersistent Storagemenu. -
Configure the settings and select
Applyto save the persistent storage settings.
Step 5 Complete creating the simple service workload.
-
Select
Applyto go back to the workload configuration page. -
Select
Save and Exitto finish creating the workload.
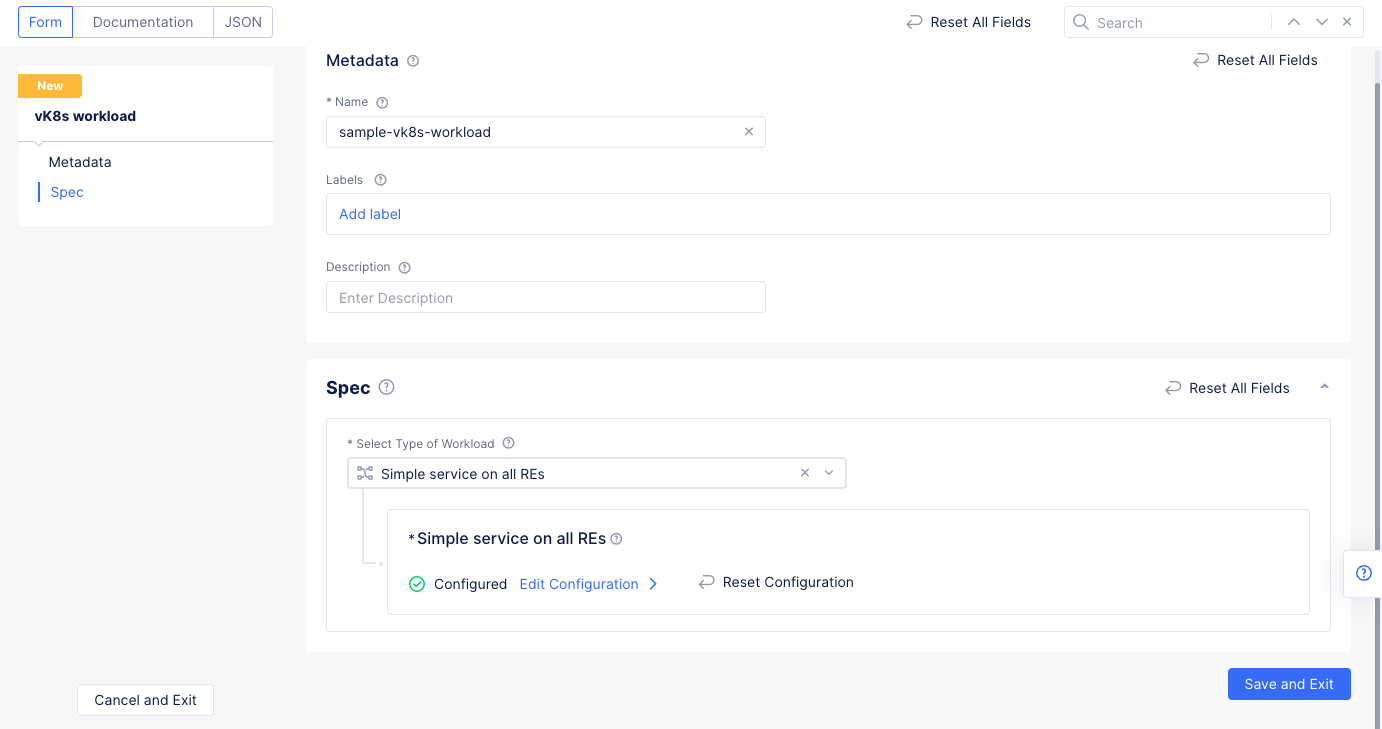
Figure: Save and Exit
- In the
Workloadstab, check that the workload was created.
Verify the Workload (Simple Service) Status
Select the Deployments tab and verify that the deployment with the same name as the workload is running.
Stateful Service
Deploy Workload (Stateful Service) to vK8s
Step 1: Navigate to the vK8s Workload configuration.
-
Log into Console.
-
Select
Distributed Apps.
Figure: Console Homepage
-
Select your application namespace or create one where your application needs to be deployed.
-
Select
Applications>Virtual K8s. -
Select the vK8s object to open its dashboard.
Note: If you did not previously create the vK8s object, then the
Add Virtual K8soption will be available to create vK8s.
- Select the
Workloadstab.
Step 2: Start the workload creation process.
- Select
Add vK8s workloadto open the workload creation form.
Figure: Start Workload Creation
-
In the
Metadatasection, enter a name for this workload. -
In the
Select Type of Workloadsection, select an option from theSelect Type of Workloadmenu. The following options are supported:-
Select
Simple service on all REsto create a simple service. -
Select
Serviceto create a service. -
Select
Stateful Serviceto create a stateful service. -
Select
Jobto create a job.
-
-
Select
Stateful Serviceand then selectConfigure.
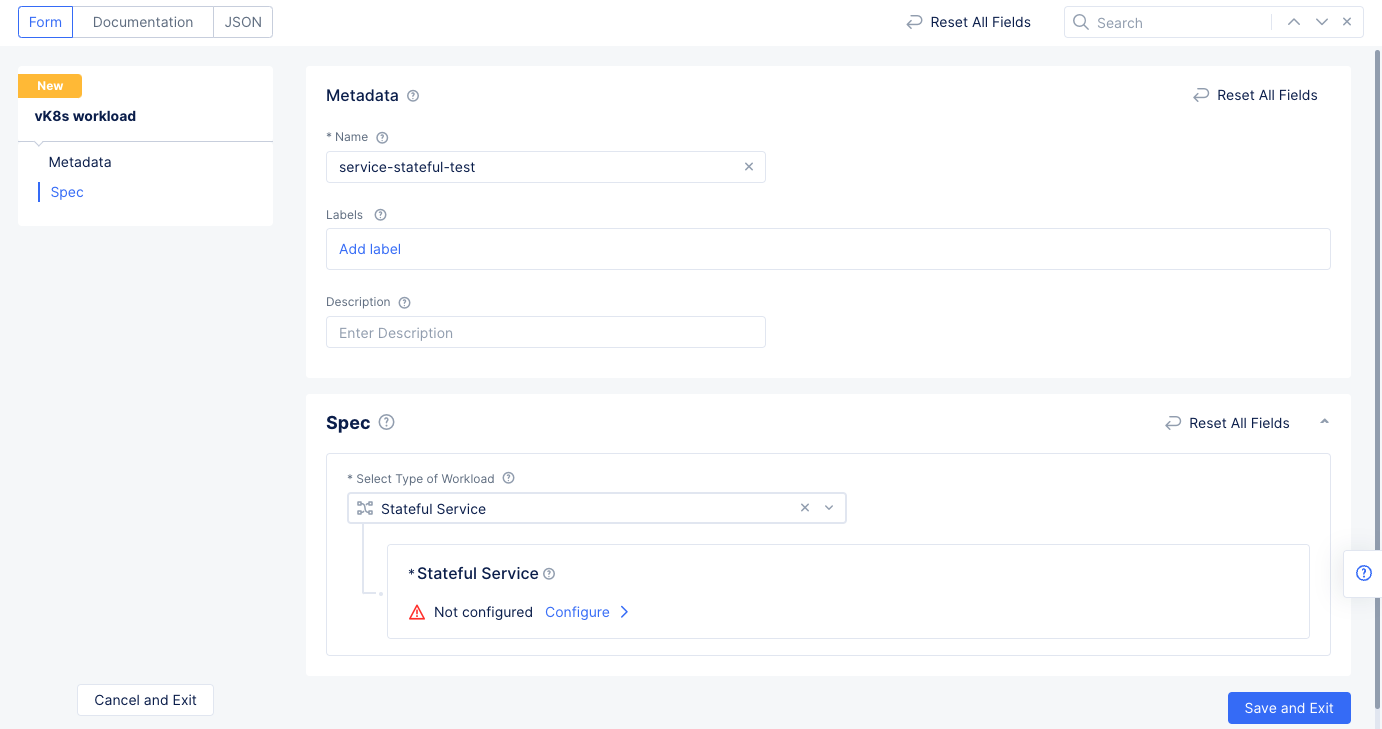
Figure: Stateful Service
Step 3: Configure Stateful Service.
Perform the following:
Step 3.1 Configure container.
-
Select from the left menu or scroll to the
Containerssection. -
Select
Add Itemand then perform the following:-
In the
Namefield, enter a name for the container. -
In the
Image Namefield, enter a name. TheImage Nameis the name of the Docker image to use and specified in the<path>:<imagetag>format.
-
Note: If your registry is a Docker Hub, then the value of
Image Namefield should be specified in thedocker.io/<path>:<imagetag>format.
-
From the
Select Container Registrymenu, select the type of registry used:Public RegistryorPrivate Registry. -
To configure more options, select
Show Advanced Fields. -
Select
Apply.
Step 3.2 Optionally, add configuration parameters.
-
Select from the left menu or scroll to the
Configuration Parameterssection. -
Select
Add Item. -
From the
Select Configuration Parameter Typemenu, selectEnvironment Variable. -
Enter the
NameandValuefor the environment variable. -
Select
Apply.
Step 3.3 Configure persistent storage.
-
Select from the left menu or scroll to the
Persistent Storagesection. -
Select
Add Item. -
In the
Namefield, enter a name for the storage volume. -
In the
Storage Configurationfield, selectConfigure.- Enter a value (in GiB) in the
Sizefield for the persistent storage, and then selectApply.
- Enter a value (in GiB) in the
-
In the
Volume Mountsection:-
From the
Modemenu, selectRead Write, and enter theMount Pathof the volume to the container. -
Select
Apply.
-

Figure: Persistent Storage
Step 3.4 Optionally, configure ephemeral volume options.
-
In the
Volumessection, selectShow Advanced Fields. -
Select
Add Item. -
Complete the configuration parameters and then select
Apply.
Step 3.5 Configure deploy options.
-
Select from the left menu or scroll to the
Deploy Optionssection. -
From the
Where to Deploy the workloadmenu, selectCustomer Sites. -
Select
Configureto open the new form. -
Select a site from the list to deploy the stateful service on.
-
Select
Applyto apply the deployment configuration.
Step 3.6 Configure advertise options.
-
Select from the left menu or scroll to the
Advertise Optionssection. -
Select
Advertise In Clusterfrom the options and then selectConfigureto open the new form. -
Enter the port number in the
Portand selectApplyto apply the advertise options. The port number is the port on which the container is listening.
Step 4 Complete creating the stateful service workload.
-
Select
Applyto go back to the workload configuration page. -
Select
Save and Exitto finish creating the workload. -
In the
Workloadstab, check that the workload was created.
Verify the Workload (Stateful Service) Status
Select the Stateful Sets tab and verify that a stateful set with the same name as the workload is running.