Create Workloads with Multiple Network Interfaces
Objective
This guide provides instructions on how to create multiple interfaces for virtual machine (VM), container, or pod workloads running in a Kubernetes cluster within an F5® Distributed Cloud App Stack Site.
Overview
In your App Stack Site configuration form, you enable this feature which auto-installs KubeVirt in your cluster. The first interface of the virtual machine or container is always connected to the default pod network. You can create subnets and attach them to additional interfaces of a virtual machine or container. Virtual machines and containers within the same Site (across control and worker nodes) are connected only within a subnet, not across subnets. This allows your virtual machine and container workloads to run as pods inside a Kubernetes cluster. You can manage virtual machine workloads with Kubernetes, without having to convert them to containers.
You can also add VLAN Layer 2 interfaces to VMs and pods. These Layer 2 interfaces act as subnets and have access to the underlay network and bypass the F5 Distributed Cloud Services node data plane. The Layer 2 IP addresses are allocated using an external Dynamic Host Configuration Protocol (DHCP) server or can be static within the VM or pod itself. Different types of subnets can be attached to VMs and Pods running on Layer 2 interfaces.
The Subnets and Network Interfaces configuration objects in Distributed Cloud Services create a Kubernetes Network Attachment Definition on an F5 Distributed Cloud App Stack Site using the bridge CNI plug-in. Layer 2 network interfaces must not have subnet DHCP networks configured in the subnet object.
Prerequisites
The following prerequisites apply:
-
An F5 Distributed Cloud Account. If you do not have an account, see Getting Started with Console.
-
An App Stack Site with managed Kubernetes. For more information, see App Stack Site.
-
Predefined subnet and network interface objects. For more information, see the Create Subnet and Network Interfaces guides.
Enable Virtual Machine Support for Site
Enable VM support to auto-install KubeVirt on your Site.
-
To confirm your existing Site has VM support enable:
-
Select Multi-Cloud Network Connect.
-
Select Manage > Site Management > App Stack Sites.
-
Find your Site and then select ... > Manage Configuration.
-
Select Advanced Configuration from the left menu pane.
-
Under the Enable/Disable VMs support field, confirm your Site has VM support enabled.
-
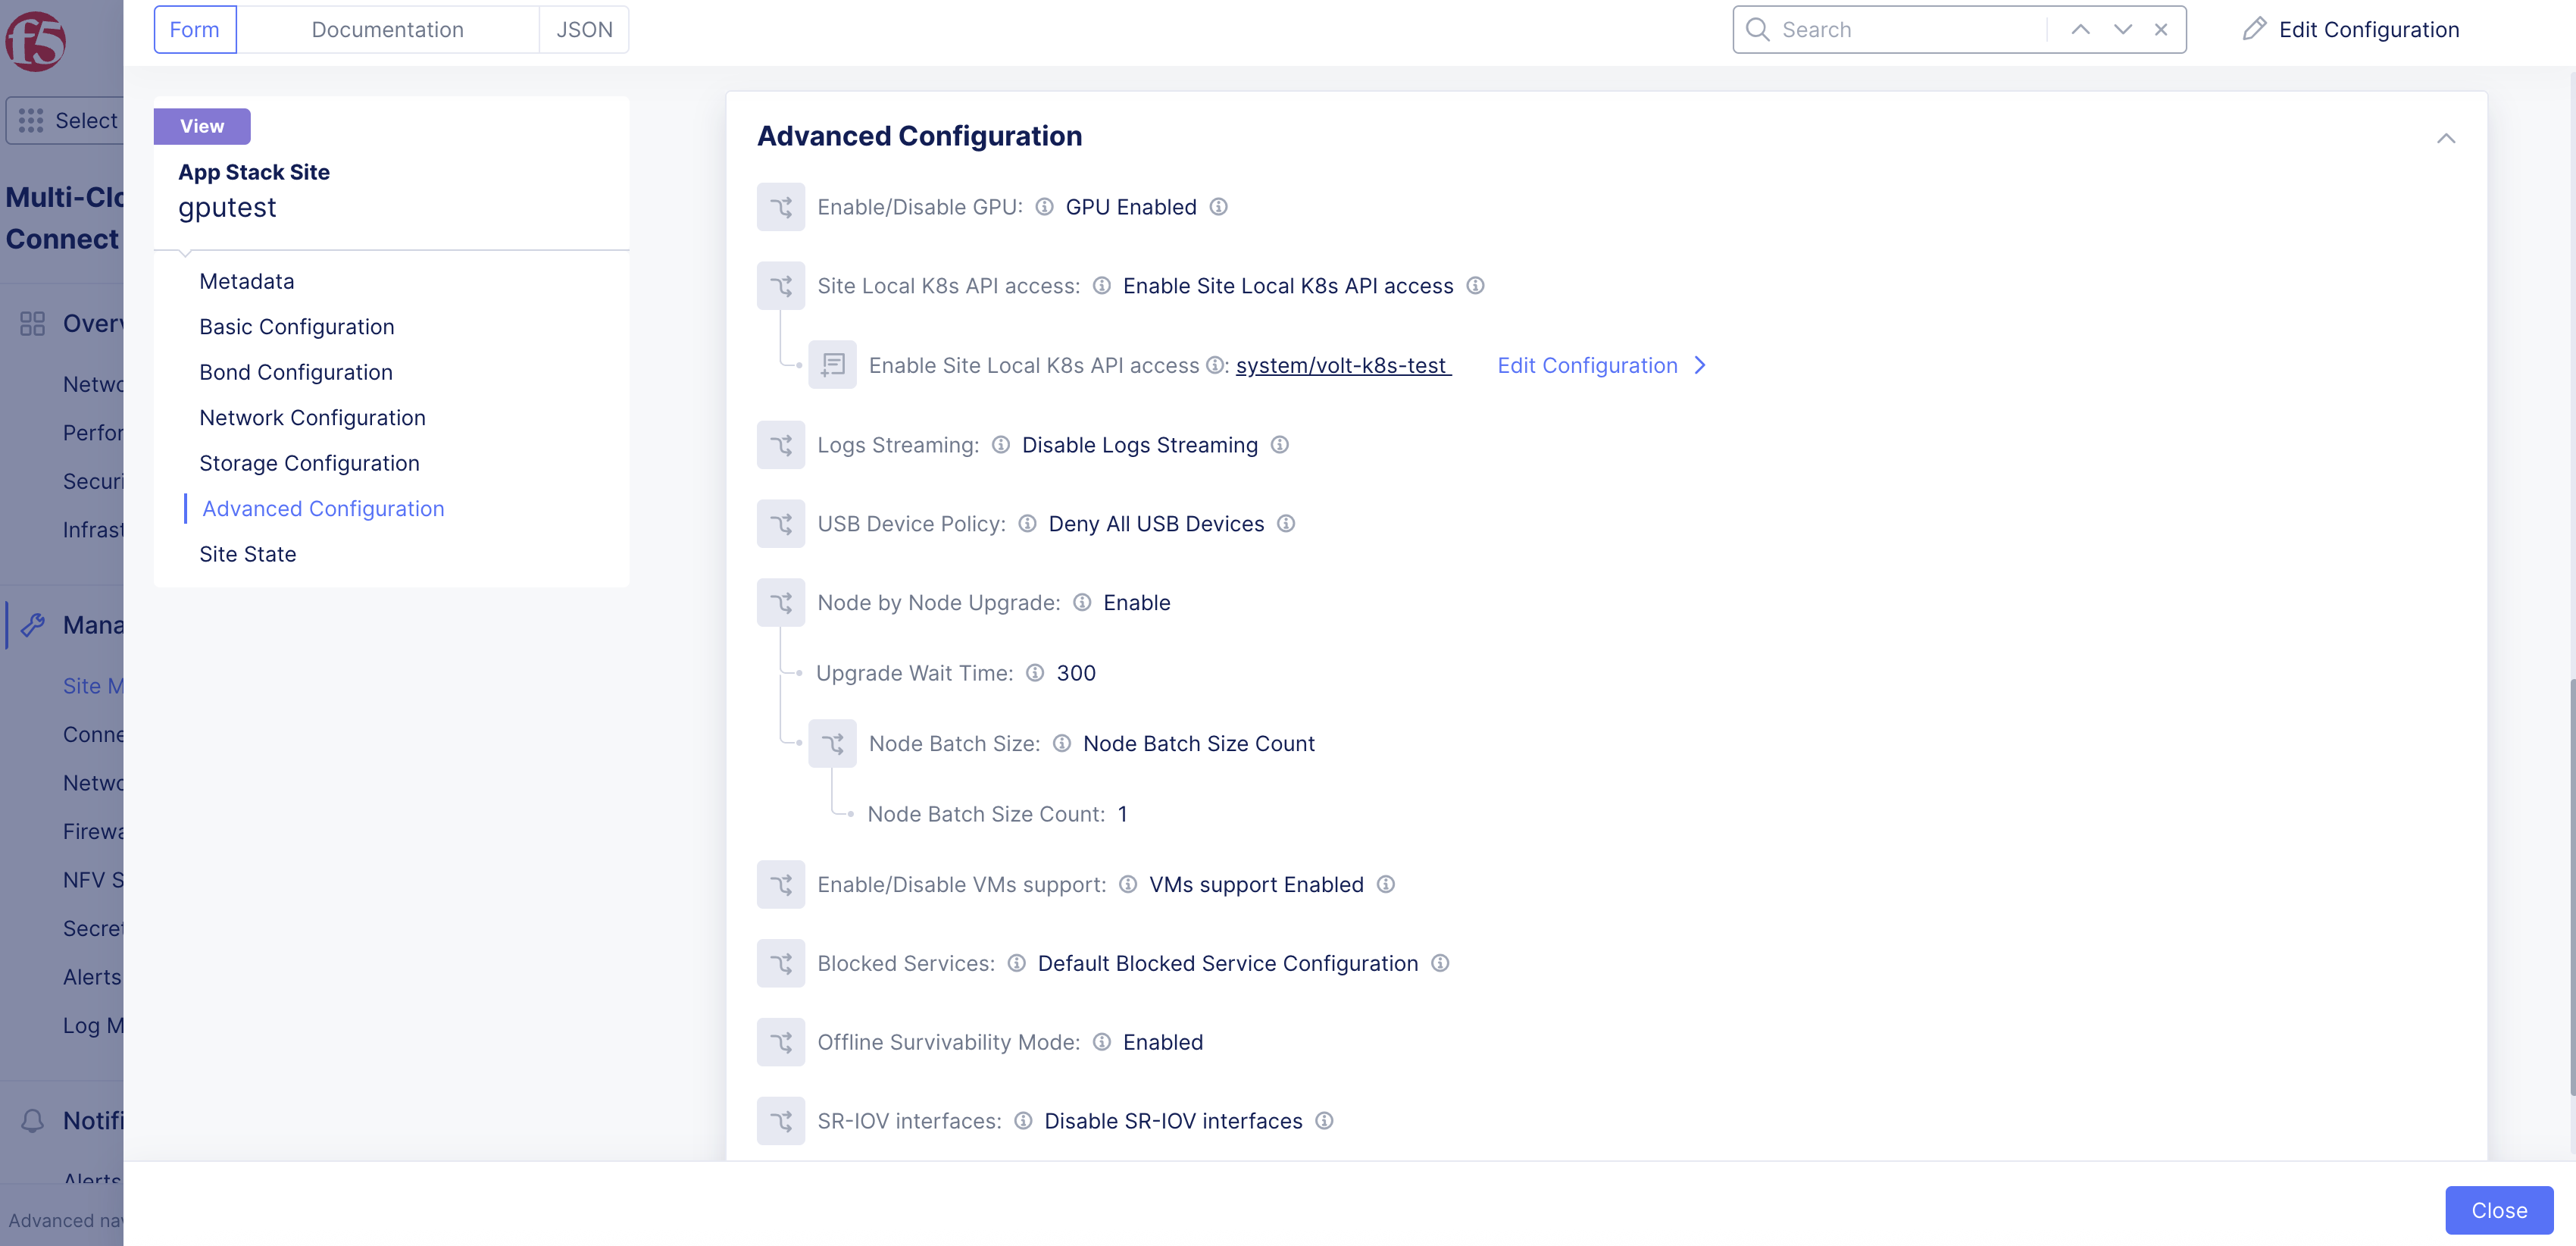
Figure: Confirm Support
- If you are creating a new Site, select VMs support Enabled from the Enable/Disable VMs support drop-down menu.
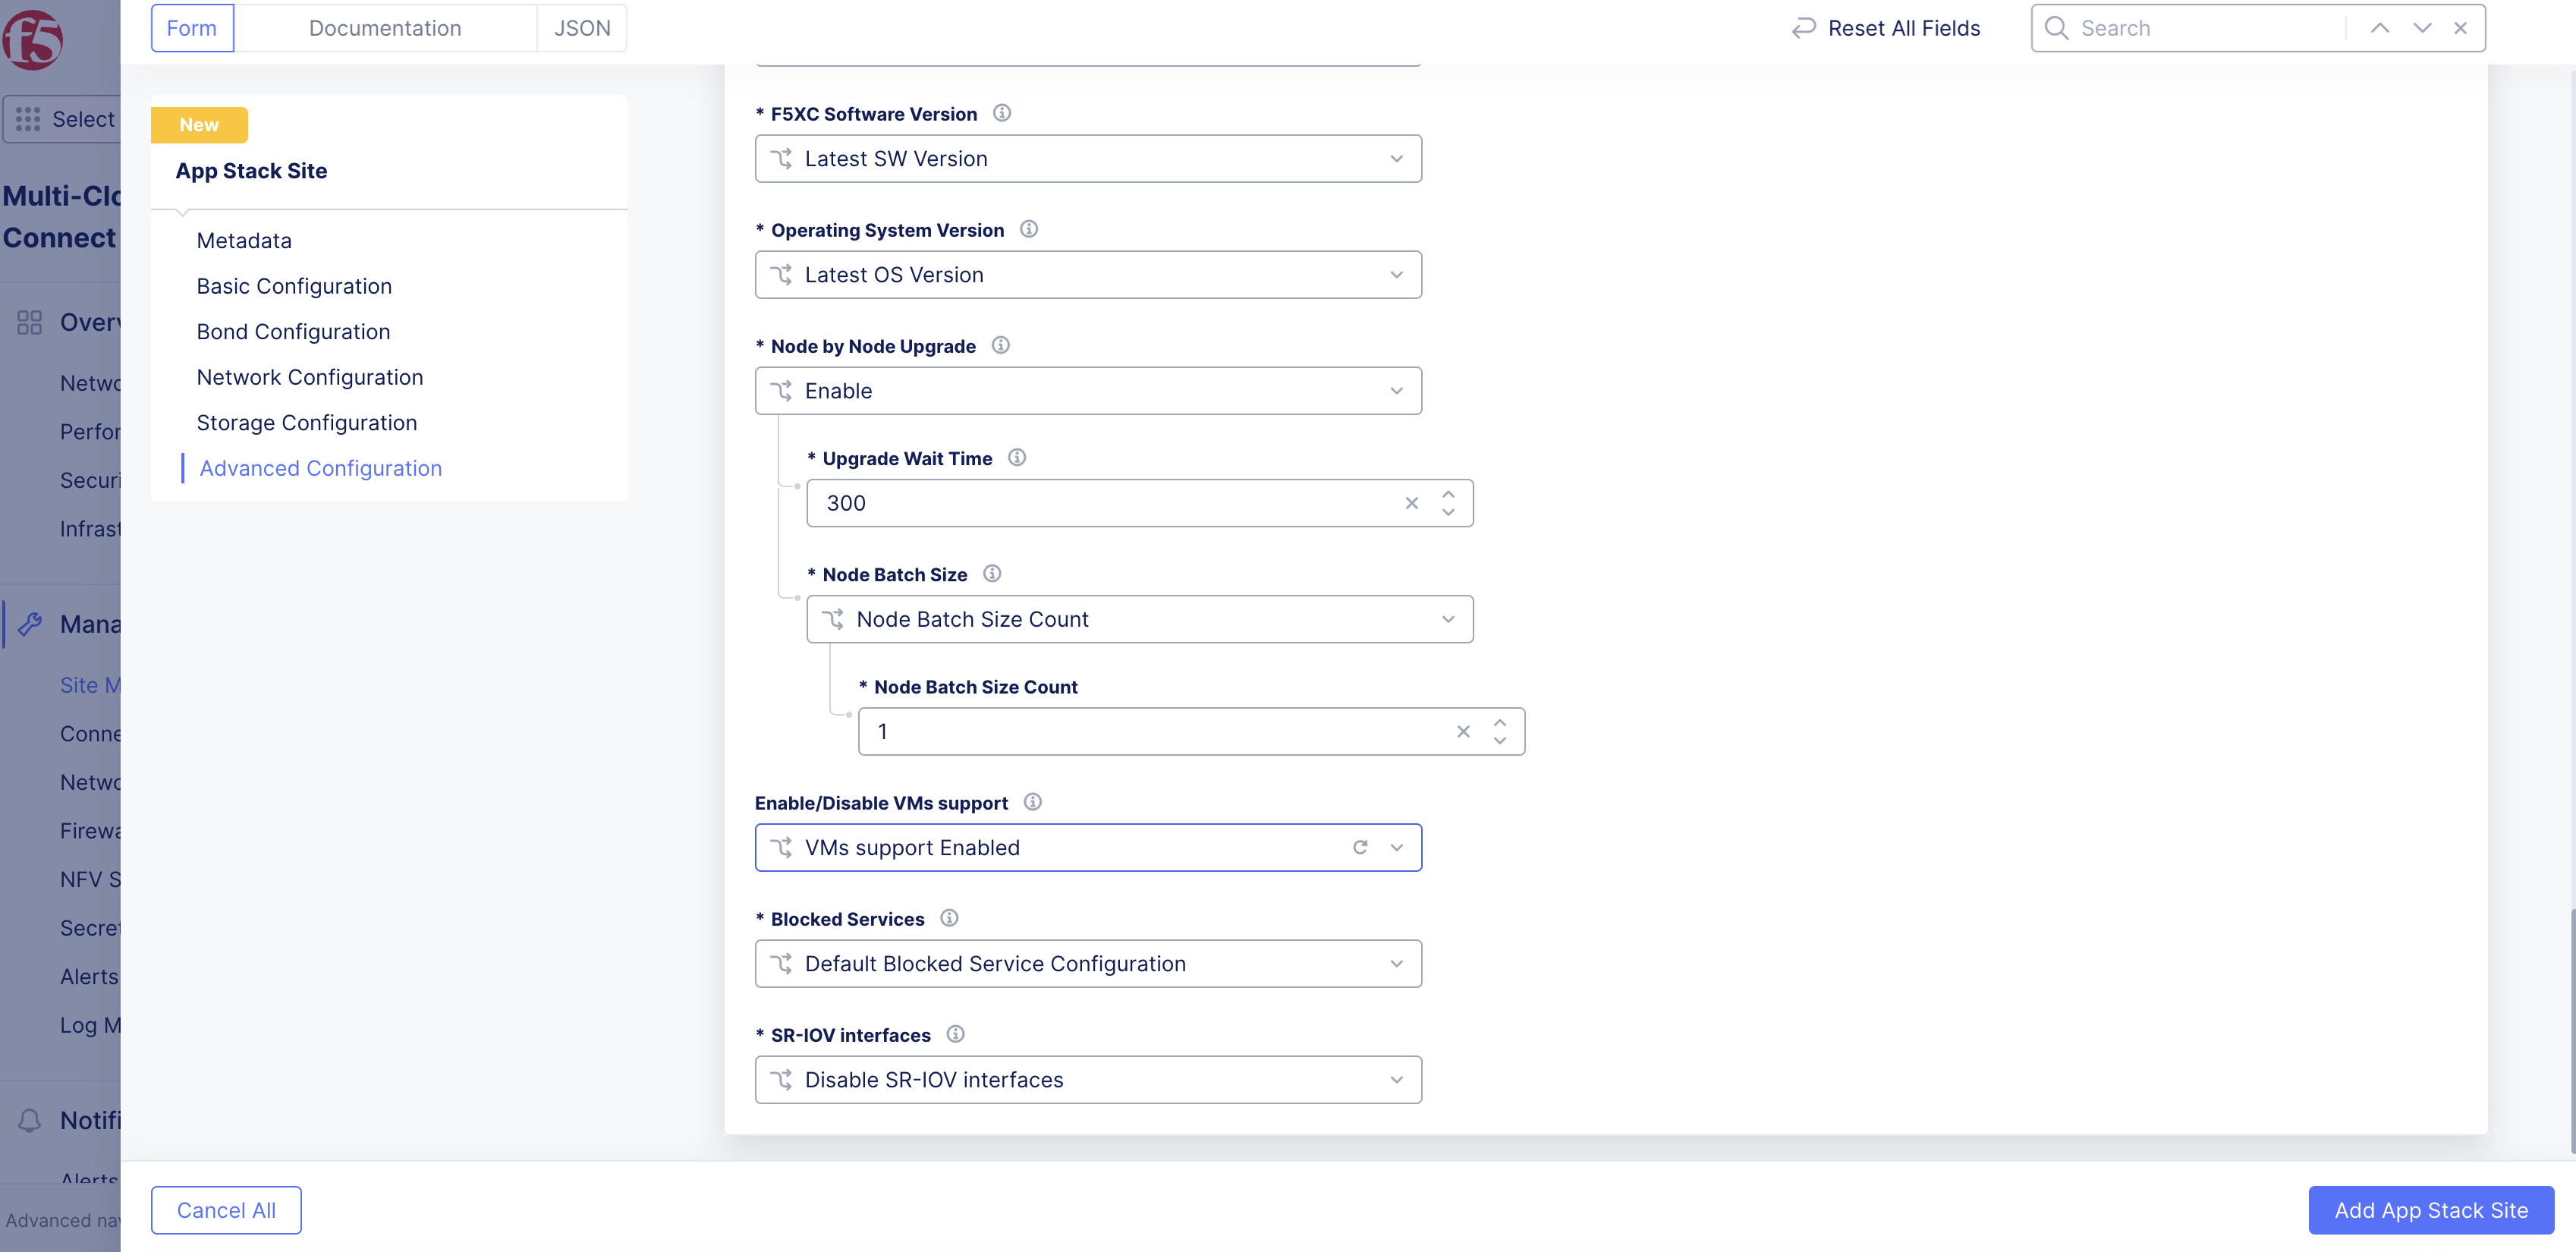
Figure: Add Support
Download Kubeconfig File
In the Distributed Apps workspace, navigate to your App Stack Site and download the kubeconfig file based on your managed K8s configuration.
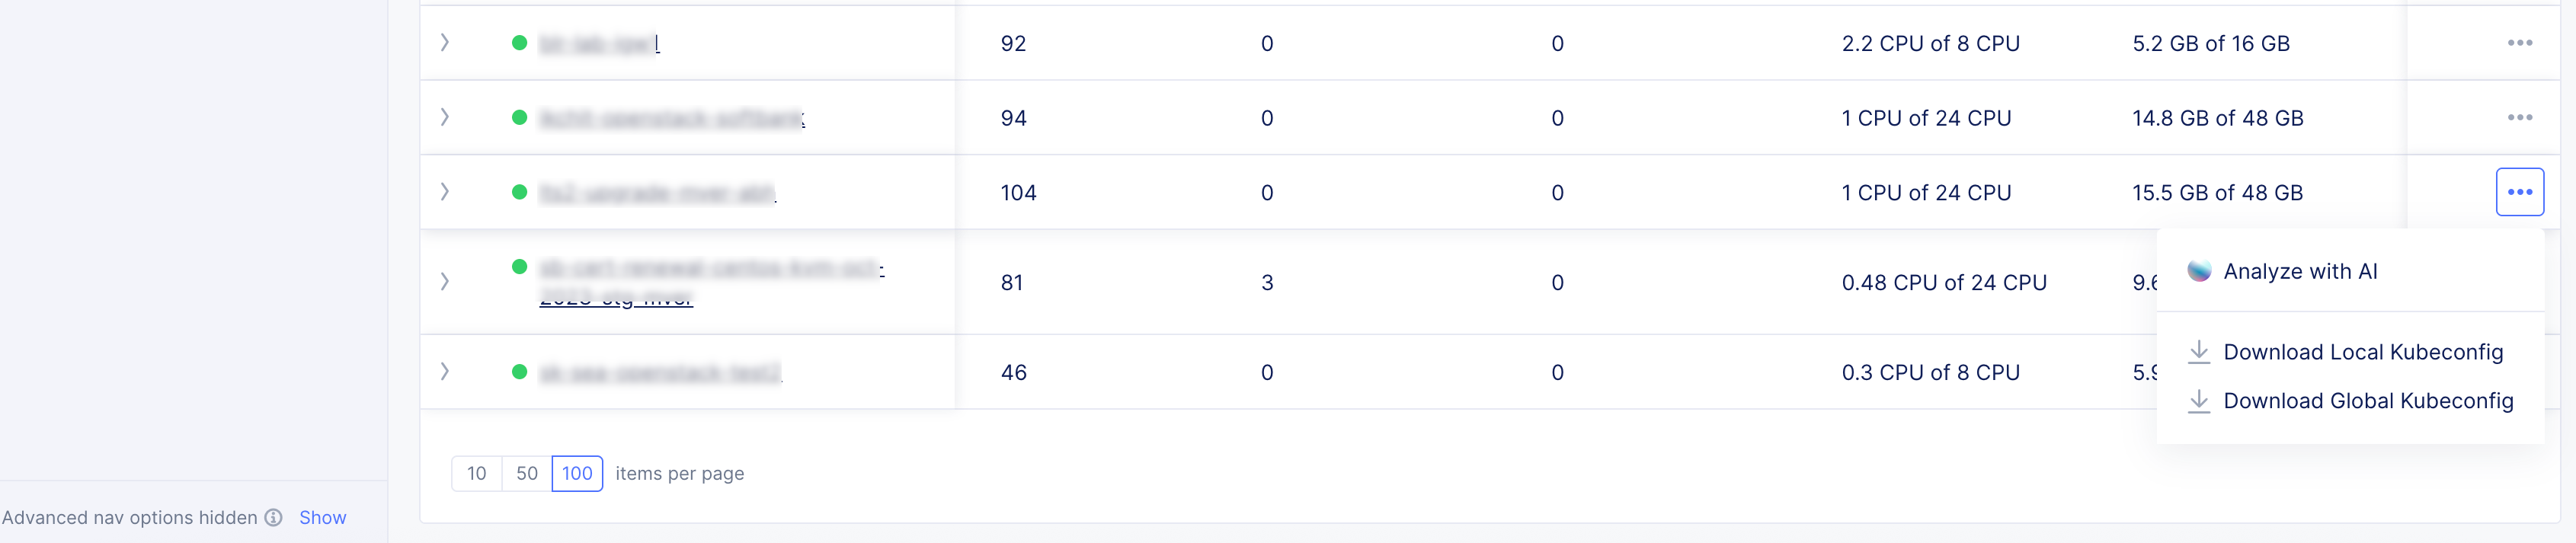
Figure: Kubeconfig File
Create and Apply the Manifest File
Create a manifest file that refers to the multiple subnets for the interfaces, and then apply the VM or container configuration.
Create a Virtual Machine
-
In the .yml file, configure the fields per your desired configuration.
-
Ensure that the
networkName: ves-system/<subnet-name>match the subnet(s) you created previously in Console. In the example below, networkName: ves-system/test-subnet-1 corresponds to a subnet test-subnet-1 created in Console.
Note: In the example manifest below, multus-1 and multus-2 are the additional networks that the VM interfaces will be on. Also, the example pins the VM to a specific node (control-0 in this case), but that is optional.
apiVersion: kubevirt.io/v1alpha3
kind: VirtualMachine
metadata:
  name: test-vm-1
spec:
  running: true
  template:
    metadata:
      labels:
        kubevirt.io/name: test-vm-1
    spec:
      nodeSelector:
        kubernetes.io/hostname: control-0
      domain:
        cpu:
          threads: 1
          cores: 1
          sockets: 1
        memory:
          guest: "1G"
        devices:
          autoattachPodInterface: true # true by default, explicitly setting for clarity
          disks:
          - name: bootdisk
            disk:
              bus: virtio
          - name: cloud-init
            disk:
              bus: virtio
          interfaces:
          - name: default
            masquerade: {}
          - name: multus-1
            bridge: {}
          - name: multus-2
            bridge: {}
      terminationGracePeriodSeconds: 0
      networks:
      - name: default
        pod: {}
      - multus:
          networkName: ves-system/test-subnet-1
        name: multus-1
      - multus:
          networkName: ves-system/test-subnet-2
        name: multus-2
      volumes:
      - name: bootdisk
        containerDisk:
          image: quay.io/containerdisks/ubuntu:20.04
      - name: cloud-init
        cloudInitNoCloud:
          userData: |-
            #cloud-config
            users:
              - name: root
                ssh-authorized-keys:
                  # provide ssh public key
            ssh_pwauth: True
            password: ubuntu
            chpasswd:
              expire: False
              list: |-
                 root:ubuntu
          networkData: |
            network:
              version: 1
              config:
              - type: physical
                name: enp1s0
                subnets:
                  - type: dhcp
              - type: physical
                name: enp2s0
                subnets:
                  - type: dhcp
              - type: physical
                name: enp3s0
                subnets:
                  - type: dhcp
-
To apply the configuration and create the VM/container, enter the following command: kubectl apply -f name-of-file.yml.
-
To confirm the VM/container was created, enter the following command: kubectl get vms.
This example shows three virtual machines created:
$ kubectl get vms
NAME      AGE    STATUS    READY
fedora1   5d9h   Running   True
fedora2   5d9h   Running   True
fedora3   5d9h   Running   True
Create Pods Connected to Layer 2 VLAN
- In the .yml file, configure the fields per your desired configuration. See example deployment below for a manifest file that creates two pods with Layer 2 VLAN interfaces.
apiVersion: v1
kind: Pod
metadata:
  name: colo-a1
  annotations:
    k8s.v1.cni.cncf.io/networks: ves-system/marcel-colo-vlan10
spec:
  nodeSelector:
    kubernetes.io/hostname: ryzen1
  containers:
  - image: alpine
    command: ["sleep", "infinity"]
    imagePullPolicy: IfNotPresent
    name: alpine
    securityContext:
      privileged: true
      runAsUser: 0
---
apiVersion: v1
kind: Pod
metadata:
  name: colo-a2
  annotations:
    k8s.v1.cni.cncf.io/networks: ves-system/marcel-colo-vlan10
spec:
  nodeSelector:
    kubernetes.io/hostname: ryzen2
  containers:
  - image: alpine
    command: ["sleep", "infinity"]
    imagePullPolicy: IfNotPresent
    name: alpine
    securityContext:
      privileged: true
      runAsUser: 0
-
To apply the configuration and create the pods, enter kubectl apply -f name-of-file.yml.
-
To confirm the pods were created, enter kubectl get pods -o wide.
This example shows two pods created (colo-a1 and colo-a2):
$ kubectl get pods -o wide
NAME                          READY   STATUS    RESTARTS   AGE    IP           NODE     NOMINATED NODE   READINESS GATES
colo-a1                       2/2     Running   0          18h    10.1.3.118   ryzen1   <none>           <none>
colo-a2                       2/2     Running   0          18h    10.1.3.119   ryzen2   <none>           <none>
virt-launcher-colo-f1-fpl5z   3/3     Running   0          24h    10.1.3.109   ryzen1   <none>           1/1
virt-launcher-colo-f2-gfhkv   3/3     Running   0          24h    10.1.3.110   ryzen2   <none>           1/1
Note: You can use a CLI tool called virtctl to manage Kubernetes with your VM/container. See the Create and Deploy Managed K8s guide for more information.
View Virtual Machine Interfaces
- To view the interface(s) for the VM/container from a terminal, enter command kubectl virt console name.
kubectl virt console <-name->
-
To view the interface(s) for the VM/container from Console, navigate to Manage K8s Overview:
-
Select your Site from the list.
-
Select the Virtual Machines tab.
-