Create Virtual K8s Object
Objective
This document provides instructions on how to create Virtual K8s (vK8s) with F5® Distributed Cloud Services. Distributed Cloud Services provide a mechanism to easily deploy applications using vK8s across a global network and make them available closer to users in major metro markets. To learn more about how Distributed Cloud Services distribute application deployment, see Distributed Application Management.
Using the instructions provided in this guide, you can create a vK8s object in F5® Distributed Cloud Console (Console) and associate it with a virtual site that groups network cloud (RE) sites or customer edge (CE) cloud sites. To know more about virtual sites, see Virtual Site.
Note: You can deploy applications at your sites using the vK8s object. See K8s Deployment for instructions on how to perform application deployment using the vK8s object.
Refer to the Restrictions if you are deploying apps using vK8s for network regional edge (RE) cloud sites.
Prerequisites
-
An F5 Distributed Cloud Account. If you do not have an account, see Getting Started with Console.
-
One or more cloud or edge locations with a site (in case of deployment on the edge site). Install the Distributed Cloud Services Node or Cluster Image in your Cloud or Edge Site.
-
A virtual site.
Restrictions
The following restrictions apply for deploying applications on Distributed Cloud Services RE cloud sites:
-
Running of containers/pods with host networking
hostNetwork, host PIDhostPID, or host IPChostIPCis not supported. -
Running containers/pods as privileged is not supported.
-
Running containers/pods as
rootuser is not supported. The container images are required to support running under arbitrary user id and group id. Filesystem write permissions should not be specified to a particular user ID. Else, the container will crash with thepermission deniedmessage. -
Container/pod can use only ports higher than 1024.
-
The containers are not supported for use with host mount volumes. The following Kubernetes volumes are supported:
-
configMap
-
DownwardAPI
-
emptyDir
-
PersistentVolumeClaim (PVC)
-
projected
-
secret
-
-
The
ConcurrencyPolicyis always set toForbidirrespective of what is specified in the manifest for any CronJob launched on the Regional Edge Sites.
Note: The restrictions shown above are not applicable for vK8s that refer to a virtual site containing only Customer Edge (CE) sites. It is only applicable if the virtual site contains one or more Regional Edge (RE) sites.
Configuration
This section presents steps for creating a virtual K8s (vK8s) object in Console.
Perform the following to create a vK8s object:
Step 1: Start vK8s object creation.
-
Log into Console.
-
Select
Distributed Apps.
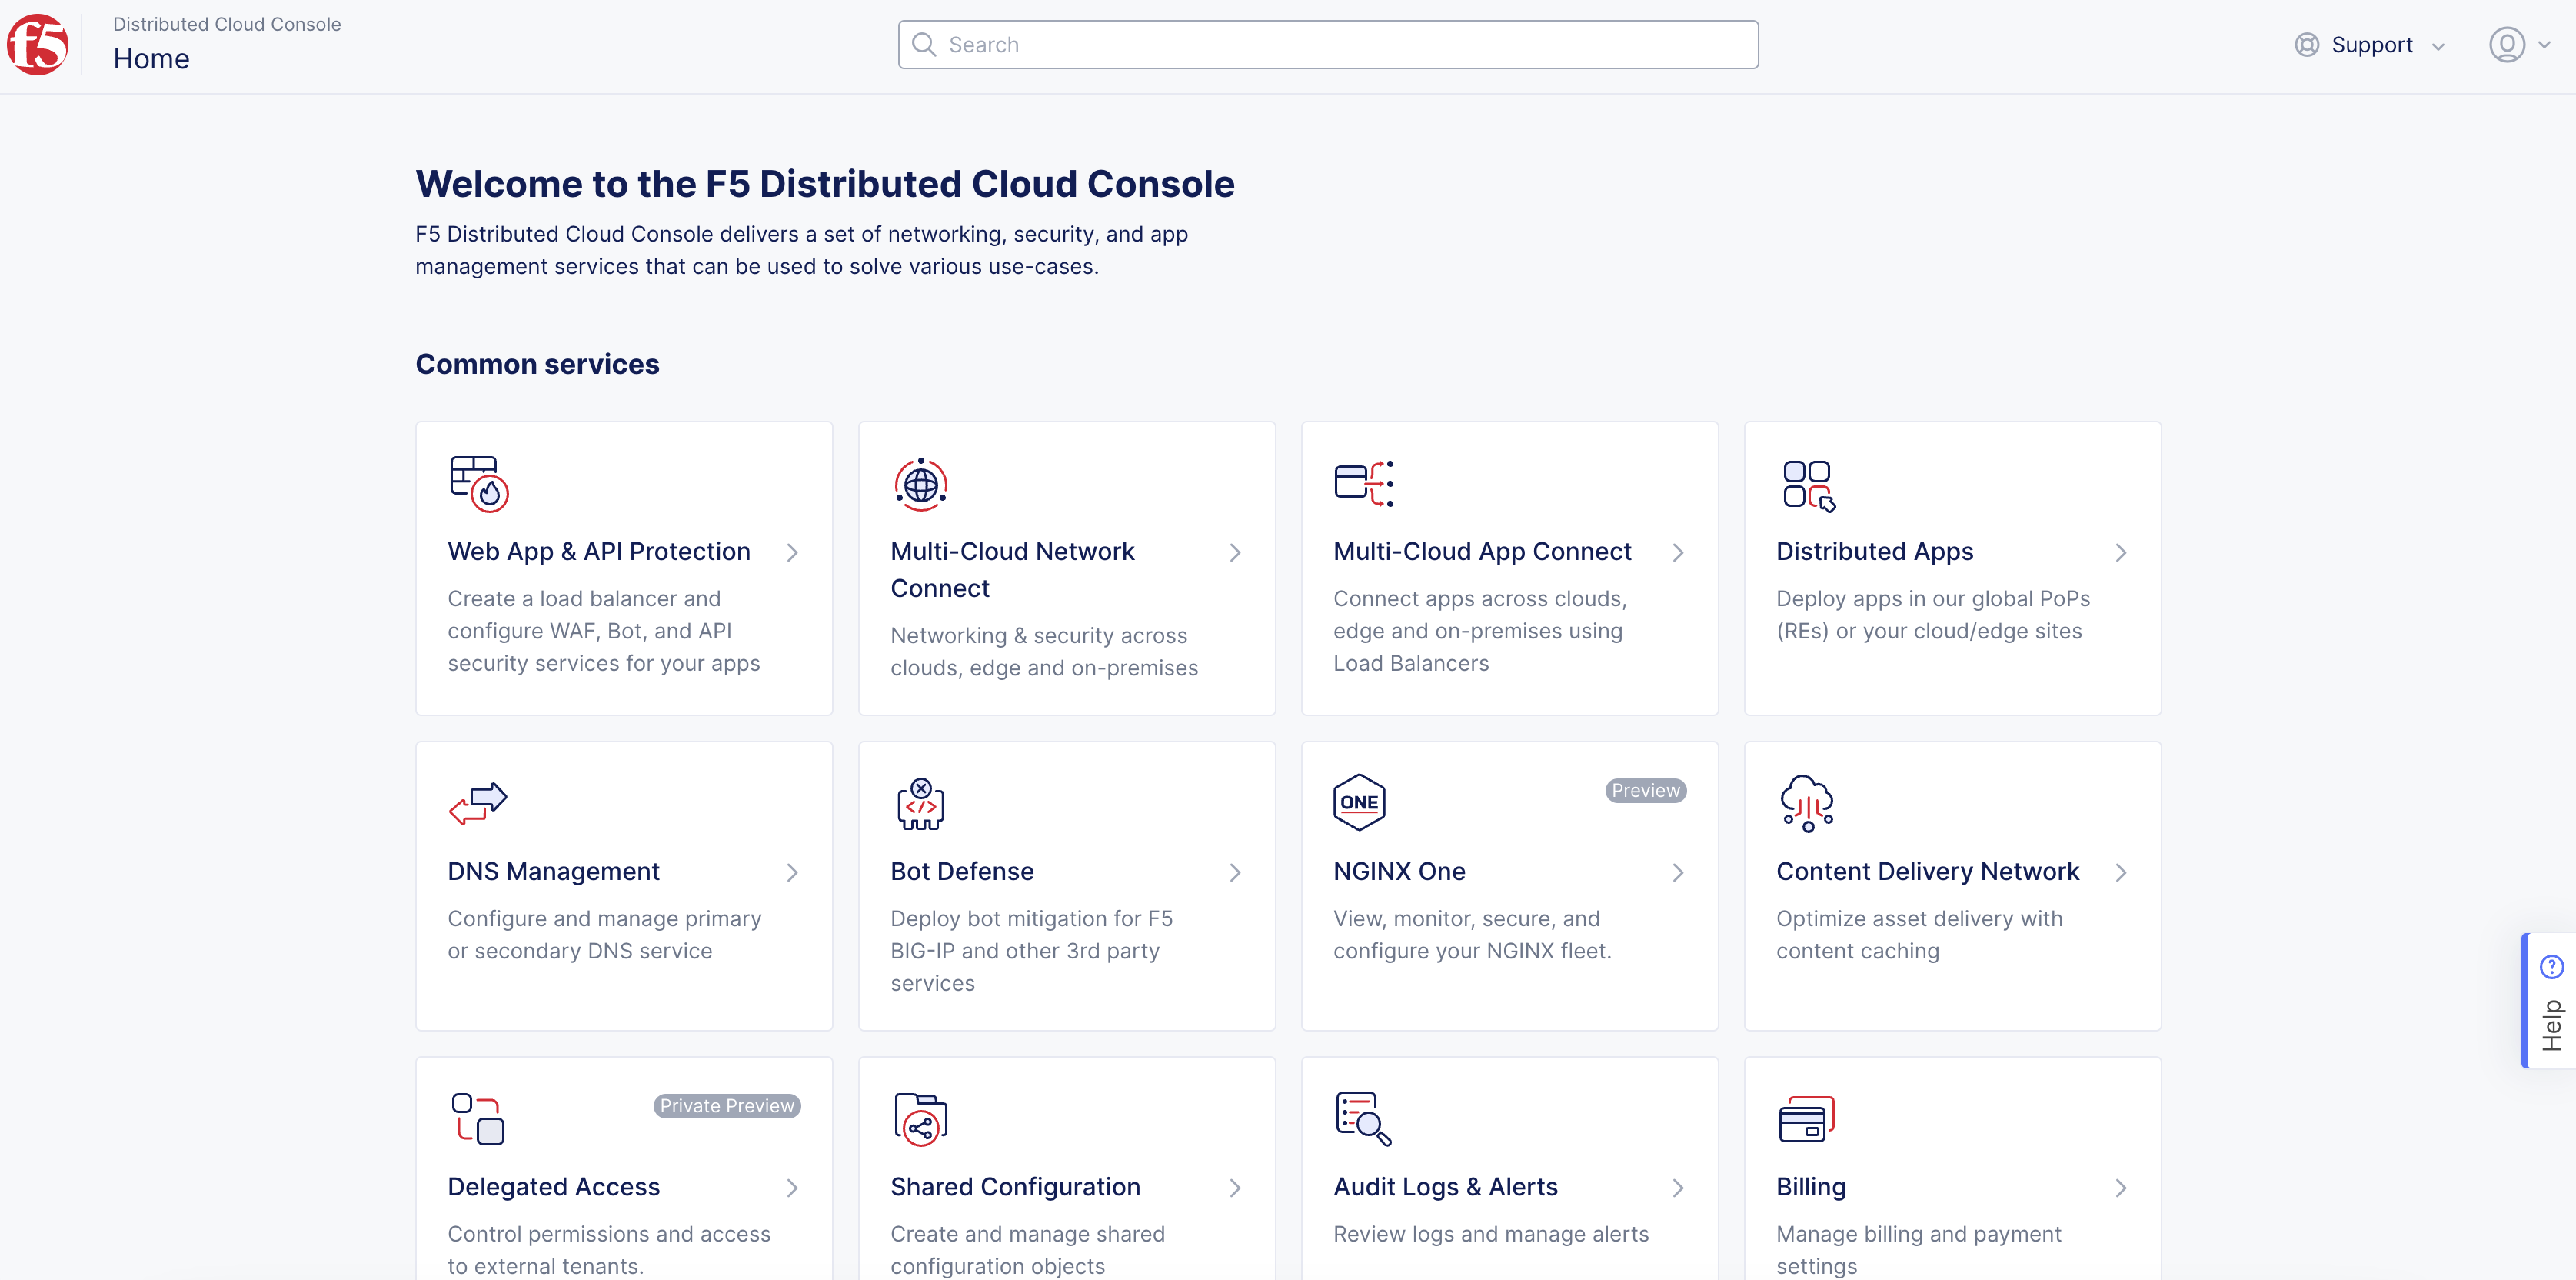
Figure: Console Homepage
-
Select
Applications>Virtual K8s. -
Select
Add Virtual K8sto create a vK8s object.
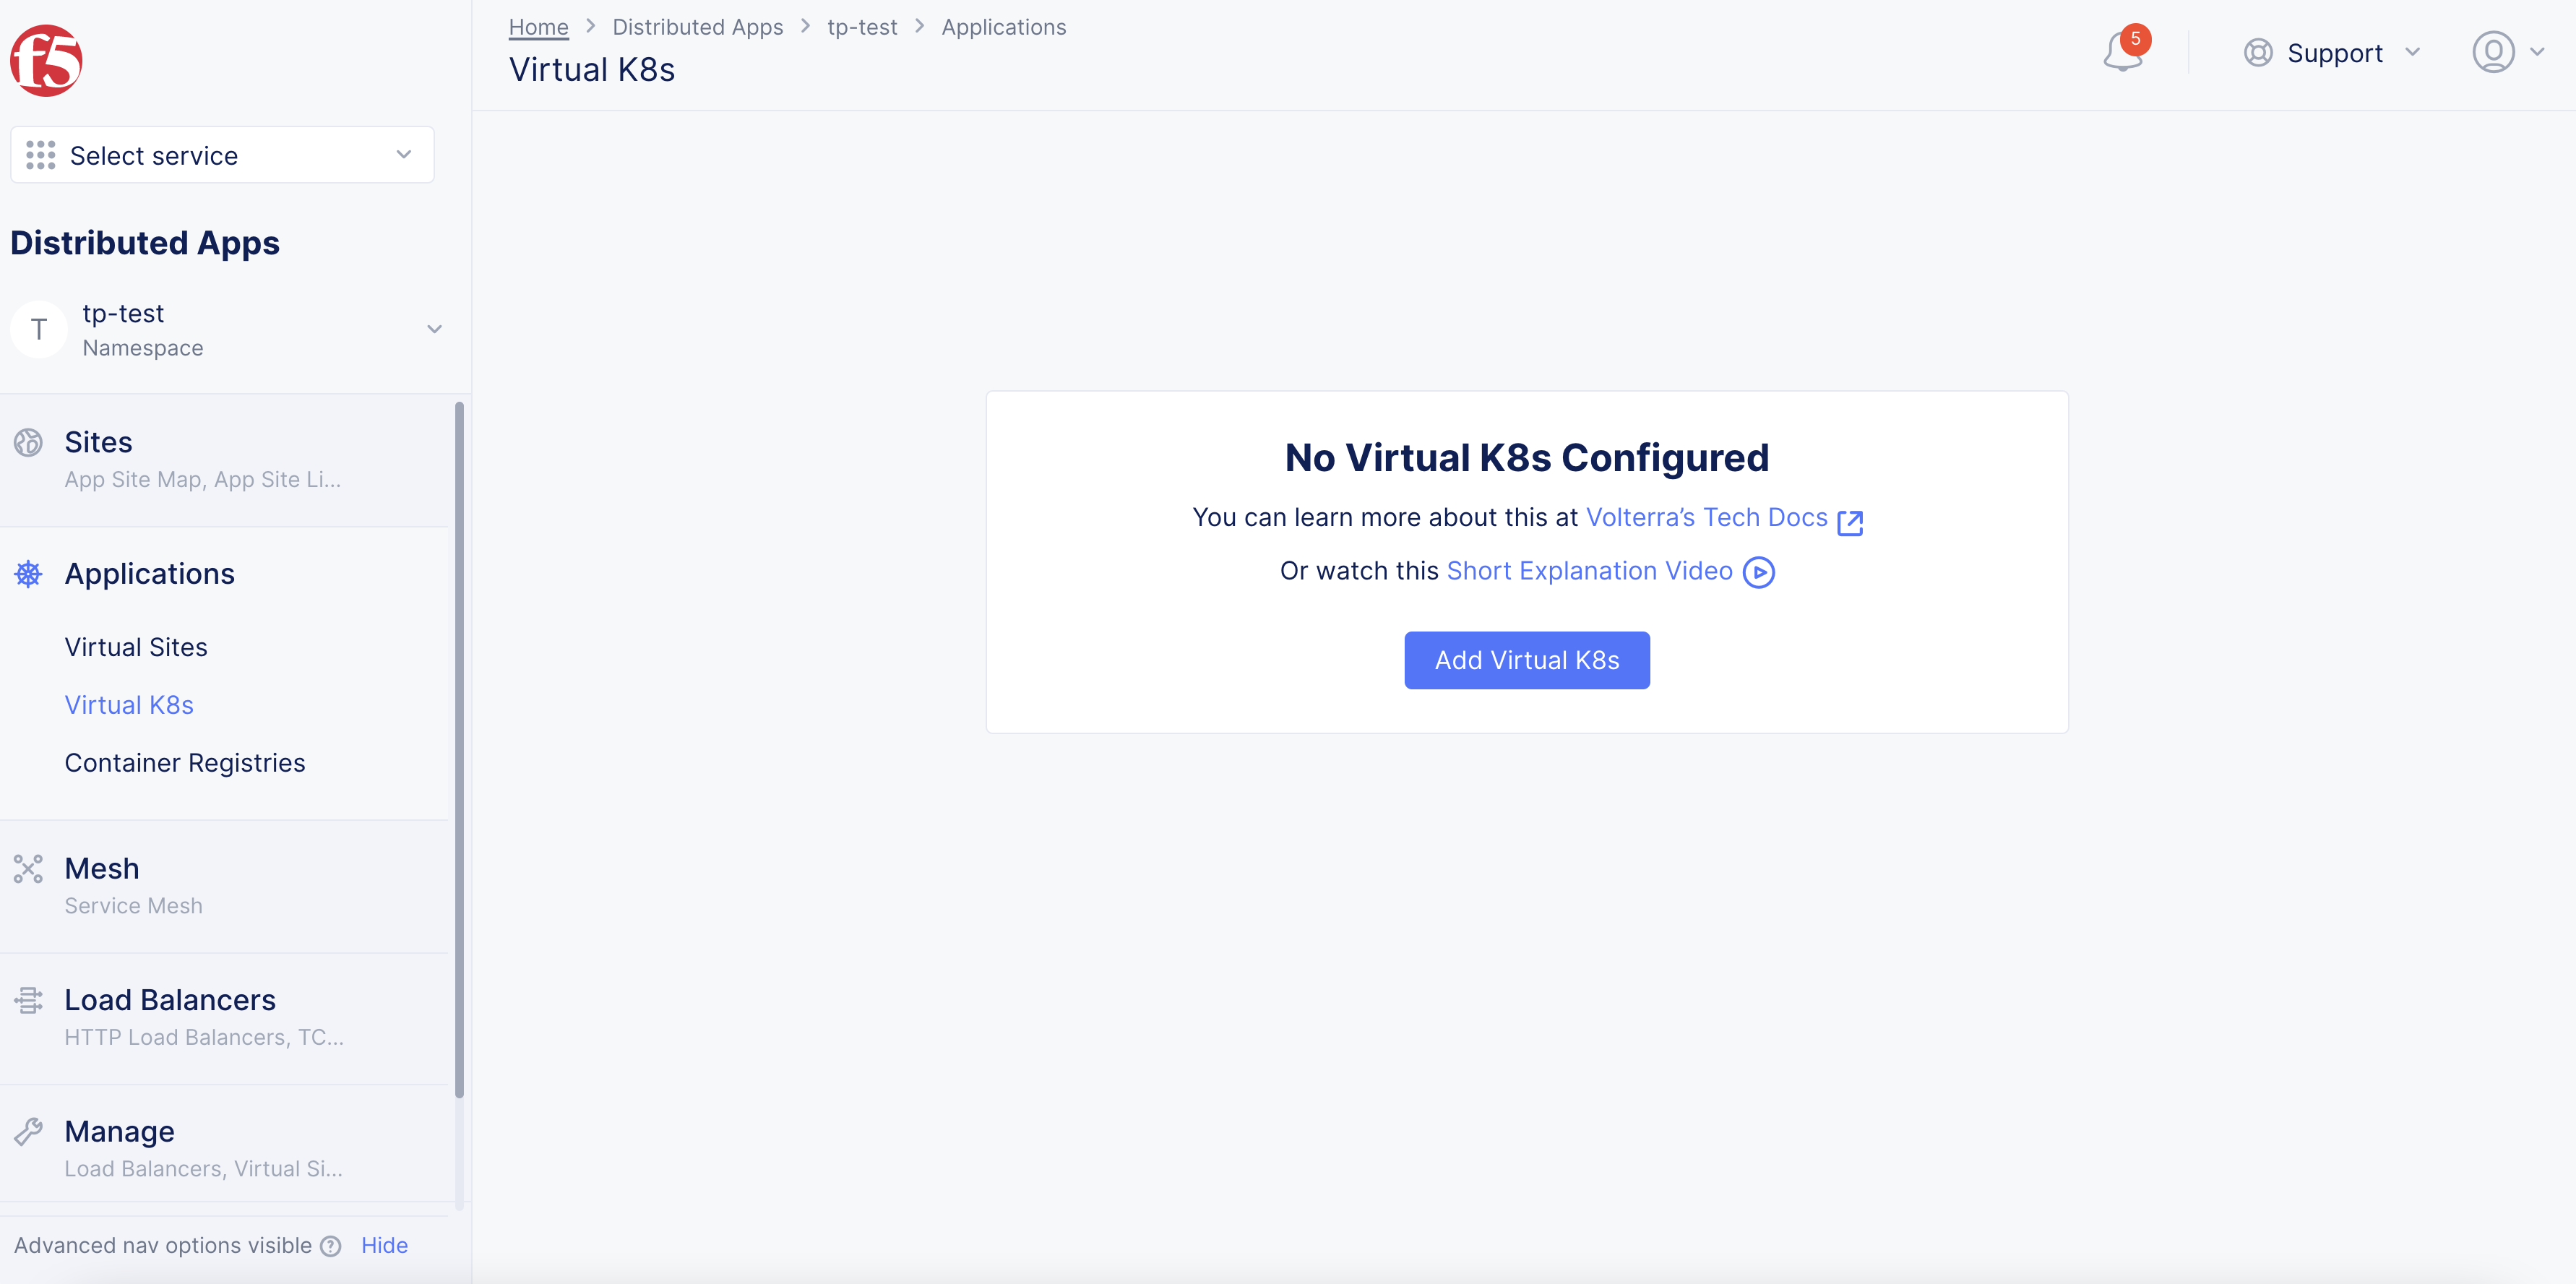
Figure: Add Virtual K8s
Step 2: Configure metadata and associate with virtual sites.
-
In the
Namefield, enter a name. -
Optionally, add a label and description.
-
In the
Virtual Sitessection, selectAdd itemand then select a virtual site using theSelect Itempull down menu. Repeat this step for all virtual sites, as needed.
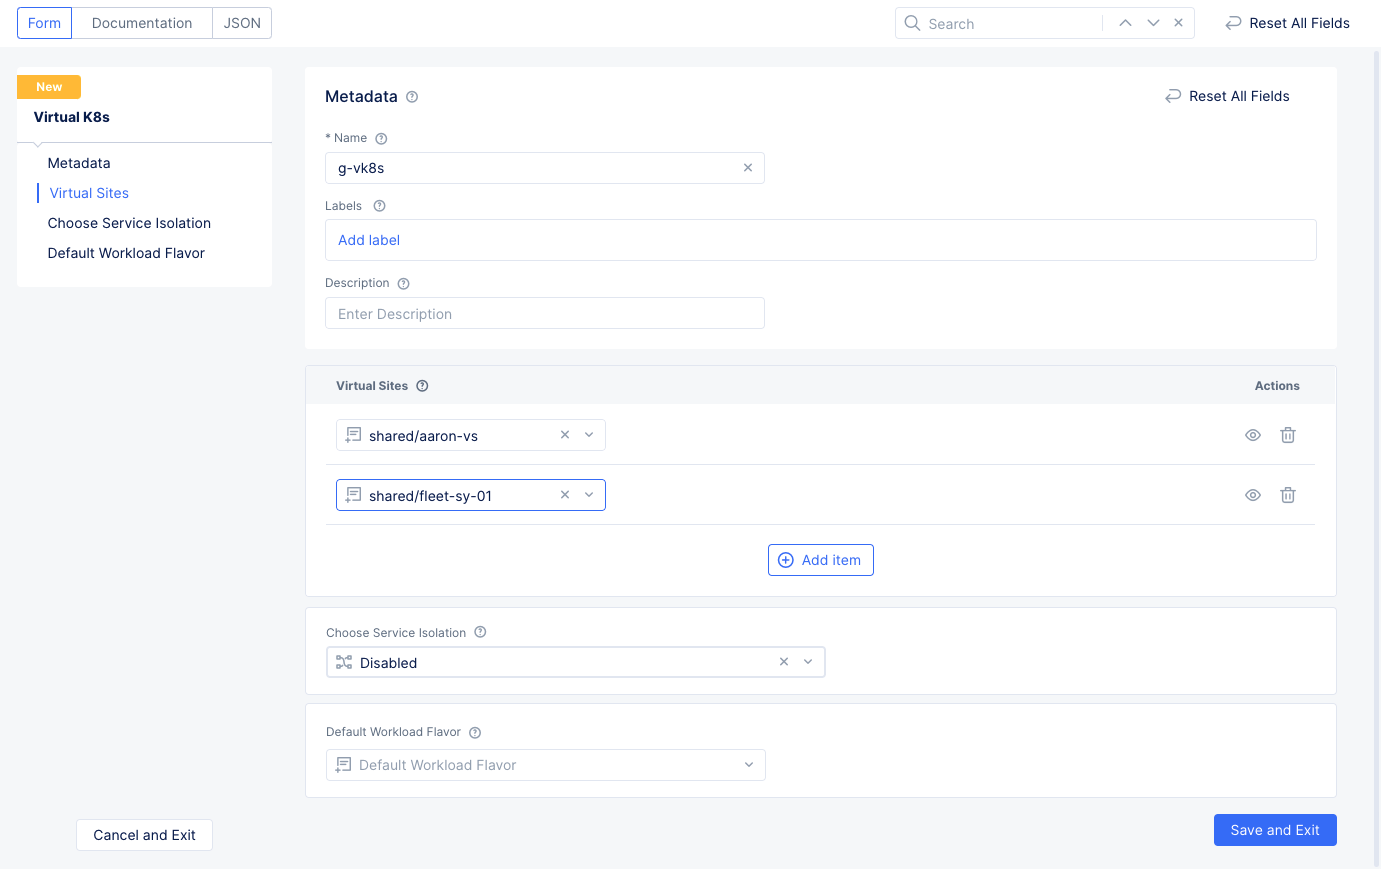
Figure: Select Vsite Ref
Step 3: Optionally, enable service isolation.
From the Choose Service Isolation menu, select the Isolated Services option. This prevents communication between the pods for the different services.
Note:
When service isolation is enabled, an HTTP load balancer with advertising on site local outside network is required for accessing these services from outside.
If you wish to exempt any specific vK8s service from isolation, you can add the
ves.io/serviceisolation=falseannotation to that service.
Step 4: Optionally, set a default workload flavor.
- Scroll down to the
Default Workload Flavorsection. - Using the
Default Workload Flavordrop-down menu, select a default workload flavor object from the list of displayed options. You can also create a new default workload using theAdd Itemoption.
Note: If you do not configure this field or did not use the
ves.io/workload-flavorannotation, thetinyflavor is applied by default. See Configure Default Workload Flavor for more information.
Step 5: Complete creating the vK8s object.
Select Save and Exit to create the vK8s object. Wait for the vK8s object to get created and displayed.
Step 6: Download the vK8s kubeconfig file.
This is required for any command-line interface (CLI) operations.
- Select
...>Kubeconfigfor your vK8s object to download the file.
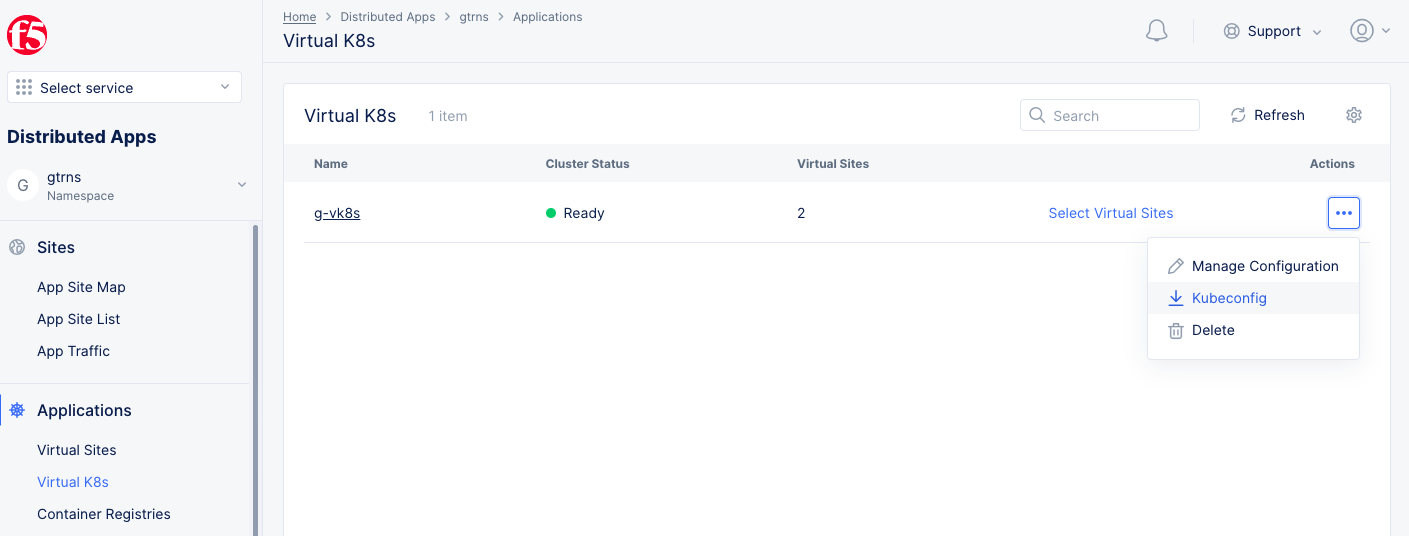
Figure: Select File to Download
- In the popup window that appears, select the expiration date and then select
Download Credential.
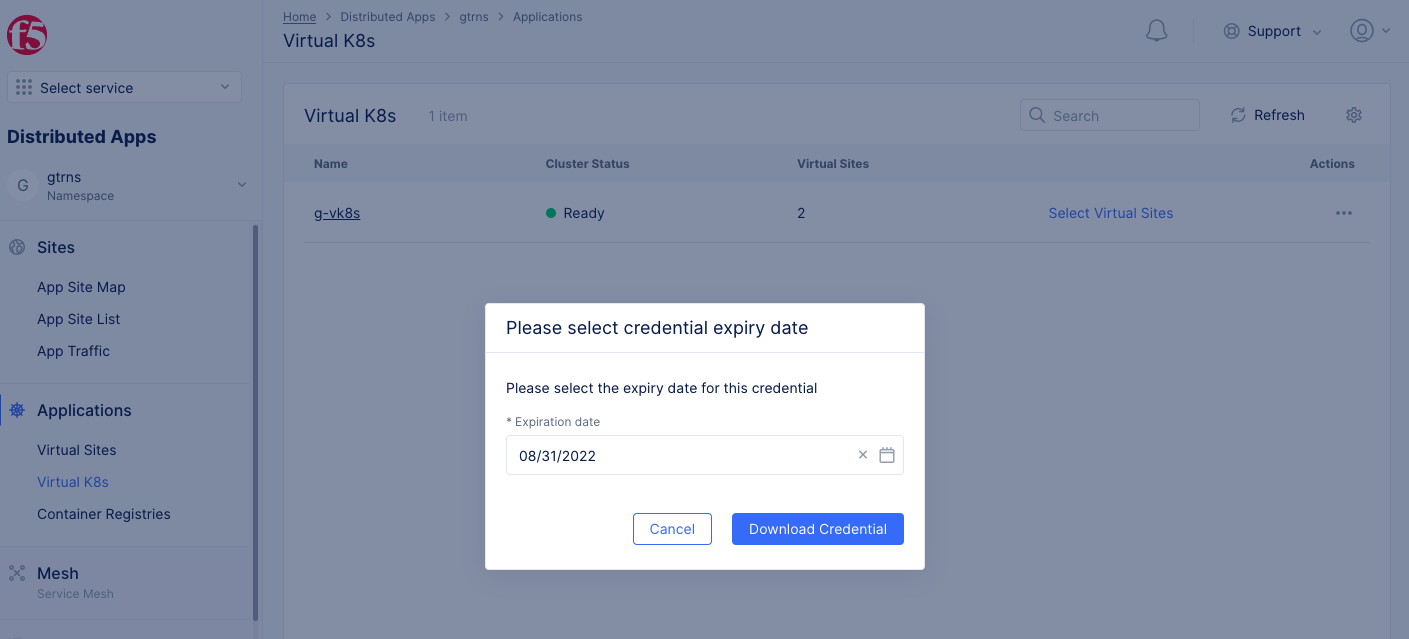
Figure: Expiration Date
Note: You can edit the virtual site associated with the vK8s object using the
Select Virtual Sitesoption.