Configure URL Reputation Service
Objective
This guide provides instructions on how to enable the URL Reputation Service from within F5® Distributed Cloud Console (Console). The URL Reputation Service enables you to classify a URL based on a category or a score. After the URL is classified based on a risk, that URL can be denied or allowed based on your forward proxy policy configuration.
For more information, see HTTP Connect and Forward Proxy Policies documents.
Prerequisites
The following prerequisites apply:
-
An F5 Distributed Cloud Account. If you do not have an account, see Getting Started with Console.
-
An HTTP proxy server.
Configuration
You can enable URL reputation classification using a basic method (URL categories) or a more advanced method (label selectors with URL categories and URL scores).
Basic method: Using single or multiple URL categories.
Each request received by your proxy server will be categorized using the following categories:
- Uncategorized
- Real Estate
- Computer and Internet Security
- Financial Services
- Business and Economy
- Computer and Internet Info
- Auctions
- Shopping
- Cult and Occult
- Travel
- Abused Drugs
- Adult and Pornography
- Home and Garden
- Military
- Social Networking
- Dead Sites
- Individual Stock Advice and Tools
- Training and Tools
- Dating
- Sex Education
- Religion
- Entertainment and Arts
- Personal Sites and Blogs
- Legal
- Local Information
- Streaming Media
- Job Search
- Gambling
- Translation
- Reference and Research
- Shareware and Freeware
- Peer To Peer
- Marijuana
- Hacking
- Games
- Philosophy and Political Advocacy
- Weapons
- Pay To Surf
- Hunting and Fishing
- Society
- Educational Institutions
- Online Greeting Cards
- Sports
- Swimsuits and Intimate Apparel
- Questionable
- Kids
- Hate and Racism
- Personal Storage
- Violence
- Keyloggers and Monitoring
- Search Engines
- Internet Portals
- Web Advertisements
- Cheating
- Gross
- Web Based Email
- Malware Sites
- Phishing and Other Frauds
- Proxy Avoidance and Anonymizers
- Spyware and Adware
- Music
- Government
- Nudity
- News and Media
- Illegal
- Content Delivery Networks
- Internet Communications
- Bot Nets
- Abortion
- Health and Medicine
- Confirmed Spam Sources
- Spam URLs
- Unconfirmed Spam Sources
- Open HTTP Proxies
- Dynamically Generated Content
- Parked Domains
- Alcohol and Tobacco
- Private IP Addresses
- Image and Video Search
- Fashion and Beauty
- Recreation and Hobbies
- Motor Vehicles
- Web Hosting
Advanced method: Using a label selector with two label options: reputation.ves.io/url-trustscore and reputation.ves.io/url-category.
You can use one or the other, or you can use both labels together in expressions. The lower the score, the higher the risk is for that particular URL. Each URL request received by your proxy server will be categorized on risk levels using a scoring system.
This table provides the score and corresponding score levels:
| Score Range | Score | Risk |
|---|---|---|
| 1-50 | Low | High |
| 51-80 | Medium | Medium |
| 81-100 | High | Low |
The instructions provided in this guide show both methods for configuring your forward proxy policy to classify URLs (to deny) and assumes you are using an existing proxy server.
Deny Malicious URLs Using URL Categories
This forward proxy policy feature blocks URLs based on categories.
Step 1: Navigate to forward proxy policies in Console.
- From the Console homepage, click
Multi-Cloud App Connect.
Figure: Console Homepage
-
Select the same namespace where your HTTP proxy server is located. The new forward proxy policy must be in the same namespace.
-
Navigate to
Security>Forward Proxy Policies. -
Click
Add Forward Proxy Policy.
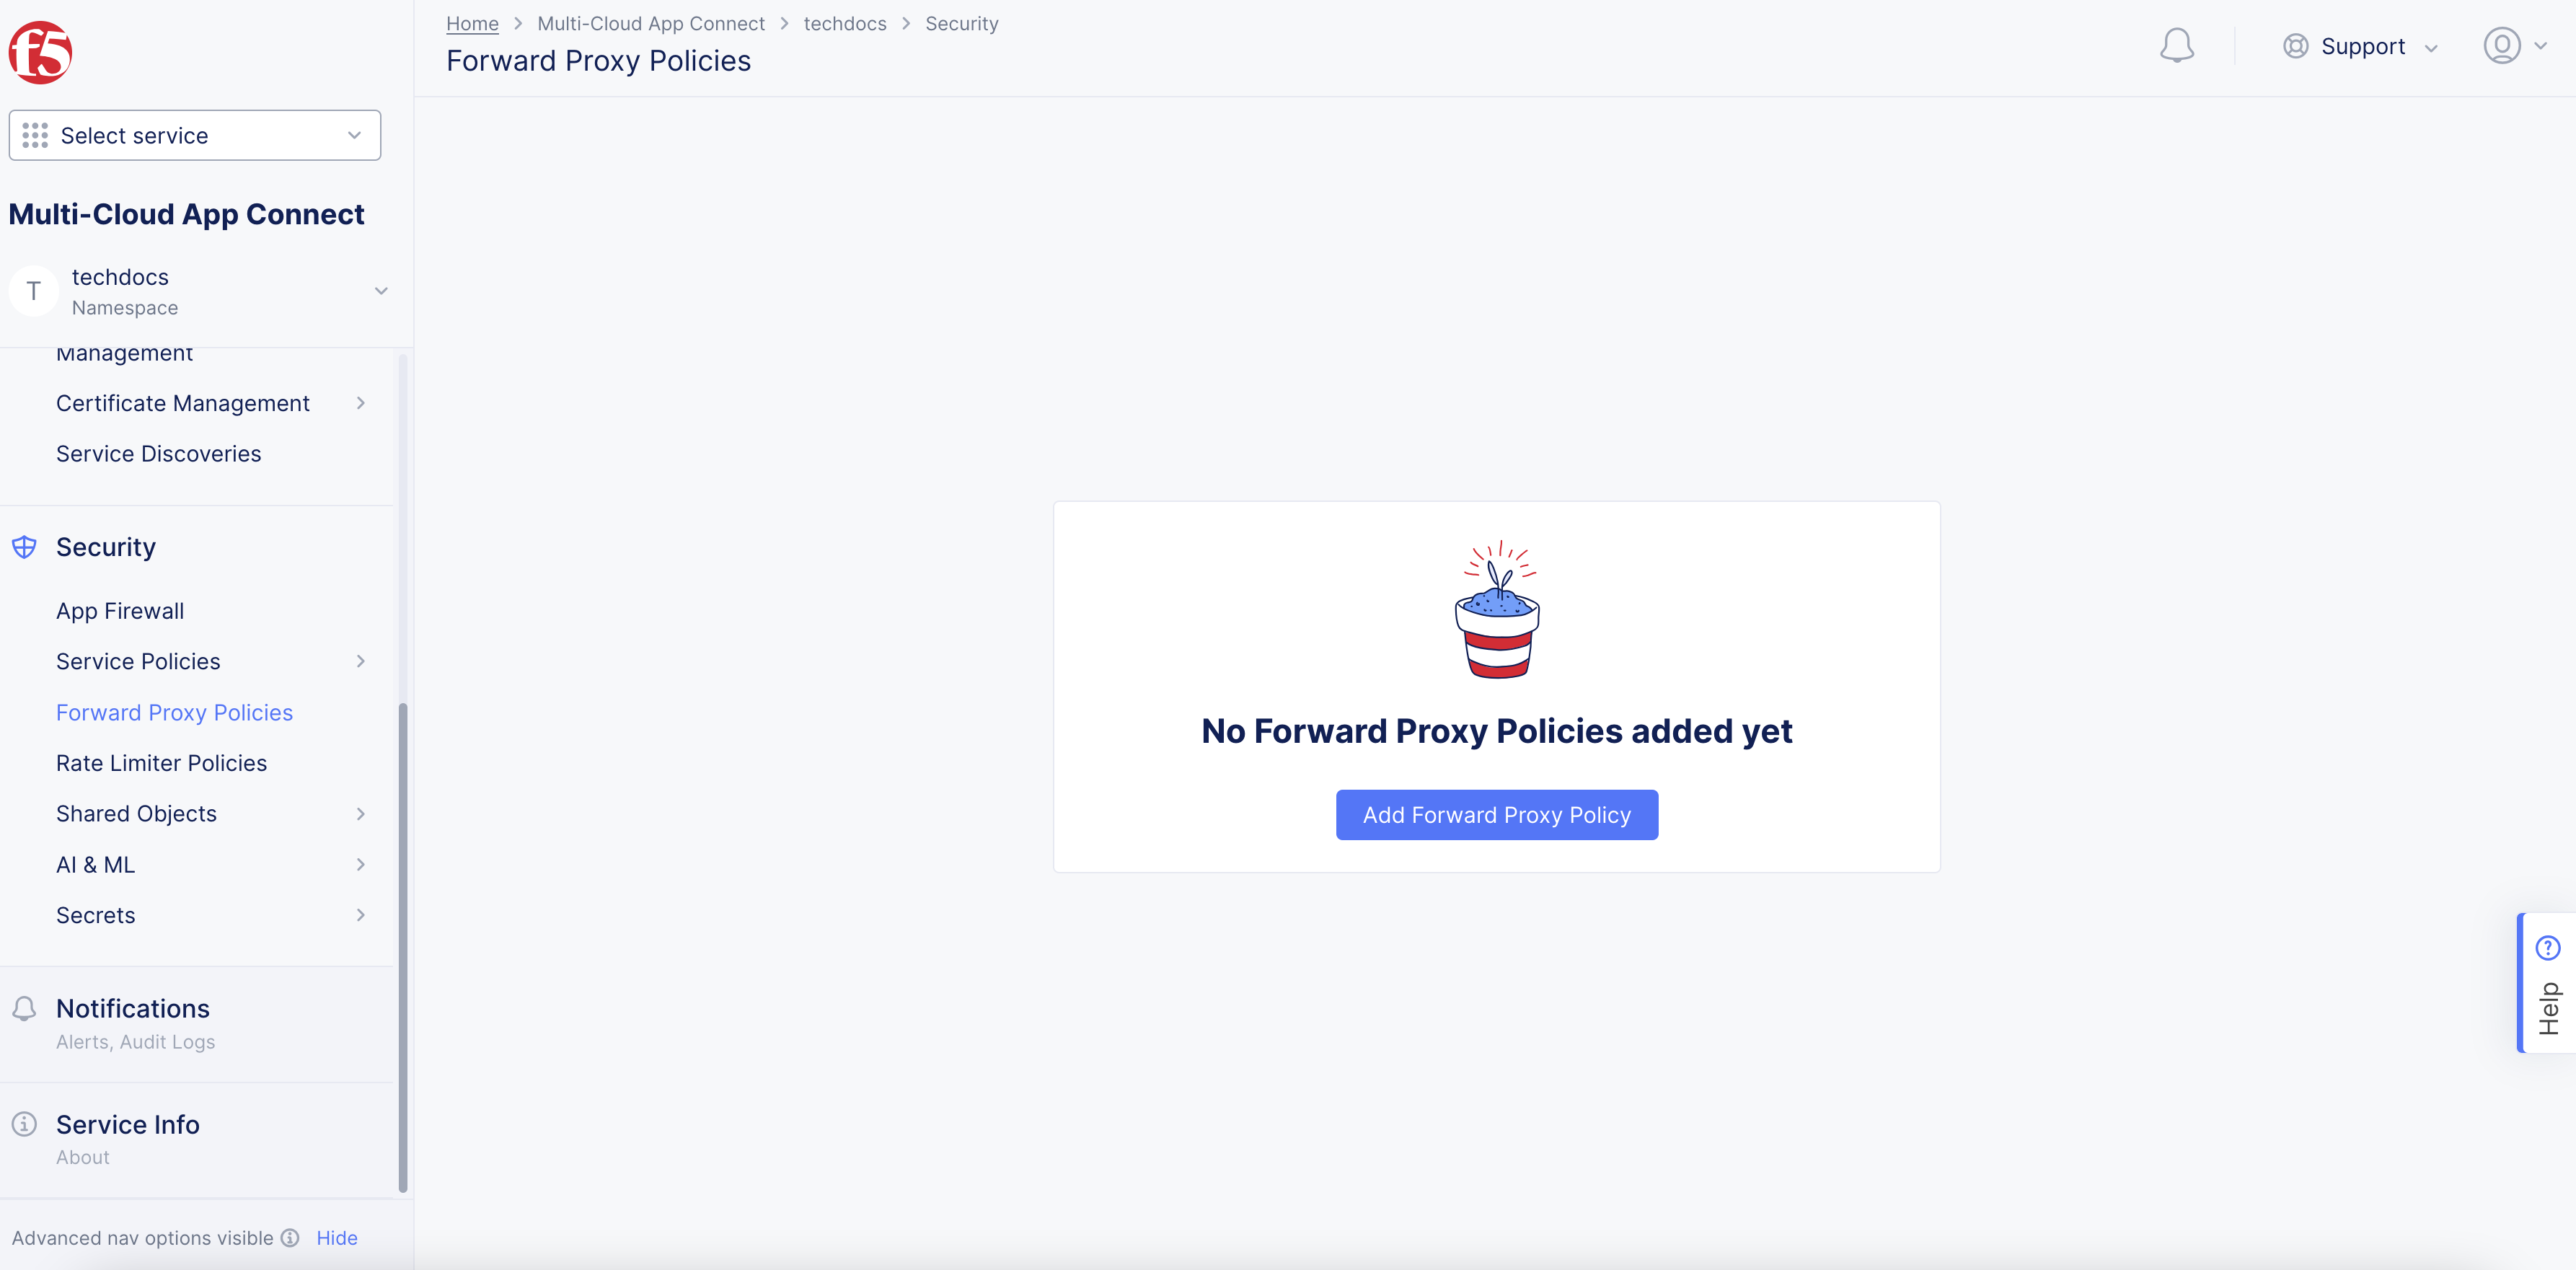
Figure: Add Forward Proxy Policy
Step 2: Create custom rule to include URL categories.
- In the
Namefield, enter a name for the new forward proxy policy.
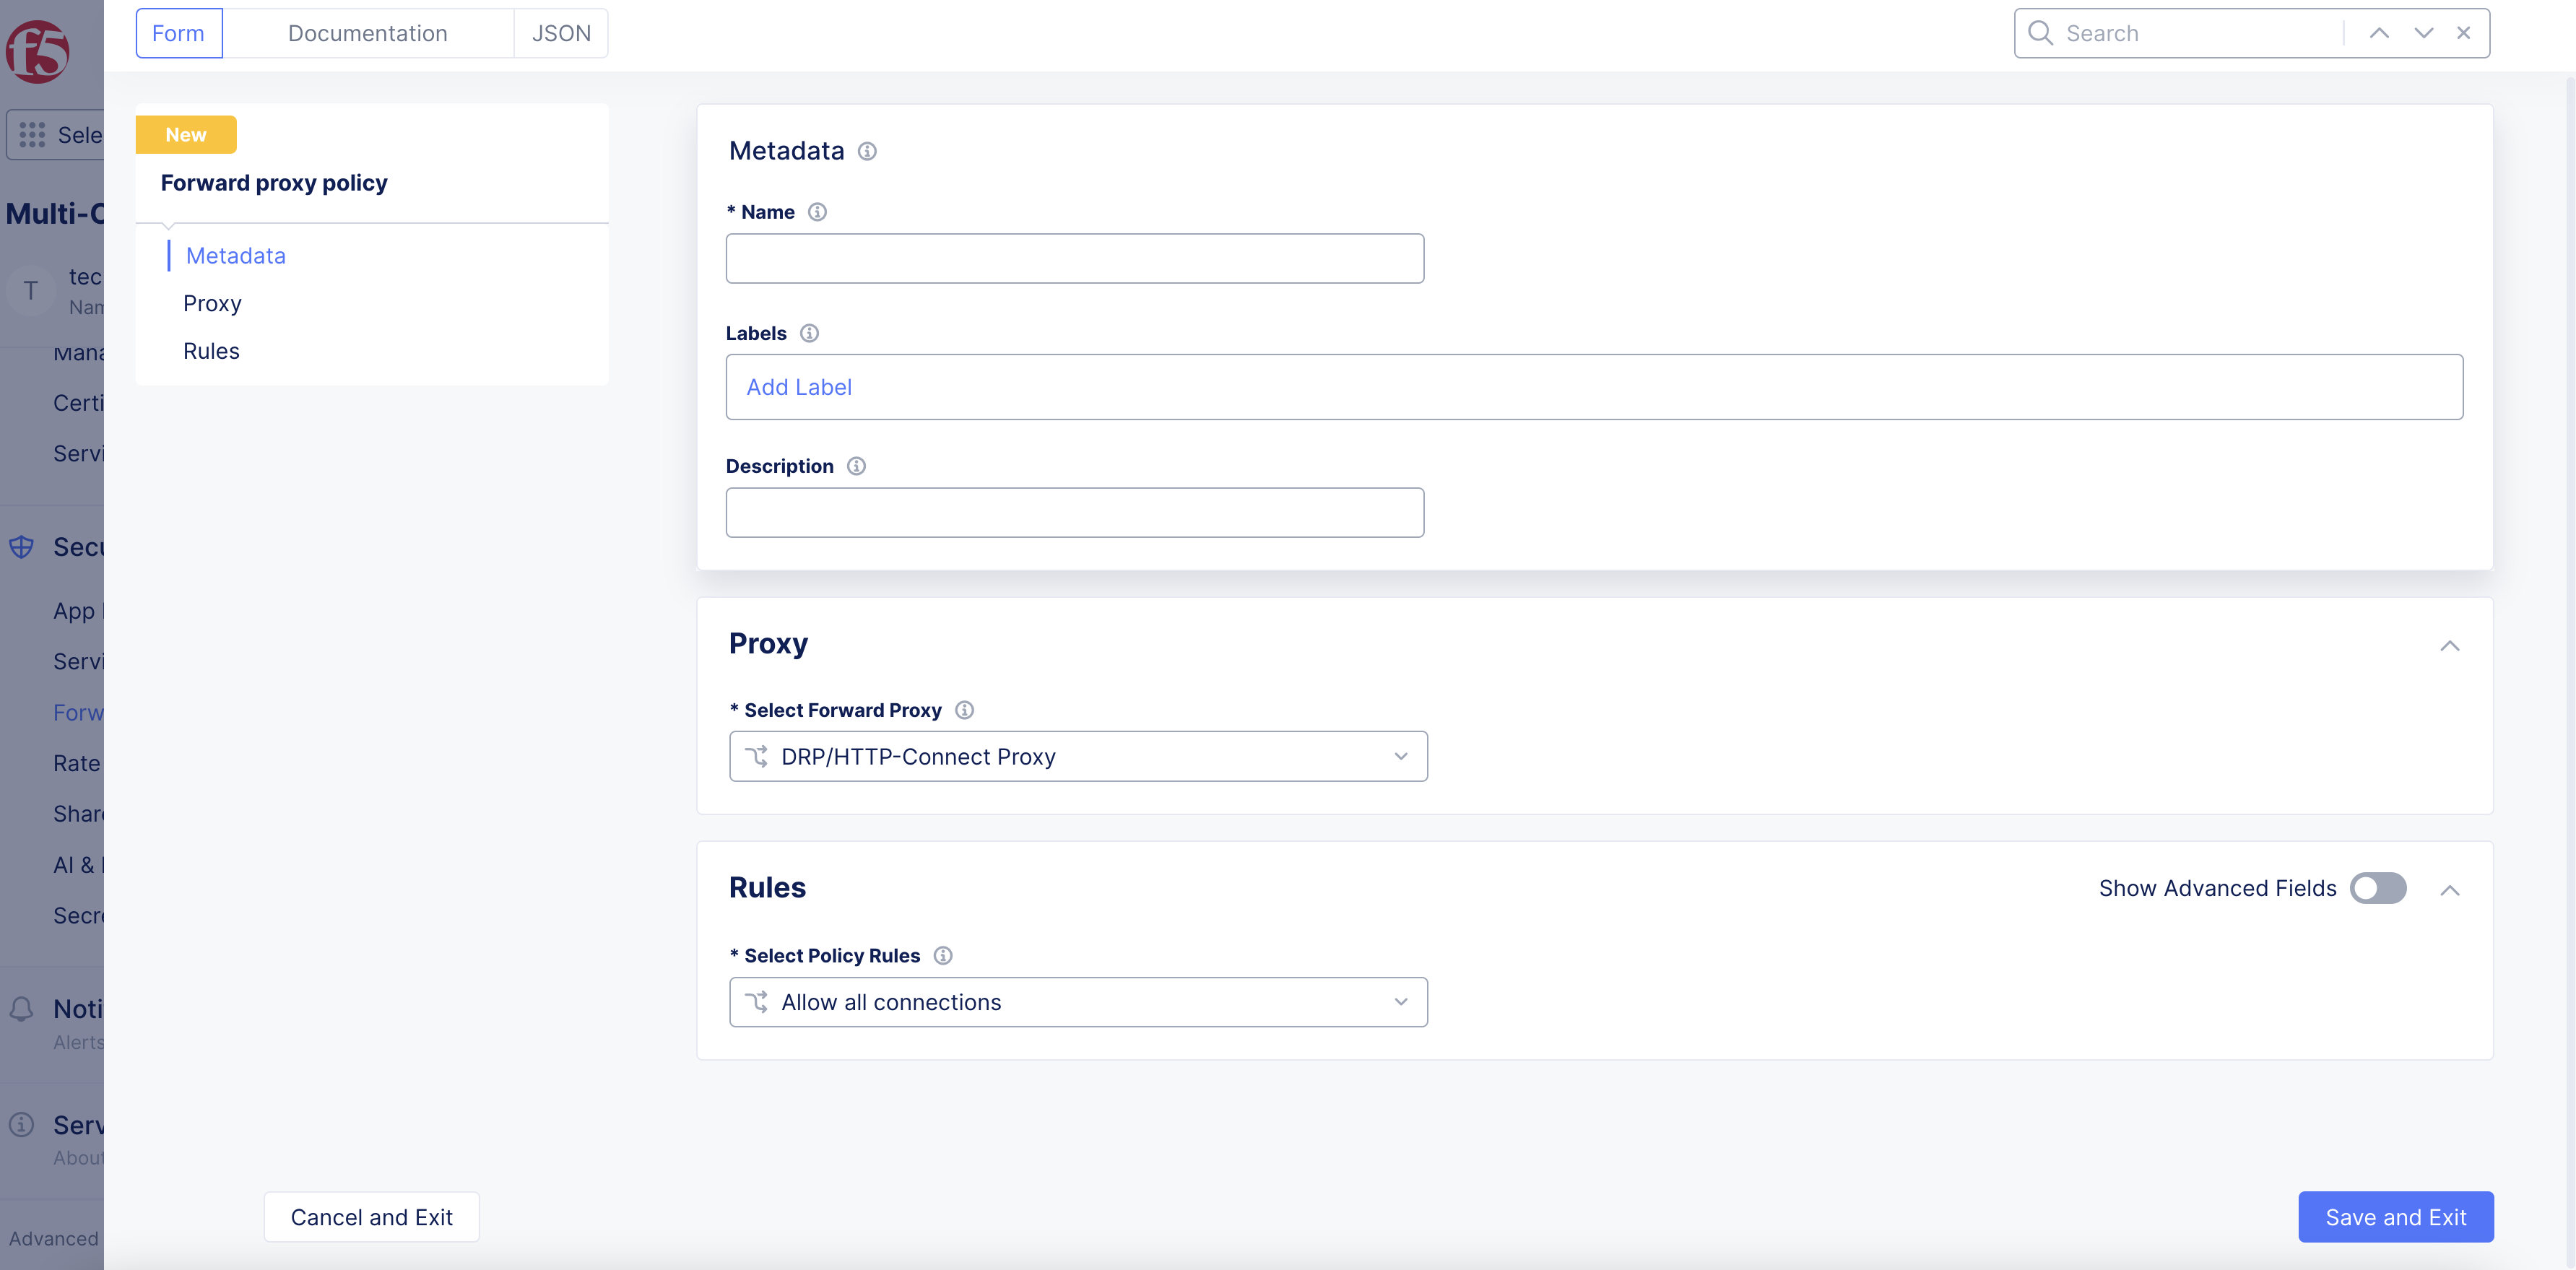
Figure: Add Name
-
In the
Rulessection, perform the following:-
From the
Select Policy Rulesmenu, selectCustom Rule List. -
Click
Configure.
-
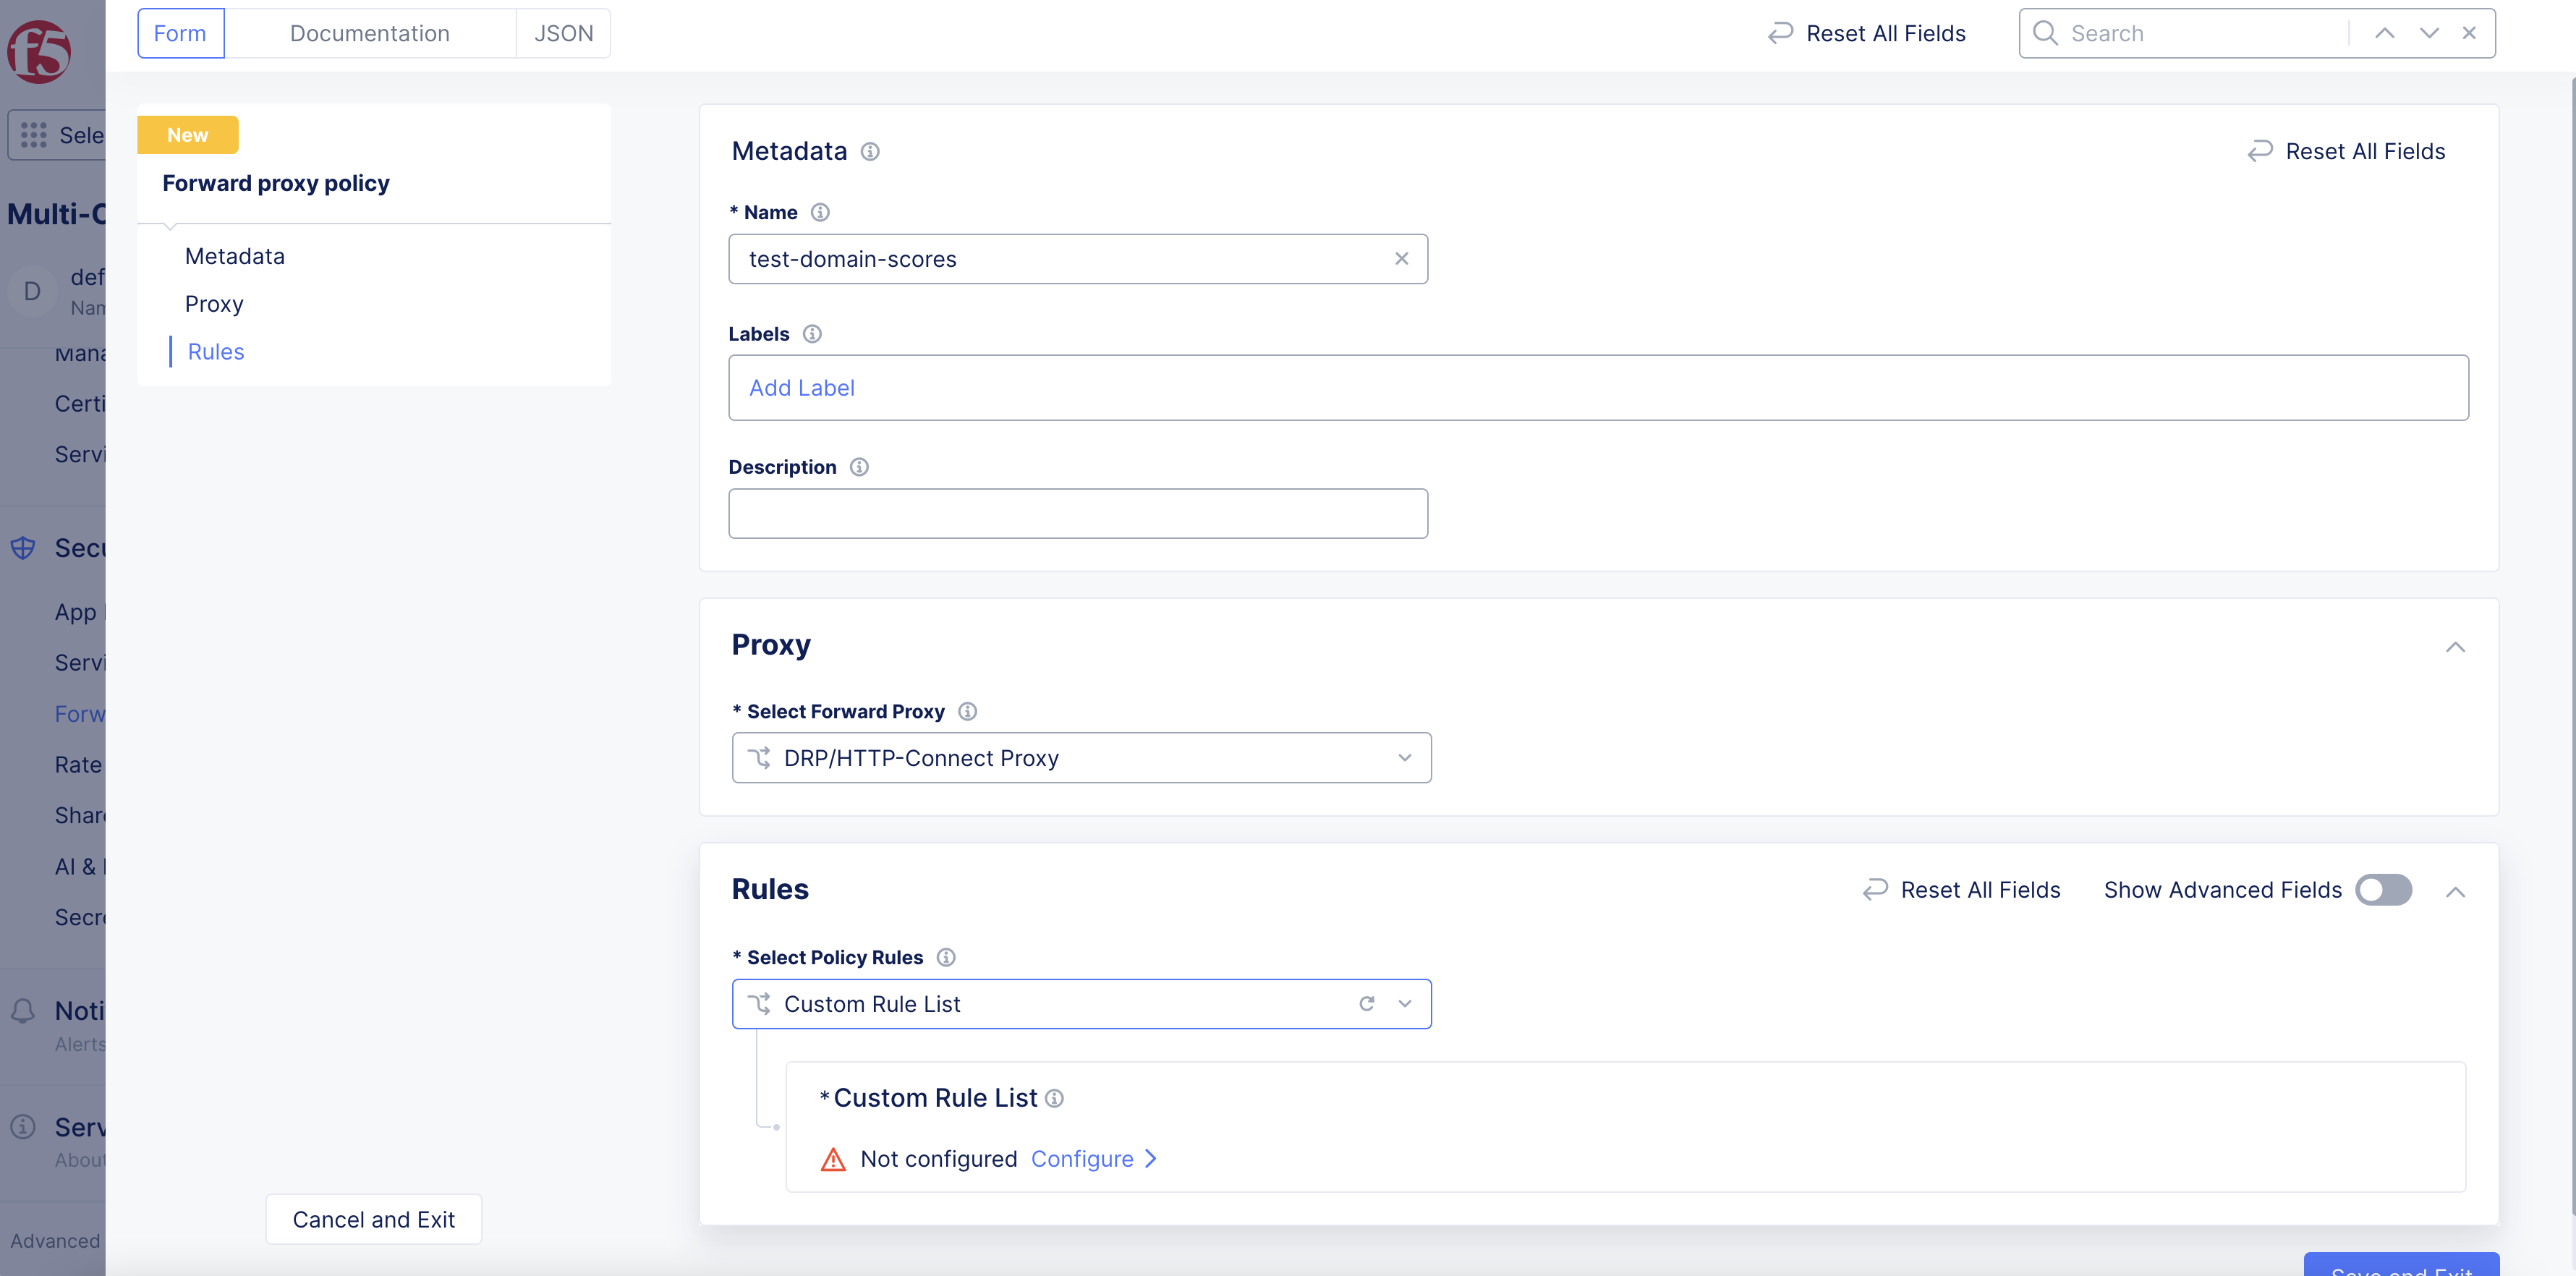
Figure: Configure Proxy
-
Click
Add Item. -
Enter a name for this new rule.
-
From the
Actionmenu, selectDeny. -
From the
Select Connection Sourcemenu, select an option.

Figure: Add Proxy Rule
-
From the
Destination Choicemenu, selectList of URL Categories. -
From the
URL Categoriesmenu, select a category. You can select more than one option.

Figure: Select URL Categories
-
Click
Apply. -
Click
Apply.
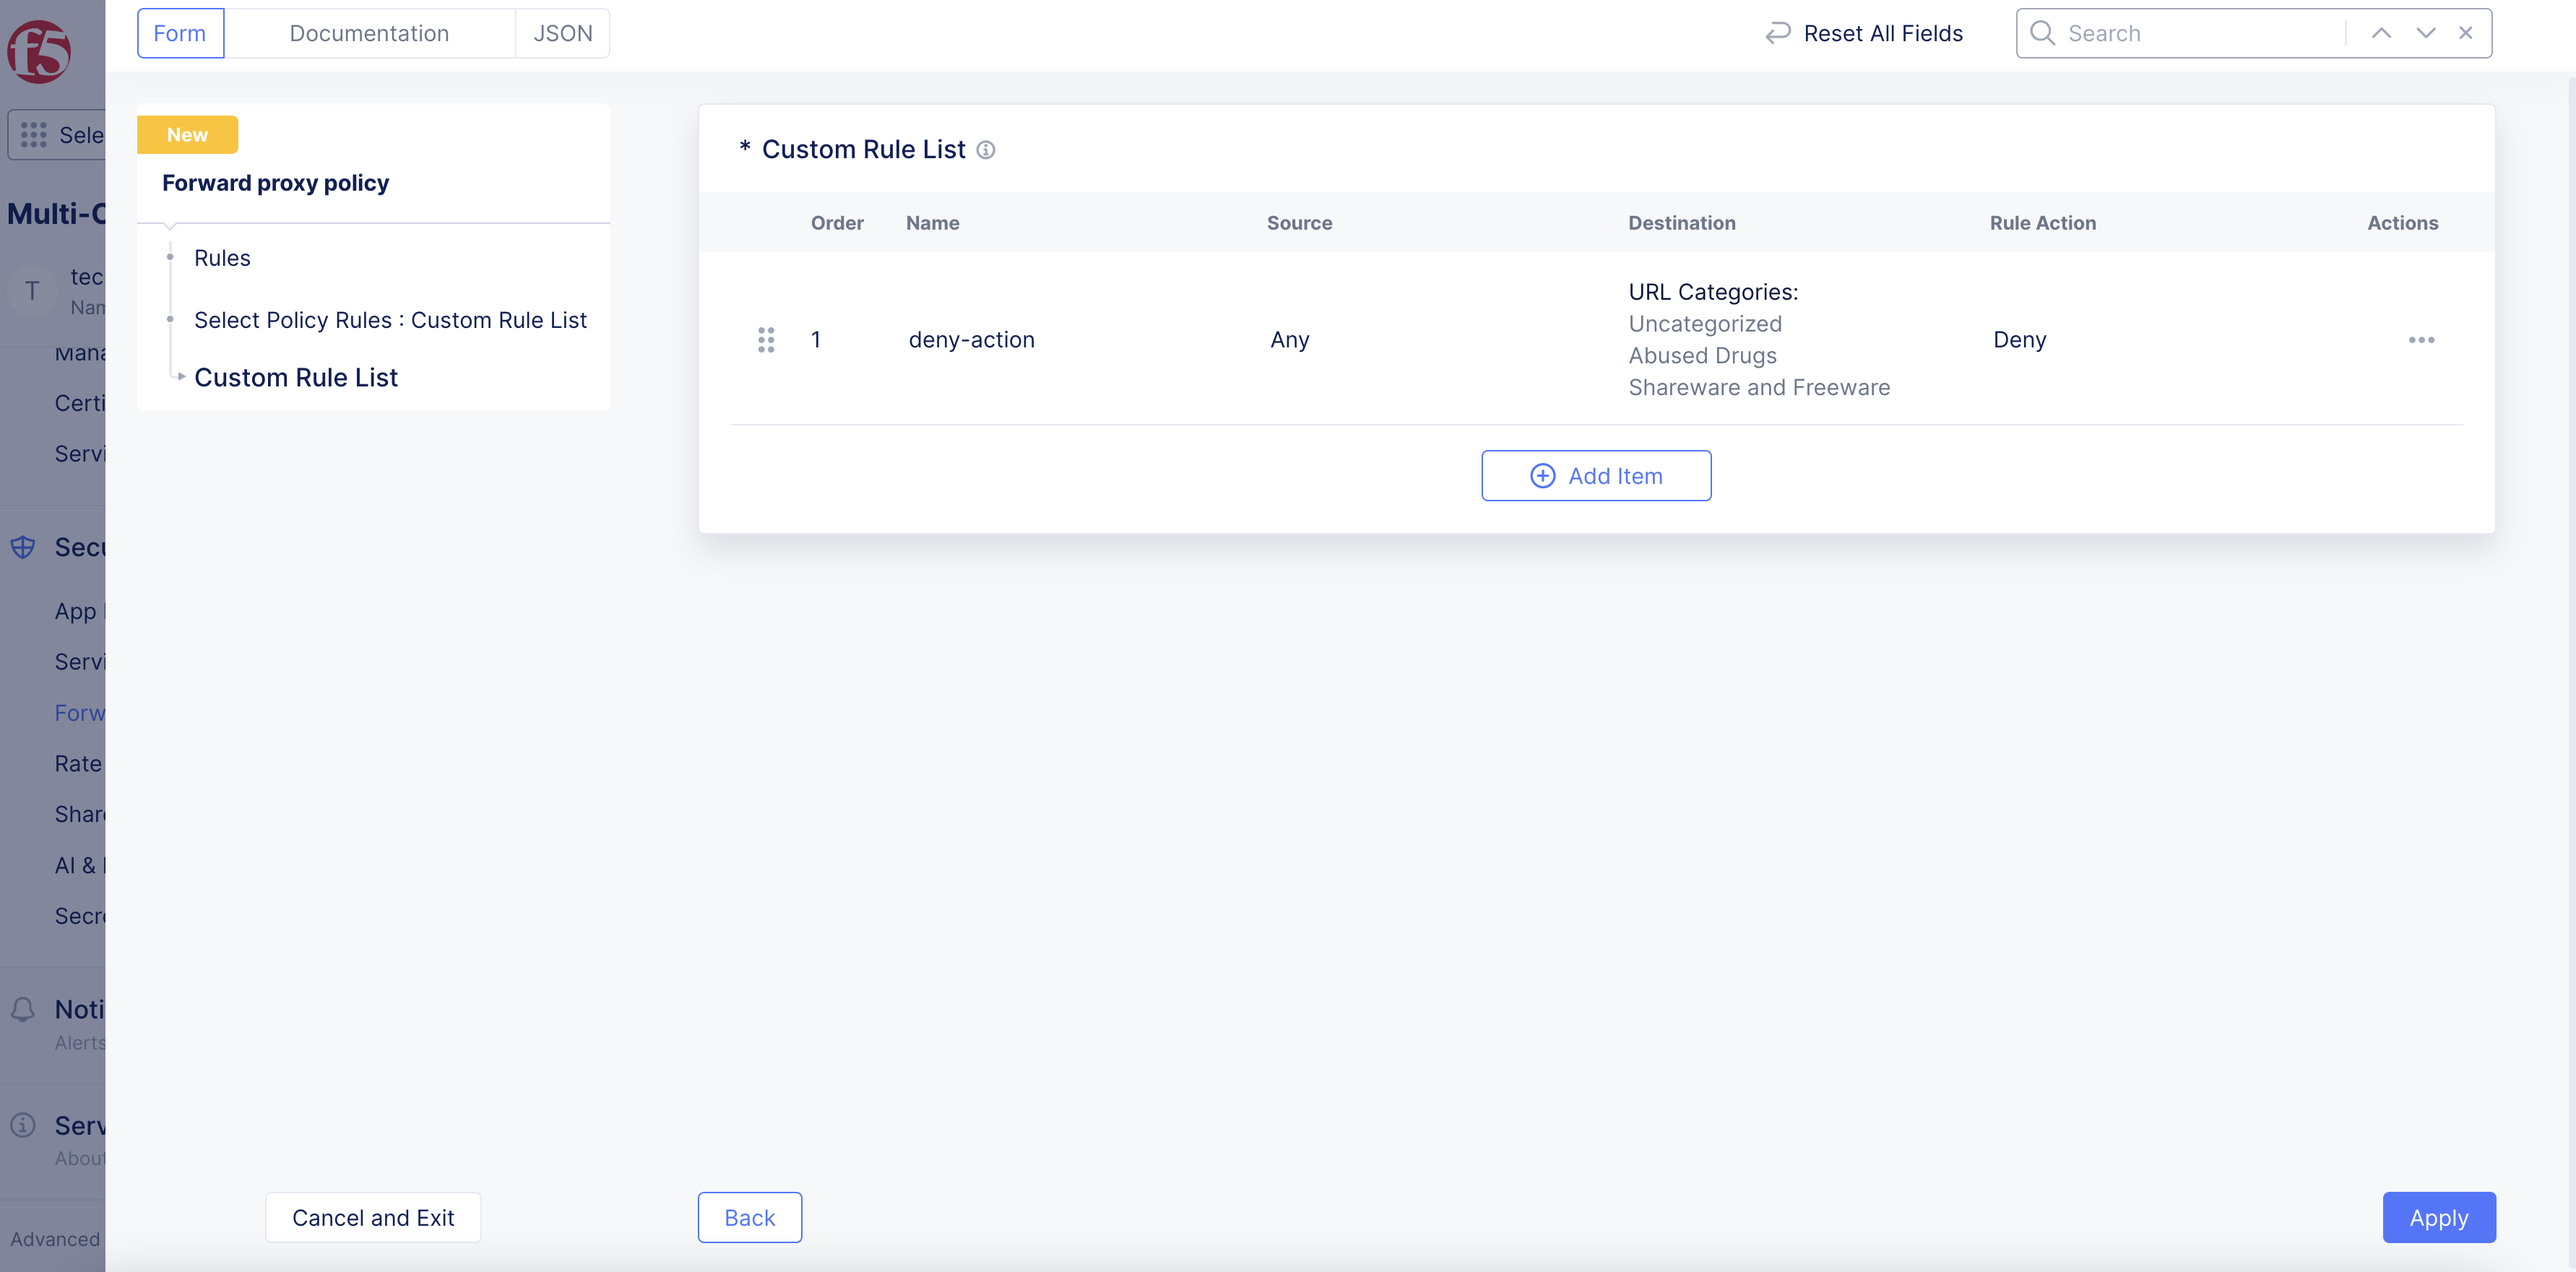
Figure: Apply New Proxy Rule
Step 3: Create a default rule to allow all other URLs.
To allow all other URLs by default, create a default allow rule within the same forward proxy policy.
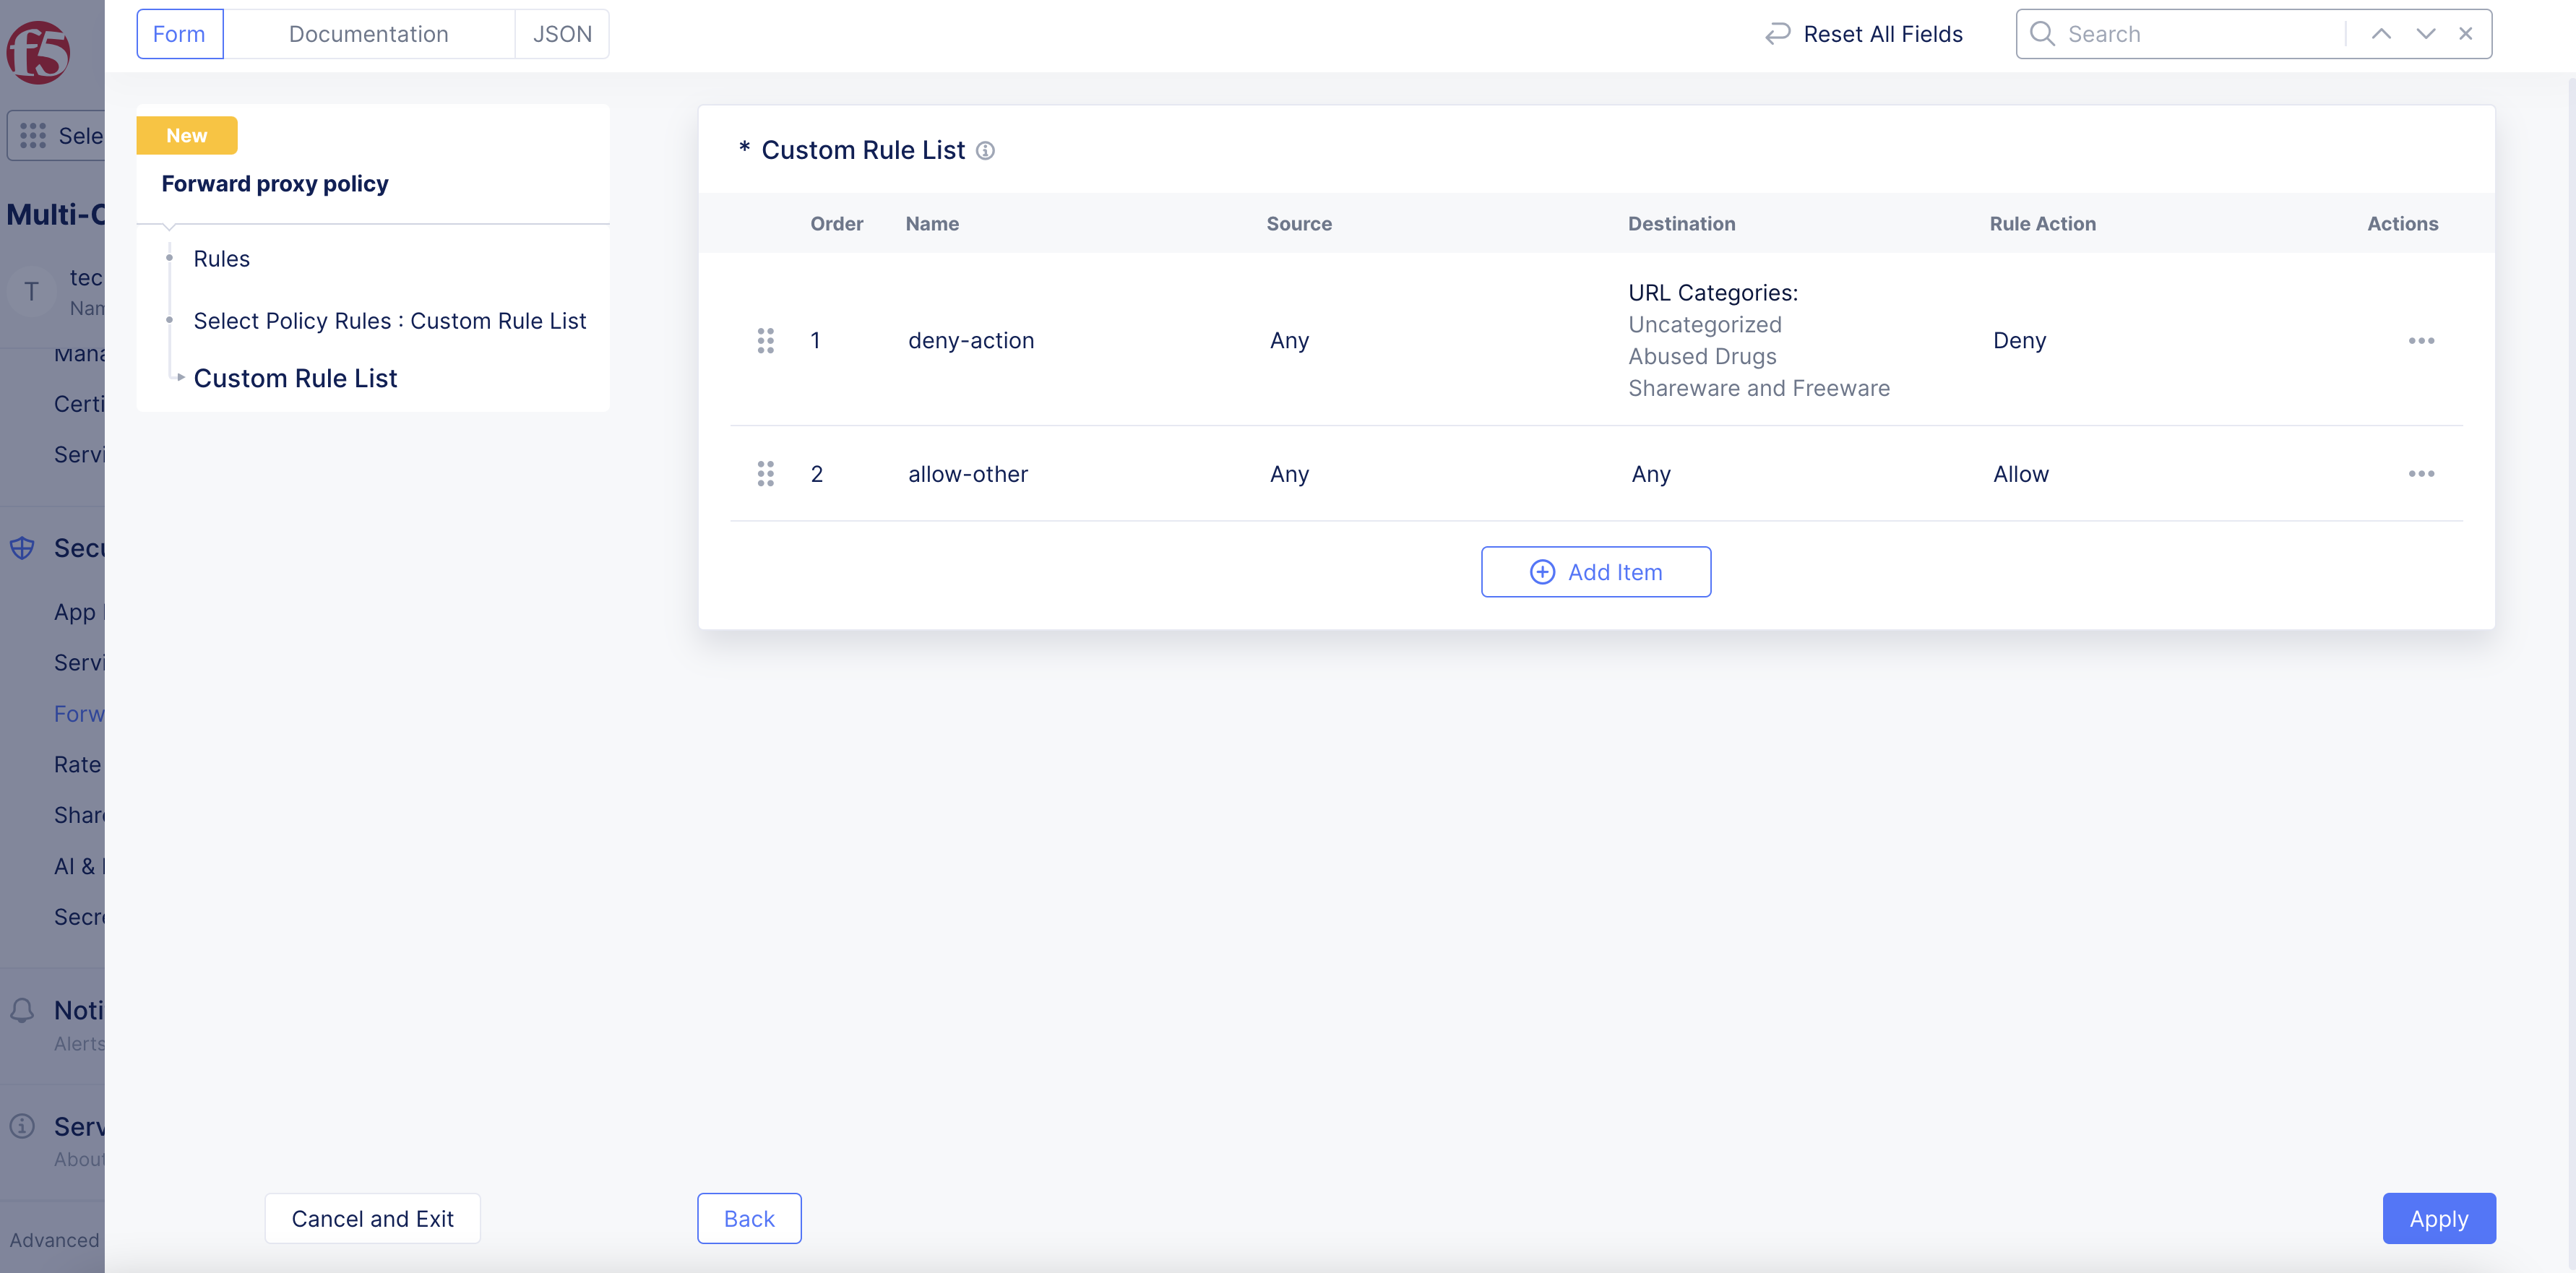
Figure: Allow All Other URLs
Step 4: Complete configuration and save the new settings.
After you finish, click Save and Exit.
Step 5: Add the forward proxy policy to the HTTP proxy server.
-
Navigate to your HTTP proxy server using
Manage>Load Balancers>HTTP Connect & DRPs. -
Click
...>Manage Configuration. -
Click
Edit Configuration. -
In the
Proxy Policysection, perform the following:-
From the
Manage Proxy Policymenu, selectActive Proxy Policies. -
From the
Active Proxy Policiesmenu, select the forward proxy policy previously created.
-
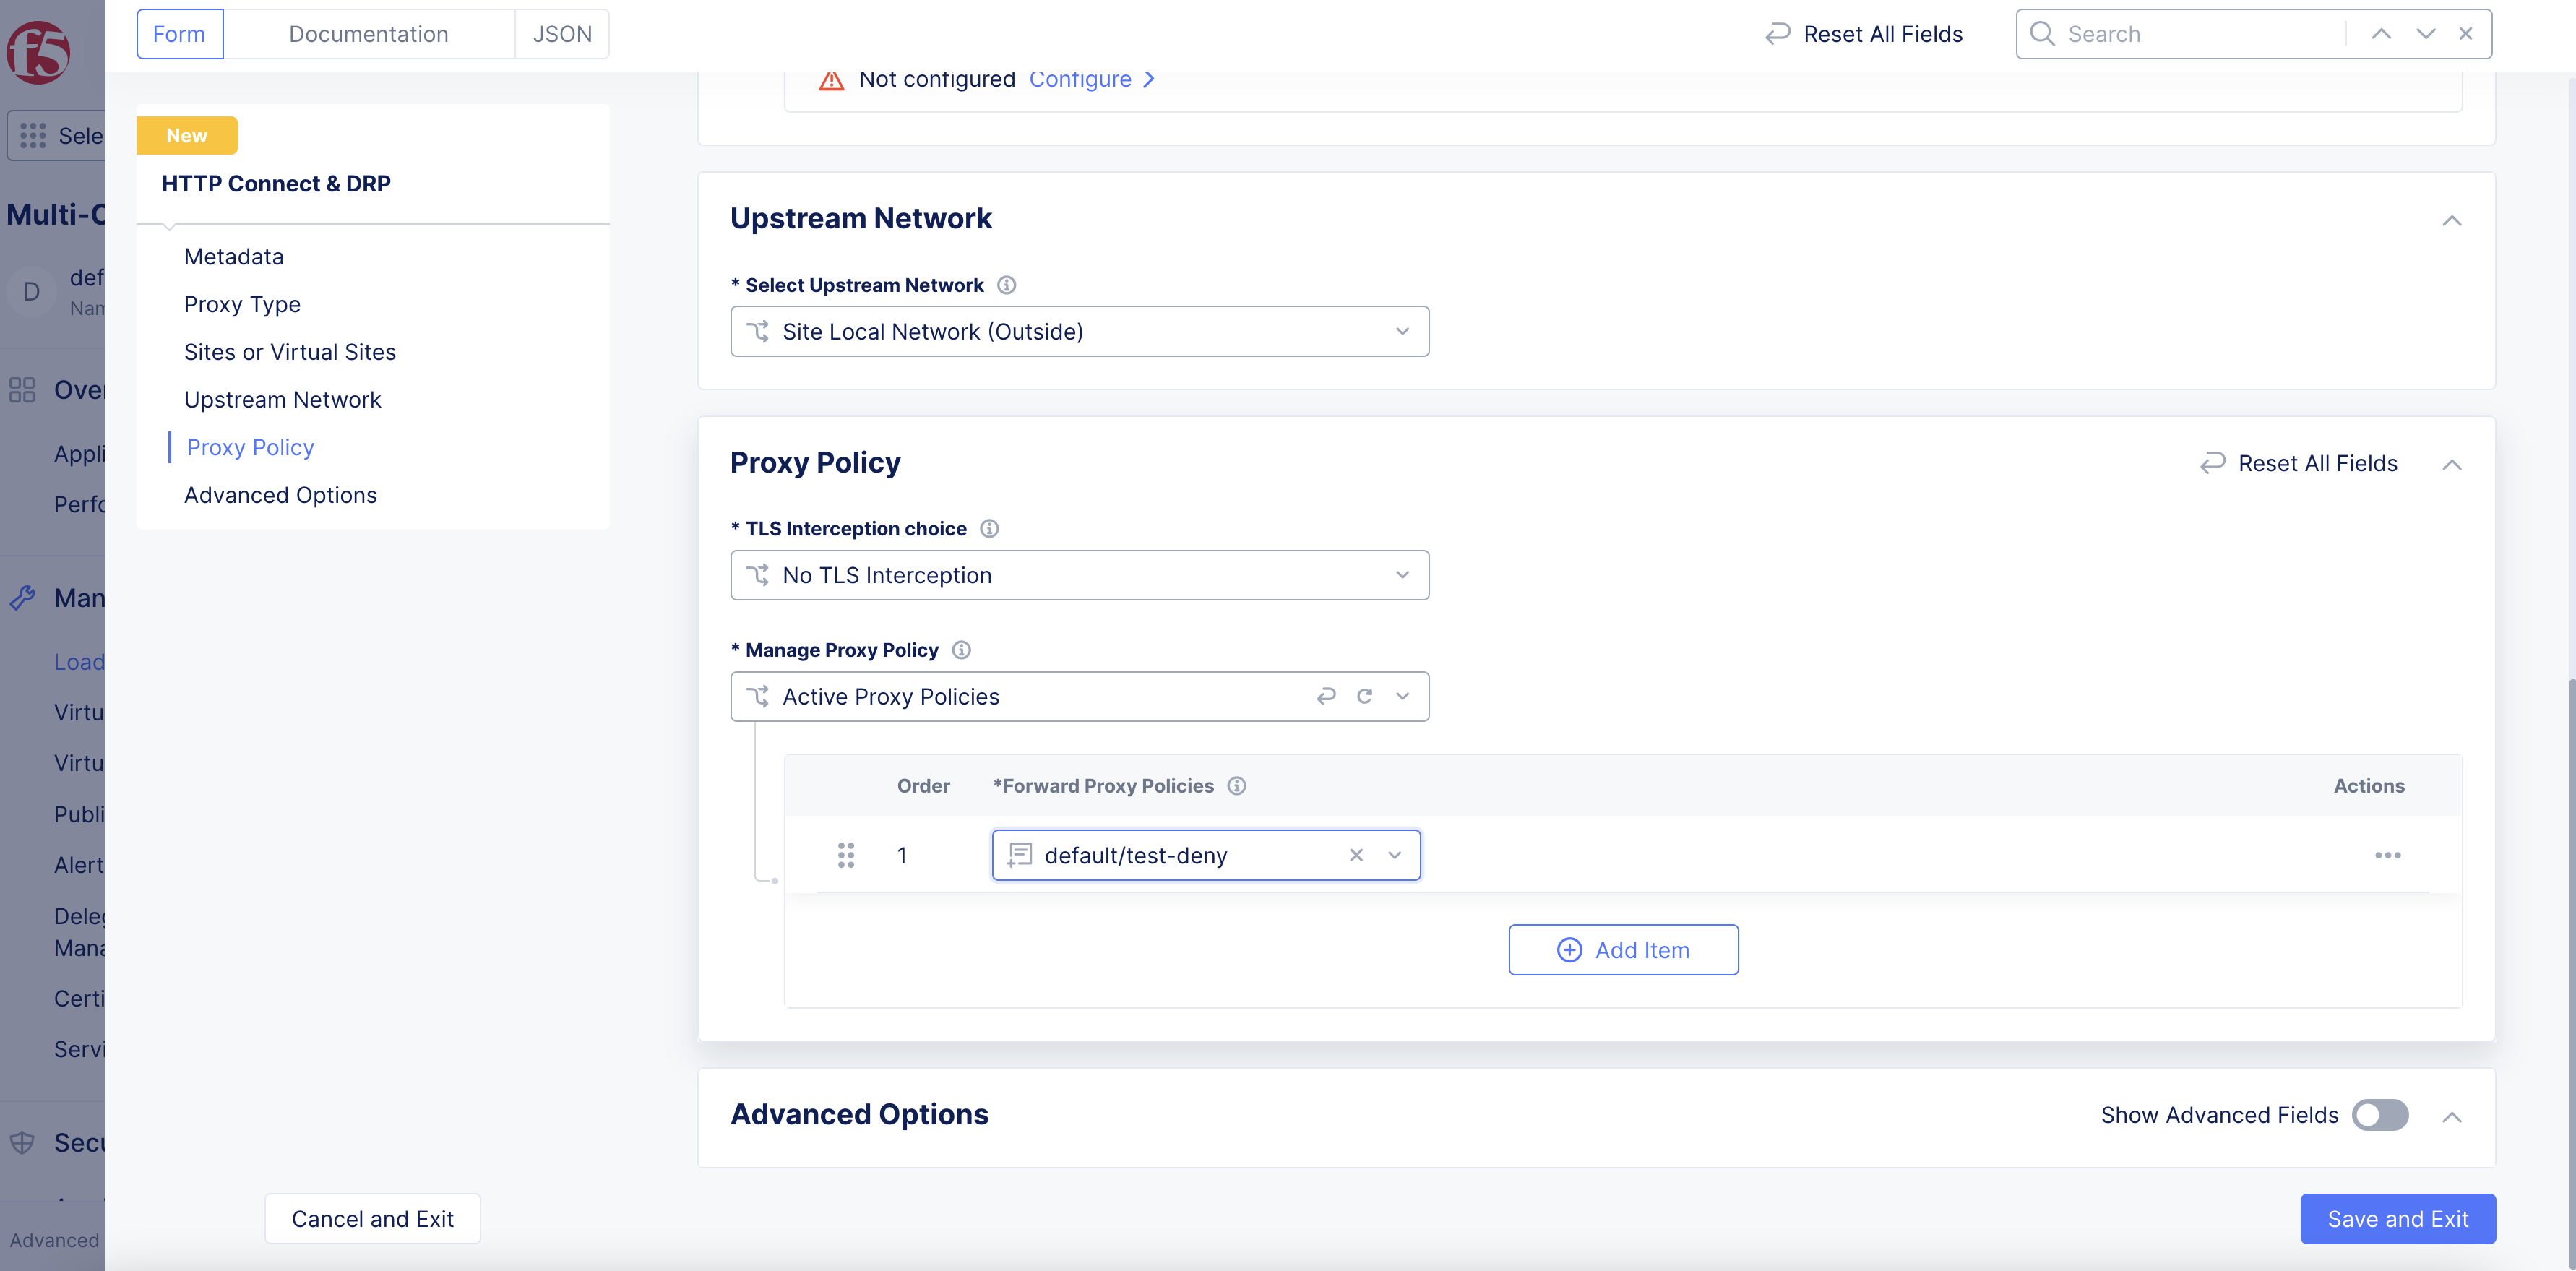
Figure: Select Forward Proxy Policy
- Click
Save and Exit.
Step 6: Verify the operation.
After you configure the forward proxy policy for your proxy server, send a test request from a client IP address. If there is no URL category match for a URL, the request will be allowed. If the URL category matches, then the request will be denied.
Deny Malicious URLs Using Label Selectors
This forward proxy policy feature blocks URLs based on URL scores. Note that the lower the score attached to a particular URL, the higher the malicious risk with that URL.
Step 1: Navigate to forward proxy policies in Console.
- From the Console homepage, click
Multi-Cloud App Connect.
Figure: Console Homepage
-
Select the same namespace where your HTTP proxy server is located. The new forward proxy policy must be in the same namespace.
-
Navigate to
Security>Forward Proxy Policies. -
Click
Add Forward Proxy Policy.
Figure: Add Forward Proxy Policy
Step 2: Create custom rule to include URL scores.
- In the
Namefield, enter a name for the new forward proxy policy.
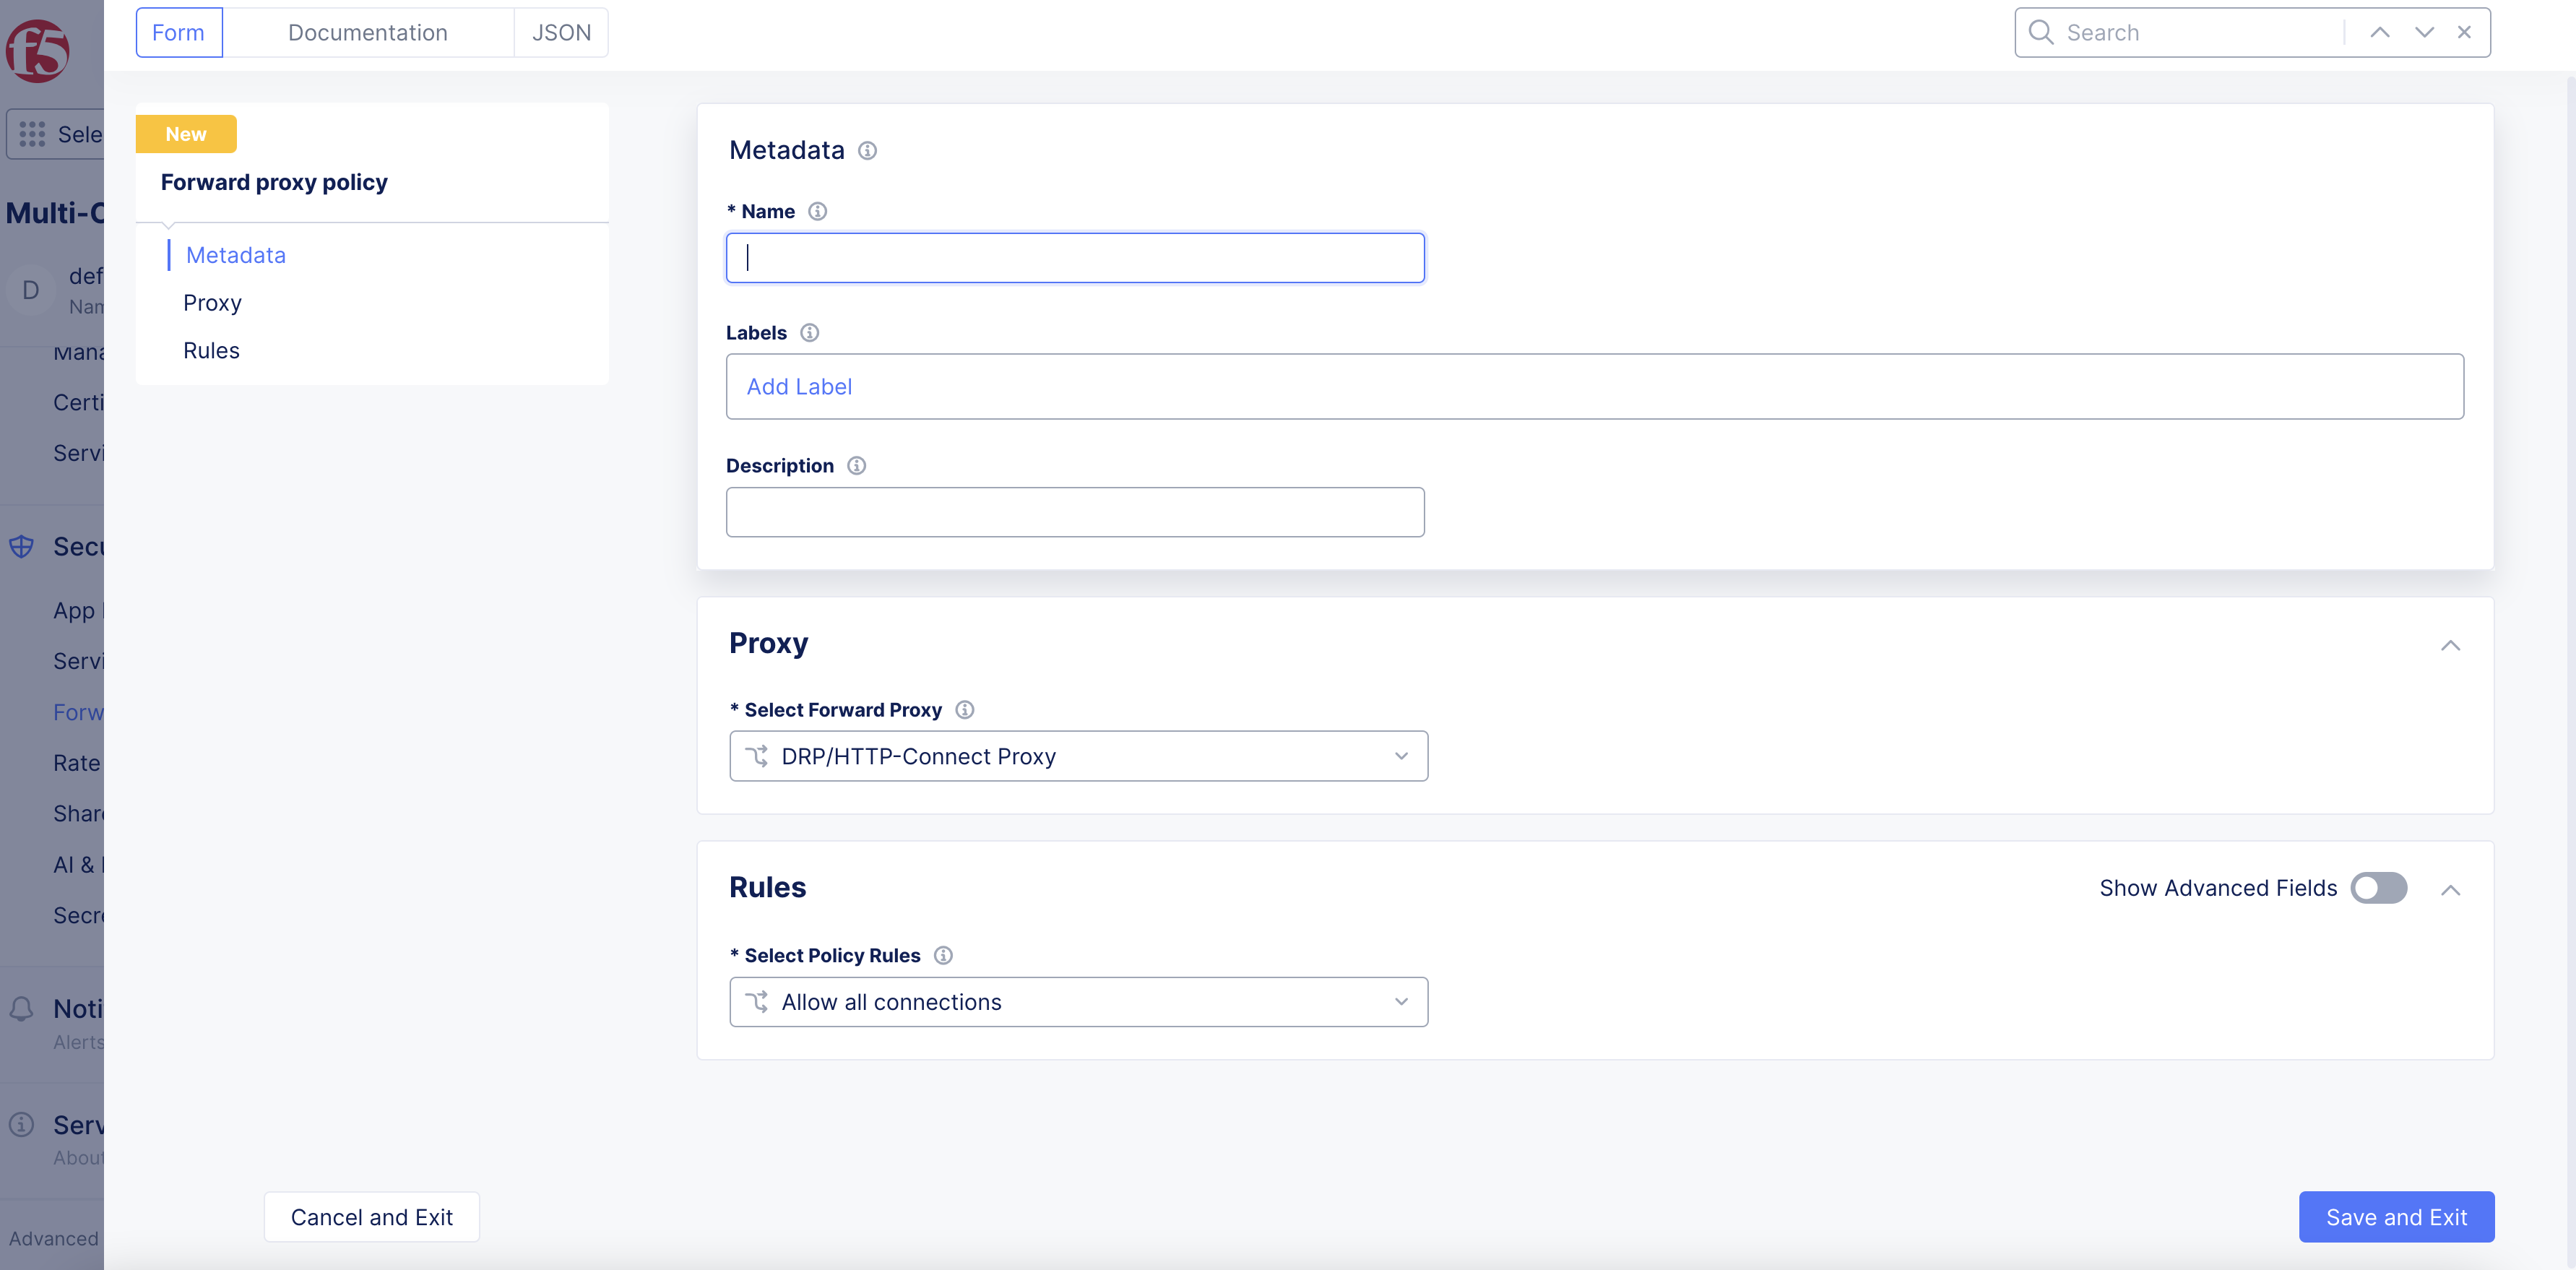
Figure: Add Name for URL Scores
-
In the
Rulessection, perform the following:-
From the
Select Policy Rulesmenu, selectCustom Rule List. -
Click
Configure.
-
Figure: Configure Proxy
-
Click
Add Item. -
Enter a name for this new rule.
-
From the
Actionmenu, selectDeny. -
From the
Select Connection Sourcemenu, select an option.
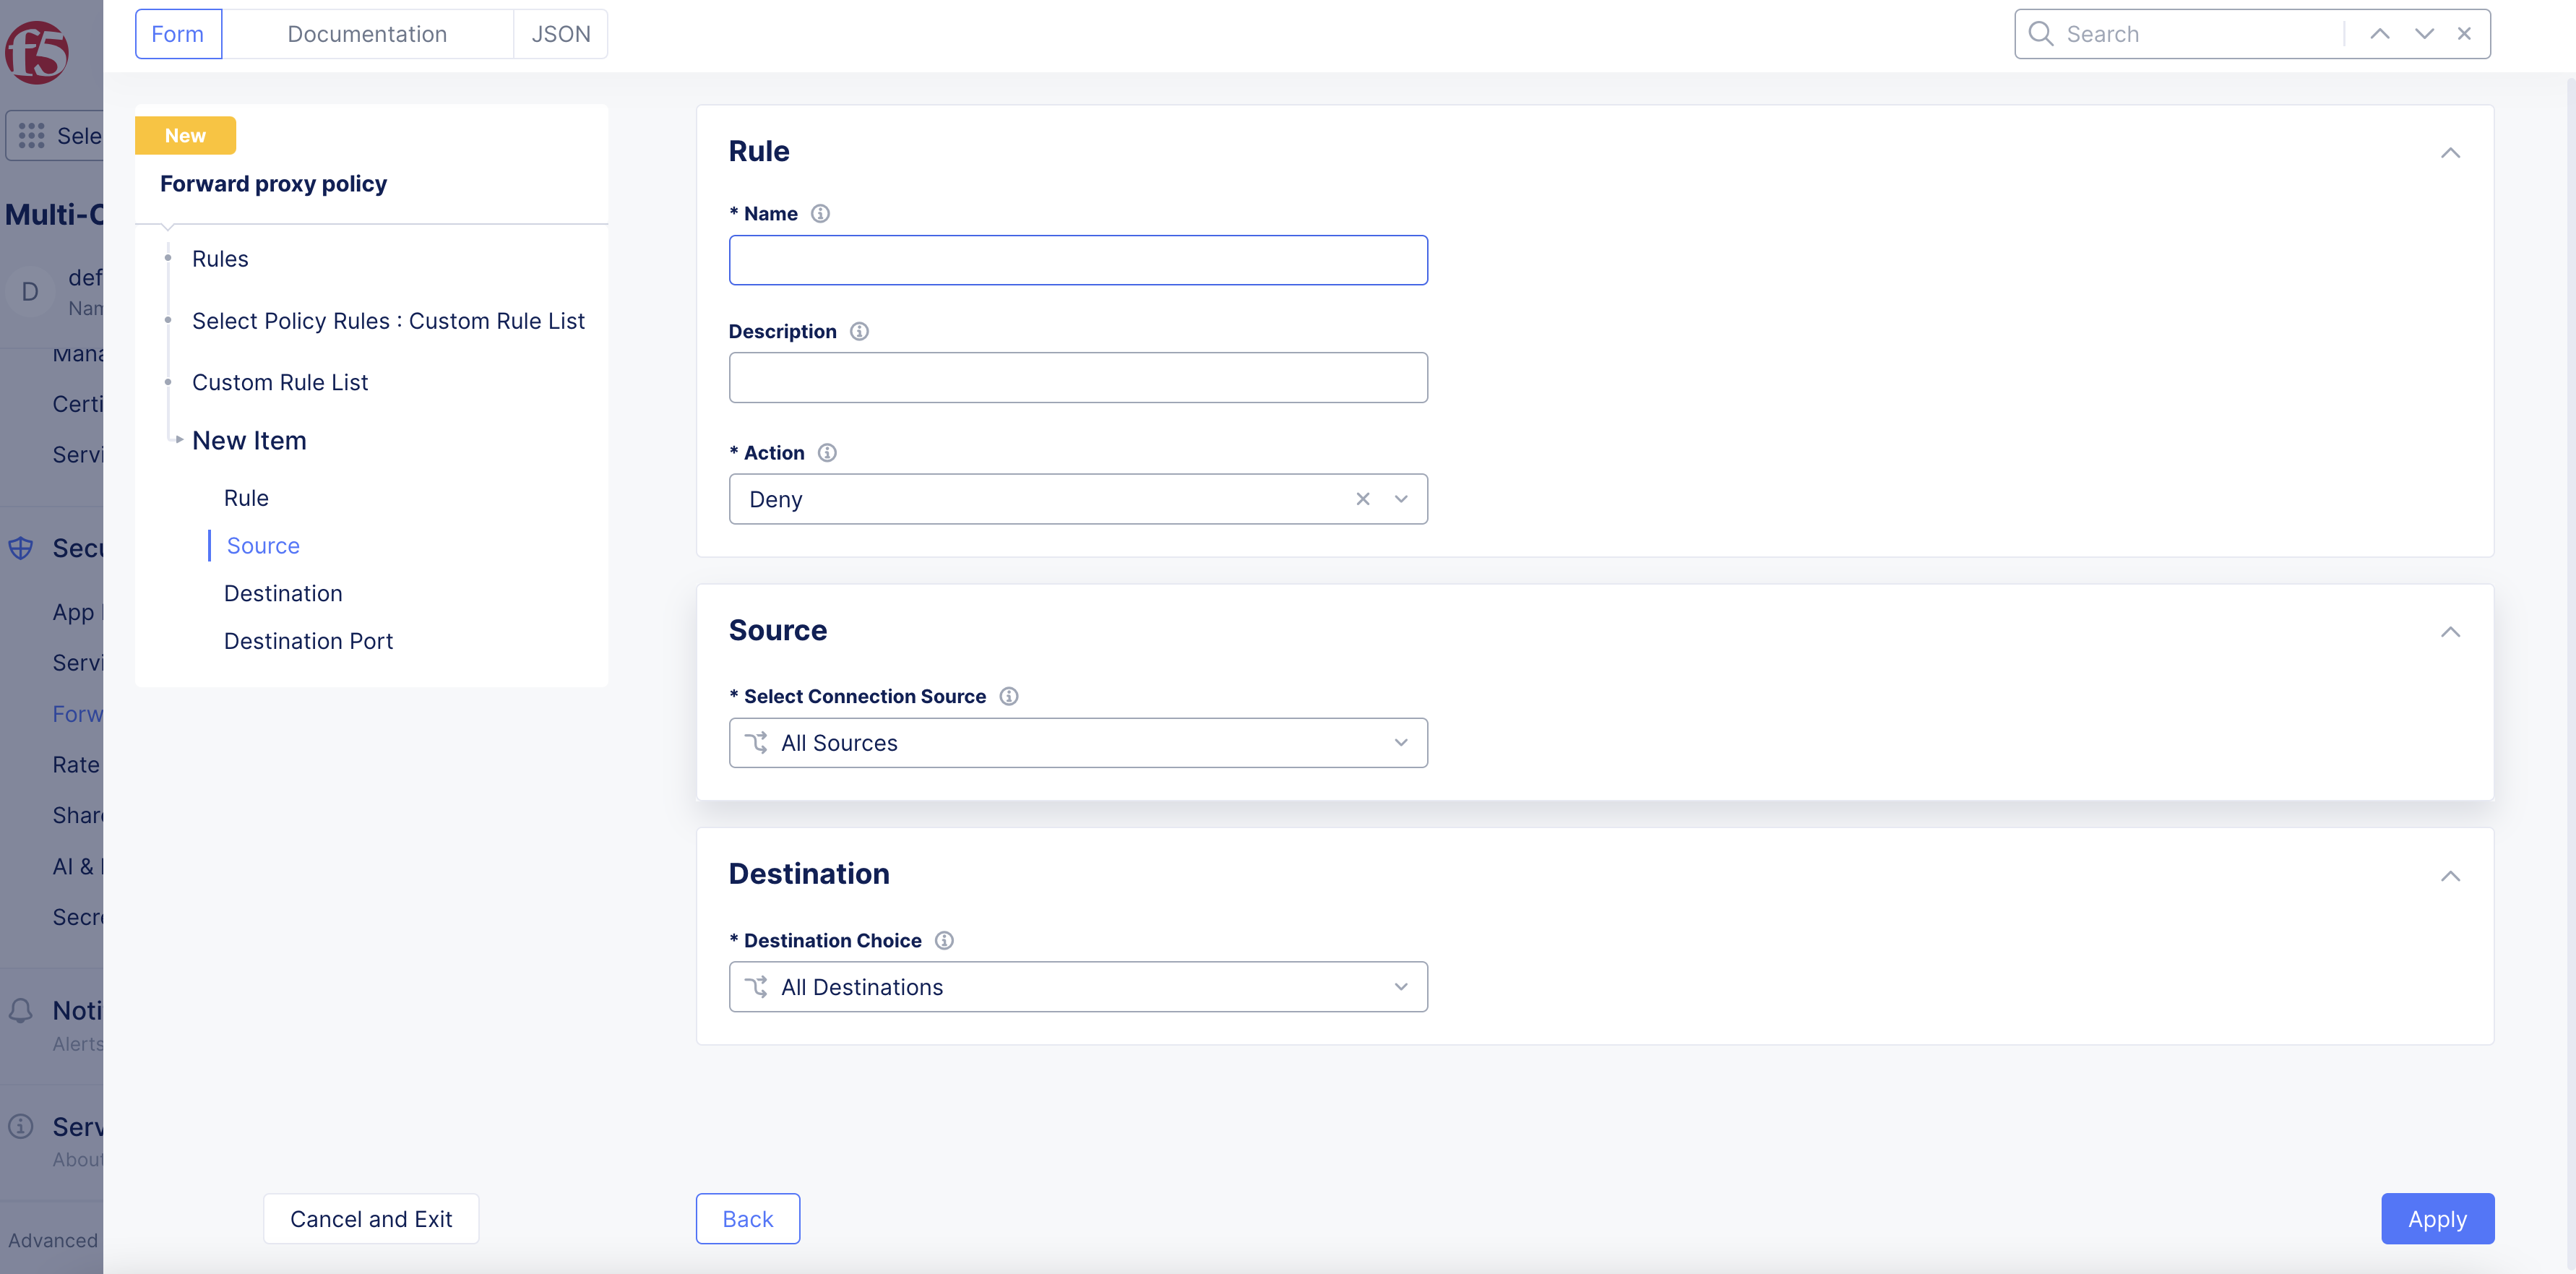
Figure: Add Proxy Rule
-
From the
Destination Choicemenu, selectLabel Selector. -
From the
Selector Expressionmenu, selectreputation.ves.io/url-trustscoreorreputation.ves.io/url-category. You can use both label options together in expressions. -
Select
Inand then select fromLOW,MEDIUM, orHIGH.
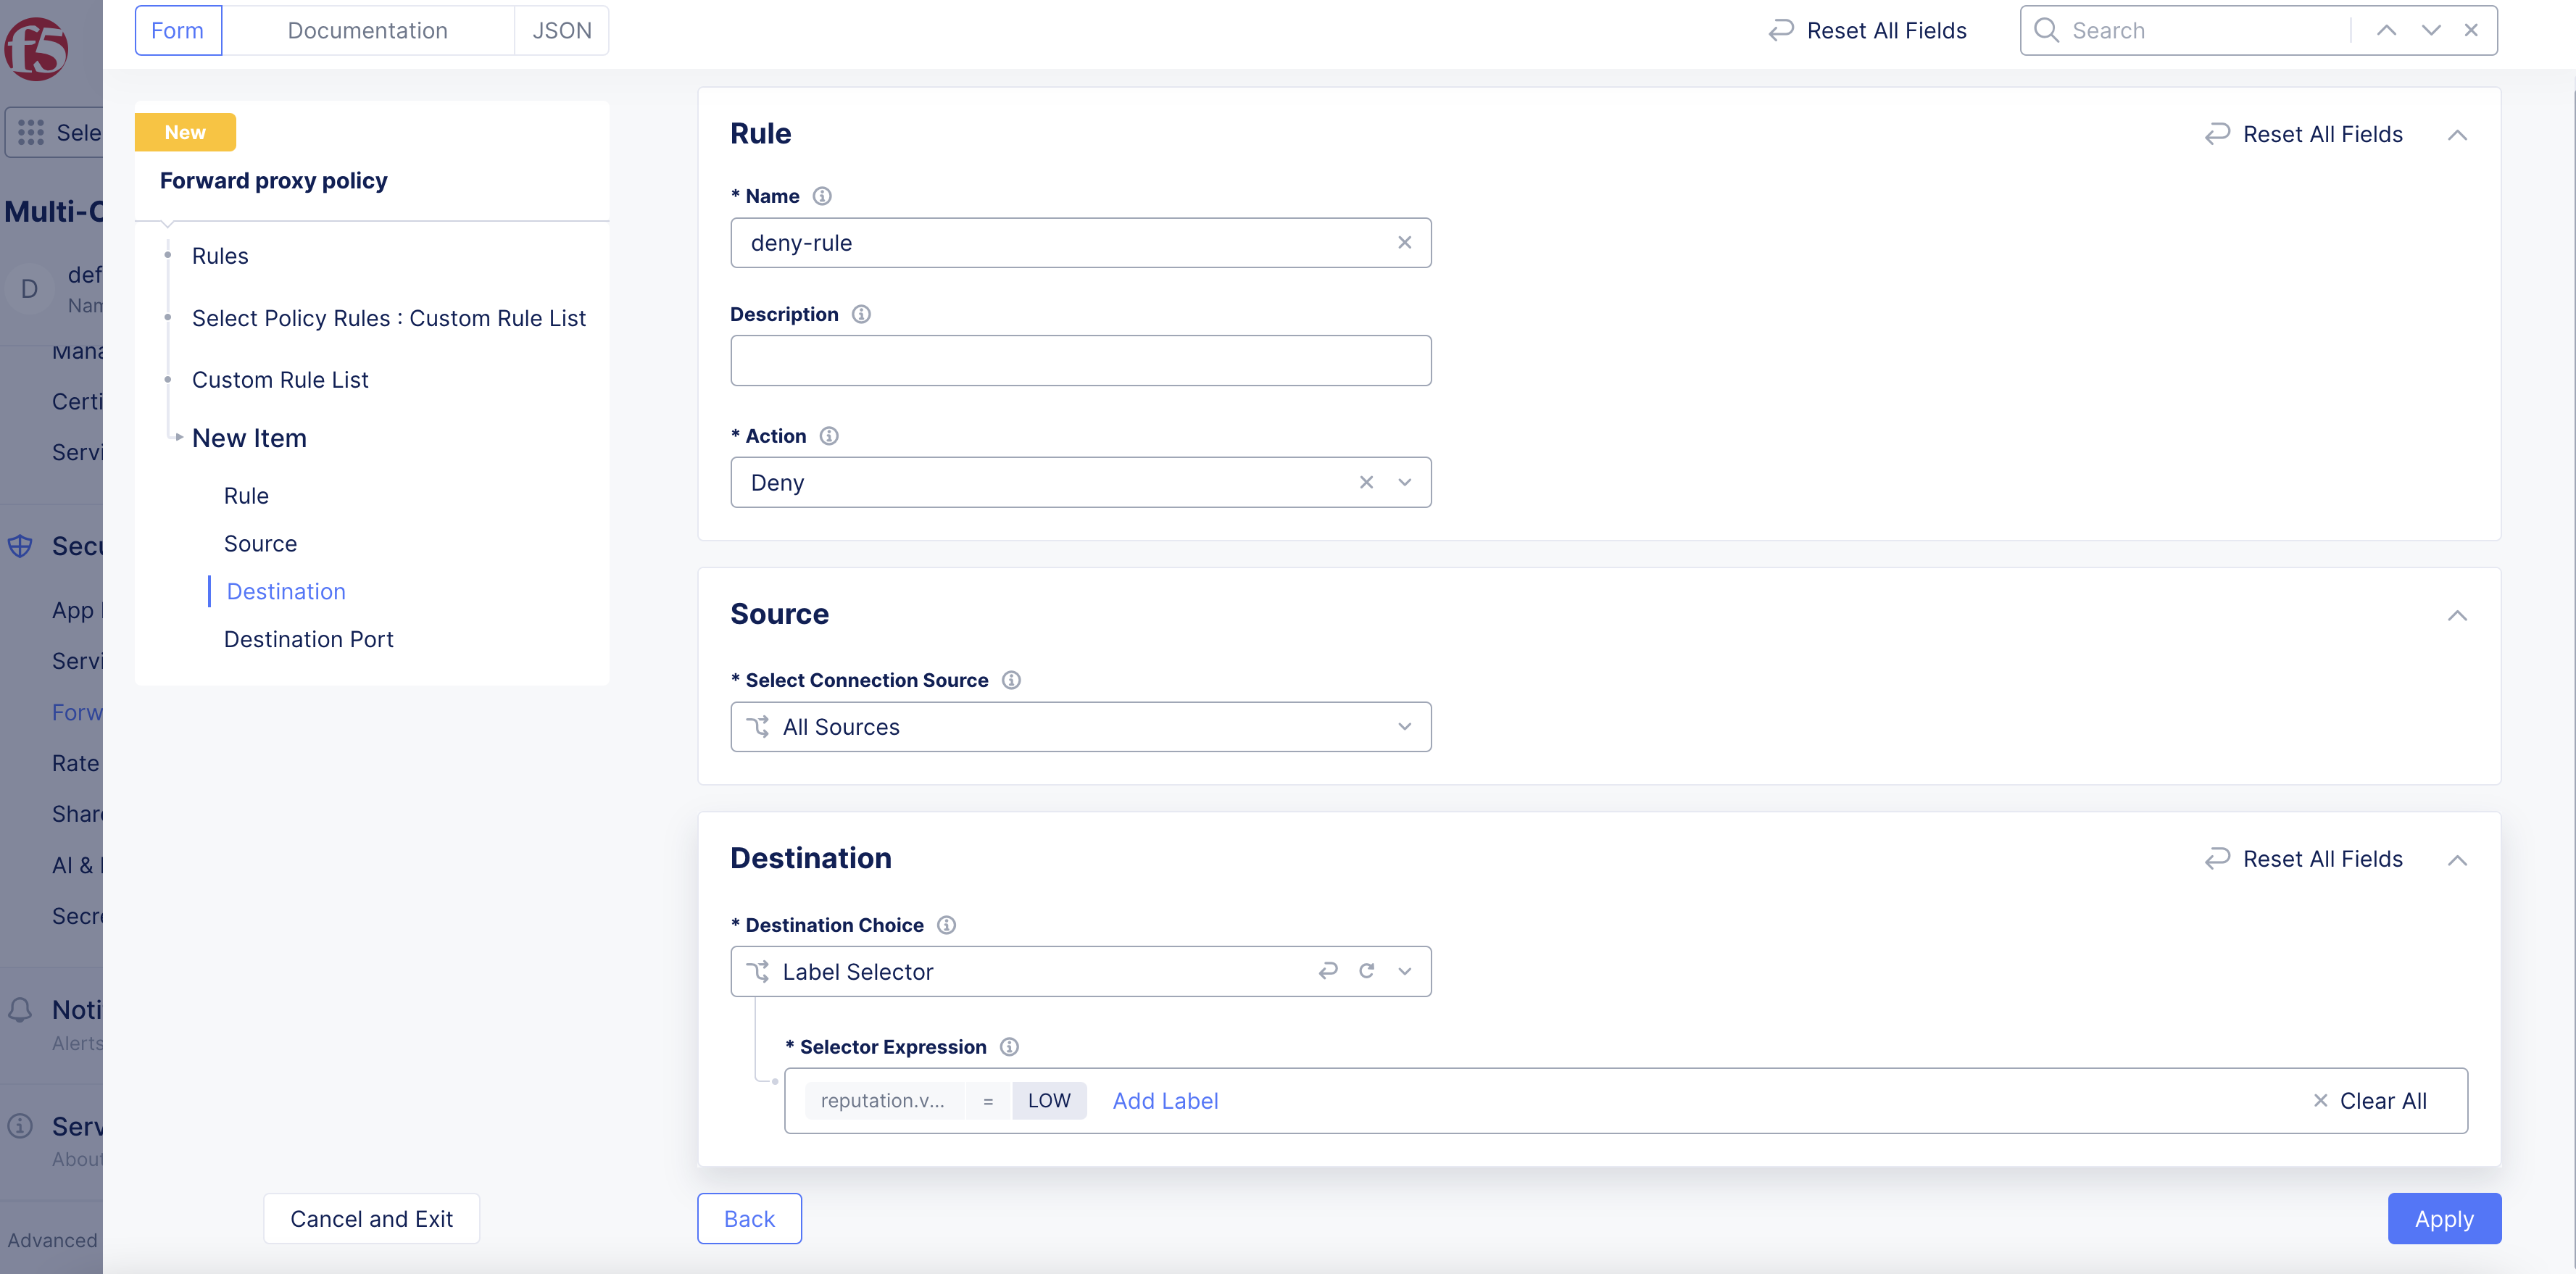
Figure: Select URL Score Label
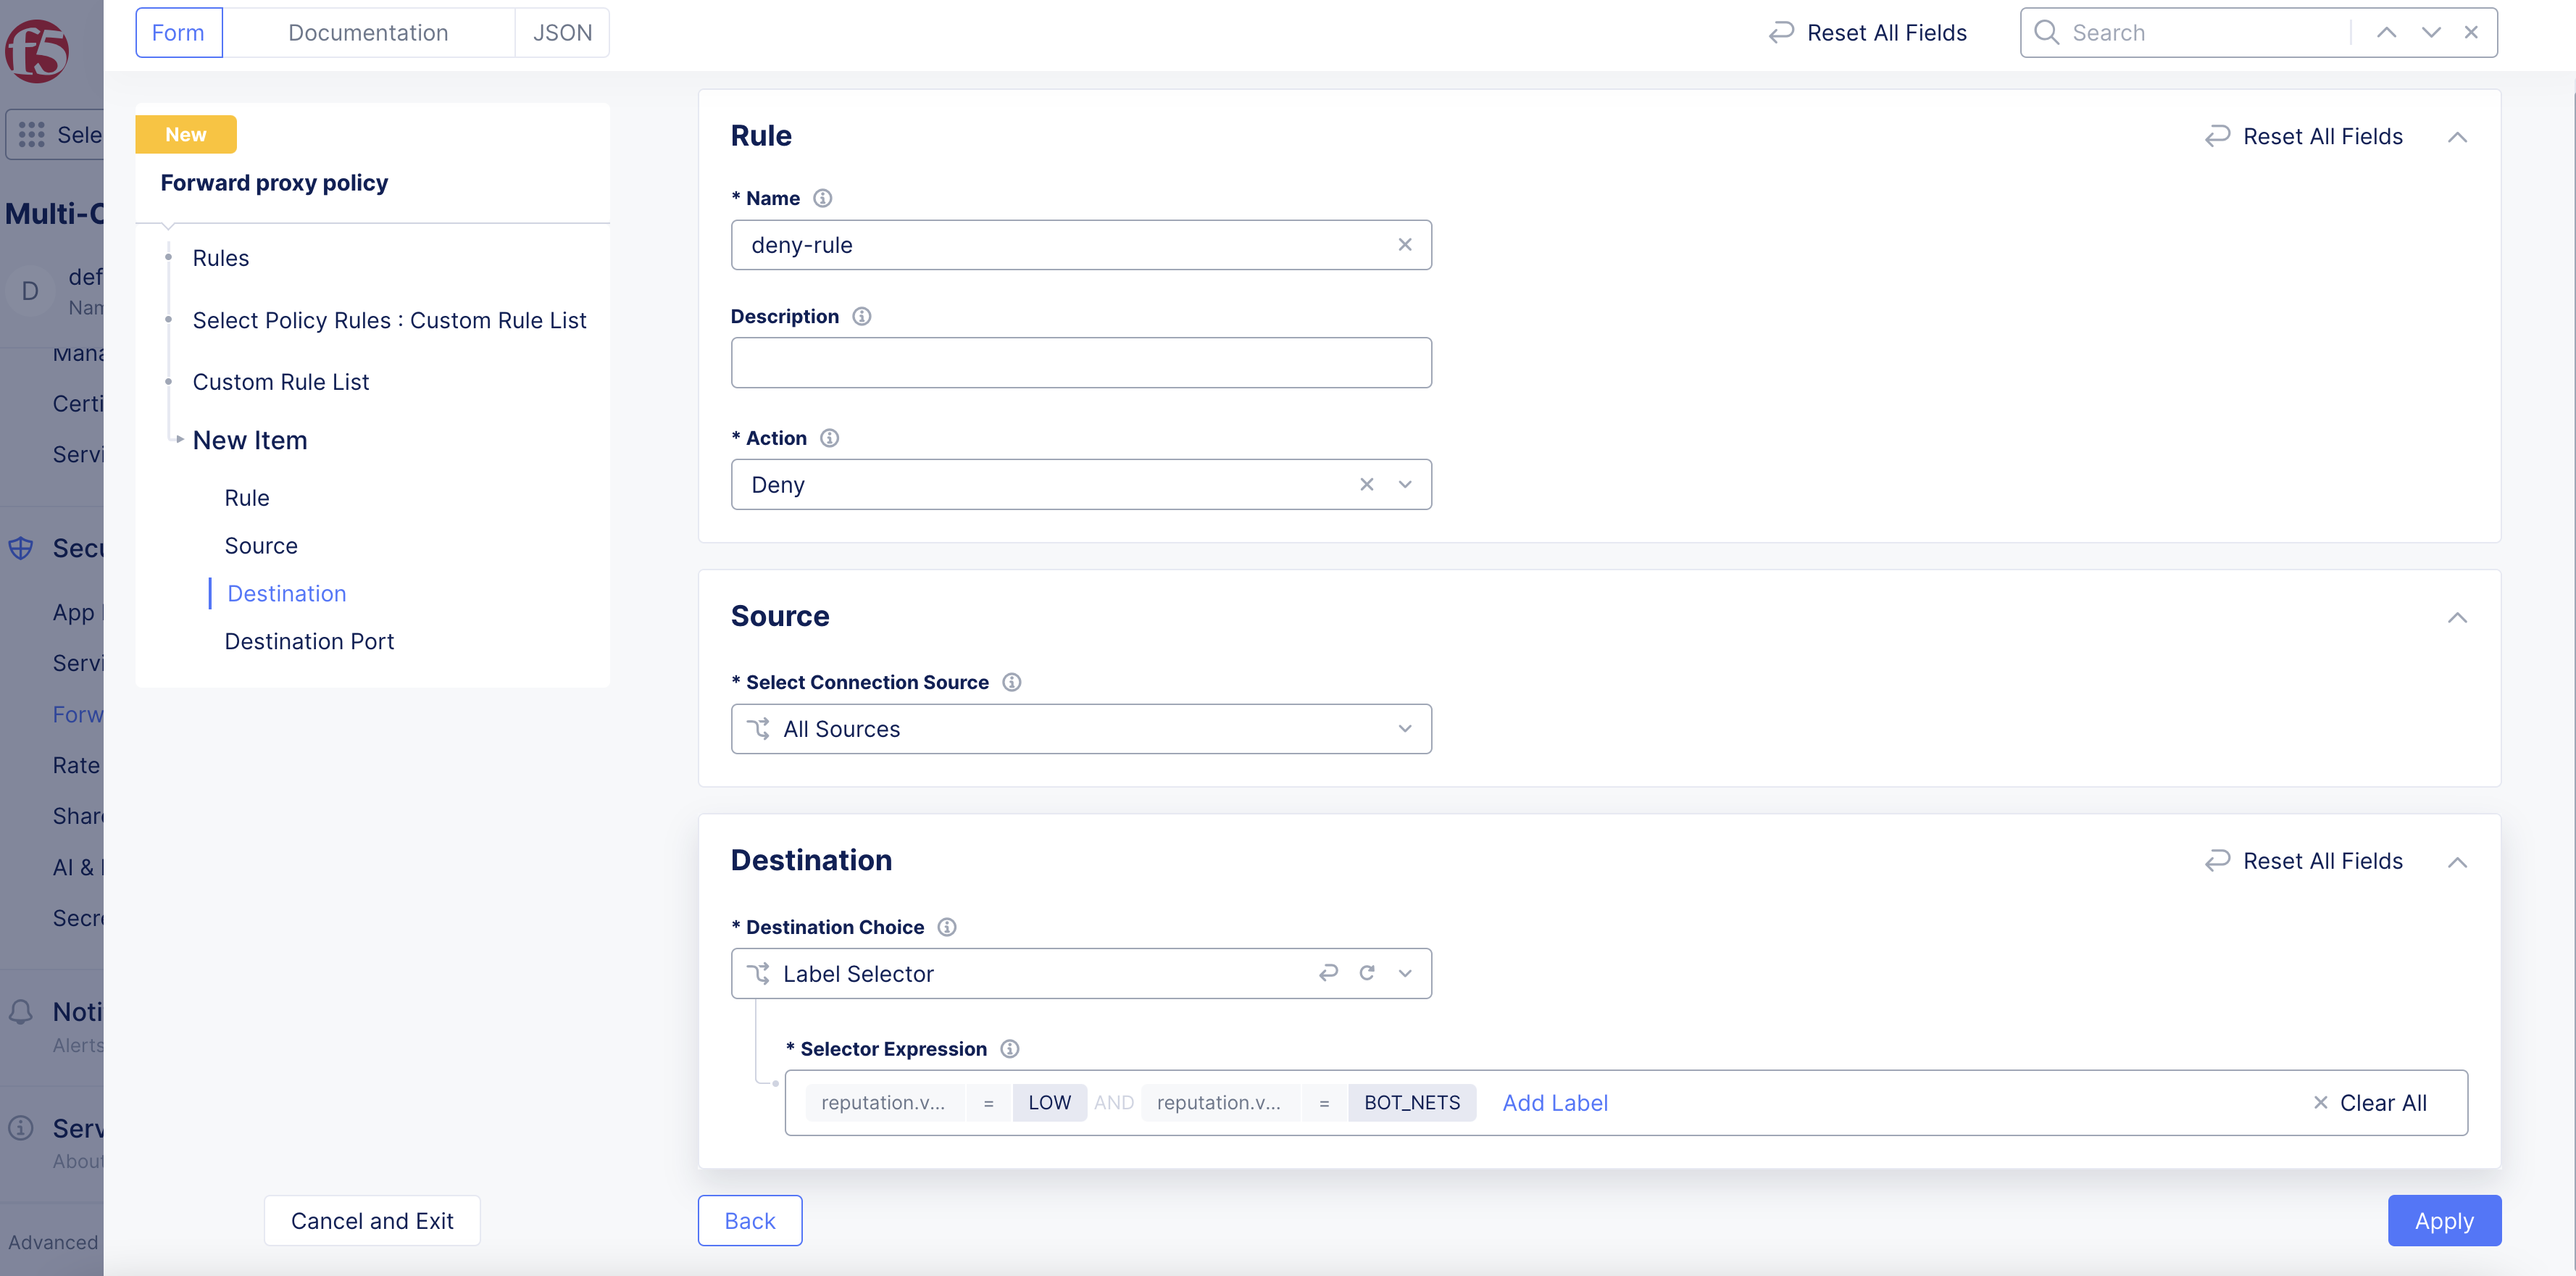
Figure: Label Expressions
-
Click
Apply. -
Click
Apply.
Step 3: Create a default rule to allow all other URL scores.
To allow all other URL scores by default, create a default allow rule within the same forward proxy policy.

Figure: Allow All Other URLs
Step 4: Complete configuration and save the new settings.
After you finish, click Save and Exit.
Step 5: Add the forward proxy policy to the HTTP proxy server.
-
Navigate to your HTTP proxy server using
Manage>Load Balancers>HTTP Connect & DRPs. -
Click
...>Manage Configuration. -
Click
Edit Configuration. -
In the
Proxy Policysection, perform the following:-
From the
Manage Proxy Policymenu, selectActive Proxy Policies. -
From the
Forward Proxy Policymenu, select the forward proxy policy previously created.
-
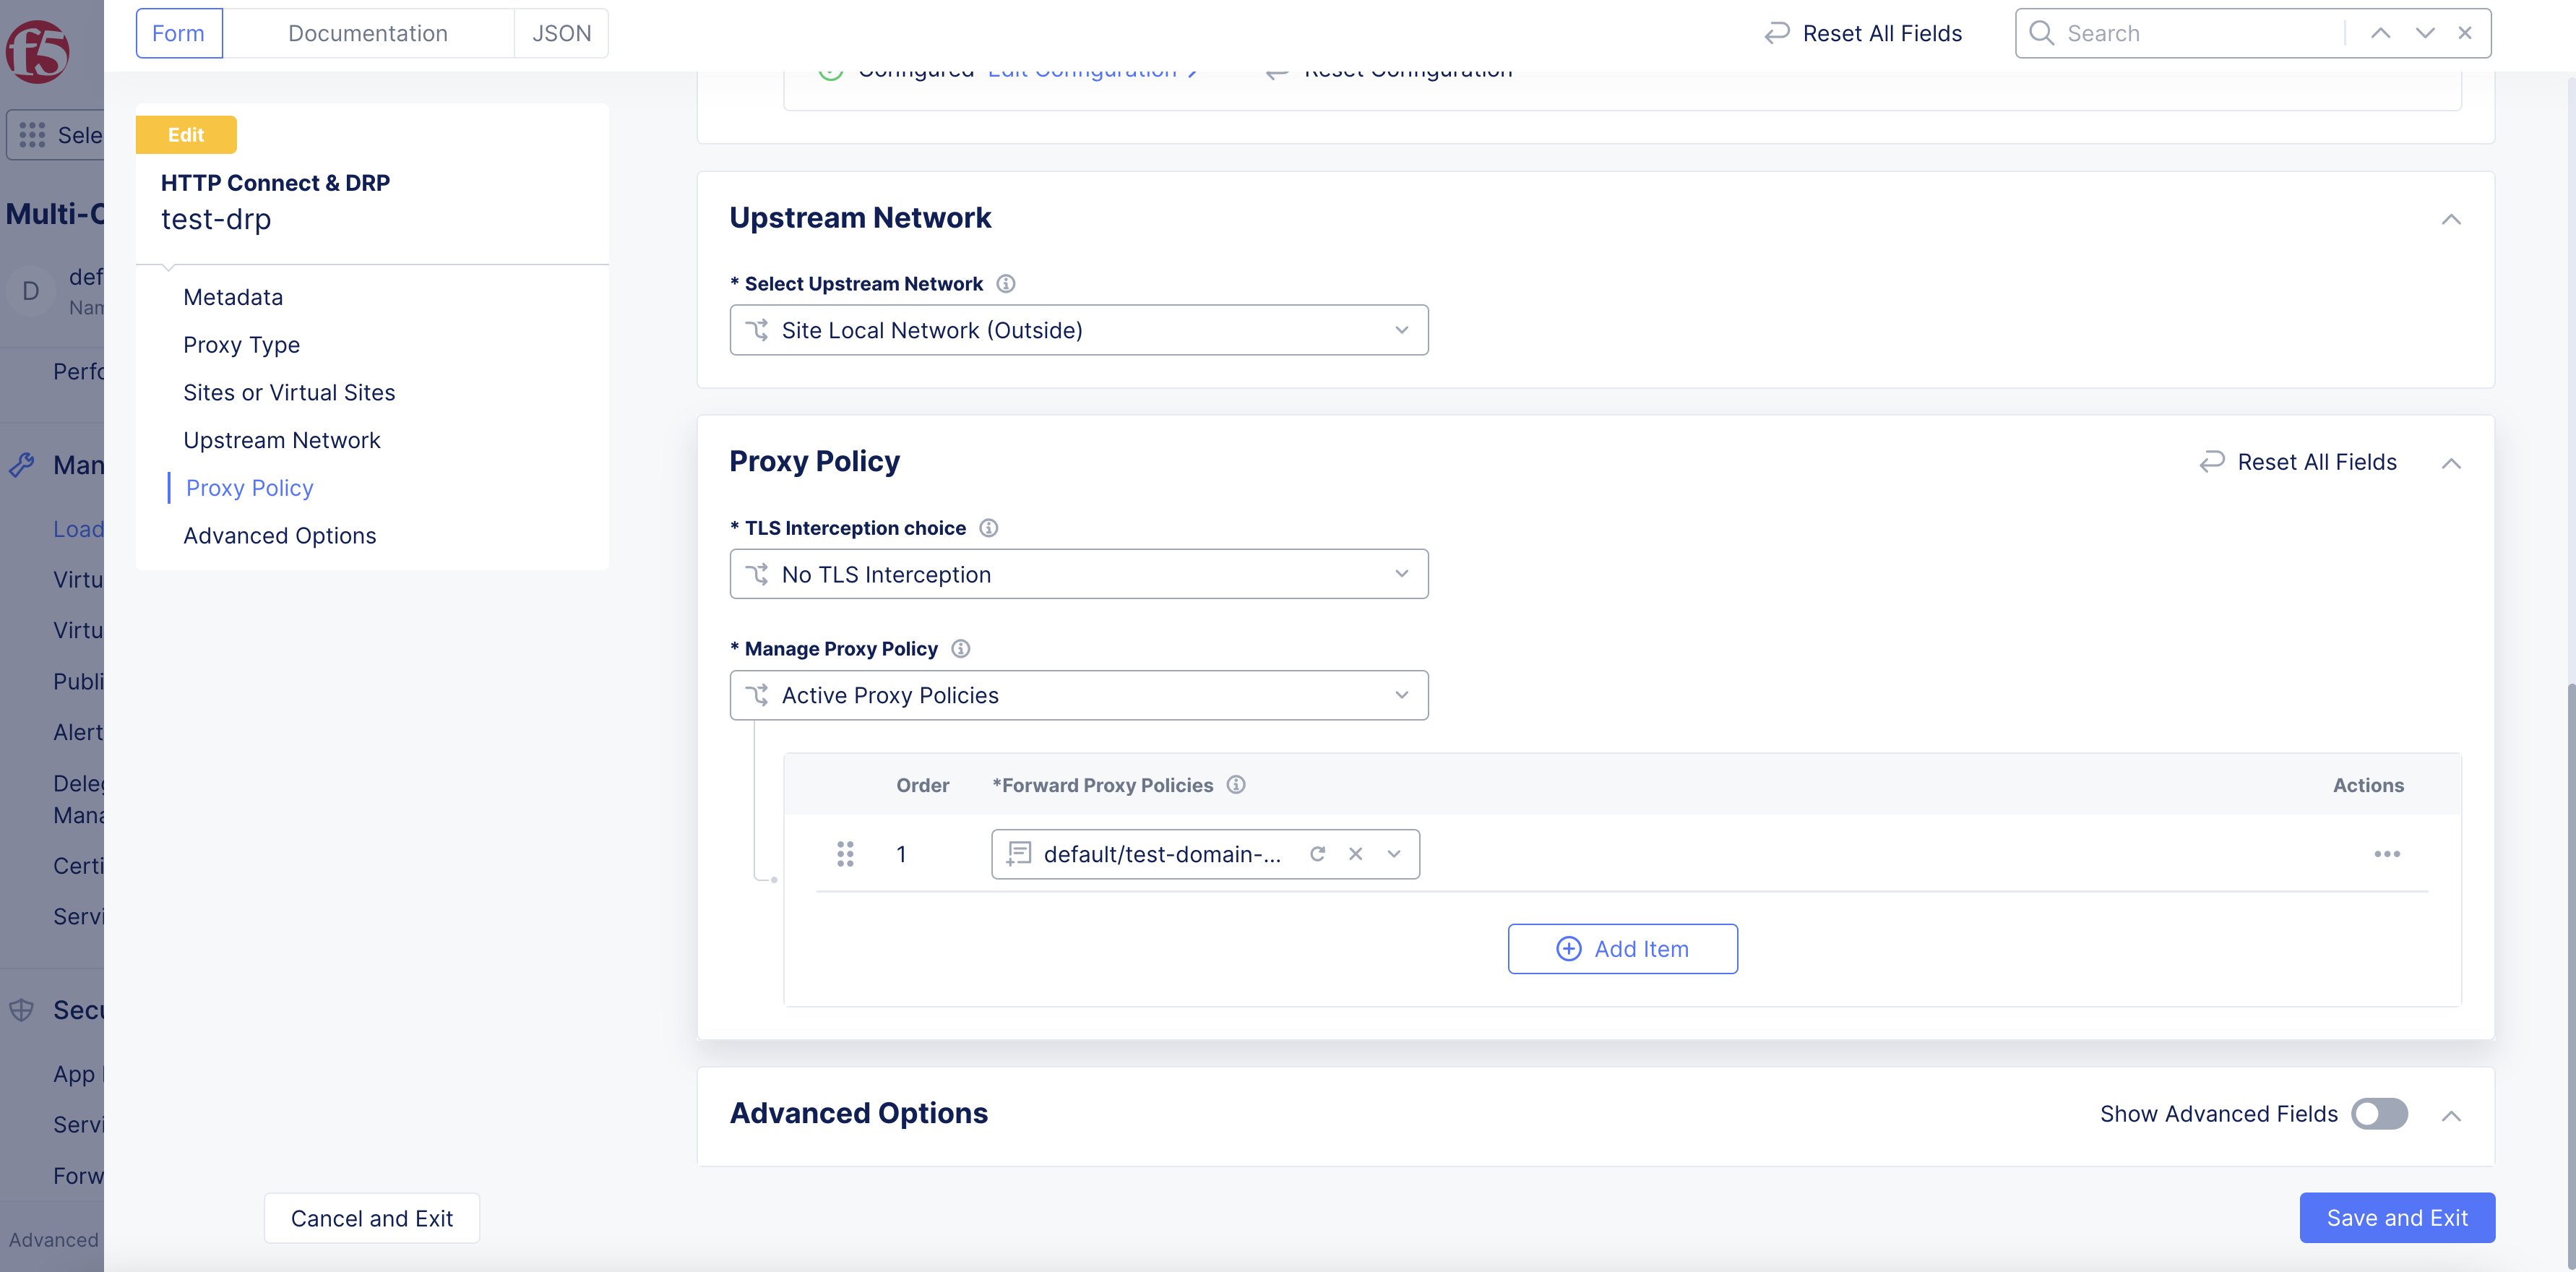
Figure: Select Forward Proxy Policy
- Click
Save and Exit.
Step 6: Verify the operation.
After you configure the policy for your forward proxy server, send a test request from a client IP address. If there is no URL category match for a URL, the request will be allowed. If the URL category matches, then the request will be denied.
Verify Policy Hits in Console
If the URL is in the categories, a policy hit will be generated and available for you to view.
Step 1: Navigate to your proxy server.
-
From the Console homepage, click
Multi-Cloud App Connect. -
Click
Overview>Applications>HTTP Connect & DRPs. -
Select your proxy server.
Step 2: Inspect policy hits.
-
Click the
Connectionstab. -
Inspect the values in the
url_categories,url_trustscore,url_trustworthiness, andurl_risklabels.
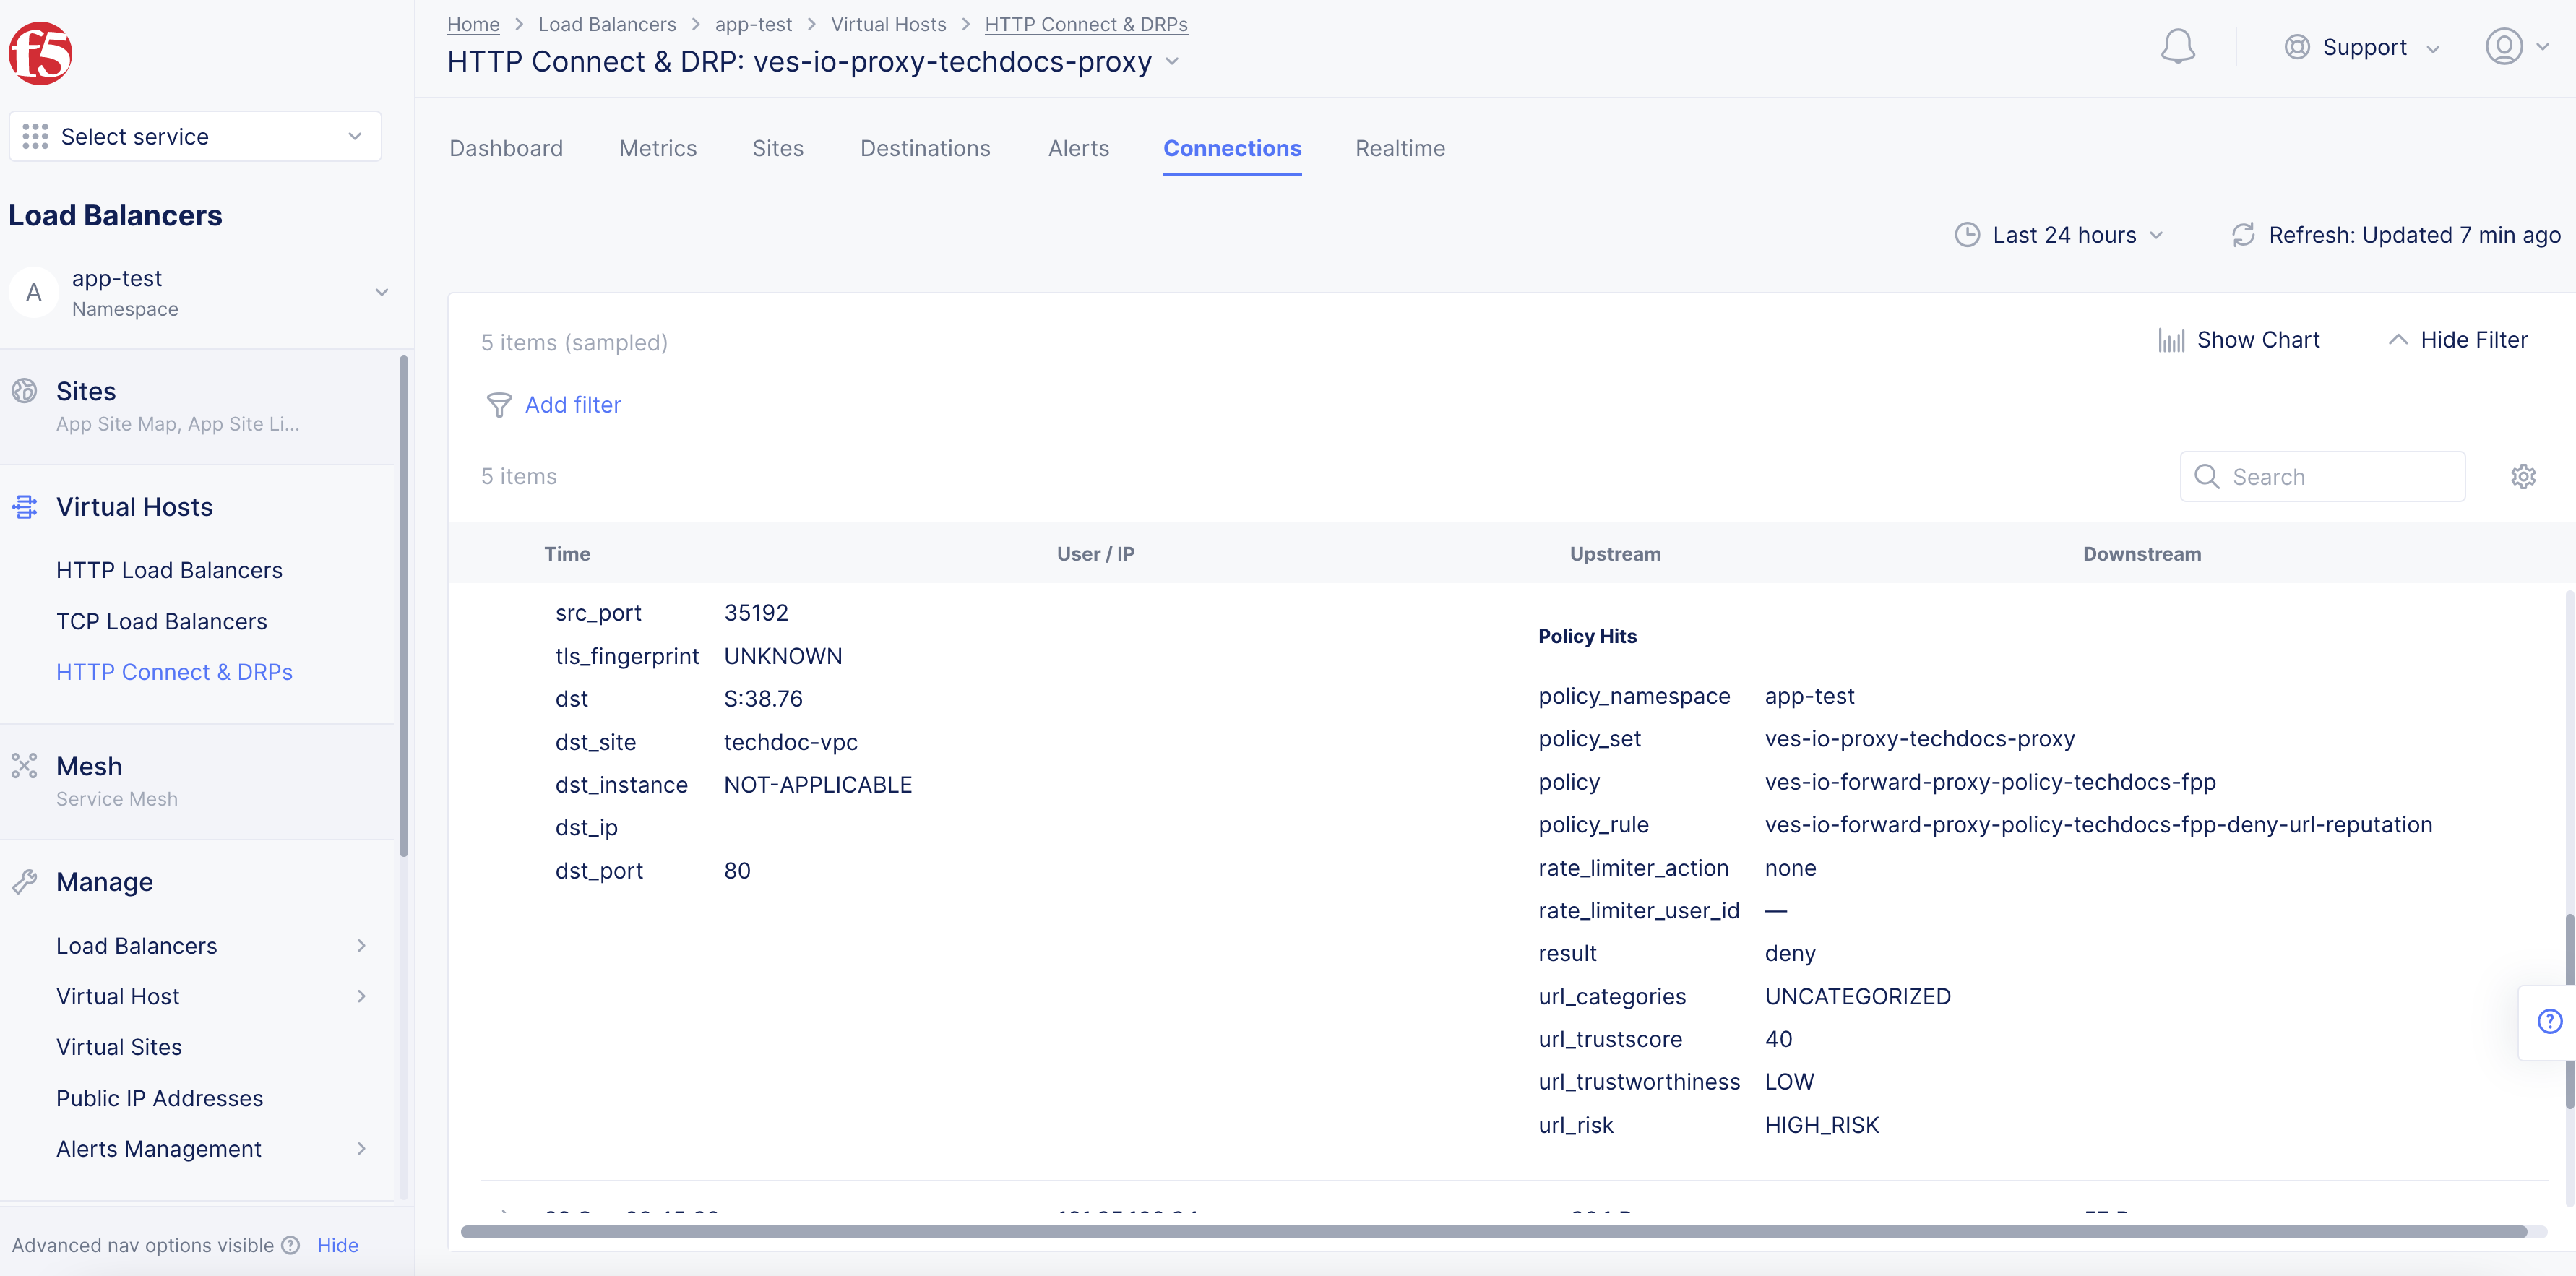
Figure: Inspect Policy Hits