Configure HTTP/2 Support
Objective
This document provides instructions on how to enable HTTP/2 support for your application. The HTTP/2 reduces latency and enhances efficiency for web-based applications.
Using the instructions provided in this guide, you can enable HTTP/2 connections for your services provisioned using F5® Distributed Cloud Services HTTP Load Balancers and Origin Pools. For more information, see Origin Pools.
Prerequisites
The following prerequisites apply:
-
An F5 Distributed Cloud Account. If you do not have an account, see Getting Started with Console.
-
An origin pool acting as a proxy for a service. If you do not have an origin pool configured, see Create Origin Pools.
Enable HTTP/2 Support Using Origin Pool
Enabling HTTP/2 support using origin pool is achieved by creating the origin pool of type TCP Proxy with SNI. The origin pool needs to be attached to HTTP Load Balancer.
Note: HTTP and TCP proxy types support through virtual hosts is removed. They are now supported only through the Load Balancers menu. Enabling HTTP/2 for HTTP Load Balancer is supported only through API.
Perform the following to create origin pool for your service with HTTP/2 support:
Step 1: Log into F5 Distributed Cloud Console with your tenant credentials, Open Origin Pool.
- Open
F5 Distributed Cloud Consolehomepage, selectMulti-Cloud App Connectbox.
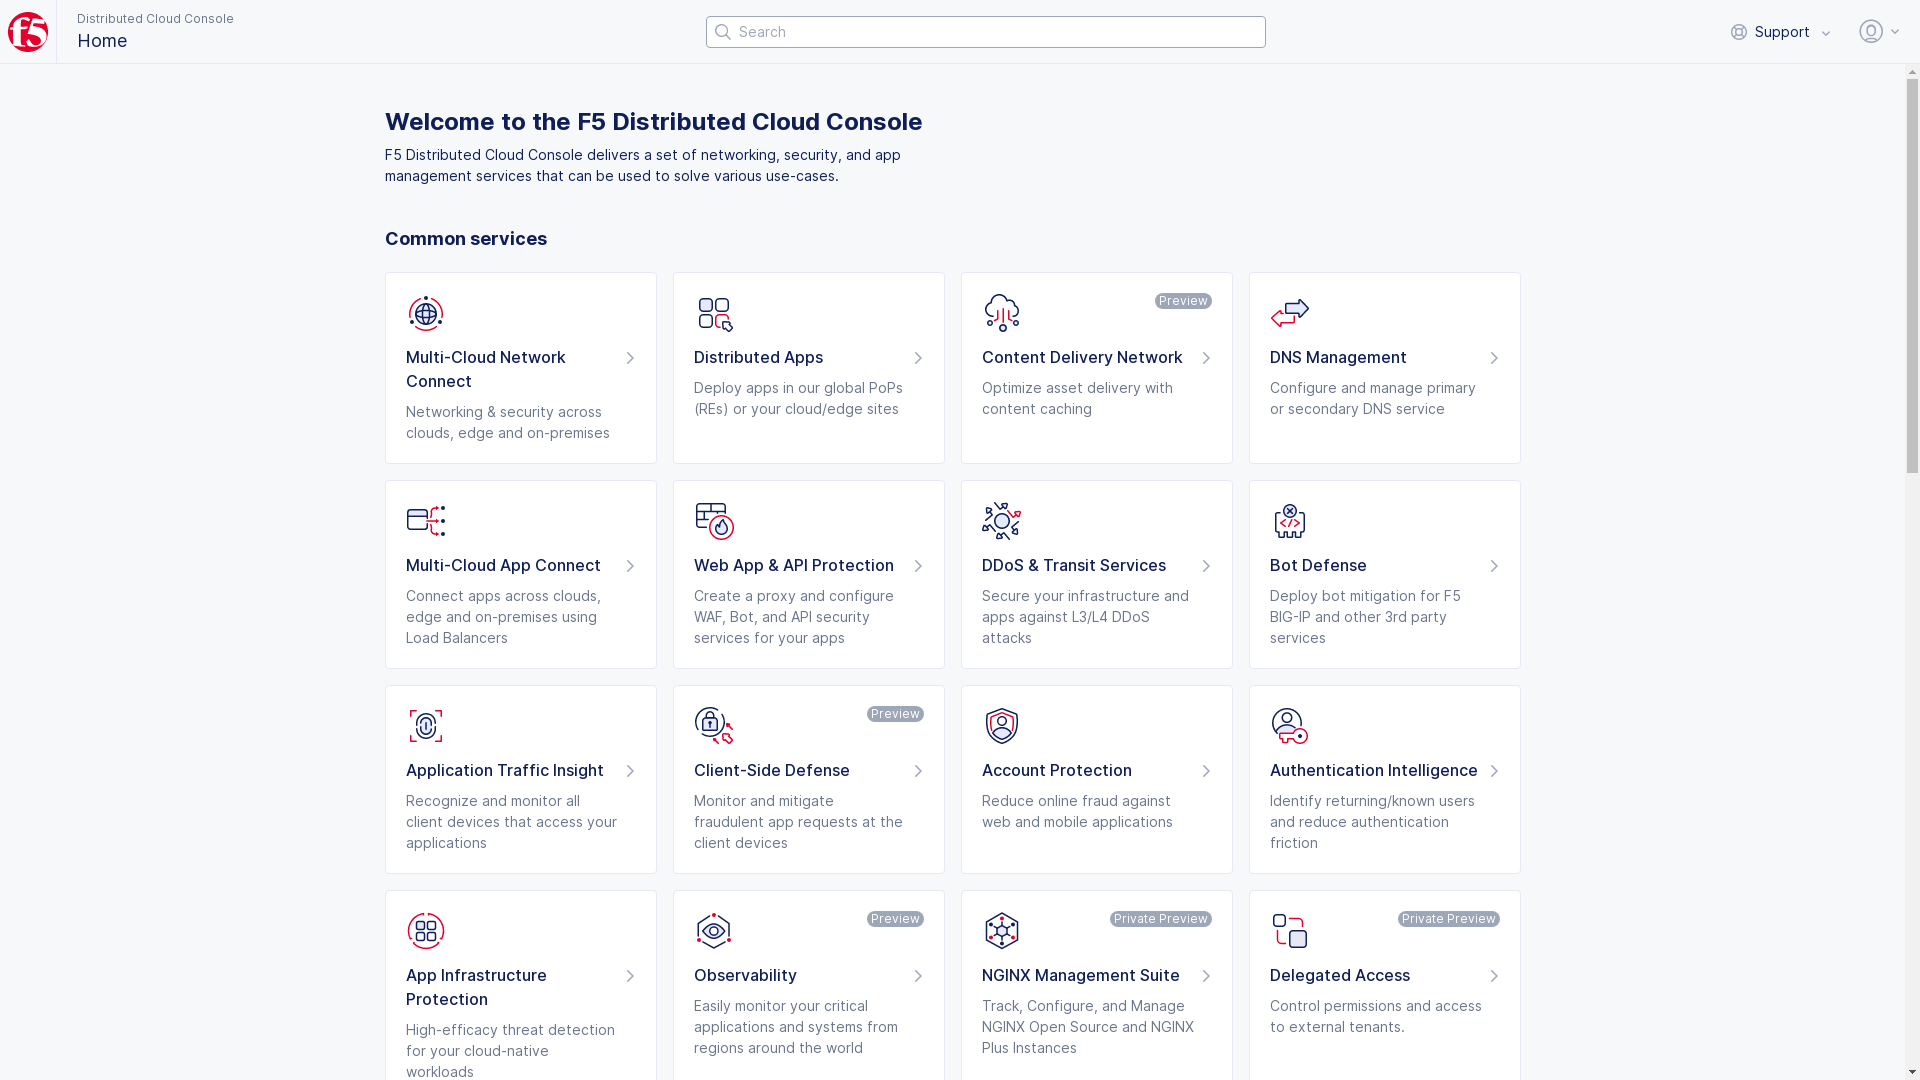
Figure: F5 Console Homepage
Note: Homepage is role based, and your homepage may look different due to your role customization. Select
All Servicesdrop-down menu to discover all options, or customize settings inAccount(Administration>Personal Management>My Account) >Account Settings>Work domains and skill level>Edit work domain & skillsbutton > select boxes (Advanced to add more options) >Save changesbutton.
- Select
Managein left column menu > selectLoad Balancers>Origin Pools.
Note: Confirm
Namespacefeature, if available in service, is on correct namespace, drop-down selector located in upper-left corner.
- Select
Add Origin Poolbutton.
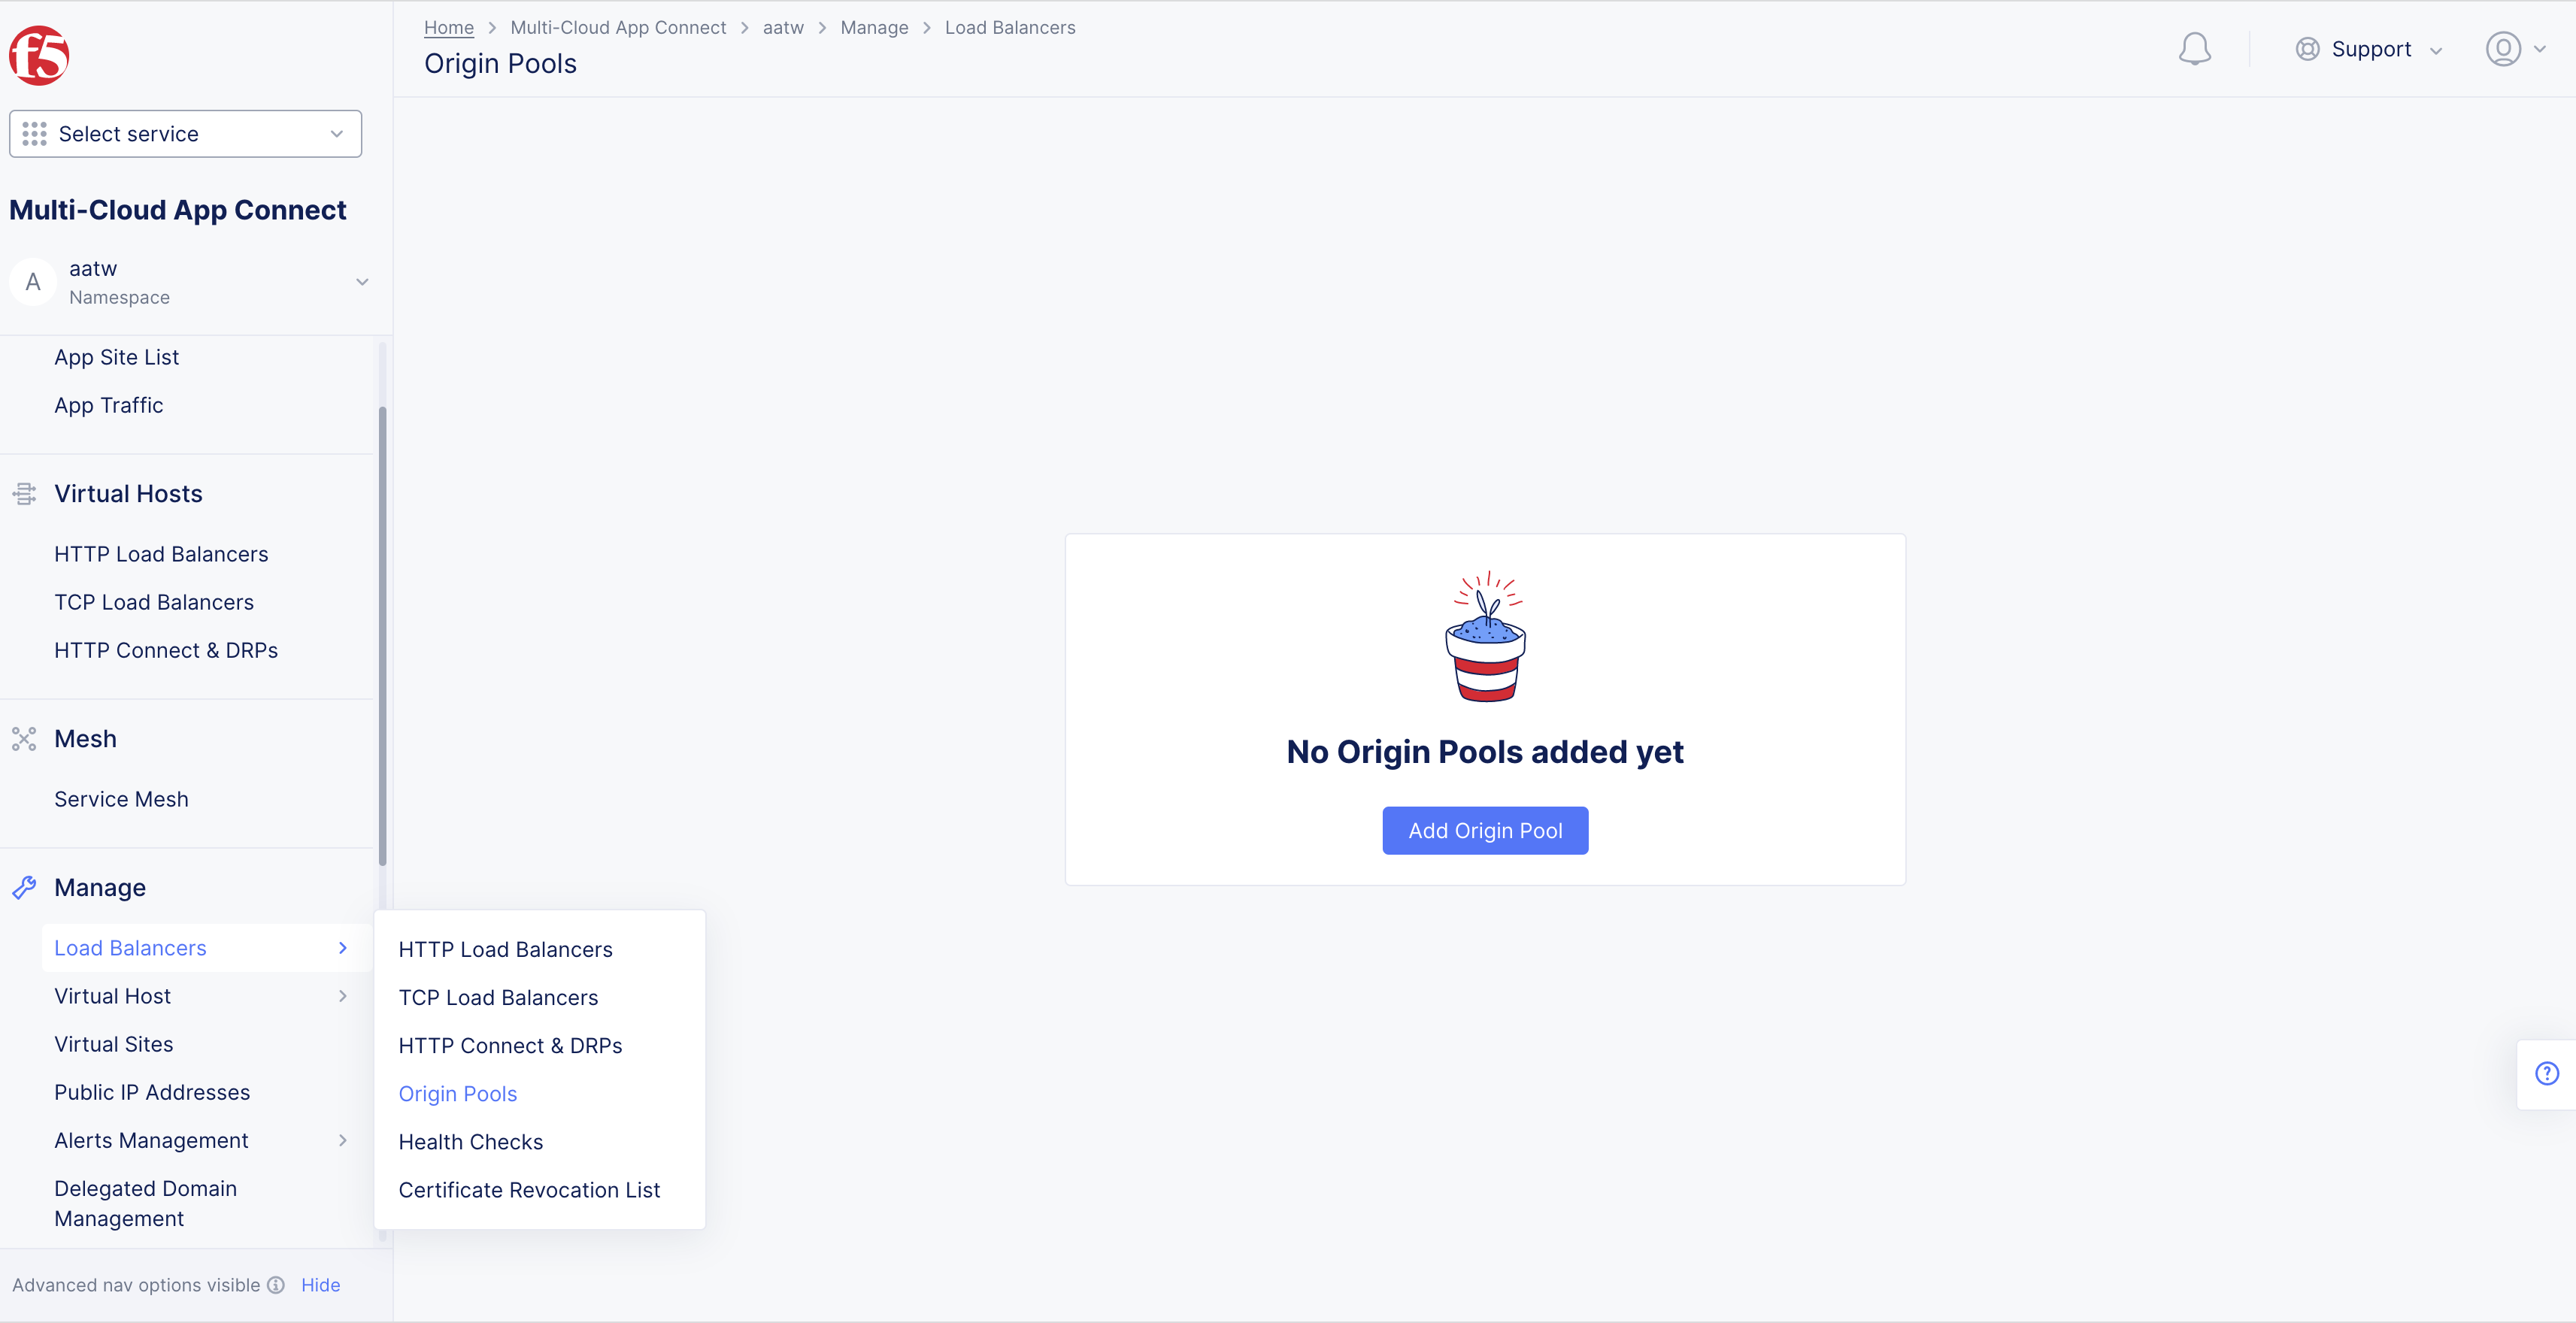
Figure: Open Origin Pool
Note: If options are not showing available select
Advanced nav options visibleShowlink in bottom left corner. SelectHideto minimize options from Advanced nav options mode if needed.
Step 2: Setup Origin Pool.
Start creating Origin Pool.
Note: HTTP and TCP proxy types support through virtual hosts is removed. They are now supported only through the Load Balancers menu.
-
Enter
Name. -
Enter
LabelsandDescriptionas needed.
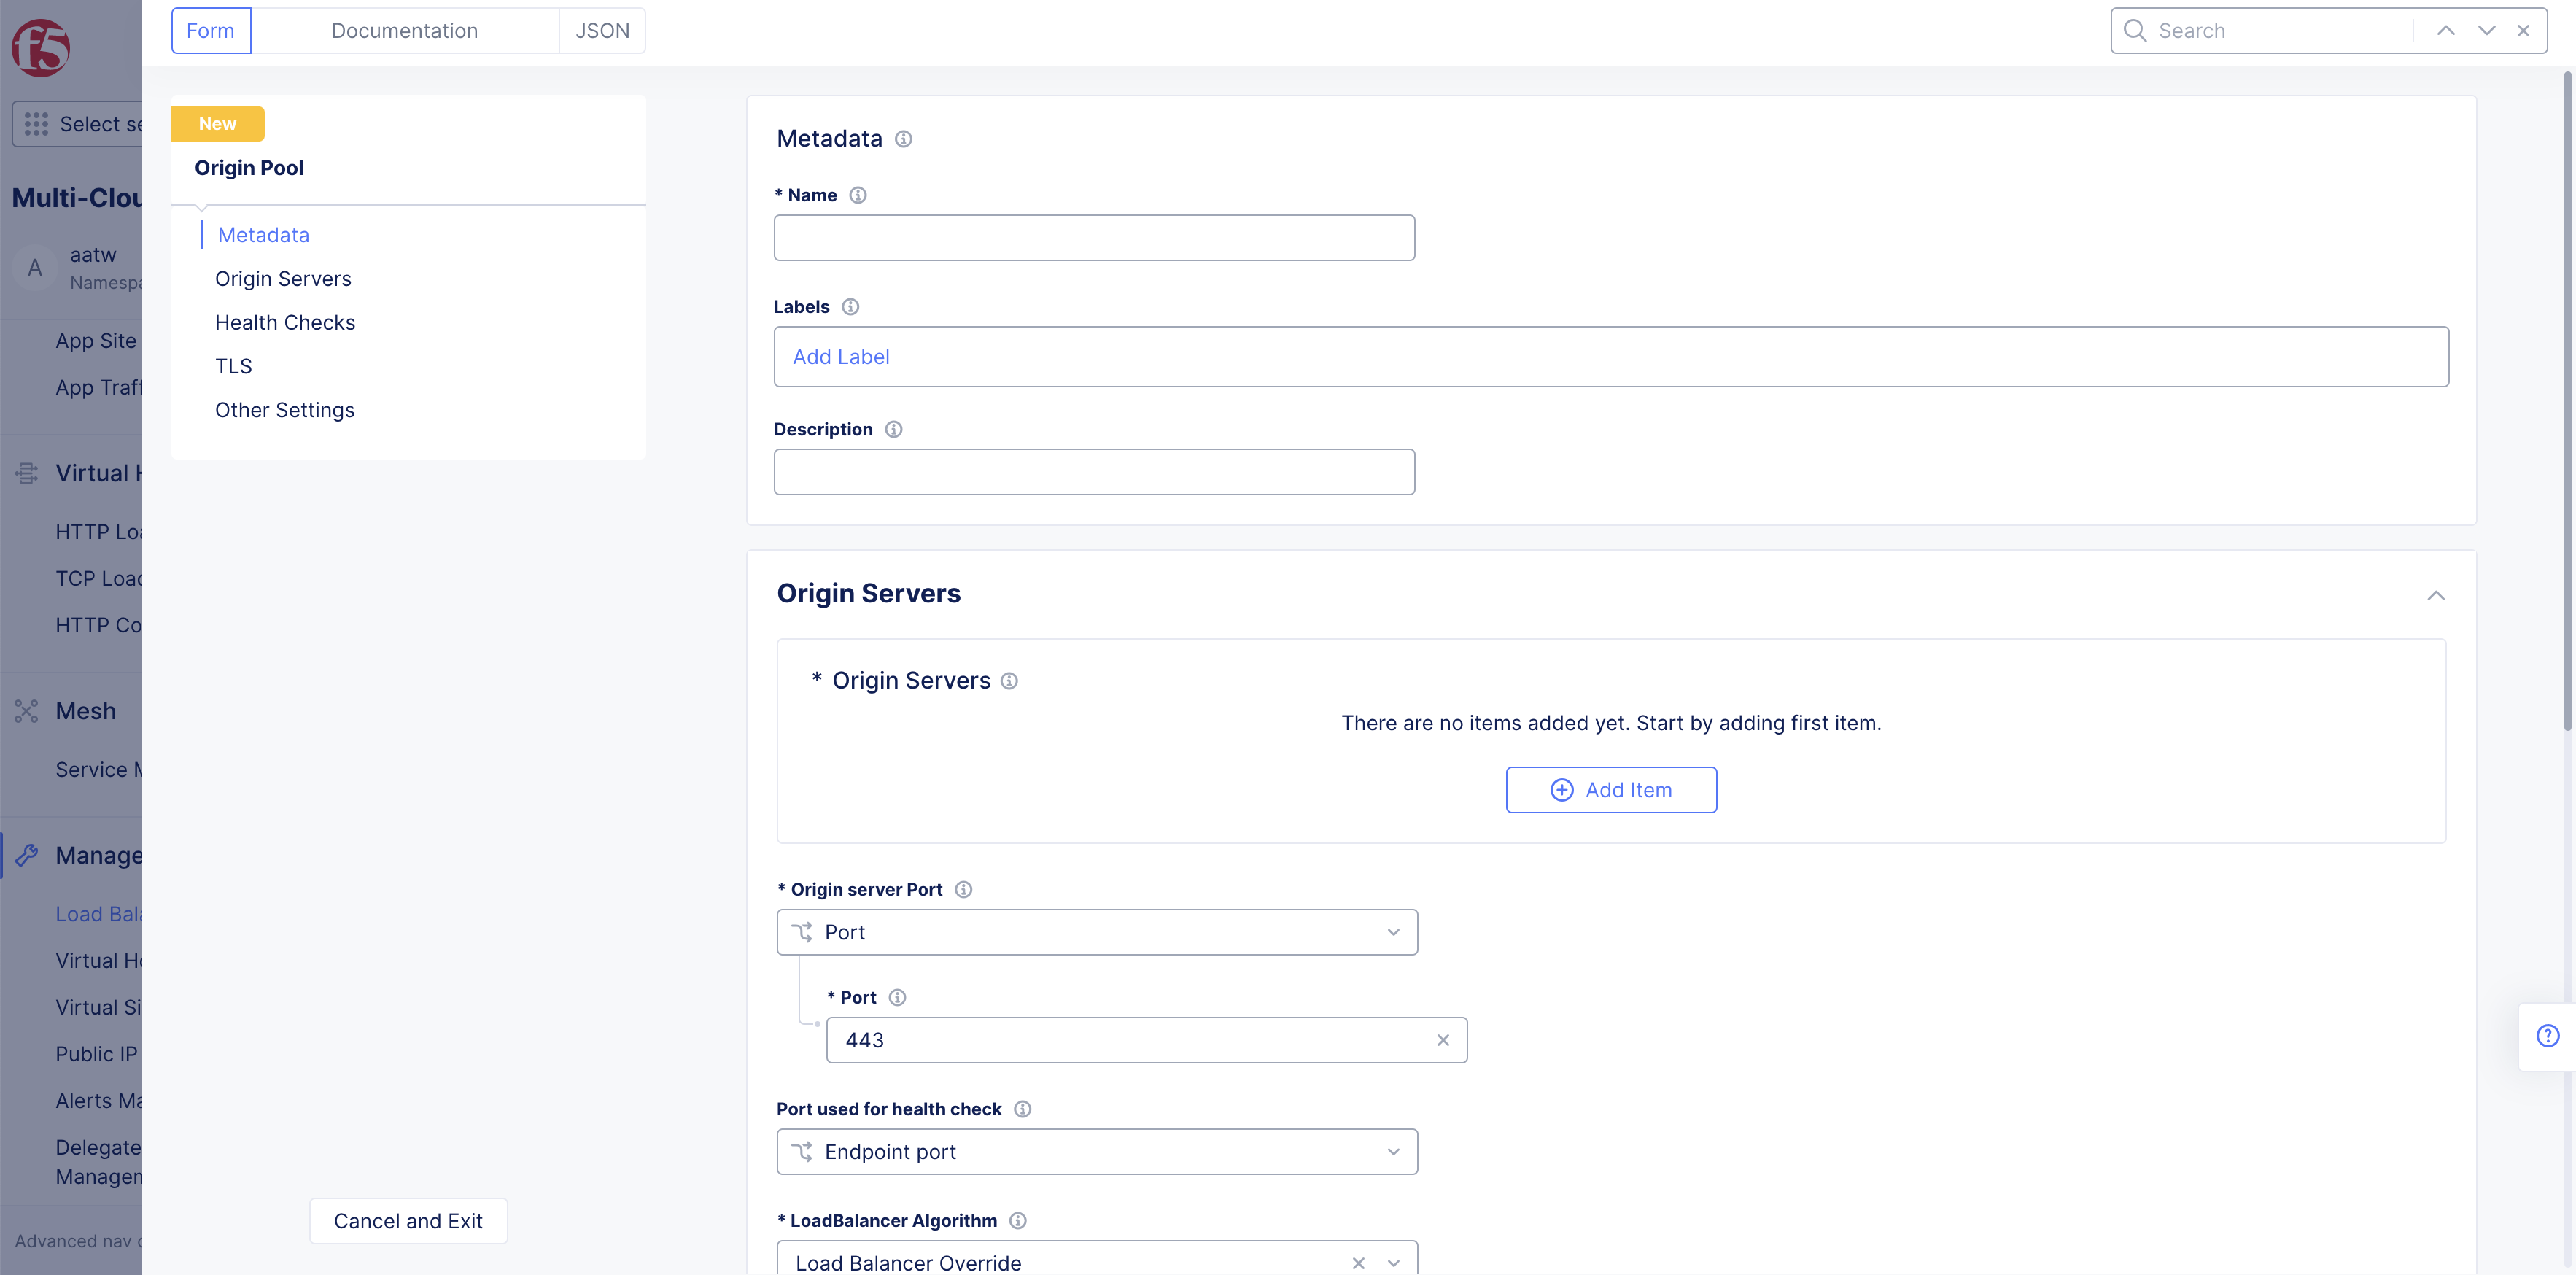
Figure: Setup Origin Pools
- Select
TLSdrop-down menu, selectEnableoption.
Note: Option to
Disable/EnableHTTP2 is available only for HTTPS LB as it is part of ALPN negotiation in TLS client.
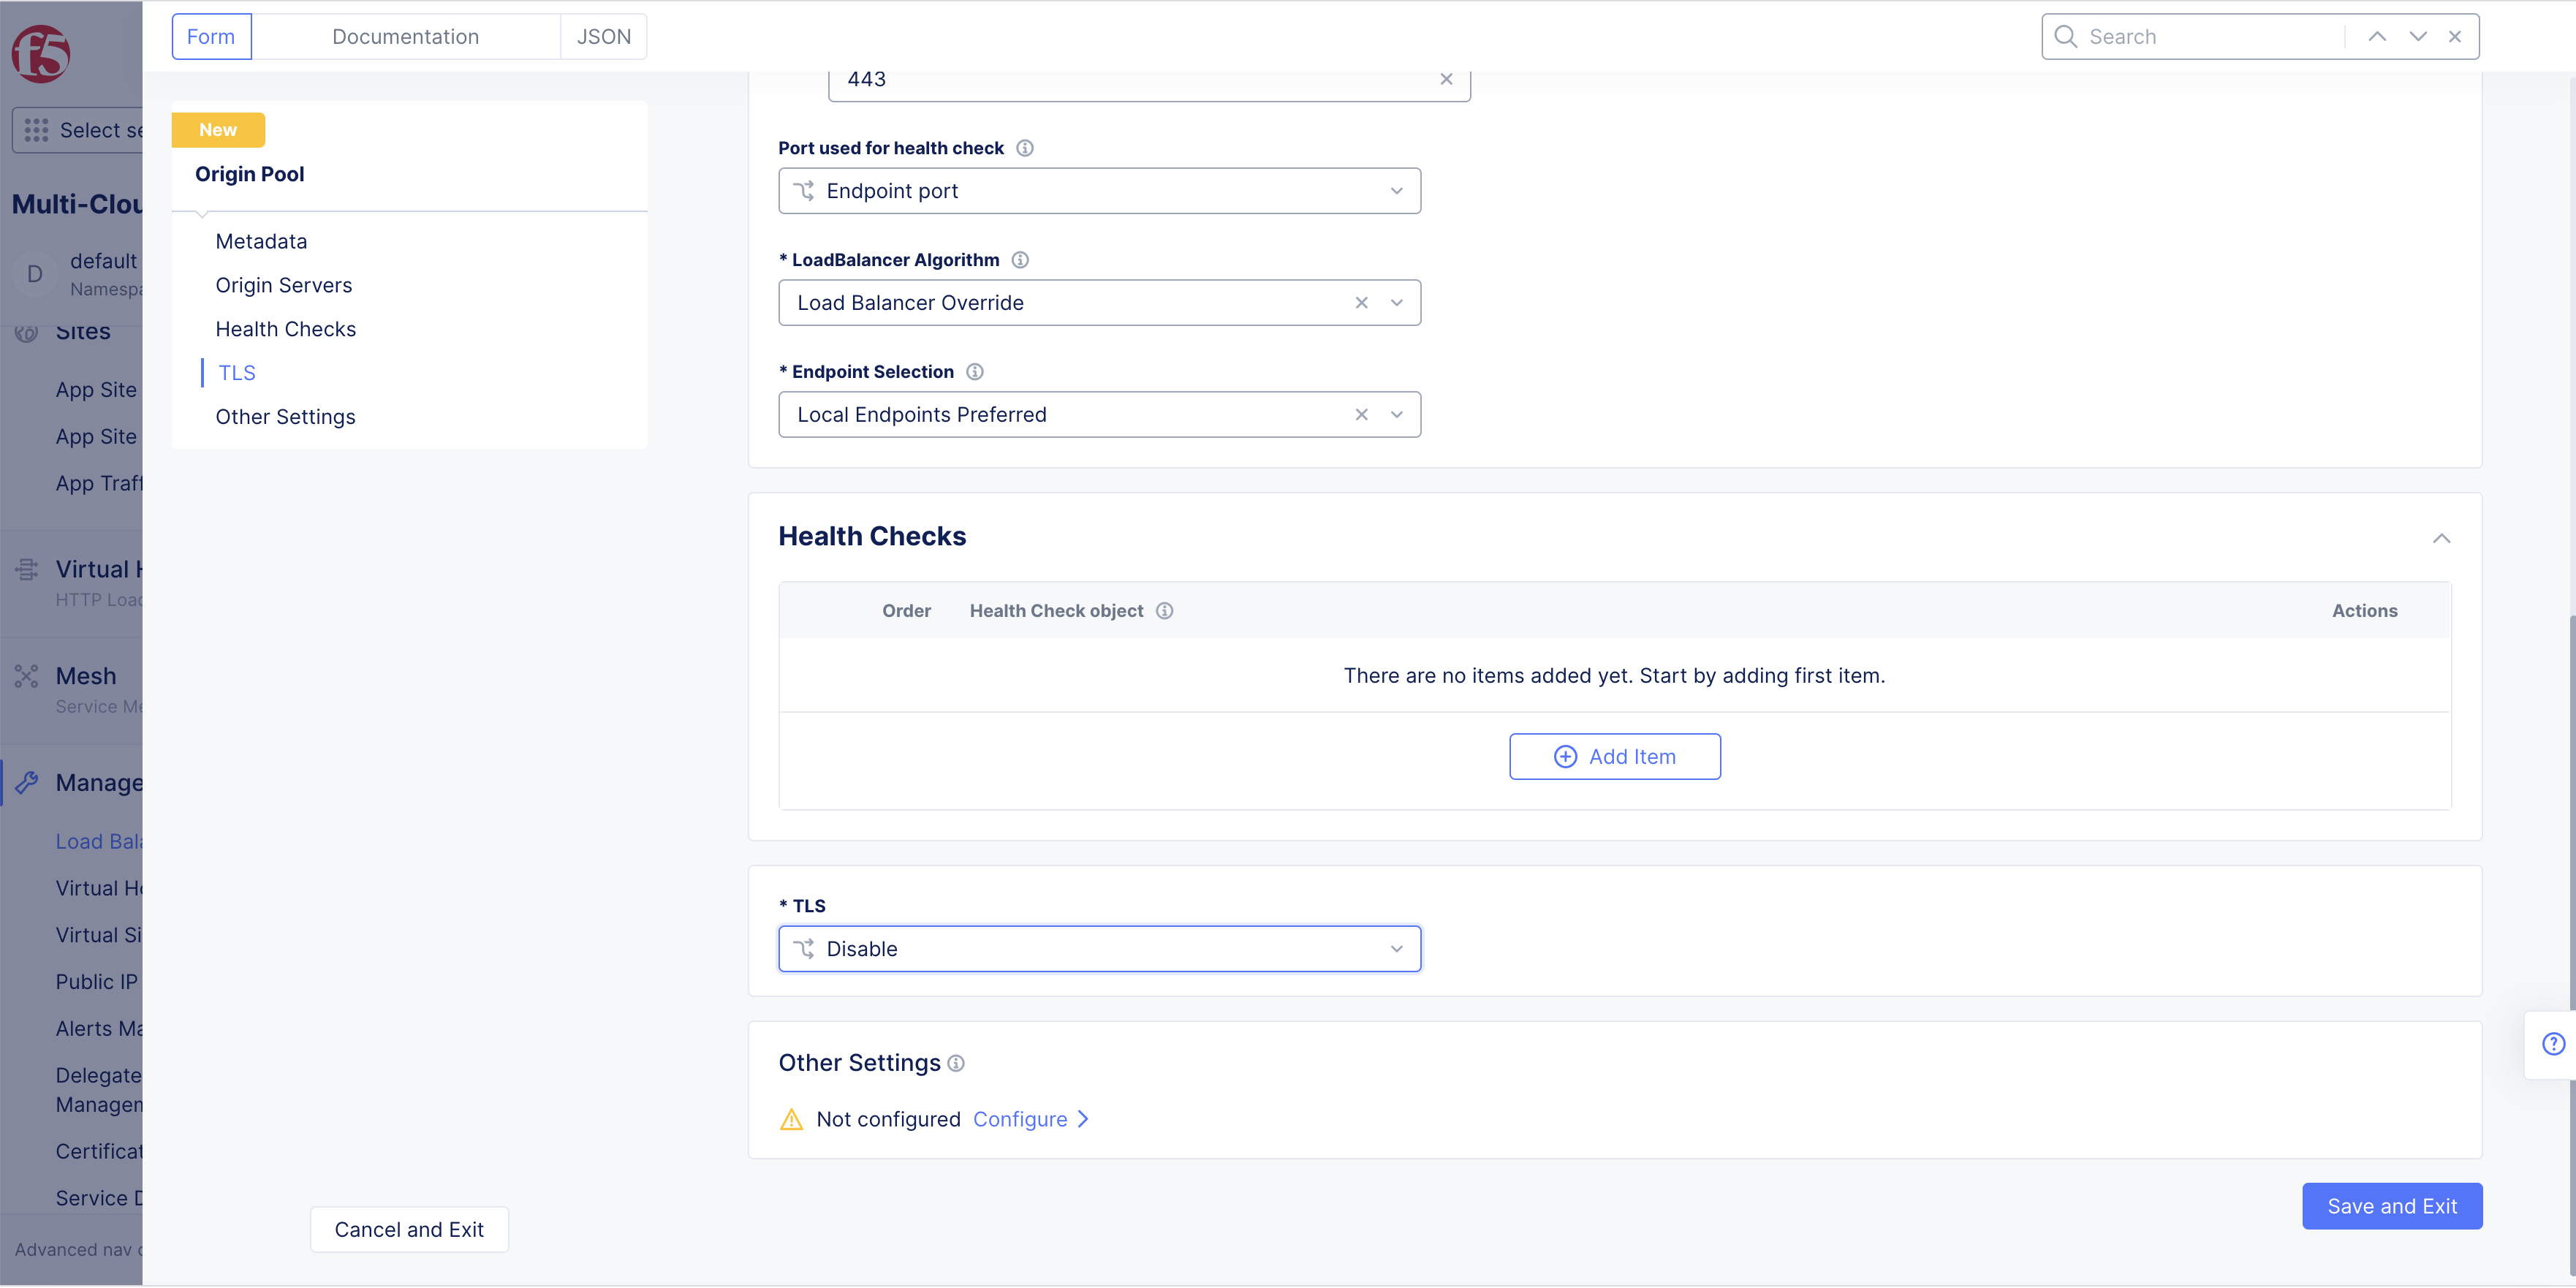
Figure: Setup Origin Pools
-
Select
SNI Selectiondrop-down menu, selectSNI Value. -
Enter
SNI Value.

Figure: Setup Origin Pools
-
Select
MTLS with Origin Serversdrop-down menu, selectEnableoption. -
Select
Configurelink inEnablesection. -
Select
+ Add Itembutton inTLS Certificatesbox. -
Select
Configurelink inPrivate Keysection. -
Setup
Secret Type. -
Select
Applybutton. -
Select
Applybutton. -
Select
Applybutton.
Step 3: Enable HTTP/2 in Origin Pools Other Settings.
Setup Proxy Protocol Options in Proxy Type HTTPS with Proxy Type Https Auto Certs.
In Other Settings select HTTP Protocol Configuration in Miscellaneous Options to enable HTTP/2 configuration.
-
Select
Configurelink inOther Settingssection. -
Go to
Miscellaneous Optionssection.
Figure: Origin Pools
-
Select
HTTP Protocol Configurationdrop-down menu:-
Automatic -
HTTP/2 Configuration
-
Note:
HTTP/2 Enabledbox is checked by default.
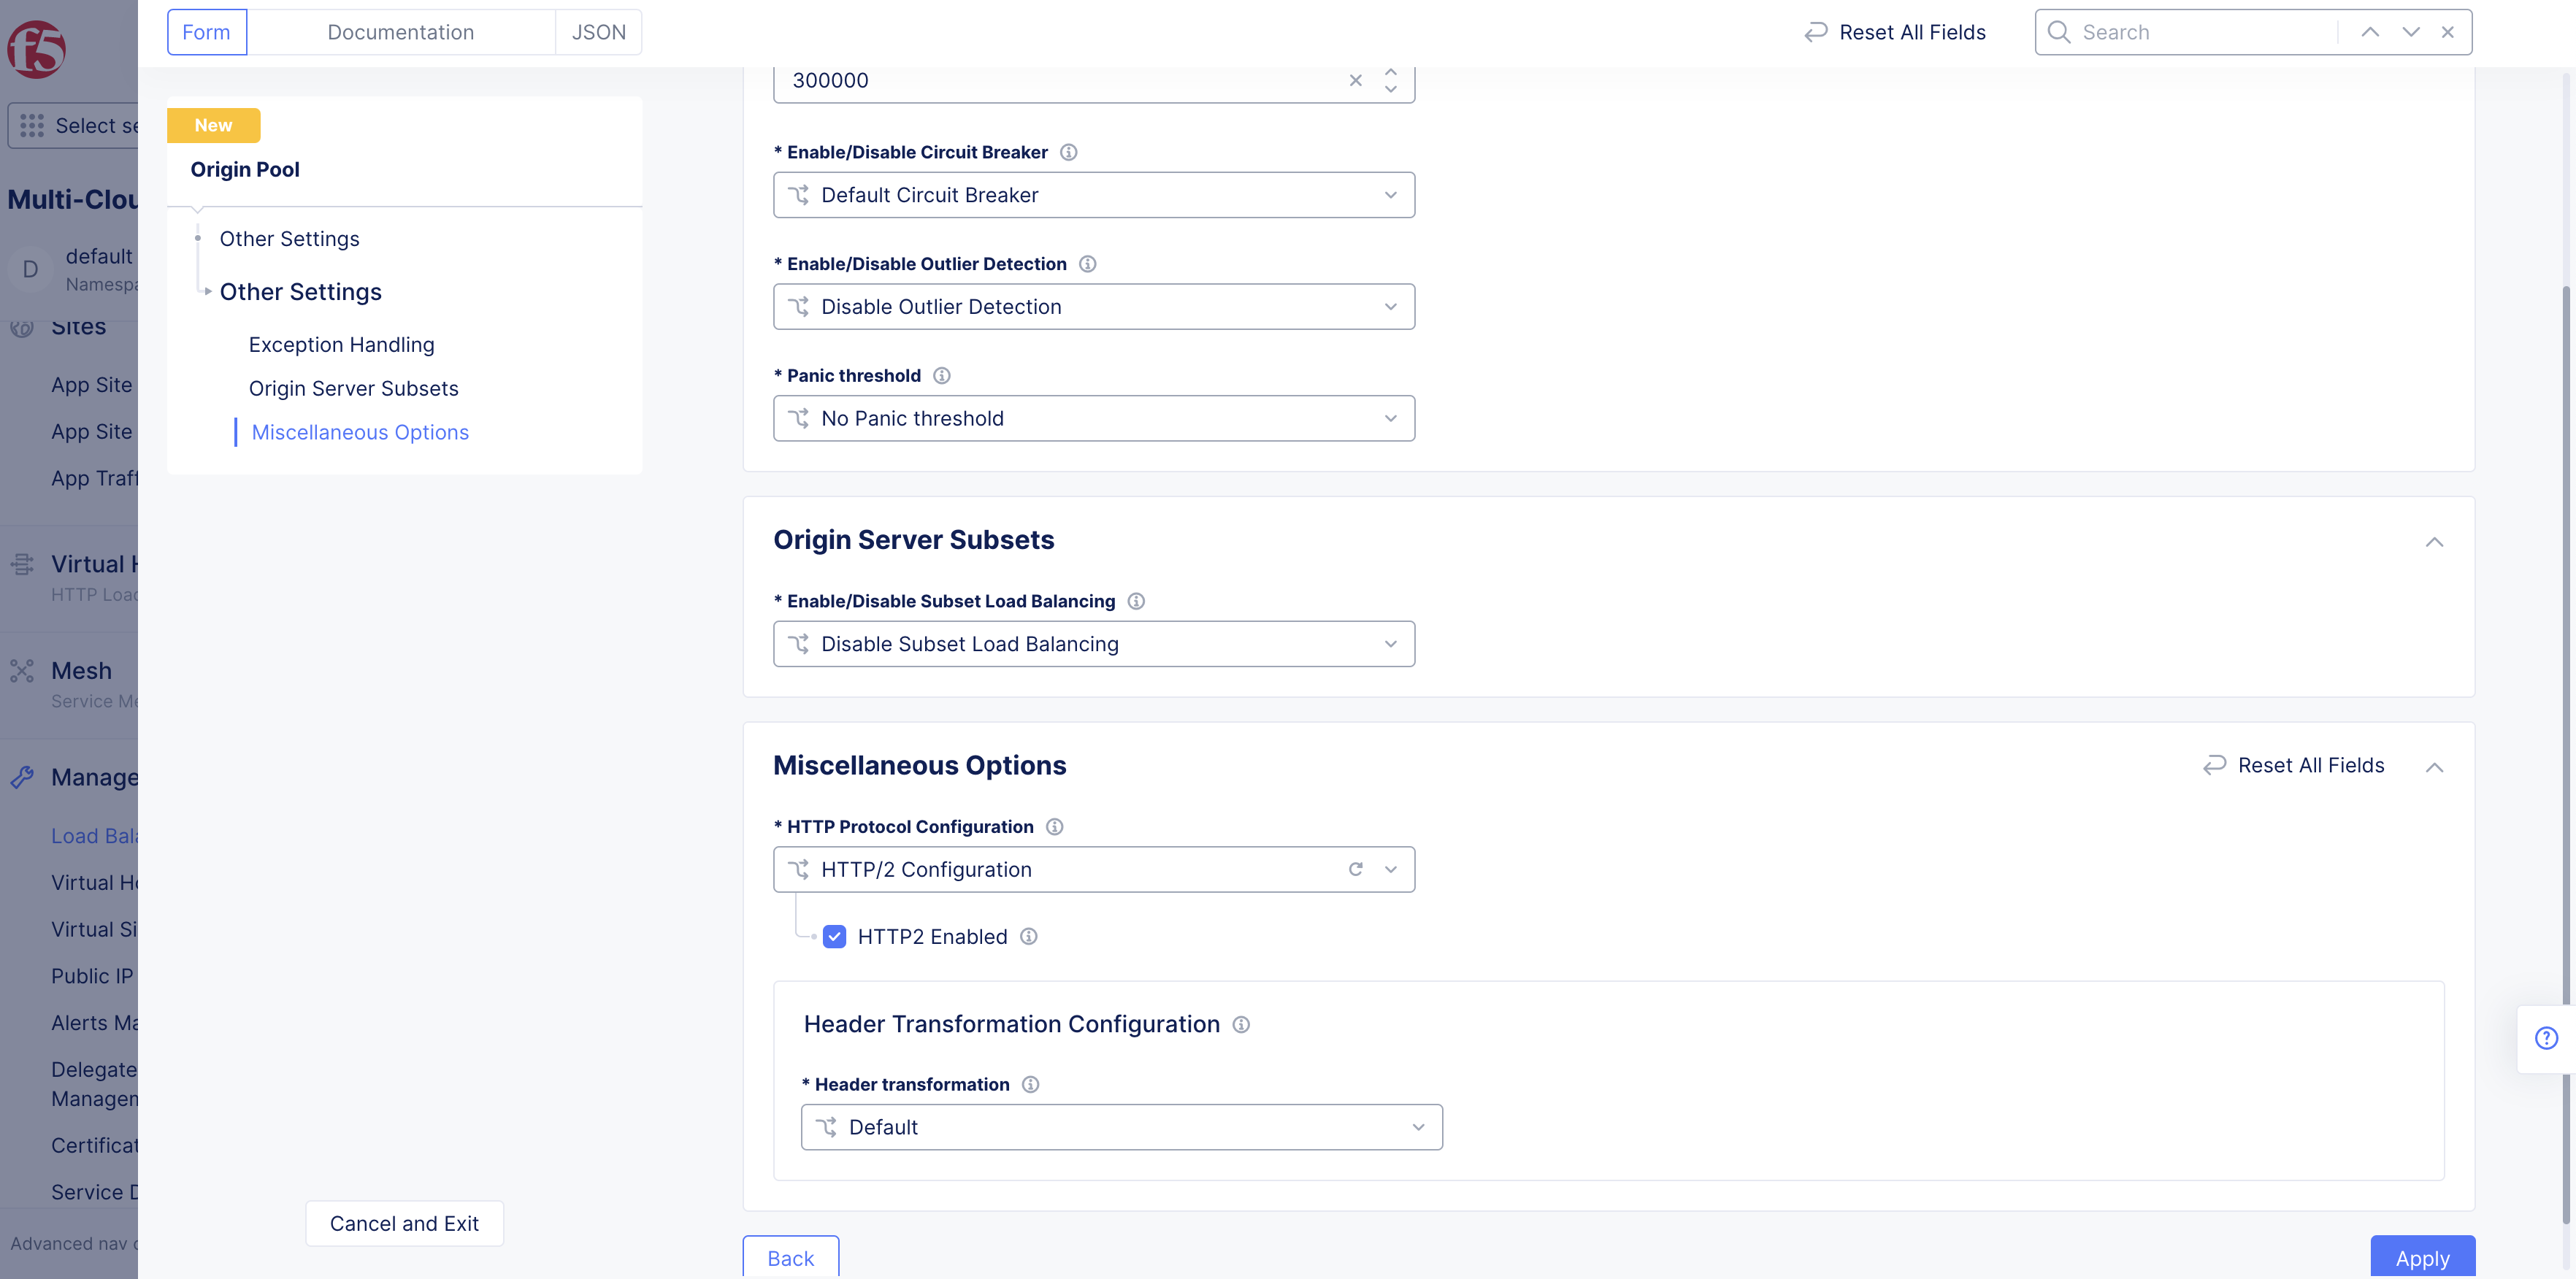
Figure: Enable HTTP/2
-
Select
Applybutton. -
Select
Save and Exitbutton.
Note: The origin pool needs to be attached to HTTP Load Balancer.
Step 4: Edit Origin Pool in HTTP/2.
Note: You can edit origin pool settings in this step from HTTP/2.
- In
Manage>Load Balancers>HTTP Load BalancersofMulti-CLoud App Connectservice.
Figure: HTTP/2
-
Select
...inActionscolumn ofHTTP Load Balancer. -
Select
Manage Configuration.
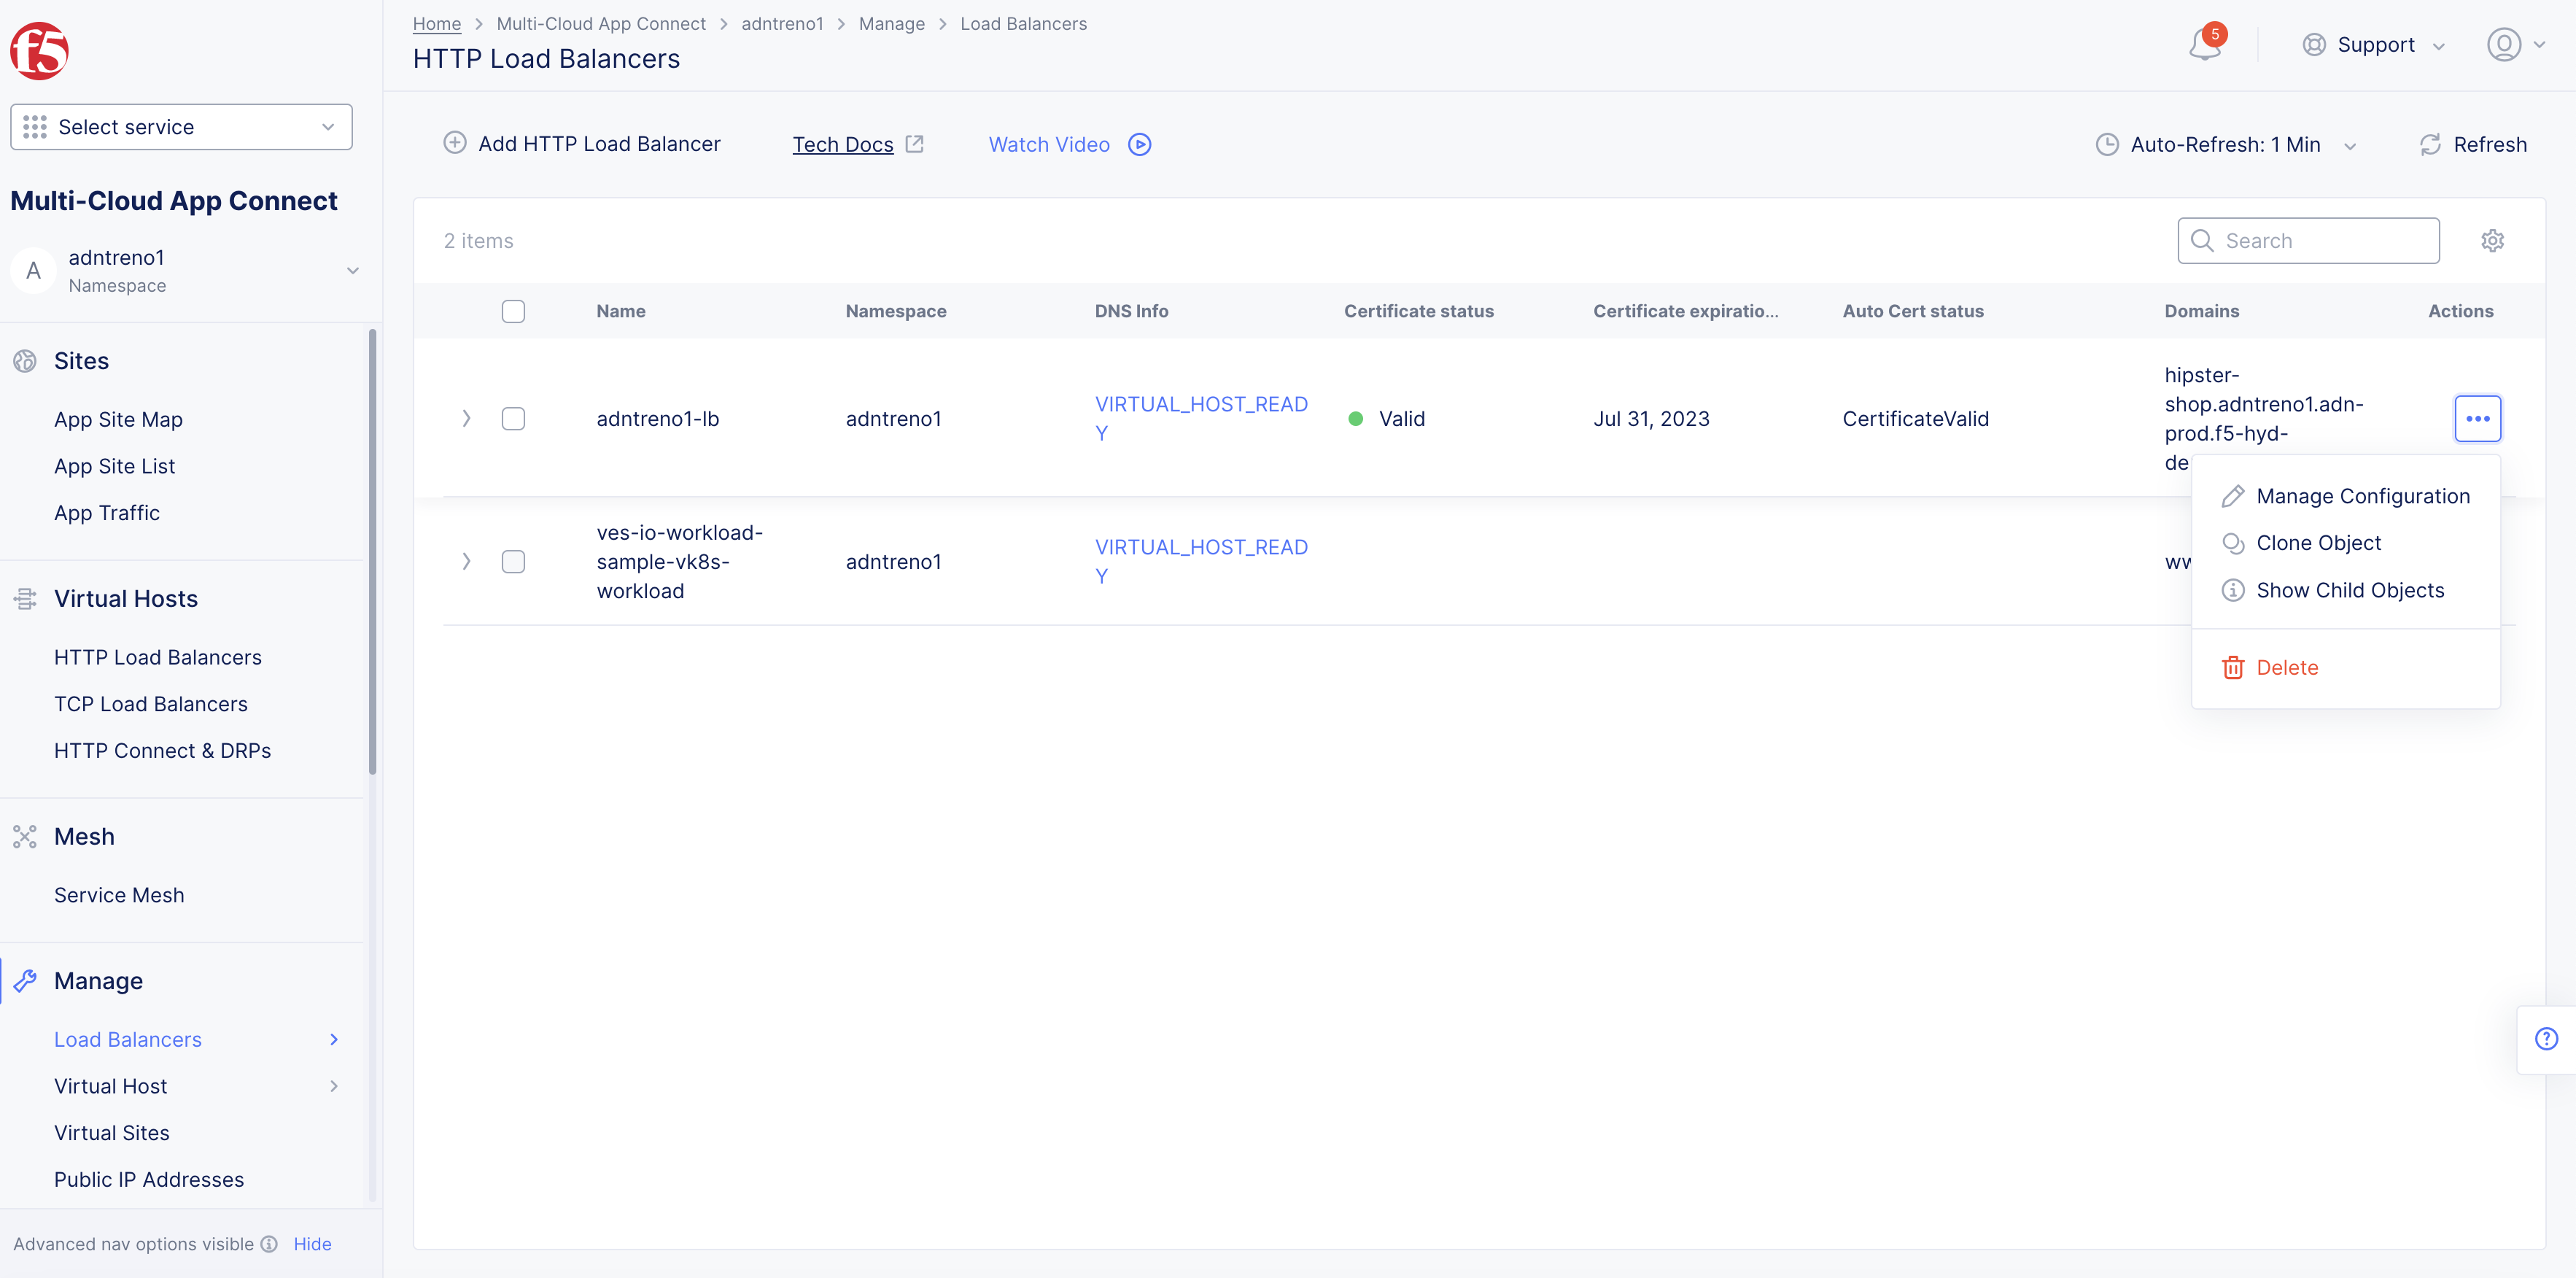
Figure: HTTP/2
-
Select
Edit Configuration. -
Select
+ Add Itembutton inOrigin Poolssection. -
Select
Origin Pooldrop-down menu. -
Select origin pool you created or want to add to the HTTP/2.
-
Select
Edit Configurationto edit or add any needed items, refer to steps 2 and 3. -
Configure all
Origin Poolsettings. See, Origin Pools. -
Select
Applybutton.
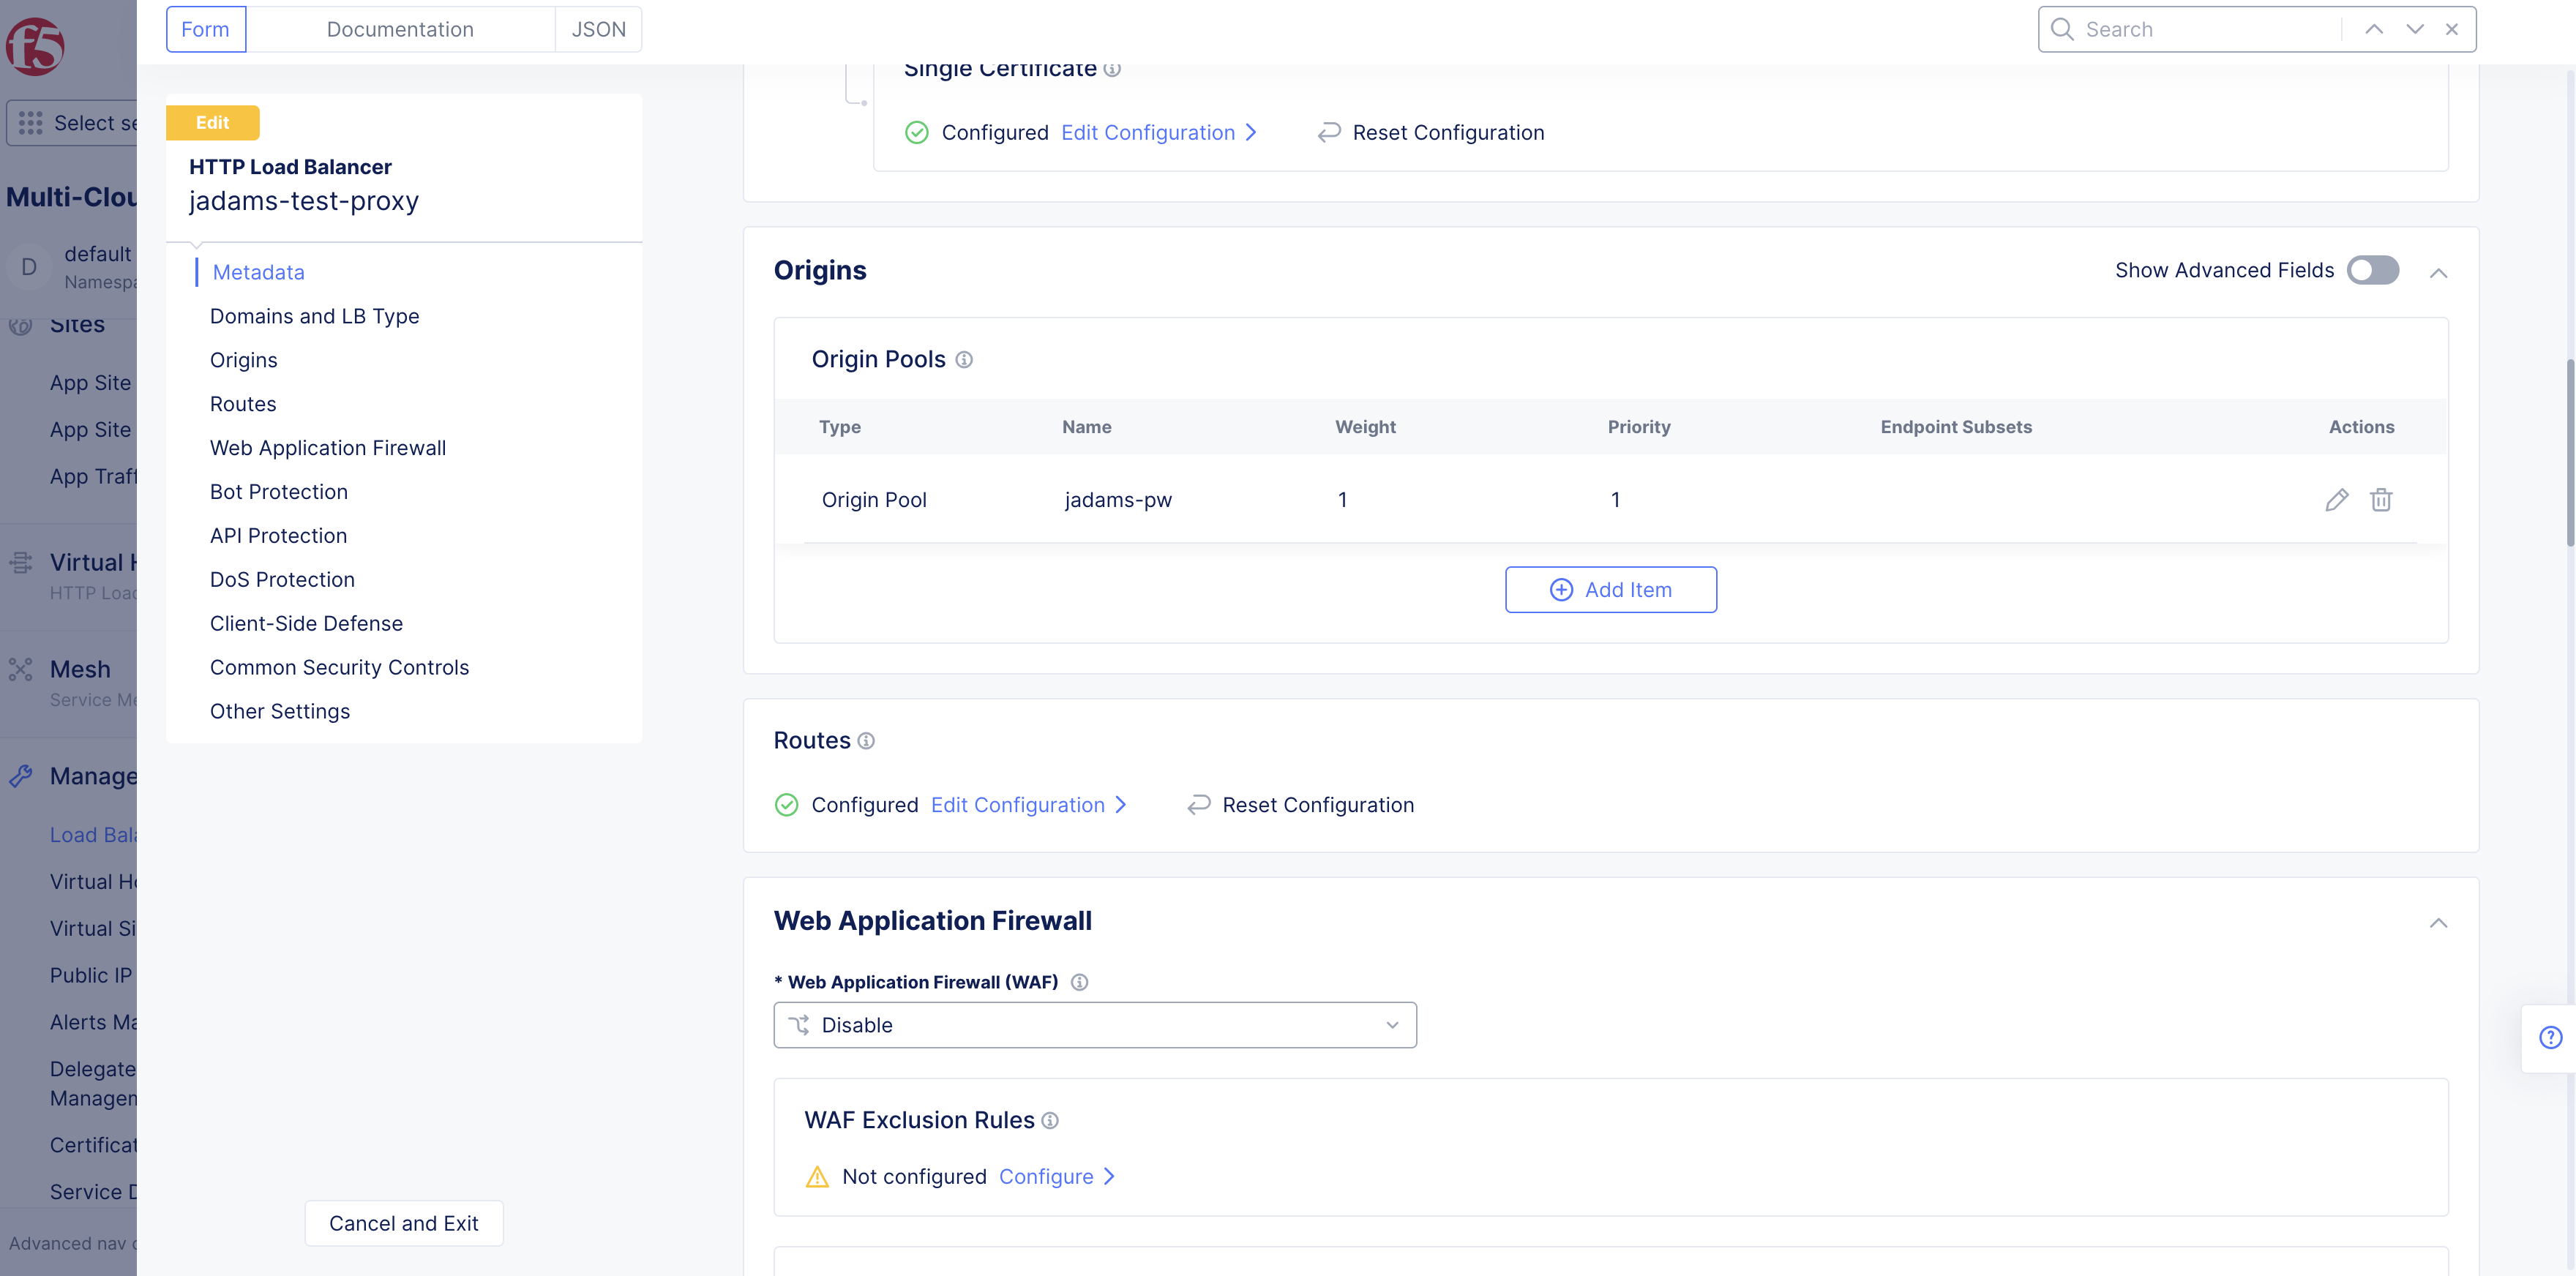
Figure: HTTP/2 Origin Pools
- Select
Save and Exitbutton to apply HTTP/2 to HTTP Load Balancer.
Step 5: Add Origin Pool to HTTP Load Balancer.
Origin pool needs to be attached to HTTP Load Balancer.