Configure Tunneling for CE Site
Objective
Important: F5 highly recommends that you use the new External Connector functionality. See Create External Connectors for more information.
This guide provides instructions on how to configure a tunnel for your site. F5® Distributed Cloud Services support the IPsec tunnel type with Pre-Shared Key (PSK).
Tunnel configuration allows you to specify parameters for configuring static tunnels. Configuration involves specification of encapsulation and related parameters to be used for the tunnel's payload traffic.
Prerequisites
-
F5 Distributed Cloud Account is required. If you do not have an account, see Getting Started with Console.
-
One or more registered sites in the enterprise tenant. If you do not have a registered site, see the Customer Edge Deployment guides.
Create a Tunnel
Perform the following steps to create a tunnel in F5 Distributed Cloud Console:
Step 1: Log into F5® Distributed Cloud Console, go to tunnels.
- Open
F5® Distributed Cloud Console> selectMulti-Cloud Network Connectbox.
Note: Homepage is role based, and your homepage may look different due to your role customization. Select
All Servicesdrop-down menu to discover all options. Customize Settings:Administration>Personal Management>My Account>Edit work domain & skillsbutton >Advancedbox > checkWork Domainboxes >Save changesbutton.
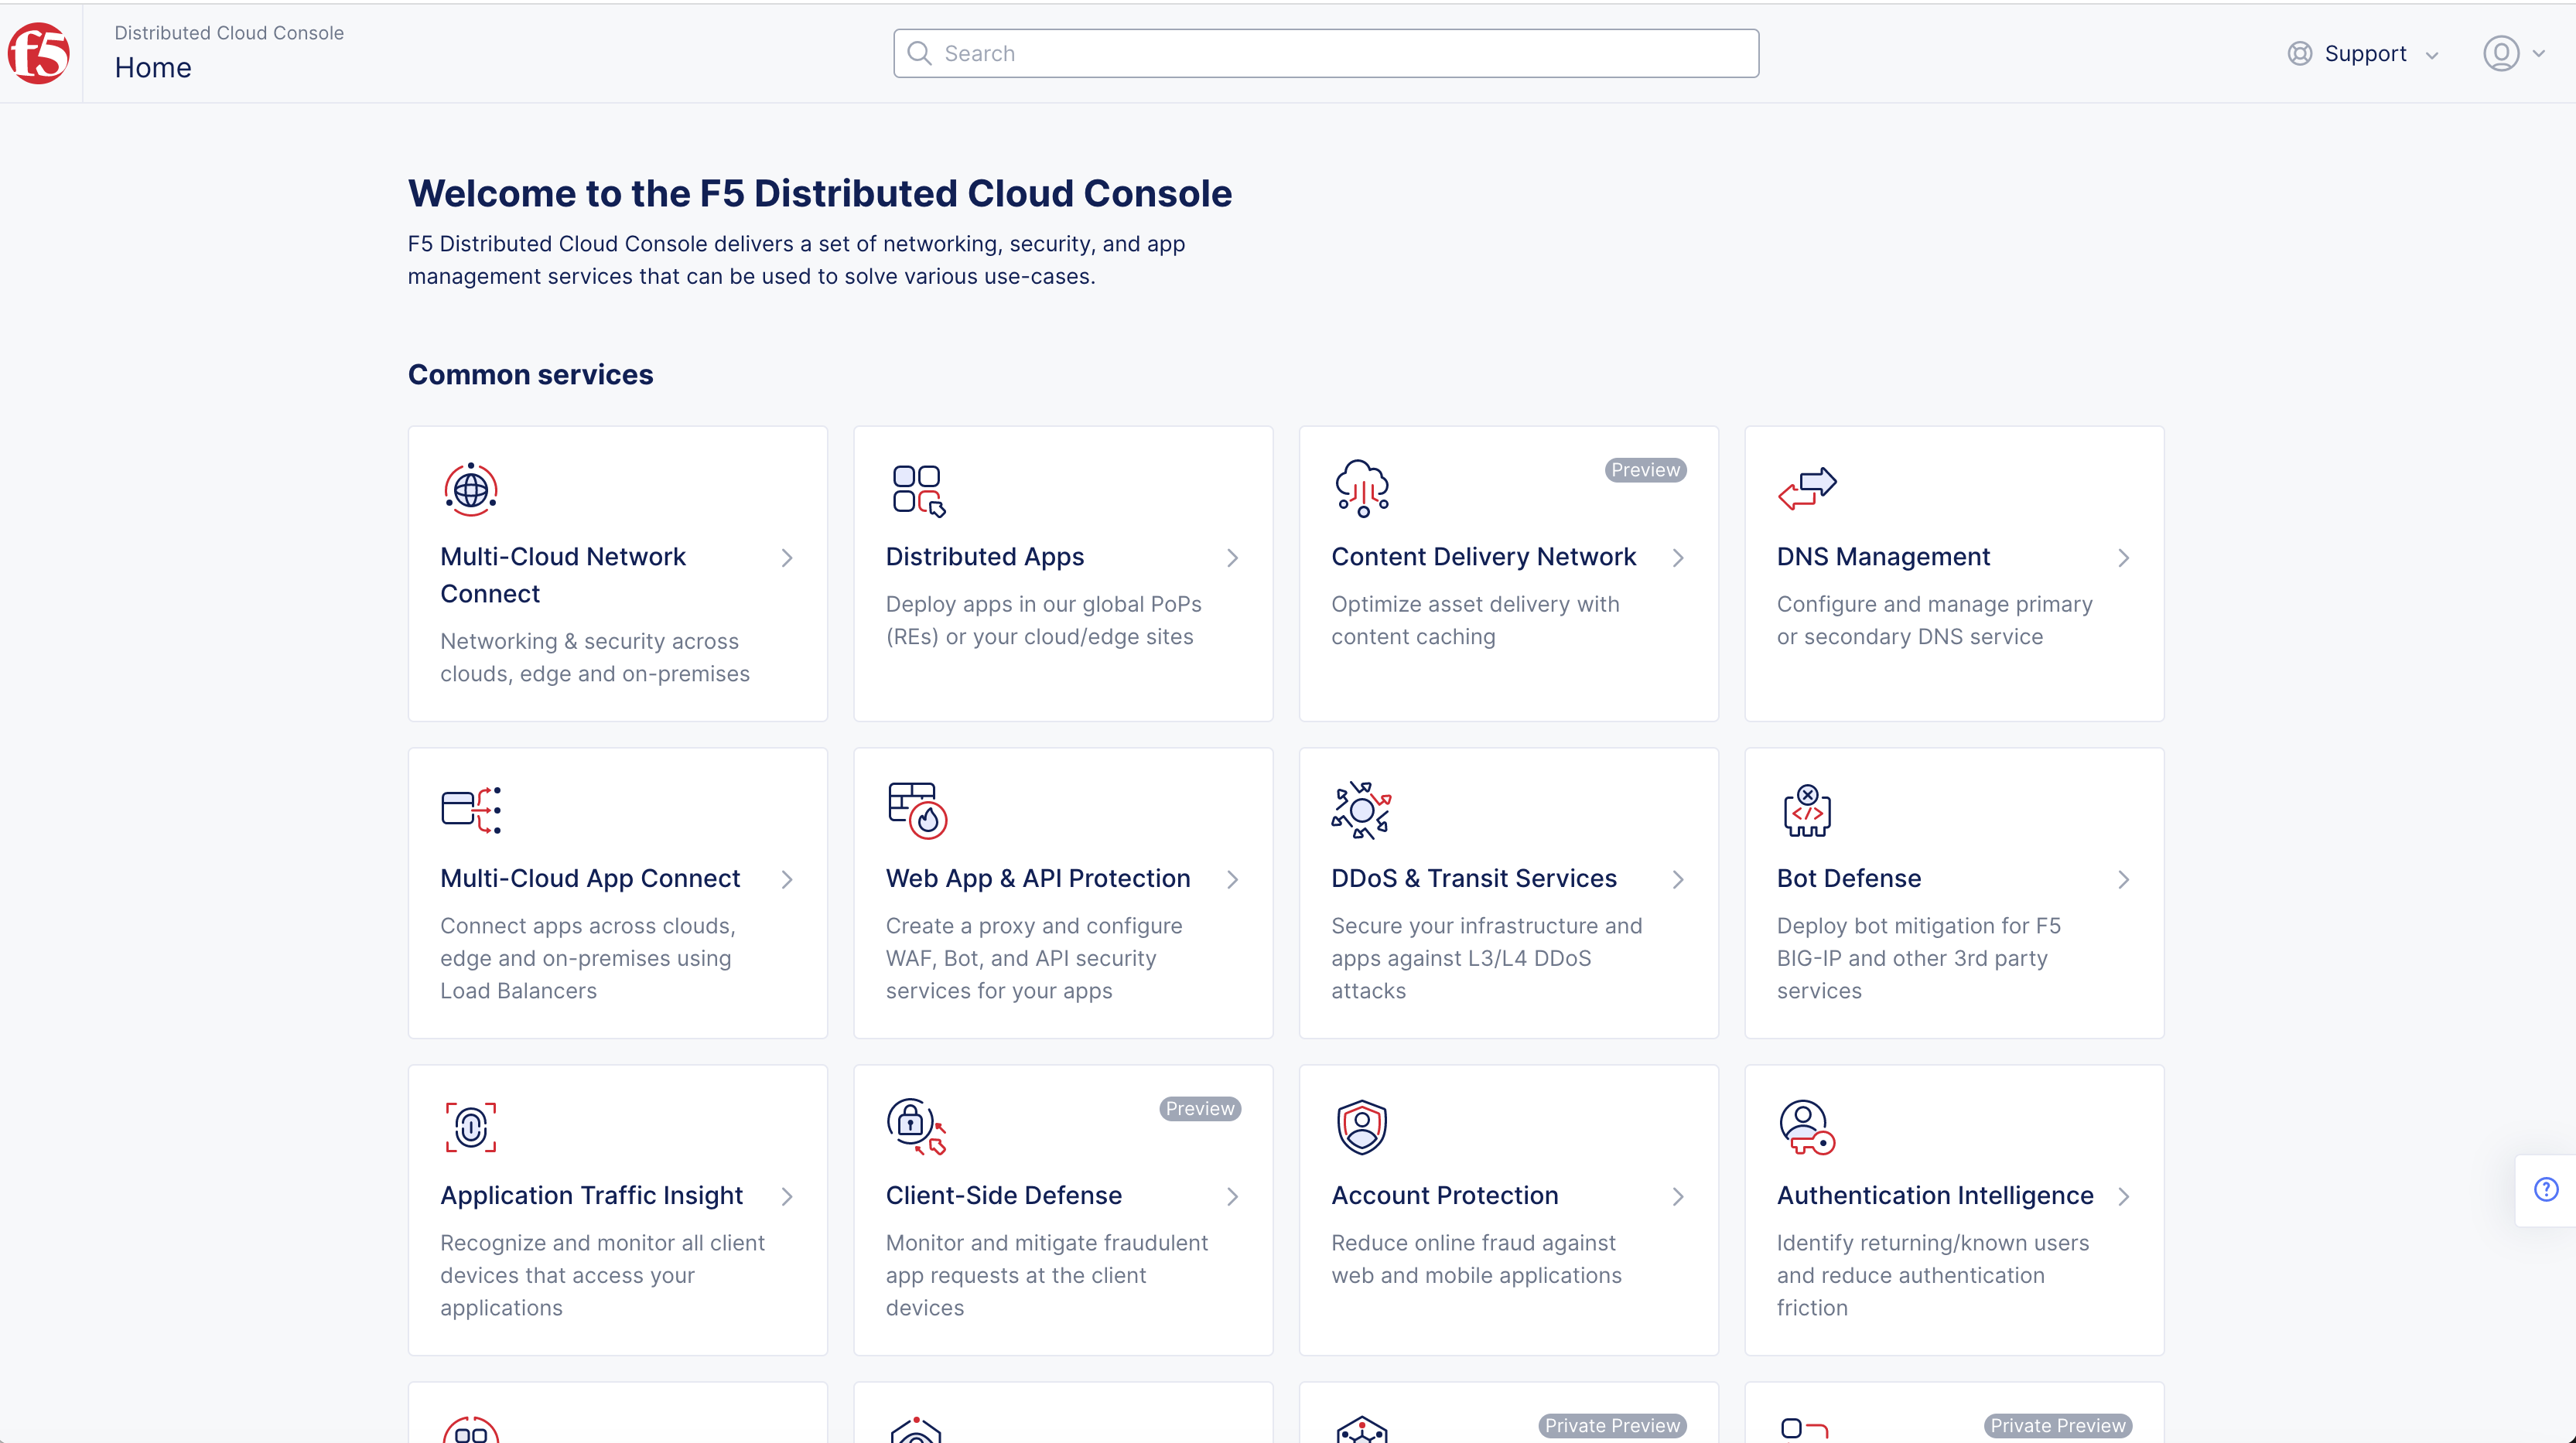
Figure: Homepage
Note: Confirm
Namespacefeature is in correct namespace, drop-down selector located in upper-left corner. Not available in all services.
-
Select
NetworkinginManagesection. -
Select
Tunnelsto see a list of existing tunnels. -
Select
Add Tunnelbutton.
Note: If options are not showing available, select
Showlink inAdvanced nav options visiblein bottom left corner. If needed, selectHideto minimize options from Advanced nav options mode.
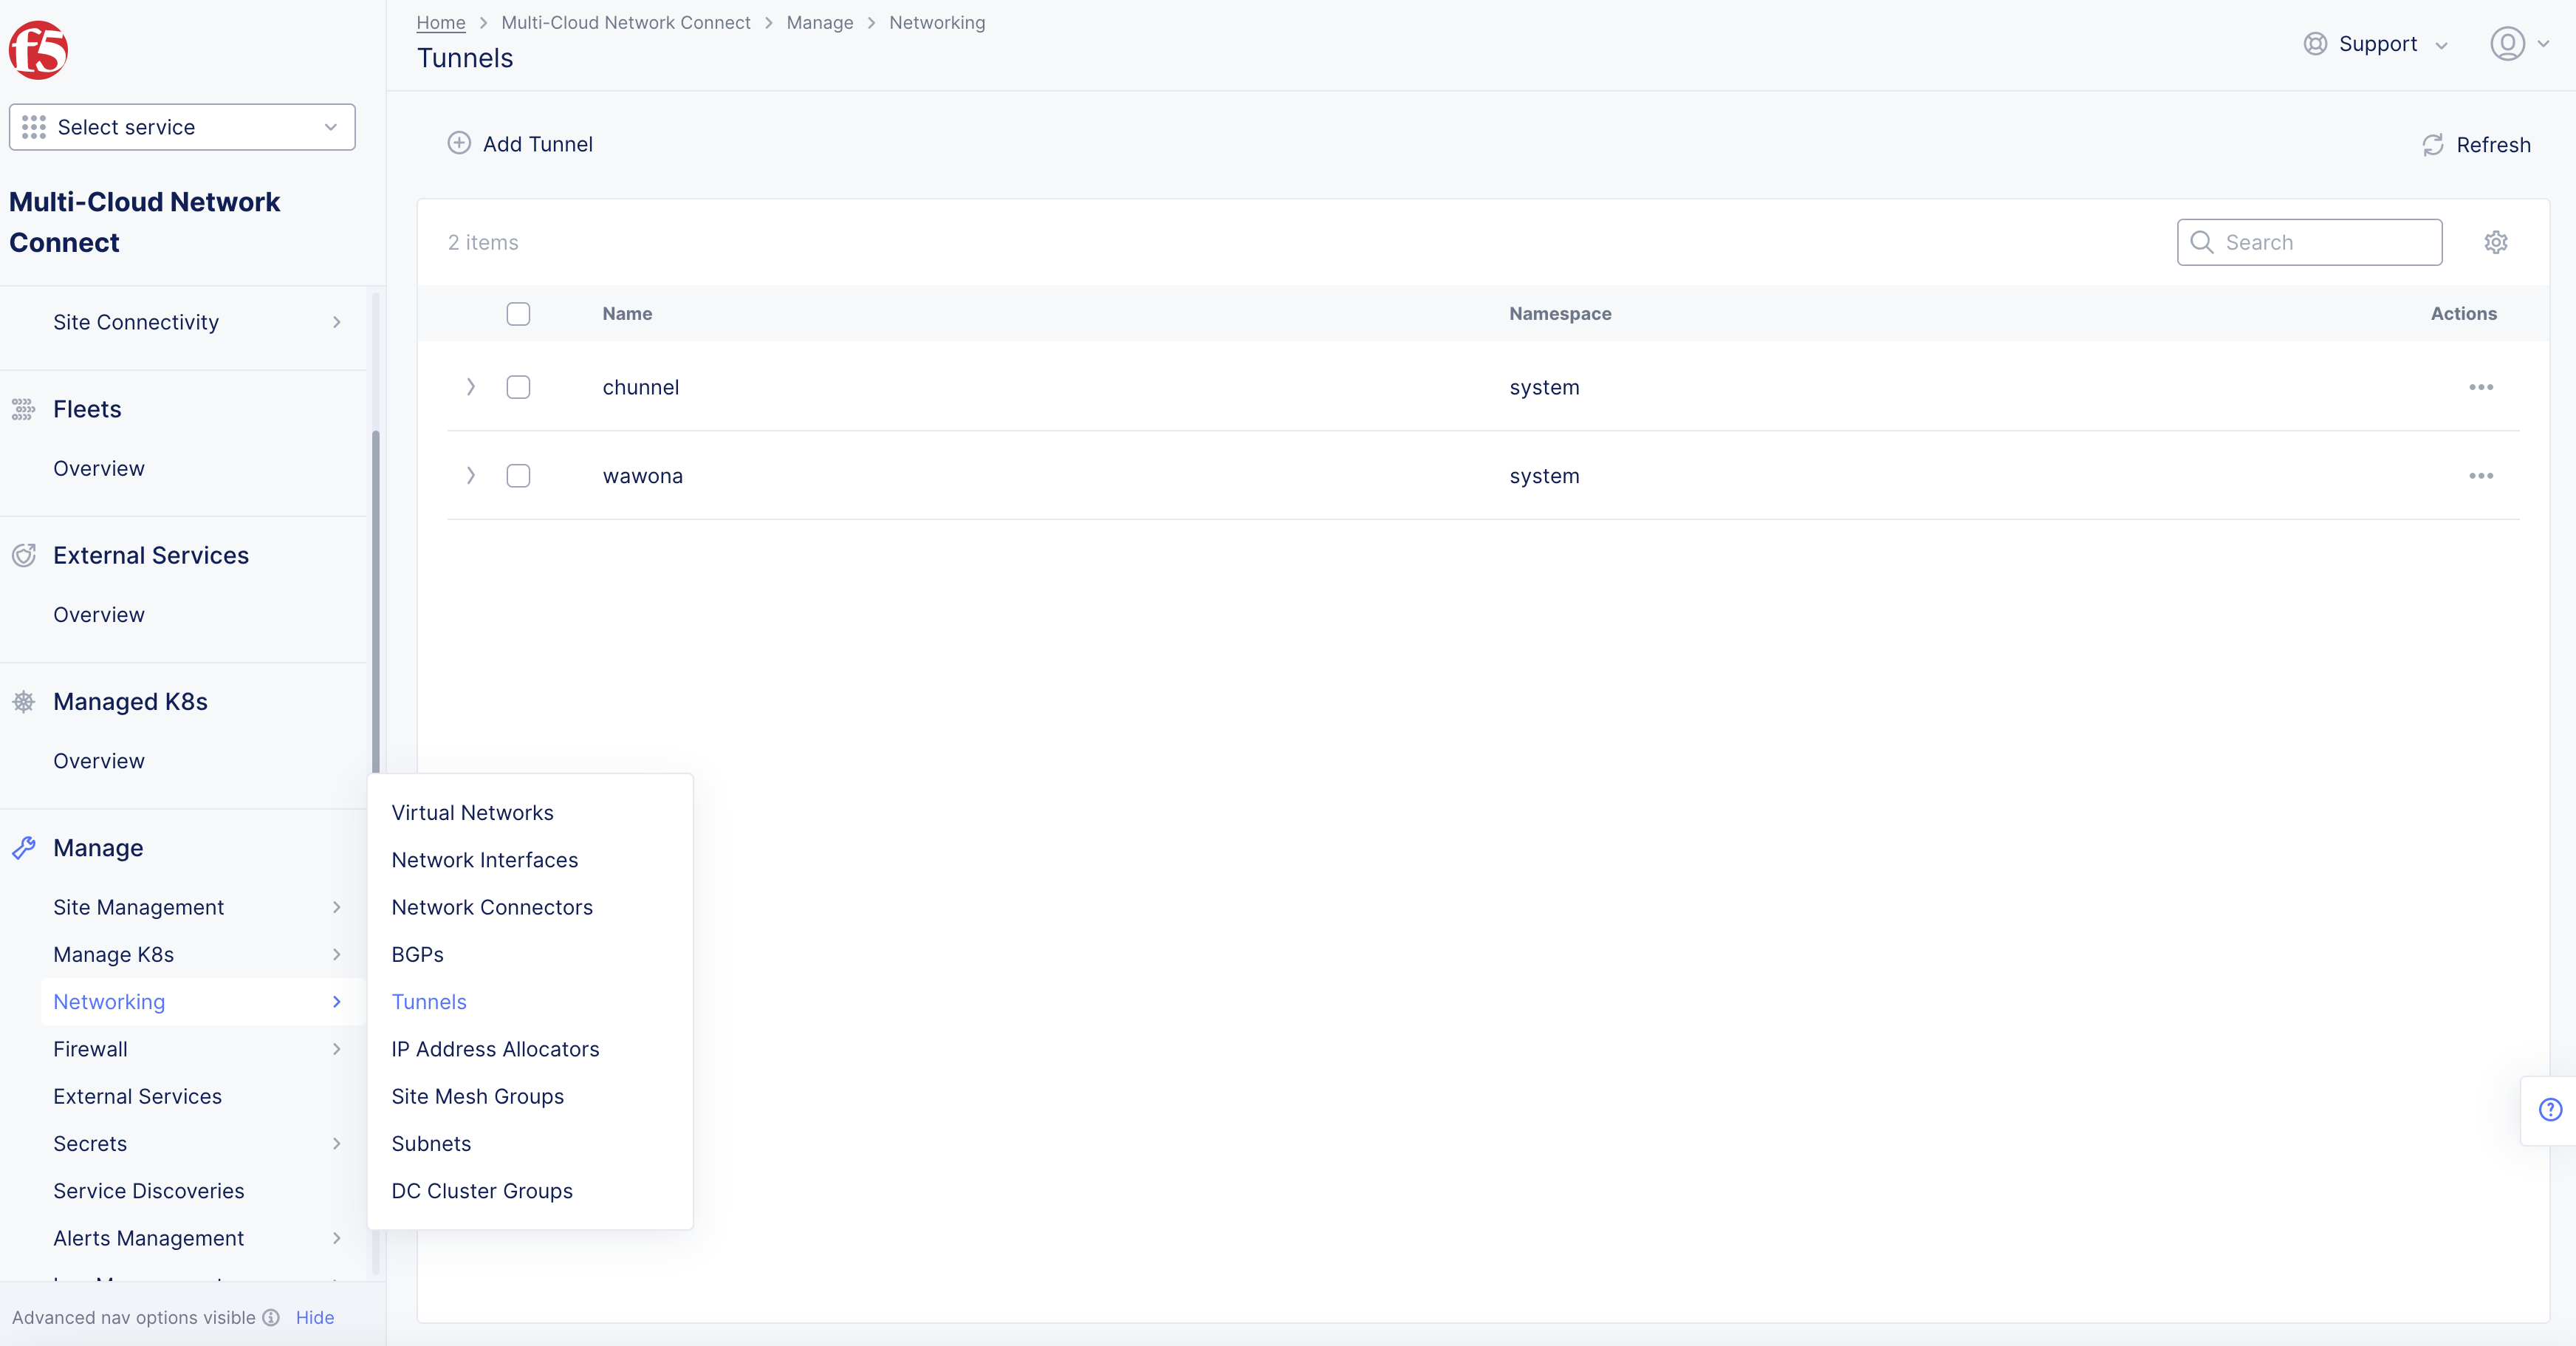
Figure: Add Tunnel
-
In
Metadatasection:-
Enter a unique name for the tunnel.
-
Optionally, set labels and description, as necessary.
-
-
In
Tunnel Typesection, select a tunnel type.
Note: Currently only
IPSEC with PSKis supported.
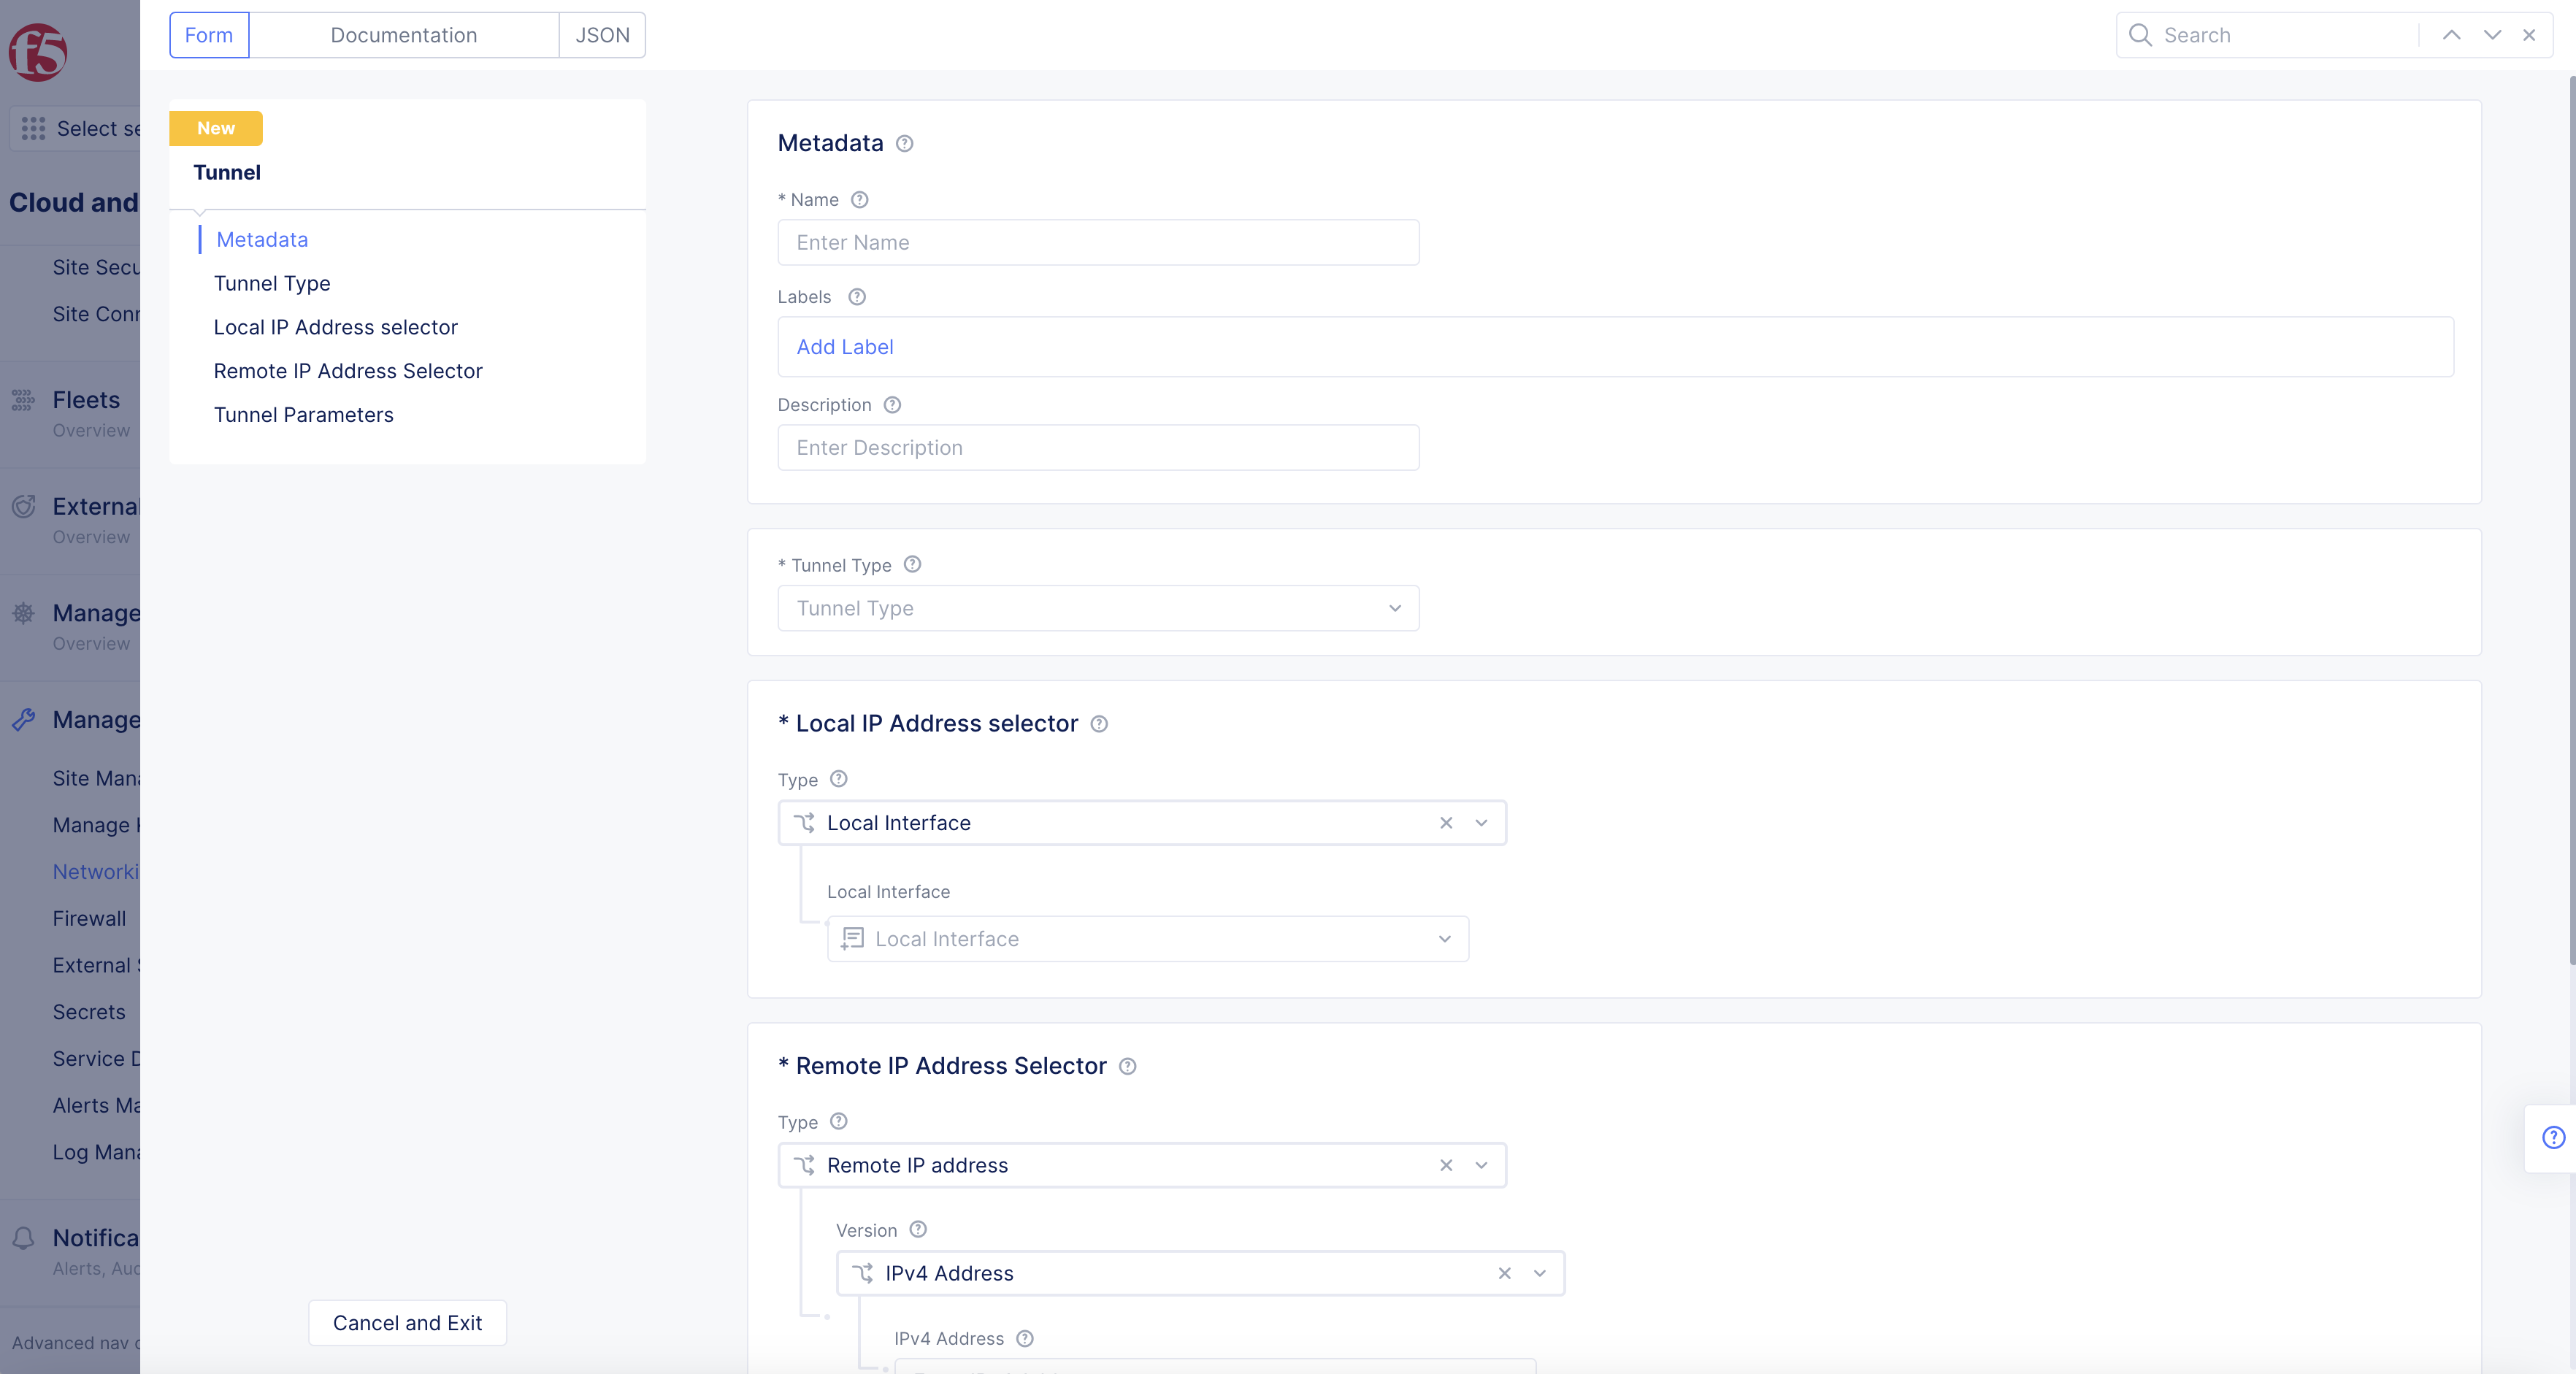
Figure: Setup Tunnel
Step 2: Configure Local IP Address selector.
In Type drop down menu select Local Interface or Local IP Address Type.
- Local Interface: In
Local Interfacedrop-down menu, select a network interface.
Note: Select
+ Add Itembutton as needed.
Figure: Local IP Address
-
Local IP Address Type: In second
Typedrop-down menu, selectLocal IP Address TypeorAuto IP:-
Local IP Address Type:
-
Select
IPv4orIPv6for address version, enter corresponding IP address in address box. -
Select a local virtual network from the dropdown.
-
-
Auto IP: Select a local virtual network in drop-down menu.
-
Figure: IP Address
Step 3: Configure Remote IP Address selector.
In Type drop-down menu, select Remote IP address or Remote Endpoints.
- Remote IP Address: Select either IPv4 or IPv6 in address version, enter corresponding IP address into address box.
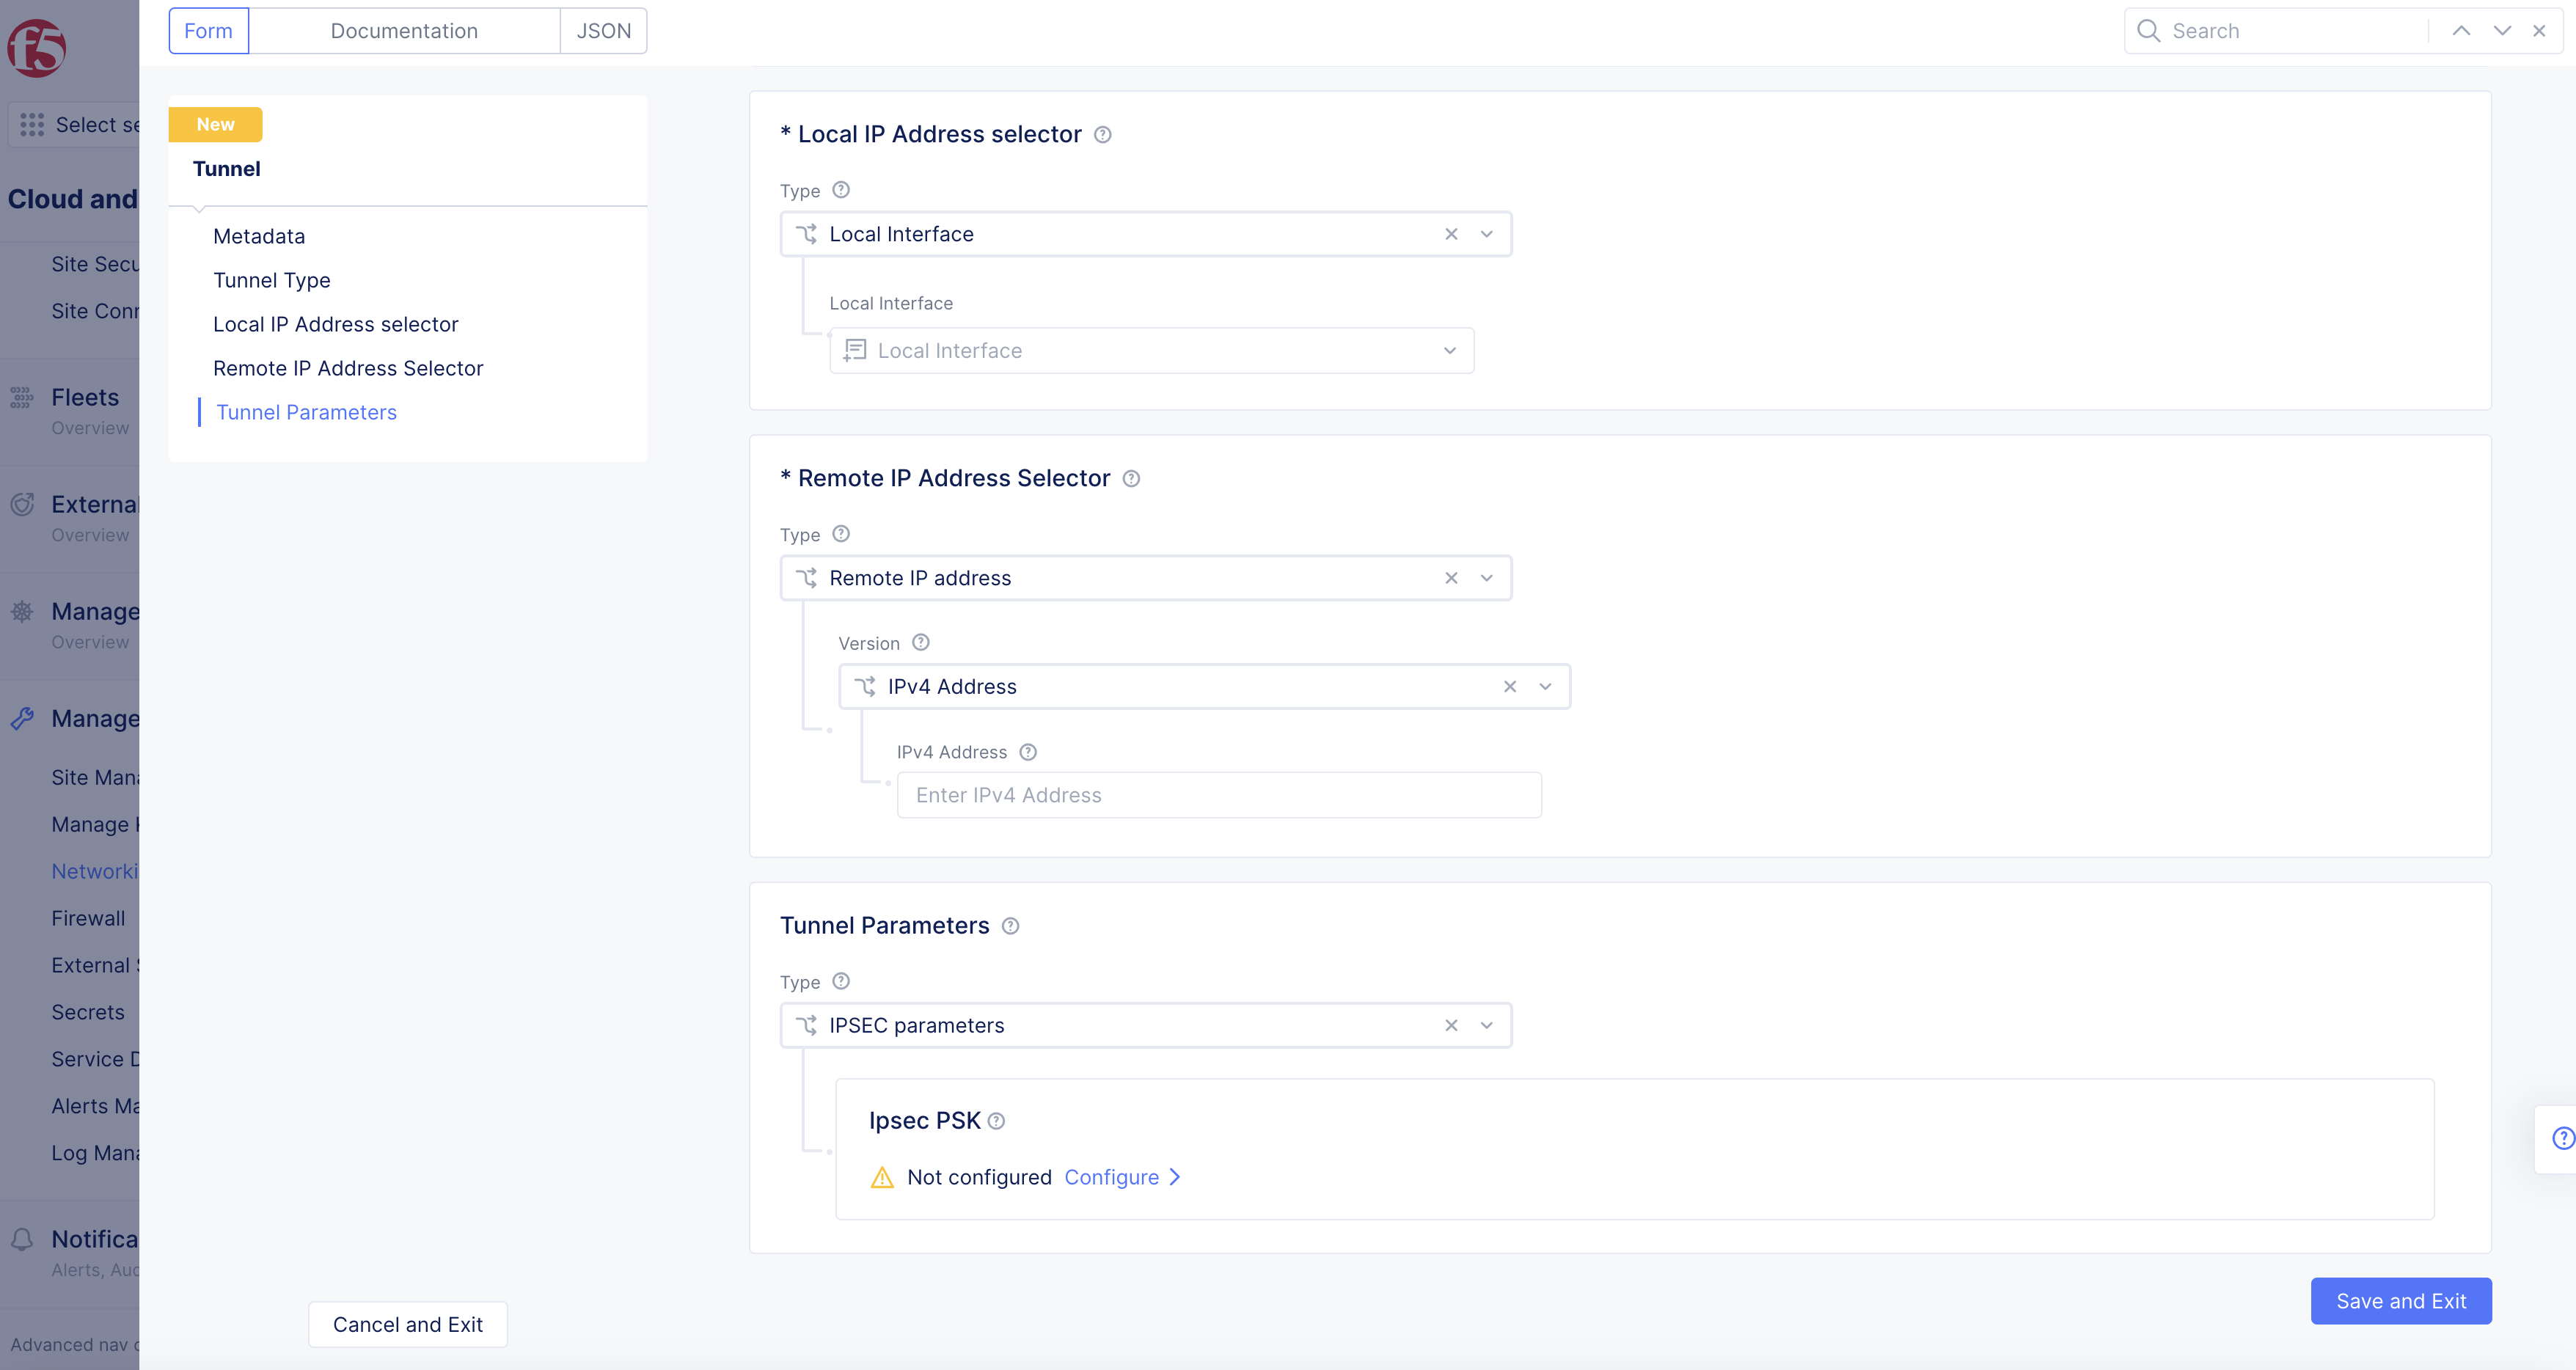
Figure: Remote IP Address
-
Remote Endpoints: Select
+ Add Itembutton to add remote endpoints. For each endpoint you add, follow these steps:-
Enter node for the tunnel in
Nodebox in form site:node (site is optional). -
Select
Configure, select either IPv4 or IPv6 for address version, enter corresponding IP address into address box.
-
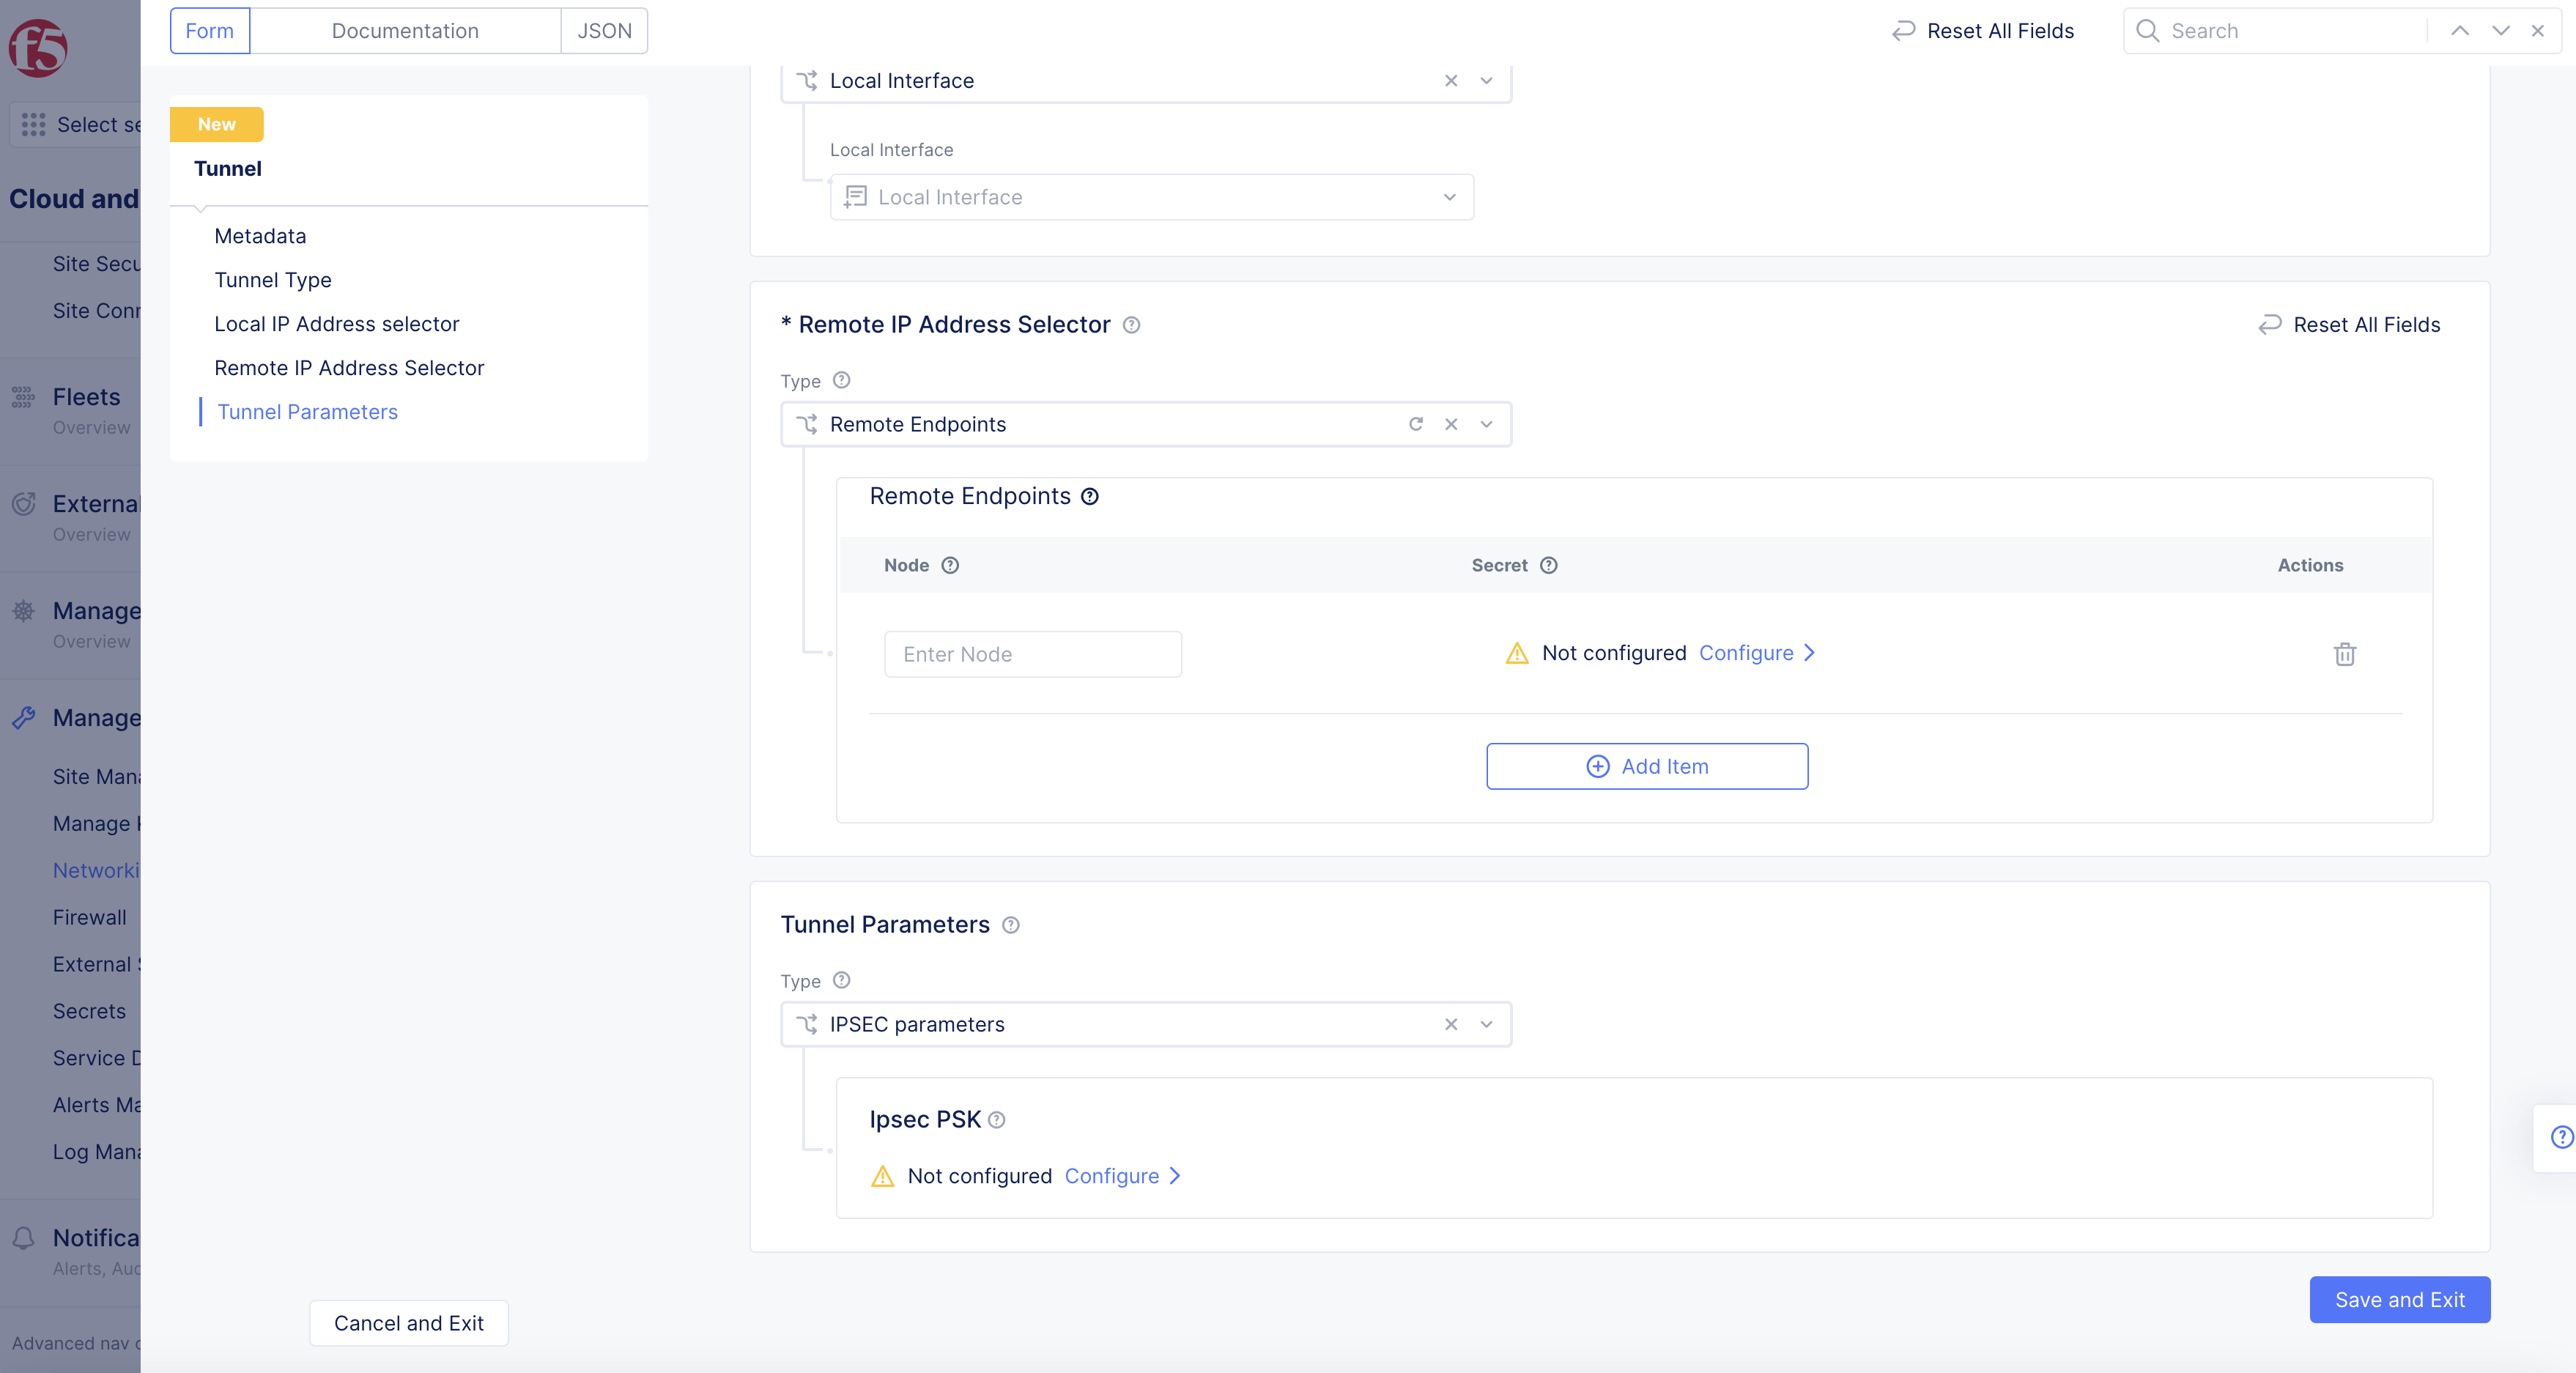
Figure: Remote Endpoints
Step 4: Enter tunnel parameters.
- In
Typeselect tunnel type inTunnel Parameterssection.
Note: Only IPsec is currently supported, so there are no other choices.
- Select
Configurelink inIpsec PSKbox.
Figure: Tunnel parameters
- In
Secret Typedrop-down menu, selectBlindfold SecretorClear Secret.
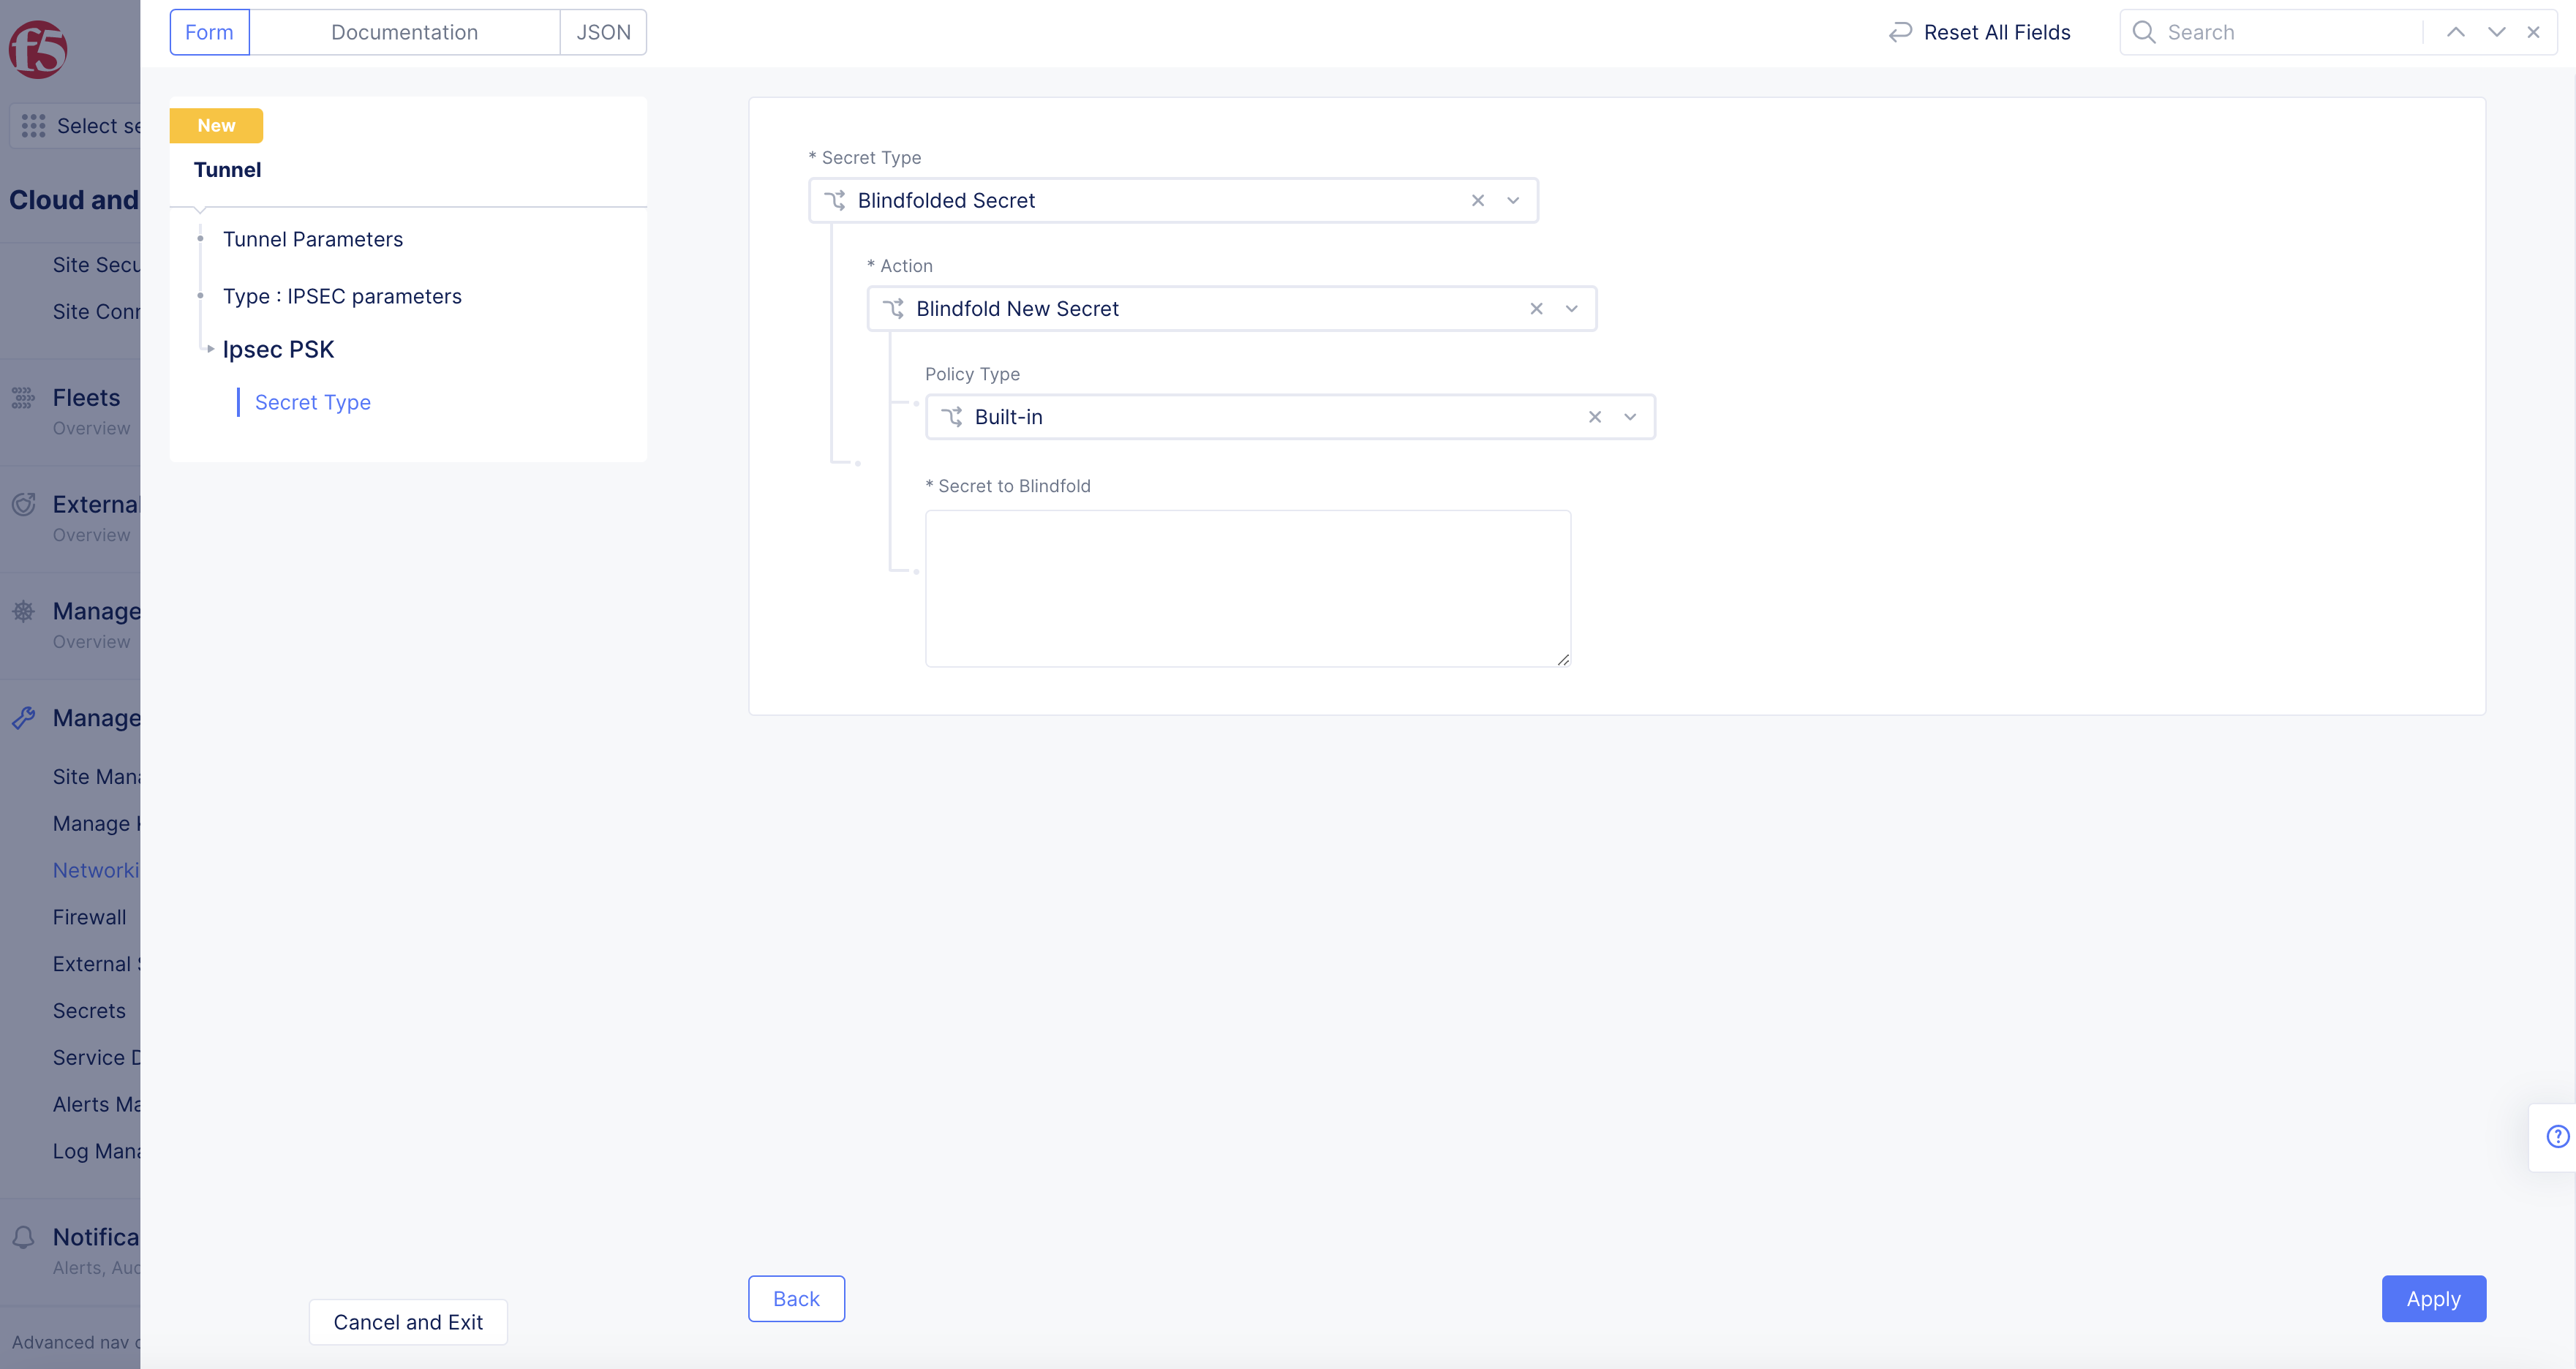
Figure: Secret Type
Blindfold Secret
This option will cause all traffic to be encrypted using F5 Distributed Cloud Blindfold in addition to the protocols and encryption used for IPsec.
-
For the
Policydropdown, select betweenBuilt-inandCustom. Then select the appropriate policy in the associated drop down menu. -
Choose the type of secret you will enter. If you have not already created a Blindfold Secret or want to create a new one, then choose between
TEXT. Otherwise, chooseBuilt-In -
Text: Enter your cleartext secret and press
Blindfold. You can use theEditbutton to see and/or copy your encrypted Blindfold Secret. -
Blindfold: Paste your existing Blindfold Secret into the text box. For more information on Blindfold, see Secrets Management and Blindfold.
Clear Secret
This option will only use the protocols and encryption for IPsec.
Choose between TEXT and base64(binary) for the type of secret you will enter. Then enter your secret in the format specified.
Step 5: Complete tunnel creation.
Select Save and Exit button.
Note: Tunnel configuration becomes effective only when you attach the tunnel to a tunnel interface.